December in a small rental can feel like a decorating dead end. You want the daily magic of an advent calendar, but your walls are off-limits, your apartment barely has a spare square foot, and the last thing you need is a bulky countdown display eating up your only counter. I have been there with clients, and I have helped dozens of renters solve exactly this problem without a single nail hole or a lost dollar of deposit money.
The good news is that an advent calendar does not need a big wall or a big budget. It needs a smart surface you already have: a door, a fridge, a bookshelf edge, a windowsill, or a few inches of empty wall you can borrow with removable hooks. In this guide, I am sharing twelve genuinely different advent calendar ideas built for small spaces, each one removable, renter-friendly, and sized for real apartments. Pick the one that fits your home, fill it with treats that make you smile, and let December feel festive from day one. Each idea below includes simple steps and an approximate cost range, so you can start this weekend with supplies from a craft store or even from your own junk drawer.
Executive Summary
- Small-space advent calendars work best when they borrow surfaces you already have: doors, fridges, shelves, windowsills, and tabletops.
- Every idea in this guide is deposit-safe: removable hooks, tension rods, magnets, and freestanding displays only, with no drilling or nailing into walls.
- A ribbon garland or tension rod display gives you the classic wall-calendar look using almost zero floor space.
- Tabletop and basket calendars are the best picks for the tiniest studios, since they move, fold away, and need no wall at all.
- Most of these calendars cost approximately $15 to $45 to build, and many reuse supplies you probably already own.
- Fill each pocket, tin, or envelope with small treats, notes, or tiny activities so the countdown feels personal, not store-bought.
1. Ribbon Garland on Removable Hooks
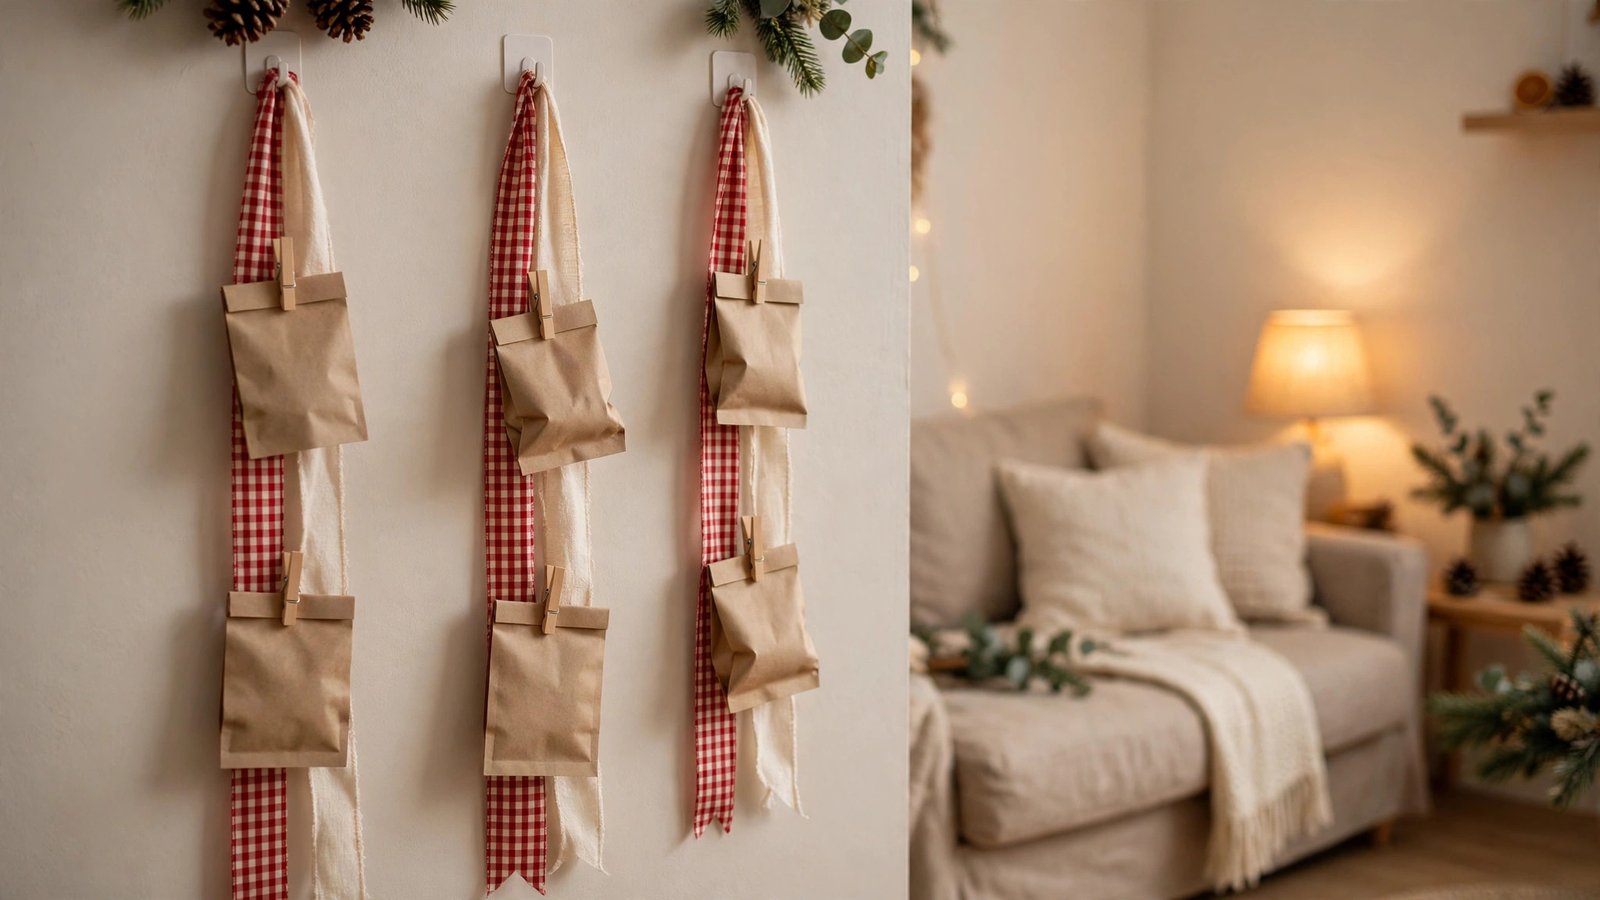
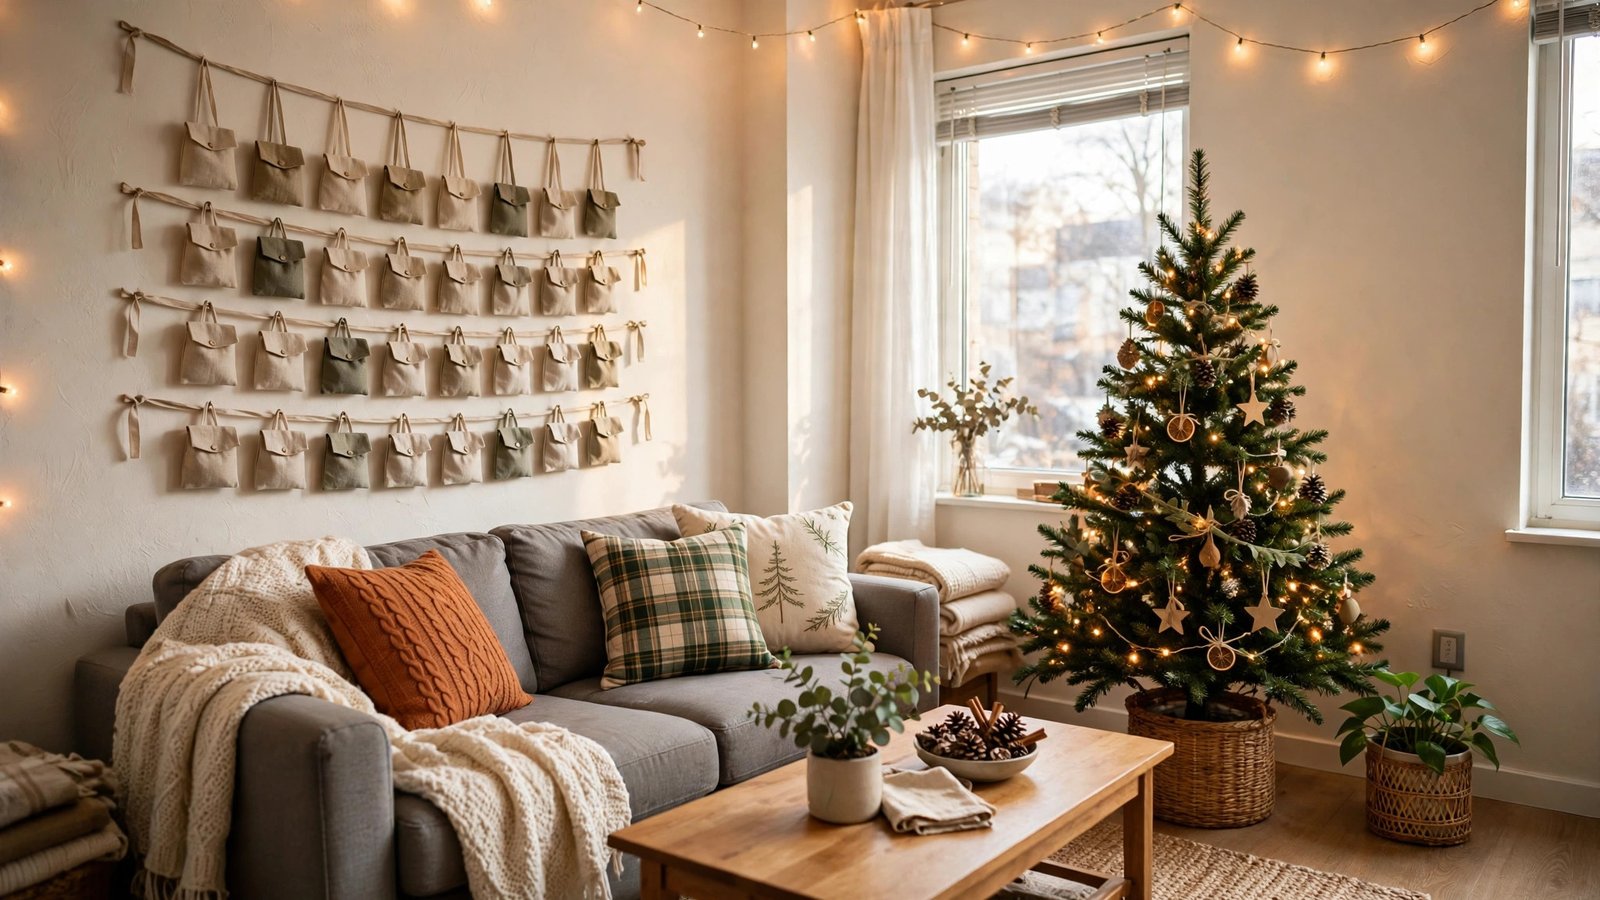
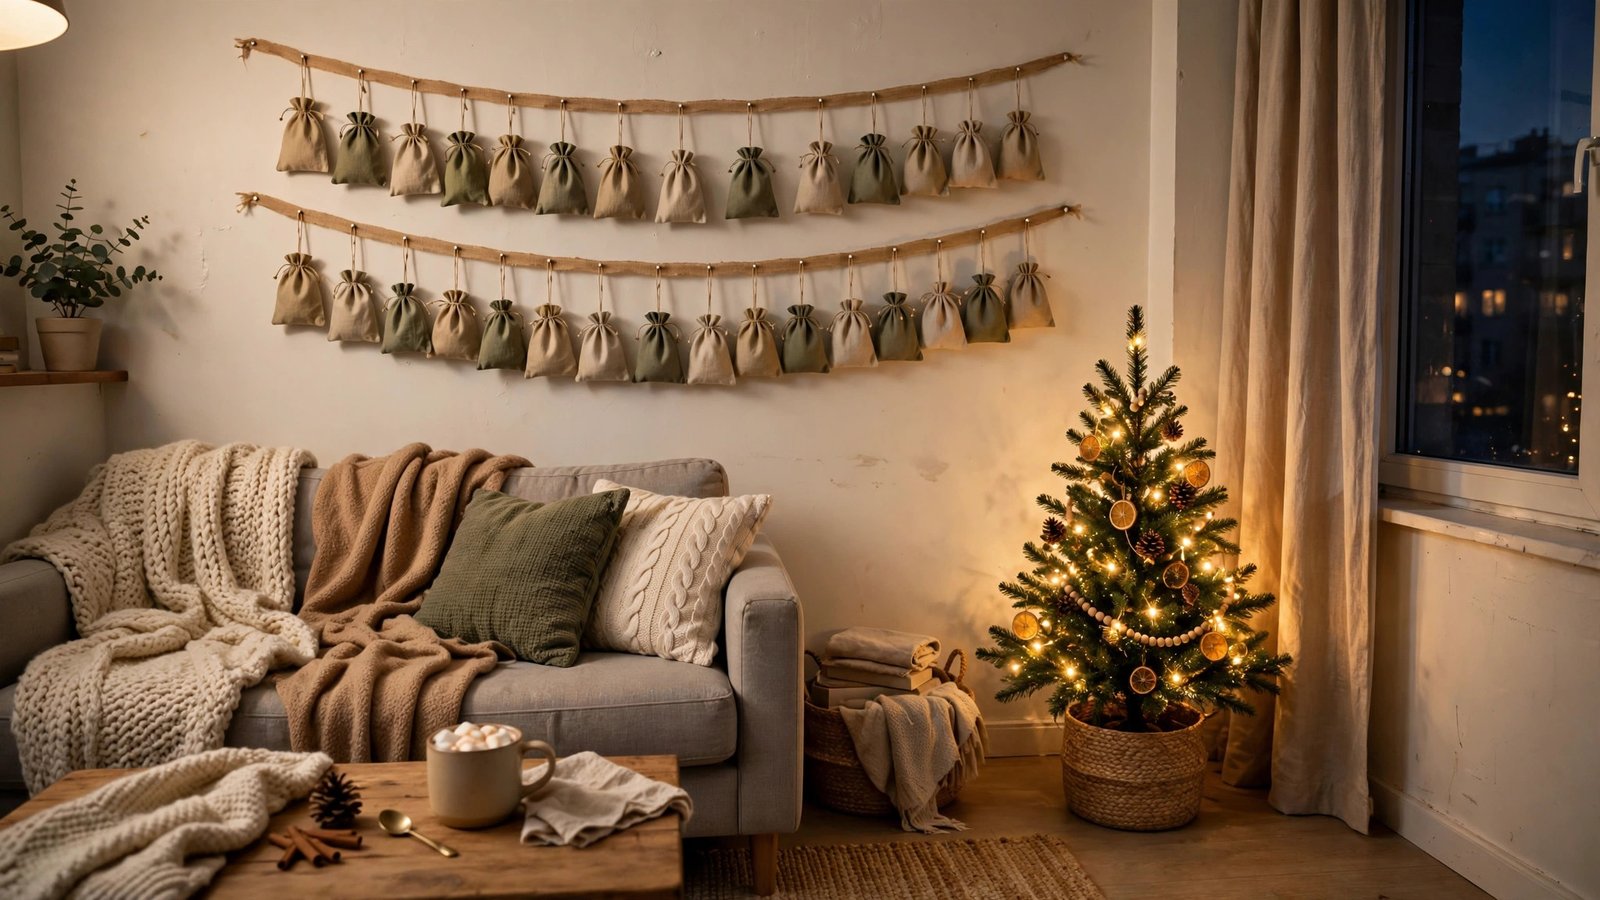
This is my first recommendation for most renters, because it delivers the classic advent wall look while taking up almost no space at all. You hang two or three lengths of wide ribbon vertically from removable adhesive hooks, then clip small pouches, envelopes, or muslin bags to each ribbon in number order. The whole display is only as wide as the ribbons, so it fits on a narrow stretch of wall beside a door, above a desk, or in a hallway.
It works so well for renters because nothing touches your wall except a removable hook. When January comes, you peel the hooks off, fold the ribbons into a drawer, and your wall looks exactly as it did before. There is no patching, no paint touch-up, and no awkward conversation with your landlord.
One tip I always share: choose pouches in two alternating colors, one for each week, so the countdown reads clearly from across the room. And save the pouches when December ends, because they fold flat and work just as well next year with a fresh set of treats inside.
Here is how to do it:
- Stick two or three removable hooks in a row near the ceiling, spaced about a foot apart, and let the adhesive set for an hour.
- Cut matching lengths of wide ribbon and loop each one over a hook so it hangs straight down.
- Number 24 small pouches or envelopes, fill them, and clip them to the ribbons with mini clothespins, alternating sides for a garland effect.
- Weigh the bottom of each ribbon with a small ornament so the display hangs neatly instead of curling.
Approximate cost: $15 to $30 for ribbon, pouches, mini clips, and hooks.
2. Tension Rod Window Countdown
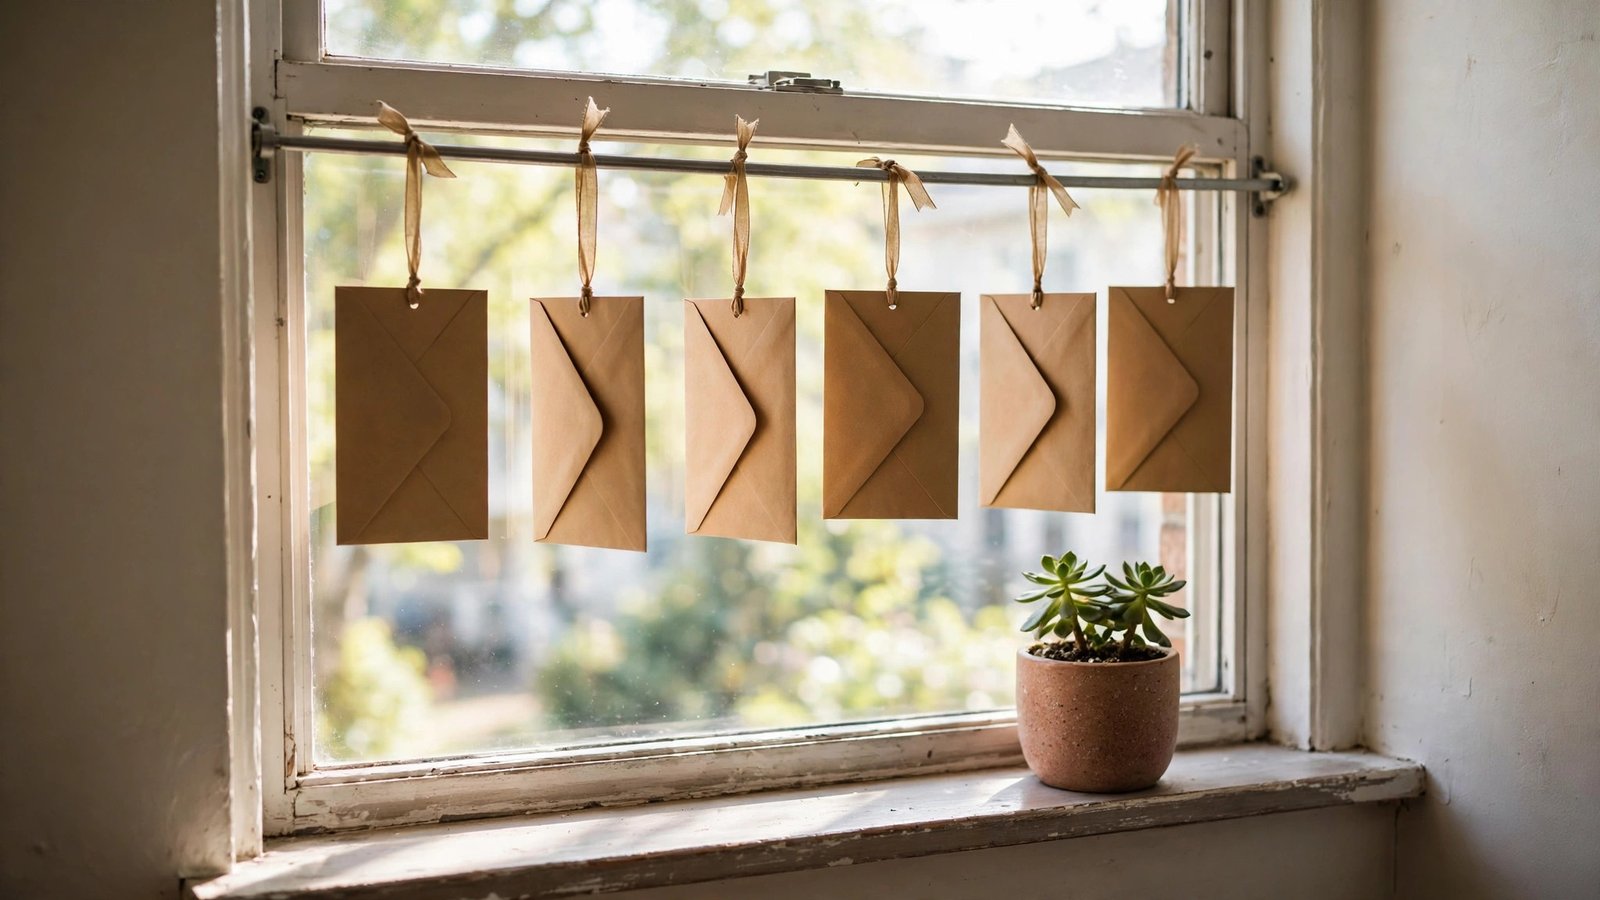
If your walls are completely spoken for but your windows are bare, a tension rod countdown turns that empty window frame into your advent calendar. You wedge a small tension rod inside the window frame, hang numbered envelopes or ornaments from it with ribbon loops or clips, and let the daylight do the decorating for you. It reads beautifully from inside the room and from the street.
Renters love this one because a tension rod needs no hardware at all. It grips the frame with pressure alone, so there is nothing to install and nothing to repair. It also keeps your countdown out of the way of furniture, which matters when every surface is already working hard.
Keep the envelopes light, since a tension rod holds best when the weight is evenly spread and modest. If your rod slips at all in the first day, twist it a quarter turn tighter and rehang the middle envelopes, and it should stay put for the whole month.
Here is how to do it:
- Measure the inside of your window frame and choose a tension rod that fits that width.
- Twist the rod into place near the top of the frame, checking that it feels snug and level.
- Hang 24 small envelopes, felt pockets, or lightweight ornaments from the rod using short ribbon loops or shower-curtain rings.
- Arrange them in number order from left to right so the countdown reads naturally each morning.
Approximate cost: $12 to $25 for the rod, envelopes, and ribbon.
3. Over-the-Door Pocket Organizer Calendar
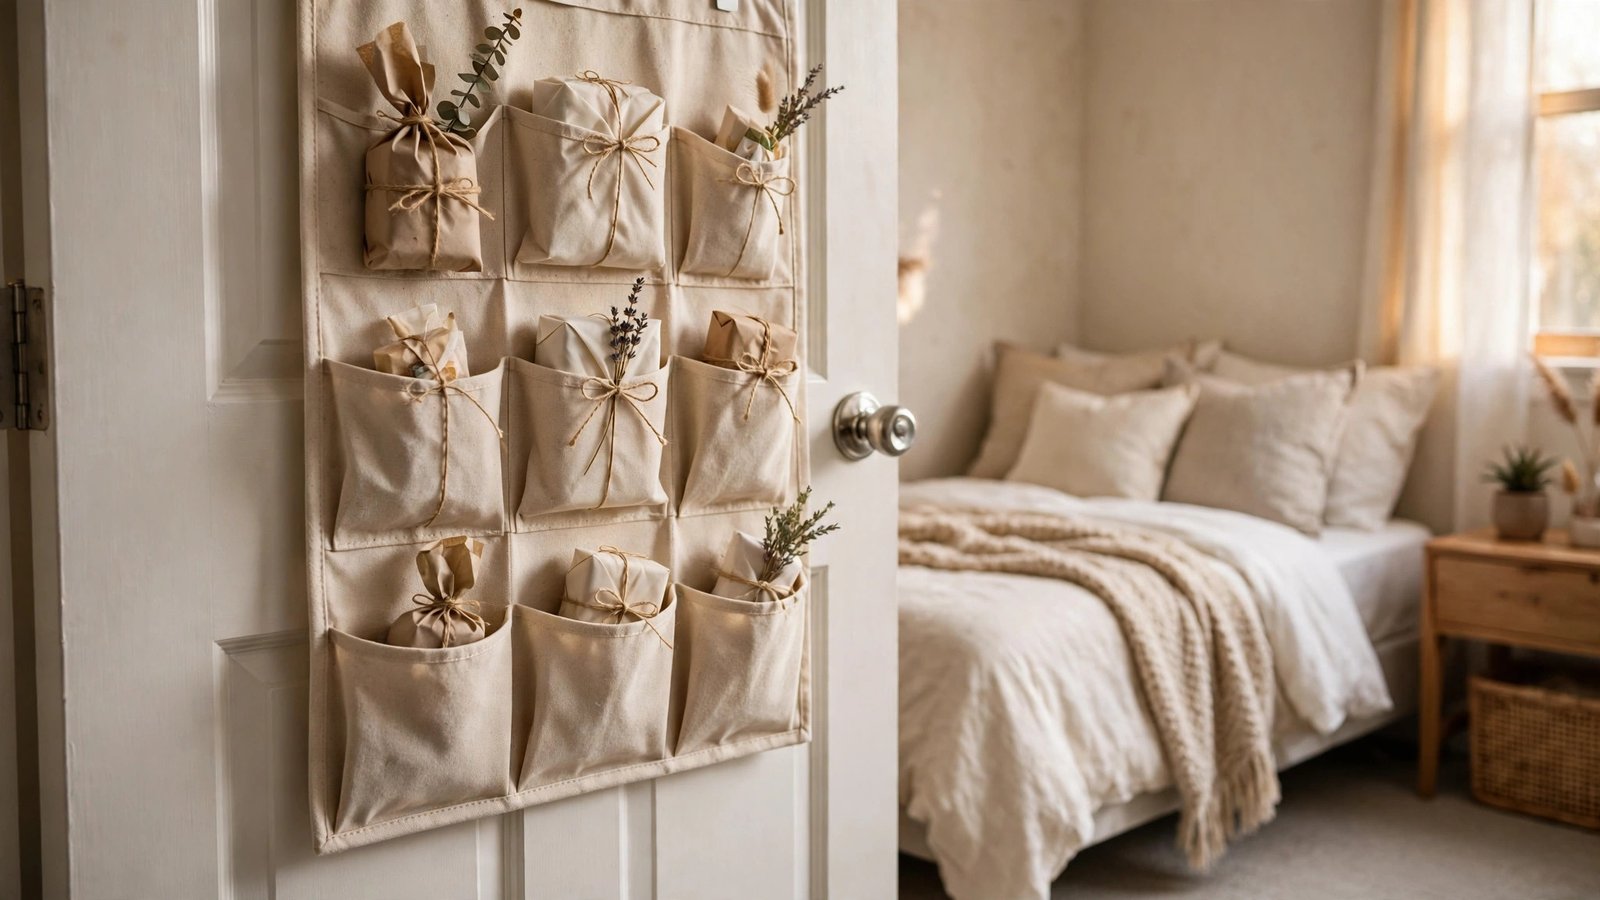
An over-the-door pocket organizer is one of the smartest small-space swaps I know. You already own the door; the organizer simply hangs over the top of it, and each clear or fabric pocket becomes one day of December. Roll a treat, a note, or a tiny gift into each pocket, number the pockets with stickers or tags, and your calendar is done in an afternoon.
For renters, the appeal is obvious: the door is a surface that would otherwise hold nothing, and the organizer leaves no mark when you take it down. It is also a great pick for households with kids, since little hands can reach the lower pockets and the whole thing stays visible without cluttering a single table.
A small detail that makes a big difference: stick a felt pad behind the metal hooks where they meet the door. It protects the door finish, stops any rattling when the door moves, and keeps the organizer hanging perfectly flat all month long.
Here is how to do it:
- Choose a fabric pocket organizer that fits your door and hangs flat without swinging.
- Hook it over the top of a bedroom, closet, or pantry door and check that the door still closes smoothly.
- Number the first 24 pockets with adhesive number stickers or small paper tags tucked into each pocket.
- Fill each pocket with a treat or note, putting the bulkiest items in the lower pockets so the organizer hangs evenly.
Approximate cost: $15 to $30 for the organizer and number stickers.
4. Magnetic Fridge Tin Calendar

Your fridge is prime real estate in a small kitchen, and magnetic advent tins put it to festive use. Small round or rectangular tins with magnets on the back stick straight to the fridge door, each one holding a treat for one December day. Arranged in a tree shape, a rectangle, or a loose cluster, they turn an appliance you see every day into the countdown itself.
This is a renter dream because it uses zero wall space, zero floor space, and zero installation. The magnets lift straight off in January, and the tins themselves pack flat into a box for next year. It is also wonderfully practical: the calendar lives where you already walk every morning, so you will never forget to open the day’s tin.
Before you fill every tin, test one on your fridge with its treat inside and give the door a normal open and close. If it slides, swap in a lighter treat or a stronger magnet, because a tin that creeps down the door will drive you quietly mad by week two.
Here is how to do it:
- Buy or make 24 small magnetic tins, checking that the magnets are strong enough to hold a treat without sliding.
- Number each tin lid with stickers, a paint pen, or small paper labels.
- Fill the tins with wrapped chocolates, tea bags, or tiny notes, keeping heavier items in the lowest tins.
- Arrange the tins on the fridge in number order, leaving a little space between them so each lid is easy to grab.
Approximate cost: $18 to $40 for magnetic tins and labels.
5. Tabletop Drawer Tower
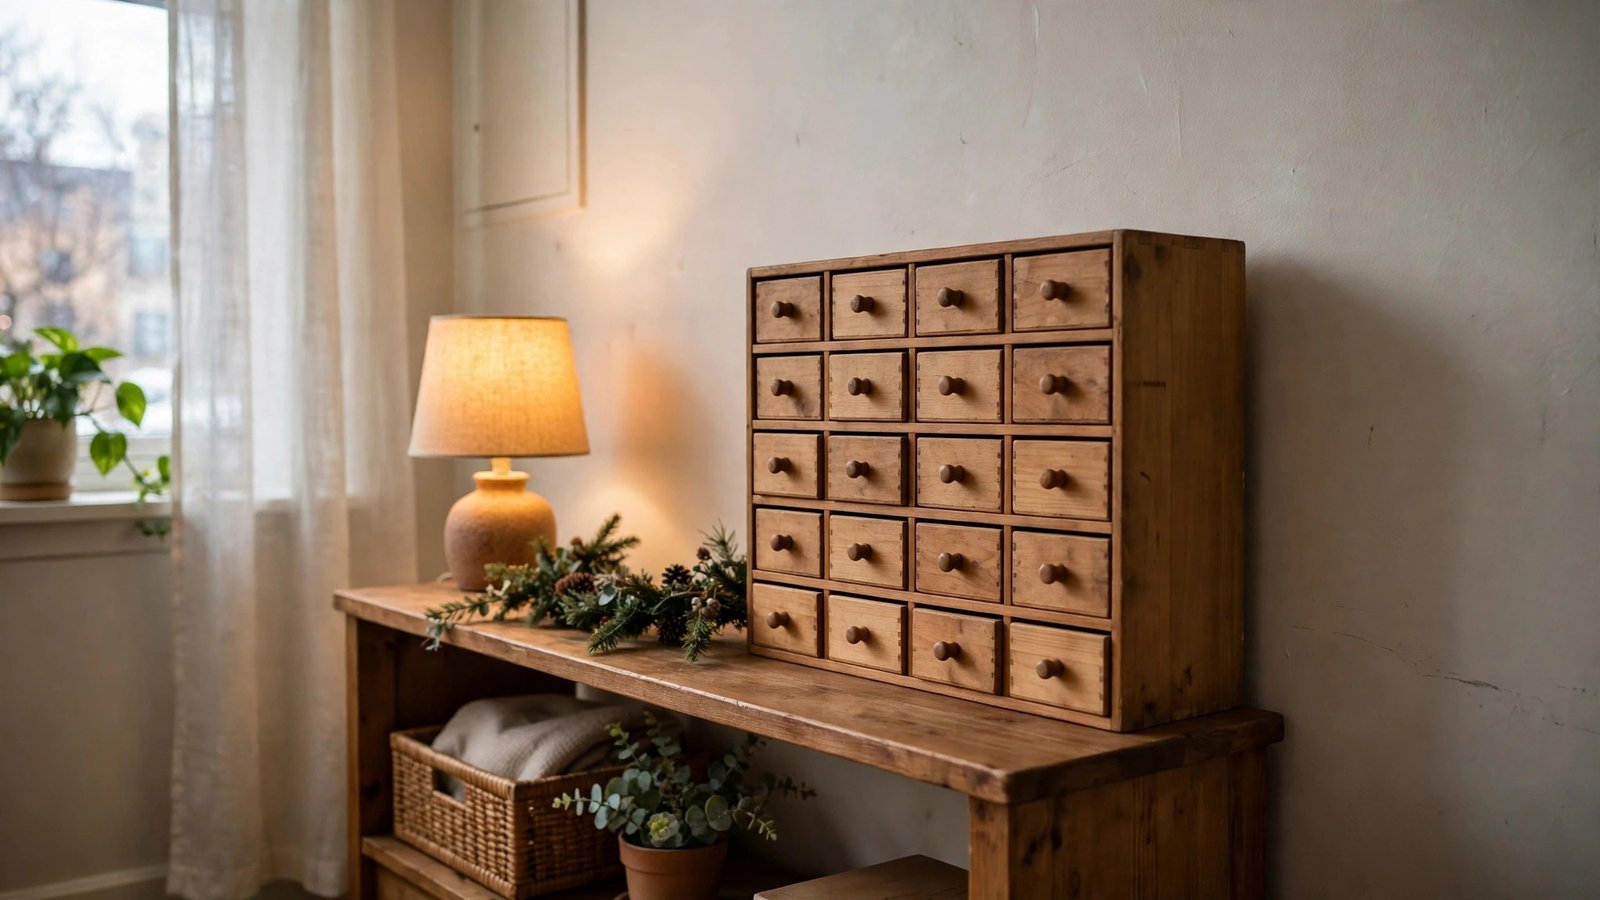
A tabletop drawer tower is the answer when you have no free wall at all. These small stacked-drawer units, sometimes sold as mini apothecary cabinets, sit on a console, dresser, or kitchen counter and give you one tiny drawer per day. Pulling open a drawer each morning feels wonderfully old-fashioned, and the tower itself doubles as a piece of seasonal decor.
Renters appreciate that this calendar is furniture, not an installation. It needs no hooks, no holes, and no wall, and it moves from room to room in seconds. When December ends, it becomes ordinary storage for jewelry, craft supplies, or desk bits for the rest of the year.
Line each drawer with a scrap of tissue paper before filling it. The paper stops small treats from rattling, makes the drawer feel like a real gift when it opens, and keeps crumbs or glitter out of the drawer itself for easy cleanup in January.
Here is how to do it:
- Pick a tower with 24 small drawers, or two 12-drawer units you can stack side by side.
- Set it on a stable surface where it will not be knocked, ideally against a wall or in a corner.
- Number each drawer front with small stickers or a tag tied to its knob.
- Fill the drawers with treats that fit flat, like wrapped candies, lip balm minis, or folded notes.
Approximate cost: $25 to $45 for the drawer unit and number stickers.
6. Bookshelf Clip-String Countdown

If your bookshelf is the biggest piece of furniture in your apartment, let it carry your countdown too. A length of twine or ribbon strung along the front edge of a shelf, held by the books themselves or by two small removable clips, becomes a line for numbered envelopes. The envelopes hang just in front of your books, so the display costs you no shelf space and no wall space.
This works for renters because it borrows furniture you already own and adds nothing permanent. You do not need to attach anything to the wall or the shelf, and the whole countdown comes down in minutes. It also looks intentional rather than improvised, since the envelopes echo the shape and rhythm of the books behind them.
Keep the envelopes slim and flat so you can still pull a book off the shelf without disturbing the display. That is the real test of this idea: your countdown should decorate your bookshelf, not block you from using it for the entire month.
Here is how to do it:
- Cut a length of twine slightly longer than the shelf you plan to use.
- Anchor each end by tucking it behind a heavy book or clipping it to the shelf edge with a removable clip.
- Number 24 small envelopes, fill them with flat treats or notes, and clip them to the twine with mini clothespins.
- Space the envelopes evenly and keep the heaviest ones near the anchored ends so the line stays level.
Approximate cost: $10 to $20 for twine, envelopes, and mini clips.
7. Shelf and Mantel Garland Swag
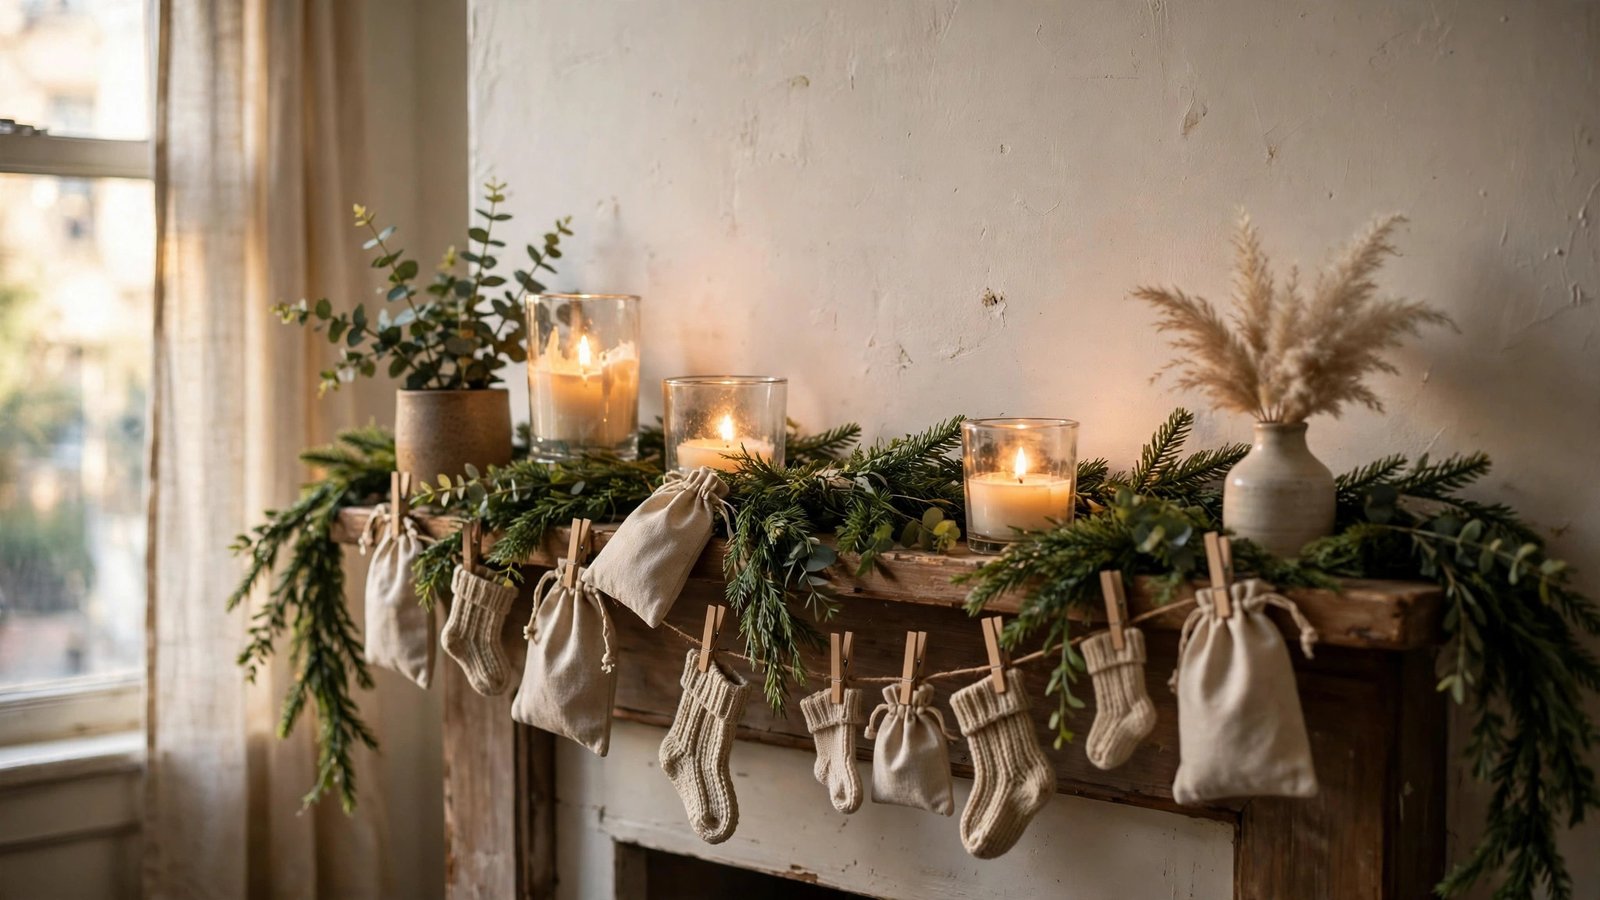
A garland swag drapes your countdown along a surface you already decorate: a mantel, a floating shelf, or the top of a bookcase. Instead of hanging straight down, the numbered pouches or ornaments are clipped along a swag of greenery, ribbon, or beaded garland that swoops gently across the shelf. The result feels lush and traditional, but it occupies only the front edge of a shelf you already have.
For renters, the beauty is that the shelf does all the supporting. The swag rests on the shelf or hooks over its edge with removable clips, so there is no drilling and no damage to the wall behind it. When the season ends, the garland coils into a box and the shelf goes back to normal.
Use faux greenery for this swag, and keep the whole display well away from candles or open flames. Real dried greenery looks lovely for a weekend, but over a full month near a mantel it dries out, sheds, and becomes a fire risk you do not need.
Here is how to do it:
- Drape a faux greenery or ribbon garland along your mantel or shelf, letting it swoop in one or two gentle curves.
- Secure the ends with removable clips or by tucking them behind books or decor so the swag stays put.
- Clip 24 numbered pouches, mini stockings, or ornaments along the garland, spacing them evenly along the curves.
- Fill each one before hanging it, and keep heavier treats near the secured ends of the swag.
Approximate cost: $20 to $40 for garland, pouches, and clips.
8. Tabletop Mini Tree Ornament Countdown

A tabletop mini tree pulls double duty as your tree and your advent calendar, which is a real gift in a studio. You set a small potted or tabletop tree on a side table, then hang 24 numbered mini envelopes or tiny ornaments from its branches. Each morning you remove one ornament, so by Christmas Eve the tree is bare in the most satisfying way, ready for its final decorations.
This idea is renter-friendly because the tree is entirely freestanding. It needs no wall, no hooks, and no floor space beyond the table it already sits on. It is also the best option I know for renters who want a tree but cannot fit a full-size one, since the countdown gives a small tree a big job.
Give the tree a slow quarter turn every few days so ornaments on every side get their moment. Because you remove one ornament each morning, the tree changes shape gradually, and rotating it keeps the display looking full and balanced right through Christmas Eve.
Here is how to do it:
- Choose a sturdy tabletop tree, about two to three feet tall, that can hold the weight of small envelopes.
- Set it on a stable table away from radiators and high-traffic edges.
- Number 24 lightweight envelopes or mini ornaments and hang them evenly around the tree with short ribbon loops.
- Fill each envelope with a flat treat or a tiny activity note before hanging it.
Approximate cost: $20 to $40 for the tree, envelopes, and ribbon.
9. Tray of Numbered Jars on a Console
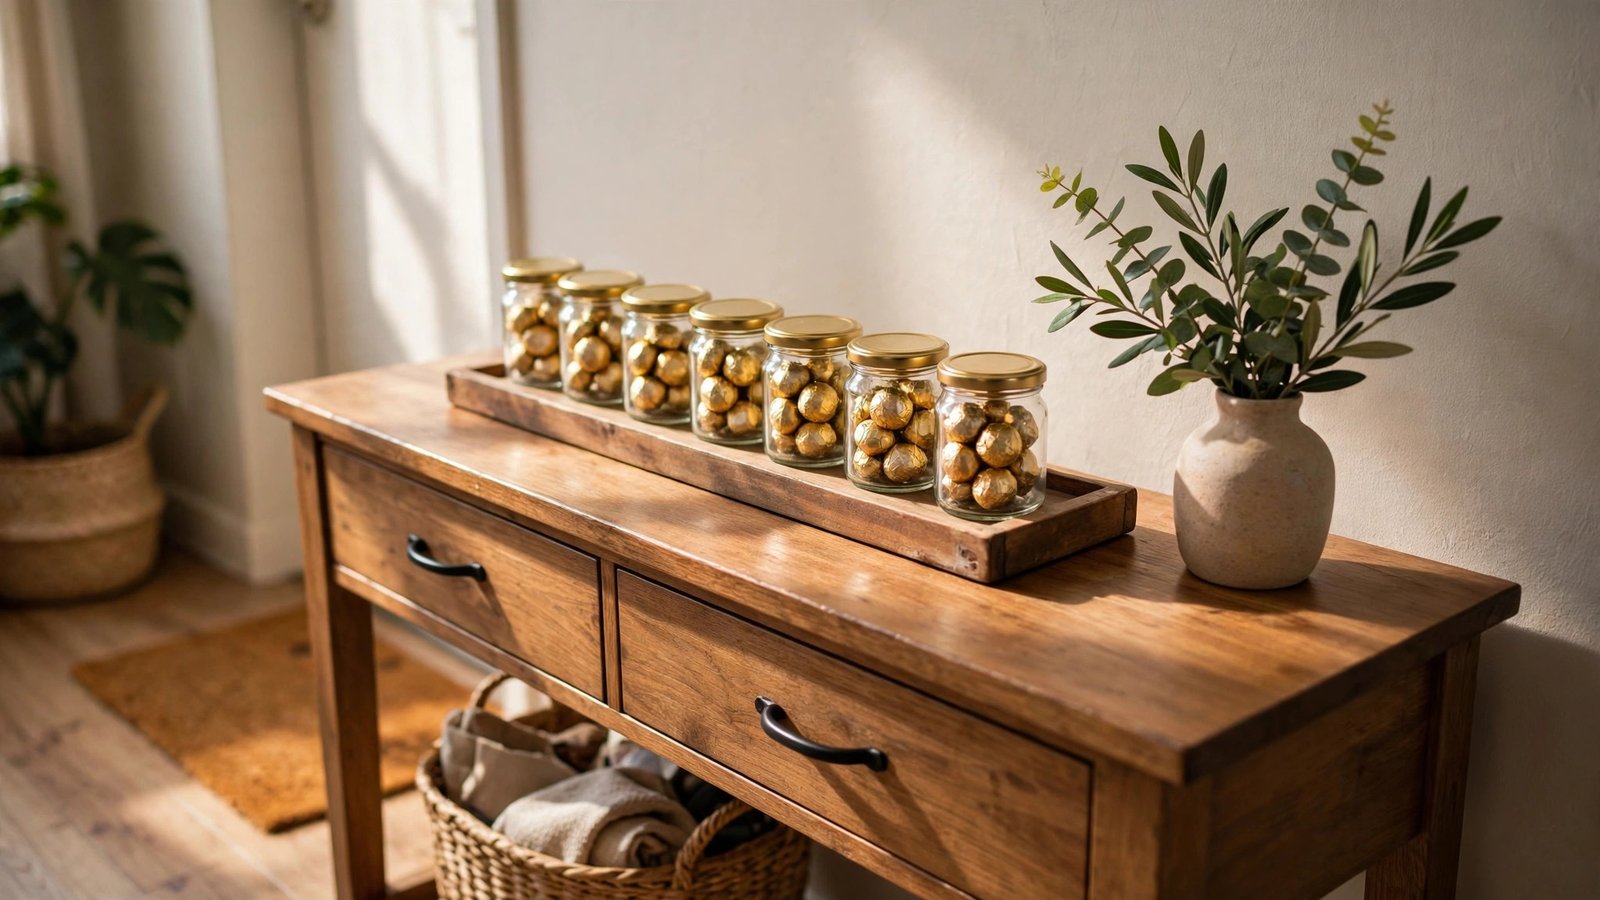
A tray of numbered jars is the most elegant option on this list, and one of the easiest to live with. Line up small glass jars on a decorative tray on your console, entry table, or kitchen counter, number each lid, and fill each jar with a treat. The tray keeps everything contained, so the display looks tidy even in a small space, and the jars catch the light beautifully.
Renters love this format because it is completely portable. The tray moves to a different room in one lift, it needs no installation of any kind, and the jars themselves are useful all year for spices, buttons, or craft supplies. It is also the tidiest option for anyone who dislikes visual clutter, since the tray draws a clear boundary around the display.
Using jars that are all the same size makes this display look instantly polished, even if the treats inside are simple. If anyone in your home has a food allergy, tuck a tiny label inside the lid of their jars so every day stays safe as well as sweet.
Here is how to do it:
- Choose a tray that fits your table and holds 24 small jars in neat rows.
- Number each jar lid with stickers or tie a small numbered tag around each jar neck.
- Fill the jars with treats sized to fit, like chocolates, wrapped caramels, or tiny bath items.
- Arrange the jars in number order on the tray, tallest at the back if your jars vary in height.
Approximate cost: $20 to $35 for jars, a tray, and number tags.
10. Felt Pocket Wall Banner on Hooks
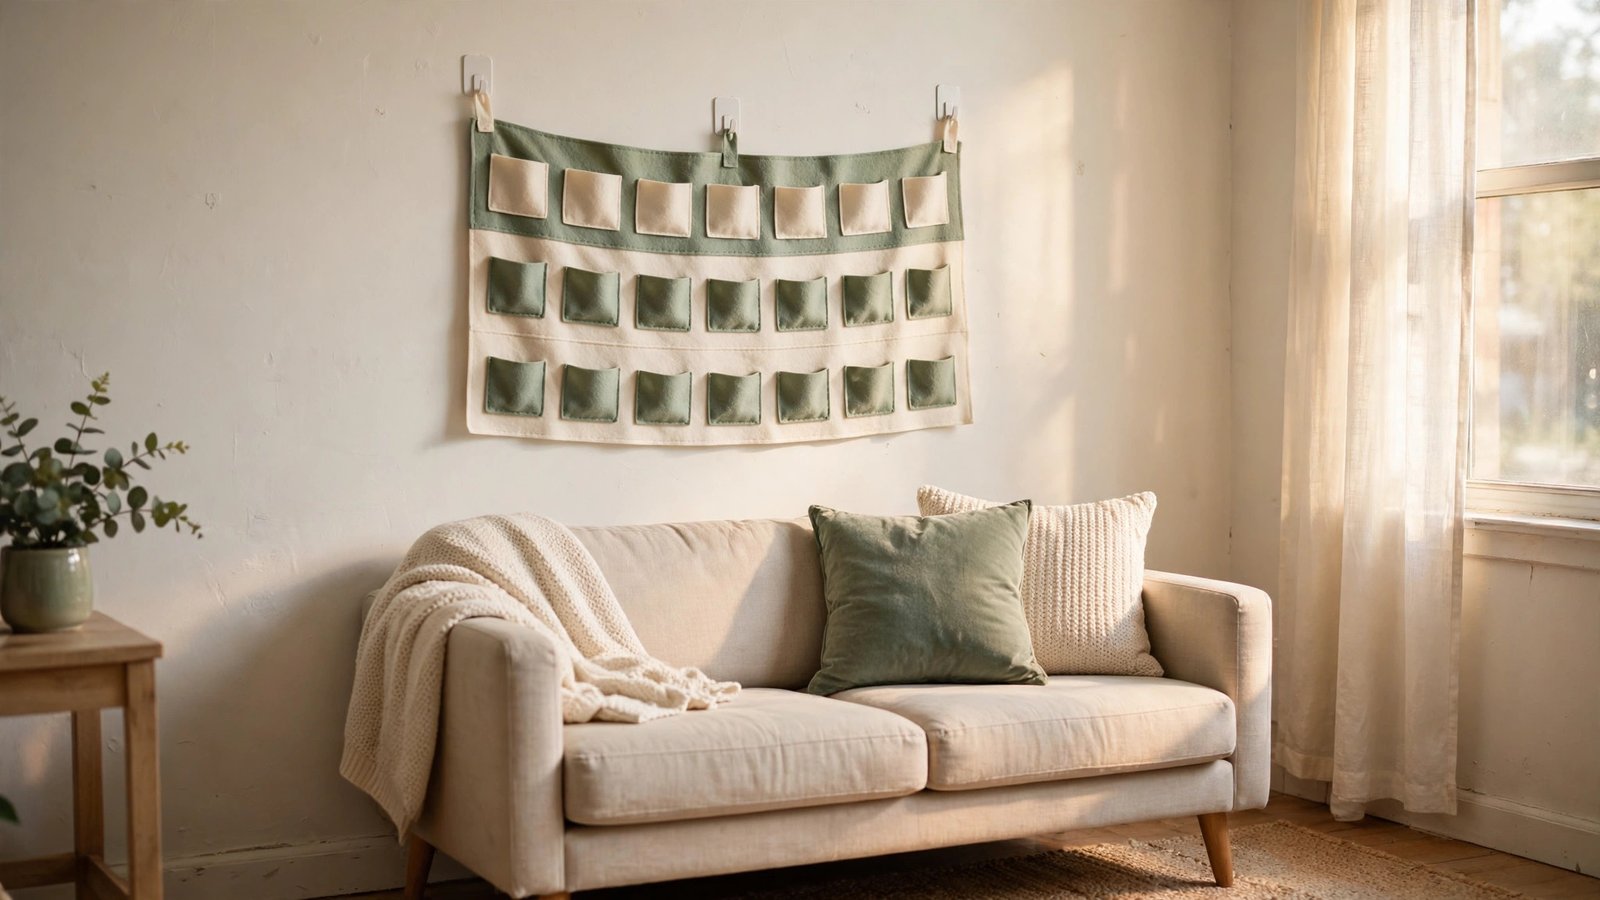
A felt pocket banner is the soft, cozy cousin of the ribbon garland, and it suits renters who want something that looks finished rather than assembled. The banner is a single piece of felt or sturdy fabric with rows of small sewn pockets, and it hangs from just two removable hooks. Each pocket holds one day’s surprise, and the whole banner folds flat for storage when December ends.
Because it hangs from only two hooks, this banner is one of the least demanding wall displays you can choose. It covers a narrow vertical strip of wall, it weighs almost nothing, and it leaves no trace when it comes down. It is also a lovely pick for families, since the soft pockets are safe for small hands to reach into every morning.
Give the banner a quick steam or low iron before you hang it, since felt creases easily in storage and a smooth banner looks far more finished. When the season ends, roll it instead of folding it, and it will come out of the box next year nearly wrinkle-free.
Here is how to do it:
- Hang two removable hooks on your chosen wall, spaced to match the banner’s top loops or rod pocket.
- Slide a lightweight dowel or ribbon through the banner’s top channel if it has one, and rest it on the hooks.
- Number each pocket with iron-on numbers, stickers, or small pinned tags.
- Fill the pockets with flat treats or notes, placing heavier items in the bottom row so the banner hangs straight.
Approximate cost: $18 to $35 for the banner and number tags.
11. Wrapped-Book Shelf Countdown
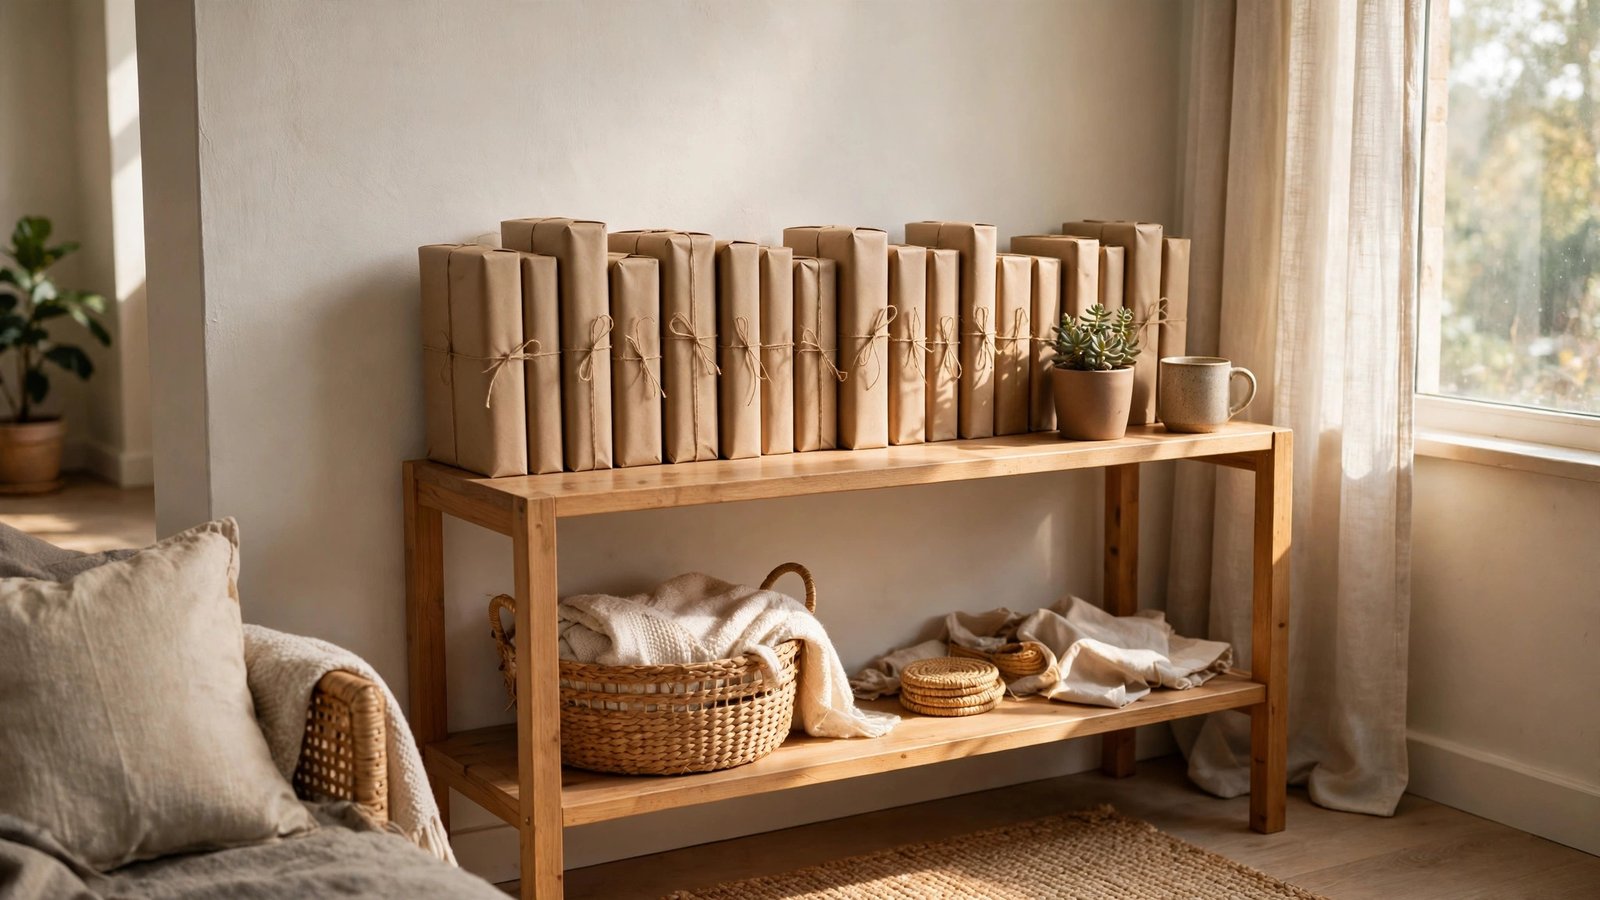
This is the idea I suggest most often to book lovers, because it turns a shelf you already have into a literary countdown. You wrap 24 small books, or a mix of books and book-shaped boxes, in plain kraft paper, number each one, and line them up on a shelf like an ordinary row of books. Each day you unwrap one, and the shelf slowly reveals its colors as December goes on.
It is perfectly renter-safe because it is just books on a shelf: nothing is attached to anything, and nothing is altered. It also solves the small-space problem elegantly, since the countdown occupies exactly one row of shelf space you already use. The unwrapped books then become reading material for the quiet days after Christmas.
Mix genres and moods across the 24 books, pairing a cozy mystery with a cookbook, a poetry collection with a short novel. That variety is what makes opening each day genuinely surprising, rather than a month of books you would never have picked up yourself.
Here is how to do it:
- Gather 24 slim books you already own, or pick up inexpensive secondhand paperbacks to wrap.
- Wrap each book in kraft paper and tie it with twine, keeping the wrapping neat enough to stack.
- Number each wrapped book with a sticker or a small tag tucked under the twine.
- Stand the books in number order on a shelf, spine out, so each day’s book is easy to find and pull.
Approximate cost: $10 to $30 for wrapping paper, twine, and tags, plus books you already own.
12. Basket of Numbered Muslin Bags

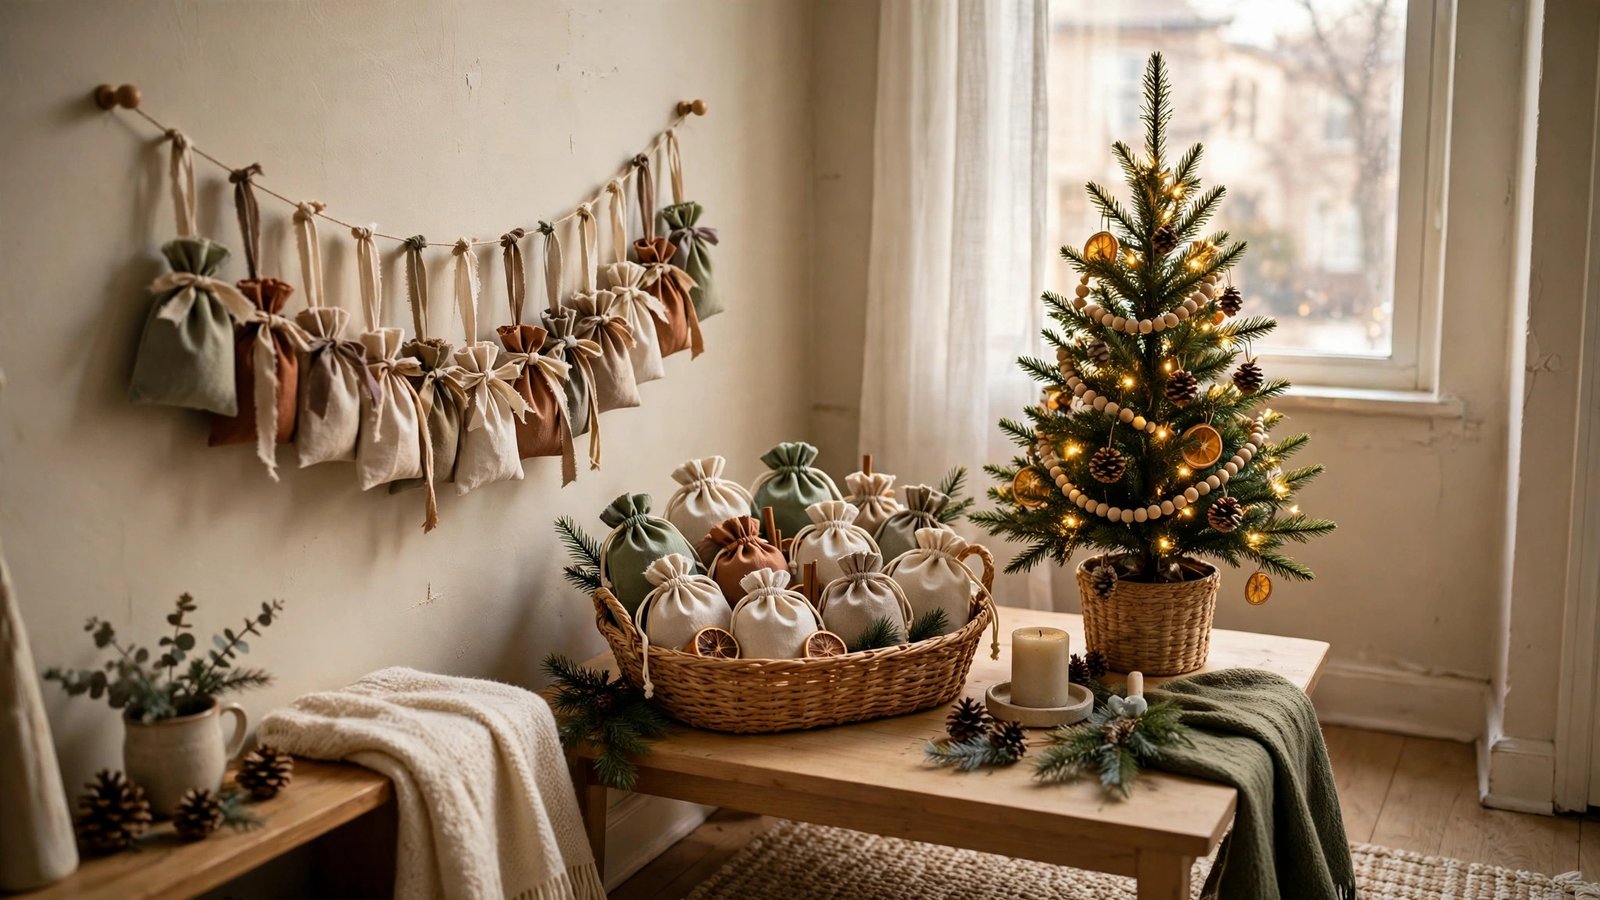
The basket calendar is my favorite pick for the very smallest apartments, because it needs no wall, no shelf, and no surface at all beyond the floor beside your sofa. Fill 24 small numbered muslin bags with treats, gather them in a pretty basket, and set the basket wherever you have a spare corner. Each morning you reach in and draw the day’s bag, which makes the countdown feel like a small daily gift.
For renters, this is the lowest-commitment calendar on the list. There is nothing to hang, nothing to stick, and nothing to arrange. The basket slides under a table, onto a closet floor, or beside the bed when you need the space back, and the bags fold flat into an envelope for next year.
Set the basket where your morning actually starts, beside the coffee maker, by your reading chair, or next to the bed. A countdown you have to hunt for gets forgotten, but one sitting in your path becomes a small ritual you look forward to every single day.
Here is how to do it:
- Choose a basket large enough to hold 24 small filled bags without crushing them.
- Number each muslin bag with a fabric marker, iron-on number, or a tied paper tag.
- Fill each bag with a treat or note, cinching the drawstring closed so nothing spills.
- Arrange the bags in the basket with the numbers facing up, so finding today’s bag takes seconds.
Approximate cost: $12 to $25 for muslin bags, a basket, and number tags.
Conclusion
A small apartment does not have to mean a small December. As you have seen, the best advent calendars for renters do not fight your space or your lease; they borrow the surfaces you already live with, from a door and a fridge to a bookshelf and a basket by the sofa. Whichever idea you choose, you are giving yourself the same gift: a small daily pause in a busy month, a moment that belongs only to you and your home. You do not need permission from a landlord, a big budget, or a spare room to have that, just one surface you already own and twenty-four small surprises.
Start with the surface that is easiest in your apartment, keep the treats simple, and do not worry about making it perfect. A calendar that you actually open every morning beats a grand display that never quite gets finished. Your home, your rules, your countdown, all without risking a single dollar of your deposit. Please save this visual guide on Pinterest and share it with a fellow renter who thinks their place is too small for Christmas magic.

Amelia leads HavenlyStyle’s editorial vision with a passion for elegant interiors and practical home living. With years of experience in home décor and lifestyle content, she ensures every article is accurate, inspiring, and easy to follow. From timeless decorating ideas to the latest interior design trends, Amelia is committed to helping readers create beautiful, functional spaces while maintaining HavenlyStyle’s trusted and welcoming voice.