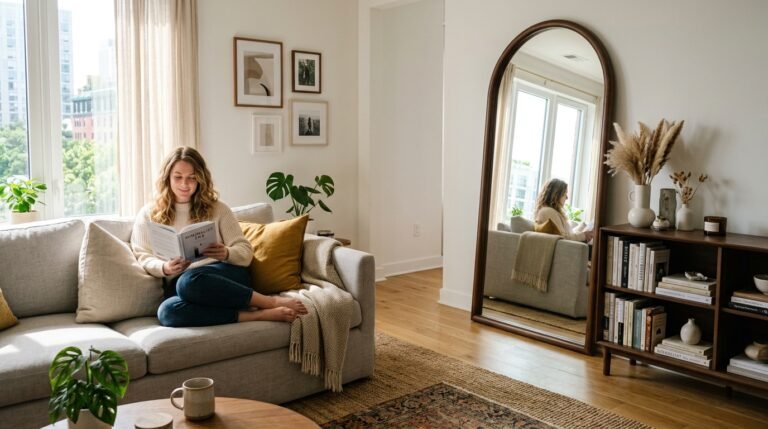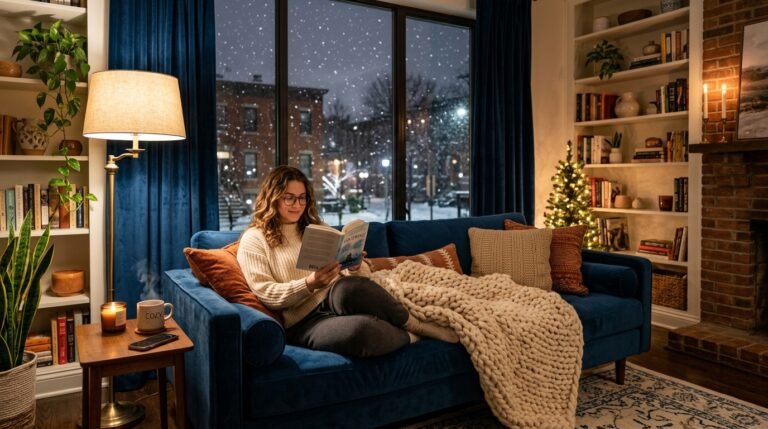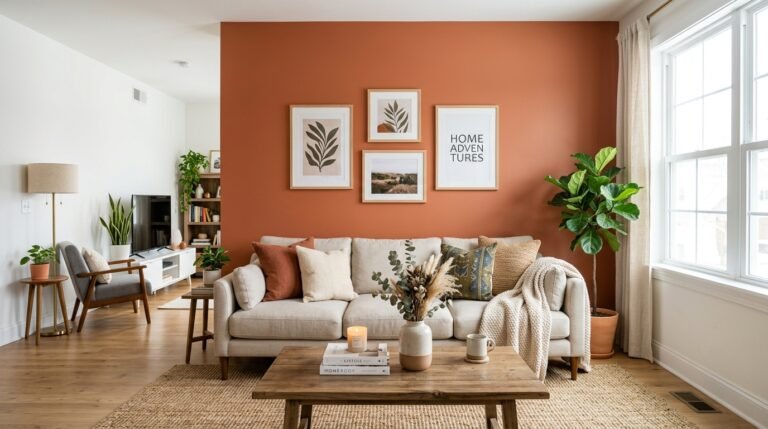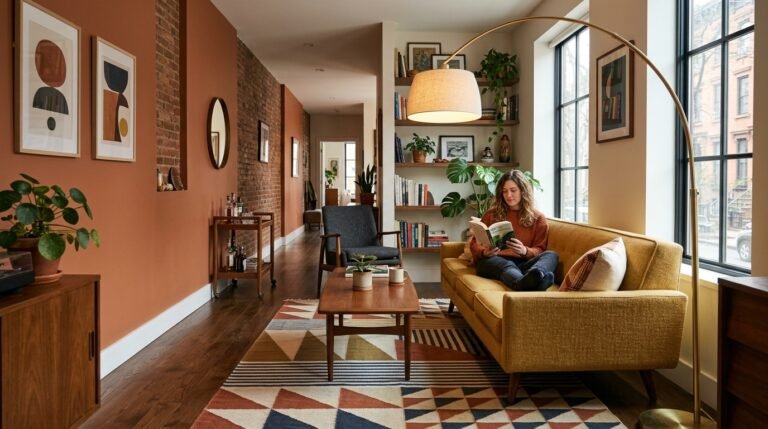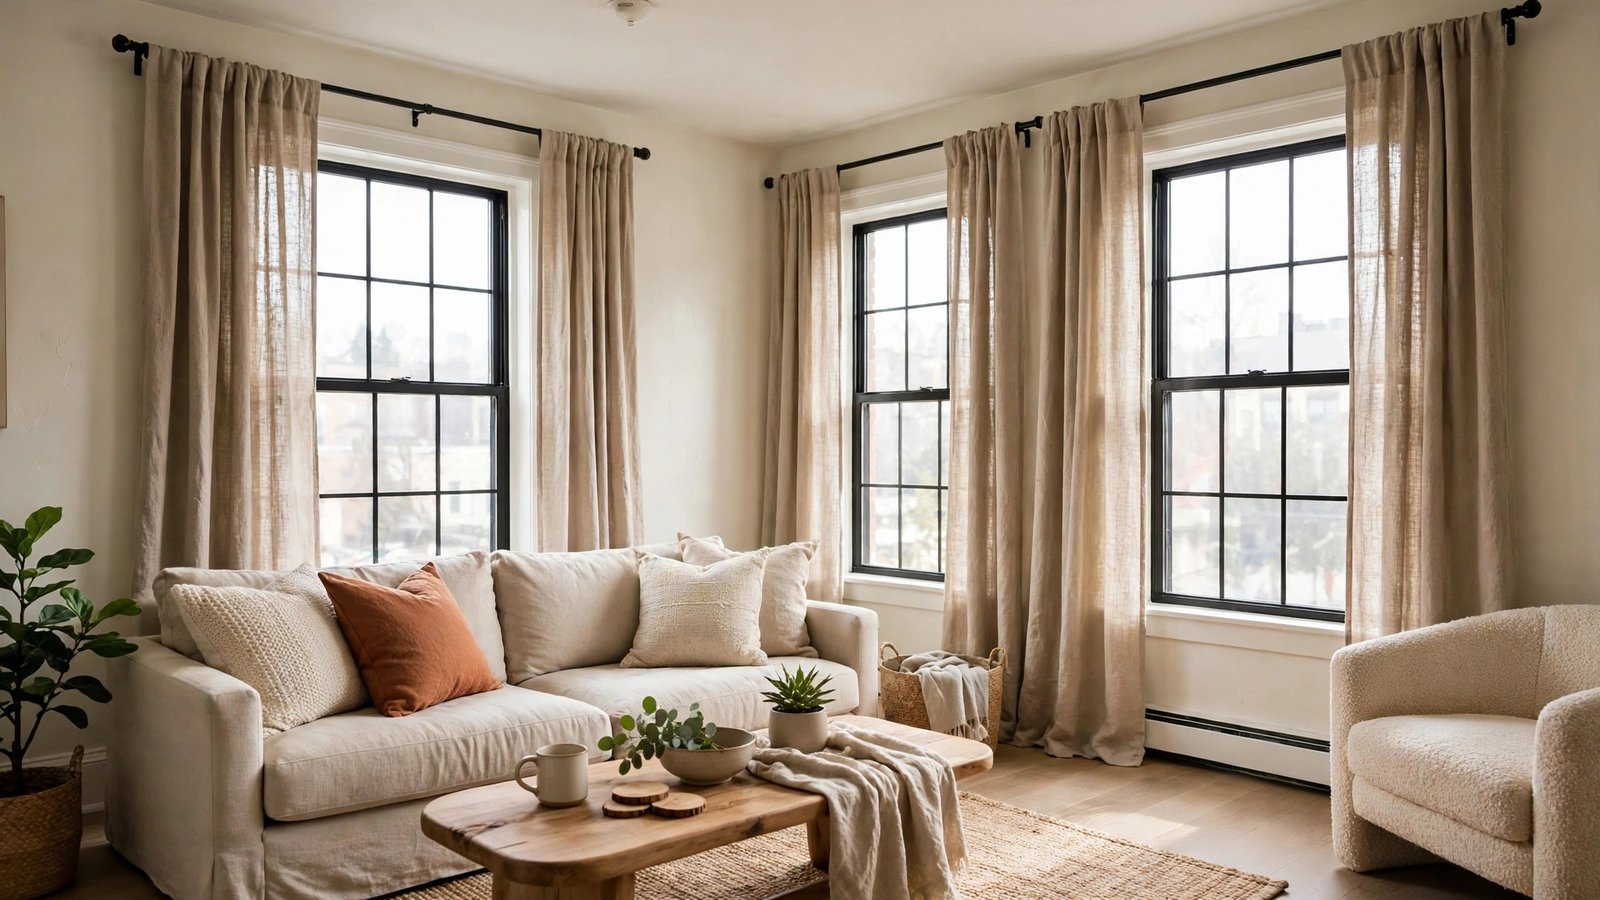
Here is the living room problem I see in almost every rental I walk into: the curtains are hung exactly where the old hardware was, hugging the window frame, and the whole room looks smaller and darker than it has to. The window itself is fine. The curtains might even be pretty. But the rod is doing them no favours, and because most renters assume rod placement is fixed, they live with it for the entire lease.
I’ve helped dozens of renters restyle living rooms without painting a wall, drilling a single new hole they couldn’t patch, or spending a fortune, and I’ve learned that moving a curtain rod is the highest-impact, lowest-cost change you can make in a rental. A few inches higher, a few inches wider, and suddenly your windows look taller, your ceilings look higher, and your room gets more daylight instead of less. It is not magic. It is placement.
Every idea below is renter-tested and deposit-aware. Some use no tools at all, some use removable adhesive hooks, and some use ordinary brackets — and wherever drilling is involved, I flag it clearly so you can ask your landlord first or swap in a no-drill alternative. Pick one or two placements that fit your windows, not all twelve, and start with the window you look at most.
Executive Summary
- Rod placement matters more than the curtains themselves: height and width change how tall and bright a room feels.
- Hanging a rod higher and wider than the window frame is the single easiest way to make a rental living room look bigger.
- No-drill options — tension rods and adhesive hooks — cover most windows, and every drilled idea below has a removable alternative.
- Double rods, corner rods, and bay-window sets solve the awkward windows renters usually give up on.
- Measure twice, buy once: the right rod length and bracket projection prevent sagging, bunching, and curtains that block daylight.
- Every idea here is reversible or flagged for landlord permission, so your deposit stays safe.
1. Hang High and Wide, Beyond the Frame
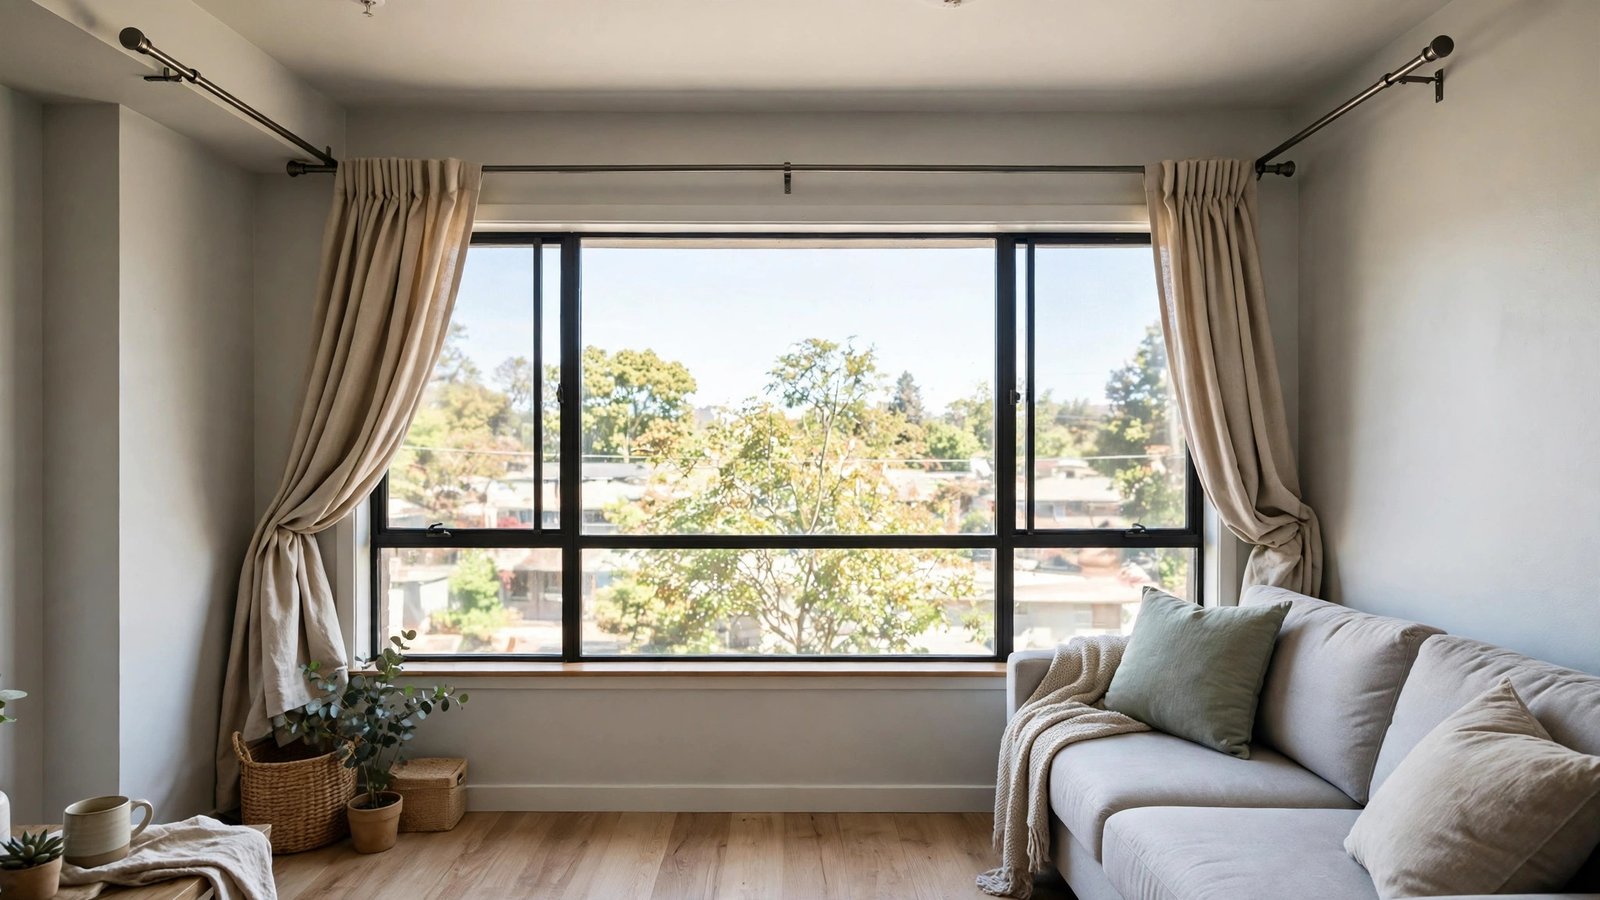
This is the classic placement for a reason, and it is where I start with almost every renter living room. Instead of mounting the rod just above the window trim, you mount it several inches higher and extend it well past each side of the frame, so the curtains hang on the wall beside the window rather than over the glass when they are open.
Why it works for renters: it costs nothing extra beyond a longer rod, it makes a standard rental window look like a much larger, more expensive window, and it lets in noticeably more daylight because the open panels no longer cover the glass. If your brackets need screws, this one needs landlord permission in a strict lease — but the same look can be faked with adhesive hooks rated for the rod’s weight, which I cover in idea 4.
How to do it:
- Measure your window width, then add 8 to 12 inches on each side to find your rod length.
- Mark bracket positions 4 to 6 inches above the top trim, and the same distance out from each side of the frame.
- Hold the rod up and check that the finials clear any nearby trim, shelves, or door frames.
- Install the brackets level — a small spirit level app on your phone works fine — then hang the panels.
- Pull the panels fully to the sides and step back: you should see the full window glass, not curtain edges.
My renter tip: if your landlord says no to new holes, reuse the existing bracket holes whenever they are close to the right height, and use a longer rod in those same brackets. You get most of the wide look with zero new damage.
Approximate cost: $20–$50 for a longer rod and brackets, if you need them.
2. Mount Just Below the Ceiling for Maximum Height
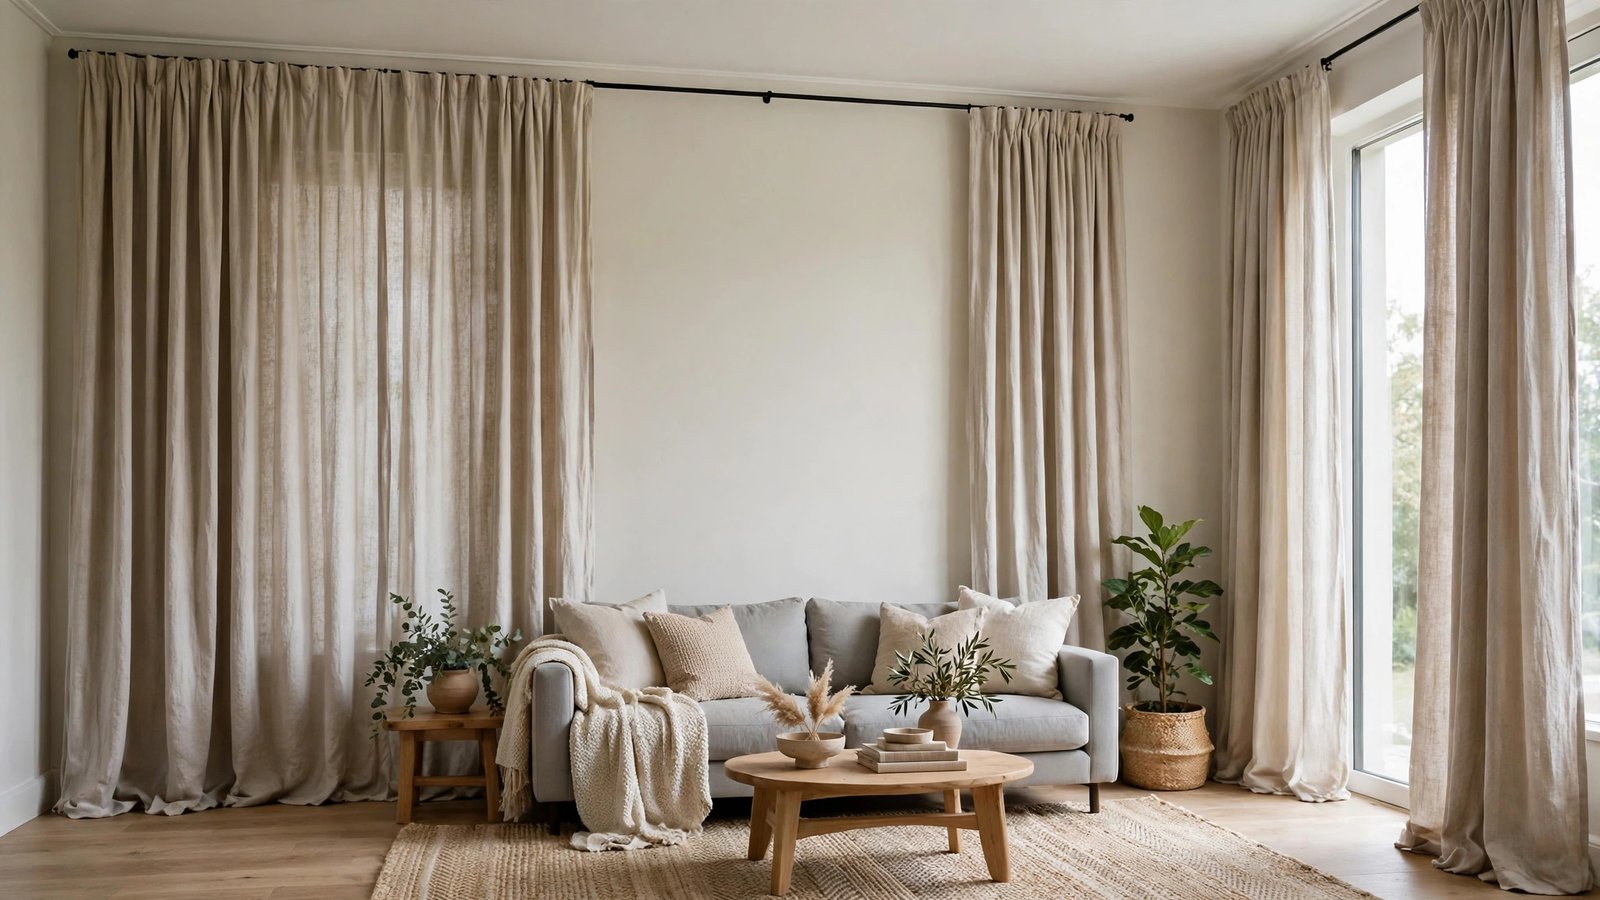
When a living room has low ceilings — eight feet is standard in most rentals — mounting the rod just a few inches below the ceiling line draws the eye all the way up and makes the whole wall feel taller. The curtains become a full-length drape from ceiling to floor, which reads as intentional and polished even in a plain apartment.
Why it works for renters: long curtains are forgiving. They hide uneven trim, short windows, and radiators tucked under the sill, and they need no painting or structural change. This placement does usually need screwed brackets, so flag it for landlord permission first, or use a ceiling-mounted track (idea 3’s cousin, using adhesive ceiling hooks) if your lease is strict.
How to do it:
- Measure from just below the ceiling to the floor, and buy panels at least that long — 96-inch panels suit most eight-foot ceilings.
- Mark bracket positions 2 to 4 inches below the ceiling, wide enough that open panels clear the glass.
- Check for crown moulding, vents, or smoke detectors before you mark anything.
- Install the brackets, hang the panels, and let them just brush the floor — puddling looks lovely but collects dust and pet hair.
- Steam or iron the panels once hung, so the long drop looks smooth rather than creased from the package.
My renter tip: if full-length panels feel like too much fabric, use the same high rod with lighter linen-look sheers. You still get the height illusion, but the room stays bright and airy.
Approximate cost: $30–$80 for a rod, brackets, and longer panels.
3. Use a Tension Rod Inside the Frame, No Drilling at All
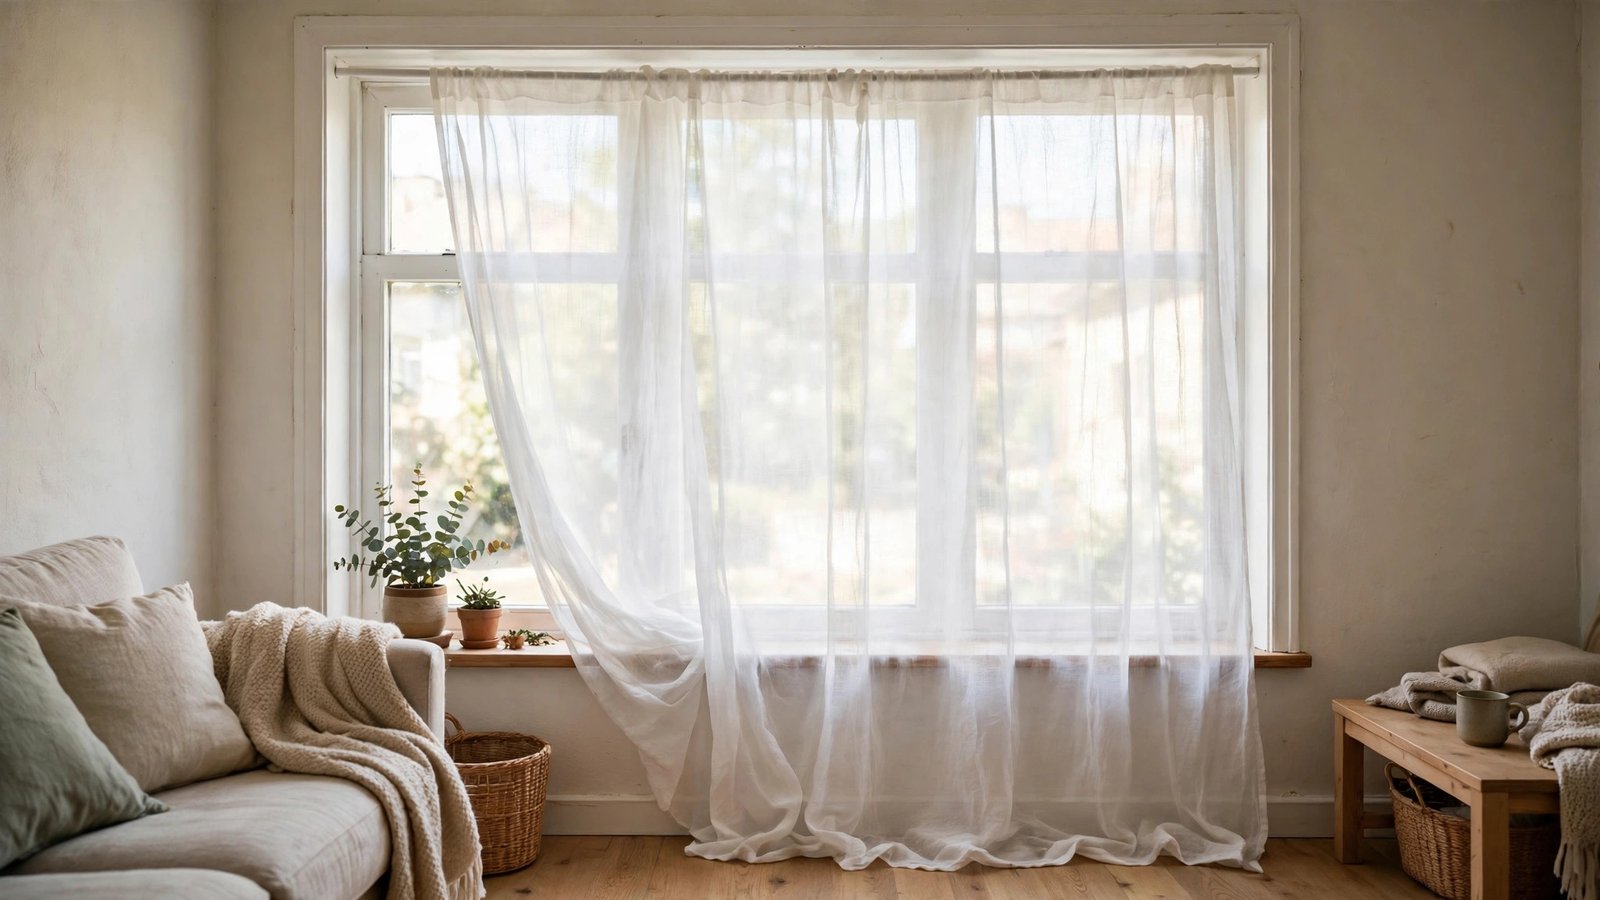
A tension rod grips the inside of the window frame by pressure alone, which makes it the safest placement in this whole guide. It sits inside the frame rather than above it, so it suits renters whose leases ban wall holes entirely, and it comes down in seconds at move-out with nothing to patch.
Why it works for renters: there is literally nothing to repair. No holes, no adhesive residue, no paint touch-ups. It also works beautifully for sheers and lightweight cafe curtains, which are exactly the panels most renters want for daytime privacy without darkness.
How to do it:
- Measure the inside width of your window frame at the height where the rod will sit.
- Choose a tension rod that extends a few inches beyond that measurement — the spring needs tension to hold.
- Twist to extend the rod until it grips firmly, then test it with a gentle downward tug.
- Hang lightweight panels or sheers, keeping the total weight modest so the rod never slips.
- Check the rod every few weeks, especially in humid rooms, and re-tighten if it has eased.
My renter tip: tension rods struggle with heavy blackout panels, so pair them with sheers and add a separate clip-on blackout liner only if the rod is rated for the combined weight. If a rod slips once, it will slip again — size up rather than forcing it.
Approximate cost: $10–$25 for a good tension rod.
4. Try Adhesive Hooks for a Truly No-Drill Hang
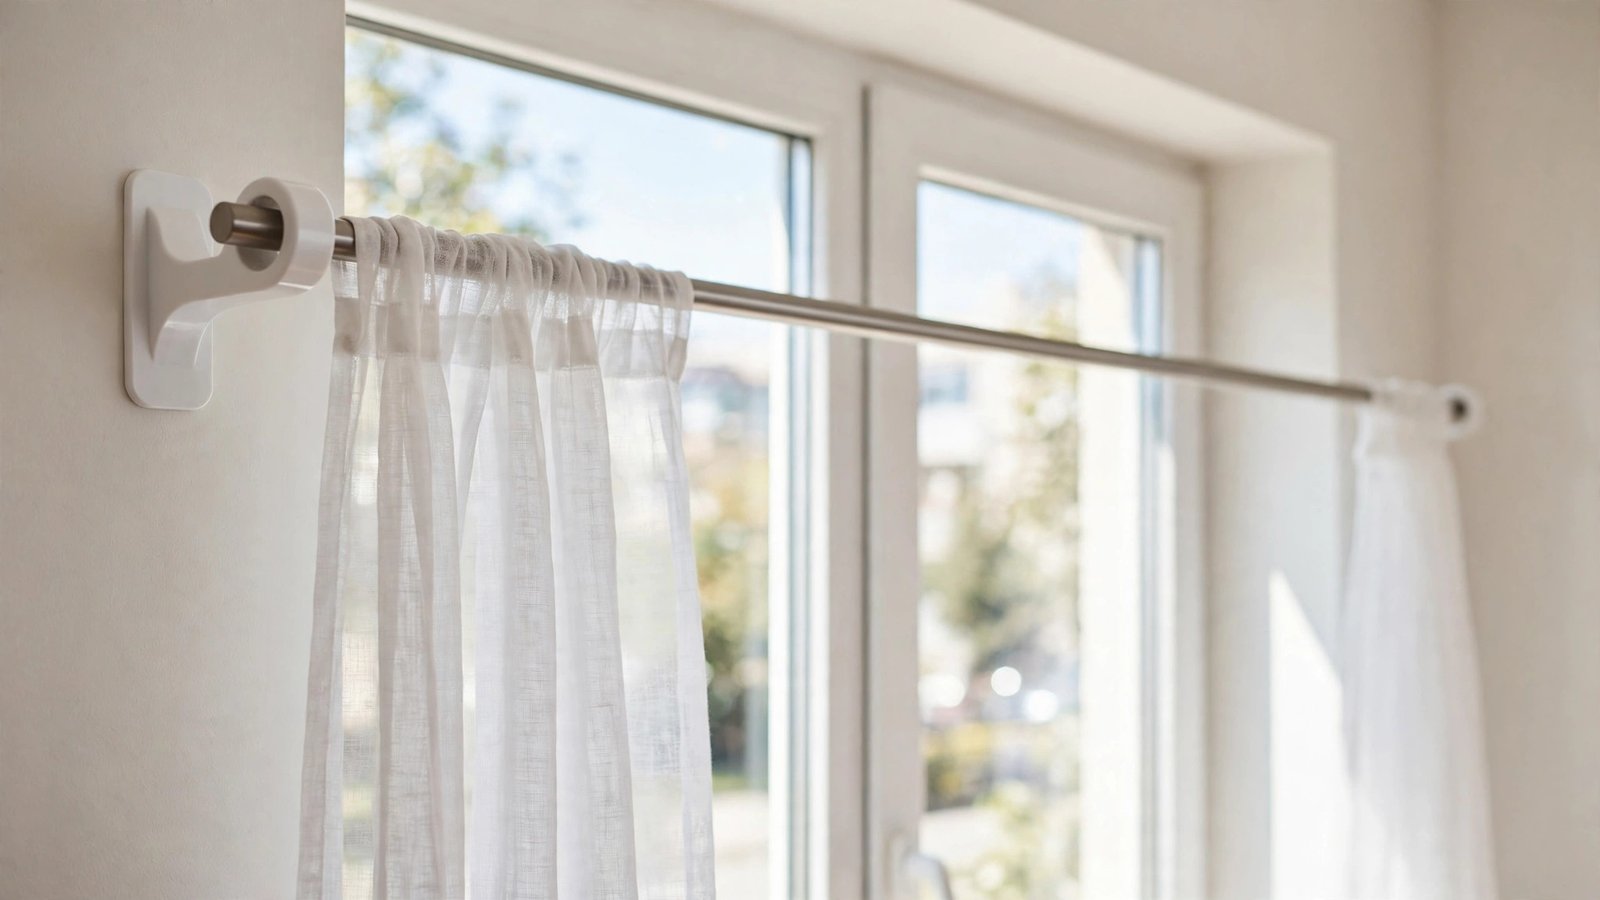
Adhesive rod holders — the removable hook-style brackets made for curtain rods — let you hang a rod on the wall or trim without a drill, a screw, or a single hole. They stick on, hold a surprising amount of weight when rated correctly, and peel off cleanly following the removal instructions.
Why it works for renters: this is the placement I recommend first when a lease says “no holes,” because it gives you the high-and-wide look from idea 1 without any permanent change. The trade-off is weight: these holders suit sheers and medium-weight panels, not heavy lined drapes.
How to do it:
- Clean the wall or trim with rubbing alcohol and let it dry completely before sticking anything on.
- Mark your high-and-wide positions, then press each holder firmly for the time the package specifies.
- Wait the full curing time — usually about an hour — before you hang the rod. This step is what most people skip, and it matters.
- Rest the rod in the holders and hang lightweight or medium panels, distributing the weight evenly.
- At move-out, pull the removal tabs slowly along the wall as directed, rather than yanking outward.
My renter tip: buy holders rated for more than your rod and panels actually weigh, and use three holders for a wide window instead of two. That middle support stops sagging and keeps adhesive holders well within their limit.
Approximate cost: $12–$30 for a set of adhesive rod holders.
5. Layer Two Rods: Sheers Plus Privacy Panels
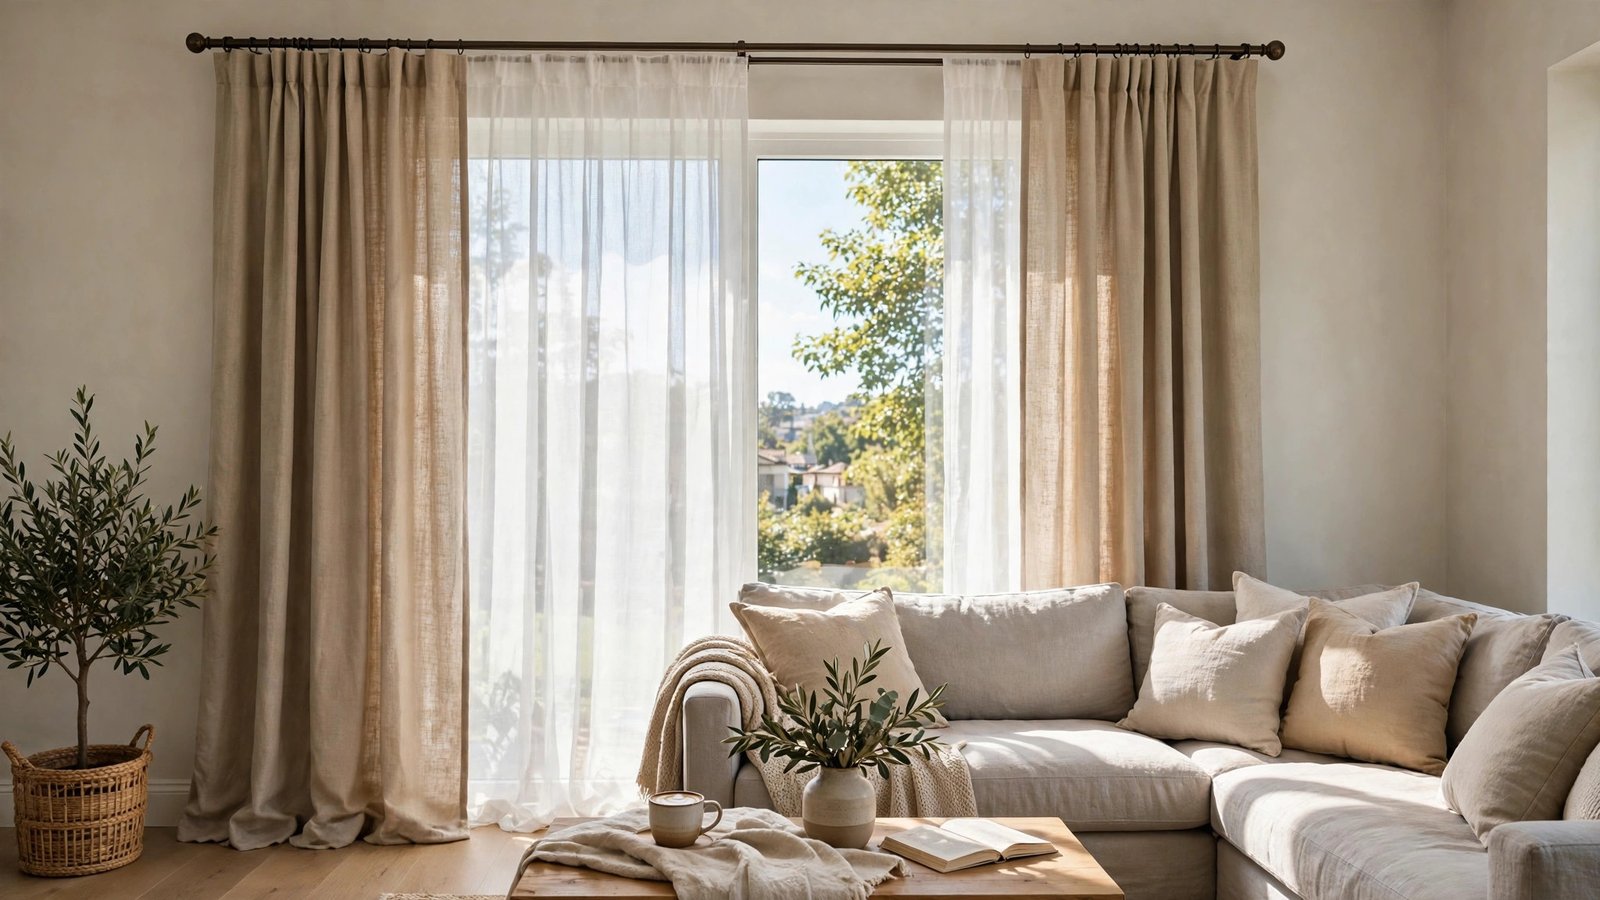
A double rod holds two panels on one window: a sheer layer closest to the glass for daytime softness, and a heavier panel in front for evening privacy. It is the placement that solves the classic renter dilemma — wanting daylight all day and privacy all night — without choosing one or the other.
Why it works for renters: you get blackout-level privacy at night and bright, filtered light by day, and the whole setup still comes down as two rods and one set of brackets. If drilling is off-limits, use a double tension rod inside the frame, or pair an adhesive-holder outer rod with a tension-rod sheer layer inside.
How to do it:
- Install a double bracket set at your chosen height, with the outer rod projecting further from the wall than the inner one.
- Hang sheers on the inner rod, making sure they slide freely and cover the full glass.
- Hang your heavier panels on the outer rod, pushed to the sides during the day.
- Test the slide: sheers should close without catching on the outer panels, and vice versa.
- Adjust the bracket projection if the layers bunch — a little extra clearance makes daily use much smoother.
My renter tip: keep the sheer layer simple and inexpensive, and spend your budget on the outer panels you actually see. Sheers behind a good outer panel do not need to be fancy to look beautiful when the light comes through them.
Approximate cost: $35–$90 for a double rod set and two panel pairs.
6. Wrap the Rod Around a Corner Window
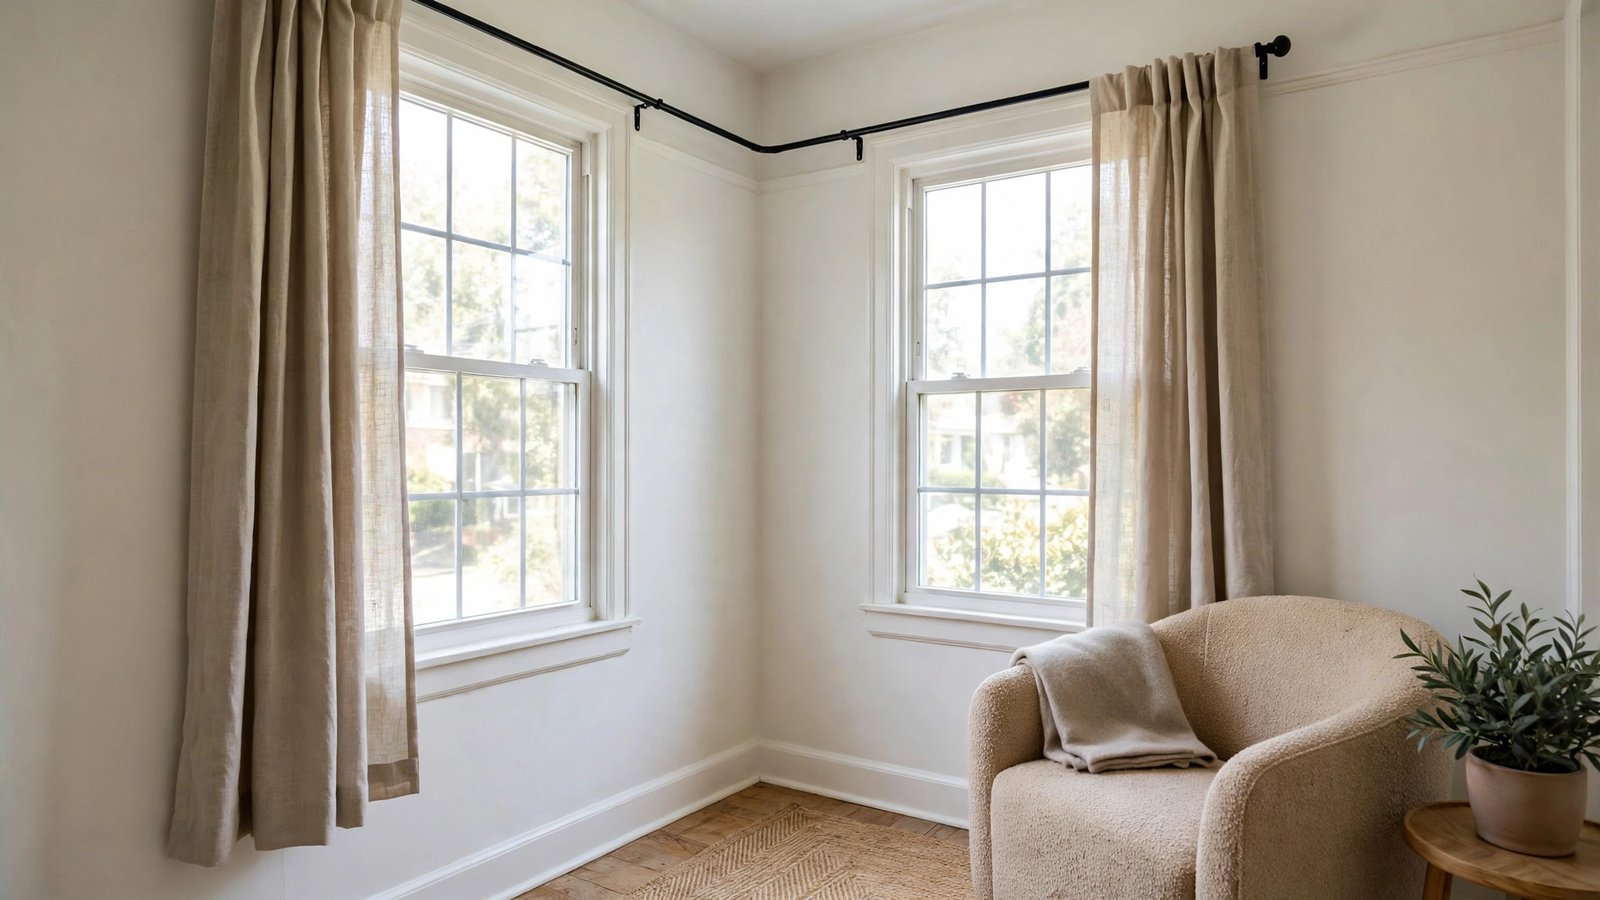
Corner windows are the ones renters most often leave bare, because a straight rod cannot turn a corner. A wrap-around corner rod — or two rods joined with a corner connector — bends around the corner so curtains can cover both windows and slide around the bend.
Why it works for renters: it turns an awkward architectural feature into the room’s best feature, and it needs no structural work. Corner connectors and flexible corner rods are sold as kits, so you are assembling a product, not modifying the apartment. Screwed corner brackets need landlord permission; adhesive holders can work on the flat wall sections for lighter panels.
How to do it:
- Measure both windows and the corner depth, so you know where the bend must sit.
- Choose a corner rod kit or two rods plus a corner connector elbow that matches your rod diameter.
- Mount the brackets so the rod runs parallel to each window, with the connector sitting squarely in the corner.
- Hang panels on both sides, and test that they slide around the corner without snagging.
- Use ring clips or smooth rings on corner setups — they glide around bends far better than tight rod pockets.
My renter tip: dress a corner window as one continuous treatment, not two separate ones. Matching panels and a single rod line make the corner look designed, while mismatched treatments make it look like two windows that happen to meet.
Approximate cost: $40–$100 for a corner rod kit and panels.
7. Angle Rods to Fit a Bay Window
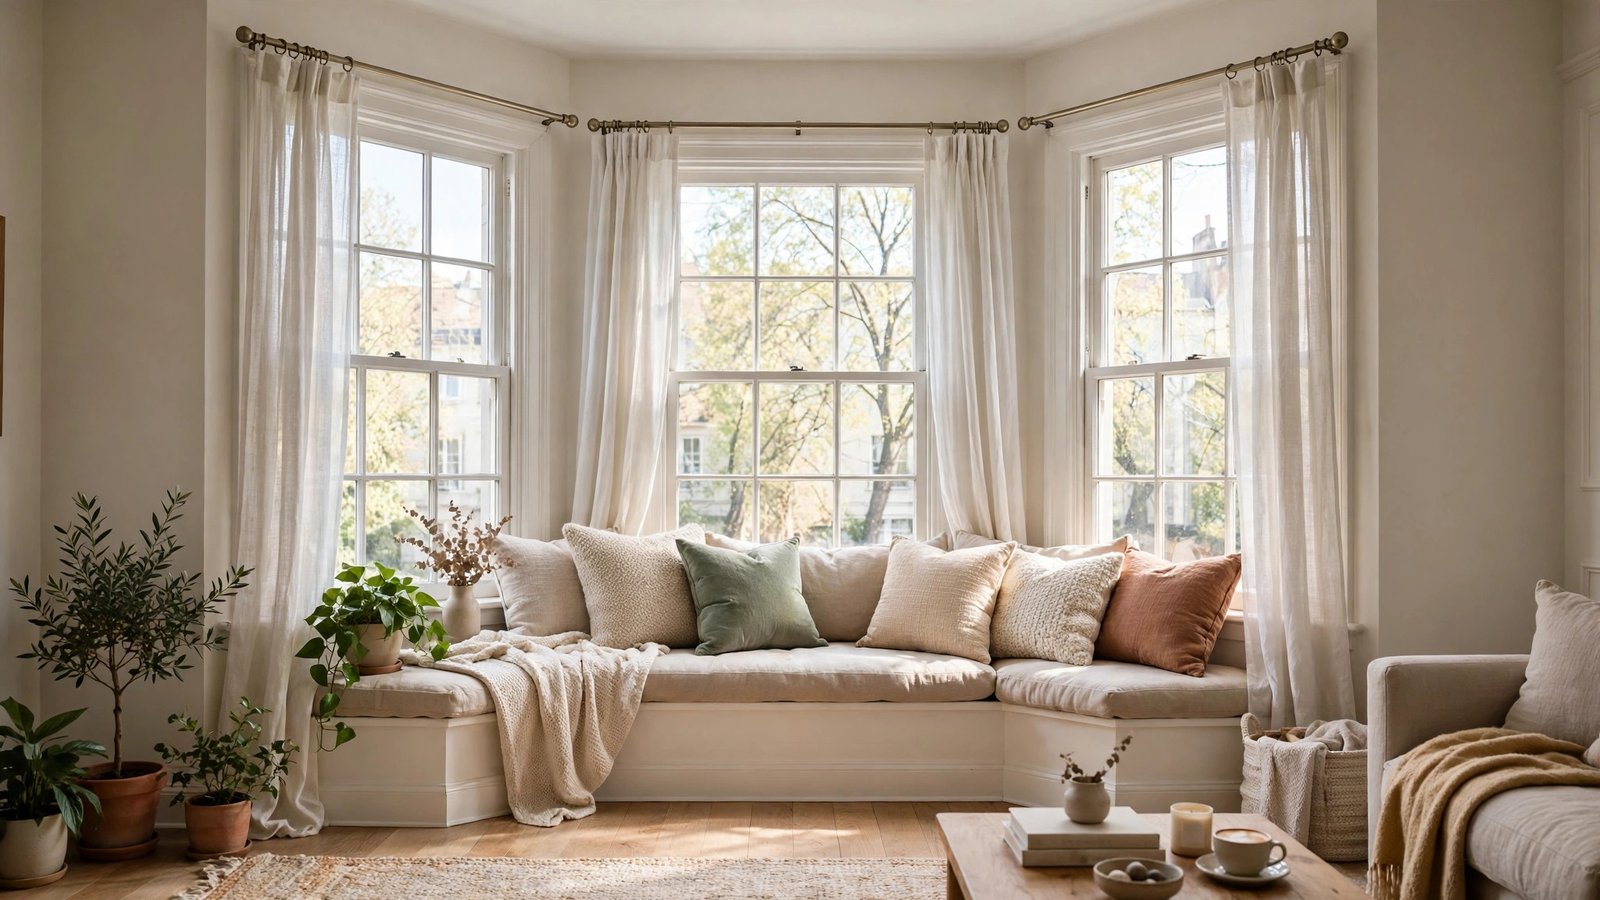
A bay window has three sections at angles, and the renter-friendly answer is a set of rods that follows those angles: either a flexible bay rod that bends, or three short rods joined with angled connectors. Either way, the curtains follow the bay instead of cutting straight across it and wasting the whole nook.
Why it works for renters: a bay is often the brightest, prettiest spot in a rental living room, and leaving it bare wastes it. Bay rod kits are removable, and when you move, the kit comes with you to your next bay — or becomes a long straight rod elsewhere. As with corner rods, screwed brackets need permission; check whether existing trim can carry adhesive holders for lighter panels first.
How to do it:
- Measure each of the three bay sections separately, including the angles between them.
- Choose a flexible bay rod or a kit with angled connectors matched to your bay’s angles.
- Mount brackets on each section, keeping the rod height consistent across all three.
- Bend or join the rod to follow the bay, and check the joints sit level before hanging anything.
- Hang panels section by section, using rings so they slide smoothly across the joints.
My renter tip: in a bay, hang the panels so they stack back onto the angled side sections during the day, leaving the centre window fully open. That keeps the bay’s light and view while still giving you full coverage at night.
Approximate cost: $45–$110 for a bay rod kit and panels.
8. Mount Inside the Frame for a Clean, Tailored Look
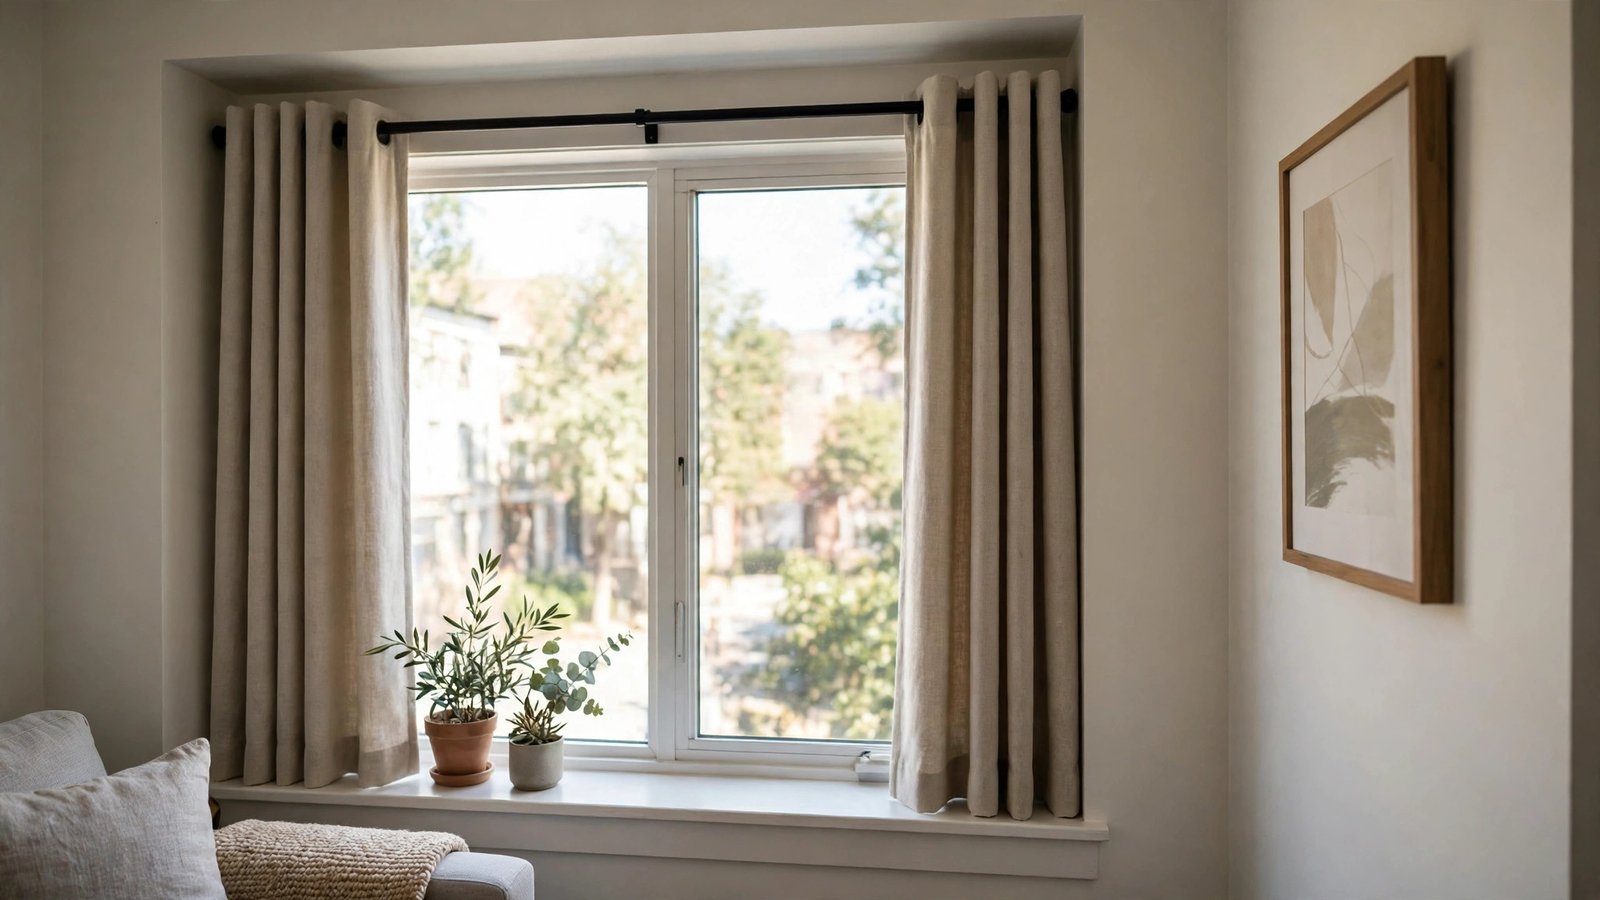
Inside-mount placement puts the rod within the window jamb, so the curtains sit flush with the wall rather than projecting into the room. It looks tailored and tidy, suits deep window frames and smaller living rooms, and leaves wall space free for art or shelving beside the window.
Why it works for renters: this is often achievable with a tension rod alone — no drilling, no brackets, nothing to patch. For heavier panels, small inside-mount brackets screw into the jamb itself, which is usually easier to fill and touch up than wall plaster, but still ask your landlord first if your lease is strict.
How to do it:
- Check your frame depth: you need enough jamb for the rod and the gathered panel to sit without crowding the glass.
- Measure the inside width precisely, and choose a tension rod or inside-mount brackets to match.
- Position the rod near the top of the frame, or at mid-frame for the cafe style in idea 11.
- Hang panels and check they open fully without scraping the window handle or lock.
- Step back and check the silhouette: inside-mount curtains should read as part of the window, not as an afterthought squeezed in.
My renter tip: inside-mount works best with flat or lightly gathered panels. Very full, ruched panels need more depth than most rental frames offer, and they will push into the room and look cramped.
Approximate cost: $10–$40 for a tension rod or inside-mount brackets.
9. Span Two Windows With One Long Rod
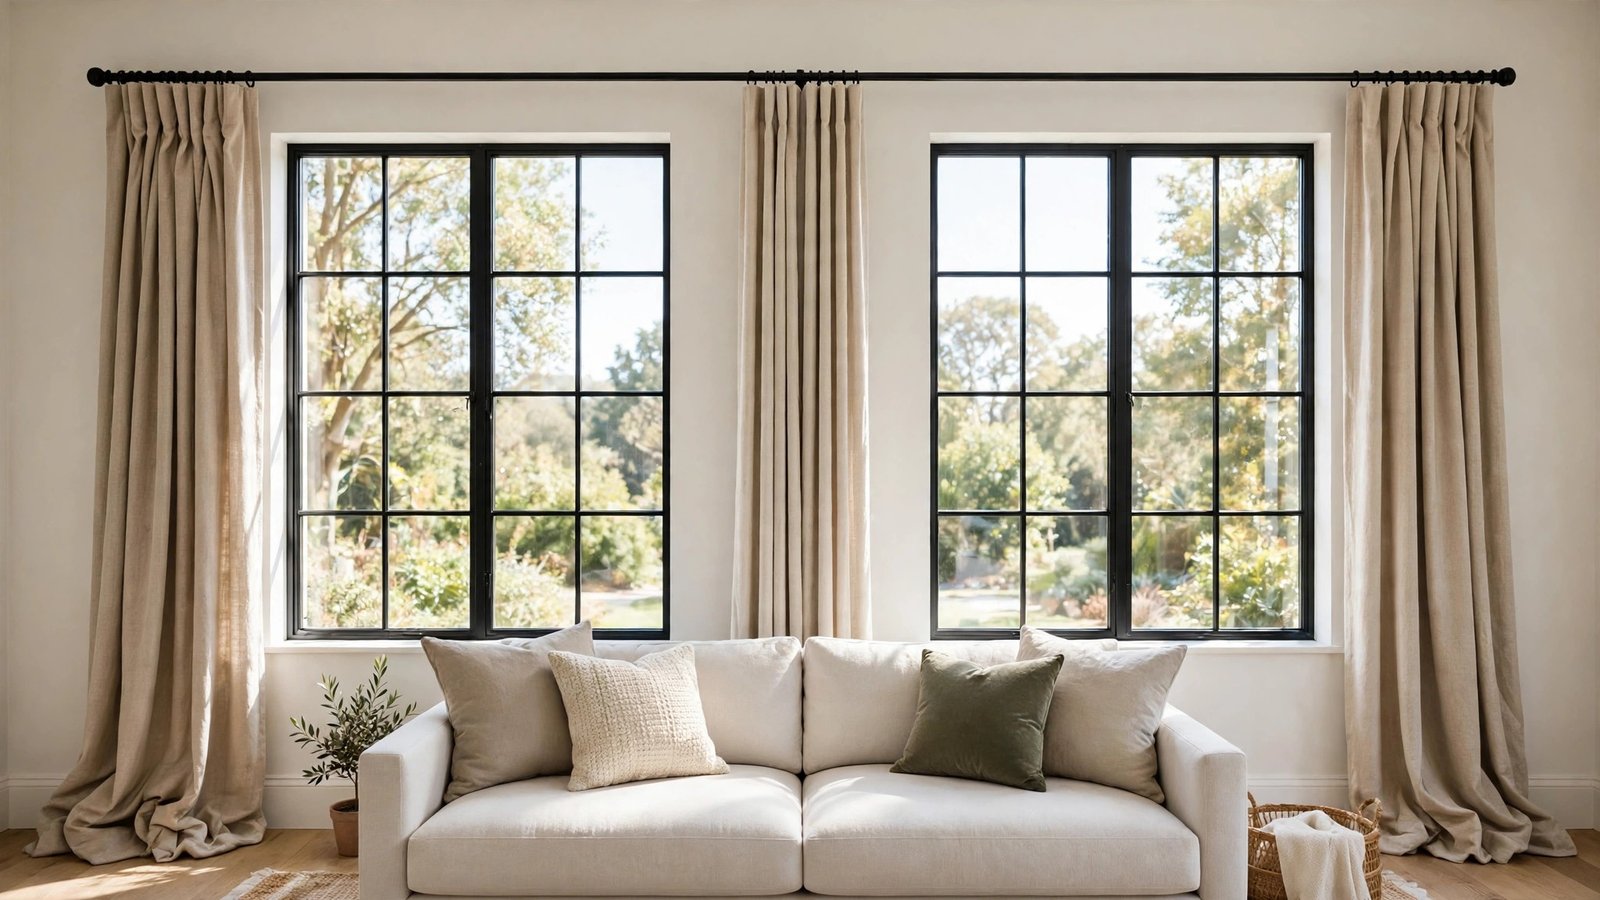
When two windows share a wall with only a narrow strip between them, hanging them separately can look fussy and chopped up. One long rod spanning both windows, with panels stacked on the outer edges and in the middle, treats the whole wall as a single window — and it instantly makes the room feel wider and calmer.
Why it works for renters: one rod usually means fewer brackets than two separate treatments, and the unified look hides mismatched window sizes and uneven trim, both common in rentals. Long rods need a centre support to prevent sagging, so if you are drilling, that middle bracket needs permission too — or use adhesive holders at the centre point for lighter panels.
How to do it:
- Measure from the outer edge of the first window to the outer edge of the second, plus your usual 8 to 12 inches beyond each side.
- Choose a rod that spans that full length, with a centre support bracket for anything over about six feet.
- Mount the brackets at one consistent height across the whole wall, checking level across the full span.
- Hang panels at the outer edges and, if you like, a pair in the centre to soften the gap between windows.
- Pull the panels to the sides in the daytime so both windows read as one bright wall of glass.
My renter tip: keep the centre pair slim. A heavy centre stack blocks the very light you are trying to celebrate, while a slim pair just marks the rhythm of the two windows underneath.
Approximate cost: $30–$80 for a long rod, supports, and panels.
10. Stack Panels to One Side for a Door or Walkway Window
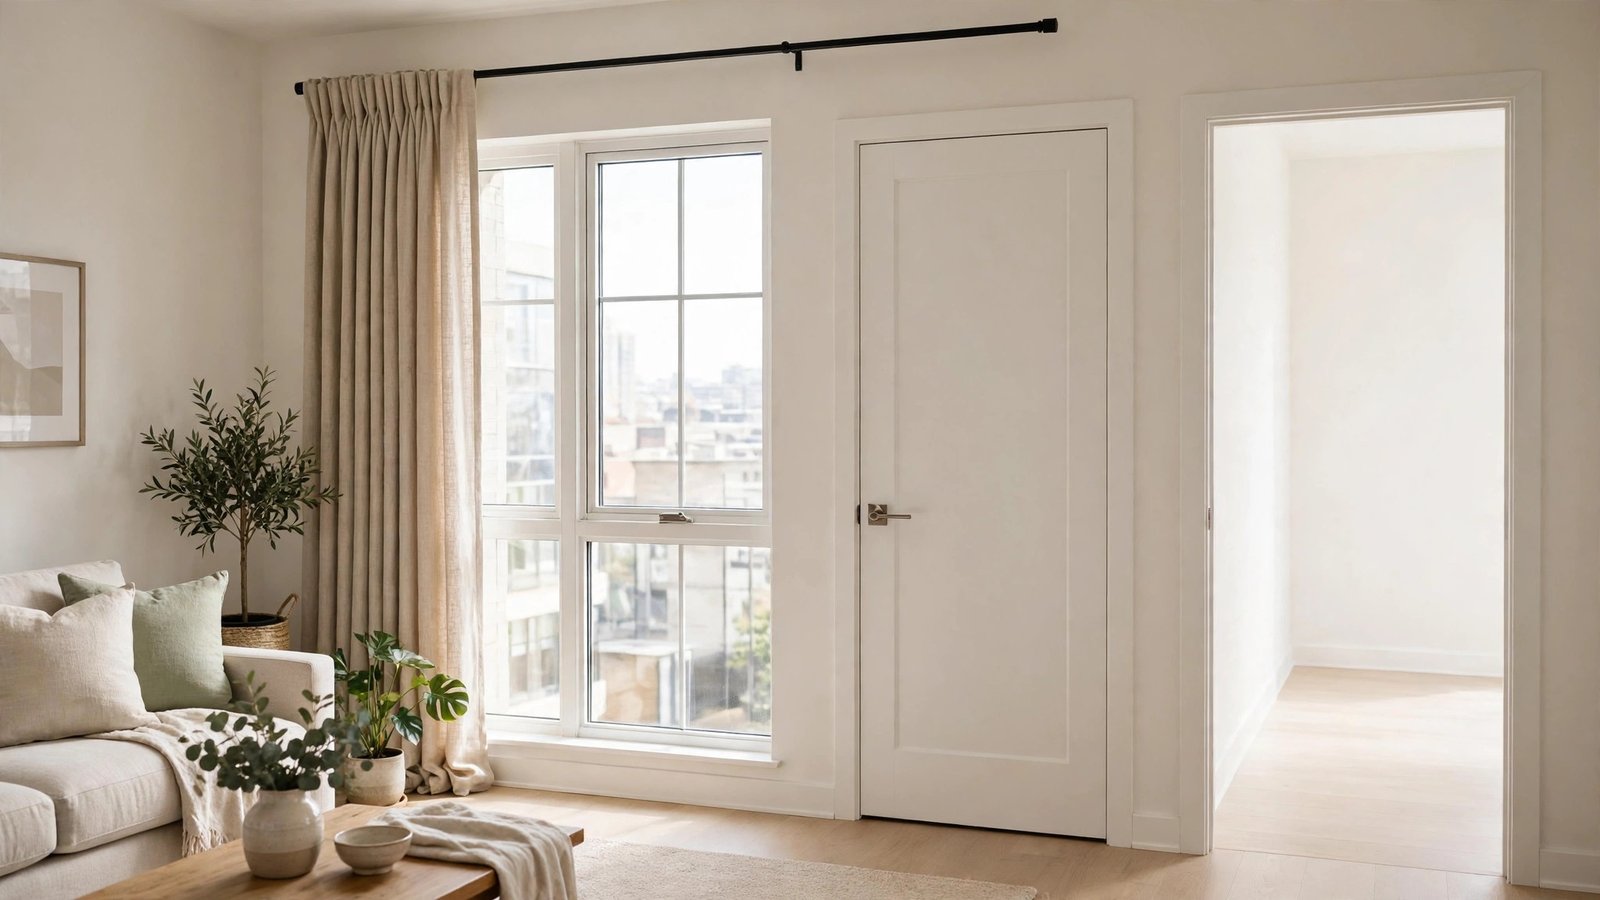
Some living room windows sit beside a door, a walkway, or a piece of furniture that you cannot block. The answer is an asymmetrical stack: hang the rod as usual, but pull all the curtain fabric to the free side, leaving the door or path completely clear.
Why it works for renters: it solves a daily frustration — curtains catching on a door handle or brushing everyone who walks past — without moving furniture or giving up window dressing. It works with drilled brackets, adhesive holders, or a tension rod, so it adapts to whatever your lease allows.
How to do it:
- Identify the clear side: the side with wall space and no door swing, walkway, or tall furniture.
- Mount the rod high and wide as in idea 1, but extend it further on the clear side so the stacked panels have somewhere to live.
- Hang a single wider panel, or a pair pushed together, on the clear side only.
- Use a tieback or a simple fabric loop to hold the stack neatly when the curtain is open.
- Test the door swing and the walkway with the curtain both open and closed before you call it done.
My renter tip: an asymmetrical stack looks deliberate only if the rod extension is generous. If the stack has to squeeze onto a few inches of rod, it looks like you ran out of rod — give it room to gather naturally.
Approximate cost: $20–$55 for a rod and one panel or pair.
11. Hang a Cafe Rod at Mid-Window for Privacy and Light
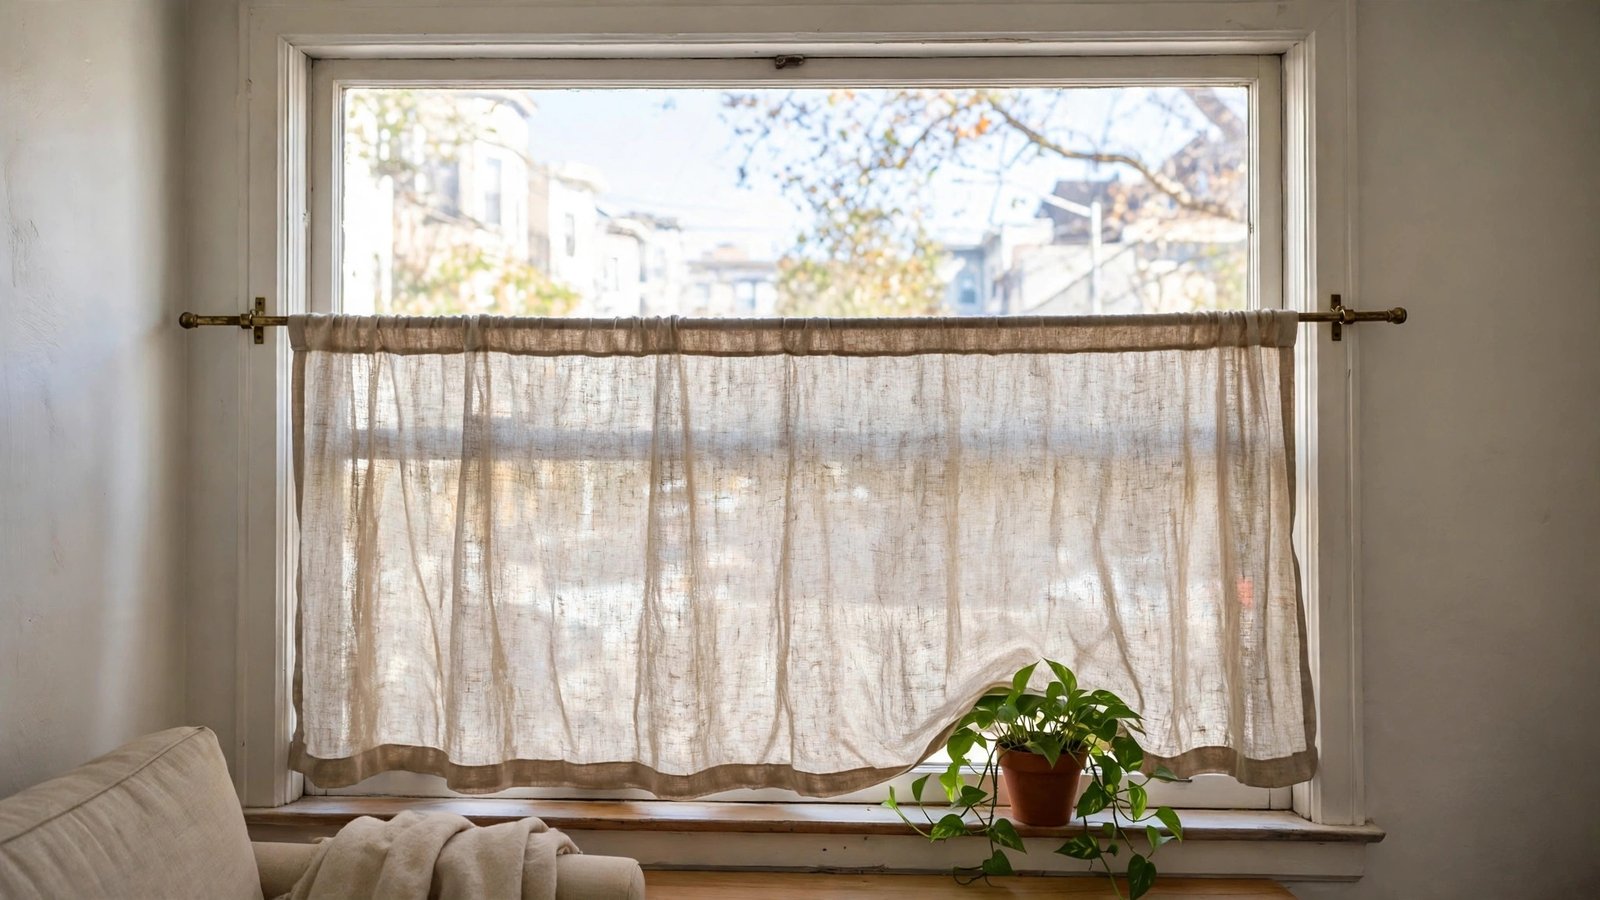
A cafe rod sits halfway up the window, covering the lower half for privacy while leaving the upper half open to daylight. It is the placement I suggest most for street-facing rental living rooms and ground-floor apartments, where full curtains feel heavy but bare glass feels exposed.
Why it works for renters: cafe rods are almost always tension rods or small adhesive-mounted rods, so they are fully removable and deposit-safe. They also let you keep your upper window bright all day, which matters enormously in a small or north-facing living room.
How to do it:
- Decide your privacy line: usually the middle of the window, or just above eye level from outside.
- Measure the inside frame width at that height and choose a tension rod to match.
- Hang a cafe-length panel or a sheer that just covers the lower half, with a little overlap above the rod.
- Check from outside at dusk — with indoor lights on — to confirm the coverage actually gives you privacy.
- Pair the cafe panel with a top sheer on a second tension rod if you want softness above as well as privacy below.
My renter tip: cafe panels look best when they end right at the sill or just below it, not halfway down the wall. Measure your drop before you buy, because a panel that is too long defeats the whole light-and-airy point.
Approximate cost: $12–$35 for a tension rod and cafe panel.
12. Give a Patio Door a Wide Rod With a Centre Support
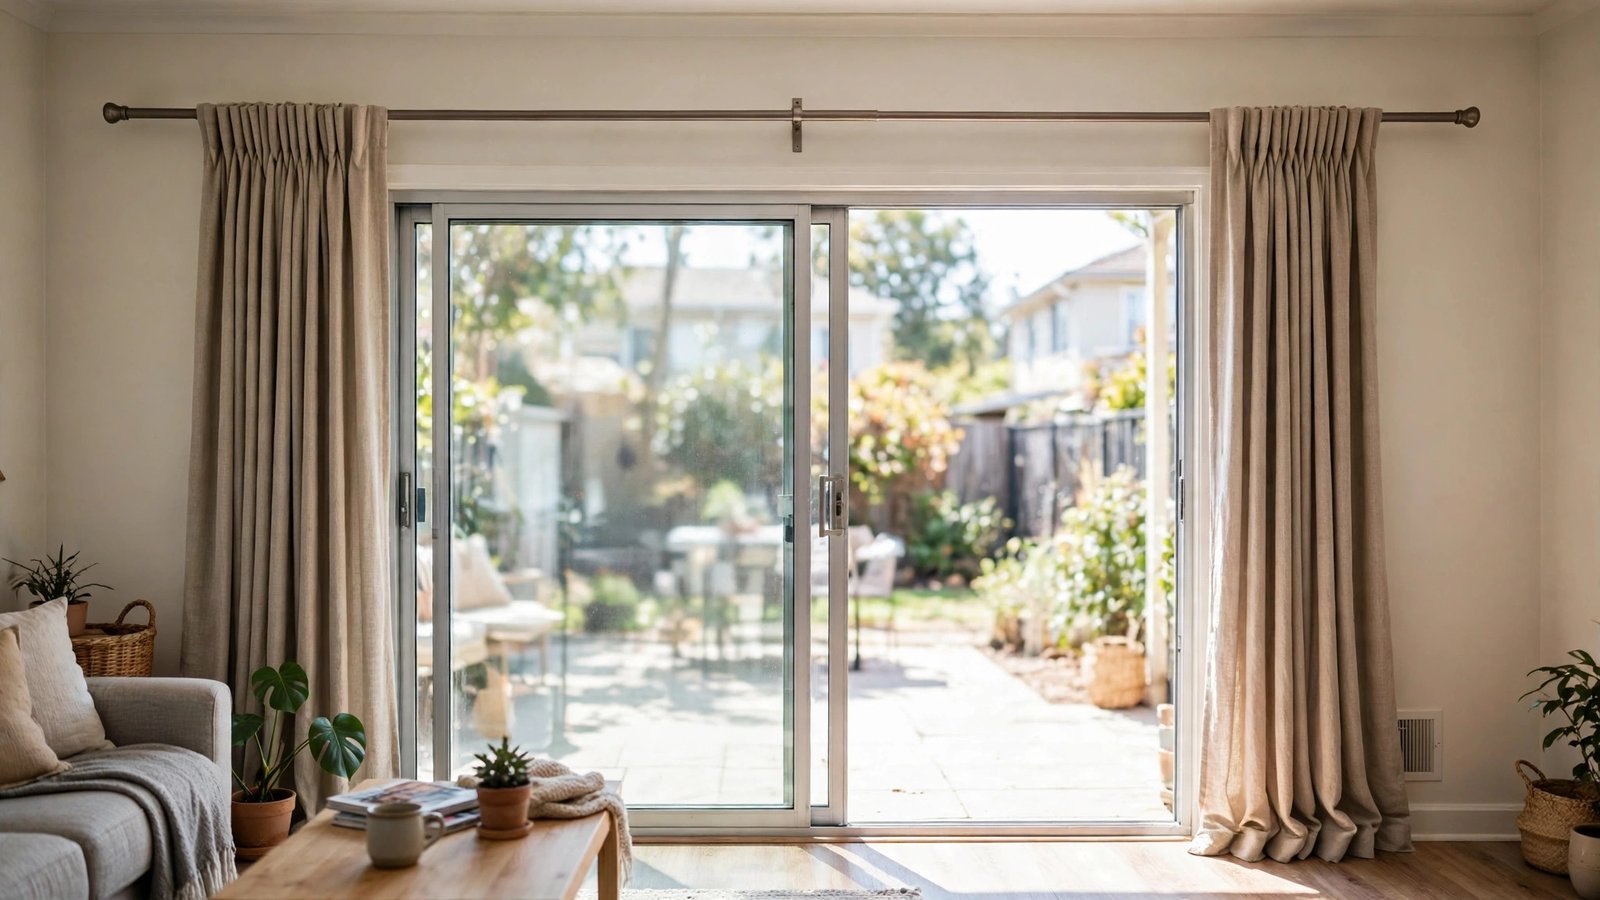
Sliding patio doors need a different placement from windows: a wide rod mounted high above the door, extending well past the opening on the stacking side, with a centre support so the long span never sags. The panels stack clear of the door track when open, and glide fully closed at night.
Why it works for renters: patio doors are often the main light source in a rental living room, so a rod that blocks half the glass wastes your best asset. This placement keeps the door fully usable, protects the track from curtain snags, and still gives you full privacy. Drilled brackets above a door header need landlord permission; for lighter panels, heavy-duty adhesive holders on the header trim are a workable alternative.
How to do it:
- Measure the door width, then add enough rod on the stacking side for the full gathered panel to sit clear of the glass.
- Mount the rod 4 to 6 inches above the door frame, with a centre support if the span is long.
- Choose smooth rings or grommet panels so the curtain glides daily without catching.
- Test the door slide with the curtain both open and closed — the fabric must never drag in the track.
- Anchor the stacking side with a tieback so the panel stays put when the door is in use.
My renter tip: never let a patio-door curtain puddle on the floor near the track. It collects dirt, snags on the door, and wears out fast. A hem that just brushes the floor is the right length here.
Approximate cost: $35–$90 for a wide rod, support, rings, and panels.
Conclusion
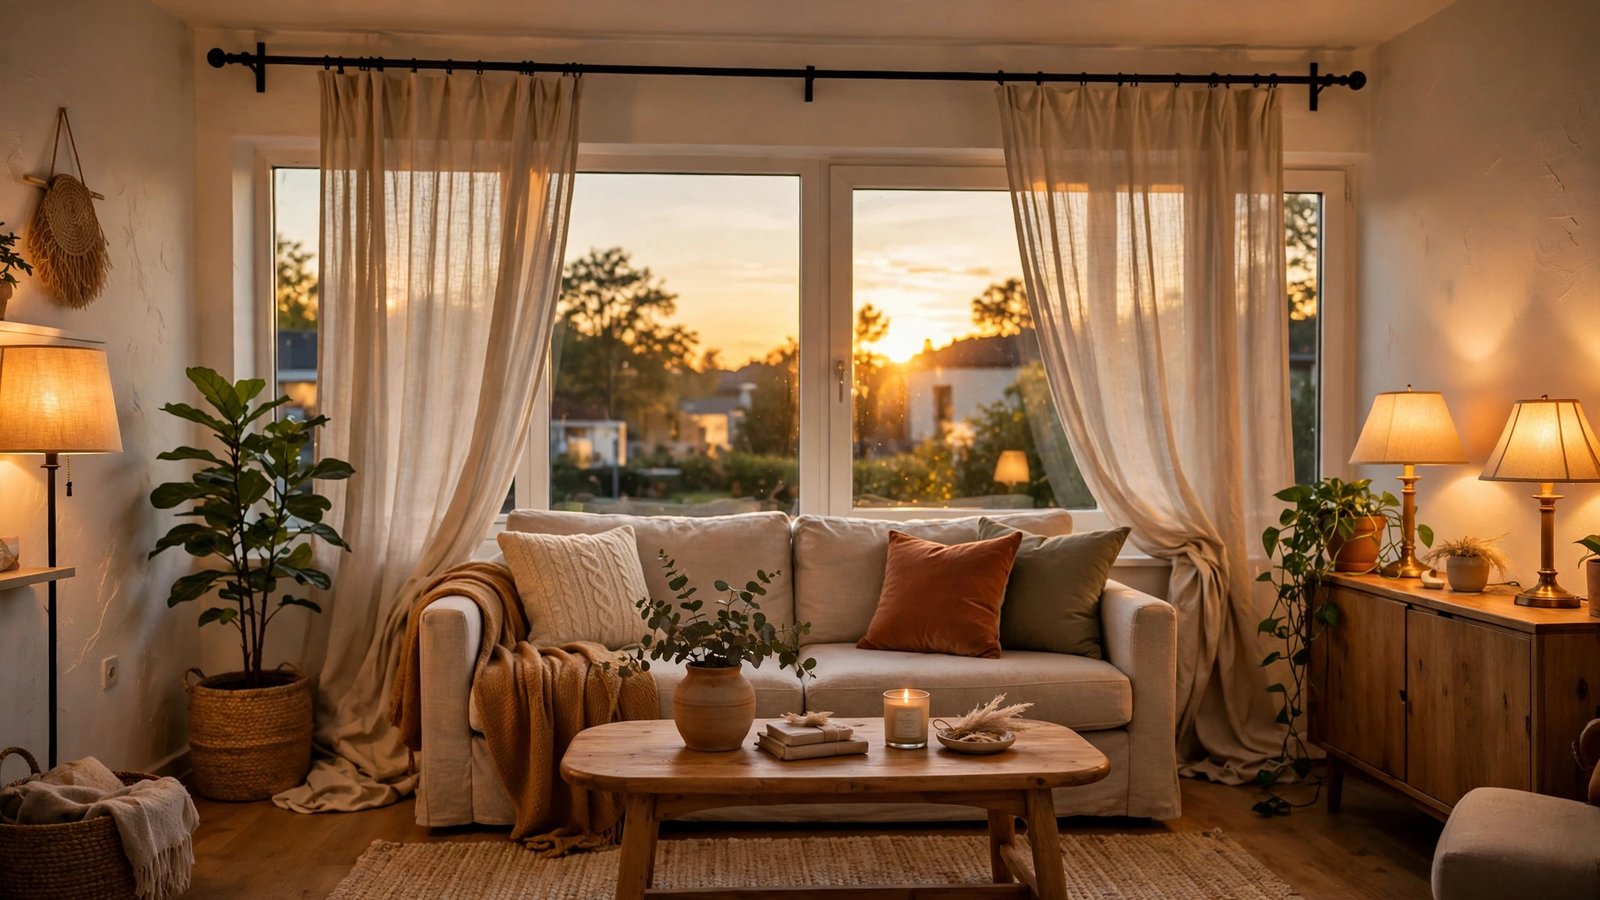
Rod placement is not a small detail. It decides how much daylight your living room gets, how tall your walls look, and whether your curtains feel like a considered choice or an afterthought. And in a rental, where you cannot change the windows, the walls, or the layout, it is one of the few levers that is entirely in your hands — and almost entirely reversible.
Start with the window you face every evening, try the high-and-wide hang or a no-drill tension rod, and live with it for a week before you change anything else. I’ve personally seen renters redo a whole living room’s feeling with a single Saturday afternoon and a rod that cost less than a takeaway dinner. Your deposit stays safe, your landlord stays happy, and your room finally looks like the home you meant it to be.
Please save this visual guide on Pinterest and share it with a renter friend who is staring at a bare window right now — the right rod placement is often the only change a room needs.

Amelia leads HavenlyStyle’s editorial vision with a passion for elegant interiors and practical home living. With years of experience in home décor and lifestyle content, she ensures every article is accurate, inspiring, and easy to follow. From timeless decorating ideas to the latest interior design trends, Amelia is committed to helping readers create beautiful, functional spaces while maintaining HavenlyStyle’s trusted and welcoming voice.