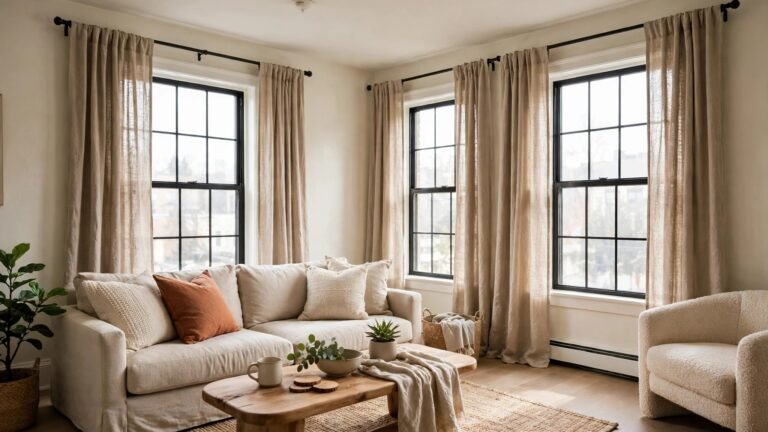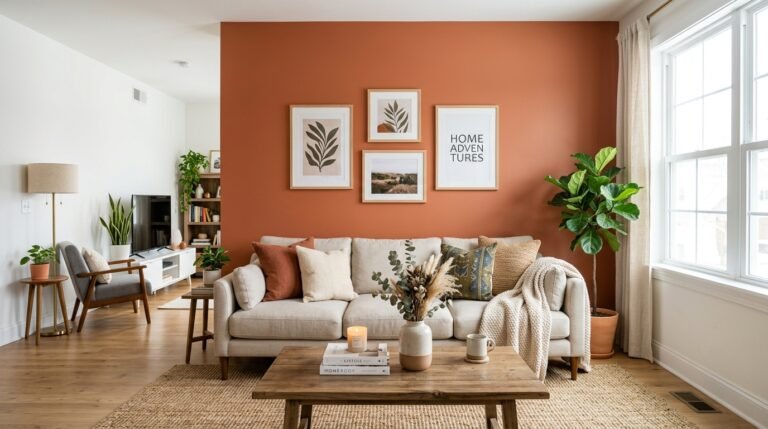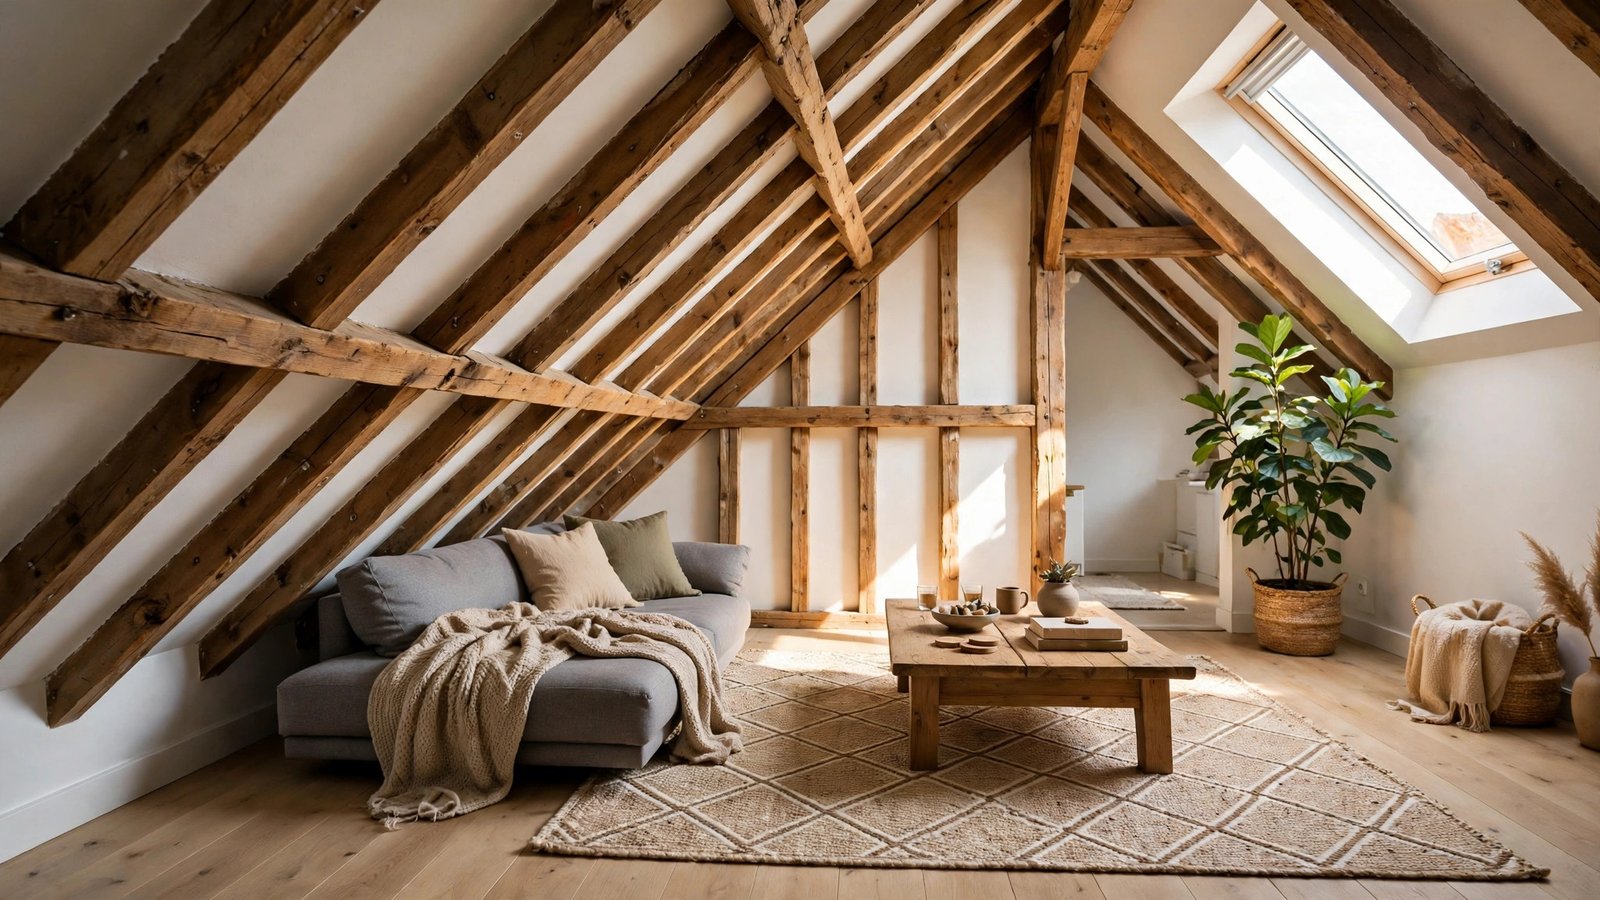
A sloped ceiling is the one feature renters never ask for and always have to live with. You fall for the apartment — the light, the rent, the attic charm — and then you move in and discover the truth: half your living room is too low to stand up in, your tall bookshelf doesn’t fit anywhere, and every arrangement you try leaves either a dead corner under the eaves or a sofa floating awkwardly mid-room. I have heard this story more times than I can count, usually from renters in top-floor apartments, converted attics, and A-frame rentals who love their space but have no idea how to lay it out.
I’ve helped dozens of renters lay out living rooms with sloped ceilings, and here’s what I’ve learned: the slope is not a problem to hide. It is the floor plan. Once you stop fighting it and arrange furniture around it — low pieces under the low side, tall pieces and seating under the peak — the room suddenly makes sense, and the low, awkward zone becomes the coziest spot in the apartment.
Every idea below is deposit-safe and renter-friendly. Nothing here requires drilling into the slope, raising the ceiling, or modifying the structure — just furniture placement, freestanding pieces, and removable touches that all move out with you when the lease ends. Pick the ideas that match your slope, and build your layout around the ceiling you actually have, not the flat one you wish you had.
Executive Summary
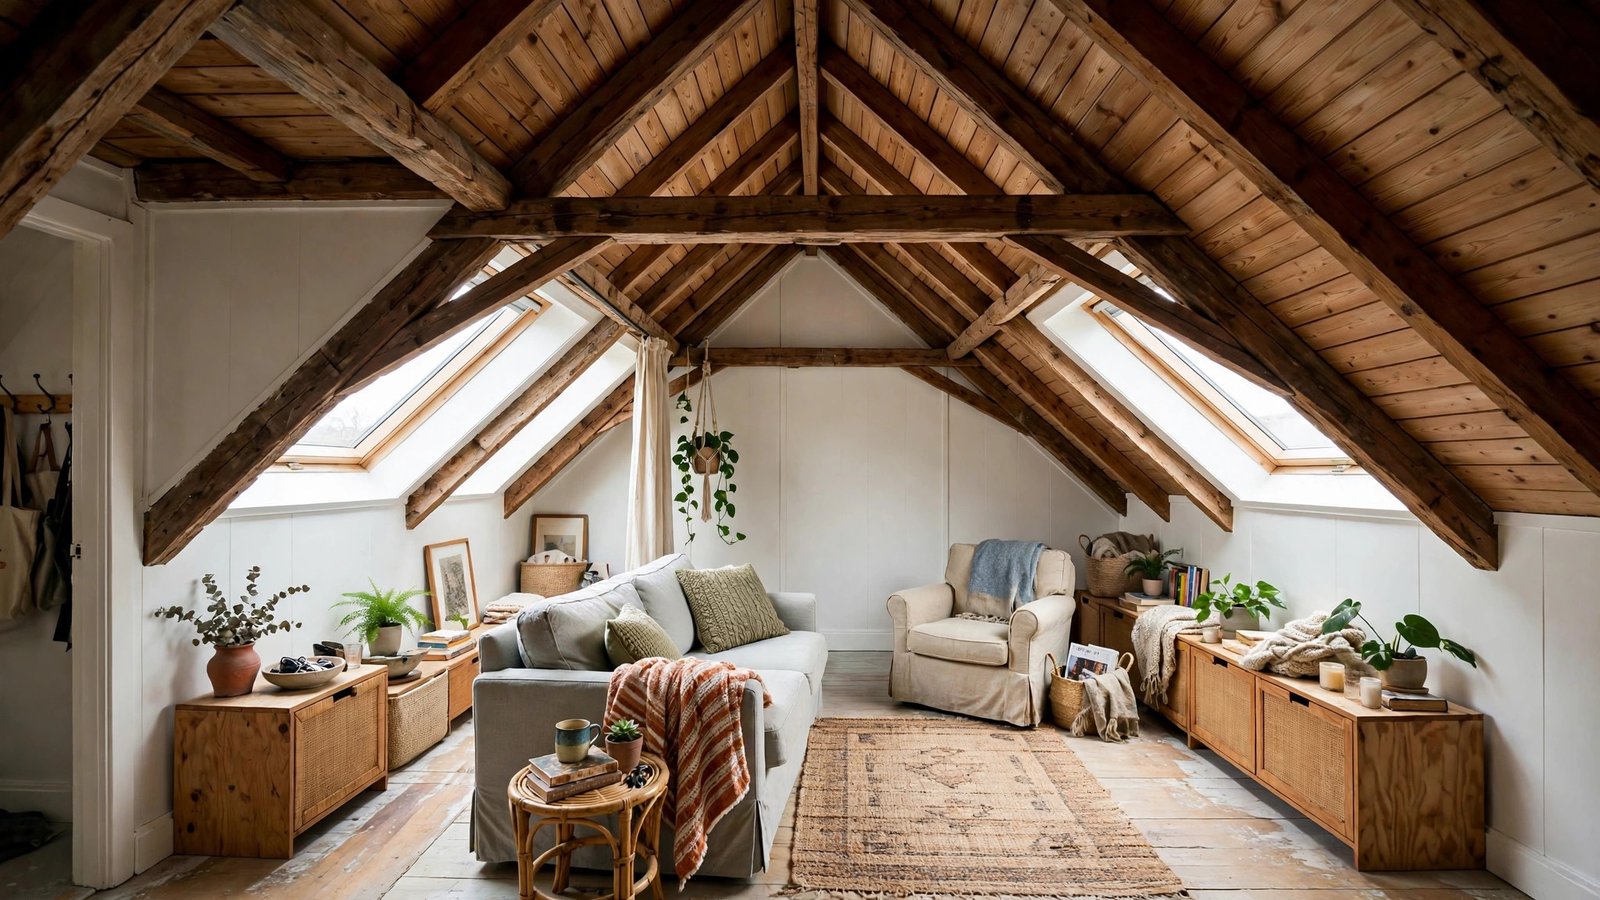
- Work with the slope, not against it: put low furniture under the low side and seating, tall pieces, and the TV under the peak.
- The lowest zone is not wasted space — it is your best spot for a reading nook, a daybed, or low storage you can reach from the sofa.
- Keep walkways and standing areas under the tallest part of the ceiling so nobody has to duck through their own living room.
- Low-back, low-profile furniture is the renter’s best friend in a sloped room: it fits under the pitch and keeps sightlines open.
- Every idea below is removable and deposit-safe, using freestanding furniture, tension solutions, and removable hooks — no drilling into the slope.
- Measure your ceiling height at three points (lowest wall, middle of the slope, peak) before buying anything tall.
1. Anchor a Low-Back Sofa Under the Slope
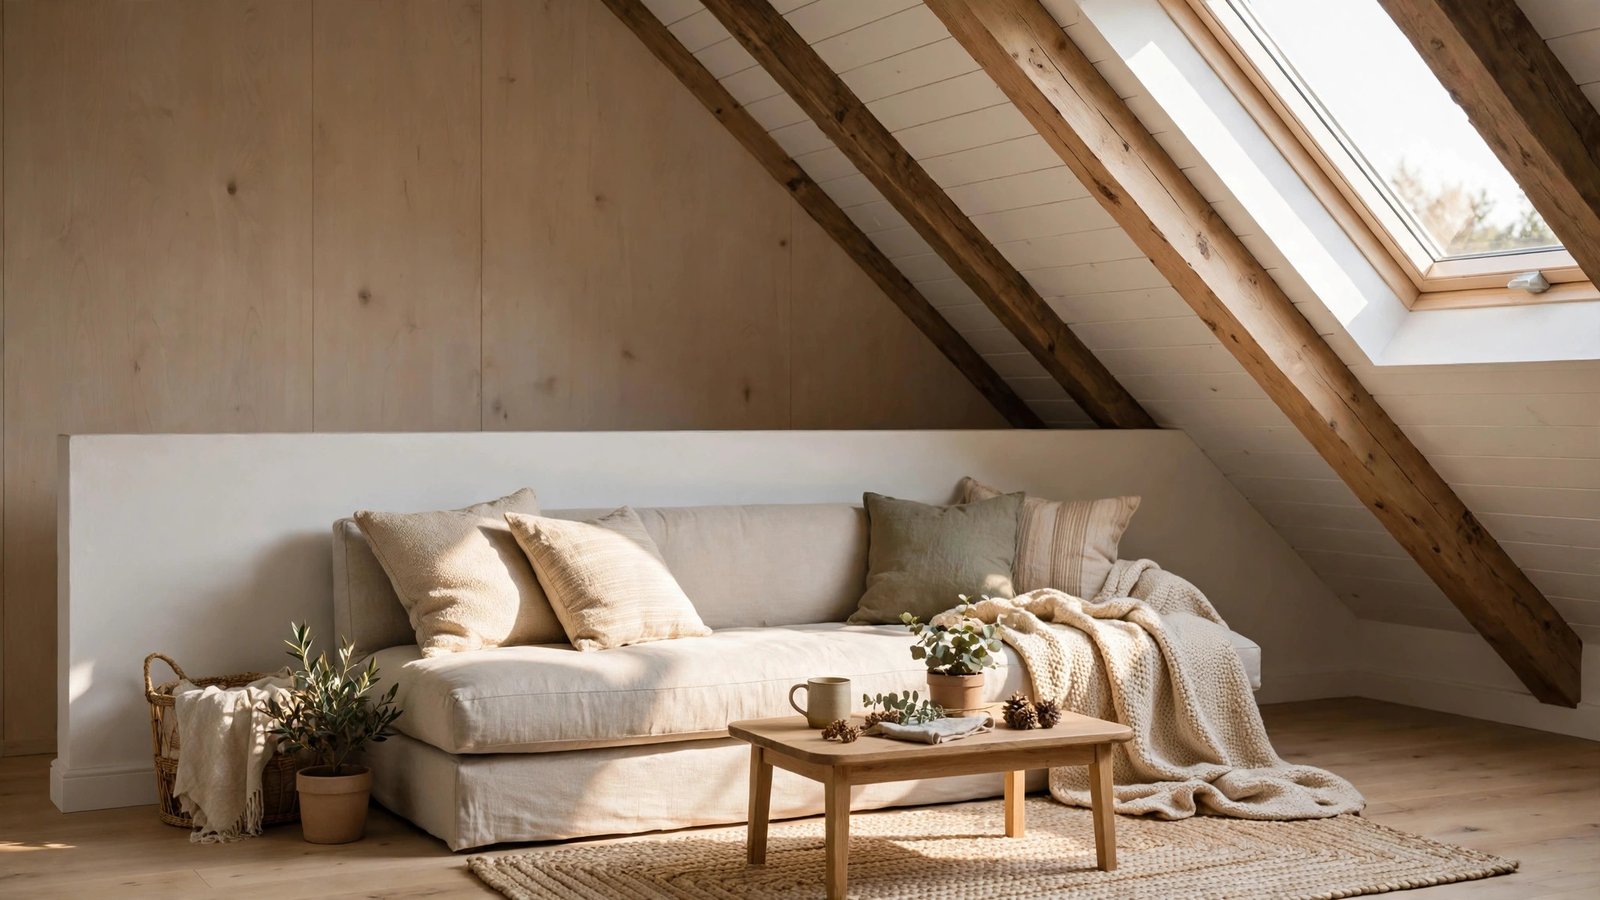
A low-back sofa tucked under the sloping side of the ceiling is the single most useful move in a sloped living room. Standard sofas are 35 to 38 inches tall, which is too tall for the low wall of most attic-style rooms, but a low-profile sofa or loveseat at 28 to 32 inches high slides neatly under the pitch and turns a dead zone into the main seating area.
Why it works for renters: it costs nothing but the sofa you were going to buy anyway, requires zero wall contact, and solves the room’s biggest problem — what to do with the side you can’t stand up in — by giving that side a job that only needs sitting height. You sit under the slope; you stand under the peak. That is the whole logic of a sloped room in one piece of furniture.
How to do it:
- Measure the ceiling height above the low wall and at two feet out from it, so you know exactly how much clearance your sofa back needs.
- Choose a low-back sofa, apartment sofa, or loveseat — armless styles and track arms fit even tighter under the pitch.
- Push the sofa back against the low wall, leaving just enough gap for the back cushions to sit upright without pressing the slope.
- Float a coffee table in front of it at a distance that leaves a comfortable walking lane on the tall side of the room.
- Add a slim floor lamp behind one end of the sofa, where the ceiling is still high enough for it, rather than squeezing a lamp into the lowest corner.
My renter tip: if you already own a standard-height sofa, try it under the slope before you replace it — a back that clears the pitch by even two inches reads as intentional. Keep throw pillows low and flat on the slope side, since tall, puffy pillows are the first thing to get squashed against the pitch.
Approximate cost: $0 if you rearrange furniture you own; $300–$900 for a new low-profile loveseat or apartment sofa.
2. Tuck a Reading Nook Into the Lowest Corner
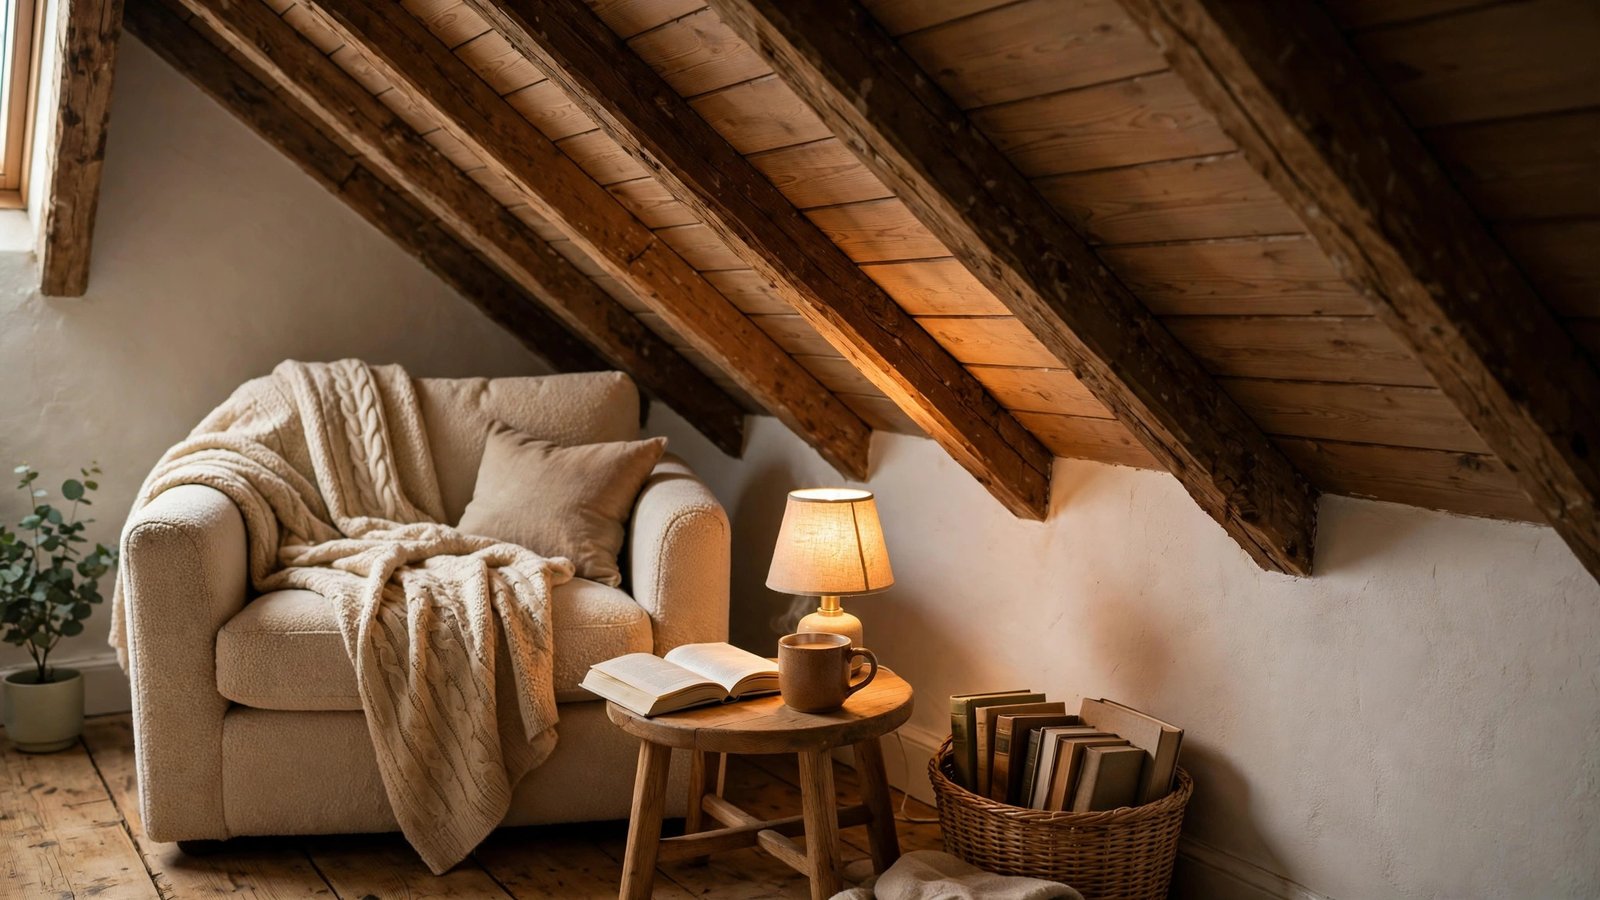
The lowest corner of a sloped room — the spot where the ceiling drops to four or five feet — is where most renters put nothing at all. That is a waste, because it is the perfect size for one person sitting down. A reading nook turns the room’s most awkward square footage into its most loved spot.
Why it works for renters: a nook needs no installation and no wall contact. A chair, a cushion, and a light are all freestanding, so the whole thing packs up in minutes at move-out, and it gives the low zone a purpose instead of leaving half the room feeling unusable.
How to do it:
- Pick the lowest corner that still gives a seated person headroom — sit in a chair there and check you can lean back without hitting the slope.
- Set a comfortable armchair, a papasan chair, or a pile of large floor cushions in the corner, angled toward the room’s light.
- Add a small side table or a floor cushion stack for a book and a mug — nothing taller than the chair itself.
- Clip a battery-operated reading light to the chair or set a small rechargeable lamp on the side table, since there is rarely an outlet in the eaves.
- Finish with a soft throw and a small basket for books, tucked beside the chair where the ceiling is lowest.
My renter tip: test the nook at the time of day you actually read — a corner that feels cozy at noon can feel like a cave at 8 p.m., and a rechargeable lamp with a warm setting fixes that cheaply. Keep the footprint small — one chair, not a chair plus an ottoman plus a bookcase — or the low zone feels cluttered instead of cozy.
Approximate cost: $40–$200 using a chair you own plus cushions and a lamp; $150–$400 for a new accent chair.
3. Put the TV on the Tall Wall
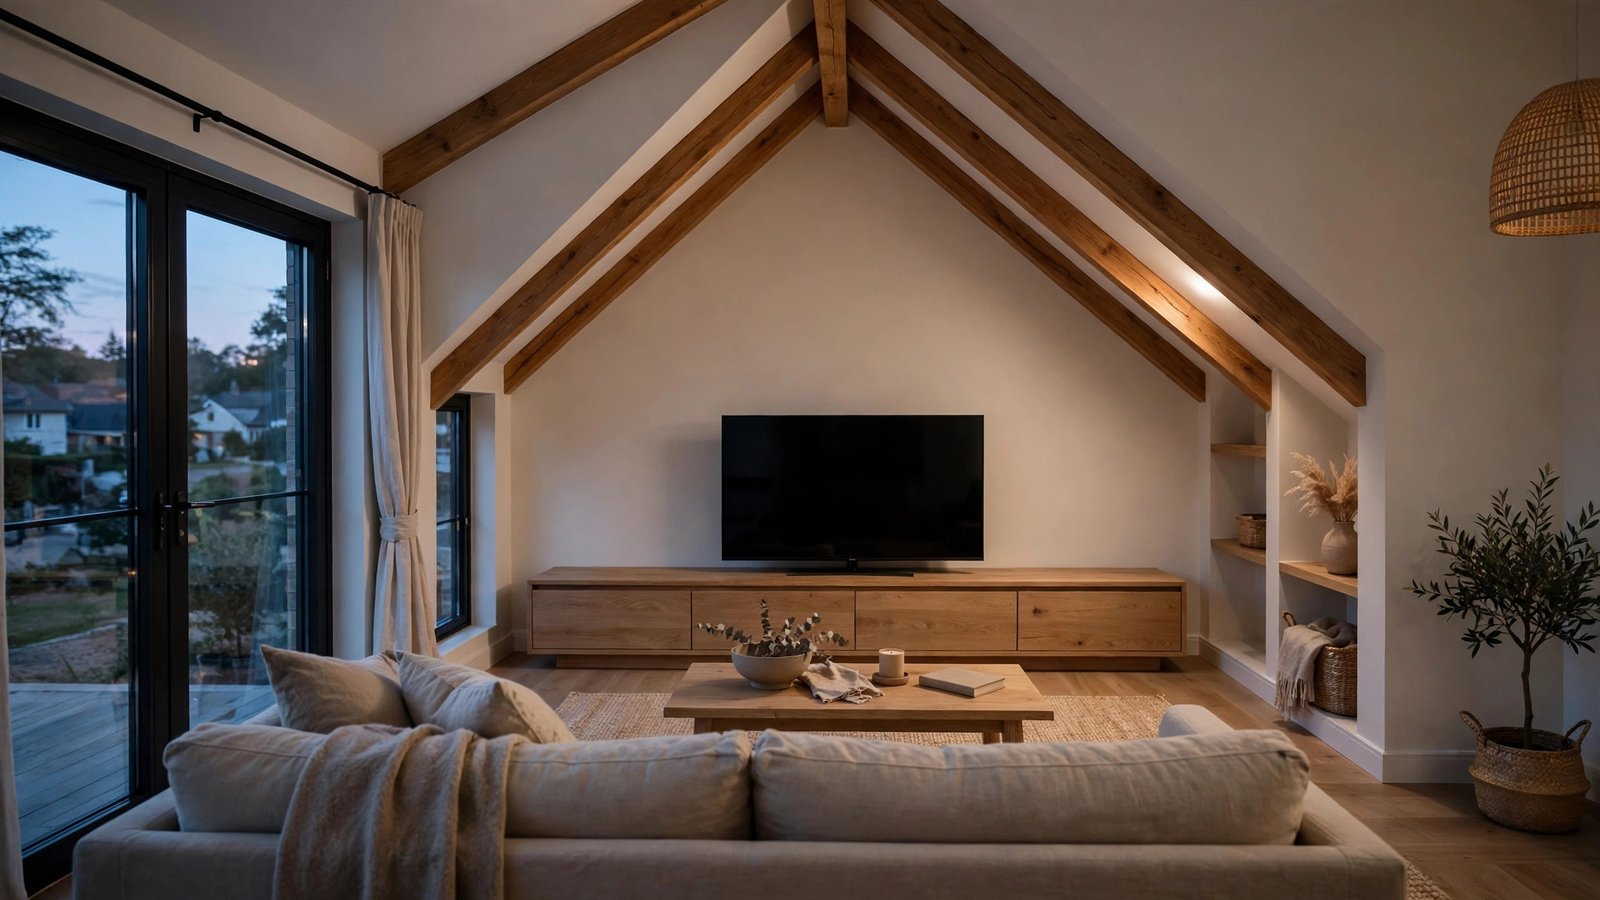
In a sloped living room, the TV has exactly one right home: the tallest wall. Wall-mounting is usually off the table for renters anyway, but the tall wall also gives you the only stretch of vertical space tall enough for a proper media console and a screen at comfortable viewing height, with seating facing it from under the peak.
Why it works for renters: a freestanding media console needs no drilling, mounting, or landlord permission. And because the TV sits on the tall wall, viewers on the sofa get a straight, head-level view instead of craning their necks at a screen wedged under a slope.
How to do it:
- Identify the tallest uninterrupted wall — usually the gable end or the wall opposite the slope — and measure it for your TV and console.
- Choose a low, wide media console rather than a tall entertainment center, so the setup stays proportional to the room.
- Set the console against the tall wall and place the TV on its stand, centered at eye level from your seated position.
- Arrange seating opposite the TV, under the peak or mid-slope, at a distance of roughly one and a half times the screen’s diagonal.
- Hide cables with a freestanding cable cover that sticks to the console itself or a cord box on the floor — never adhesive cable channels on a sloped ceiling, where heat and gravity loosen them.
My renter tip: before you commit, sit on your sofa and check the sightline past any ceiling fan or pendant light hanging from the peak — in sloped rooms those often hang lower than you expect and can cut right across the screen. If skylight glare hits the TV in the afternoon, a sheer curtain on a tension rod across the skylight well softens it without a single screw.
Approximate cost: $0 if you own the TV and console; $80–$300 for a new low media console.
4. Float Your Seating Toward the Peak
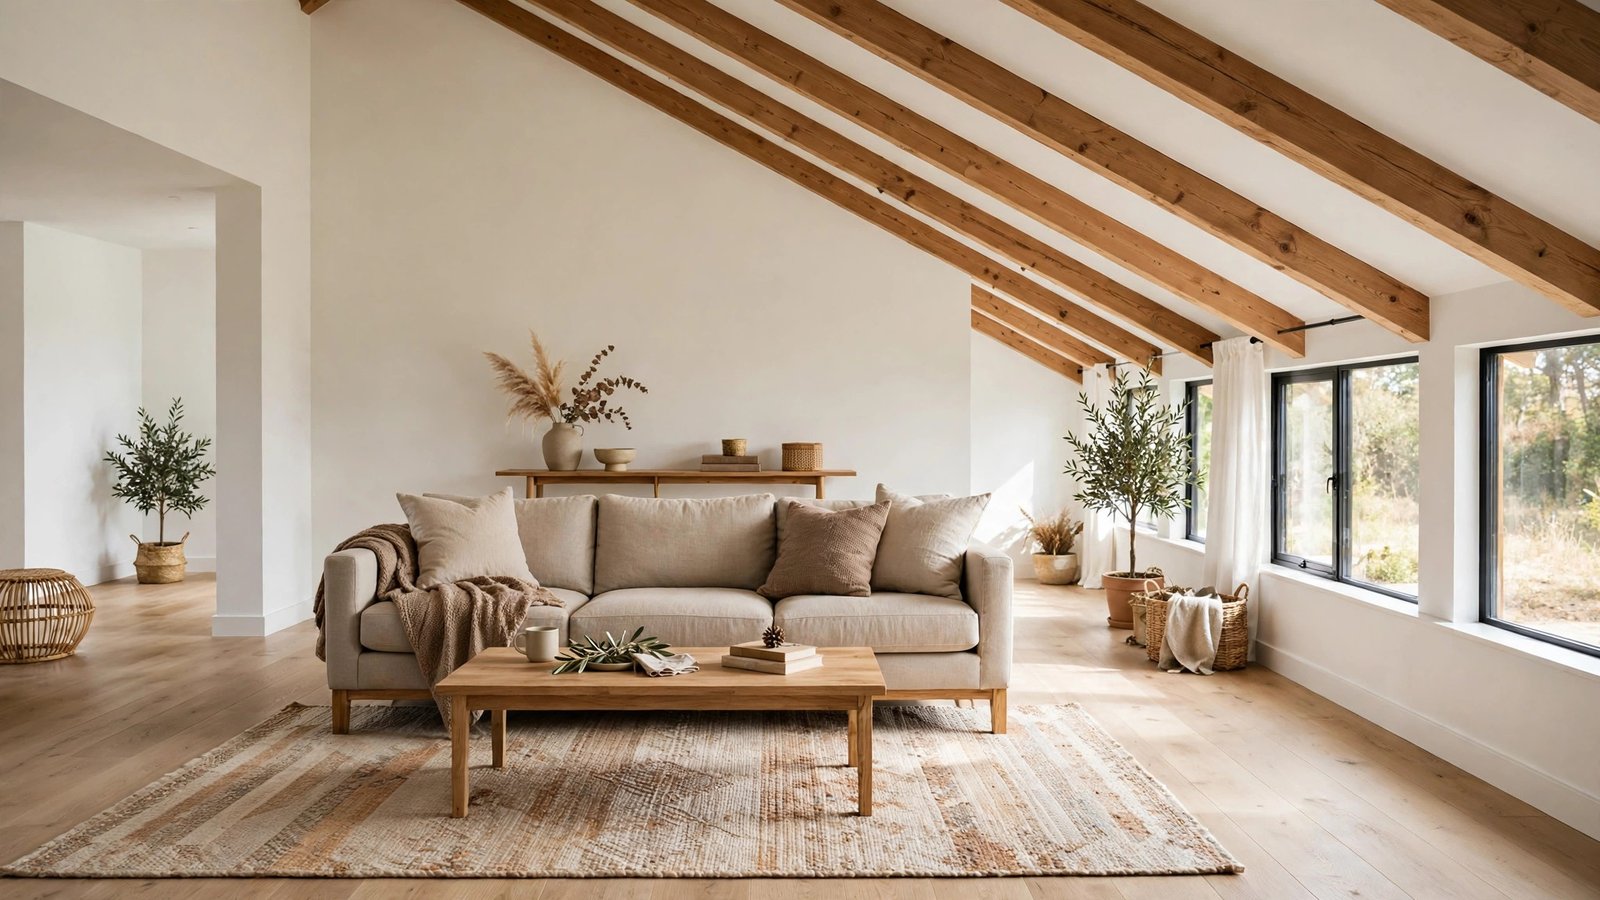
Most renters push every piece of furniture against a wall out of habit, but in a sloped room that habit backfires — it strands the sofa under the lowest ceiling and leaves the tall, airy center of the room empty. Floating your seating toward the peak, with its back to the room rather than to a wall, puts people where the headroom actually is.
Why it works for renters: floating furniture is pure rearrangement. Nothing is attached to anything, so there is no deposit risk at all, and you can test the arrangement for a week and move it back if it doesn’t work. It also creates a natural walkway behind the sofa along the low wall, which is exactly the kind of circulation a sloped room needs.
How to do it:
- Pull the sofa off the low wall and position it so the seating area sits under the peak or the mid-slope, facing the TV wall or a focal point.
- Leave at least two and a half feet of walking space behind the sofa, along the low wall, so the path feels like a hallway rather than a squeeze.
- Anchor the floating arrangement with a rug that extends under the sofa’s front legs and the coffee table, so the grouping reads as one intentional zone.
- Place a narrow console table or a pair of floor cushions behind the sofa to finish the back view, since a floating sofa is seen from behind.
- Keep the tallest pieces — floor lamps, tall plants, a leaning mirror — on the peak side of the arrangement, where the ceiling can handle them.
My renter tip: a floating sofa can feel exposed at first. A console table behind it, even a cheap one, instantly makes it feel like a deliberate room divider instead of a sofa that drifted off its wall. If your rug is too small for the float, layer a second flat-weave rug underneath — it costs far less than one giant rug.
Approximate cost: $0 for the rearrangement itself; $50–$200 for a console table or a second rug to anchor the zone.
5. Line the Knee Wall With Low Storage
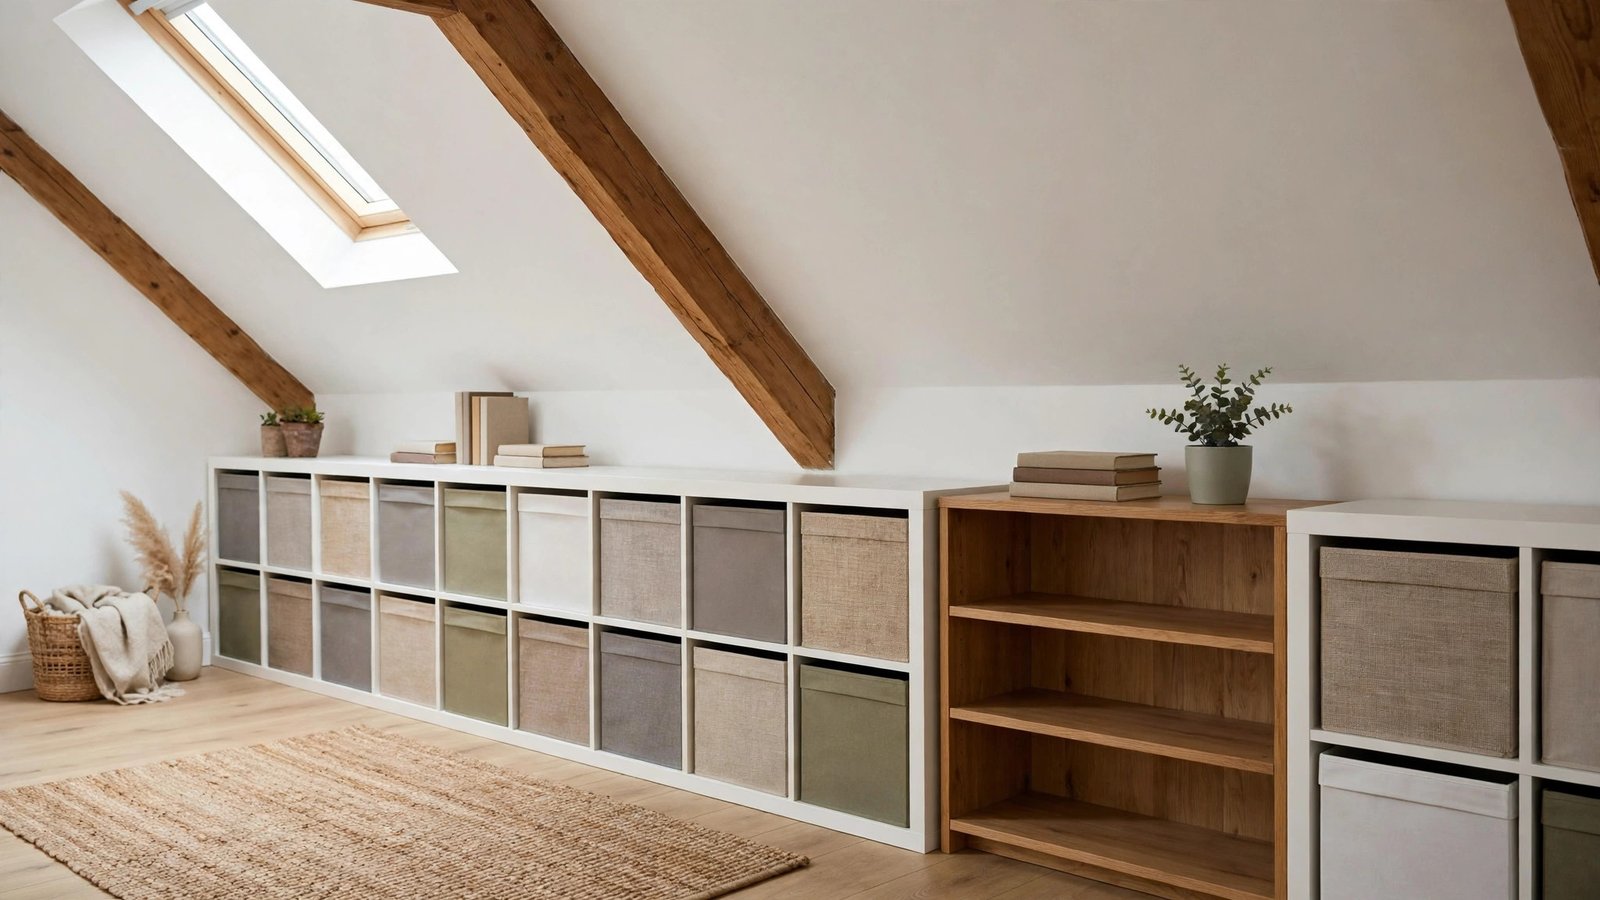
The knee wall — the short vertical wall where the slope meets the floor — is the most underused storage in a sloped apartment. It is too short for a bookshelf and too low to stand at, but it is exactly the right height for low bookcases, cube storage, and baskets that turn the dead strip under the eaves into the room’s storage backbone.
Why it works for renters: low, freestanding storage needs no mounting, and cube units and short bookcases are the easiest furniture to resell or move to the next apartment. This also keeps your storage out of the tall part of the room, where it would compete with seating and sightlines.
How to do it:
- Measure the knee wall’s height and the depth of the floor space in front of it before buying anything — most knee walls are 24 to 36 inches tall.
- Choose cube storage, low bookcases, or short dressers that sit at or below the knee-wall height, so the slope clears them comfortably.
- Line the units along the knee wall in a single run, leaving small gaps at the ends for airflow and for pulling units out to clean behind them.
- Use fabric bins or baskets inside the cubes to hide clutter, and keep the tops clear or styled with just one or two low objects.
- Label the bins you reach for most often, since low storage is easy to forget about once it’s tucked under the slope.
My renter tip: leave a finger-width gap between the storage units and the knee wall. In older attic conversions the knee wall can run cool and damp in winter, and furniture pressed hard against it can trap moisture and grow mildew behind the units — a tiny gap saves you a cleaning nightmare at move-out.
Approximate cost: $60–$250 for cube units and bins; $100–$300 for a low bookcase run.
6. Slide a Desk Under the Slope for a Work Zone
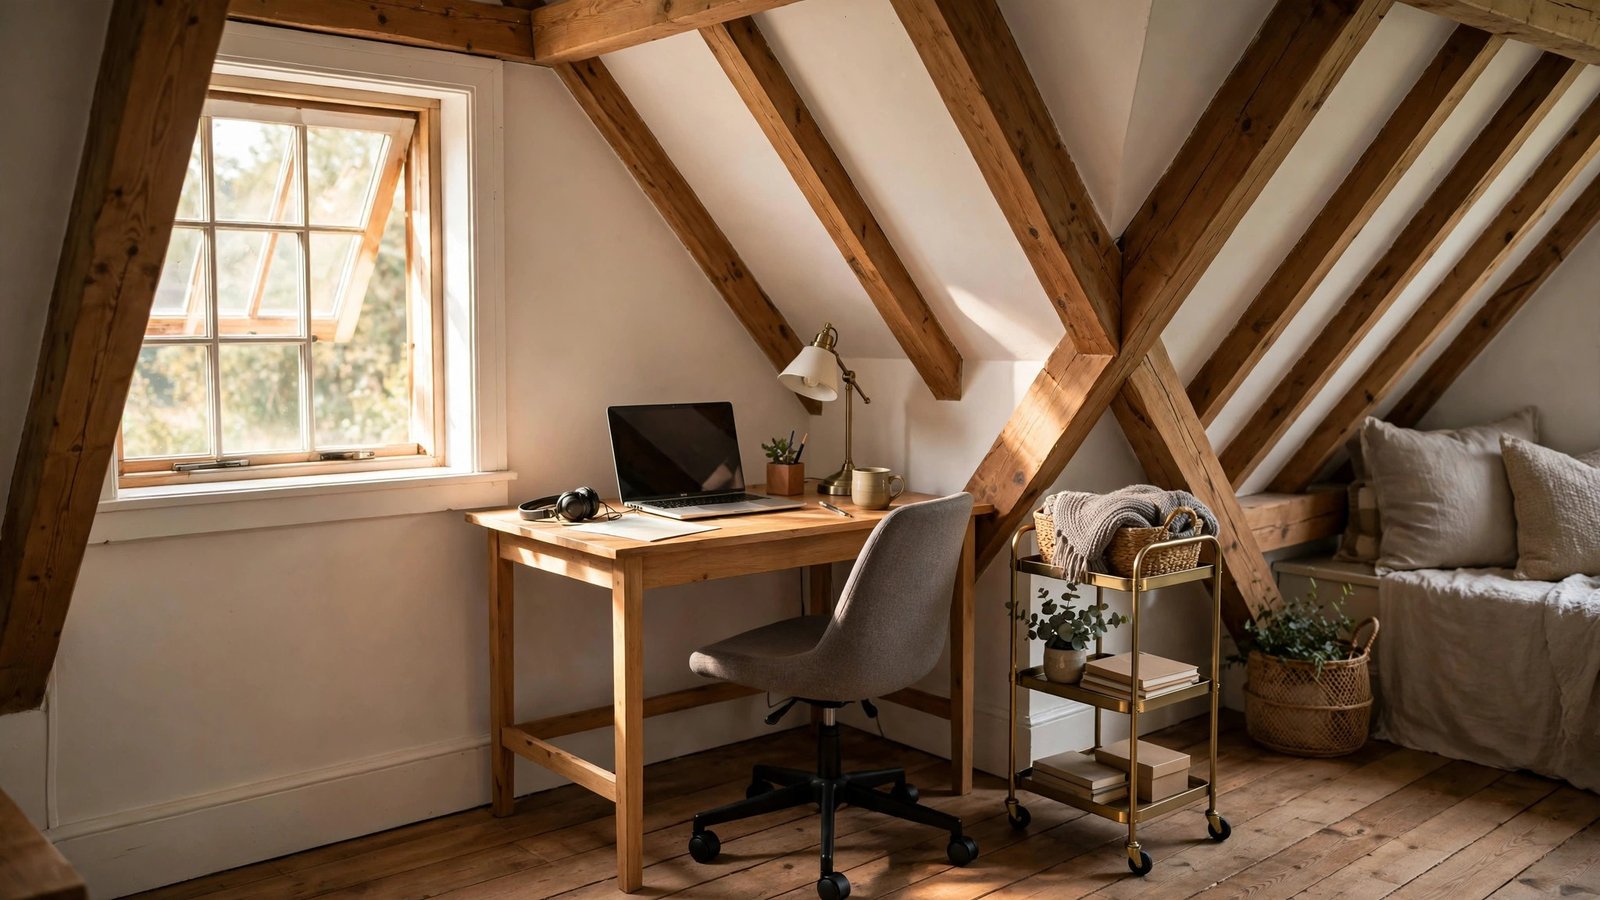
A sloped ceiling and a work-from-home setup are a natural match, because desk work is done sitting down. Sliding a desk into the mid-slope zone carves a home office out of space that was otherwise unusable, and it keeps your work area visually separate from the lounging area under the peak.
Why it works for renters: a desk is freestanding, and this arrangement asks nothing of the landlord. It also solves the classic small-apartment problem of the desk taking over the living room — under the slope, the work zone has a boundary built in by the ceiling itself.
How to do it:
- Choose a spot on the slope where you can sit upright at a desk without your head touching the ceiling — test it in your desk chair before you commit.
- Pick a desk no deeper than 24 inches so it doesn’t eat into the room’s walking lane, and pair it with a chair that tucks fully underneath.
- Set a small desk lamp or a rechargeable light on the desk, since overhead light rarely reaches under a slope well.
- Add a low rolling cart or a small shelf unit beside the desk for supplies, keeping everything at or below desk height.
- Define the zone with a small rug or a different chair color, so the work area reads as its own corner rather than clutter spilling into the living room.
My renter tip: check the slope above your monitor before you buy a monitor riser or a second screen — a riser that works fine on a flat wall can push a monitor right into the pitch. A laptop stand plus an external keyboard keeps the screen low and adjustable, and if you ever move the desk, the slope zone goes straight back to being a reading nook.
Approximate cost: $0 if you own a desk; $80–$250 for a compact desk and lamp.
7. Turn the Eaves Into a Daybed Lounge
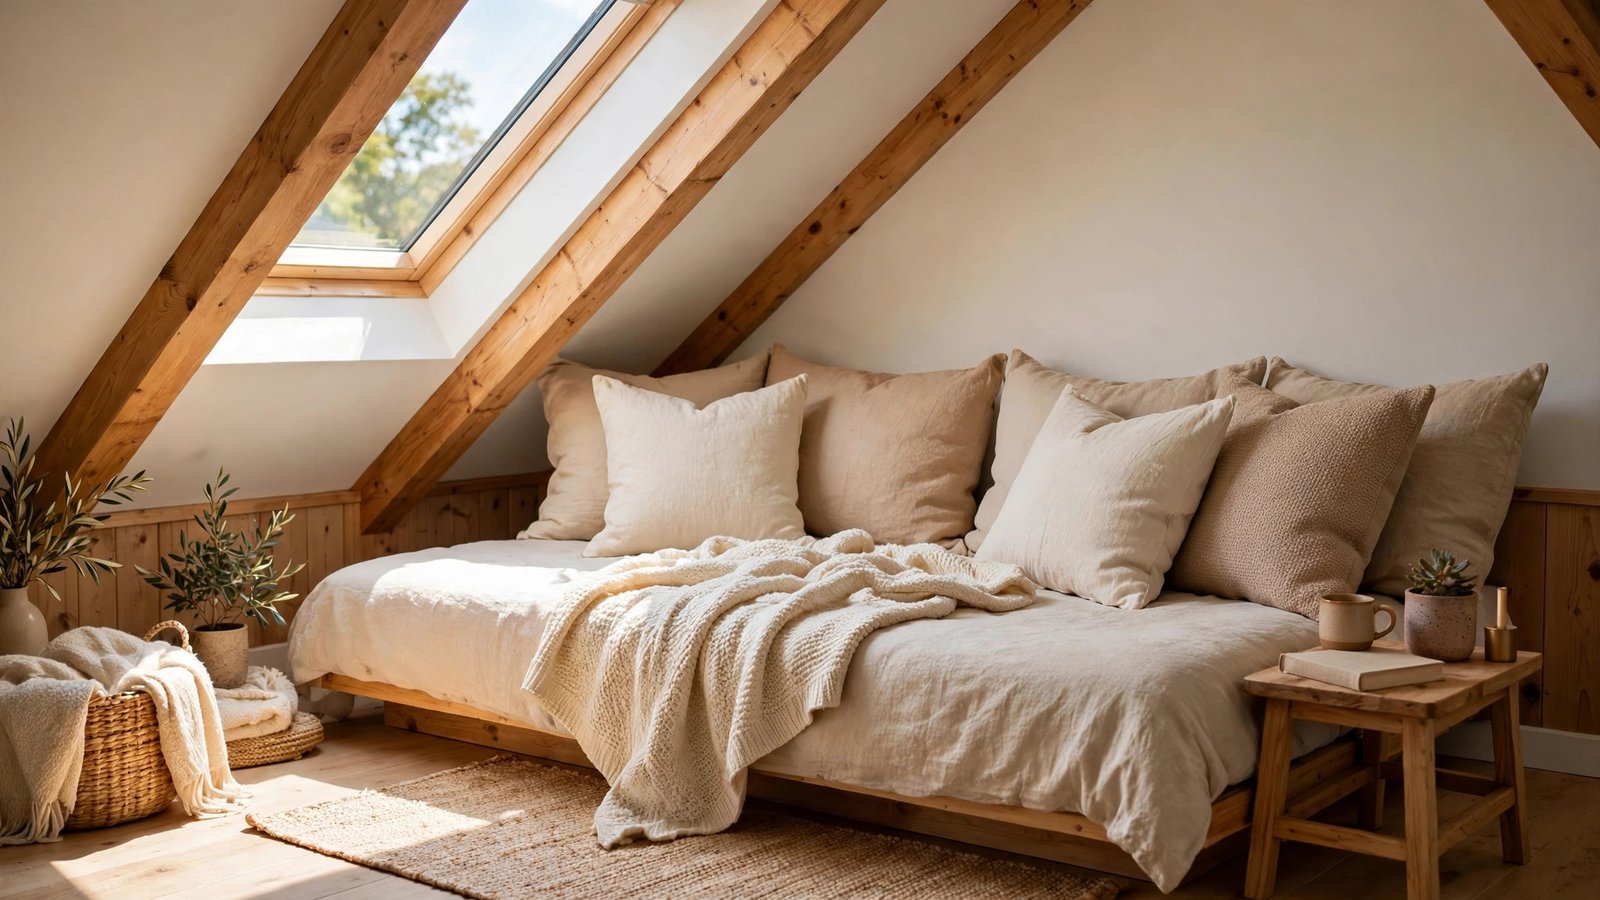
If your sloped living room has a deep eaves section — the kind where the ceiling drops below four feet at the wall — a daybed is the most glamorous use of that space. A daybed sits low, stretches along the wall, and turns the lowest strip of the room into a lounging spot for reading, napping, and extra guest seating.
Why it works for renters: a daybed is a piece of furniture, not a renovation. It needs no built-ins and no permission, and it doubles as a guest bed in a studio or one-bedroom where a real guest room doesn’t exist. It also looks intentional in a way that a pile of cushions never quite does.
How to do it:
- Measure the eaves depth and ceiling height along the wall, and choose a daybed frame low enough that a seated person clears the slope comfortably.
- Set the daybed lengthwise along the low wall, with its long side against the knee wall and its back dressed with large pillows.
- Dress it like a sofa by day — a fitted cover, a row of back pillows, and a throw — so it reads as seating, not a bed in the living room.
- Add a small side table at one end, low enough to fit under the slope, for a book and a drink.
- Keep a basket of extra blankets nearby, tucked under the lowest part of the eaves where nothing else fits.
My renter tip: a daybed under the eaves lives or dies by its pillows. Without a firm row of back pillows, everyone slides backward into the slope. Invest in two or three large, firm Euro pillows for the back row — they are what turn a daybed from a bed into a lounge — and skip a headboard entirely; under a slope, a headboard just fights the ceiling.
Approximate cost: $150–$500 for a daybed frame and mattress; $50–$120 for the pillow setup.
8. Lean Art Against the Sloped Wall
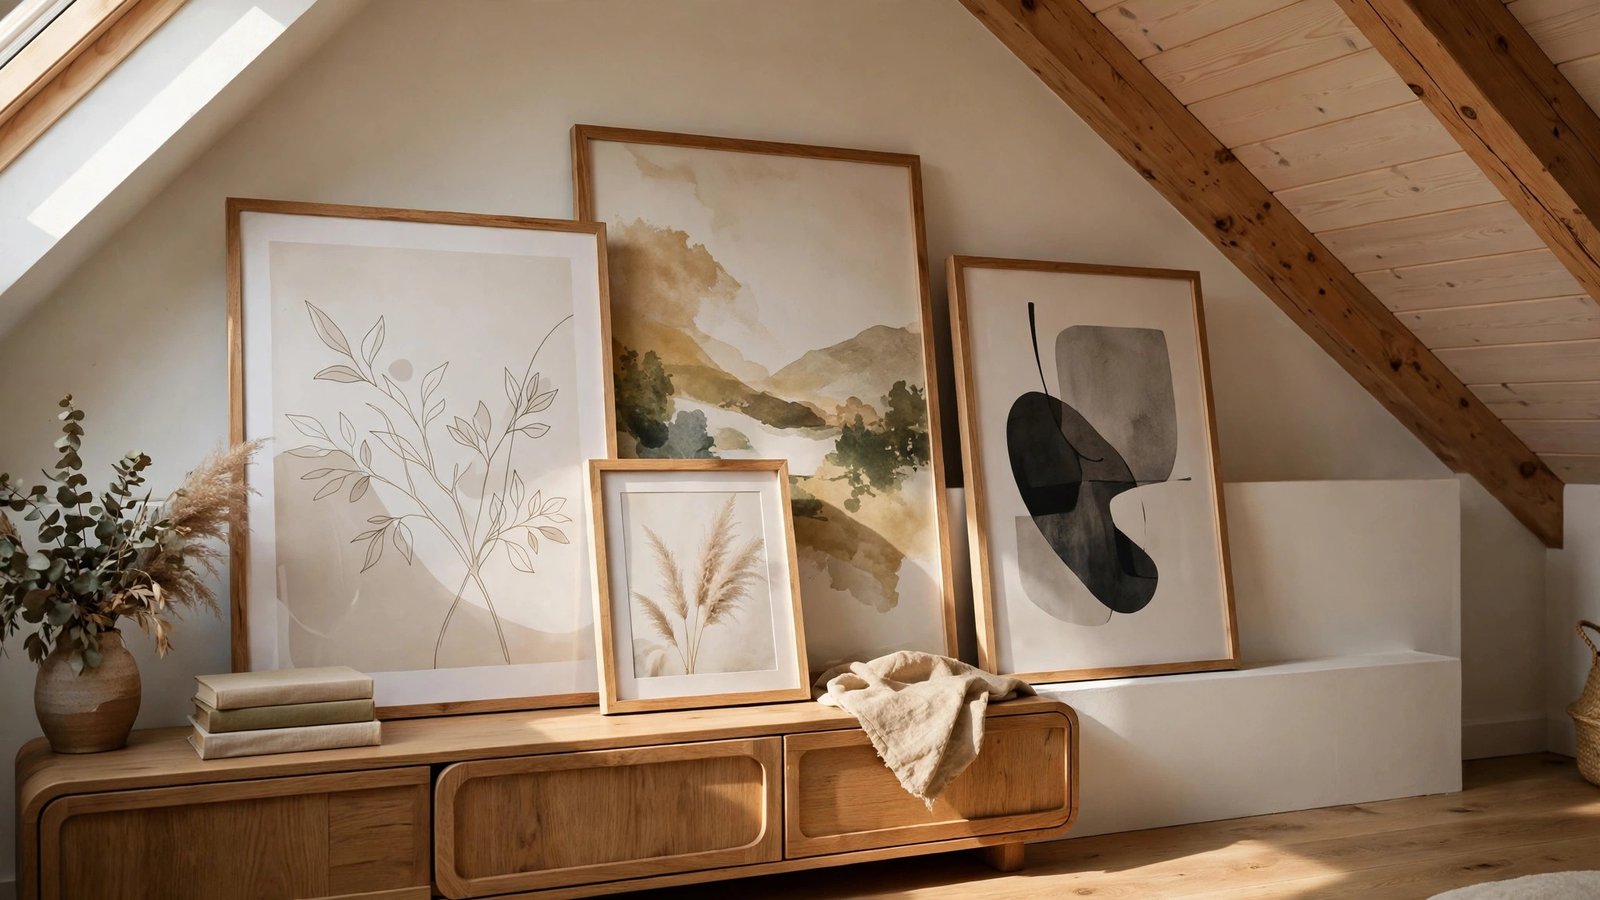
Hanging art on a sloped ceiling is a renter’s nightmare — angles, gravity, and adhesive all work against you. Leaning art against the sloped wall skips the problem entirely. Large frames leaned on a console, a low bookcase, or the floor itself give you gallery impact with zero holes and zero risk of a frame sliding down the pitch overnight.
Why it works for renters: leaning art is the most deposit-safe way to decorate a wall you can’t drill. Nothing is attached, nothing can fall from height, and every piece moves with you. It also suits sloped rooms visually, because the lean echoes the angle of the ceiling instead of fighting it.
How to do it:
- Choose one or two large frames rather than many small ones — big art holds its own against a dramatic ceiling, while small pieces get lost under it.
- Lean the largest frame on top of your low storage unit or console along the knee wall, with the frame’s bottom edge an inch or two out from the wall.
- If you lean art on the floor, place it where it won’t be kicked — beside a bookcase or behind a chair, never in a walking lane.
- Layer a smaller frame in front of the large one, slightly overlapping, for a collected, styled look.
- Use a small, removable adhesive bumper pad on the bottom corners if the frame tends to slide on a slick floor — it peels off cleanly at move-out.
My renter tip: never lean art directly against the sloped ceiling surface itself, only against the vertical knee wall or furniture. The slope’s angle means a leaned frame can slowly slide, and furniture and knee walls are your anchors; the slope is just the backdrop.
Approximate cost: $20–$80 for large frames and prints you already love; $40–$150 for new oversized art.
9. Let Tall Plants Own the Peak
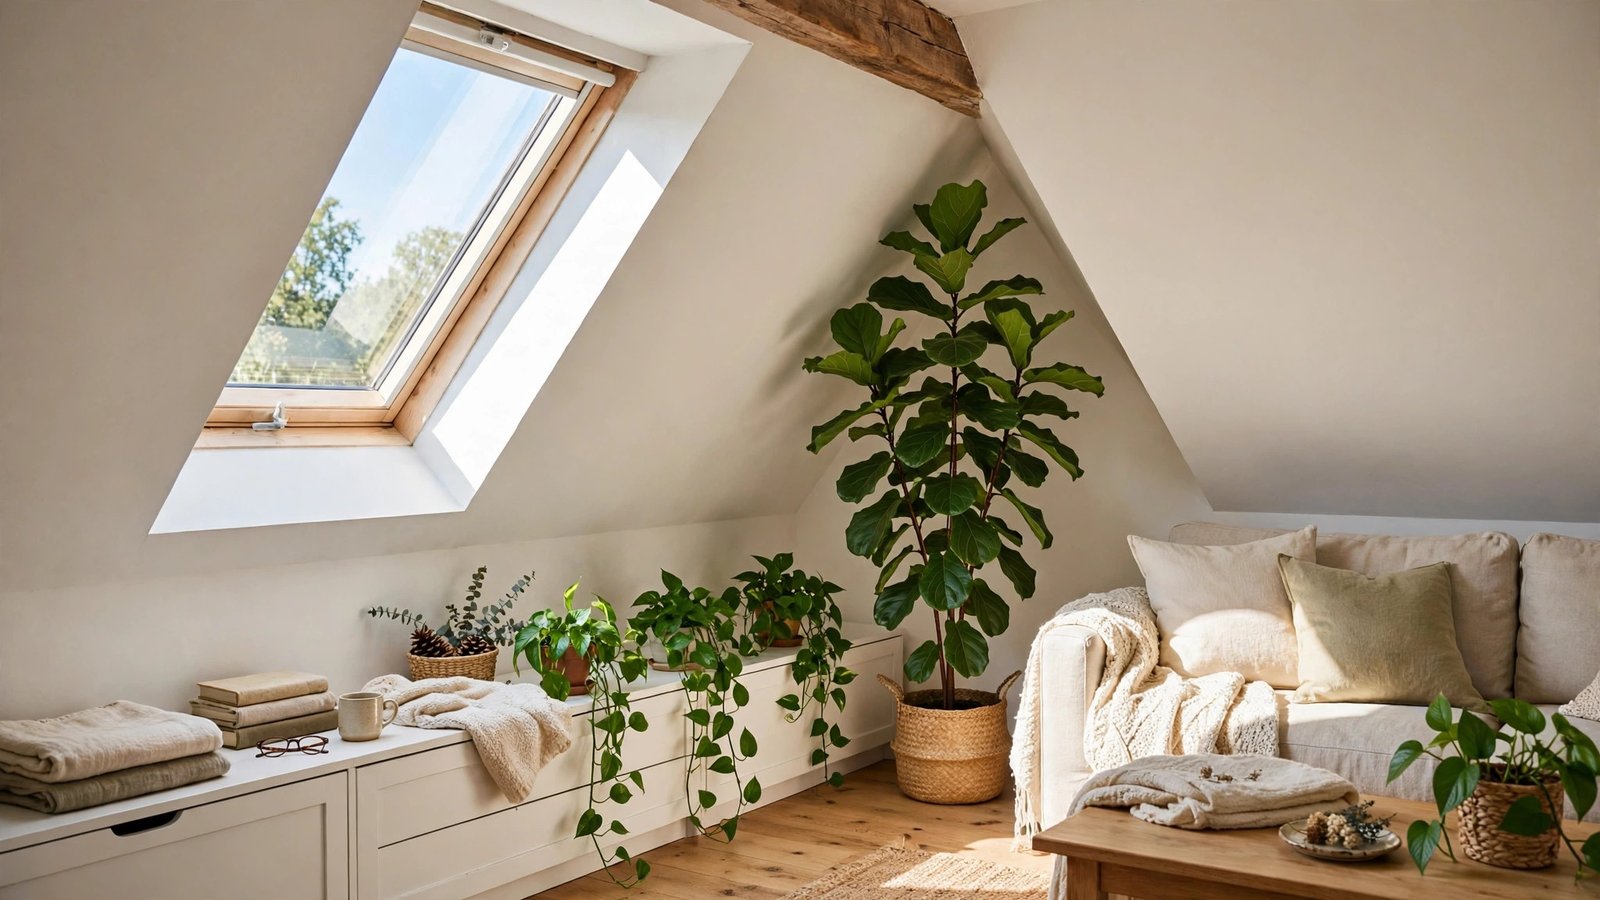
Plants are the easiest way to make a sloped ceiling feel like a design choice instead of a compromise. A tall, leafy plant placed under the peak draws the eye up to the tallest part of the room, while trailing plants on the low side soften the spot where the ceiling drops. The height difference of the plants mirrors the ceiling, and the room suddenly looks intentional.
Why it works for renters: plants are freestanding, move with you, and cost nothing in deposit risk. They also solve a real sloped-room problem — the empty vertical space under the peak that makes the room feel top-heavy and unfinished.
How to do it:
- Place one tall plant — a fiddle-leaf fig, a monstera, or a tall snake plant — in the corner under the peak, in a heavy pot that won’t tip.
- Add two or three trailing plants on top of your low storage along the knee wall, so greenery spills down the low side.
- Keep a consistent watering routine, since plants under a slope can be easy to forget — set a weekly phone reminder if you need one.
- Use a plant stand or a low stool to lift a medium plant into the mid-slope zone, filling the awkward middle height.
- Rotate the tall plant a quarter turn every couple of weeks so it grows evenly toward the light instead of leaning into the slope.
My renter tip: check how much light the peak actually gets before you buy a light-hungry plant. Sloped rooms with a single skylight can be bright at noon and dim by 3 p.m. Snake plants, pothos, and ZZ plants are forgiving choices for that uneven light, and they survive a missed watering or two.
Approximate cost: $30–$120 for a tall plant and pot; $15–$50 for trailing plants.
10. Hang Curtains High to Level the Room
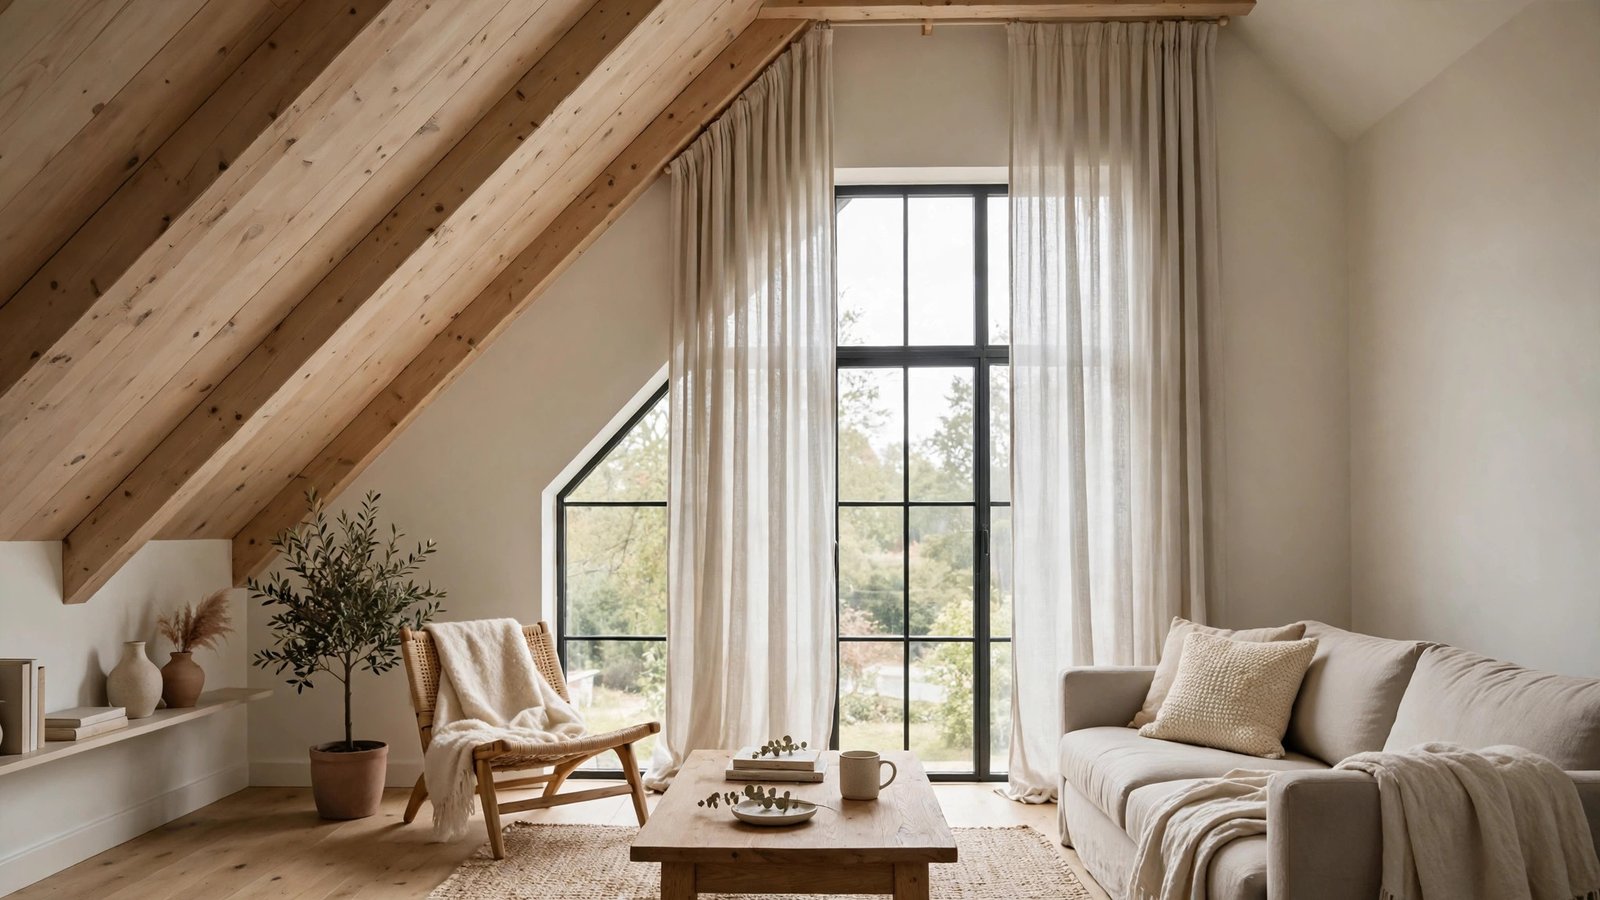
Curtains are a visual trick every renter should know, and they work even harder in a sloped room. Hanging curtains high — at the peak height or just below the tallest point of the window wall — draws the eye up and makes the ceiling feel taller and more even than it is. The curtain line becomes a new, level horizon in a room full of angles.
Why it works for renters: this uses a tension rod inside the window frame or removable hooks on the trim, so there is no drilling and no damage. When you move out, the rod comes down and the window looks exactly as it did. It is one of the cheapest transformations on this list for the visual payoff.
How to do it:
- Measure your window and the wall above it, and note the highest point you can hang a rod without hitting the slope.
- Fit a tension rod inside the window frame at the highest comfortable point, or use removable hooks on the trim if your frame allows it.
- Choose curtain panels long enough to reach the floor from that high hanging point — the long vertical line is what creates the leveling effect.
- Hang the panels so they stack to the sides of the window when open, framing the glass rather than covering it.
- Pick a light, solid color that blends with the wall, so the curtains read as architecture rather than decoration.
My renter tip: this trick only works if the curtains actually reach the floor. Panels that stop halfway down chop the room in half and make the slope look even lower. Measure from your hanging point to the floor and buy the next length up if you are between sizes — you can always hem with iron-on tape.
Approximate cost: $25–$80 for a tension rod and two panels.
11. Zone the Room With a Rug Under the Peak
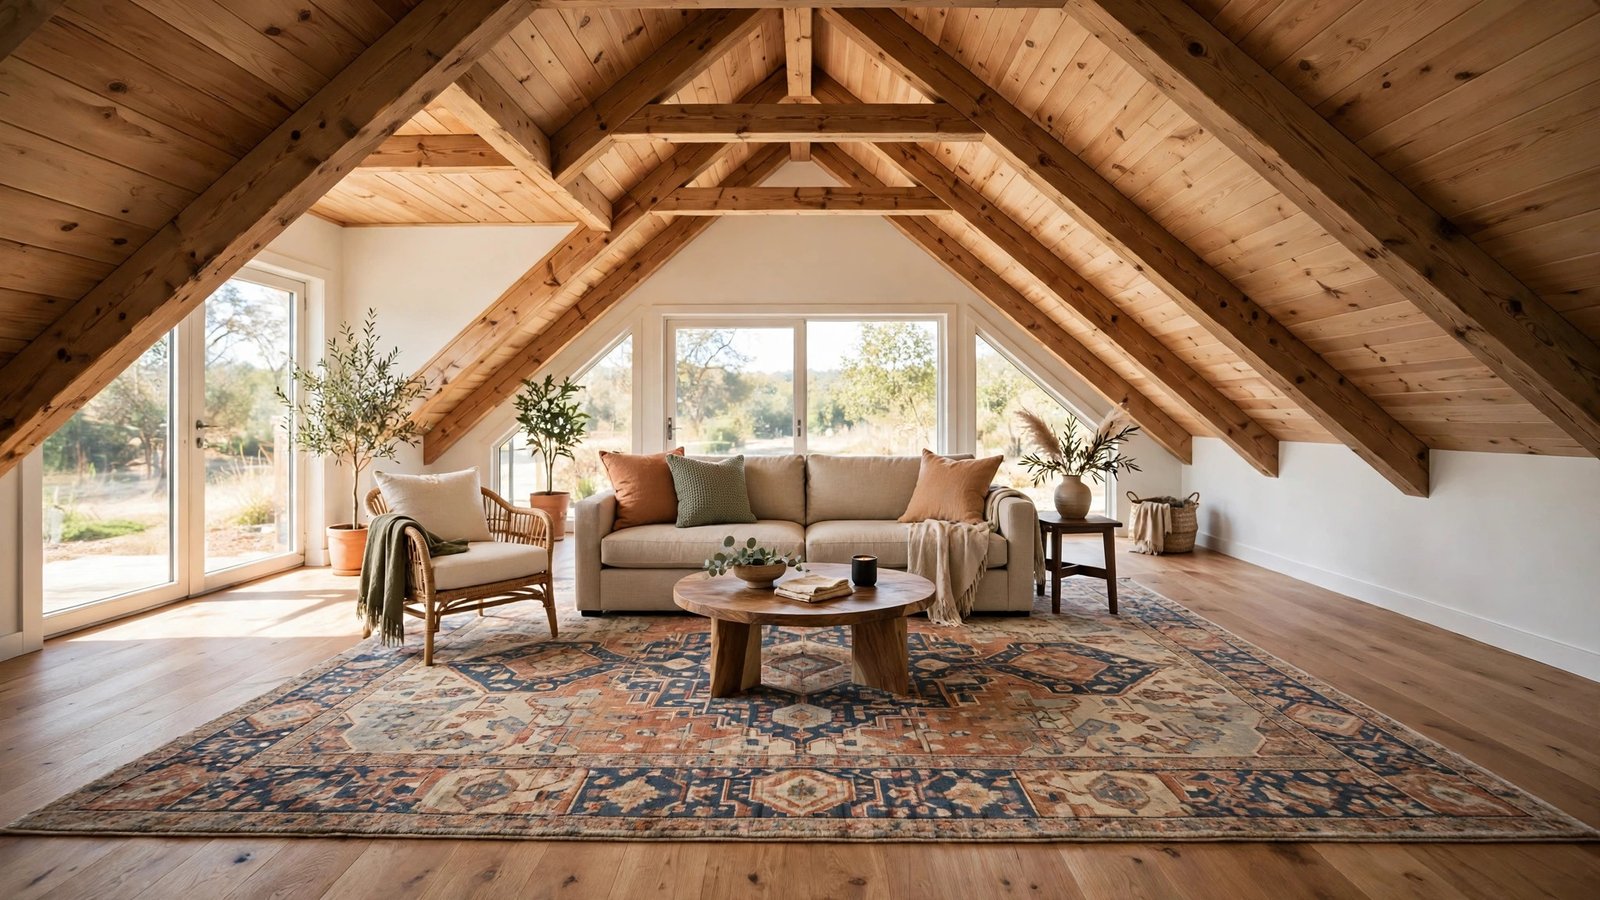
In an open sloped room, especially a studio or a combined living and dining space, it is hard to tell where the living room ends and everything else begins. A large rug placed under the peak solves that instantly: it draws a boundary on the floor that says “this is the living area,” and it anchors the seating where the headroom is best.
Why it works for renters: a rug is the ultimate no-commitment room divider. It needs no installation, it protects the floors (which landlords love), and it rolls up and moves with you. It also warms up attic floors, which are often the coldest floors in a building.
How to do it:
- Measure your seating arrangement and choose a rug large enough to sit under the front legs of the sofa and all the way under the coffee table.
- Center the rug under the peak or the mid-slope, so the main seating zone sits where the ceiling is tallest.
- Layer a smaller, patterned rug on top if your base rug is plain — the layering adds visual weight that helps the zone read as deliberate.
- Use a non-slip rug pad underneath, especially on wood floors, so the rug doesn’t creep toward the low wall over time.
- Leave a border of bare floor around the rug, at least a foot on the walking side, so the room doesn’t feel carpeted wall to wall.
My renter tip: in a sloped room, rug size matters more than rug pattern. A rug that is too small makes floating seating look like furniture adrift, while one that is too big swallows the walking lane along the low wall. When in doubt, size up — a rug that reaches under the sofa’s front legs and the coffee table is doing its job.
Approximate cost: $80–$300 for a large area rug; $20–$50 for a rug pad.
12. Light the Slope to Lift the Ceiling
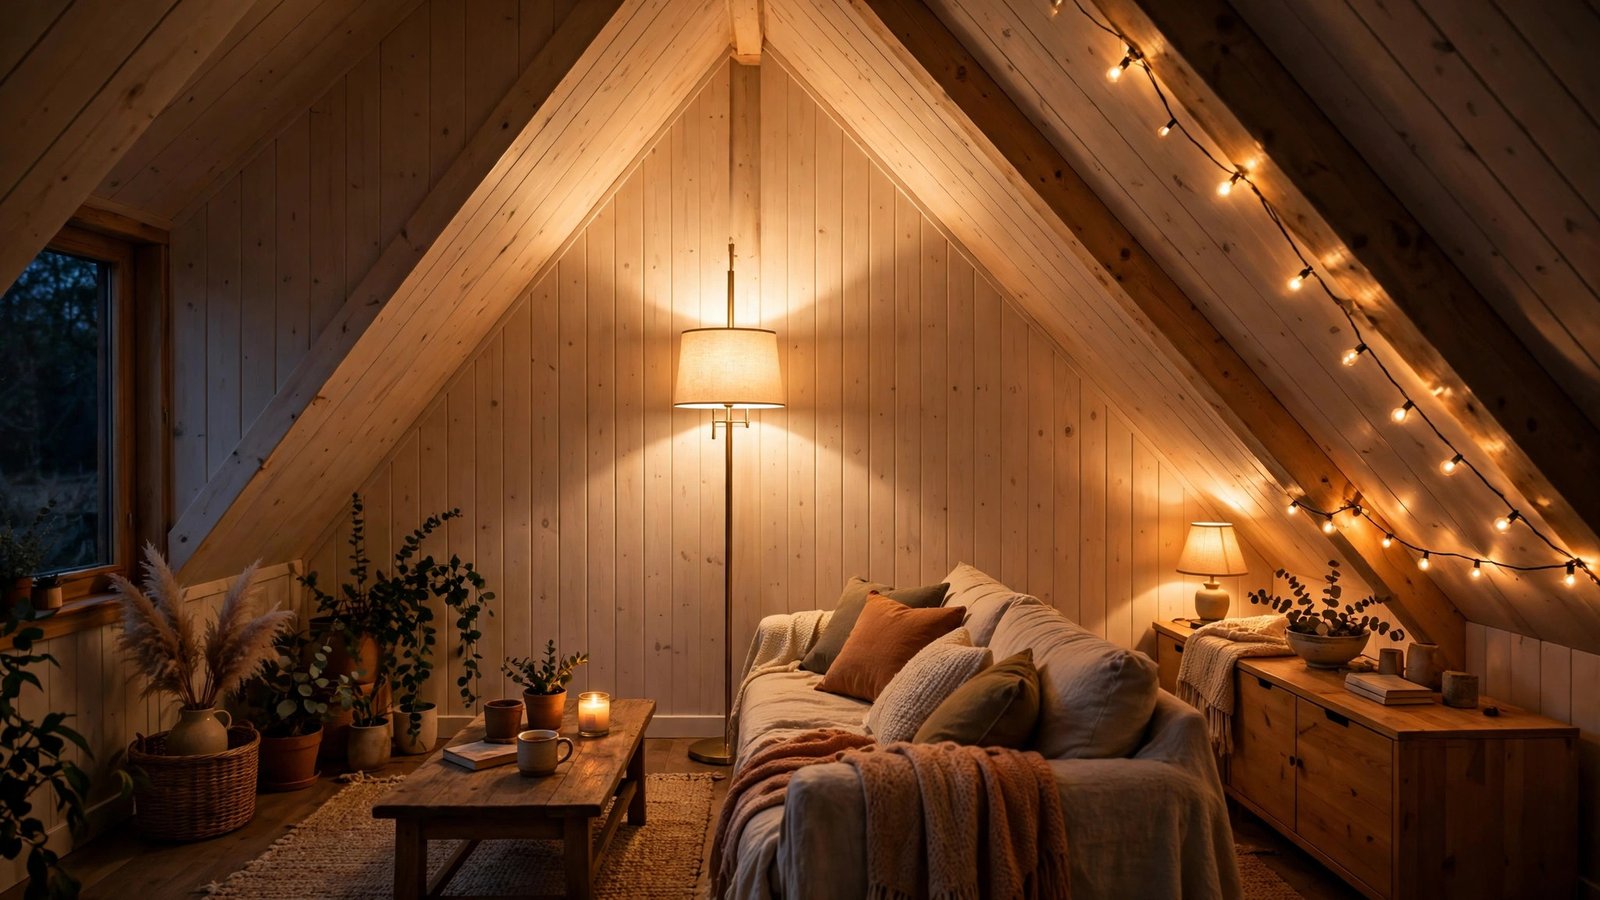
Sloped ceilings swallow light. A single overhead fixture in the peak leaves the low side in shadow, and the shadow is what makes the slope feel oppressive. Layered lighting — floor lamps, table lamps, and removable strip or string lights run along the slope — washes the angled ceiling with light and makes it feel higher, warmer, and intentional.
Why it works for renters: this whole idea runs on freestanding lamps and removable adhesive hooks, with battery-operated options that need no wiring at all. Nothing is hardwired, nothing is drilled, and everything comes down in minutes. If any single light needs landlord permission — for example, a fixture that replaces an existing ceiling mount — flag it and skip it; the freestanding layers alone do most of the work.
How to do it:
- Start with one tall floor lamp under the peak, aimed upward, to wash the highest part of the ceiling with light.
- Add a table lamp on your low storage or side table on the slope side, so the low zone gets its own warm pool of light.
- Run a battery-operated string light or LED strip along the slope using removable adhesive clips, following the angle of the ceiling rather than fighting it.
- Put the string lights on a timer or a remote so you can switch them without climbing into the eaves.
- Finish with a small rechargeable lamp in the reading nook or on the daybed, so every zone in the room has its own light source.
My renter tip: stick to warm-white bulbs (around 2700K) for every layer. Cool-white light on a sloped ceiling reads as harsh and makes the angles look sharper; warm light softens the slope and is the cheapest way to make a sloped room feel like a cabin instead of an attic.
Approximate cost: $40–$150 for lamps and battery string lights.
Conclusion
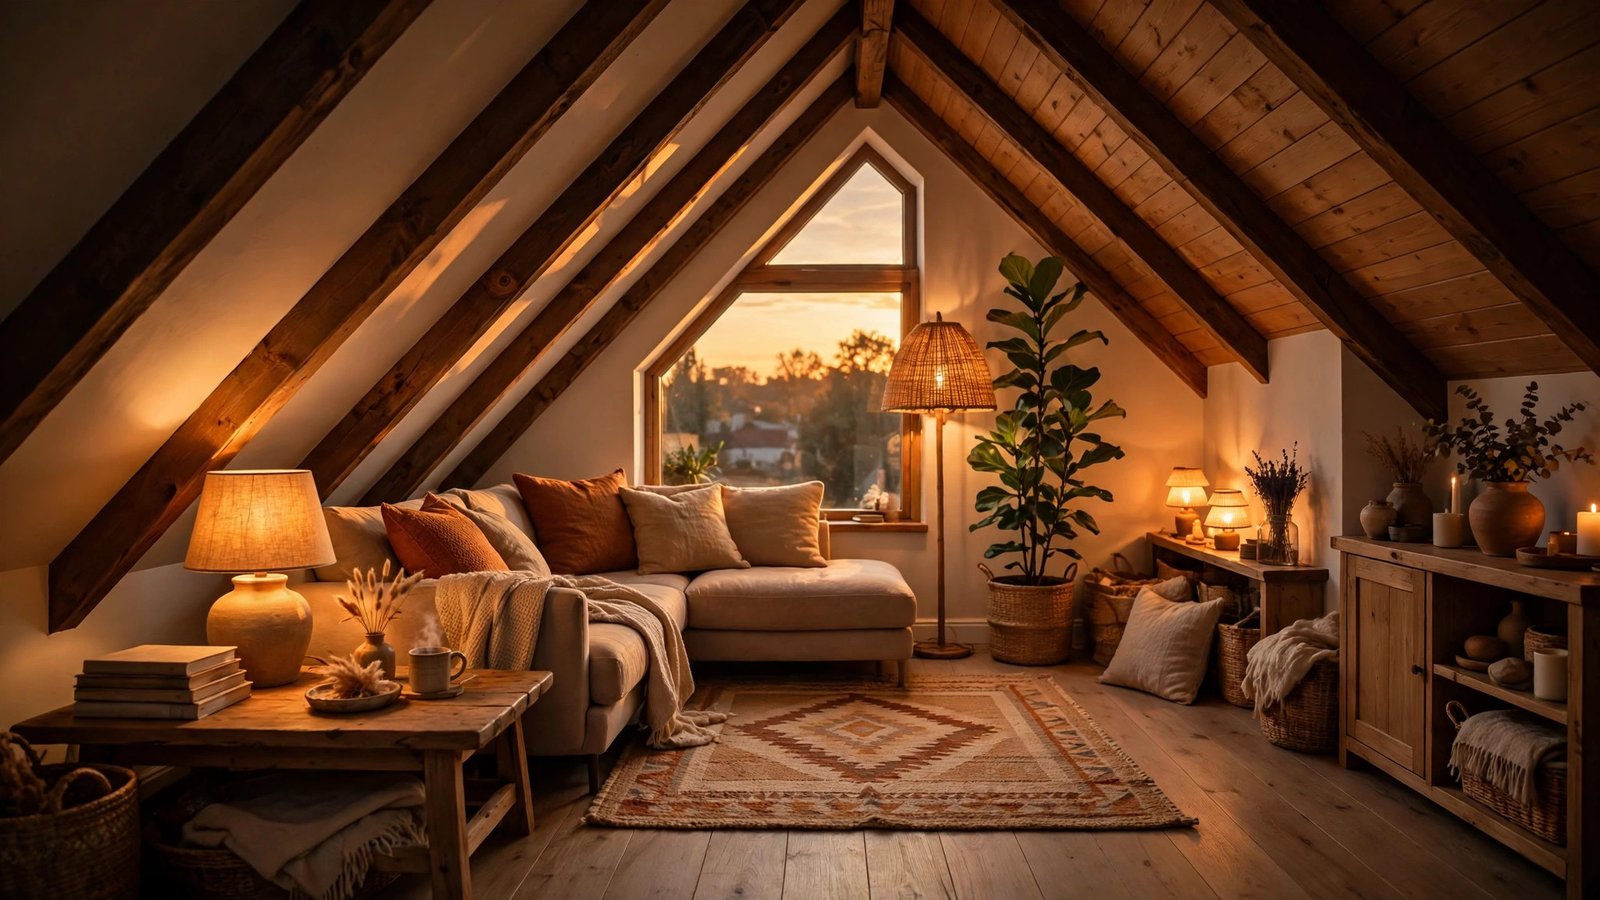
A sloped ceiling stops being a problem the moment you let it make the decisions. Put the sofa where you sit, not where you stand. Give the lowest corner a job — a nook, a daybed, a row of low storage — instead of leaving it empty and calling it wasted. Keep the tall wall for the TV, the peak for the plants and the light, and the walking lanes where your head actually clears the ceiling. That is the whole layout philosophy, and it works in attic apartments, top-floor rentals, and A-frames alike.
I’ve watched renters go from apologizing for their sloped living room to showing it off, and the change was never a renovation. It was a low sofa, a rug under the peak, a plant in the tall corner, and warm lights along the slope — small moves that make a room feel designed rather than compromised.
Start with one idea this weekend — the sofa move costs nothing, and the reading nook takes an afternoon. Live with it for a week, then add the next layer. Your sloped ceiling is not a flaw in your apartment; it is the most interesting thing about it.
Please save this visual guide on Pinterest and share it with any renter friend wrestling with a sloped ceiling — the next attic-apartment dweller you know will thank you for it.

Amelia leads HavenlyStyle’s editorial vision with a passion for elegant interiors and practical home living. With years of experience in home décor and lifestyle content, she ensures every article is accurate, inspiring, and easy to follow. From timeless decorating ideas to the latest interior design trends, Amelia is committed to helping readers create beautiful, functional spaces while maintaining HavenlyStyle’s trusted and welcoming voice.