I've helped dozens of renters throw celebrations in apartments that were never designed for parties — galley kitchens, living rooms that double as bedrooms, and front doors that open straight into the action. And if there is one kind of celebration that deserves extra thought, it is a welcome party for adoptive parents.
Here is the renter pain, doubled. You cannot paint the walls, drill into the trim, or hang anything heavy, and you also cannot plan around a due date. An adoption timeline moves on its own schedule: paperwork, waiting, and then, sometimes very quickly, placement. You may be celebrating before a child arrives, right after placement, or months later when the whole family finally feels settled. Guests may range from grandparents to toddlers to a ten-year-old who is about to become a big sibling. And the whole thing has to fit in a small apartment without feeling cramped or chaotic.
I have seen this done beautifully, again and again, with removable decor, flexible timing, and wording that welcomes a child without making assumptions about them. You do not need a big house, a big budget, or a perfect timeline. You need a plan that bends. These twelve ideas are all deposit-safe, renter-tested, and built around one promise: every guest leaves feeling like they celebrated a family, exactly as it is, right now.
Executive Summary
- Celebrate on a flexible timeline: design decor and invitations that work before placement, after placement, or months later, so a date change never wastes your work.
- Keep every decoration removable: command hooks, tension rods, freestanding displays, and tabletop decor protect your deposit and come down in minutes.
- Skip gendered themes and due-date language: warm, neutral palettes and inclusive wording welcome babies, toddlers, and older children alike.
- Design for a small apartment: one focal wall, one food table, and one cozy corner beat decorations scattered across every surface.
- Make guests part of the welcome: a wishes station, a photo corner, and take-home plant favors turn a small gathering into a lasting memory.
- Plan food and gifts for real life: a slow-cooker station suits a tiny kitchen, and an age-inclusive gift table honors children of every age.
1. A Welcome Gallery Wall That Grows With Your Family
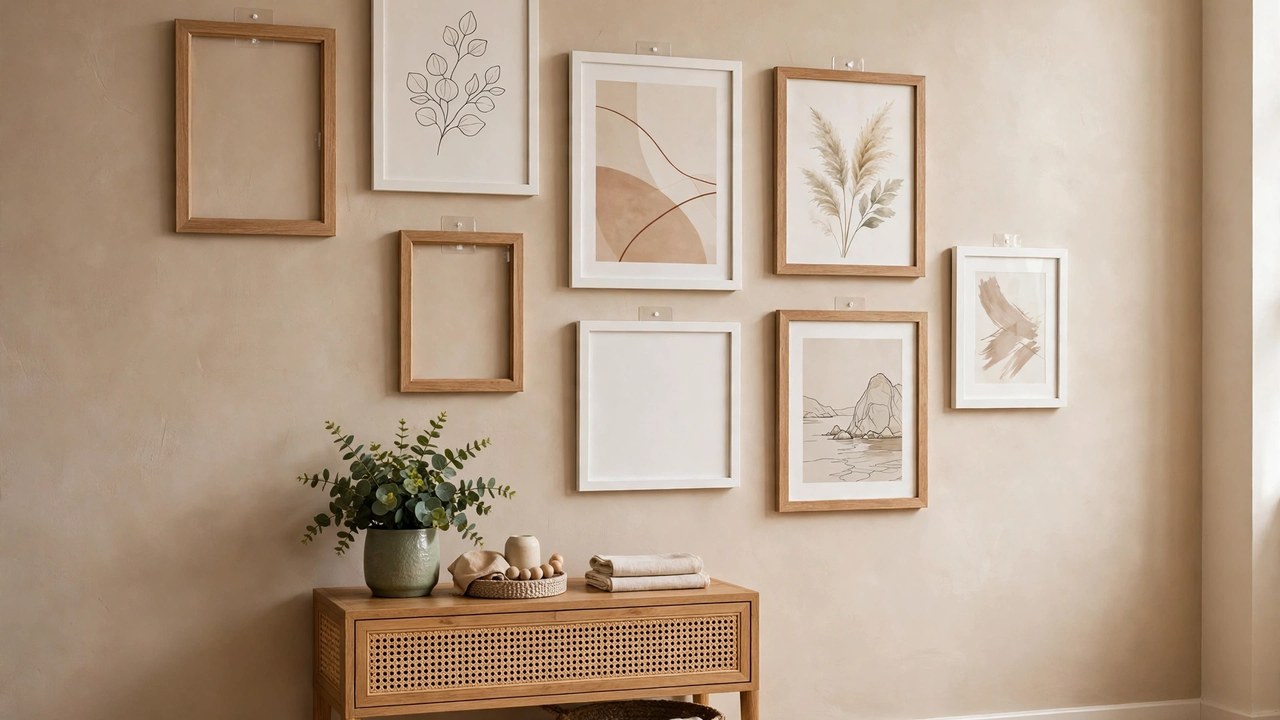
This is a display of framed photos, prints, and keepsakes arranged on one wall using removable adhesive strips and lightweight frames — a wall that tells your family's story so far and leaves room for what comes next.
It works so well for renters because nothing goes into the wall. Adhesive strips hold light frames on smooth painted surfaces, and when you move out, they peel away without holes to patch. It also works beautifully for adoptive families because it does not need a baby photo to be complete. You can start with a family photo, a favorite landscape print, a framed map of a meaningful place, or a simple piece of art in your palette, and add a child's photo later, when and if you choose to.
Here is how to build it:
- Choose one wall, ideally the one guests see first when they walk in, and measure a rectangle about four to six feet wide so the display feels intentional rather than scattered.
- Gather five to nine lightweight frames in one or two finishes, and lay the arrangement on the floor first so you can balance sizes before anything touches the wall.
- Hang the frames with removable adhesive strips rated for each frame's weight, following the strip instructions exactly and pressing firmly for the recommended time.
- Leave one or two empty frames, or a small blank space, in the arrangement — a quiet, hopeful detail that says this family is still growing.
- On party day, add a small tabletop sign or a few sprigs of greenery below the wall, and remove the strips cleanly when the party is over or when you move.
Approximate cost: $40–$120, depending on how many frames you already own.
2. A Date-Flexible Fabric Bunting Display
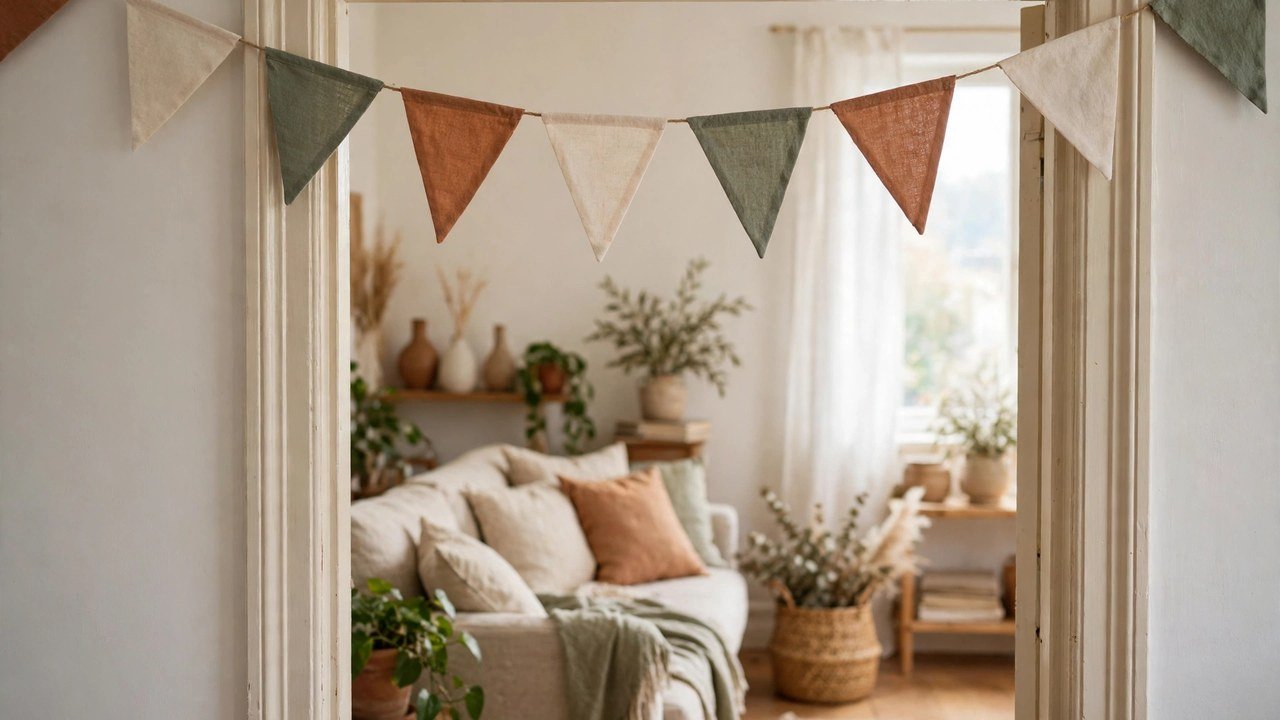
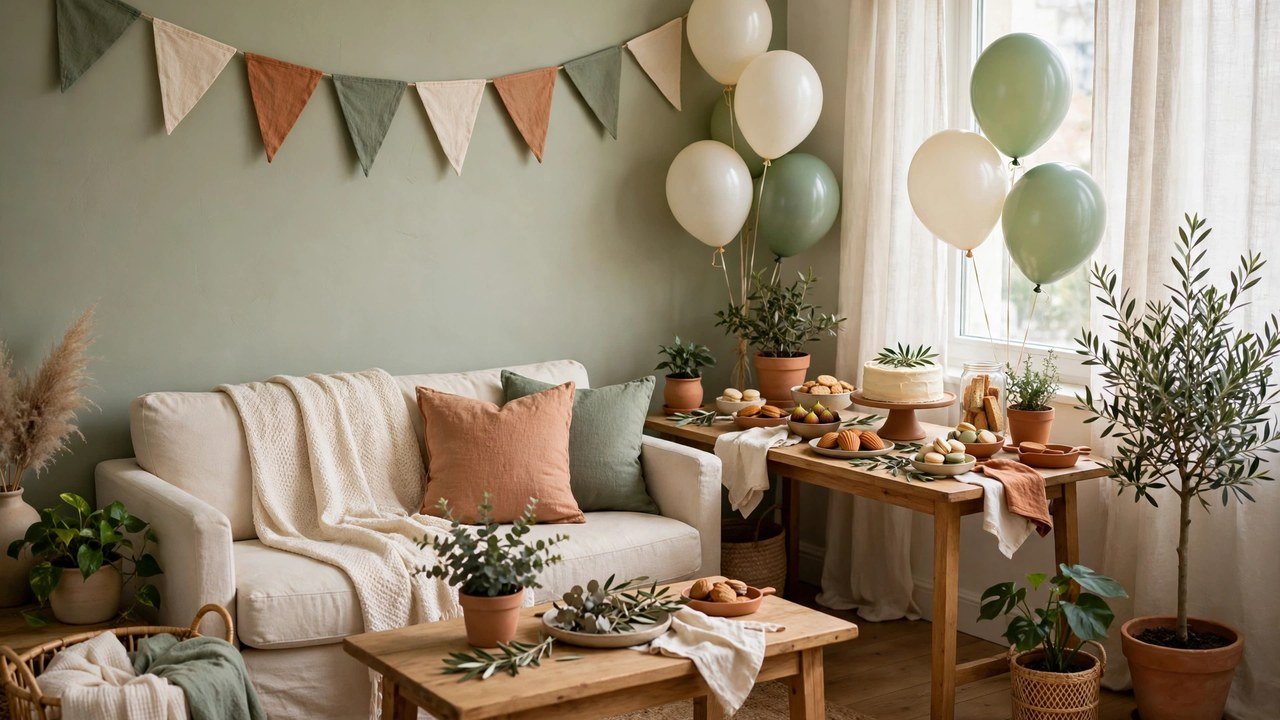
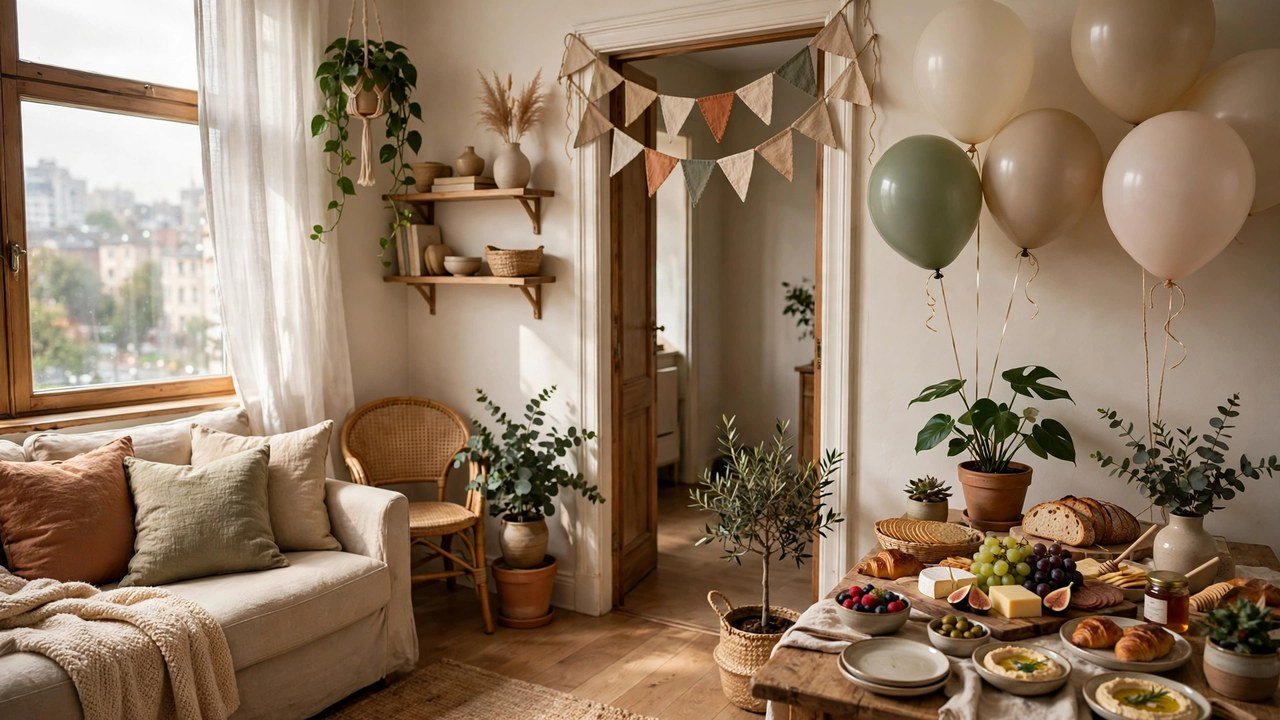
This is a reusable garland of fabric triangles strung across a doorway, a window, or a mantel — cheerful, soft, and completely free of dates, names, or wording that could go out of date.
For renters, fabric bunting is a dream: it hangs from removable hooks or a tension rod, weighs almost nothing, and folds into a drawer when the party ends. For adoptive parents, its real gift is flexibility. Because it carries no date and no specific message, you can buy or make it months ahead, and a celebration that moves from spring to summer — or from "before placement" to "after placement" — never makes your decor wrong.
Here is how to do it:
- Choose a warm, neutral palette — cream, sage, terracotta, and soft gold work in almost any rental — and pick a cotton fabric that drapes nicely.
- Cut triangles about eight inches wide, sew or iron them onto bias tape or ribbon, and leave a plain tail of ribbon at each end for tying.
- Hang the bunting from two removable hooks, a tension rod in a doorway, or a freestanding garment rack if your walls are off-limits.
- Layer two strands at different heights in a doorway for a fuller look, keeping walkways clear so guests, strollers, and little feet can pass safely.
- After the party, fold the bunting into a bag and save it — it works just as well for a first birthday, a welcome-home dinner, or a holiday gathering.
Approximate cost: $15–$50 if you make it yourself, $30–$80 if you buy a finished strand.
3. A Warm, Gender-Free Color Palette
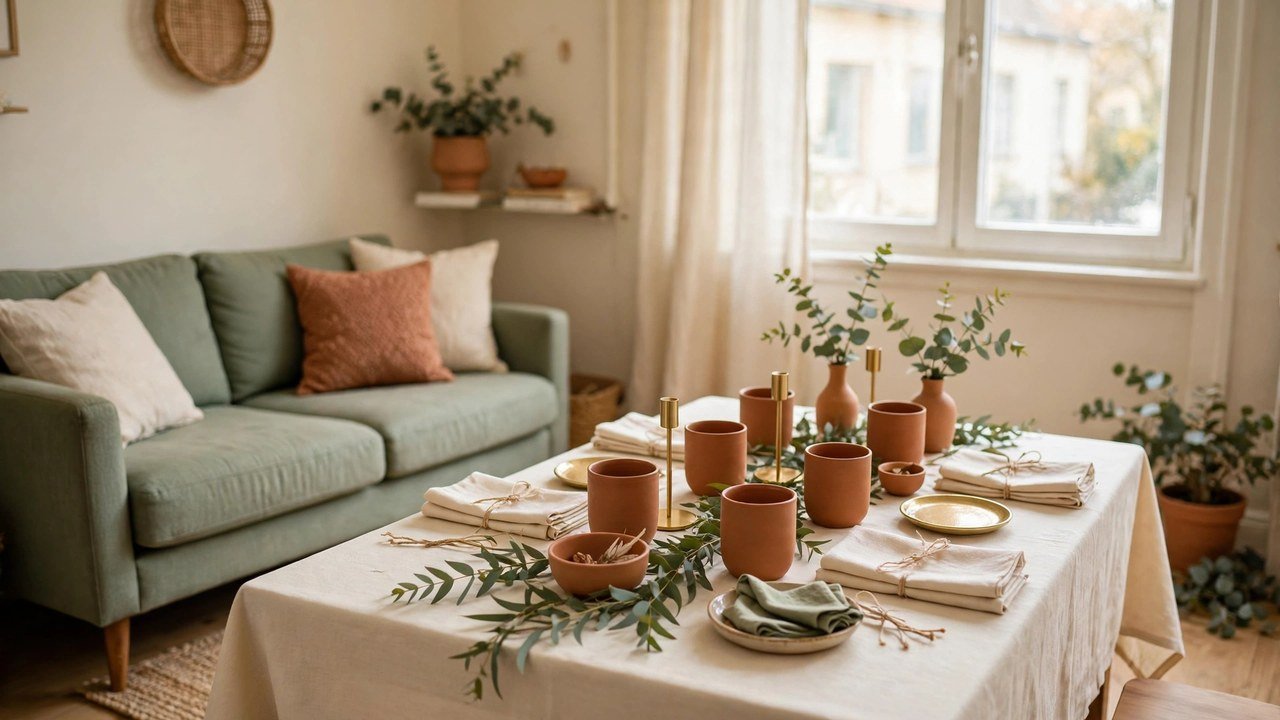
This is a whole-party color scheme built on warm neutrals and nature tones — cream, sage green, terracotta, soft gold, and dusty blue — instead of a traditional pink-or-blue theme.
It works for renters because a palette costs nothing to change and requires no permanent decor: it lives in tablecloths, napkins, balloons, and flowers you already plan to buy. It works for adoptive families because it welcomes a child without guessing anything about them. You do not need to know a baby's gender, age, or interests to choose terracotta and sage, and the palette photographs beautifully whether your guest of honor is six weeks old or six years old.
Here is how to use it:
- Pick three colors maximum — one light neutral, one warm accent, and one green — and write them on a note in your phone so every purchase stays on palette.
- Start with the biggest surfaces first: a cream or sage tablecloth, neutral napkins, and one accent color in the cups or plates.
- Carry the palette into flowers and greenery, choosing eucalyptus, cream roses, or seasonal stems rather than dyed or themed blooms.
- Keep balloons, if you use them, in the same three colors, and skip printed or lettered balloons that could clash or date the photos.
- When the party ends, keep the tablecloths and napkins — a neutral palette is the one party purchase you will genuinely reuse.
Approximate cost: $25–$70 for table linens and paper goods in your palette.
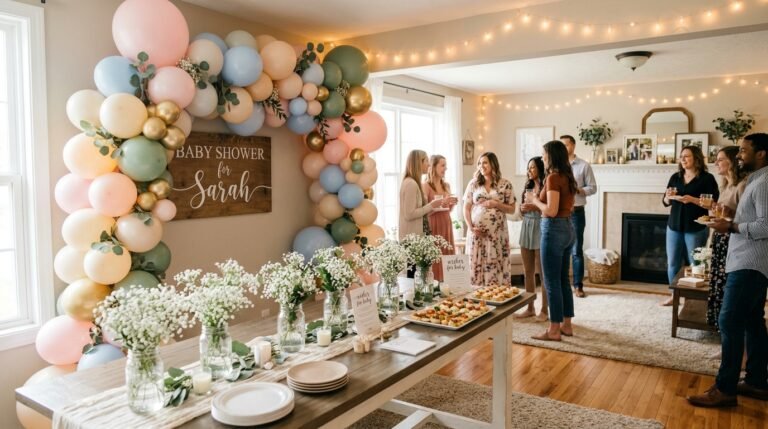
4. A Command-Hook Balloon Arch (No Drilling)
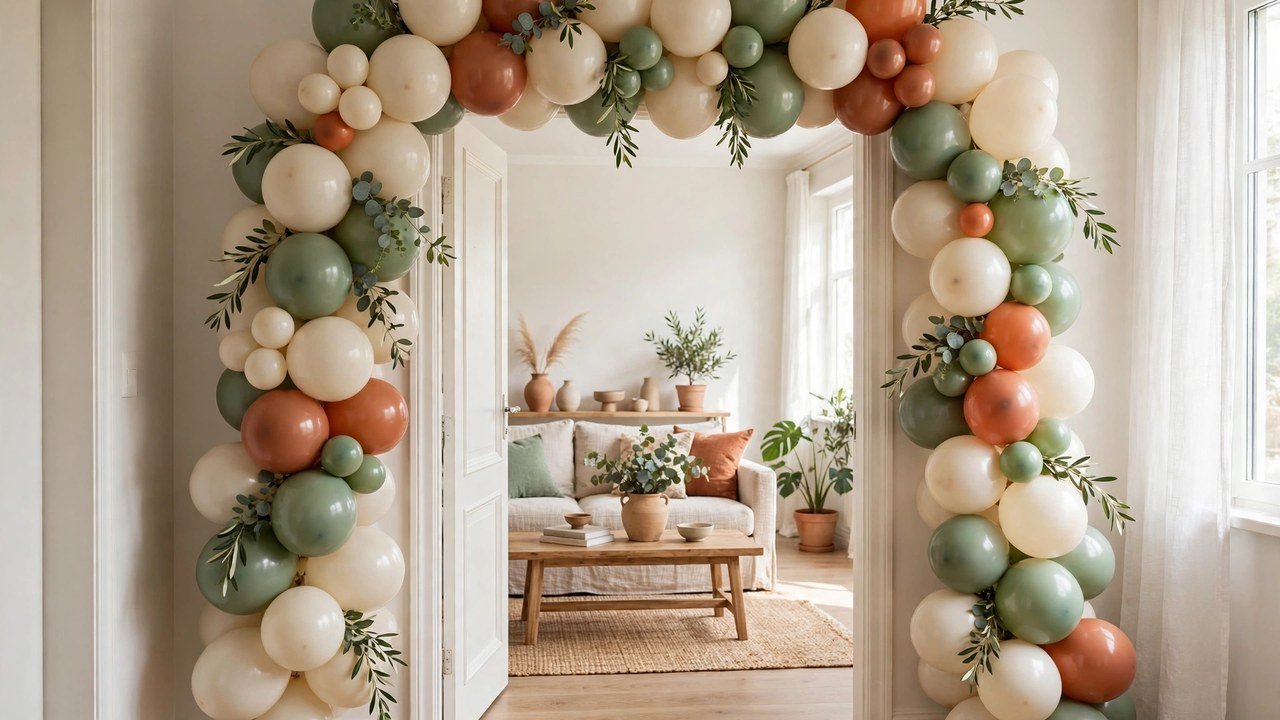
This is a balloon garland draped along a doorway, a window frame, or one living-room wall, built on a flexible decorating strip and hung from removable adhesive hooks.
Renters love this one because it delivers the biggest visual impact in the room without a single nail, screw, or patch of wall repair. Adoptive parents love it because it is fast: you can build the whole arch in an afternoon, even if placement news arrived this week and the celebration is this weekend. It also photographs as a natural gathering spot, giving guests an obvious place to stand for photos.
Here is how to build it:
- Buy a balloon decorating strip, a small hand pump, and balloons in your three palette colors, in two sizes if you can, for a fuller, more organic look.
- Inflate the balloons to varied sizes — not every balloon needs to be fully round — and thread them onto the strip, alternating colors as you go.
- Stick two to four removable hooks along the top of your doorway or wall, checking the weight rating and pressing them on the day before if the instructions suggest a curing time.
- Drape the garland over the hooks, tucking extra balloons into any gaps, and add a few sprigs of faux greenery for softness.
- Take photos early, while the arch is freshest, and peel the hooks away after the party, following the removal instructions to protect the paint.
Approximate cost: $30–$75, including the pump if you do not already own one.
5. A Tension-Rod Fabric Photo Backdrop

This is a floor-to-ceiling curtain of fabric hung from a tension rod in a doorway or between two walls, creating a soft, pretty background for photos without touching the walls at all.
For renters, the tension rod is the hero: it wedges into place with pressure alone, holds a surprising amount of weight, and leaves zero marks. For a welcome celebration, a fabric backdrop solves a real problem — rental walls are often blank, scuffed, or painted a color you did not choose, and a backdrop gives every photo a warm, finished background. It also doubles as a room divider, tucking a cluttered corner out of sight in a small apartment.
Here is how to set it up:
- Measure your doorway or wall span, and buy a tension rod rated for that width plus a curtain panel or length of fabric at least seven feet long.
- Twist the rod into place at about seven feet high, testing that it holds firm before you hang anything heavy on it.
- Slide the fabric onto the rod and let it pool slightly on the floor for a soft, intentional look, or hem it to just brush the floor.
- Place a small stool or a basket of props nearby — a plush toy, a storybook, a small plant — so guests have something natural to hold in photos.
- After the party, fold the fabric away and collapse the rod; both store flat and work again for future celebrations.
Approximate cost: $25–$60 for the rod and fabric.
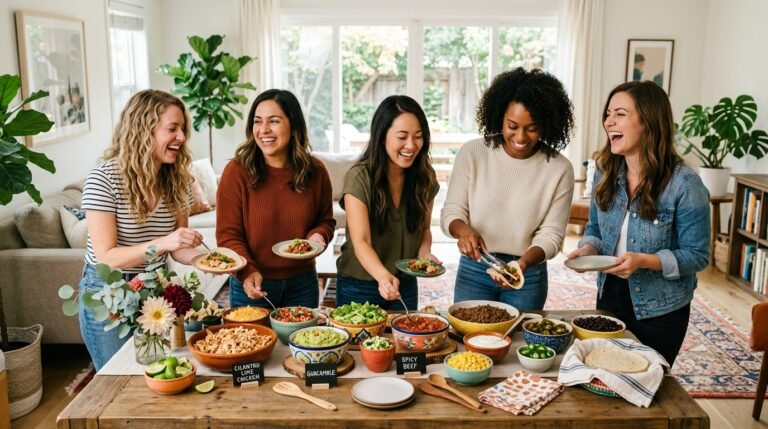
6. A Small-Space Dessert and Drinks Table
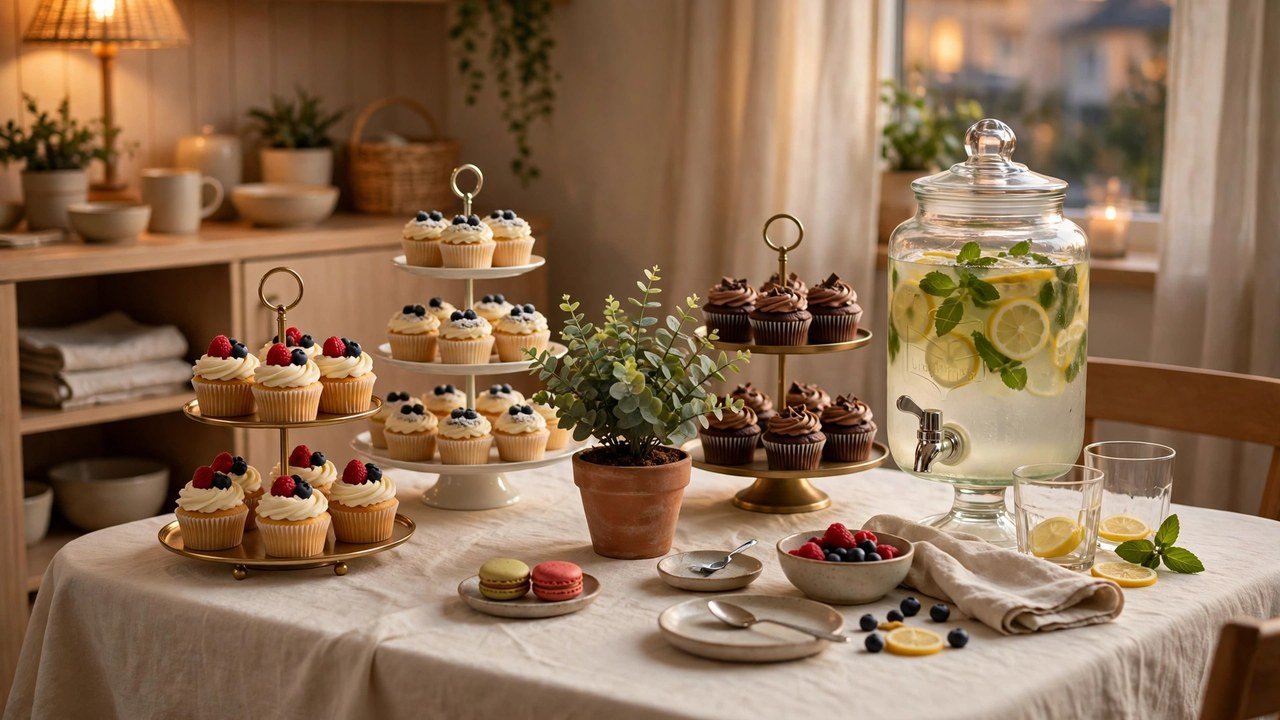
This is a single, well-styled table that holds all your food and drinks in one place — tiered stands, a mix of heights, and a clear flow — so a tiny apartment never feels like a buffet line took over the whole room.
Renters in studios and one-bedrooms know the problem: there is no dining room, so food ends up on every surface and guests end up holding plates with nowhere to sit. One dedicated table solves it. It also suits adoptive celebrations beautifully, because a single table is easy to set up quickly, easy to adapt if the guest list changes, and easy to make welcoming for children of different ages — lower items for little hands, grown-up drinks clearly separated.
Here is how to style it:
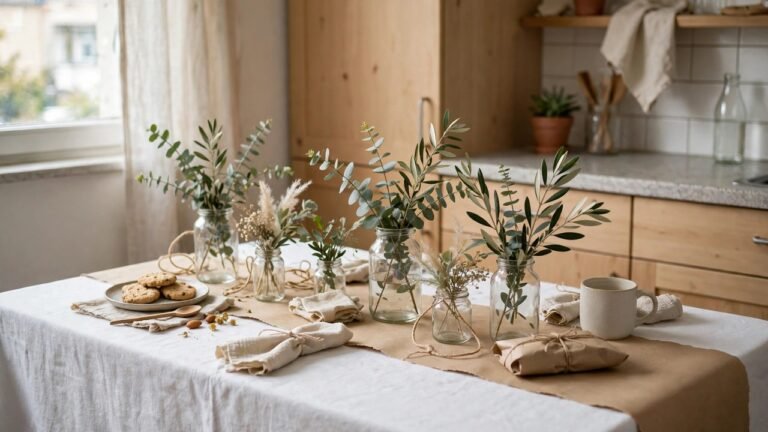
- Choose your largest stable surface — a kitchen table, a folding table with a floor-length cloth, or even a cleared dresser top — and cover it in your palette's neutral cloth.
- Build height with what you own: a cake stand, an overturned sturdy box under a cloth, and a small wooden crate create three levels without buying anything new.
- Place drinks at one end and food at the other, with cups, napkins, and small plates in the middle, so guests move in one direction instead of clustering.
- Add one floral arrangement or a small potted plant as the centerpiece, and keep the rest of the table clear — crowded tables look messy in photos.
- Set a small trash bowl or bag nearby and clear plates as you go; in a small space, tidiness is the best decoration you have.
Approximate cost: $30–$90, mostly food and drinks, since stands and cloths are often already at home.
7. A Wishes-and-Advice Card Station
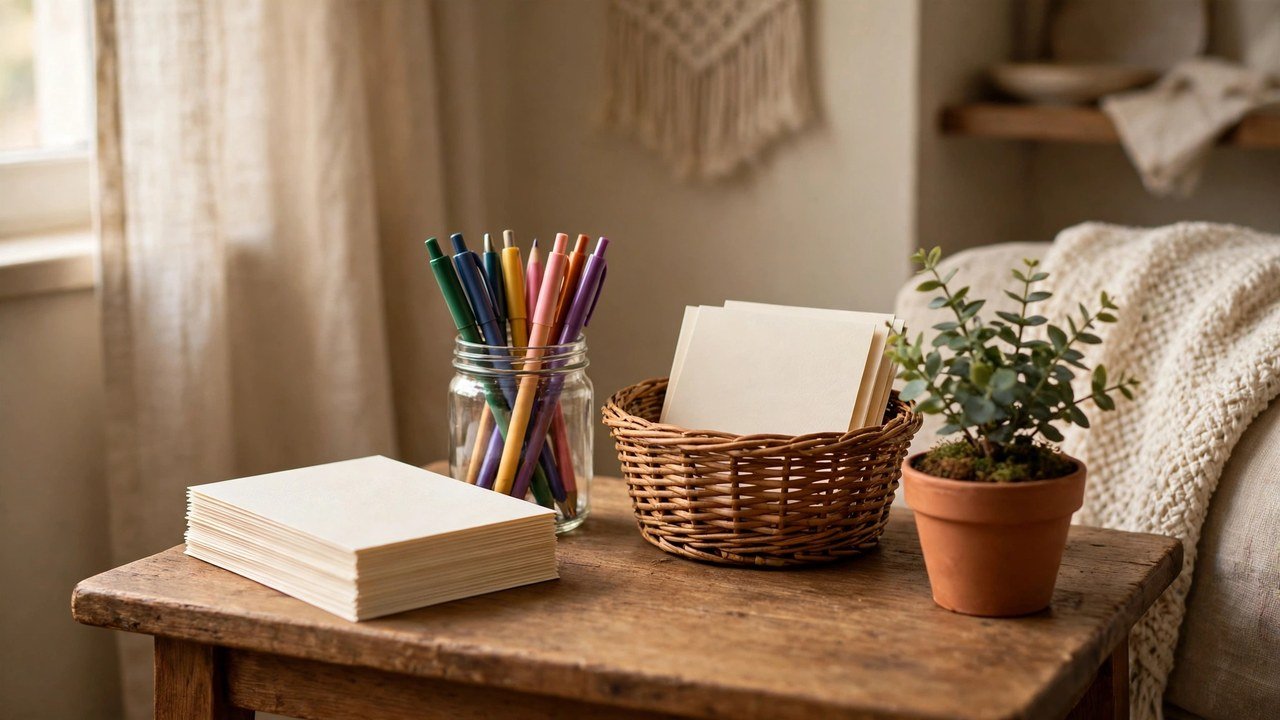
This is a small table with blank cards, pens, and a pretty box or basket, where guests write a wish, a piece of advice, or a favorite memory for the growing family.
It works for renters because it needs nothing more than a corner of a table and a basket you already own — no wall space, no installation, no cleanup drama. For adoptive families, it is one of the most meaningful ideas on this list: guests are invited to celebrate the family as it is, in their own words, without any prompts that assume a pregnancy, a due date, or a baby's story. The cards become a keepsake you can read together later, and children can draw pictures instead of writing.
Here is how to set it up:
- Choose a quiet corner near the entrance or beside the food table, and cover it with a small cloth in your palette.
- Set out blank cards or half-sheets of cardstock, a cup of pens in different colors, and a basket, box, or small suitcase to collect finished cards.
- Write one open prompt on a small card of your own, such as "A wish for our family" or "Our favorite thing to do together will be…" — open enough for every guest to answer honestly.
- Add a few crayons and stickers so younger guests can decorate their cards, and keep the station stocked through the party.
- Afterward, read the cards together as a family, and store them in the basket or a keepsake box for a future anniversary of the day.
Approximate cost: $10–$35 for cards, pens, and a basket if you do not already own one.
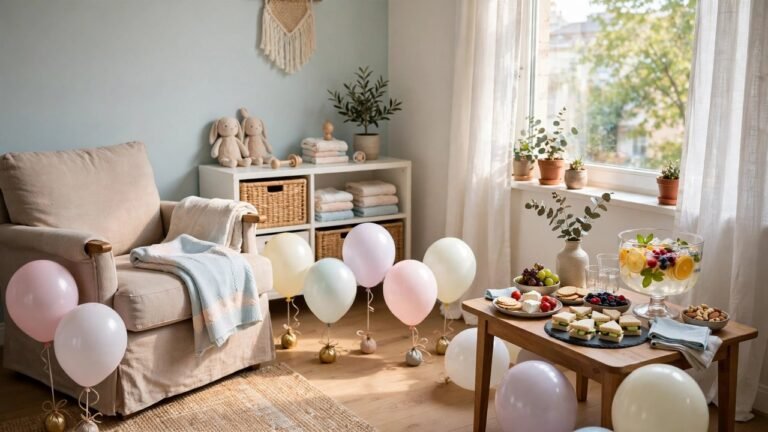
8. A Cozy Story Corner for Guests of All Ages
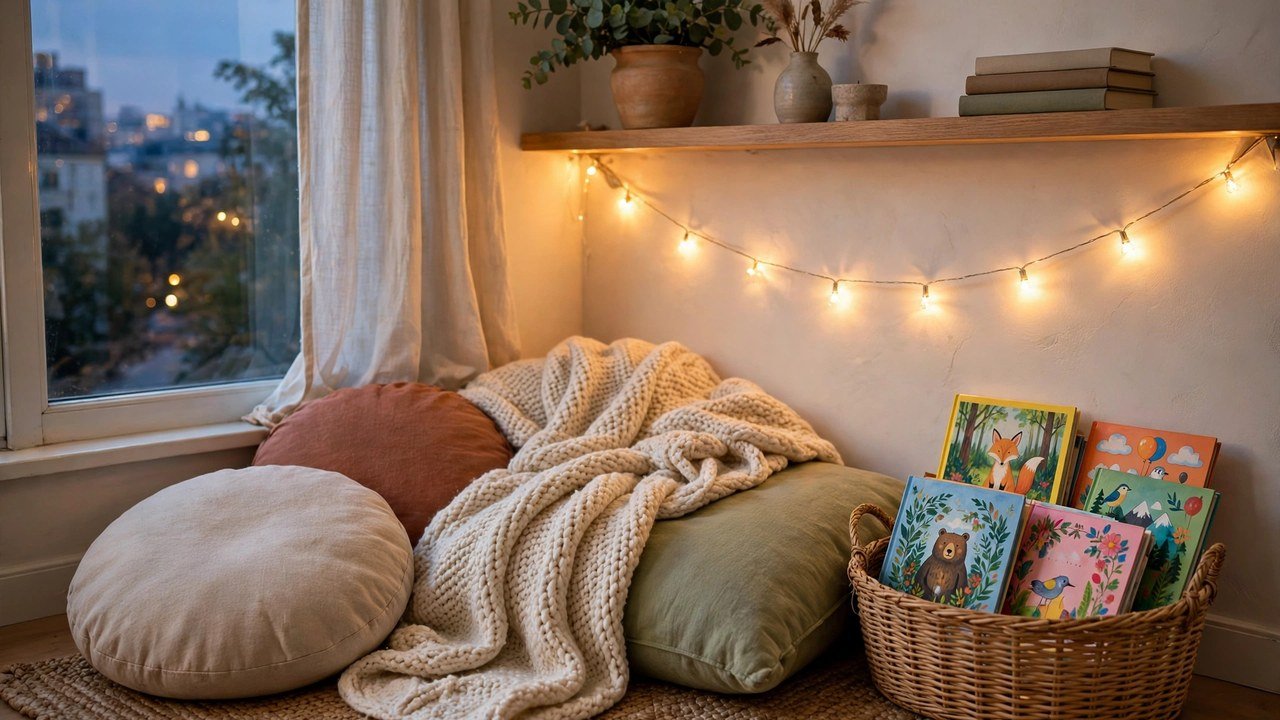
This is a reading nook built from floor cushions, a soft blanket, and a basket of picture books, tucked into a corner of the living room where children — and tired adults — can settle during the party.
Renters love this idea because it uses furniture you already own and soft furnishings that pack away in minutes, while instantly making a small apartment feel warm and lived-in. For adoptive families, it carries a deeper meaning: stories are how families bond, and a story corner welcomes older children as fully as babies. A ten-year-old who might feel overlooked at a "baby" shower has a place that is clearly for them, too, with chapter books and graphic novels alongside the picture books.
Here is how to create it:
- Pick the quietest corner of your living room, away from the food table and the front door, and lay down a rug or a large blanket to define the space.
- Stack floor cushions, a beanbag, or folded blankets into a low, inviting seat, and drape a soft throw over the back.
- Fill a basket with a mix of books: picture books for little ones, a chapter book or two for older children, and one beautiful family read-aloud for the adults.
- Add a small battery-operated lamp or string of warm fairy lights nearby — soft light makes a corner feel magical without any wiring or installation.
- During the party, invite an older child or a grandparent to read aloud for a few minutes; it becomes a memory guests talk about long after the balloons come down.
Approximate cost: $20–$60, mostly cushions or books if you need to add a few.
9. Potted Plant Favors Guests Can Take Home
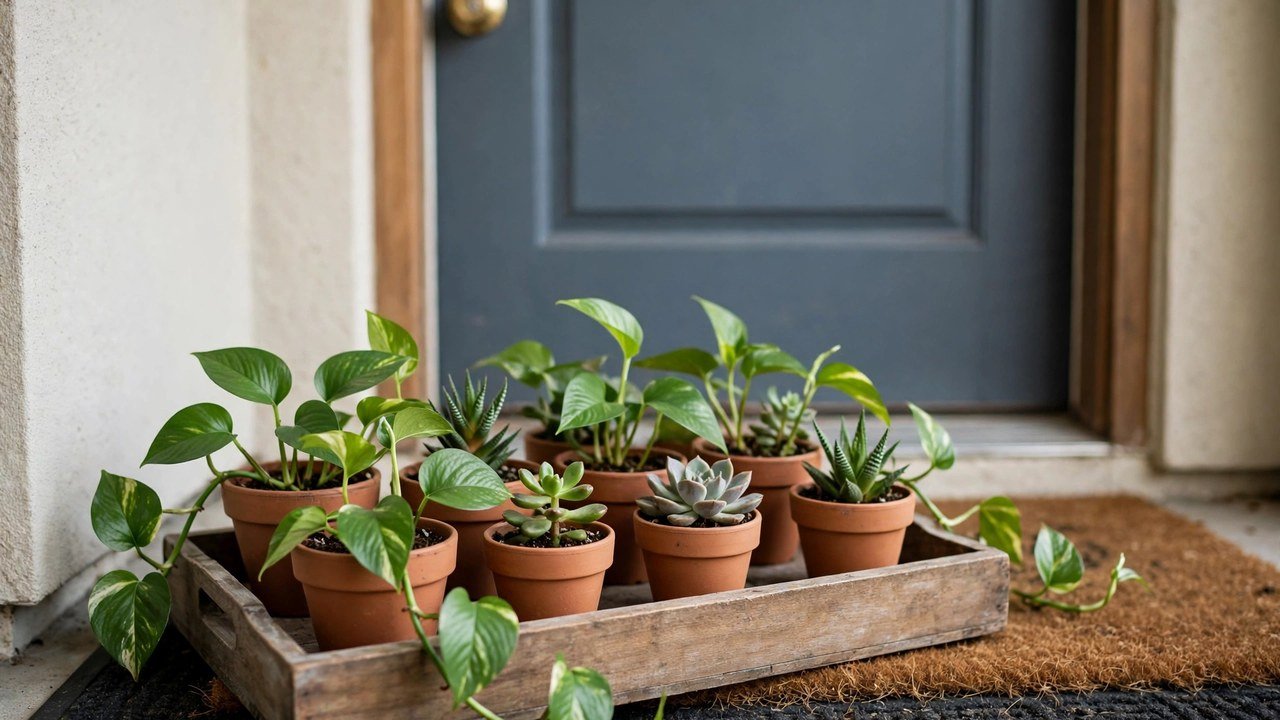
This is a favor table of small potted plants — herbs, succulents, or trailing pothos in plain terracotta pots — that each guest takes home as a living reminder of the celebration.
For renters, plant favors are wonderfully practical: they double as party decor on the table, they need no wrapping or assembly line, and there is nothing to throw away at the end of the night. Symbolically, they are perfect for an adoption celebration — a plant, like a family, grows with care and time, and the metaphor needs no explanation or awkward wording. Guests leave with something alive, useful, and genuinely welcome in their own homes.
Here is how to do it:
- Choose hardy, low-maintenance plants — pothos cuttings, small succulents, or potted basil and mint — and buy them a week ahead so they settle before party day.
- Pot them in small plain terracotta or kraft-paper pots, and add a layer of soil and a light watering the day before the party.
- Arrange the pots on a tray or a wooden board near the door, grouped by type, so guests can choose one as they leave.
- Tuck a small plain tag into each pot with a simple message like "Thank you for growing with us" — short, warm, and true for every kind of family.
- Keep any leftover plants for yourself; they become the first greenery in your newly celebrating home, and they cost you nothing extra.
Approximate cost: $2–$8 per plant, or roughly $40–$100 for a party of fifteen to twenty guests.
10. A First-Year Milestones Clip Display
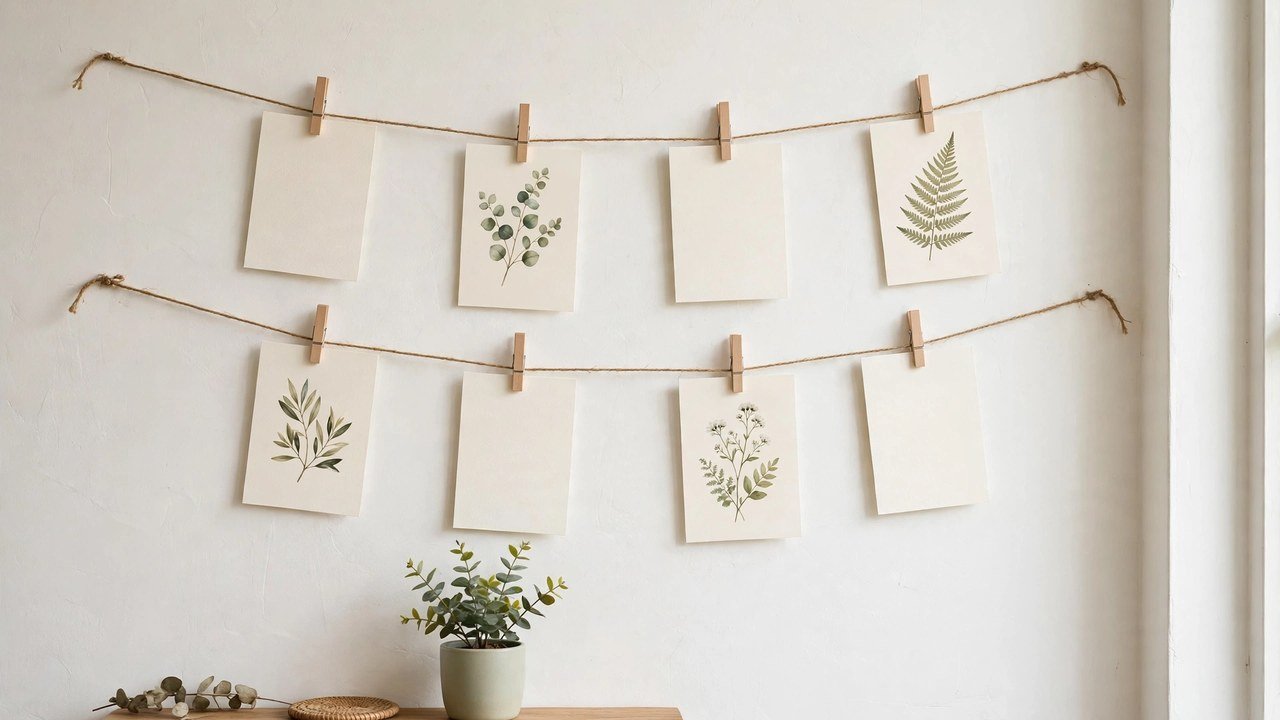
This is a string of photos, cards, or illustrated milestone markers clipped to twine or ribbon with small wooden clips, strung between two removable hooks or along a tension rod.
Renters love clip displays because they hang from two points, come down in seconds, and let you swap photos in and out without rehanging anything. For adoptive families, the idea is gently powerful: instead of a timeline that starts at a due date, you display milestones that belong to your family — first family photo, first story read together, first meal cooked together, first walk around the block. Guests can add their own milestone cards to the line during the party, and the display grows more personal as the day goes on.
Here is how to build it:
- Cut two lengths of twine or grosgrain ribbon to span your chosen wall or doorway, and hang them from removable hooks or a tension rod, one above the other.
- Gather a mix of items to clip up: a few family photos, plain cards with milestone words, and small illustrations or pressed leaves in your palette.
- Clip the items along the lines with small wooden clips, spacing them evenly and leaving a few empty clips at the end for guests to fill.
- Set a small stack of blank cards and a pen nearby, inviting guests to write a milestone they hope your family reaches together.
- After the party, take the display down, store the clips and twine together, and keep the cards — they make a beautiful first-anniversary keepsake.
Approximate cost: $10–$30 for twine, clips, and cards.
11. A Slow-Cooker Comfort Food Station for a Tiny Kitchen
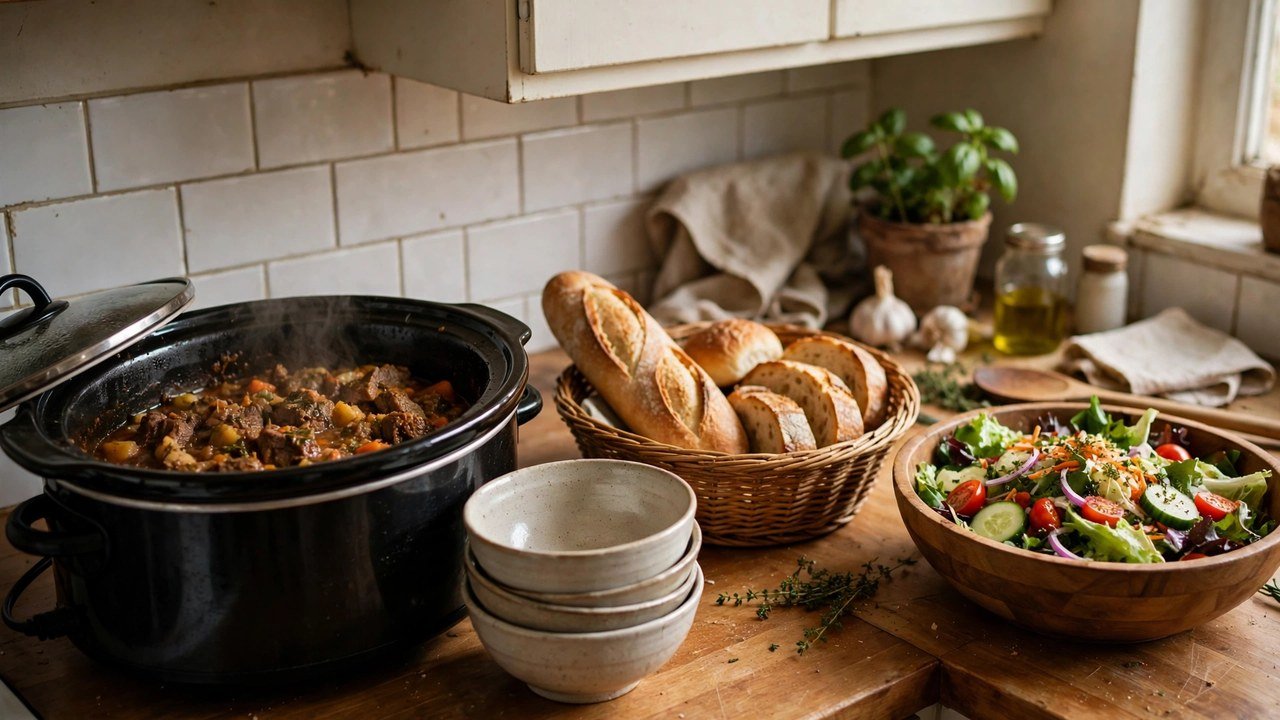
This is a self-serve food station built around one or two slow cookers — a warm main dish, a pot of soup, or a hot dip — plus simple sides guests can assemble themselves.
Small rental kitchens are the hardest party problem of all: one oven, two burners if you are lucky, and a counter that disappears under prep bowls. A slow cooker solves it by cooking ahead, holding food safely warm for hours, and freeing every burner and every inch of counter. For a celebration whose date may shift, it is also forgiving: a slow-cooker menu can be shopped and prepped in a day, and leftovers stretch into easy family meals after the guests leave.
Here is how to run it:
- Choose one crowd-friendly slow-cooker dish — a pulled chicken, a vegetable soup, or a warm bean dip — and test it once before party day so timing is no surprise.
- Set the cooker on a heat-safe mat on your counter or table, with a small ladle, a stack of bowls, and a clear label of what the dish is.
- Add two no-cook sides guests assemble themselves, such as a bread basket with butter and a simple salad or slaw in a big bowl.
- Keep drinks and desserts on a separate surface, even if that surface is just a cleared bookshelf, so the food line never jams.
- Start the cooker in the morning, greet your guests without rushing, and pack leftovers into containers before the party ends — future-you will be grateful.
Approximate cost: $40–$90 for ingredients, depending on guest count, if you already own a slow cooker.
12. An Age-Inclusive Welcome Gift Table
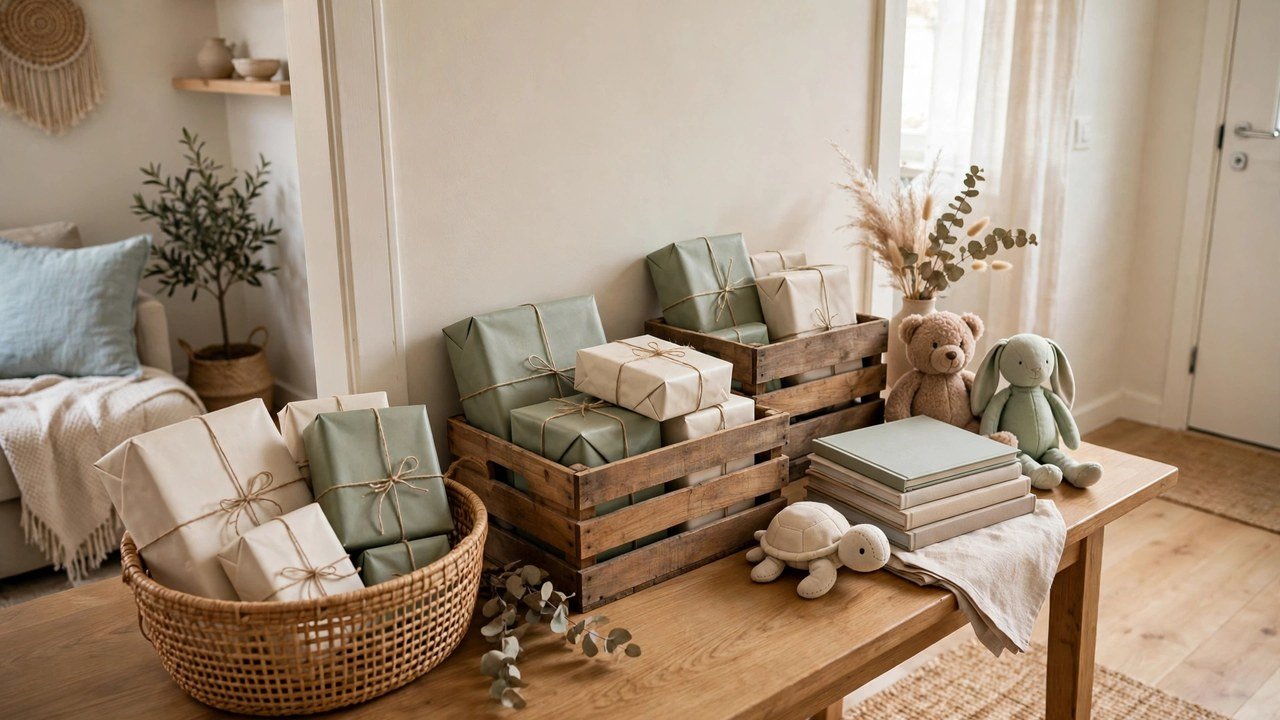
This is a gift table organized into clearly labeled zones — one for a baby, one for a toddler, and one for an older child — so every gift, and every child, has a visible place at the celebration.
Renters love a zoned table because it keeps gifts tidy in a small space instead of piling up on the sofa, and it takes five minutes to set up with folded cloths or small baskets as dividers. For adoptive families, it matters even more: when a family welcomes an older child, well-meaning guests sometimes still bring only baby gifts, and an older child can feel invisible at their own celebration. A table with a zone for every age quietly tells guests, and children, that everyone here is being celebrated.
Here is how to set it up:
- Clear one table or a wide shelf near the entrance, and cover it with a neutral cloth in your palette.
- Divide the surface into two or three zones with small baskets, folded towels, or wooden crates — one zone per age or stage, labeled with a simple plain card.
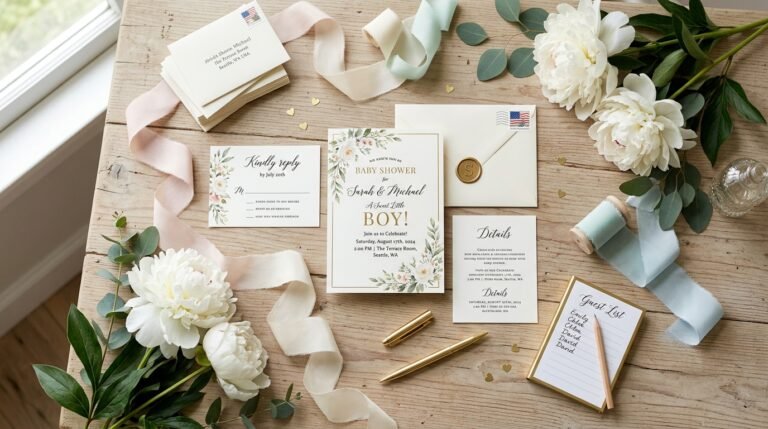
- If you are comfortable, share the zones with guests ahead of time in your invitation wording, such as "gifts for all ages welcome."
- Place a small basket of tissue paper and a pen nearby so guests can add a gift note if they forgot one.
- After the party, sort gifts by zone before opening them, so nothing gets lost, and thank guests for celebrating every member of the family.
Approximate cost: $0–$25, since baskets, cloths, and cards are usually already at home.
Conclusion
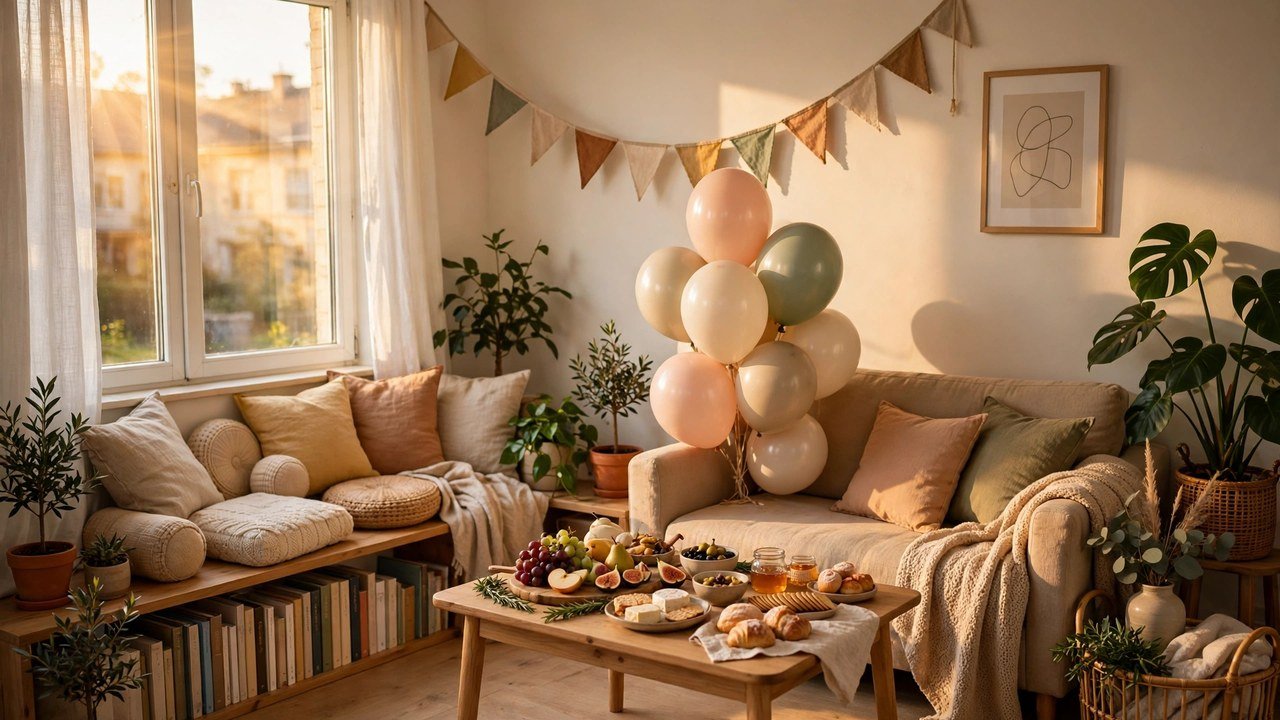
You do not need a big house, a fixed date, or a perfect plan to celebrate an adoption well. You need a room that feels warm when guests walk in, decorations that come down without a trace, food that takes care of itself, and words that welcome a child exactly as they are. A removable gallery wall, a reusable bunting strand, a gender-free palette, and a table where every age has a place — these are small choices, but together they say something large: this family is real, this celebration is real, and everyone in this room belongs in it.
If you are planning your own welcome celebration in a rental, start with just one idea from this list. Hang the bunting. Set out the wishes cards. Pot a few plants by the door. Then add the next idea when you are ready, and the next, until the apartment that once felt too small feels like exactly the right size for the people you love. Your deposit stays safe, your walls stay whole, and your memories stay yours.
Please save this visual guide on Pinterest and share it with another adoptive family planning a small-space celebration — the family that needs it most may be celebrating sooner than they think, and your saved pin could be the plan that helps them welcome their child home.

Amelia leads HavenlyStyle’s editorial vision with a passion for elegant interiors and practical home living. With years of experience in home décor and lifestyle content, she ensures every article is accurate, inspiring, and easy to follow. From timeless decorating ideas to the latest interior design trends, Amelia is committed to helping readers create beautiful, functional spaces while maintaining HavenlyStyle’s trusted and welcoming voice.