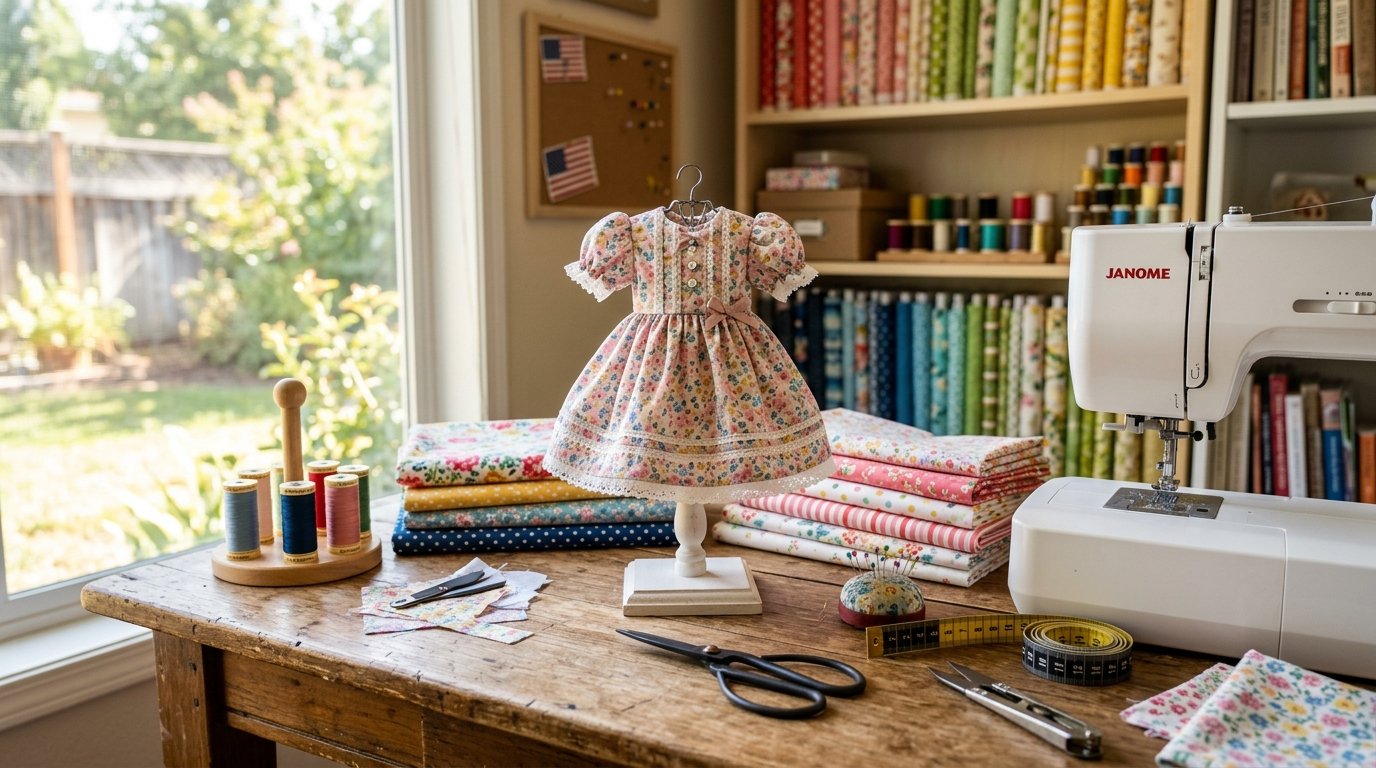
Welcome to the ultimate resource for transforming your miniature wardrobe dreams into stunning realities. Creating beautiful diy 18 inch doll clothes brings immense joy, but many beginners feel overwhelmed by tiny seams and delicate fabrics. I have spent years perfecting these scaled-down garments, learning exactly what works and what fails miserably. This guide will walk you through the essential techniques, proven patterns, and clever shortcuts needed to design professional-quality outfits. Whether you are crafting a simple summer dress or a complex winter coat, you will discover actionable steps that guarantee gorgeous results without the usual crafting frustrations.
In my experience, the biggest hurdle isn’t the sewing itself, but understanding how standard techniques translate to miniature proportions. We will explore everything from selecting the perfect lightweight fabrics to mastering those incredibly tiny hems that often pucker. By following these carefully structured strategies, you will save hours of trial and error while producing wardrobe pieces that rival expensive store-bought alternatives. Grab your fabric scraps, thread your machine, and prepare to elevate your miniature tailoring skills. This comprehensive journey will completely change how you approach crafting these adorable garments, making the entire process highly enjoyable and incredibly rewarding.
Executive Summary
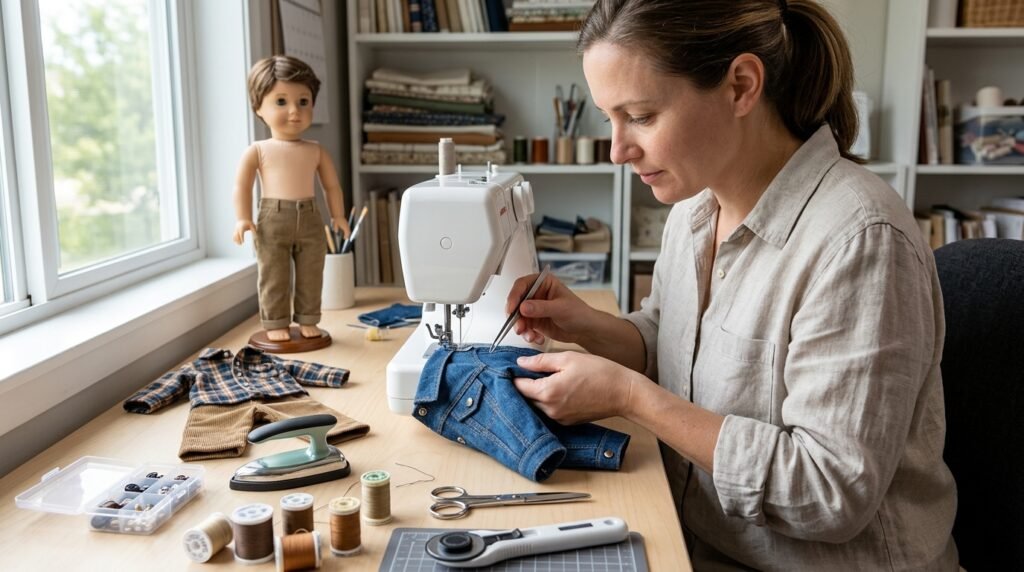
This expert-level tutorial delivers actionable solutions for producing flawless miniature garments that stand the test of time. You will discover practical methods for conquering tiny sleeves, securing miniature fasteners, and pressing microscopic seams without burning your fingers. We analyze the exact tools required for precision work, comparing various specialty sewing machine feet and micro-cutting instruments available today. By implementing these specific strategies, you can expect to cut your production time in half while significantly improving the durability of every piece. These foundational principles apply to all variations, including creating durable 18 inch boy doll clothes diy projects perfectly.
Beyond just stitching garments, we dive into essential organization strategies, including an innovative 18 inch doll clothes closet diy project to store your creations. You will learn how to troubleshoot common sizing issues, select appropriate closures for different ages, and properly finish edges that prevent annoying fraying. I will share my personal failures, revealing why standard cotton often outperforms expensive silks in these specific micro-applications. By the end of this resource, you will possess the confidence and technical knowledge required to design, construct, and beautifully organize an entirely custom wardrobe that brings endless smiles to your family.
1. Essential Fabric Selection
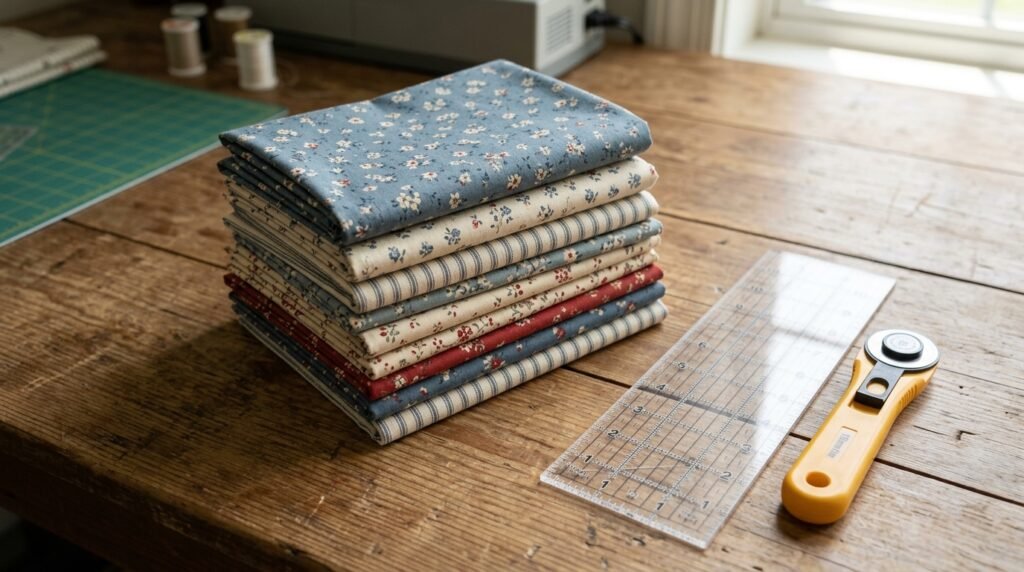
Choosing the right materials determines the success or failure of your entire miniature sewing project before you even make a single cut. Thick fabrics create bulky seams that ruin the delicate proportions of the garment, making the outfit look cheap and poorly constructed. I have noticed that lightweight quilting cottons, soft lawns, and thin batistes perform exceptionally well for miniature tailoring. These specific materials drape beautifully around small frames and press crisply, allowing for razor-sharp pleats and perfectly flat collars. Always wash and dry your fabrics prior to cutting to prevent disastrous shrinkage after the garment is completely finished.
While natural fibers remain superior for beginners, integrating tiny prints ensures the design scale matches the miniature wearer perfectly. Large, overwhelming patterns quickly swallow the small silhouette, whereas micro-florals and subtle stripes enhance the authentic, realistic appearance of the outfit. In my experience, repurposing gently used human clothing provides an excellent, cost-effective source of perfectly worn-in materials. Old button-down shirts offer incredible yardage of high-quality, tightly woven cotton that is exceptionally easy to manipulate around tight curves. This sustainable approach not only saves money but also yields softer garments that are much easier for small hands to dress.
2. Mastering Tiny Hems
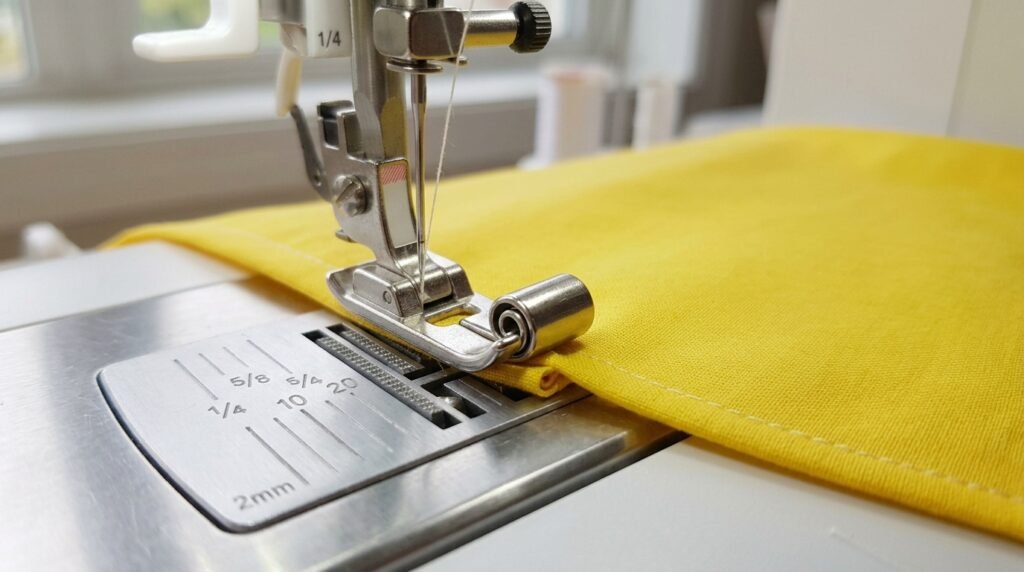
Conquering microscopic hems remains one of the most frustrating challenges when constructing beautiful easy diy 18 inch doll clothes at home. Standard folding techniques often result in thick, unsightly edges that completely distort the natural drape of the tiny garment. To solve this common issue, I strongly recommend utilizing a narrow rolled hem foot on your sewing machine. This brilliant attachment automatically folds the fabric edge twice, creating a delicate, professional finish measuring barely an eighth of an inch wide. Mastering this specific tool requires patience, but it dramatically elevates the overall quality and durability of your miniature wardrobe creations.
If you prefer sewing without specialty machine attachments, the manual double-fold technique still works beautifully with the right preparation. First, stitch a single guideline approximately a quarter inch from the raw edge to serve as a precise folding marker. I have tried numerous pressing tools, but a miniature craft iron provides the exact concentrated heat needed for these tiny folds. Applying a light mist of liquid starch before pressing creates a crisp, temporary stiffness that prevents the fabric from shifting. This careful preparation ensures your topstitching remains perfectly straight, giving the final piece a highly polished, store-bought appearance.
Curved Hem Solutions
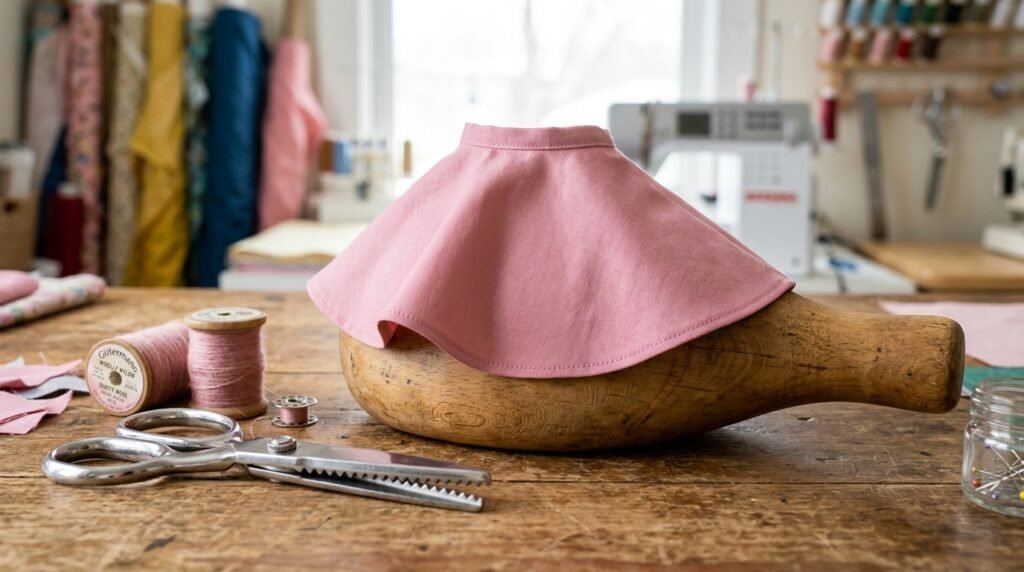
Dealing with curved edges on miniature circle skirts or tiny flared sleeves requires an entirely different approach to prevent unwanted puckering. Traditional folding inevitably causes the extra fabric bulk to bunch up, ruining the smooth, professional silhouette you desperately want to achieve. Instead of folding, consider applying a micro-facing using an incredibly sheer fabric lining to finish the raw edge cleanly. Another highly effective method involves using pinking shears followed by a very narrow single fold, which beautifully distributes the excess material. I have seen this technique completely transform the draping quality of complex miniature formal wear designs.
Alternatively, utilizing a serger with a narrow rolled hem setting offers an incredibly fast and highly durable finishing solution. By threading your serger with soft woolly nylon thread, you can create a beautifully finished edge that actually stretches nicely. This specific technique works absolute wonders on miniature knit fabrics, preventing the dreaded wavy edges that often plague tiny t-shirts. Whenever I am batch-sewing multiple outfits for holiday gifts, this exact serger method saves me countless hours of frustrating hand-manipulation. The resulting finish looks wonderfully professional while withstanding the rigorous stretching that occurs during energetic childhood playtime sessions daily.
3. Smart Closure Options
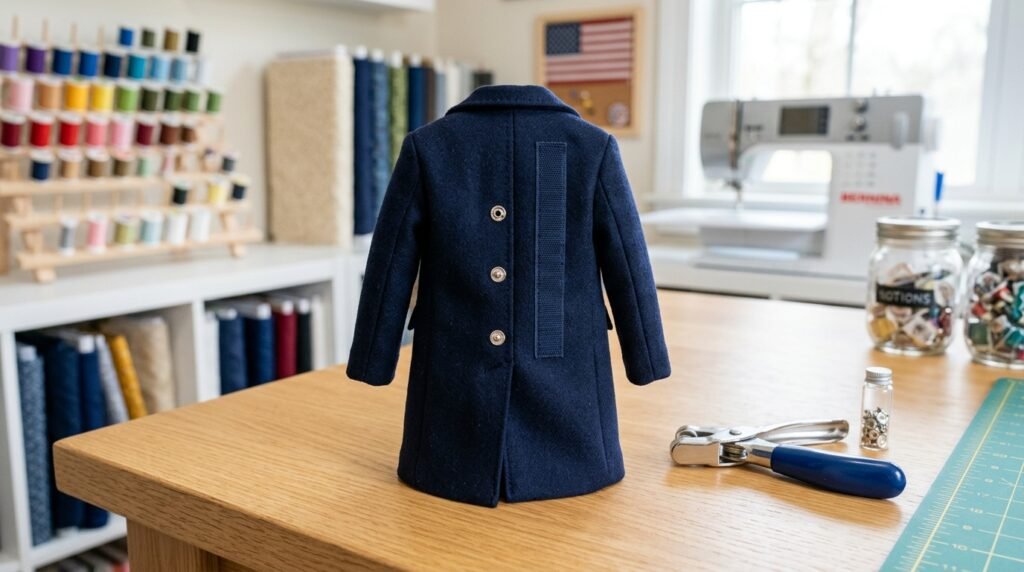
Selecting appropriate fasteners for miniature garments drastically impacts both the aesthetic appeal and the practical playability of the finished outfit. Traditional buttons often prove too bulky and incredibly difficult for young children to manipulate independently during their creative playtime sessions. That is why many designers recommend utilizing ultra-thin hook and loop tape as the primary closure system for beginner projects. However, you must specifically purchase the ultra-thin, snag-free variety to prevent the rough edges from destroying delicate fabrics over time. This simple substitution makes dressing the figures effortless while maintaining a smooth, flat profile along the garment back seam.
For a more advanced, heirloom-quality finish, metal snap fasteners provide an incredibly secure and historically accurate closure method. Installing these tiny snaps requires a specialized setting tool, but the resulting durability easily surpasses standard sew-on options. In my own studio, I frequently utilize size zero metal snaps for tailored coats and structured trousers, ensuring a perfectly flat overlap. Always reinforce the fabric beneath the snap with a tiny square of lightweight interfacing to prevent tearing during aggressive wardrobe changes. This crucial preparatory step guarantees your painstakingly crafted pieces survive years of enthusiastic dressing and undressing without sustaining damage.
4. Precision Pattern Cutting
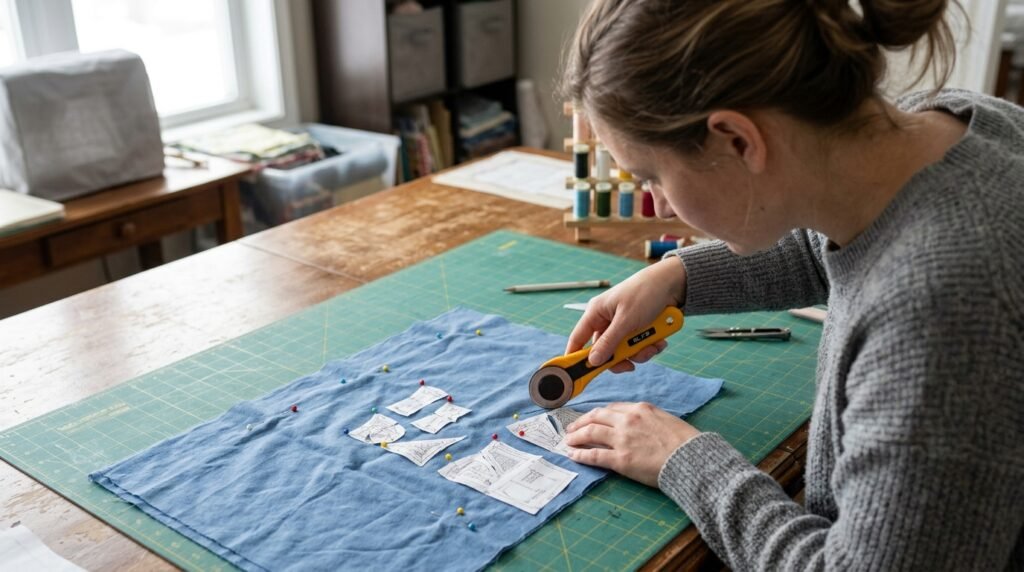
Accurate cutting establishes the fundamental foundation for any successful miniature sewing endeavor, demanding far more precision than standard human garments. A discrepancy of merely one-eighth of an inch can completely ruin the fit of a tiny bodice or a delicate sleeve. Therefore, I highly recommend transferring your paper patterns onto stiff template plastic or sturdy cardstock before attempting to trace them. This simple upgrade prevents the pattern edges from degrading after multiple uses, ensuring absolute consistency across your entire production batch. Using a small, sharp rotary cutter on a self-healing mat yields perfectly crisp, flawless fabric edges every time.
When positioning your templates, you must pay strict attention to the fabric grainline, as this dictates how the miniature garment hangs. Cutting tiny pieces off-grain results in twisted sleeves and lopsided skirts that refuse to lay flat, regardless of aggressive pressing efforts. I have ruined several beautiful dresses by trying to squeeze a pattern piece into a fabric remnant against the grain. Always secure the templates with fine glass-head pins or dedicated sewing weights to prevent micro-shifts during the cutting process. Taking your time during this crucial preparatory phase eliminates ninety percent of construction frustrations encountered later on.
Managing Slippery Materials
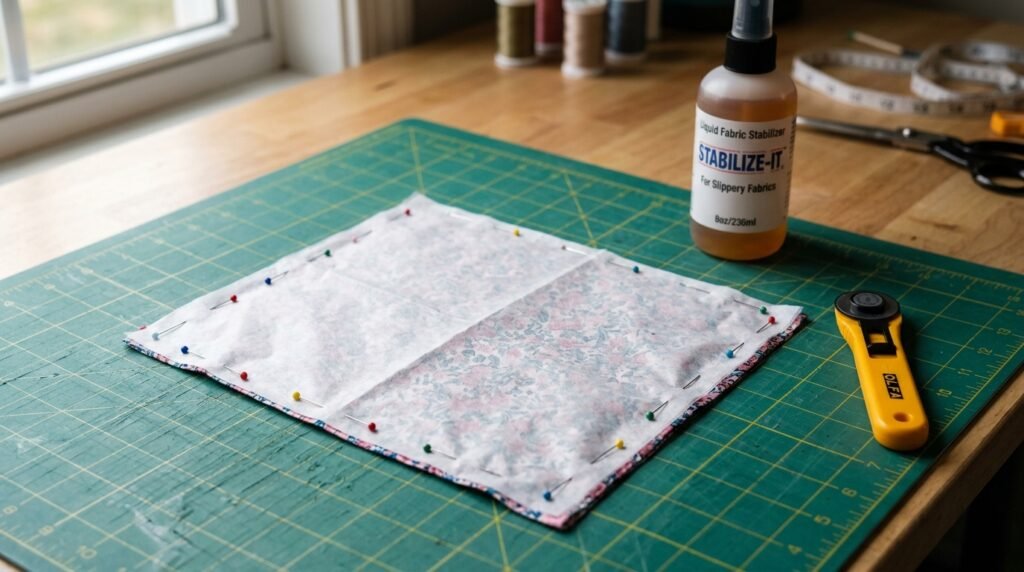
Working with luxurious materials like miniature silk, soft satin, or delicate chiffon introduces intense frustration during the precision cutting phase. These beautiful fabrics shift dramatically under the scissors, resulting in distorted pattern pieces that absolutely refuse to align during construction. To conquer this problem, stabilize the slippery yardage by heavily spraying it with a high-quality, temporary liquid fabric stabilizer first. Once completely dry, the slippery silk handles exactly like crisp paper, allowing you to slice perfectly accurate geometric shapes effortlessly. After the garment construction is fully completed, a simple warm water rinse instantly restores the beautiful natural fabric drape.
Another brilliant technique for managing unstable fabrics involves sandwiching the delicate material tightly between two sheets of standard tissue paper. You simply pin your pattern directly through all three layers and cut precisely through the entire paper and fabric sandwich together. This method provides exceptional friction, completely stopping the slippery edges from sliding away from your razor-sharp rotary cutter blade. I have successfully used this exact strategy to produce perfectly symmetrical miniature evening gowns without shedding tears of intense frustration. Leaving the tissue attached during the initial sewing steps also prevents your machine feed dogs from swallowing raw edges.
5. Professional Pressing Techniques
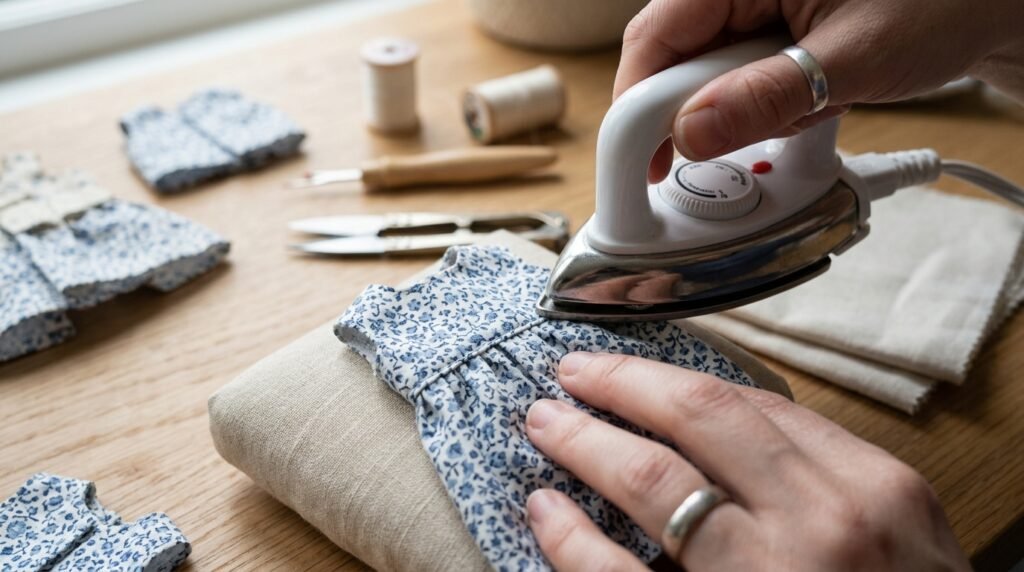
Masterful pressing elevates homemade crafts into stunning, professional-tier garments by forcing tiny, stubborn seams to lay perfectly flat and crisp. Standard household irons are often too large and incredibly clunky to maneuver accurately inside miniature bodices or tight sleeve curves. Investing in a specialized mini craft iron with a pointed precision tip completely transforms your ability to manipulate tiny seam allowances. I have seen countless beginners skip the pressing stage entirely, resulting in puffy, amateurish outfits that look unappealing and messy. Pressing every single seam immediately after stitching it represents the ultimate secret to achieving incredible, realistic miniature tailoring.
Creating custom pressing tools from common household items allows you to shape complex miniature curves safely without burning your fingertips. A tightly rolled washcloth secured with cotton thread functions perfectly as a miniature tailor ham for pressing tiny sleeve caps gracefully. Additionally, utilizing a wooden point turner helps push out microscopic collar points to achieve razor-sharp, perfectly symmetrical corners without poking through. Always use a protective press cloth when applying heat to synthetic materials, as miniature irons can melt tiny embellishments instantly. This unwavering dedication to precision pressing ensures your finished garments rival the quality of luxury boutique offerings.
6. Organizing Miniature Wardrobes
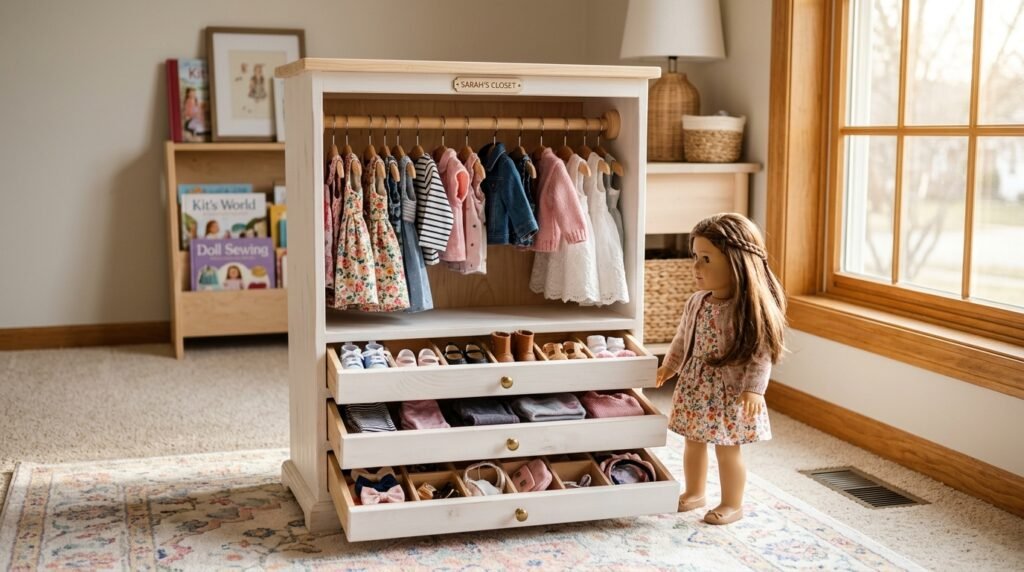
Once your collection begins growing, implementing a proper storage system becomes absolutely vital to protect your painstakingly crafted miniature garments. Storing these tiny pieces in crowded plastic bins causes severe wrinkling and crushing, completely ruining all your careful pressing efforts. This is exactly where a thoughtful 18 inch doll clothes closet diy project becomes a highly practical and incredibly fun necessity. Repurposing a sturdy wooden crate or a vintage suitcase provides a spectacular structural foundation for building a customized miniature wardrobe. Adding tiny wooden dowels, miniature hangers, and small sliding drawers transforms basic storage into an interactive, visually stunning display.
When constructing your organizational storage system, consider utilizing specialized dividers to separate delicate formal wear from everyday casual play pieces. Creating dedicated compartments for microscopic accessories, tiny shoes, and fragile hats prevents these easily misplaced items from disappearing into deep dark corners. I have noticed that children engage much more respectfully with the garments when they have a beautiful, dedicated space for organization. You can easily customize the exterior of your handcrafted wooden closet using non-toxic acrylic paints, charming wallpaper scraps, or decorative stencils. This functional furniture piece not only protects your hard work but also enhances creative playtime experiences.
7. Adding Realistic Details
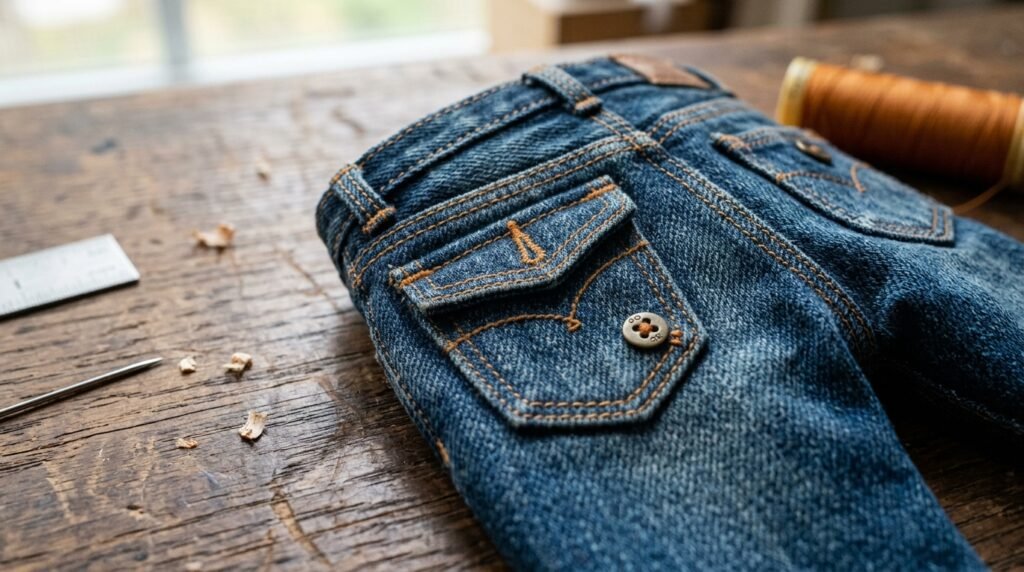
Incorporating authentic, scale-appropriate details breathes incredible life into your miniature garments, transforming basic fabric shapes into stunning realistic replicas instantly. Standard human-sized buttons, wide lace trims, and thick zippers look completely ridiculous and disproportionate when attached to tiny eighteen-inch silhouettes. You must actively source micro-buttons measuring exactly four millimeters or less to maintain the authentic optical illusion of the scaled garment. Carefully applying ultra-narrow topstitching using a slightly shorter stitch length replicates the visual texture of expensive, high-quality human fashion perfectly. These incredibly subtle embellishments signal true craftsmanship, separating mediocre crafting attempts from exceptional, museum-quality miniature wardrobe masterworks daily.
Creating functional miniature pockets adds a delightful element of realism that children absolutely love discovering during their imaginative playtime sessions. While sewing functional tiny pockets requires immense patience and steady hands, the resulting interactive feature provides spectacular, undeniable aesthetic wow factor. I frequently utilize fine embroidery thread to add decorative edge stitching, simulating the heavy topstitching found on authentic miniature denim jeans. Furthermore, distressing the edges of miniature denim or strategically fading tiny t-shirts creates a wonderful, lived-in aesthetic that enhances authenticity beautifully. Dedicating extra time to these microscopic finishing touches ensures your handmade creations become cherished, highly valued family heirlooms.
8. Troubleshooting Fit Issues
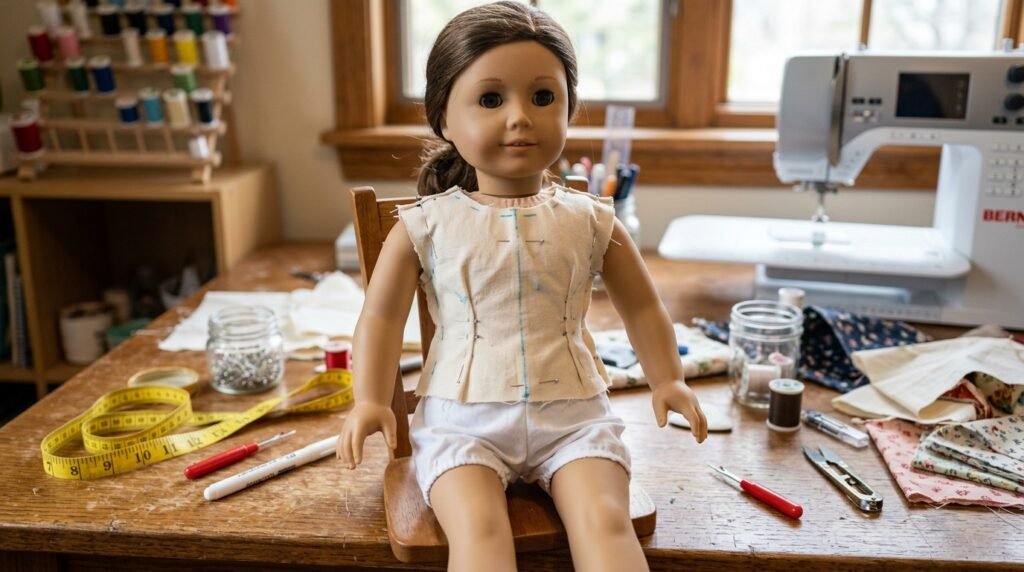
Achieving the perfect fit on a miniature hard-bodied figure requires understanding how fabric ease functions differently on rigid, unforgiving plastic. Unlike human bodies, these toys cannot compress or flex slightly to accommodate a beautifully tailored bodice that was sewn too tightly. If your diy 18″ doll clothes consistently end up too tight, you are likely taking overly generous seam allowances during construction. You must meticulously maintain a precise quarter-inch allowance, as deviating by even a fraction severely compromises the garment final circumference. Always conduct a quick tissue-fitting before cutting into your expensive, final fashion fabric to prevent heartbreaking sizing disasters.
Another incredibly common fitting dilemma occurs when the neckline gapes open unattractively, exposing the cloth torso beneath the figure rigid neck. This gaping usually happens because the neckline edge stretched drastically out of shape while being handled during the intense sewing process. To completely eliminate this frustrating issue, immediately apply a line of stay-stitching inside the neckline seam allowance right after cutting. This stabilizing stitch firmly locks the delicate fabric threads in place, preserving the exact curve of the pattern throughout construction. Mastering this preventative technique guarantees your beautiful garments will drape flawlessly across the shoulders without looking sloppy forever.
Tool Comparison Matrix
| Sewing Tool / Option | Primary Miniature Use Case | Durability | Beginner Ease | Est. Cost | Necessity Rating |
|---|---|---|---|---|---|
| Micro-Tip Scissors | Snipping tiny curves and corners | High | Very Easy | $12 – $20 | Absolute Must-Have |
| Narrow Hem Foot | Creating 1/8″ professional edges | Medium | Difficult | $15 – $25 | Advanced Essential |
| Liquid Stabilizer | Taming slippery, delicate silks | Low (Washes) | Easy | $8 – $15 | Highly Recommended |
| Mini Craft Iron | Pressing microscopic tight seams | High | Easy | $25 – $40 | Absolute Must-Have |
| Ultra-Thin Velcro | Snag-free flat back closures | Medium | Very Easy | $5 – $10 | Beginner Essential |
| Metal Snap Setter | Heirloom quality hidden closures | Very High | Moderate | $20 – $35 | Advanced Upgrade |
| Rotary Cutter (18mm) | Cutting precise tiny patterns | Medium (Blades) | Moderate | $15 – $22 | Highly Recommended |
| Point Turner Tool | Pushing out crisp tiny collars | High | Very Easy | $4 – $8 | Absolute Must-Have |
9. Frequently Asked Questions
How do I choose the best fabric for miniature clothing? Selecting optimal fabric requires finding thin, tightly woven materials that drape naturally over small, rigid plastic frames without adding unnecessary bulk. Quilting cotton represents the absolute best choice for beginners because it presses beautifully, resists annoying fraying, and comes in fantastic micro-prints. Avoid thick denims, heavy canvas, or chunky knits, as these materials create enormous seams that distort the overall miniature silhouette entirely. When sourcing materials, I highly recommend repurposing worn-out human dress shirts, which provide beautifully softened, high-quality cotton that is perfectly scaled. Always pre-wash everything to prevent disastrous shrinkage after the tiny garment is completely finished and pressed.
What is the easiest way to finish tiny raw seams? Finishing raw edges inside miniature garments demands specialized techniques to prevent excessive bulk while ensuring long-lasting durability during rigorous daily playtime. Using pinking shears offers the quickest, most straightforward solution for tightly woven cottons, cutting a zigzag edge that significantly reduces troublesome fraying. For a more professional, heirloom-quality interior, utilizing a narrow zigzag stitch right along the raw edge securely binds the loose threads together. I have noticed that applying a tiny drop of liquid seam sealant works incredibly well for super tight sleeve curves. Allow the liquid sealant to dry completely before pressing the garment with your craft iron.
How can I accurately resize patterns for different figures? Resizing miniature patterns successfully requires precise mathematical adjustments rather than simply shrinking the entire template directly on a standard office copier. You must measure the specific figure chest, waist, and hip circumference, comparing these exact numbers to your existing paper pattern pieces carefully. If the new figure is slightly wider, slash the paper pattern vertically down the center and spread it apart to add width. To shorten a garment, fold a horizontal pleat across the middle of the pattern piece, securely taping it perfectly flat. Always sew a cheap muslin test garment first to verify your resizing calculations completely beforehand.
Why are my miniature collars always bulky and uneven? Bulky, lopsided collars occur when excessive fabric remains trapped inside the tiny, restrictive seam allowance after you turn the garment right-side out. To achieve perfectly crisp points, you must aggressively trim the corner seam allowances dangerously close to your meticulously stitched permanent stitching line. Furthermore, clipping tiny triangles out of the curved neckline seams prevents the internal fabric from bunching up uncomfortably around the delicate neck. After turning the piece, use a specialized wooden point turner to gently push the corners out before pressing. This exact sequence guarantees razor-sharp, flawlessly symmetrical miniature shirt collars every single time you sew.
What is the best closure method for toddler play clothes? When designing miniature play clothes specifically for toddlers to manipulate, ultra-thin hook and loop tape absolutely dominates all other closure options available. This simple fastening system allows small, uncoordinated hands to dress and undress their figures effortlessly without experiencing intense frustration or requiring constant assistance. You must explicitly purchase the snag-free, ultra-thin variety, as standard bulky tape will completely ruin the delicate drape of the tiny garment. I always recommend sewing the soft loop side facing outward, protecting the child sensitive delicate skin perfectly. This thoughtful design choice drastically improves the toy overall interactive longevity and daily playability factor significantly.
How do I sew perfectly straight topstitching on tiny edges? Executing flawlessly straight topstitching on miniature edges requires slowing your sewing machine down significantly and utilizing a highly visible physical metal guide. Do not stare directly at the rapidly moving needle; instead, focus your eyes completely on the inner edge of your metal presser foot. I highly recommend purchasing an edge-joining foot, which features a brilliant vertical metal blade that rides perfectly along the fabric fold. Increasing your standard stitch length slightly also creates a much more professional, aesthetic appearance resembling high-end luxury finishing. Taking your time and breathing steadily prevents those jagged, amateurish lines that immediately ruin tiny garments.
Can I use regular human clothing patterns for these projects? Attempting to directly shrink standard human clothing patterns rarely produces successful miniature garments due to dramatic differences in rigid anatomical plastic proportions. These figures feature significantly broader chests, virtually no waist definition, and comparatively massive heads that completely alter standard neckline circumference requirements drastically. While human patterns provide excellent stylistic inspiration, you must utilize specialized templates drafted specifically for these exact eighteen-inch plastic and cloth dimensions. I have tried modifying infant patterns, but the armholes always end up incorrectly positioned, restricting natural motion completely. Purchasing dedicated miniature blueprints absolutely guarantees a beautiful, stress-free fit without requiring endless, frustrating mathematical structural alterations.
What sewing machine needle works best for miniature tailoring? Selecting the correct machine needle prevents devastating fabric damage and skipped stitches when constructing your tiny, highly detailed wardrobe masterpieces every time. Because miniature tailoring heavily relies on tightly woven, lightweight cottons, a brand new microtex or sharp needle in size seventy remains absolutely optimal. These incredibly slender needles easily pierce dense materials without punching massive, unsightly holes that ruin the delicate visual scale of the tiny piece. If you notice your thread fraying or the fabric puckering during construction, immediately replace your damaged needle. Changing needles before starting every new miniature wardrobe collection guarantees beautifully flawless, professional sewing results.
How much fabric is actually required for one basic dress? One of the most fantastic benefits of miniature tailoring is the incredibly small amount of raw material required per complete stunning outfit. You can easily construct a beautiful, fully lined summer dress utilizing just one single quarter-yard cut of high-quality premium craft quilting cotton. In fact, many crafters successfully utilize inexpensive fabric remnants, vintage handkerchiefs, or specialized small fabric bundles specifically sold for tiny patchwork projects. When utilizing leftover fabric scraps, you must carefully align your pattern pieces along the correct fabric grainline perfectly. This incredible material efficiency makes building a massive, custom wardrobe highly affordable and deeply satisfying creatively.
How do I organize my finished miniature wardrobe pieces? Protecting your beautifully completed garments from wrinkles and damage necessitates implementing a highly structured, dedicated storage system away from heavy plastic toys. Building a custom wooden closet provides the absolute best environment, allowing you to hang delicate dresses on properly scaled miniature wire metal hangers. I always suggest storing bulky sweaters and tiny denim trousers flat inside small drawers to completely prevent aggressive stretching over extended time. Keeping fragile accessories, like tiny molded shoes and microscopic sunglasses, secured inside transparent plastic divider boxes helps tremendously. This careful organization strategy preserves your incredible craftsmanship while dramatically enhancing the daily dressing experience.
Are knitted fabrics suitable for beginner miniature sewing projects? Sewing tiny knit fabrics introduces significant challenges for beginners because the highly elastic material constantly attempts to stretch and severely distort itself. When the machine feed dogs pull the tiny knit pieces unevenly, the resulting seams become incredibly wavy, ruining the garment overall aesthetic completely. If you must use knits, generously apply a water-soluble liquid stabilizer to the raw edges first, temporarily transforming the bouncy fabric into paper. Utilizing a walking foot attachment also helps feed both top and bottom layers completely evenly during stitching. Mastering stable cottons first builds the vital confidence needed before tackling stretchy, unpredictable clothing materials.
How do I create durable miniature pants for rough play? Constructing highly durable trousers that easily withstand aggressive daily play requires utilizing reinforced stitching techniques across every single major structural stress point. The crotch seam represents the absolute weakest link in any miniature pant design, routinely tearing open when children force the plastic figure down. To prevent this inevitable disaster, always stitch the central crotch curve twice, utilizing a slightly shorter stitch length for maximum absolute security. I also heavily recommend flat-felling the side seams, essentially folding the raw edges under and topstitching them flat. These industrial-strength reinforcements guarantee your miniature denim jeans survive years of enthusiastic, rugged playtime.
10. Miniature Sewing Inspiration

Transforming raw fabric into an extraordinary miniature wardrobe offers an incredibly fulfilling creative journey that brings immense joy to everyone involved daily. By mastering these specialized techniques, you can confidently produce everything from delicate heirloom dresses to rugged, everyday play outfits that fit figures flawlessly. I have seen how small changes like meticulous pressing and smart fabric selection can completely transform basic crafting into stunning professional artistry. Save this comprehensive guide on Pinterest right now, and try implementing one of these brilliant organization ideas today. Please share this ultimate resource with fellow crafters who appreciate exceptional miniature tailoring and design!

Amelia leads HavenlyStyle’s editorial vision with a passion for elegant interiors and practical home living. With years of experience in home décor and lifestyle content, she ensures every article is accurate, inspiring, and easy to follow. From timeless decorating ideas to the latest interior design trends, Amelia is committed to helping readers create beautiful, functional spaces while maintaining HavenlyStyle’s trusted and welcoming voice.