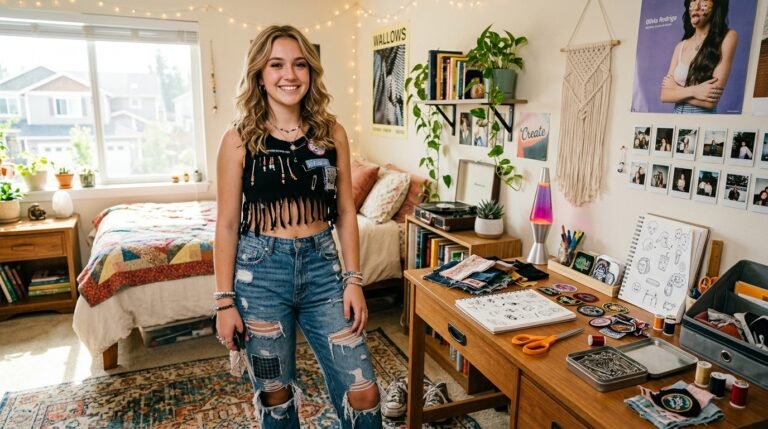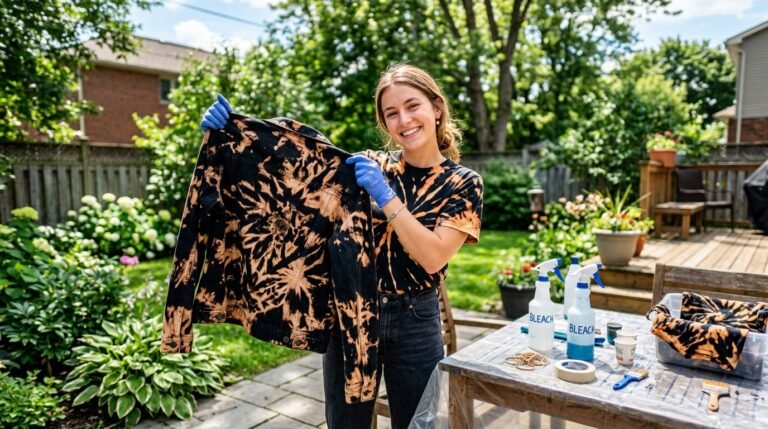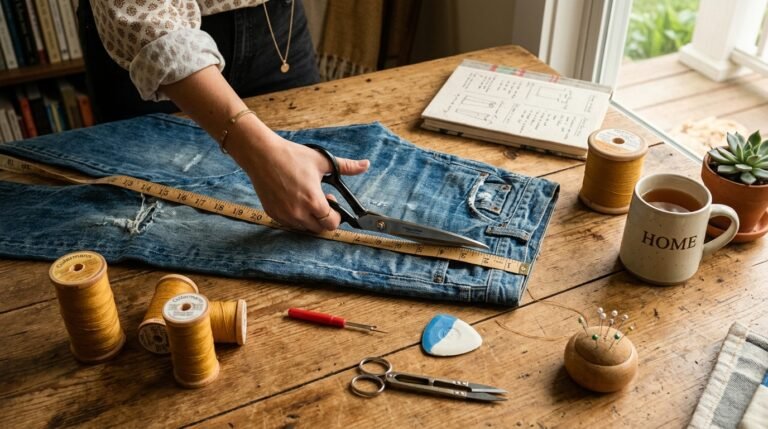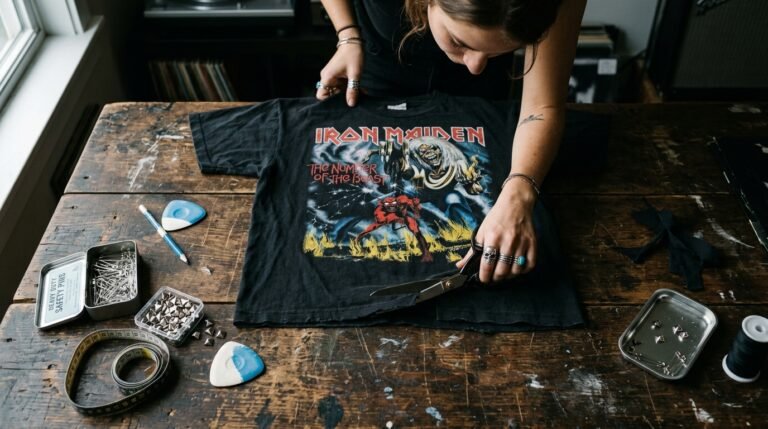
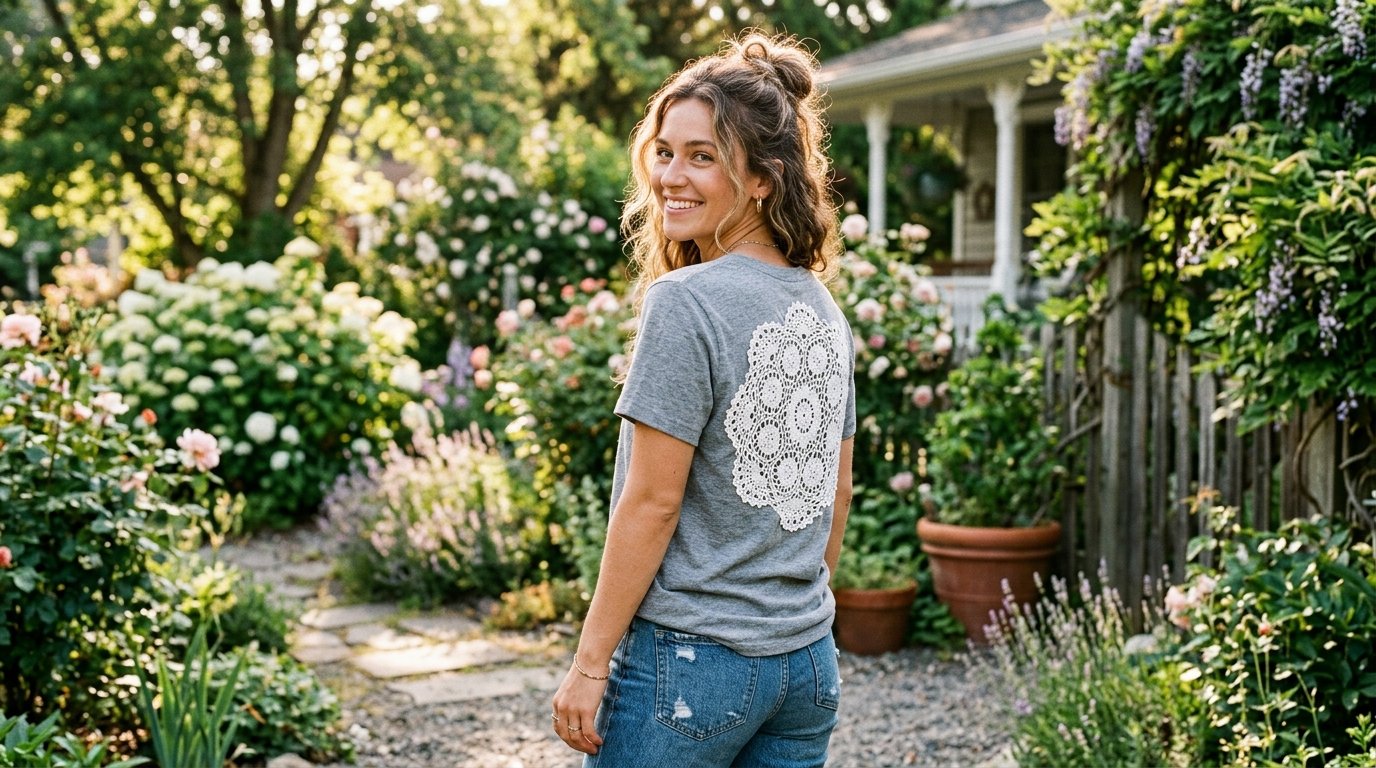
Are you tired of staring at a closet full of boring basics? I completely understand that feeling of wardrobe fatigue. Last Tuesday, I found myself holding a plain gray cotton top, wishing it had more personality. Instead of throwing it away, I decided to attempt a DIY shirt refashion. By combining a forgotten textile with an old basic, I created something entirely new. Adding vintage lace or [internal link: handmade elements] to your clothing instantly elevates your style. You can turn a simple garment into a stunning boutique-worthy piece without spending a fortune on designer brand names.
This process requires zero advanced tailoring skills and delivers massive creative satisfaction. You will learn exactly how to seamlessly attach intricate textiles to everyday cotton tops. I have ruined plenty of good clothes in my early days of sewing. I will share my exact failure points so you can avoid those frustrating mistakes. We will cover everything from selecting the right base garment to mastering the final stitches. You will walk away with the confidence to build a [internal link: unique wardrobe]. Let me show you how small creative changes can completely transform your personal fashion experience today.
Executive Summary
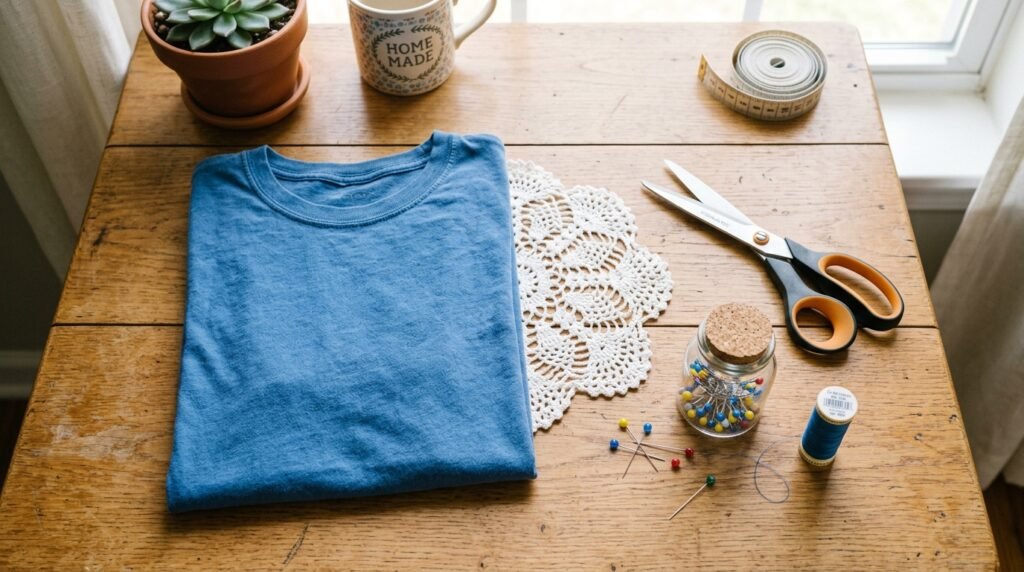
Our comprehensive guide promises specific and measurable outcomes for your wardrobe transformation. You will discover exactly how to upcycle clothes efficiently within a single afternoon. Recent fashion industry studies show a massive increase in sustainable clothing modifications. Consumers now prefer unique handmade aesthetics over mass-produced fast fashion garments. I will reveal three contrarian insights about fabric tension that most [internal link: sewing tutorials] ignore entirely. We will discuss specific tools, realistic cost ranges, and exact implementation timelines. You will also learn why temporary fabric glue often ruins stretchy knits and what you should use instead for better results.
In my experience, many beginners worry they will destroy their favorite clothes during a shirt refashion project. This detailed walkthrough specifically addresses that common fear. I have successfully modified dozens of garments using these exact step-by-step methods. We will strictly focus on attaching existing textiles to ready-to-wear garments. This guide will not cover how to knit or [internal link: crochet from scratch]. Delaying your sustainable fashion journey has a high opportunity cost for your creative growth. Stick with me through this deep dive to master a valuable sewing skill that will save you hundreds of clothing dollars annually.
1. Sourcing Vintage Doilies

Finding the perfect textile piece requires patience and strategic shopping habits. I always recommend checking local thrift stores like Goodwill or Savers first. These shops usually have baskets filled with beautiful upcycle crochet doilies. You can also explore antique malls, estate sales, and flea markets for unique finds. Look for tightly woven [internal link: crochet patterns] that can withstand regular washing and wearing. I have noticed that thicker cotton threads generally perform better than delicate vintage silks. Make sure to inspect every piece carefully for dry rot or unravelling edges before purchasing it for your upcycle shirt project.
Color matching plays a massive role in a successful doily shirt design. You should bring your base garment with you while shopping for textiles. Holding the fabrics together helps you spot clashing undertones immediately. I frequently dye my vintage finds using standard fabric dyes to match my clothing perfectly. You must determine the fiber content before attempting any dye process. Natural cotton absorbs color beautifully, while synthetic fibers often resist standard dyes completely. If you prefer a highly contrasting [internal link: bohemian look], try pairing a bright white lace piece against a dark charcoal or black base.
Let me share a specific case study from my own crafting journey. Three months ago, I found a gorgeous intricate lace piece stained with coffee. The seller practically gave it away for fifty cents due to the damage. I took it home and soaked it in a gentle oxygen bleach solution overnight. The stains vanished completely, leaving a pristine white textile. I attached this rescued piece to the back of a simple denim jacket. That [internal link: upcycled jacket] now gets compliments every single time I wear it. Small restoration efforts often yield the most stunning fashion results.
Proper preparation prevents catastrophic garment failures later in the sewing process. You must wash and dry your textiles before attaching them to clothing. Vintage cotton pieces often shrink significantly during their first hot wash. If you attach an unwashed piece, it will pucker and ruin your garment after laundering. I always machine wash my sourced materials in a protective mesh laundry bag. I then press them completely flat using a hot steam iron. This crucial pressing step ensures your textiles lay perfectly flush against your base fabric during the final [internal link: pinning and stitching] phases.
2. Choosing Base Garments
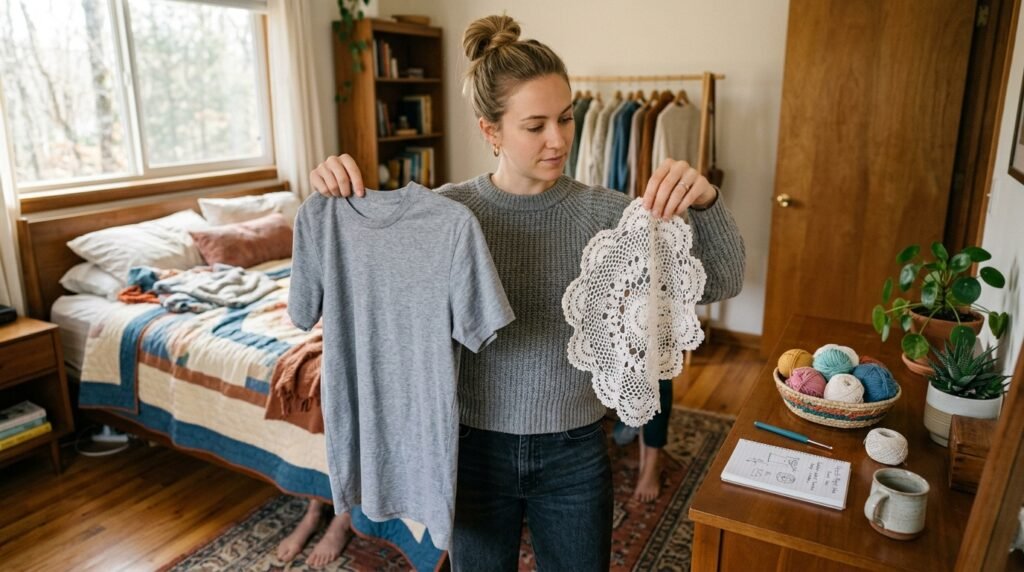
Selecting the right foundation garment determines the overall success of your project. I always look for high-quality fabrics that drape beautifully on the body. Your chosen top must have enough structural integrity to support the added textile weight. A flimsy sheer top will stretch and sag under a heavy cotton lace applique. You should examine your closet for garments you rarely wear due to plain styling. I often purchase men’s oversized tops to create a comfortable crochet upcycle shirt. The boxy fit of men’s clothing contrasts perfectly with delicate feminine lace additions for a highly stylish silhouette.
Fabric weight matching is a technique that many beginners completely overlook. You must pair similar fabric weights together to avoid awkward pulling and bunching. Heavy textiles require sturdy base garments like denim, canvas, or thick sweatshirts. Lightweight lace pieces look beautiful on thin cotton tops or soft linen dresses. I have seen many people try attaching bulky wool pieces to thin silk blouses with disastrous results. Always hold both pieces in your hands and test their stretch before committing. Matching the drape and weight ensures your new custom garment will move naturally with your body throughout the entire day.
Classic Cotton Tees
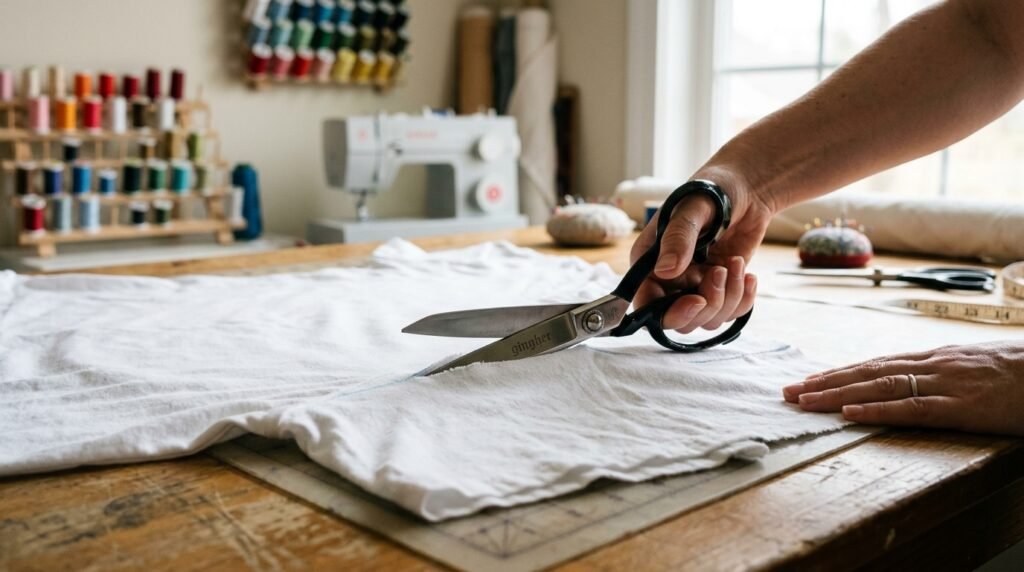
Classic cotton tees provide the absolute best foundation for beginner modification projects. The stable knit structure resists unravelling when you cut away the back panel. I highly recommend using sharp Fiskars fabric shears for all your cutting needs. Dull scissors will chew the fabric and leave terrible jagged edges behind. You should look for tops made from one hundred percent cotton for the best results. Blended fabrics with high spandex content tend to warp wildly under a [internal link: sewing machine] presser foot. A sturdy cotton base guarantees a professional looking finish for your crochet on tshirt project.
I remember my very first attempt at modifying a basic cotton top. I chose a bright blue shirt and a thick white lace centerpiece. I rushed the process and failed to match the fabric weights properly. The heavy center piece caused the neckline to sag down to my waist. I learned a valuable lesson about structural support that day. I carefully removed the stitches and applied the lace to a sturdy denim vest instead. That vest became my favorite summer layering piece. Finding the right fabric marriage takes practice, but the final creative results are always incredibly worthwhile.
Upcycling Old Sweaters
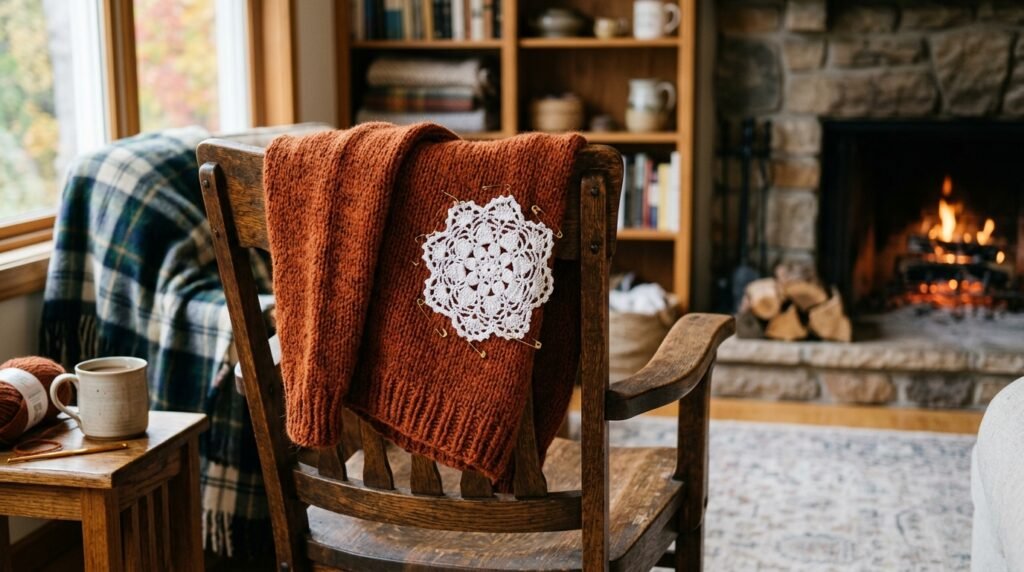
Modifying winter clothing requires a slightly different approach than summer tops. Creating a diy doily sweater gives you a stunning layered look for cold weather. Sweaters present unique challenges because their chunky knitted loops unravel very quickly. You cannot simply slice into a knit sweater without securing the edges first. I prefer to attach my decorative pieces as surface appliques on sweaters rather than cutting windows. This surface method adds beautiful texture without compromising the warmth or structure of the garment. It creates a cozy bohemian aesthetic perfect for crisp autumn days when you need extra layering.
If you truly want to cut a window into a winter sweater, proceed cautiously. You must apply a stabilizing interfacing around the planned cut area first. I iron on a lightweight fusible interfacing to lock the knitted loops permanently. Once the fibers are secured, you can safely stitch your textile in place. After sewing, carefully trim away the sweater material inside your stitched lines. You must use a tight zigzag stitch to encapsulate all those loose yarn ends. This careful finishing technique prevents your beautiful [internal link: handmade sweater] from slowly unravelling in the washing machine later.
3. Placement And Pinning
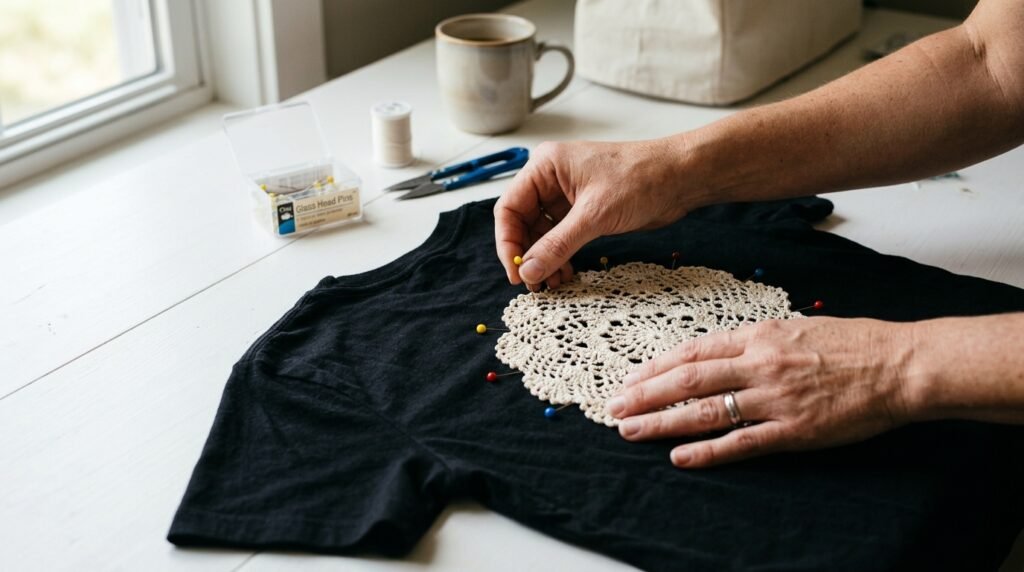
Strategic placement transforms a basic garment into a highly flattering fashion piece. You must consider how the design will look on an actual human body. Placing a large circular motif directly on the chest can look awkward. I usually prefer adding crochet to clothes across the upper back or shoulders. An intricate cutout back design offers a subtle yet striking visual impact. You can also experiment with asymmetrical placements along the side seams or lower hemline. Draping the garment on a [internal link: dress form] helps you visualize the final result before making any permanent changes to the fabric.
Proper pinning techniques prevent massive headaches during the final sewing phase. I strictly use high-quality Dritz glass head pins for my modification projects. Cheap plastic pins often snag delicate fabrics and melt under a hot iron. You must place your pins flat and smooth to avoid stretching the base garment. I place a pin every single inch around the entire perimeter of the applique. This dense pinning strategy stops the fabrics from shifting under the sewing machine foot. Taking your time here guarantees a smooth, professional looking doily clothes diy project without weird puckers or awful bunched fabric.
Many crafters struggle with fabrics shifting even after careful and dense pinning. I occasionally use temporary adhesives for slippery or highly stretchy base garments. A light layer of Aleene’s fabric fusion spray holds everything perfectly secure. You must spray lightly to prevent the adhesive from gumming up your sewing machine needle. I have tried using basic craft glue sticks, but they leave terrible white residues behind. Using a proper temporary fabric spray allows you to remove all pins before sewing. This makes the final stitching process incredibly fast, smooth, and completely stress-free for beginners attempting their first [internal link: clothing modification].
You must perform a careful try-on test before taking your project to the machine. Carefully slip the pinned garment over your head without getting poked. Walk around your room and check how the pinned fabric moves with you. Does the placement look flattering in a full-length mirror? I once pinned a beautiful lace piece across the shoulders of a tight shirt. When I tried it on, the lace completely restricted my arm movements. I had to unpin everything and reposition it lower on the back. Always test the functional mobility before sewing your final permanent holding stitches.
4. Stitching Techniques
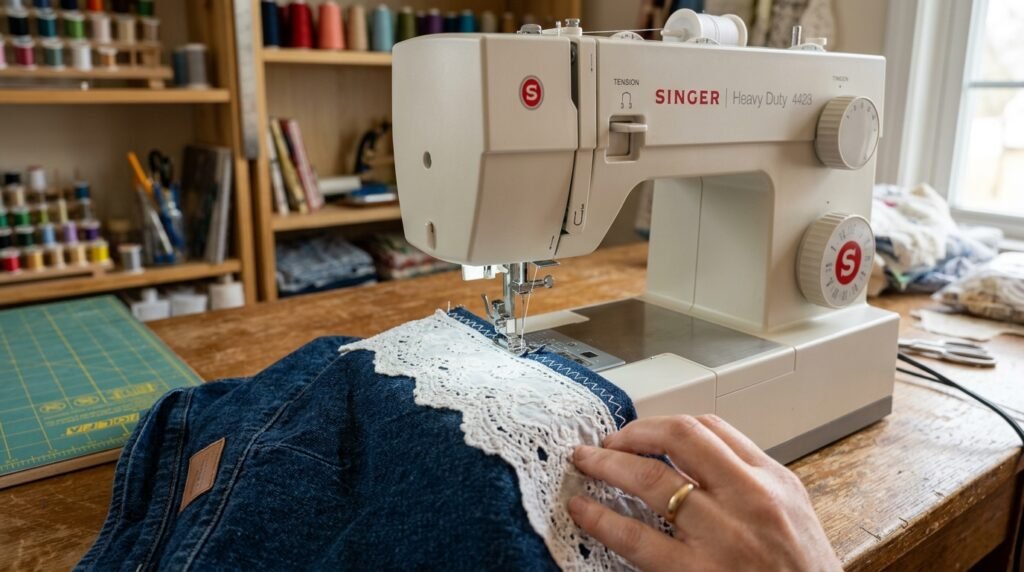
Choosing the right sewing method depends largely on your available tools and patience. Hand sewing offers incredible control for delicate antique textiles and slippery silks. However, hand stitching takes significantly more time than using a mechanical tool. I rely on my trusty Singer sewing machine for ninety percent of my clothing modifications. A machine provides unmatched durability for garments you plan to wash frequently. If you choose machine sewing, you must use a fresh, sharp needle. A dull needle will punch terrible holes through your delicate crochet on tshirt ideas and ruin the fabric completely beyond any repair.
Thread selection heavily impacts the longevity of your custom clothing modifications. I exclusively use Gutermann polyester thread for all my garment upcycling projects. Polyester thread provides crucial strength and a slight stretch for knit fabrics. Pure cotton thread often snaps under the stress of taking a tight shirt on and off. You should match your thread color to the decorative textile, not the base shirt. A matching thread seamlessly blends into the intricate loops and hides your stitch lines. Choosing the wrong thread color immediately makes your project look cheap and highly unprofessional to the trained eye.
Selecting the correct machine stitch setting is vital for stretchy knit garments. You should never use a standard straight stitch on a classic cotton tee. A straight stitch lacks flexibility and will pop the moment you stretch the fabric. I always set my machine to a narrow zigzag stitch for these [internal link: sewing projects]. The zigzag pattern allows the thread to expand seamlessly with the base fabric. You want the stitch length short and the width fairly narrow. This setting firmly tacks down the thick edges of your textile while maintaining the garment’s natural comfortable stretch for daily wear.
Let me share a frustrating case study regarding improper machine thread tension. Last year, I attempted to sew a heavy lace collar onto a thin blouse. I forgot to adjust my upper thread tension before starting the project. The machine aggressively gathered the thin blouse material into a messy, puckered nightmare. I spent two hours carefully ripping out those tiny, tight zigzag stitches. I finally lowered the upper tension and tested the stitch on a scrap piece. The second attempt laid beautifully flat. Always test your machine settings on fabric scraps before sewing your actual garment to prevent disasters.
5. Cutting Away Fabric
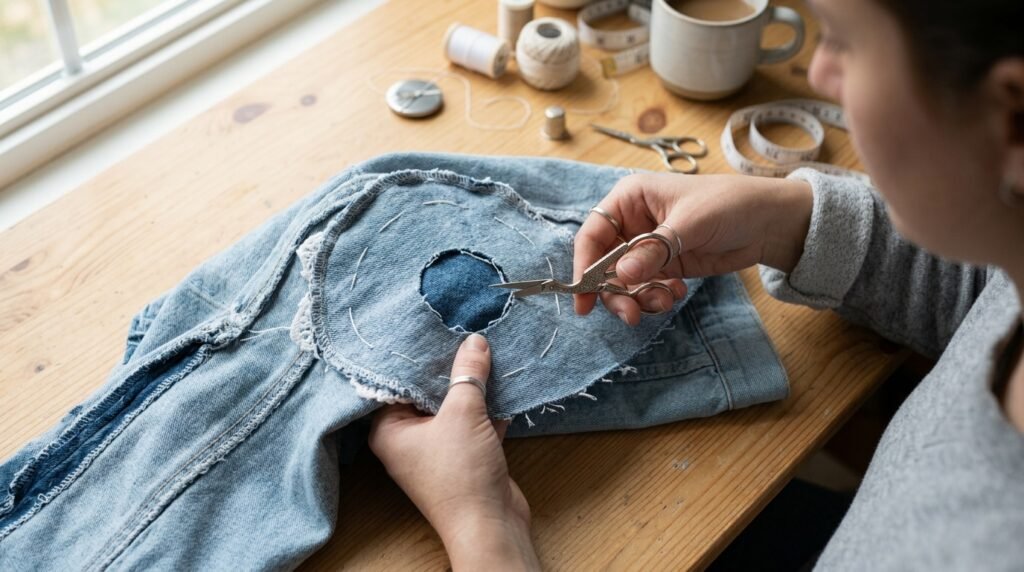
Removing the base fabric from behind your newly attached textile feels incredibly intimidating. You are essentially cutting a massive hole into a perfectly good shirt. I still hold my breath every time I make that first terrifying snip. You must carefully flip the garment inside out to clearly see your stitch lines. Pinch only the base fabric layer and pull it away from the decorative textile. Make a tiny starter cut directly into the center of the pinched fabric. This pinch method ensures you never accidentally snip through your beautiful, hard-earned decorative lace piece during the final steps.
Once you make that initial hole, carefully trim away the excess interior fabric. You want to cut very close to your stitched seam line. I typically leave about one quarter inch of fabric allowance around the edges. Cutting too close to the stitches guarantees your garment will unravel after one wash. I highly recommend using small, sharp embroidery scissors for this delicate trimming work. Large fabric shears are incredibly clumsy and often cause accidental holes. Take your time during this step to ensure clean, even edges throughout your entire crochet doily upcycle project for a perfect boutique finish.
Edge Finishing Secrets
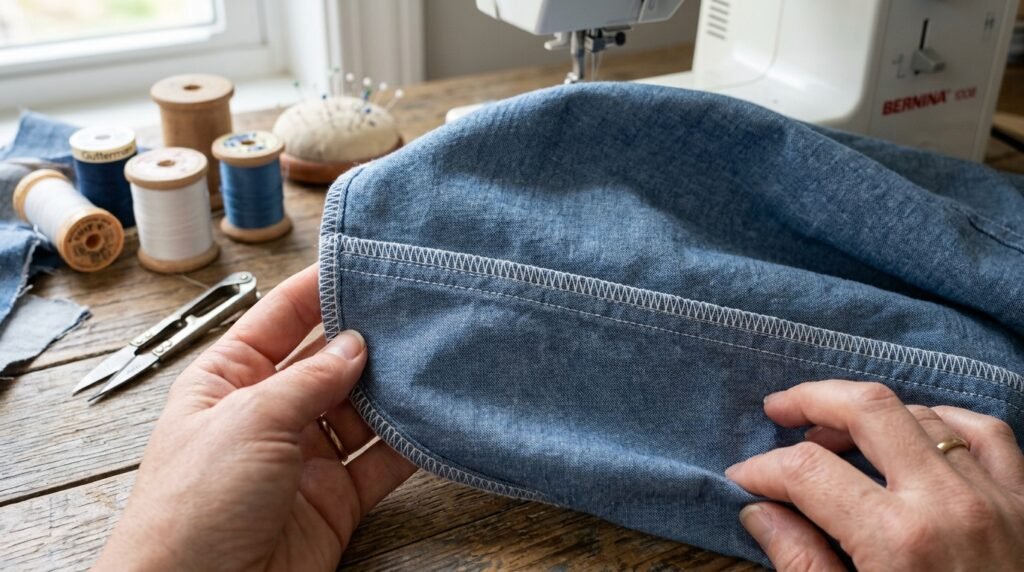
Raw cut edges on cotton knits will naturally curl rather than severely unravel. This curling effect actually creates a very cool, relaxed bohemian aesthetic. However, some fabrics absolutely require proper edge finishing to survive the laundry. I sometimes apply a thin line of liquid fray check along the cut borders. You can also run a second row of zigzag stitches around the very edge. This double stitching technique locks every single fiber firmly into place. Professional edge finishing separates a high-quality [internal link: custom garment] from a messy, amateur craft project that falls apart immediately after one single wash cycle.
You can apply these exact techniques to create highly specific aesthetic designs. For instance, creating a custom crochet skull tank top requires careful strategic cutting. You would attach the skull motif firmly to the back of a black tank. After stitching, you carefully cut away the black fabric behind the skull’s eyes and mouth. This reveals the skin underneath and creates a stunning, edgy visual contrast. I have seen this specific style dominate alternative fashion boards consistently. Mastering this cutting technique opens up endless creative possibilities for your personal wardrobe modification journey and future fashion design endeavors.
6. Troubleshooting Common Issues
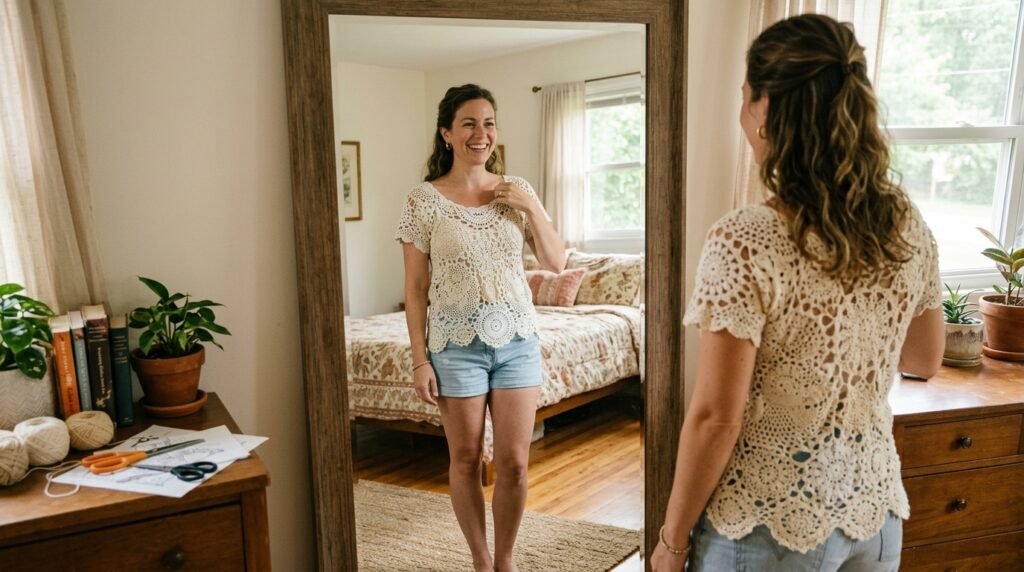
Even experienced crafters occasionally encounter frustrating issues during garment modification projects. One common problem involves the heavy textile pulling the neckline backward uncomfortably. This usually happens when you attach too much weight to a flimsy front panel. To fix this, you must counterbalance the garment by adding weight to the front. You can stitch small matching motifs along the front collar or hemline. I have saved several lopsided projects using this simple counterbalance technique. Understanding garment physics helps you rescue mistakes and turn them into intentional, beautiful design elements for your upcycle shirt with crochet styling.
Another frequent complaint is a stiff, crunchy feeling where the applique was attached. This stiffness usually stems from using incorrect adhesives or overly thick stabilizers. You should strictly avoid heavy tear-away stabilizers intended for dense [internal link: machine embroidery]. Instead, use a lightweight wash-away stabilizer that dissolves completely in the laundry. I always wash my finished garments immediately to remove any stiffening agents. The fabric softens beautifully once the temporary stabilizers and spray adhesives wash away. Soft, pliable seams ensure your newly modified clothing remains incredibly comfortable to wear all day long without irritating your sensitive skin whatsoever.
7. Frequently Asked Questions
How do you properly wash and maintain doily clothing items at home? You must treat these modified garments much like delicate vintage lingerie. I strictly recommend washing them by hand in cold water with mild detergent. If you must use a machine, place the garment inside a structured mesh wash bag. Set the cycle to delicate and never use warm or hot water. You should completely avoid the mechanical dryer, as heat damages the delicate fibers. Always lay the garment flat on a clean towel to air dry. Hanging wet, heavy garments will stretch the neckline and warp the delicate textile additions permanently over time, ruining your hard work completely.
Can you successfully add crochet to a highly stretchy workout t-shirt? You can certainly attach non-stretch textiles to highly stretchy athletic wear, but it requires caution. The main issue is that the stitched area will completely lose its ability to stretch. If you place a large rigid piece across the chest, the athletic shirt may become too tight to wear. I recommend placing these decorative elements only on areas that do not require much movement. The upper back or lower side seams are generally safe locations for rigid appliques. Always use a generous zigzag stitch to preserve whatever minimal stretch remains along the seam boundary for better daily comfort.
What if I want to create the lace directly on the shirt instead? Creating the textile directly onto the garment hem is a beautiful alternative method. You will need to punch tiny, evenly spaced holes around the shirt’s hemline first. A small rotary hole punch tool works perfectly for creating these even spaces. You can then use a thin steel Clover hook to stitch directly through the fabric. Many people love using bright DMC embroidery floss to add a colorful crochet to clothes t shirts border. This direct method requires some basic yarn skills but eliminates the entire cut-and-sew applique process completely. It looks incredibly professional and highly customized.
How much does a typical garment modification project usually cost to complete? These projects are incredibly budget-friendly if you source your materials strategically. A basic thrifted cotton shirt usually costs around four to seven dollars locally. Vintage lace pieces generally run between two and five dollars at most thrift stores. A fresh spool of quality Gutermann thread will cost roughly four dollars. If you already own basic sewing supplies like pins and shears, the total project costs under fifteen dollars. Compared to buying a fifty-dollar boutique item, this [internal link: upcycling method] offers incredible financial value. It allows you to build a custom wardrobe on a tight budget without sacrificing aesthetic quality.
What specific type of thread works best for creating direct fabric borders? When creating borders directly on a garment, you need a strong, smooth material. Standard knitting yarn is usually too fuzzy and breaks down quickly in the wash. I strongly recommend using Aunt Lydia’s size ten cotton thread for these specific borders. This classic material features a tight mercerized twist that glides beautifully through fabric holes. It provides excellent stitch definition and withstands years of aggressive machine washing. You can find this specific material at places like Joann Fabrics in dozens of brilliant colors. It is the absolute best choice for durable clothing modification projects requiring high strength threads.
How long does a complete custom garment modification project typically take? For a complete beginner, the entire process takes approximately two to three hours. Finding the right placement and pinning the textile securely takes the most time. The actual machine sewing portion rarely takes more than twenty minutes to complete. Carefully snipping away the back fabric requires another fifteen minutes of focused attention. As you gain more experience, you can easily finish a shirt in under an hour. I often spend a rainy Sunday afternoon modifying three or four different shirts simultaneously. It is a wonderfully fast and highly satisfying weekend creative project for anyone wanting customized fashion.
Conclusion
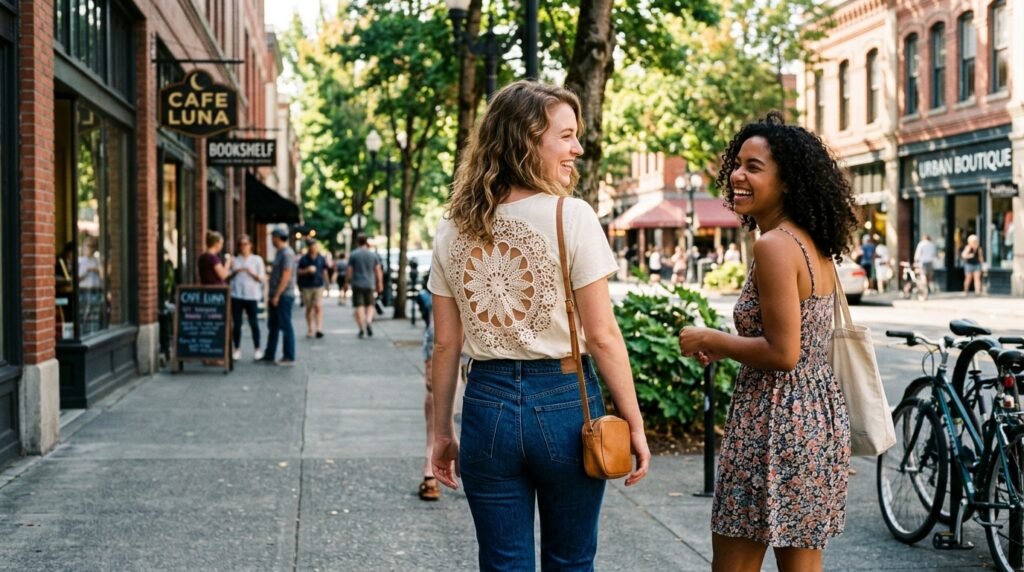
Transforming plain garments completely changes how you view your personal daily wardrobe. You no longer have to settle for boring, mass-produced clothing that lacks character. I have seen how small changes like these can completely transform a space in your closet. Mastering this simple DIY shirt refashion technique empowers you to express your unique bohemian aesthetic confidently. Please save this detailed guide on Pinterest so you can reference these steps later. Try adding a simple lace piece to an old shirt this weekend. Share your beautiful creative results with friends and inspire others to upcycle their clothing today

Amelia leads HavenlyStyle’s editorial vision with a passion for elegant interiors and practical home living. With years of experience in home décor and lifestyle content, she ensures every article is accurate, inspiring, and easy to follow. From timeless decorating ideas to the latest interior design trends, Amelia is committed to helping readers create beautiful, functional spaces while maintaining HavenlyStyle’s trusted and welcoming voice.