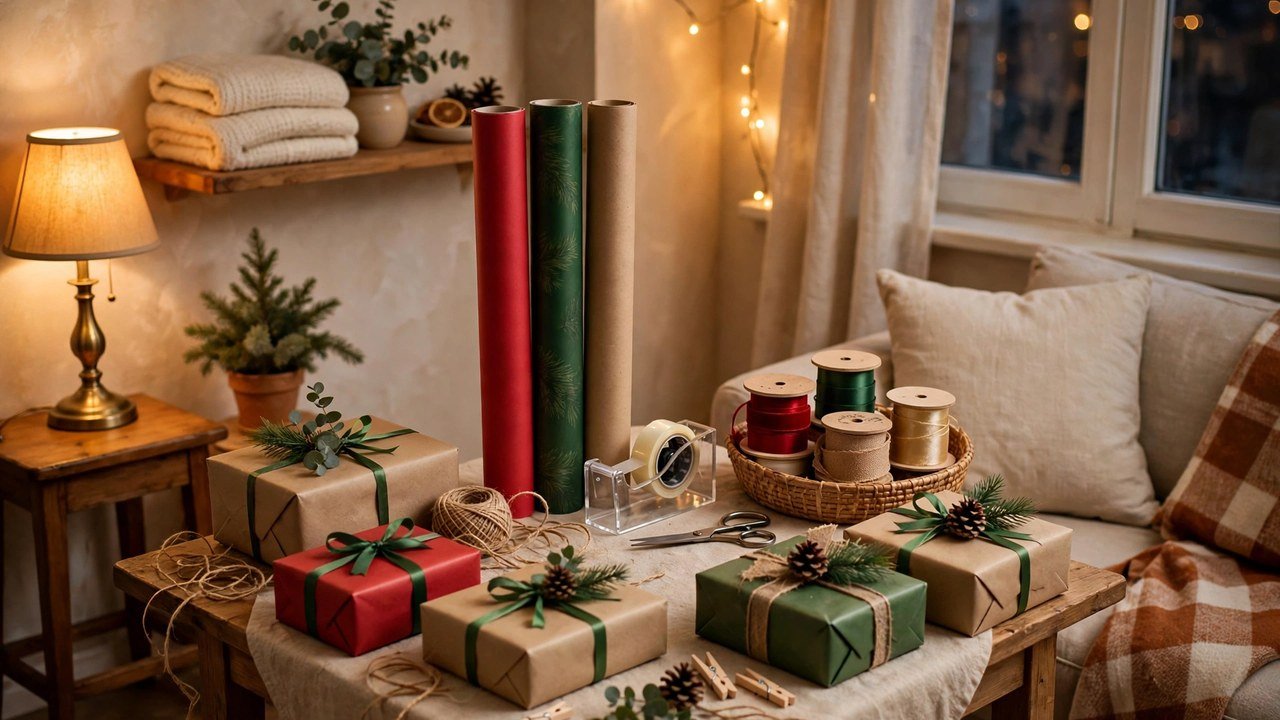
Every December, my small-apartment Christmases used to follow the same chaotic script. I would buy the gifts early, feeling organized, and then spend the month wrapping them on my bed, on the floor, or balanced on a kitchen counter that was also trying to hold dinner. Rolls of paper unrolled across the room, scissors vanished into the couch cushions, and the tape was always missing. By Christmas Eve I was wrapping presents at midnight, surrounded by paper scraps, with a backache and a strong suspicion that the whole ritual was supposed to be joyful.
If that sounds familiar, you are not disorganized. You are a renter in a small apartment, and you have never had a place to wrap. Most wrapping advice assumes a spare room, a craft table, or at least a garage you can take over for a month. Your apartment has none of those things, and your lease probably frowns on screwing a wrapping-paper dispenser into the wall anyway.
I have helped dozens of renters carve wrapping stations out of spaces they already had — closet doors, the gap beside the fridge, the dead zone under the bed. Every idea below is deposit-safe, removable, and designed for a real small apartment, not a Pinterest mansion. You do not need a craft room. You need one small, smart setup that keeps your paper, tape, ribbon, and scissors together, works for the whole season, and disappears cleanly in January. Here are twelve ways to build it.
Executive Summary
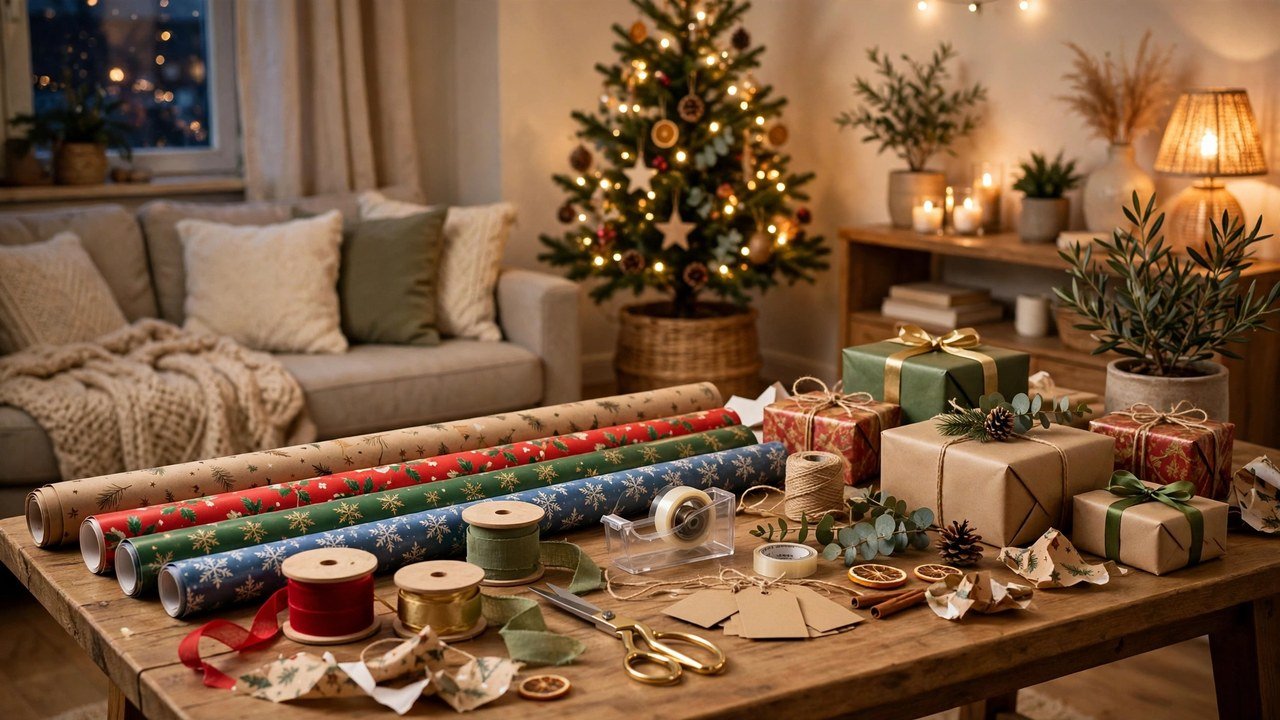
- A wrapping station is not a room — it is one contained spot where paper, tape, scissors, and ribbon live together all season, so you never hunt for supplies again.
- Doors, closet rods, and the gap beside your furniture are free real estate: the best small-apartment stations hang, roll, or slide into space you already have.
- Every idea below is deposit-safe and removable — no drilling, no permanent fixtures, nothing to explain to your landlord in January.
- Keep rolls vertical, not horizontal: vertical storage is the single change that stops paper from unrolling, creasing, and taking over your floor.
- Most of these stations cost roughly $10 to $60, set up in under an hour, and pack away flat or roll into a closet when the season ends.
1. Hang an Over-the-Door Wrapping Organizer
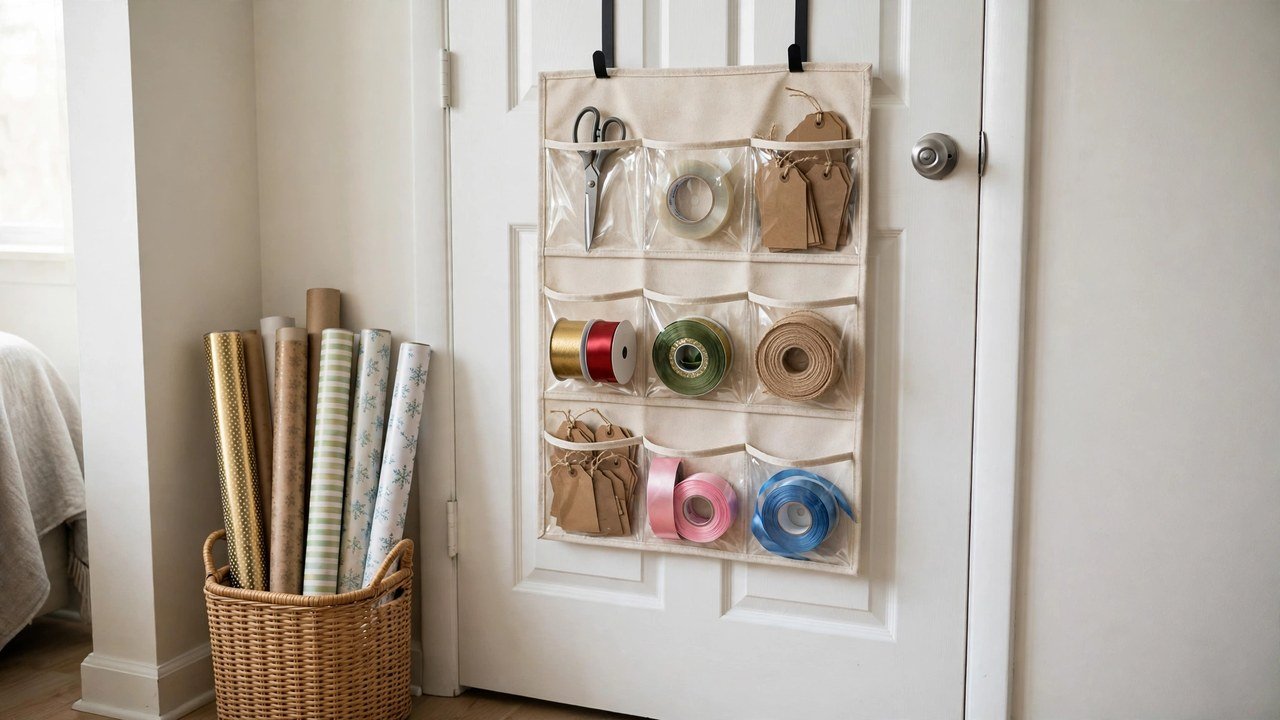
An over-the-door organizer is the fastest wrapping station you will ever build: a panel of clear pockets and loops that hooks over any interior door, with a pocket for every supply. Tape, scissors, ribbon spools, gift tags, and pens each get their own slot, and your wrapping paper hangs from hooks at the bottom or stands in a tall side pocket.
This is a renter favorite for a simple reason — it uses a door you already have and leaves zero marks behind. No screws, no adhesive, no holes. When January comes, you lift it off the door and fold it flat into a closet. It is also the only station on this list that keeps everything visible at once, which matters when you are wrapping at 11 p.m. and cannot remember where the good scissors went.
I have personally seen this single organizer rescue wrapping season for renters in studios, because the door to the bedroom closet or bathroom suddenly became the most useful square foot in the apartment.
Here is how to do it:
- Choose a door that stays mostly closed during December — a closet door or bedroom door works better than the front door, which swings constantly.
- Hang the organizer over the top of the door and check that the door still closes fully; if it sticks, move it to a door with a slightly wider gap.
- Put your most-used tools in the top pockets — scissors, tape, and pens — so you reach them without bending.
- Store ribbon spools on the organizer's loops or in the deeper pockets, grouped by color family so you can grab a match at a glance.
- Stand your wrapping paper rolls in a tall, narrow bin right beside the door, or use the organizer's bottom loops to hold two or three rolls upright.
Approximate cost: $15 to $30.
2. Roll a Slim Cart Into the Gap Beside Your Furniture
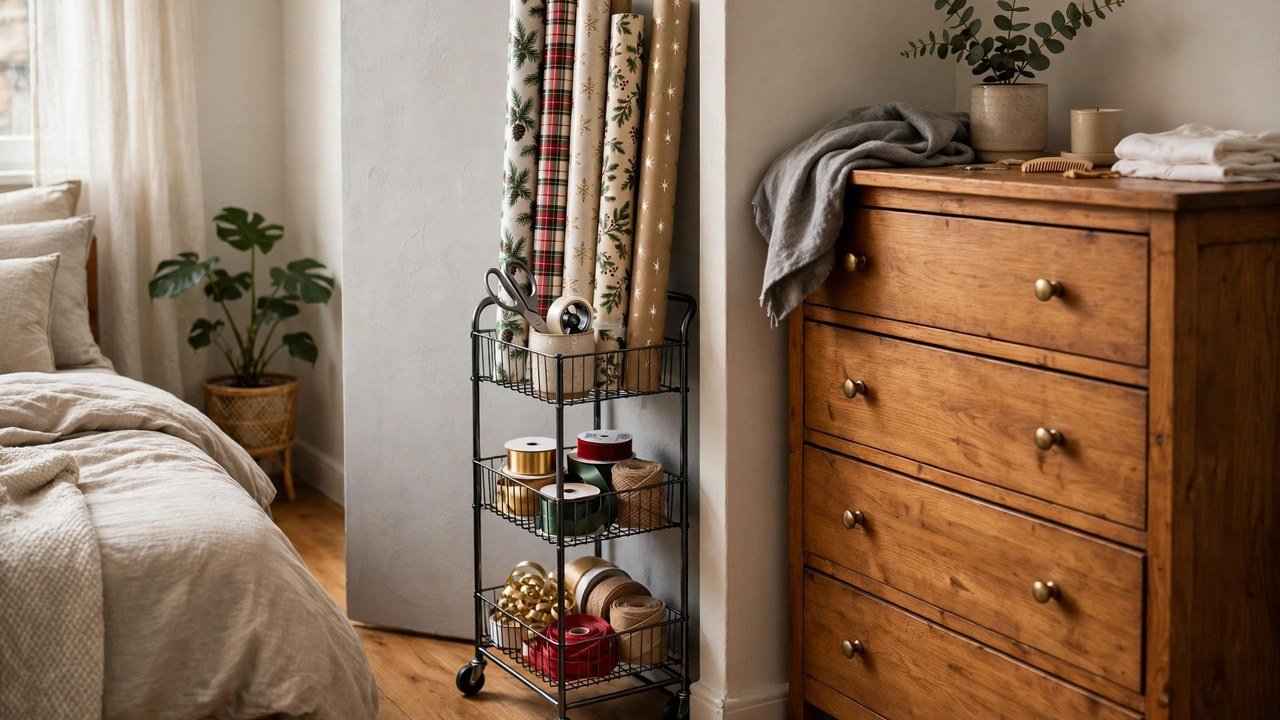
A slim rolling cart — the kind built to slide between a washer and a wall — is a wrapping station on wheels. You load it with paper rolls standing upright on one tier, tape and scissors in a cup on the next, and ribbon and tags in a small bin on the bottom, then roll it into whatever narrow gap your apartment offers: beside the fridge, between the dresser and the wall, or into the closet when you are done.
Renters love this one because it is furniture, not a fixture. It needs no installation, it moves wherever the wrapping is happening, and on move-out day it is just a cart you already own. I have noticed that renters who use a rolling cart actually wrap gifts earlier in December, because the station rolls to them instead of requiring a whole production to set up.
Here is how to do it:
- Measure your narrowest gap before buying — most slim carts are about 5 to 8 inches wide, but measure twice, because apartment gaps are never standard.
- Stand wrapping paper rolls upright in the tallest tier; vertical rolls stay neat, while horizontal rolls unspool the moment you look away.
- Use a small cup or jar on the middle tier for scissors, pens, and tape, so your tools never migrate to the junk drawer.
- Put ribbon spools and gift bags in the bottom tier, where their weight keeps the cart stable.
- When you wrap, roll the cart to your table; when you finish, roll it back into its gap. That is the whole cleanup.
Approximate cost: $25 to $45.
3. Build an Under-Bed Wrapping Drawer
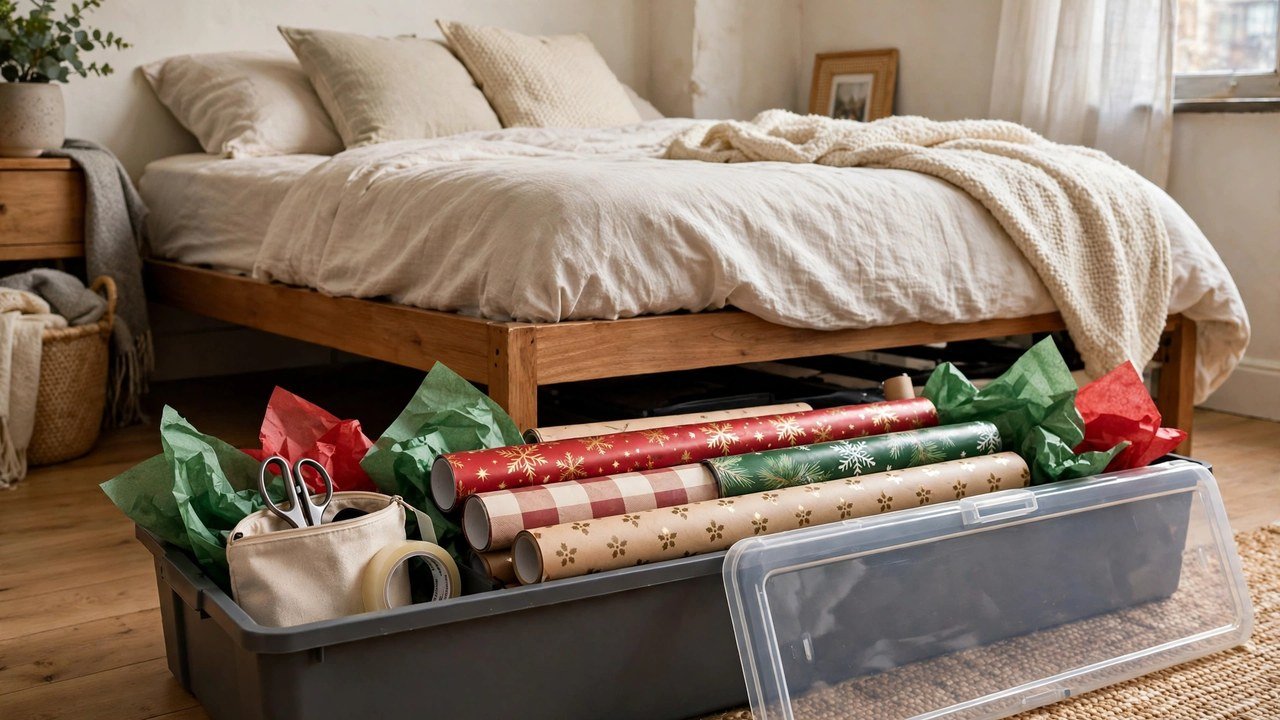
The space under your bed is probably the largest unused storage zone in your apartment, and it is exactly the right shape for wrapping paper. A long, flat under-bed bin — the kind with wheels and a lid — holds full-length rolls of paper, flat sheets of tissue, gift bags laid flat, and a small tool pouch, all hidden until you need them.
This works beautifully for renters because it requires nothing to be installed, hung, or stuck to a wall. It is also the tidiest station on this list: when guests come over, you slide the bin back under the bed and your apartment looks like wrapping season never happened. I have helped dozens of renters in studios use this trick, and the ones who add a small zippered pouch for scissors and tape are the ones who never lose them.
Here is how to do it:
- Measure the clearance under your bed, including the bed frame lip, and buy a bin that slides in without forcing.
- Lay wrapping paper rolls flat in the bin, alternating directions so the rolls nest together instead of rolling around.
- Keep tissue paper and gift bags flat on top of the rolls, where they will not crease.
- Tuck a zippered pouch holding scissors, tape, pens, and tags at one end of the bin, so tools are always in the same spot.
- Pull the bin out to wrap on the bed or nearby table, then slide it back. Wrapping setup takes about thirty seconds.
Approximate cost: $15 to $35.
4. Hang Paper Rolls From a Tension Rod Inside a Closet
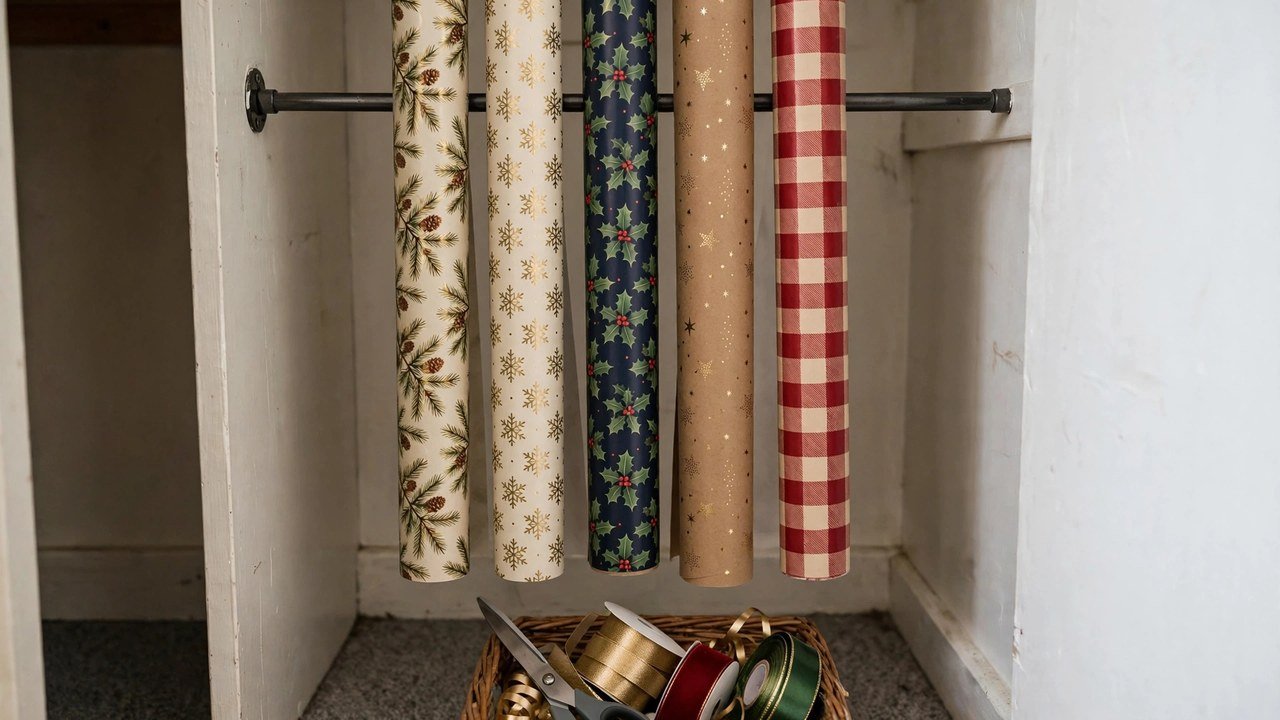
If you have a closet with even a few inches of spare width, a tension rod turns it into a wrapping-paper rack. You mount the rod across the closet at about chest height, thread your paper rolls onto it like a giant paper-towel holder, and pull off exactly what you need — the roll stays put, the paper stays clean, and nothing unrolls across the floor.
This is the renter test in its purest form: a tension rod grips with pressure alone, so when the season ends you twist it loose and there is nothing to patch. It also keeps your paper out of sight and away from pets, toddlers, and radiators, which is more than can be said for the corner of the living room where most rolls end up.
I have personally seen a single tension rod hold six rolls of paper in a coat closet all December, and the closet looked untouched when the rod came down in January.
Here is how to do it:
- Measure the closet width at the height where you want the rod — closets are rarely square, so measure at that exact spot, not at the top.
- Choose a sturdy tension rod, not a flimsy shower rod, because a full roll of heavy wrapping paper weighs more than you expect.
- Slide your paper rolls onto the rod before mounting it, then twist it into place at a height where you can pull paper down comfortably.
- Keep a small basket on the closet floor for scissors, tape, and ribbon, so the whole station lives in one place.
- To use it, pull the paper to your desired length and tear or cut against the rod's edge — the roll stays put while you work.
Approximate cost: $10 to $20 per rod.
5. Put Up a Command-Strip Pegboard Above Your Desk
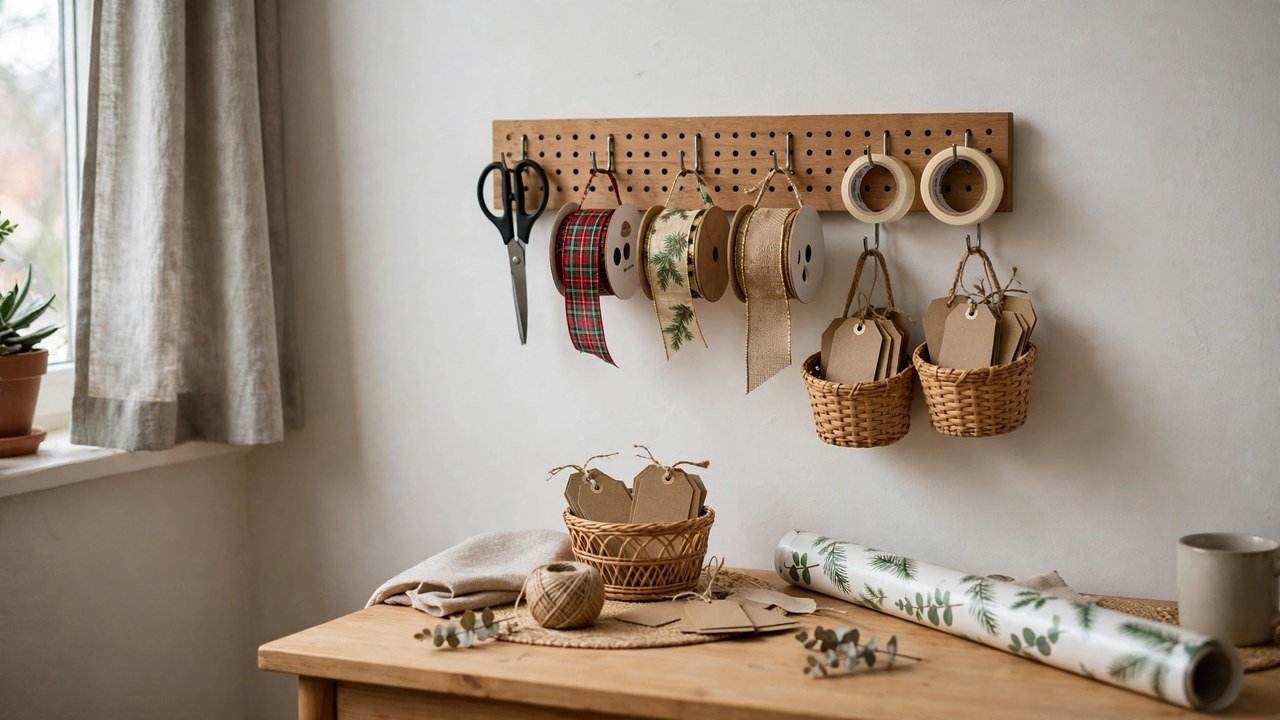
A small pegboard hung with removable adhesive strips above a desk or dresser turns a blank wall into a wrapping command center. Hooks hold scissors, ribbon spools, and tape; small baskets clipped to the board hold tags, pens, and bows; and a horizontal dowel or two across the bottom holds a roll or two of paper within arm's reach.
Renters love pegboard because it looks intentional — like a real craft station — while being completely removable. The adhesive strips peel off cleanly when you follow the removal instructions, and the board itself moves to your next apartment. I have noticed that renters who build this one start wrapping gifts at their desk instead of on the bed, which is a genuine quality-of-life upgrade.
Here is how to do it:
- Pick a wall spot above a desk, dresser, or console where you can stand or sit comfortably to wrap.
- Hang the pegboard with adhesive strips rated for its weight, pressing firmly and waiting the full recommended time before loading it — patience here is what keeps it on the wall.
- Add a mix of hooks: long hooks for ribbon spools, short hooks for scissors, and small baskets for tags and pens.
- Mount a short dowel or a pair of hooks near the bottom to hold one or two paper rolls horizontally within reach.
- On move-out day, pull the adhesive tabs straight down slowly, following the package directions, and the wall is untouched.
Approximate cost: $20 to $40.
6. Turn a Cube Shelf Into a Wrapping Hutch
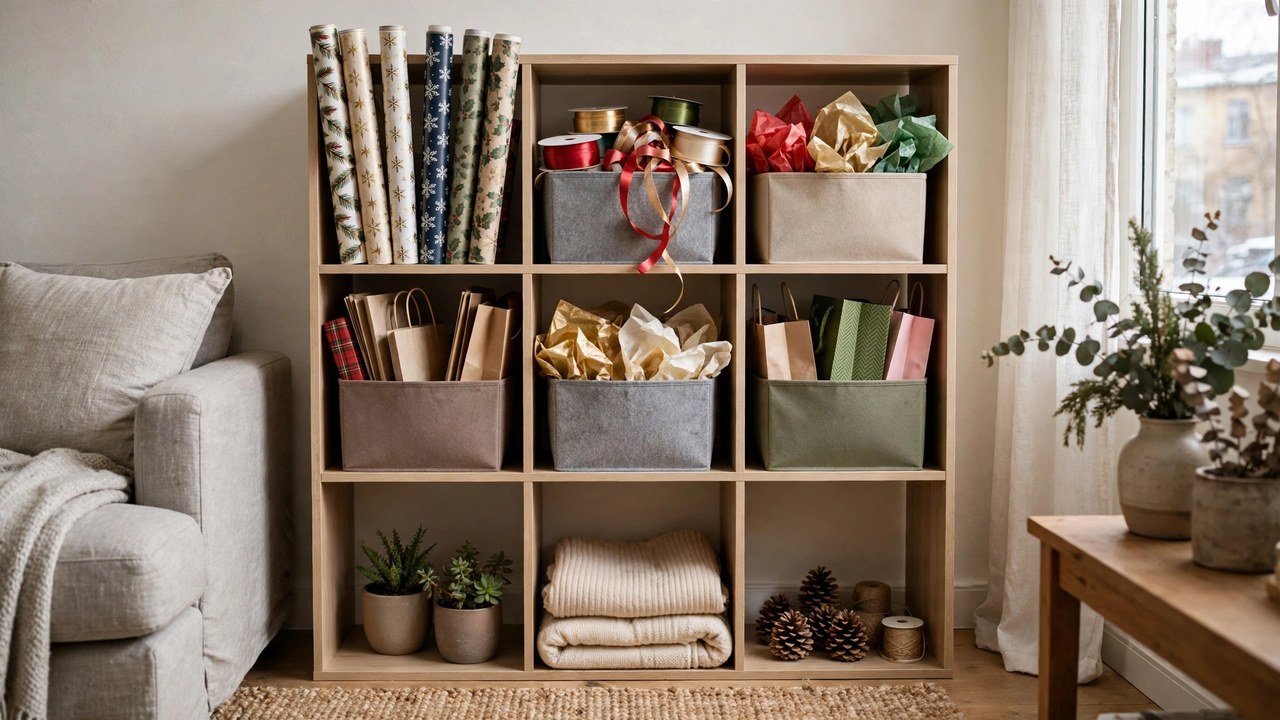
A cube storage shelf — the kind with four or six square cubbies — makes a surprisingly elegant wrapping hutch. Stand paper rolls upright in one tall cubby (or remove a divider to make a tall slot), put ribbon and bags in another, tools in a small bin in a third, and stack flat boxes and tissue in the rest. If the shelf already lives in your apartment holding books or shoes, just reassign two or three cubbies for December.
This works for renters because it uses furniture you already own, with zero installation and zero wall contact. It is also the most gift-ready station on this list: when friends drop by, your wrapping hutch looks like decor, not clutter. I have personally seen a bookshelf cubby hold an entire family's wrapping supplies for a whole season, and the shelf went straight back to books in January.
Here is how to do it:
- Clear two or three cubbies at one end of your shelf, keeping the rest of the shelf in normal use.
- Stand wrapping paper rolls upright in the tallest cubby; if no cubby is tall enough, remove one divider for December and replace it in January.
- Use fabric bins inside the other cubbies to corral ribbon, tissue, and gift bags by category.
- Put a small lidded box or zippered pouch in one cubby for scissors, tape, and pens.
- Keep a flat surface — the top of the shelf or a nearby table — clear as your actual wrapping workspace.
Approximate cost: $0 if you already own the shelf, or $30 to $60 for a new cube unit.
7. Wrap on a Fold-Away Ironing Board
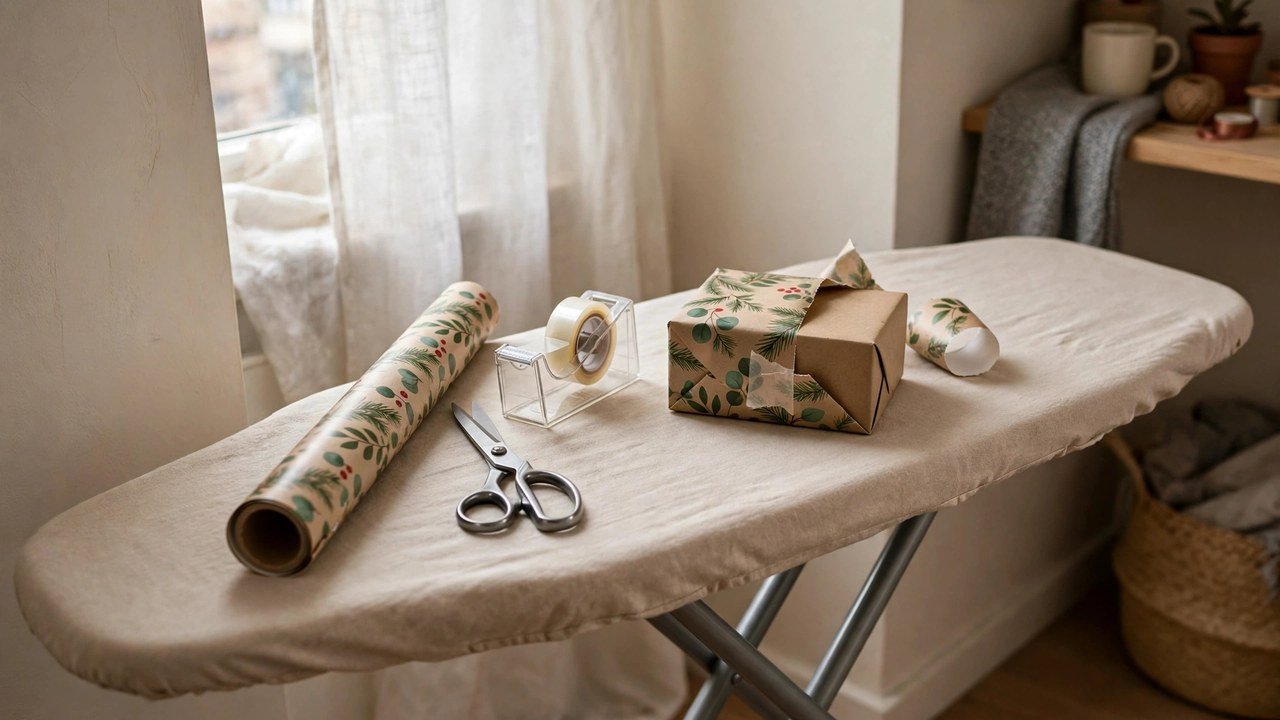
An ironing board is the secret wrapping table small apartments have been hiding all along. Set it up at standing height, and you have a long, narrow, padded surface that is exactly the right size for wrapping a gift — long enough for a roll of paper, narrow enough to fit in a hallway or bedroom corner, and it folds flat against a wall when you are done.
This is a renter favorite because it costs nothing extra if you already own one, and it solves the biggest small-apartment wrapping problem: where do you actually wrap? Not the bed, where paper slides everywhere. Not the kitchen counter, which is busy. The ironing board gives you a dedicated surface that appears in two minutes and vanishes just as fast.
I have noticed that renters who wrap standing at an ironing board finish faster, because the height is comfortable and the narrow surface forces you to keep only the current gift in front of you.
Here is how to do it:
- Set the ironing board up near your supplies — beside the closet, the rolling cart, or the under-bed bin — so you are not carrying paper across the apartment.
- Cover the board with a flat sheet or a piece of felt if the padding is patterned, so patterns do not show through thin wrapping paper.
- Adjust the height so you can work standing comfortably, with your elbows slightly bent.
- Keep your tools in a small tray or mug at one end of the board, so scissors and tape stay put on the narrow surface.
- When you finish, fold the board flat and slide it behind a door or into the closet. The whole station disappears.
Approximate cost: $0 if you already own an ironing board, or $25 to $40 for a basic one.
8. Hang a Gift-Wrap Bag on the Closet Rod
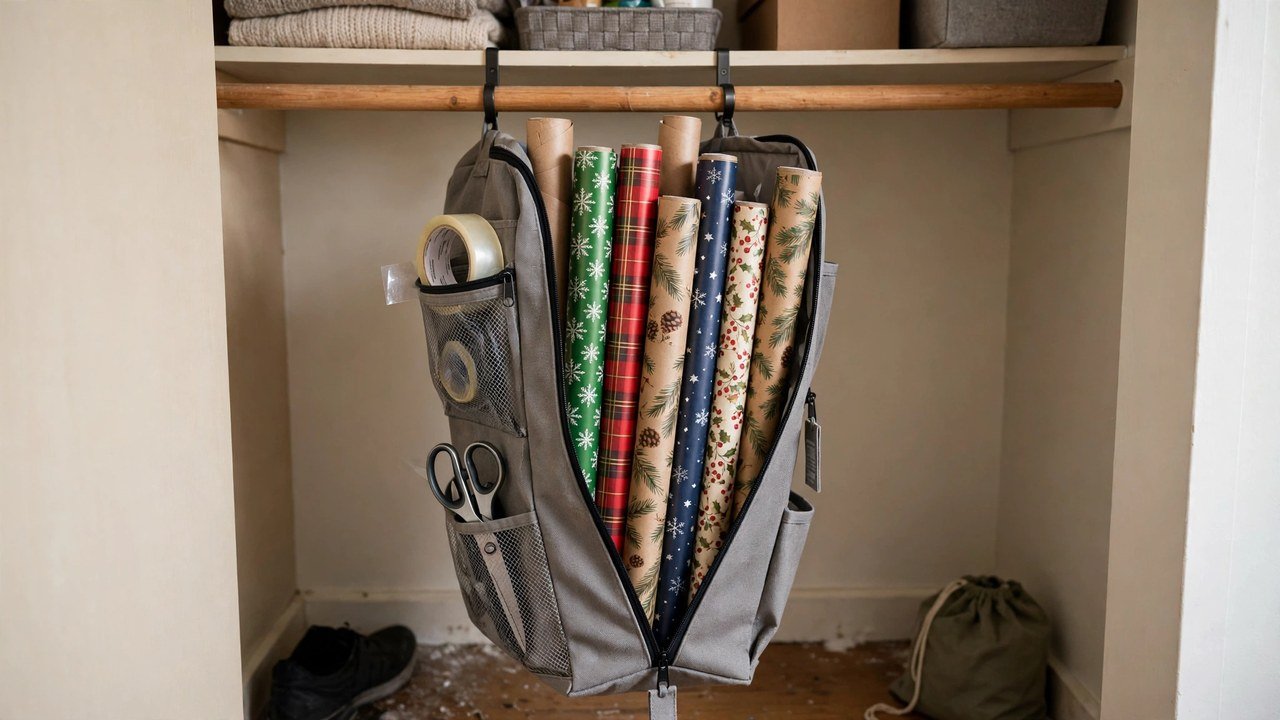
A hanging gift-wrap organizer — a tall fabric bag with compartments that zips closed and hangs from a closet rod like a garment bag — is the tidiest wrapping station there is. It holds full-length rolls in its main compartment, with zippered pockets for tape, scissors, ribbon, and tags, and it hangs in the closet right beside your clothes, completely out of sight.
Renters love this one because it is genuinely invisible. Guests never see it, it uses closet space that would otherwise hold nothing, and it moves with you in one piece. It is also the best option if you have pets or small children, because everything zips safely shut between wrapping sessions.
I have helped dozens of renters switch to this bag after years of the paper-in-the-corner method, and the most common reaction is surprise at how much it holds — most bags fit six or more full rolls plus all the tools.
Here is how to do it:
- Hang the bag from a sturdy closet rod, leaving enough clearance below it that it does not drag on the closet floor.
- Load paper rolls into the main compartment first, standing them upright so they do not bend.
- Put scissors, tape, and pens in the bag's zippered pockets, and ribbon spools in the mesh pockets where you can see them.
- Keep gift bags and tissue folded in the bag's outer pocket, or in a second hanging organizer beside it.
- To wrap, unzip, pull out what you need, and zip it back up. The station is never "out" — it is just open for a few minutes.
Approximate cost: $15 to $30.
9. Claim a Corner of the Entryway Bench or Console
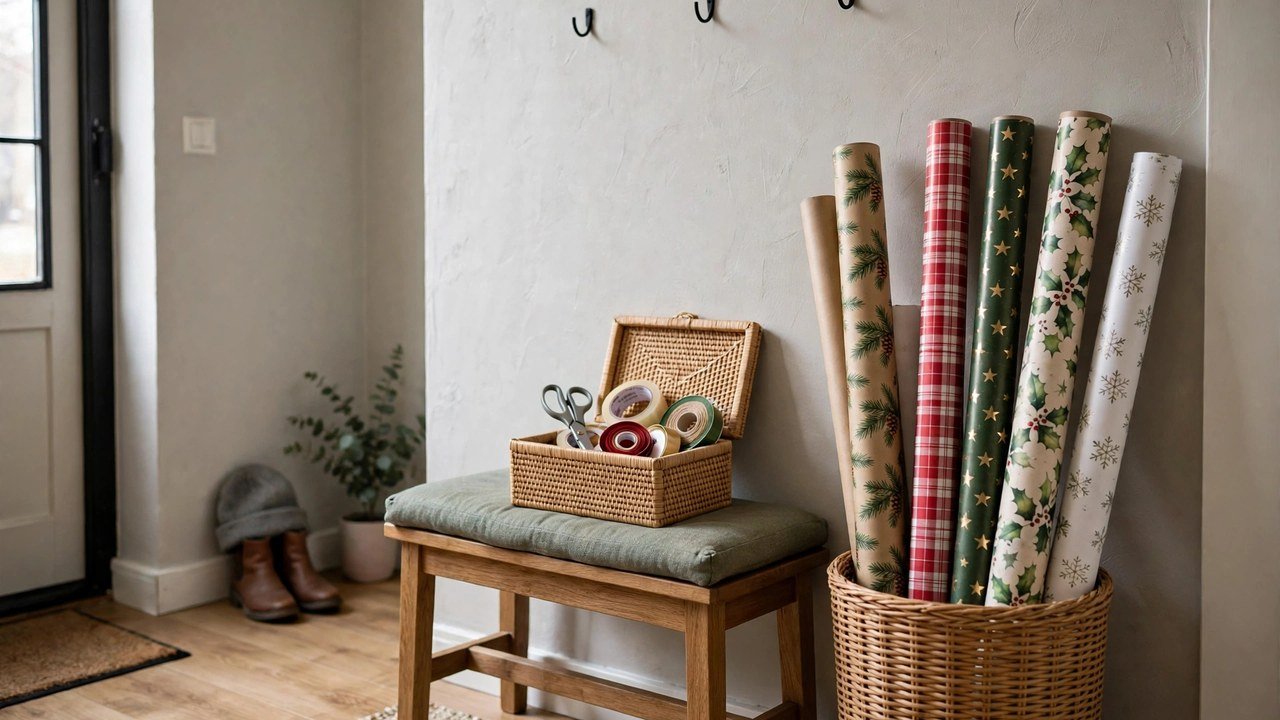
If your apartment has an entryway bench, a narrow console table, or even a shoe bench by the door, its lower shelf or a basket on top can become a wrapping station for December. Paper rolls stand in a tall basket beside the bench, tools live in a small lidded box on the bench itself, and ribbon and tags go in a second basket underneath.
This works for renters because the entryway is usually the most underused zone in a small apartment — it holds keys and shoes and not much else — and December is the one month when it earns its keep. It also puts your station right by the door, which is handy if you wrap gifts as they arrive from deliveries.
I have personally seen an entryway bench hold an entire apartment's wrapping supplies without looking cluttered, because baskets hide the chaos and the bench still works as a seat.
Here is how to do it:
- Place a tall, narrow basket beside the bench or console for wrapping paper rolls, standing upright.
- Put a small lidded box on the bench for scissors, tape, pens, and tags — lidded, so it still looks like entryway decor.
- Use a second basket under the bench for ribbon, tissue, and gift bags.
- Keep the bench's seating surface clear except for the box, so the bench still works for sitting and putting on shoes.
- In January, move the baskets to the closet and the bench goes back to normal in about five minutes.
Approximate cost: $15 to $40 for baskets and a box.
10. Hide the Station Inside a Lidded Ottoman
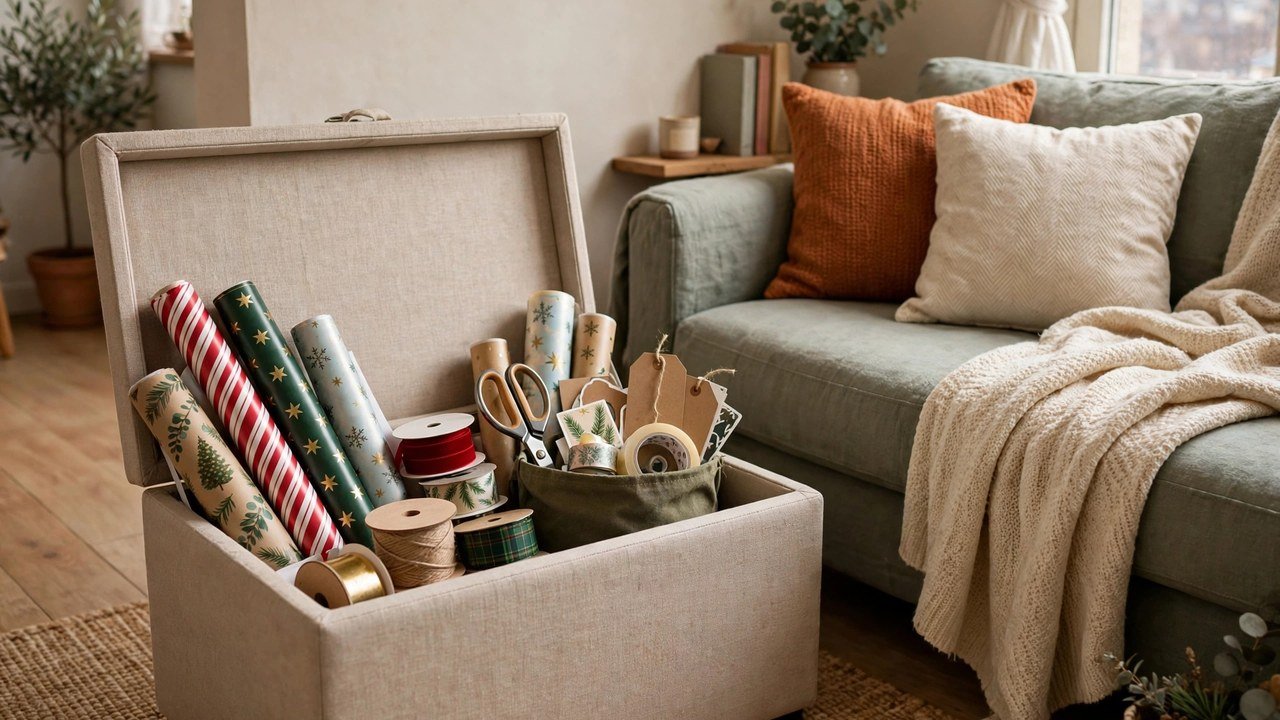
A lidded storage ottoman is a wrapping station in disguise. Lift the lid and you have room for several rolls of paper laid diagonally, a tool pouch, ribbon, and tags — all in a piece of furniture that also serves as a footrest, extra seat, or coffee table. Close the lid and nobody, including your nosiest guest, knows wrapping season is happening.
This is a renter favorite for the same reason the under-bed bin is: it is completely invisible when closed, requires no installation, and does double duty all year. It is also the best option if your apartment has almost no closet space, because the ottoman is storage that earns its floor space every single day.
I have noticed that renters with a storage ottoman wrap more relaxedly, because the station never looks like a mess in progress — you open it, wrap, close it, and the room is instantly tidy again.
Here is how to do it:
- Choose an ottoman large enough to hold your longest paper rolls diagonally — measure your rolls first, then the ottoman.
- Lay rolls diagonally inside, alternating directions so they nest and do not roll around when the lid closes.
- Add a zippered pouch for scissors, tape, and pens, and a small bag for ribbon and tags.
- Keep the ottoman in its usual spot — by the couch or at the foot of the bed — so it stays part of the room, not an extra thing to store.
- Wrap on the coffee table or bed right beside it, then close the lid. Cleanup takes about ten seconds.
Approximate cost: $0 if you already own a storage ottoman, or $30 to $60 for a new one.
11. Set Up a Desk-Corner Tiered Caddy Station
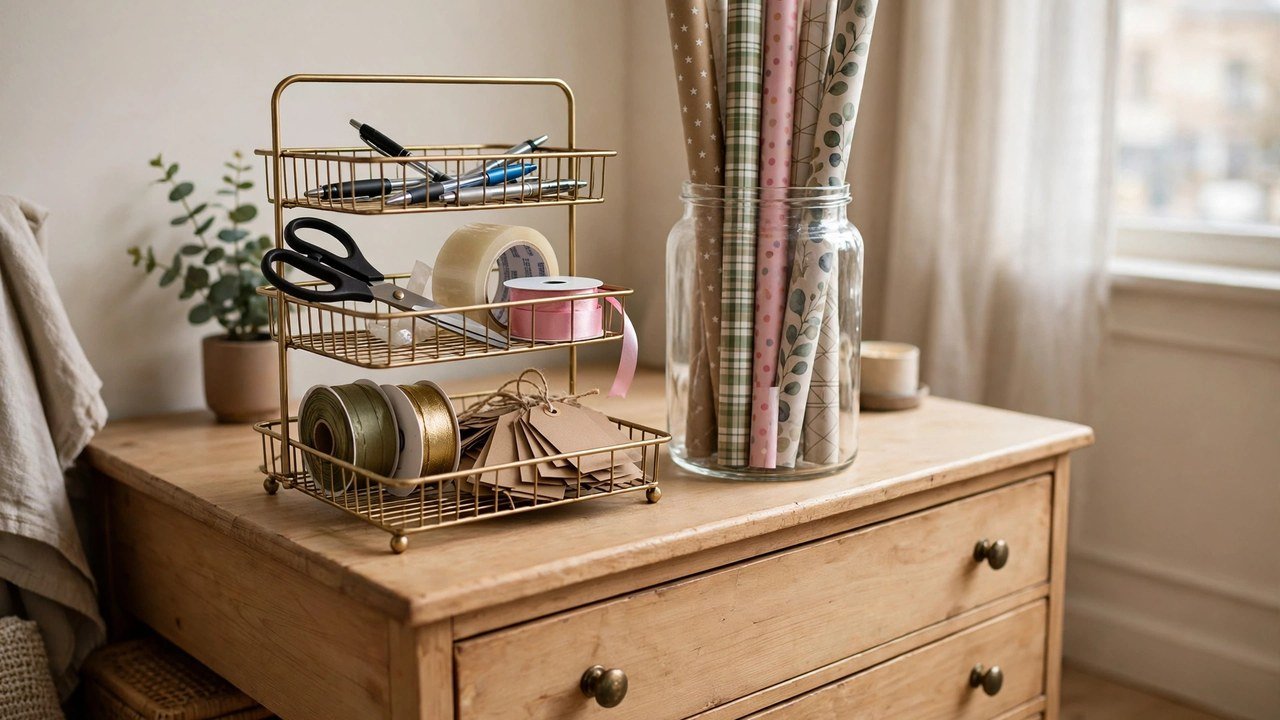
A tiered desk caddy — a small two- or three-level organizer that sits on a desk, dresser, or kitchen counter — turns one corner of a surface you already use into a wrapping station. The top tier holds scissors, tape, and pens upright; the middle tier holds ribbon spools and bows; the bottom tier holds tags and small gift boxes. Paper rolls stand in a tall container right beside it.
Renters love this one because it is the smallest station on this list — it takes up about one square foot — and it works on a surface that is already in daily use. If you have no free table at all, this is the station that still fits. It is also the easiest to keep tidy, because a caddy with a place for everything makes it obvious when something is missing.
I have personally seen a desk-corner caddy keep a whole December of wrapping organized in a studio apartment with literally no spare surface, because the caddy lived on the dresser and the wrapping happened on the bed beside it.
Here is how to do it:
- Clear one corner of your desk or dresser — about a square foot — and place the caddy there.
- Put your most-used tools on the top tier: scissors, tape, and a pen, standing upright so you can grab them one-handed.
- Use the middle tier for ribbon spools, grouped by color, and the bottom tier for tags, small boxes, and bows.
- Stand paper rolls upright in a tall jar, umbrella stand, or narrow bin right beside the caddy.
- When you wrap, pull supplies from the caddy to your workspace and return them after each gift — the caddy only works if things go back.
Approximate cost: $15 to $35.
12. Build a Grab-and-Go Tote for Wrapping Anywhere
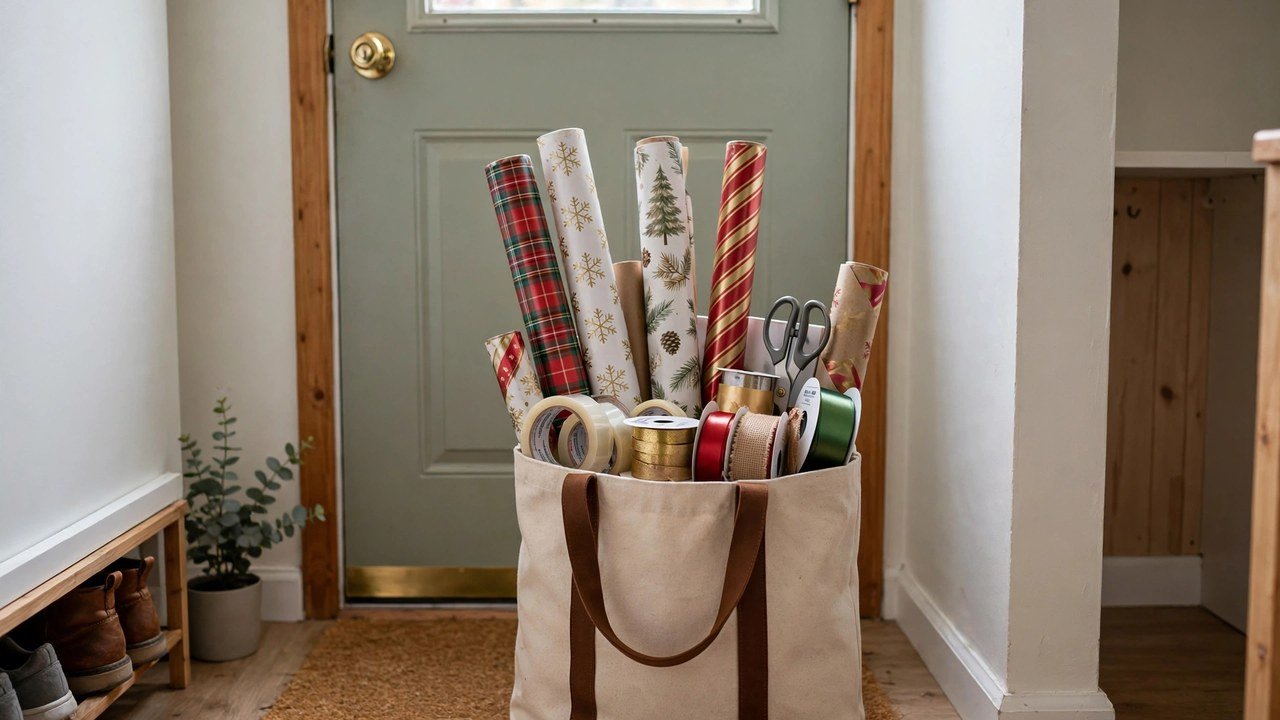
A grab-and-go tote is the wrapping station for renters who wrap in different places — at a friend's house, at the kitchen table one night and the bedroom the next, or on the couch while watching a holiday movie. A sturdy tote bag or small caddy holds a few rolls of paper, scissors, tape, ribbon, and tags, and it travels with you from room to room or out the door.
This works for renters because it asks nothing of your apartment at all: no wall, no door, no gap, no furniture. It is also the perfect second station if you already have a main one — keep the tote packed for quick gifts, and leave the big station for the long wrapping sessions. I have noticed that renters who keep a packed tote actually enjoy wrapping more, because the hardest part — gathering supplies — is already done before they start.
Here is how to do it:
- Choose a sturdy tote with an open top or a caddy with a handle, large enough for two or three rolls of paper plus tools.
- Stand the rolls upright in the tote, with a small zippered pouch for scissors, tape, and pens tucked beside them.
- Add a few ribbon spools and a pack of tags, and keep a small pair of scissors in the tote permanently so you never borrow the kitchen pair.
- Store the tote in the closet or by the door, ready to grab.
- After each wrapping session, repack the tote immediately — a tote that is unpacked is just a bag, but a tote that stays packed is a station.
Approximate cost: $10 to $25.
Conclusion

You do not need a craft room to have a beautiful wrapping season. You need one small, smart station — a door, a cart, a bin under the bed, a tote by the door — that keeps your paper, tape, scissors, and ribbon together, works with the apartment you actually live in, and disappears without a trace when the holidays end. Every idea in this post passes the renter test: nothing drilled, nothing permanent, nothing your landlord will ever notice.
I have seen renters go from midnight wrapping chaos to calm, early-December wrapping sessions with a single change: giving their supplies a home. Pick the idea that matches your apartment — the door if you have no floor space, the cart if you have a gap, the ottoman if you have no closet — and start there. You can always add a second idea next year, but one good station is all it takes to make wrapping feel like the celebration it is supposed to be, instead of the chore it used to be. Please save this visual guide on Pinterest and share it with a fellow small-apartment renter who is still wrapping gifts on their bed at midnight — because nobody should spend Christmas Eve hunting for the tape.

Amelia leads HavenlyStyle’s editorial vision with a passion for elegant interiors and practical home living. With years of experience in home décor and lifestyle content, she ensures every article is accurate, inspiring, and easy to follow. From timeless decorating ideas to the latest interior design trends, Amelia is committed to helping readers create beautiful, functional spaces while maintaining HavenlyStyle’s trusted and welcoming voice.