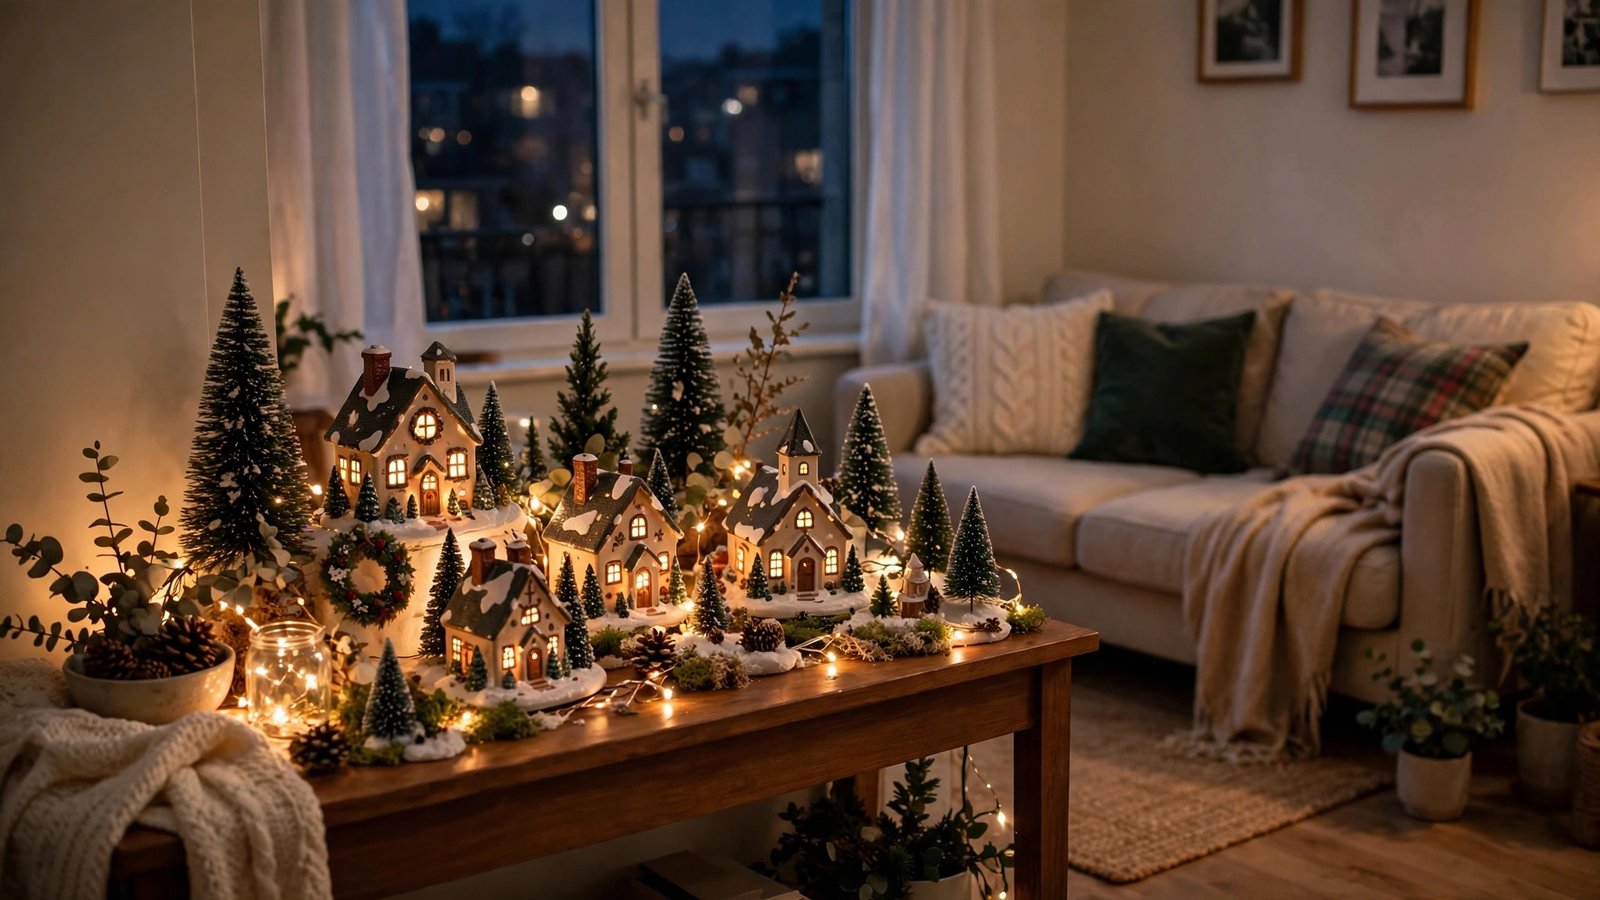
Here is the Christmas village problem nobody warns renters about: you fall in love with those glowing miniature towns online, all lit-up cottages and tiny snow-covered streets, and then you bring the first box home and realize you have nowhere to put it. No mantel, no spare sideboard, no big bay window, and definitely no spare room to dedicate to a village that needs a whole table to itself. In a small apartment, it can feel like a luxury for people with houses.
I’ve helped dozens of renters fit a Christmas village into studios, one-bedrooms, and shared apartments, and I’ve learned that small spaces do not need a smaller village — they need a smarter village. The trick is to stop thinking of it as one big display and start thinking of it as a collection of little scenes tucked into places you already have: a windowsill, a bookshelf, a console table, the top of a dresser. Done right, a small-apartment village feels even more magical than a sprawling one, because every tiny house is close enough to actually see.
Every idea below is deposit-safe and renter-friendly. No drilling, no nails, no permanent shelves, and nothing that damages paint or trim. Everything sits on furniture you already own, on removable ledges, or on trays and carts you can pack away in January. Pick two or three ideas, not all twelve — in a small space, a few well-lit scenes beat a crowded sprawl every time.
Executive Summary
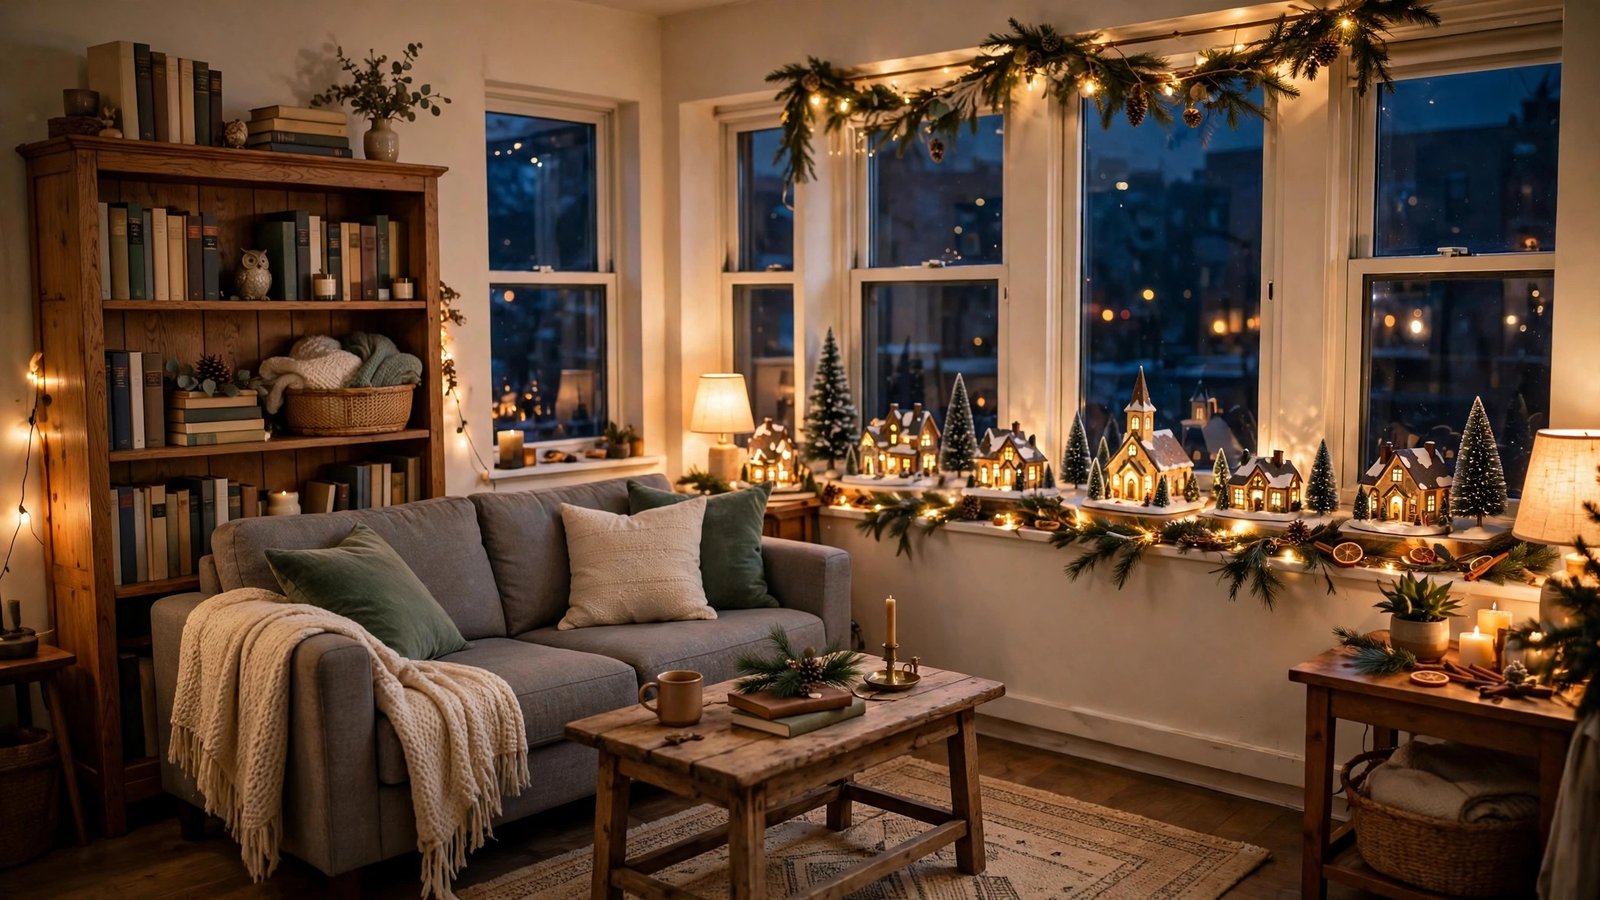
- A small-apartment village works best as several small scenes, not one big table — spread it across sills, shelves, and tabletops you already own.
- Windowsills, bookshelves, and floating ledges are your best free real estate: they hold a village without taking any floor space at all.
- Trays, cake stands, and rolling carts keep the village contained, portable, and easy to pack away — and they protect your furniture from cords and batteries.
- Battery-operated lights and timers solve the outlet problem in rentals, so you never need an extension cord snaking across the room.
- Every idea below is removable and deposit-safe: freestanding pieces, removable hooks, and tray-based displays only, with landlord permission flagged wherever a screw would be needed.
- For a studio or one-bedroom, two or three scenes is the sweet spot — a windowsill skyline plus a bookshelf village plus one tabletop scene fills your home with glow without crowding it.
1. Windowsill Winter Skyline
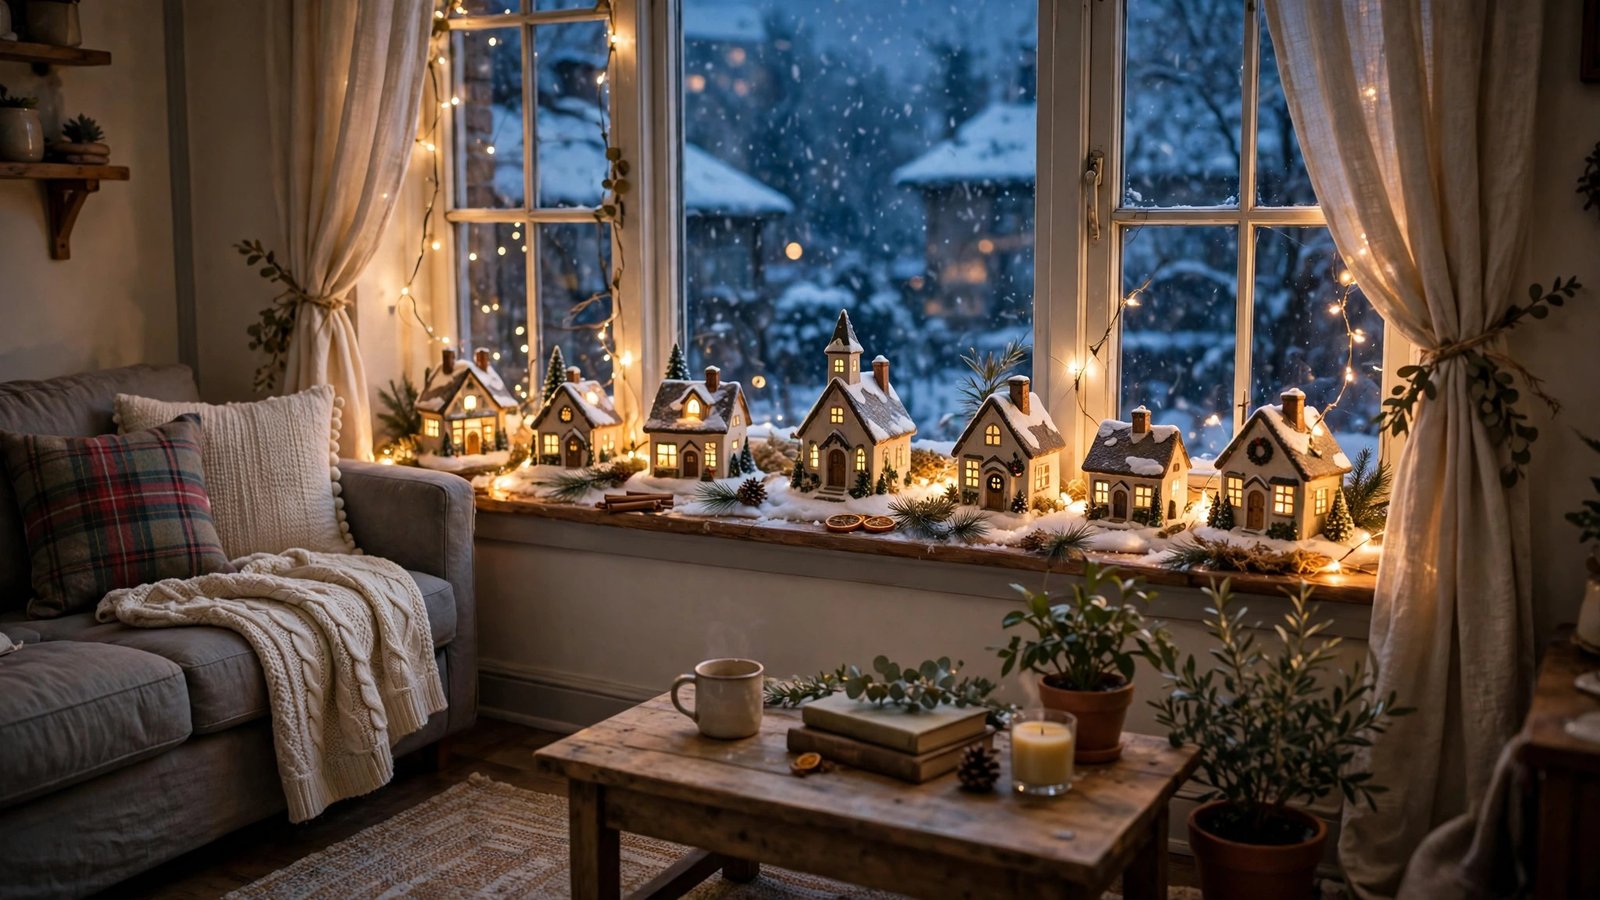
A windowsill village turns the narrowest surface in your apartment into a glowing skyline. Line up four to six small houses along the sill, add a string of warm fairy lights behind them, and from the street — and from your sofa — it reads like a whole miniature town at dusk.
Why it works for renters: a windowsill is wasted space in most apartments, too narrow for books and too awkward for plants in winter. A village claims it without touching a wall, a drill, or your deposit. The houses simply sit there, and everything lifts off in one motion when the season ends.
How to do it:
- Measure your sill for depth and length, then choose houses that fit with at least an inch to spare at the front edge.
- Lay a narrow runner of white felt or cotton batting along the sill to read as snow and to stop houses sliding on smooth wood or stone.
- Place the tallest house in the middle or at one end, then step the heights down on either side so the skyline has a natural rhythm.
- Tuck a battery-operated fairy light string behind the houses, with the battery pack hidden behind the largest house or a small faux tree.
- Add two or three tiny bottle-brush trees and a pinch of fake snow at the bases to finish the scene, keeping everything clear of curtains and blinds.
My renter tip: keep houses and lights well away from radiators under the window and from fabric curtains, which can dry out or catch on warm bulbs. Battery lights stay cool and solve the outlet problem, and a timer pack means your skyline glows every evening without you remembering to switch it on. Wipe the sill first, too — dust under felt shows up fast in window light.
Approximate cost: $25–$60 for a starter set of houses, felt, lights, and tiny trees.
2. Bookshelf Tiered Village
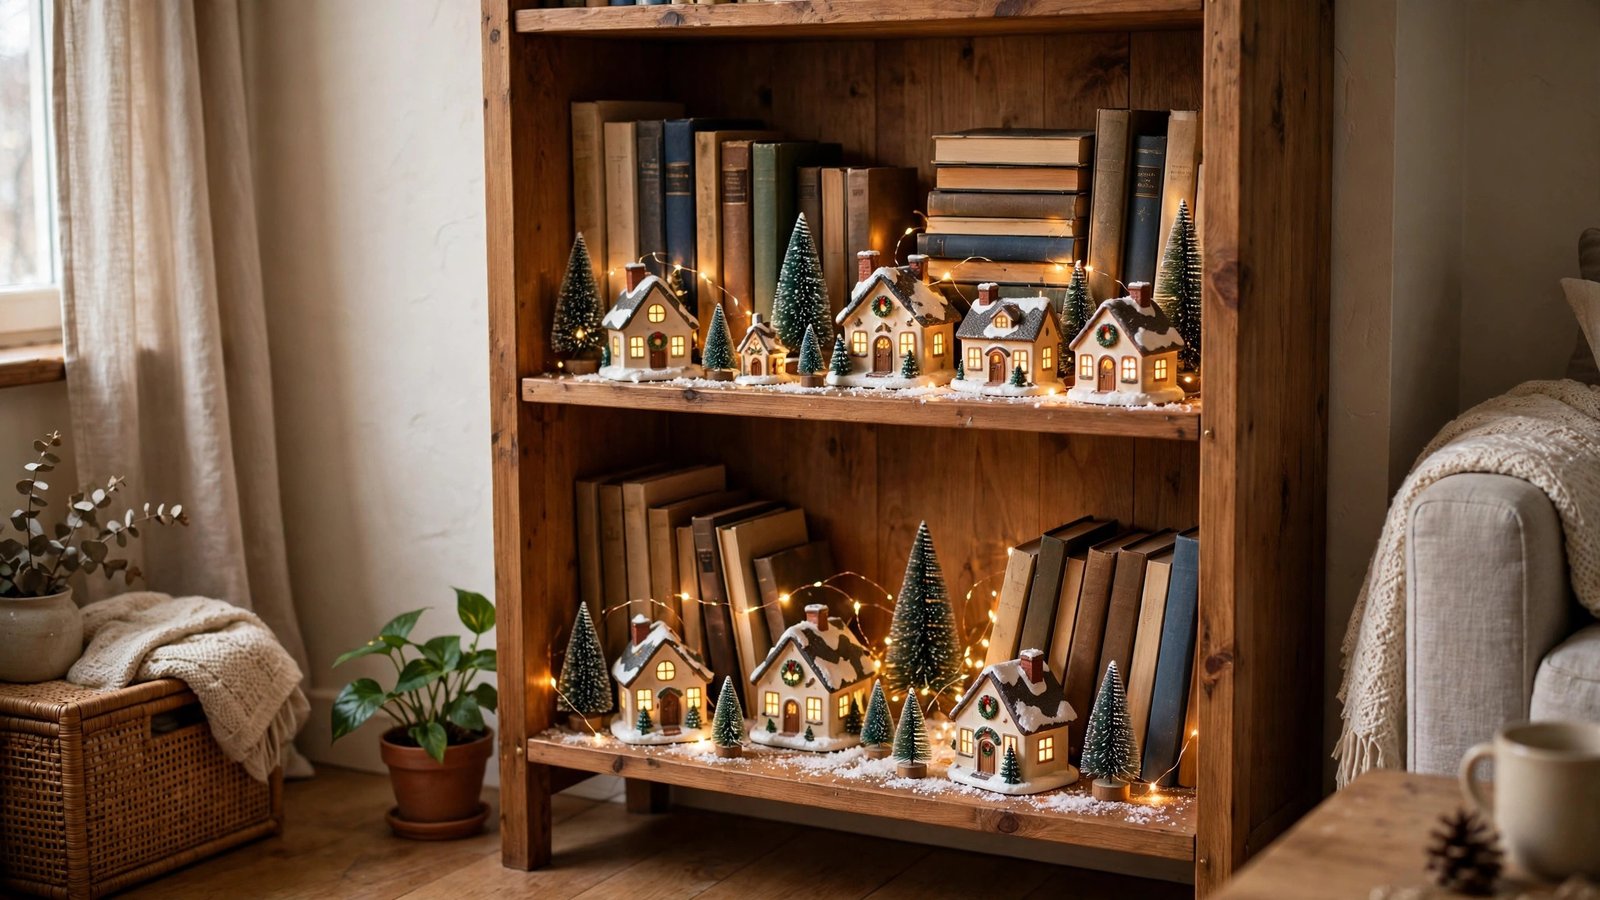
Your bookshelf is already a display with built-in tiers — give it a Christmas village. Clear one or two shelves, arrange houses and trees among your books, and let the shelf above act as a roofline for the scene below.
Why it works for renters: the bookshelf does the structural work, so you need no new furniture and no wall fixings. Houses sit on shelves you already own, cords stay hidden behind books, and the whole display comes down by simply putting your books back.
How to do it:
- Choose one or two shelves at eye level or just above, and move the books from those shelves to a lower shelf for the season.
- Line each shelf with white felt or a folded tea towel to protect the wood and to read as snow.
- Place one or two houses per shelf, mixing heights so no shelf looks like a duplicate of the one above it.
- Stand books upright at the ends of each shelf as bookends for the scene, leaving a gap so the houses are not crowded.
- Run a short battery light string along the back of each shelf, hiding the pack behind a row of books, and add tiny trees to fill gaps.
My renter tip: keep at least a little breathing room around each house — a shelf crammed edge to edge reads as clutter, while a shelf with one house, one tree, and a few books reads as intentional. If a shelf is deep, pull houses to the front edge so they are visible from across the room, and save the back of the shelf for lights and greenery.
Approximate cost: $20–$55 for houses, felt, and battery lights, if you already own the bookshelf.
3. Entry Console Table Village
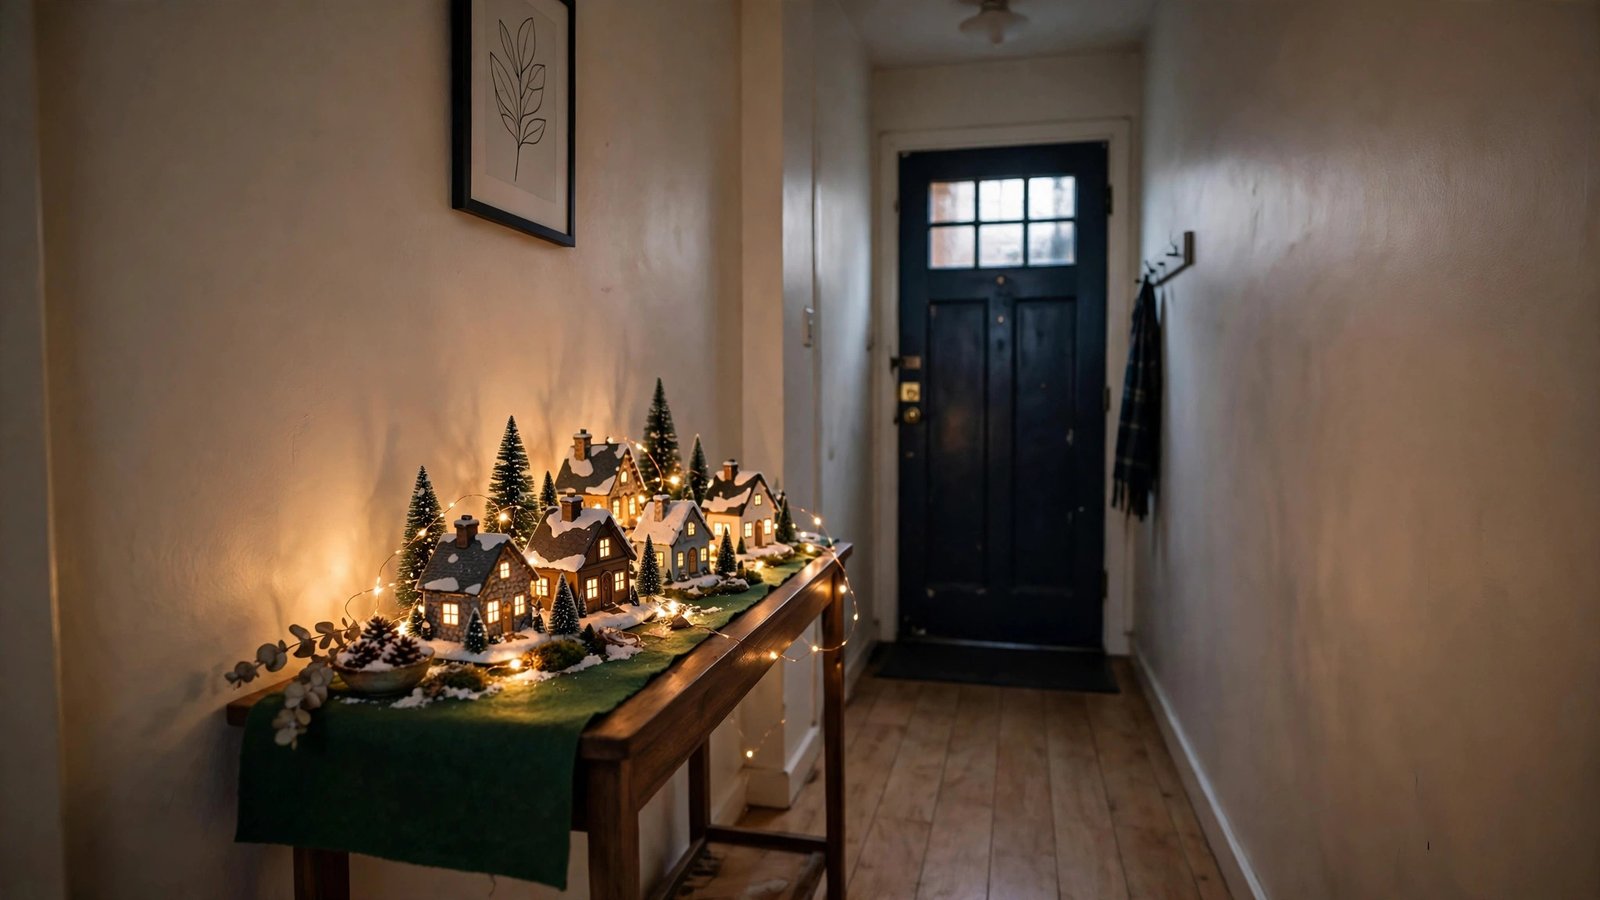
An entry console table is the first thing guests see when they walk in, which makes it prime village real estate. A row of glowing houses on a slim console turns your hallway from a pass-through into a welcome, and because a console is narrow by design, it forces the kind of edited, elegant display that big tables often lose.
Why it works for renters: a console table is furniture you already own, and a village on top of it touches nothing structural. No hooks, no drilling, no wall contact at all.
How to do it:
- Clear the console completely, then lay a runner or a length of felt down the middle to define the village strip and protect the surface.
- Arrange three to five houses in a loose row, varying heights and leaving space between them for tiny trees or a miniature lamppost.
- Place the tallest piece slightly off-center so the display does not look like a rigid line of soldiers.
- Weave a battery light string through the bases of the houses, tucking the pack behind the table’s drawer or under the runner.
- Finish with a small dish for keys at one end, so the table still works as an entry table and the village does not get shoved aside daily.
My renter tip: this is a high-traffic spot, so choose sturdier houses here and skip delicate figurines that a bag or coat could knock over. A low tray under the whole scene helps, too — it corrals the houses into one unit, so if you need the table for a moment, you lift one tray instead of six separate pieces.
Approximate cost: $25–$65 for houses, lights, and a tray or runner.
4. Tiered Cake Stand Village

A tiered cake stand or a two-tier serving tray turns a village vertical, which is exactly what small apartments need. Houses sit on the lower tier, trees and a tiny church or shop sit on the upper tier, and the whole town takes up about the footprint of a dinner plate.
Why it works for renters: a tiered stand is portable, self-contained, and needs no installation. It sits on any table you already have, moves to the dining table for a party and back to a side table after, and packs away in one piece in January. Because the village is contained, it also never creeps across your furniture the way a sprawling display does.
How to do it:
- Choose a sturdy two- or three-tier stand with plates wide enough for at least one house per tier, plus a little snow around it.
- Line each tier with a circle of white felt or cotton batting cut to fit, so houses sit steady and the tiers read as snowy ground.
- Place the largest house on the bottom tier and smaller houses and trees above, so the stand stays bottom-heavy and stable.
- Wrap a short battery light string around the central stem or tuck it under the felt on each tier, hiding the pack beneath the base.
- Add tiny trees, a miniature bench, or a few figurines to fill gaps, keeping the top tier light so the stand does not tip.
My renter tip: test stability before you light it — give the stand a gentle nudge and make sure nothing wobbles. If the top tier feels tippy, move the heaviest house down and keep only trees and one small cottage up top. A stand with a handle also makes the whole village easy to carry to a different room for the evening.
Approximate cost: $20–$50 for a stand, houses, and lights, less if you already own the stand.
5. Floating Picture-Ledge Village
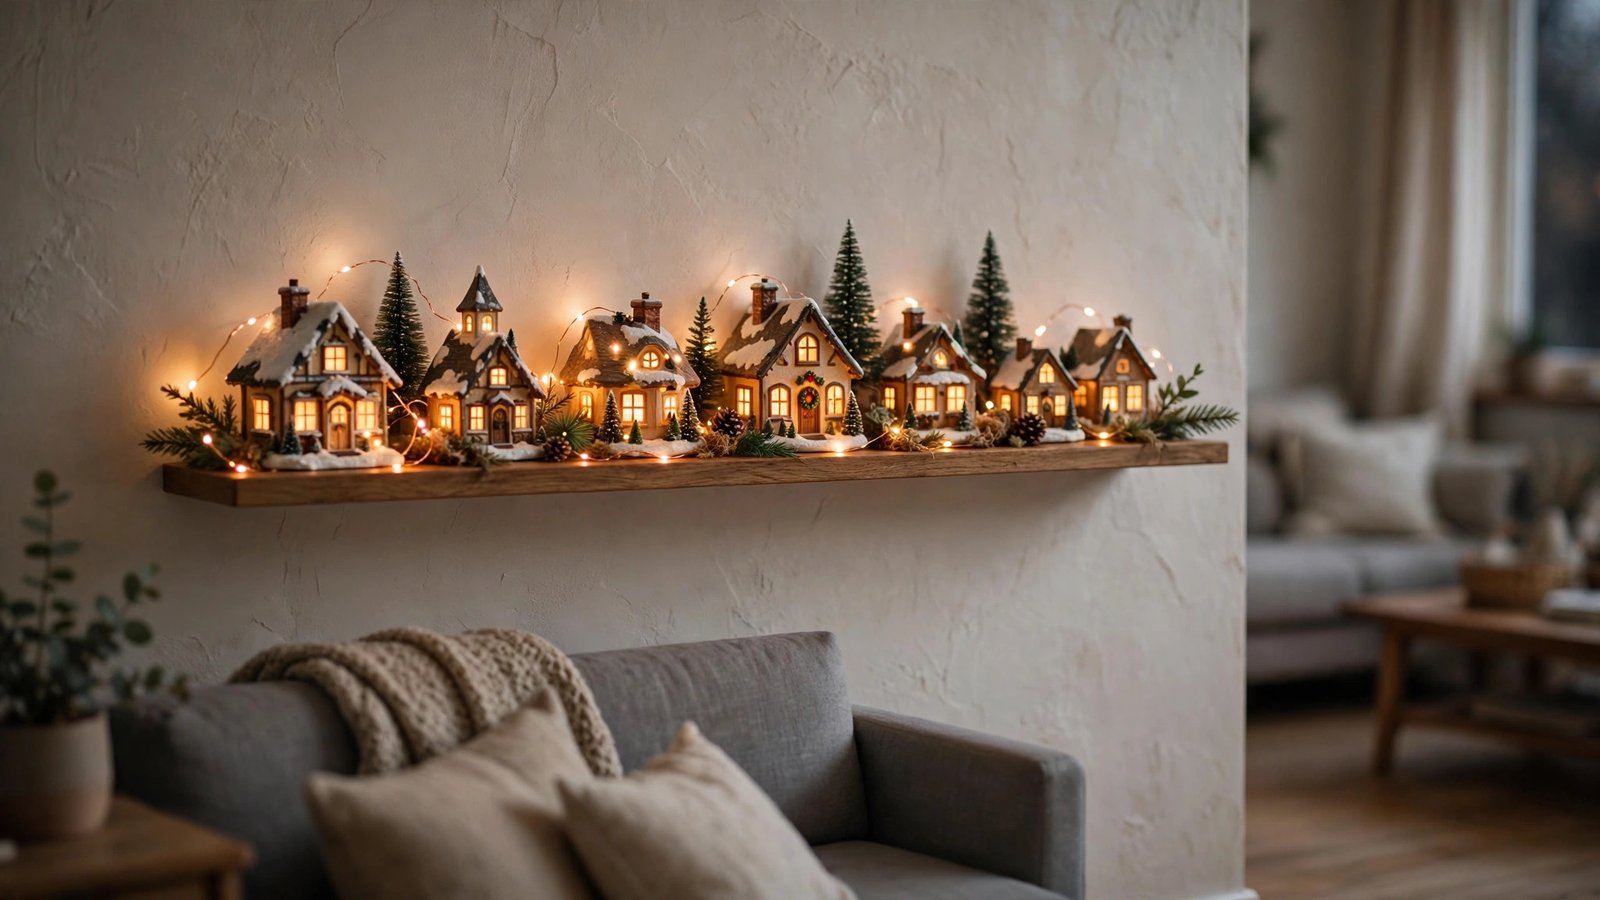
Picture ledges are the renter’s secret shelf: a narrow rail that holds a row of houses like books on display, at eye level, with nothing else competing for attention.
Why it works for renters: many picture ledges hang from a single pair of removable hooks or rest on existing hardware, and some simply lean or sit on a narrow rail. Where a ledge would need screws, flag it and ask your landlord first — most landlords approve a small ledge because the holes are tiny and easy to fill — but in many rentals you can also use a freestanding ledge shelf that sits on a table or mantel shelf with no wall fixing at all. Either way, the houses themselves never touch the wall.
How to do it:
- Choose a ledge at eye level, at least four inches deep, and clear it of frames for the season or dedicate one ledge solely to the village.
- Line the ledge with felt to stop houses sliding and to give the display a snowy base.
- Place houses in a single row, tallest in the middle, with tiny trees tucked between them to break up the line.
- Run a thin battery light string behind the houses along the ledge, hiding the pack at one end behind the largest house.
- Step back and check sightlines from the doorway and the sofa — a ledge village should read clearly from both, with no house hidden behind another.
My renter tip: keep to lightweight ceramic or resin houses on a ledge, and avoid heavy pieces that could tip forward. A small strip of museum putty under each house — removable and paint-safe — keeps everything steady if someone bumps the wall, and it peels off cleanly in January.
Approximate cost: $20–$55 for houses, felt, and lights, plus a ledge if you do not already own one.
6. Coffee Table Centerpiece Village
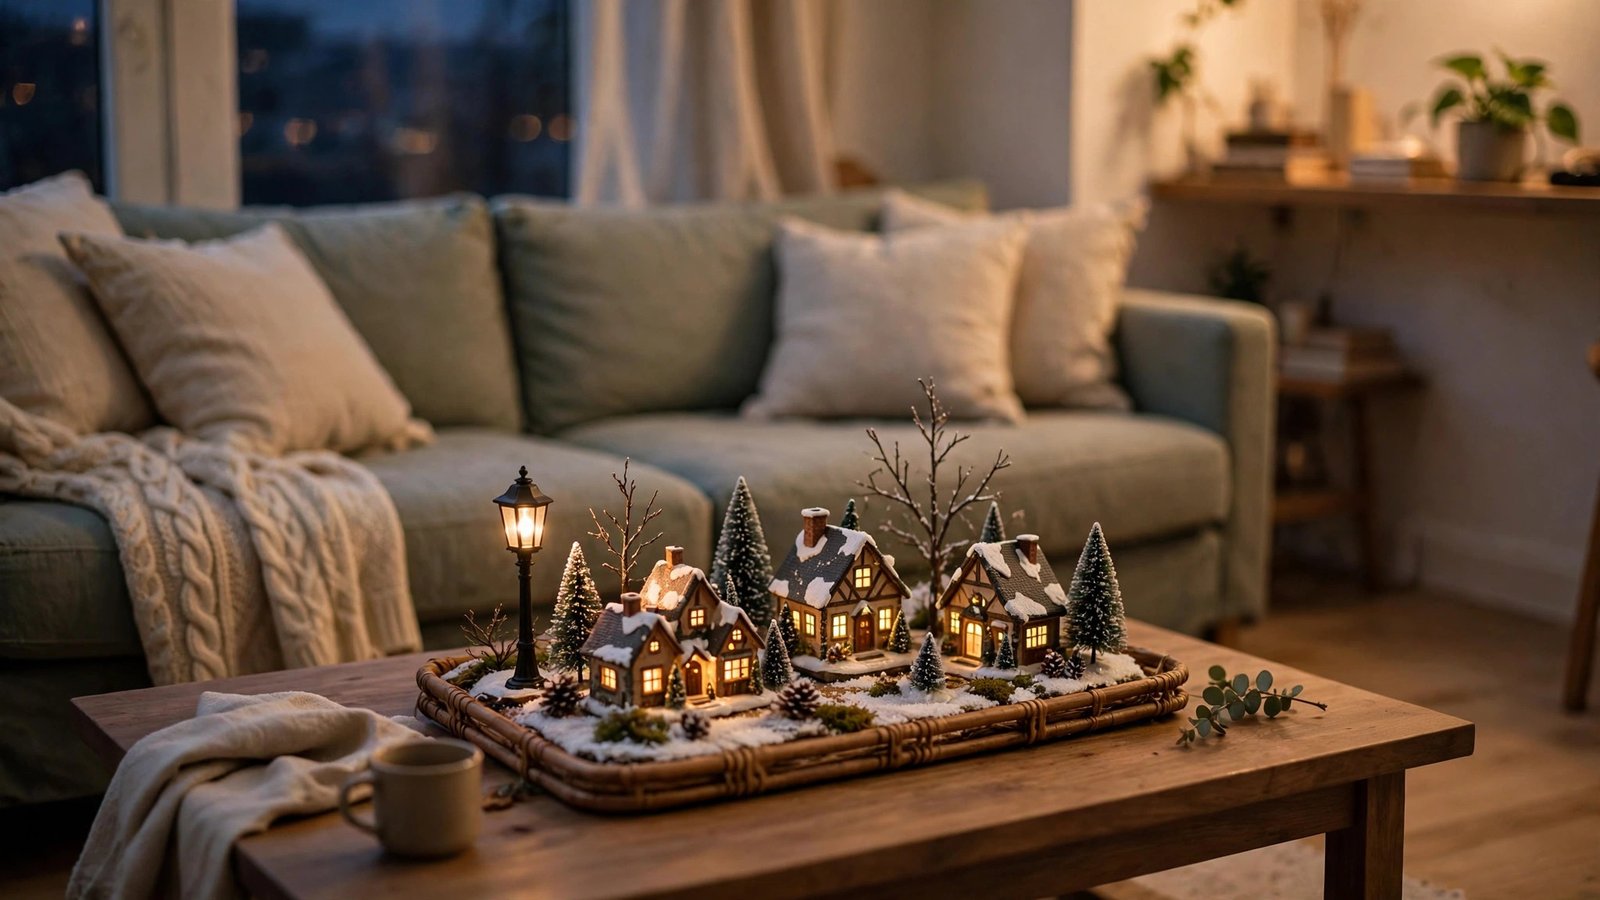
A coffee table village puts the magic where you actually sit in the evening, right in front of the sofa, glowing while you watch television or drink cocoa. Instead of a single candle or a stack of books, the center of your table becomes a tiny town square, low enough to see over and charming enough to be the conversation piece of the room.
Why it works for renters: the coffee table is already the center of your living room, so the village borrows space you were already using for decor, not for walking or working. It needs no wall contact, no new furniture, and it lifts off in one tray when you need the table for dinner or a board game.
How to do it:
- Choose a low tray or a shallow wooden board that fits the center of your coffee table with room left on either side for mugs.
- Build the village on the tray, not directly on the table, so the whole scene lifts off as one piece.
- Place two or three houses on the tray, plus a tiny tree and a miniature lamppost or bench to make it feel like a square, not a row.
- Keep every piece under about eight inches tall so guests can see each other across the table.
- Tuck a battery light string under the felt base, with the pack hidden under the tray, and add a sprinkle of fake snow around the bases.
My renter tip: this is a working table, so plan for real life — leave a coaster zone at each end and choose houses you will not mind moving if someone sets down a heavy mug nearby. If your table is glass, felt underneath the tray stops sliding and protects the glass from scratches, and battery lights avoid any cord trailing to a wall outlet.
Approximate cost: $25–$60 for houses, a tray, and battery lights.
7. Dining Table Runner Village
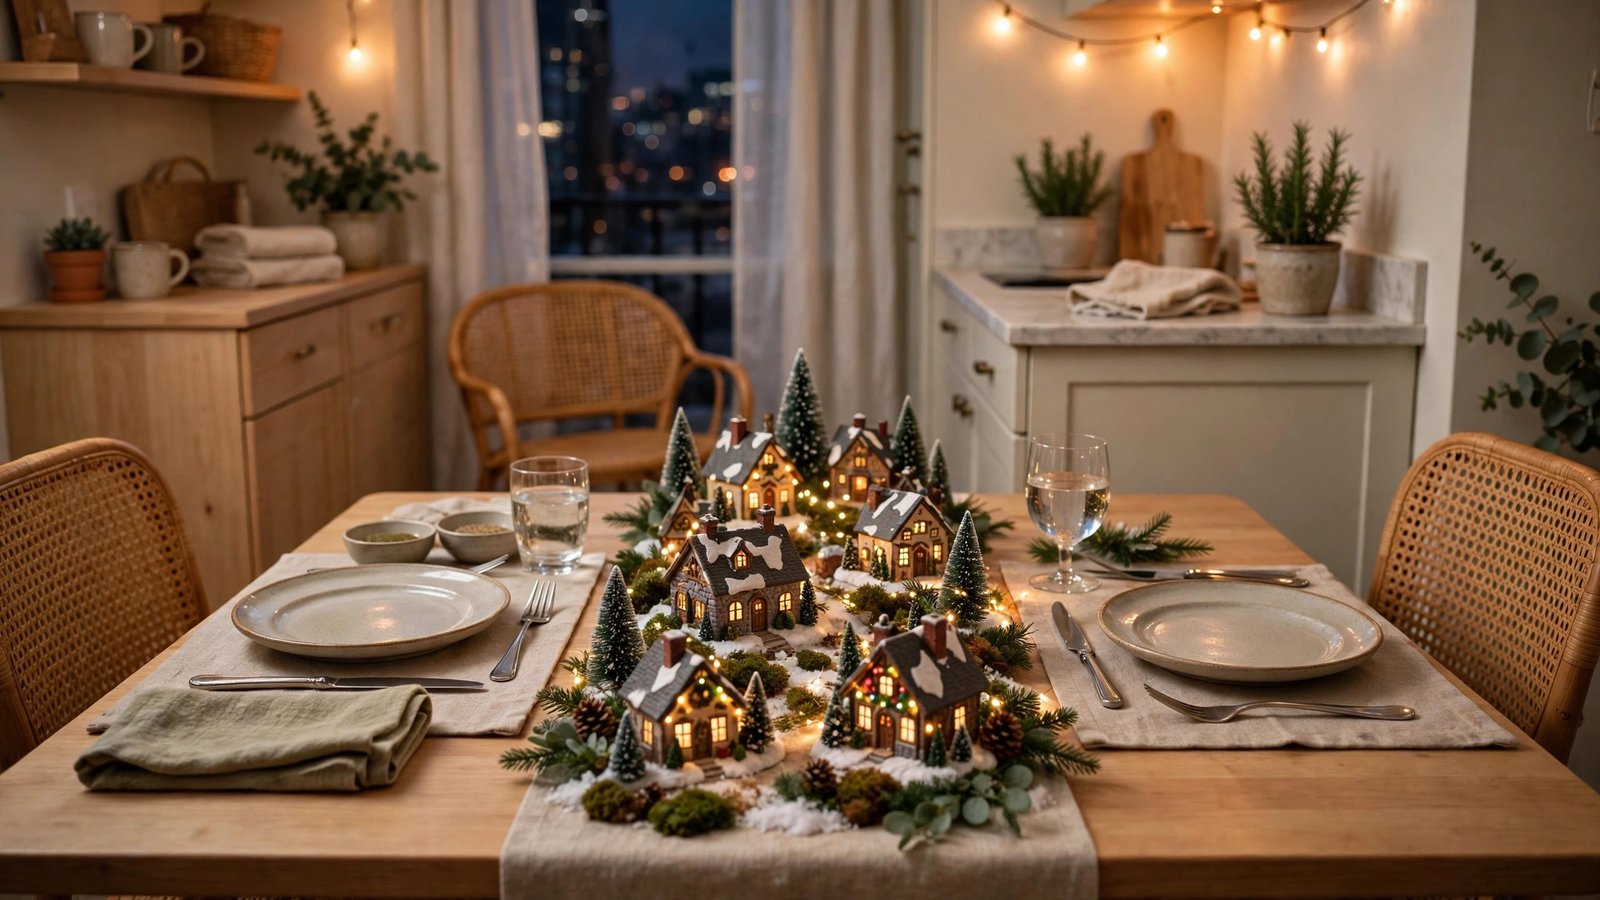
A dining table village turns your holiday table into the decoration, so you do not need a separate display surface at all. A narrow row of houses runs down the center of the table like a runner, glowing between the place settings, and it makes even a weeknight dinner feel festive.
Why it works for renters: the dining table is the largest flat surface in most small apartments, and a runner village uses only its center strip, leaving every place setting usable. It needs no wall fixings and no extra furniture, and it comes off in minutes when you need the full table for cooking prep or wrapping gifts. Battery lights mean no cords across the floor to trip over.
How to do it:
- Lay a table runner or a strip of white felt down the center of the table, leaving at least twelve inches clear on each side for plates.
- Place houses along the runner in a loose, staggered line, not a rigid row, varying heights so the eye travels down the table.
- Tuck tiny trees, miniature lampposts, and a few sprigs of faux greenery between the houses to connect them into one scene.
- Weave a battery light string through the bases, hiding the pack under the runner at one end of the table.
- Keep houses low and set back from the table edge, so elbows, serving dishes, and wine glasses never collide with a tiny rooftop.
My renter tip: choose houses with flat, stable bases for a dining table, where bumps are guaranteed, and skip tall, top-heavy pieces here. If you host often, build the runner village on a long, narrow tray instead of directly on the runner — you can lift the whole scene off for a big meal and set it back in seconds.
Approximate cost: $25–$65 for houses, a runner, greenery, and battery lights.
8. Under-the-Tree Village Base

If you already have a Christmas tree, even a small pencil tree, the space under it is a ready-made village lot. Houses clustered around the trunk, peeking out from under the lowest branches, look like a town nestled in a forest — and the tree’s own lights spill down onto the rooftops, so the village glows without needing many lights of its own.
Why it works for renters: the tree base is space you already dedicate to Christmas, so the village adds magic without claiming a single new surface. It sits on the floor or on a tree skirt you already own, needs no drilling or hooks, and packs away with the tree in January.
How to do it:
- Spread your tree skirt flat and place a layer of white felt or cotton batting on top to read as snow under the tree.
- Arrange three to five houses around the trunk, leaving the front open so the scene is visible from the room, not just from above.
- Tuck tiny bottle-brush trees between the houses to blend the village into the tree’s branches.
- Let a few of the tree’s lower light strands drape near the houses, or add a short battery string of your own for extra glow.
- Keep houses clear of the tree stand’s water reservoir if you have a real tree, and clear of any heater vents nearby.
My renter tip: this is the best spot for a village if you have pets or small children visiting, because you can ring the scene with a few wrapped gift boxes as a soft barrier. Choose sturdier houses here, too — the tree base gets bumped when gifts go under the tree, and a resin house survives that better than a delicate ceramic one.
Approximate cost: $20–$55 for houses and tiny trees, if you already own the tree and skirt.
9. Bedroom Dresser Top Village
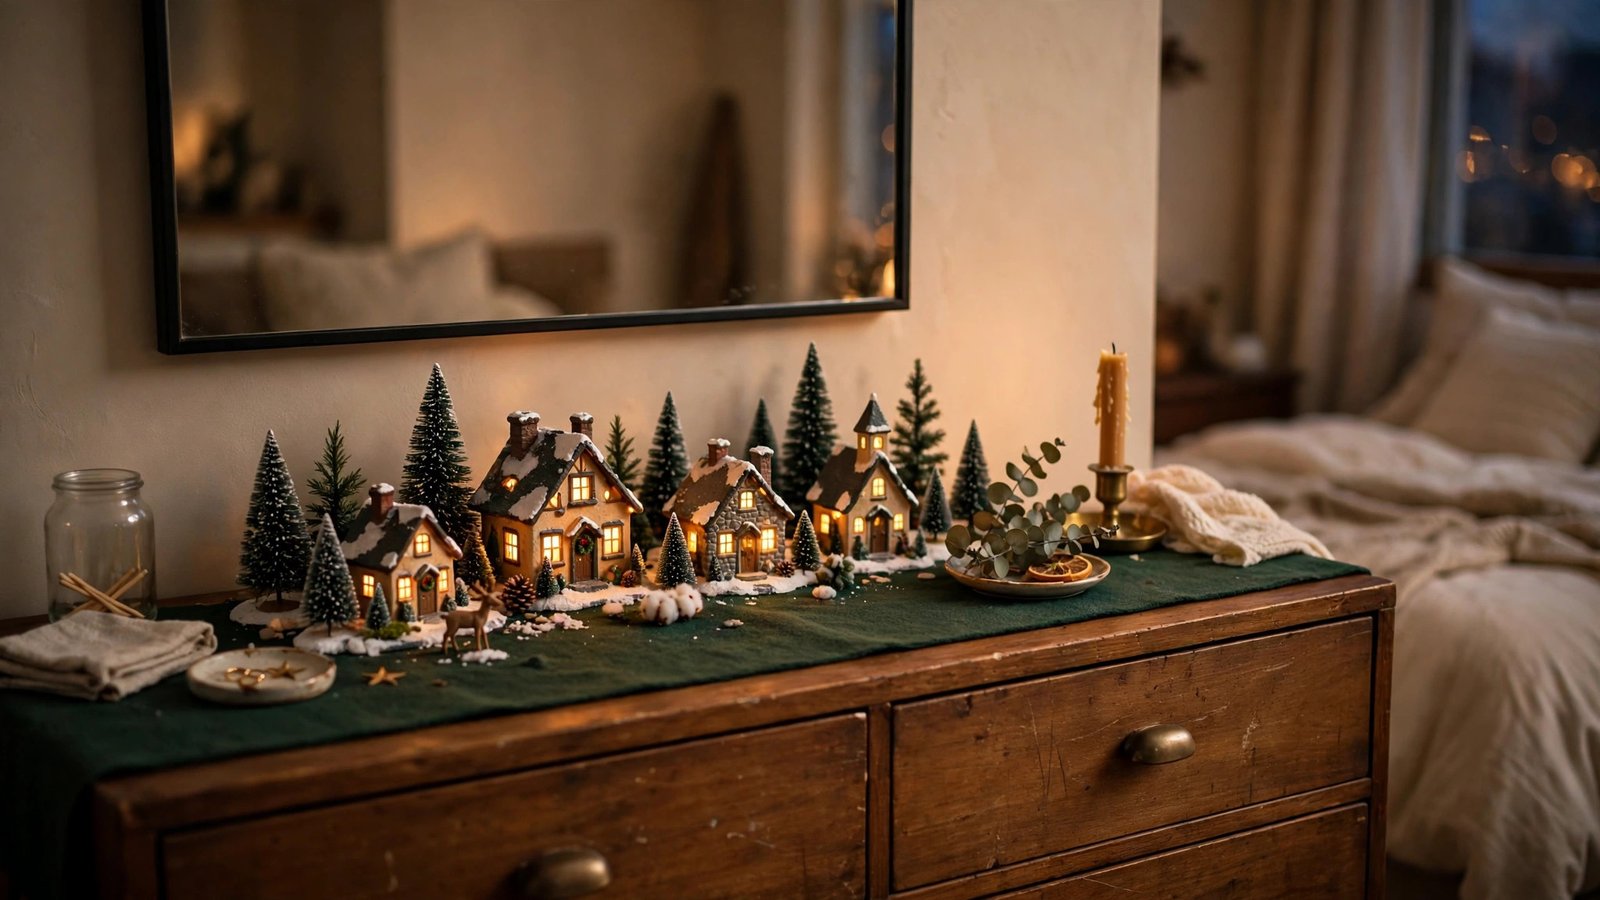
A dresser-top village brings Christmas glow into the bedroom, where you actually wake up and wind down. A row of softly lit houses on your dresser turns the first thing you see in the morning and the last thing you see at night into something festive, and it claims a surface that usually holds only a mirror, a jewelry tray, and clutter.
Why it works for renters: a dresser is furniture you already own in a room that rarely gets holiday decor, so the village feels like a private treat rather than a showpiece. It touches no walls, needs no new furniture, and the houses simply lift off when the season ends.
How to do it:
- Clear one end of the dresser, keeping daily essentials like your jewelry tray at the other end so the village does not disrupt your routine.
- Lay a felt runner or a folded scarf in a festive color along the village section to define the scene and protect the dresser top.
- Place two to four houses in a row, tallest at the back near the mirror or wall, smaller houses in front so all are visible.
- Add tiny trees and a miniature lamppost, then weave a battery light string through the bases with the pack hidden behind the largest house.
- Set the timer for early evening, so the village is glowing when you come home and fades out after bedtime.
My renter tip: keep the village to one end of the dresser, not the whole top, or you will resent it every morning when you are looking for your keys or earrings. A small tray under the scene helps here, too — it defines the boundary, so the village never slowly spreads across the entire dresser as the month goes on.
Approximate cost: $20–$50 for houses, felt, and battery lights.
10. Leaning Ladder Shelf Village
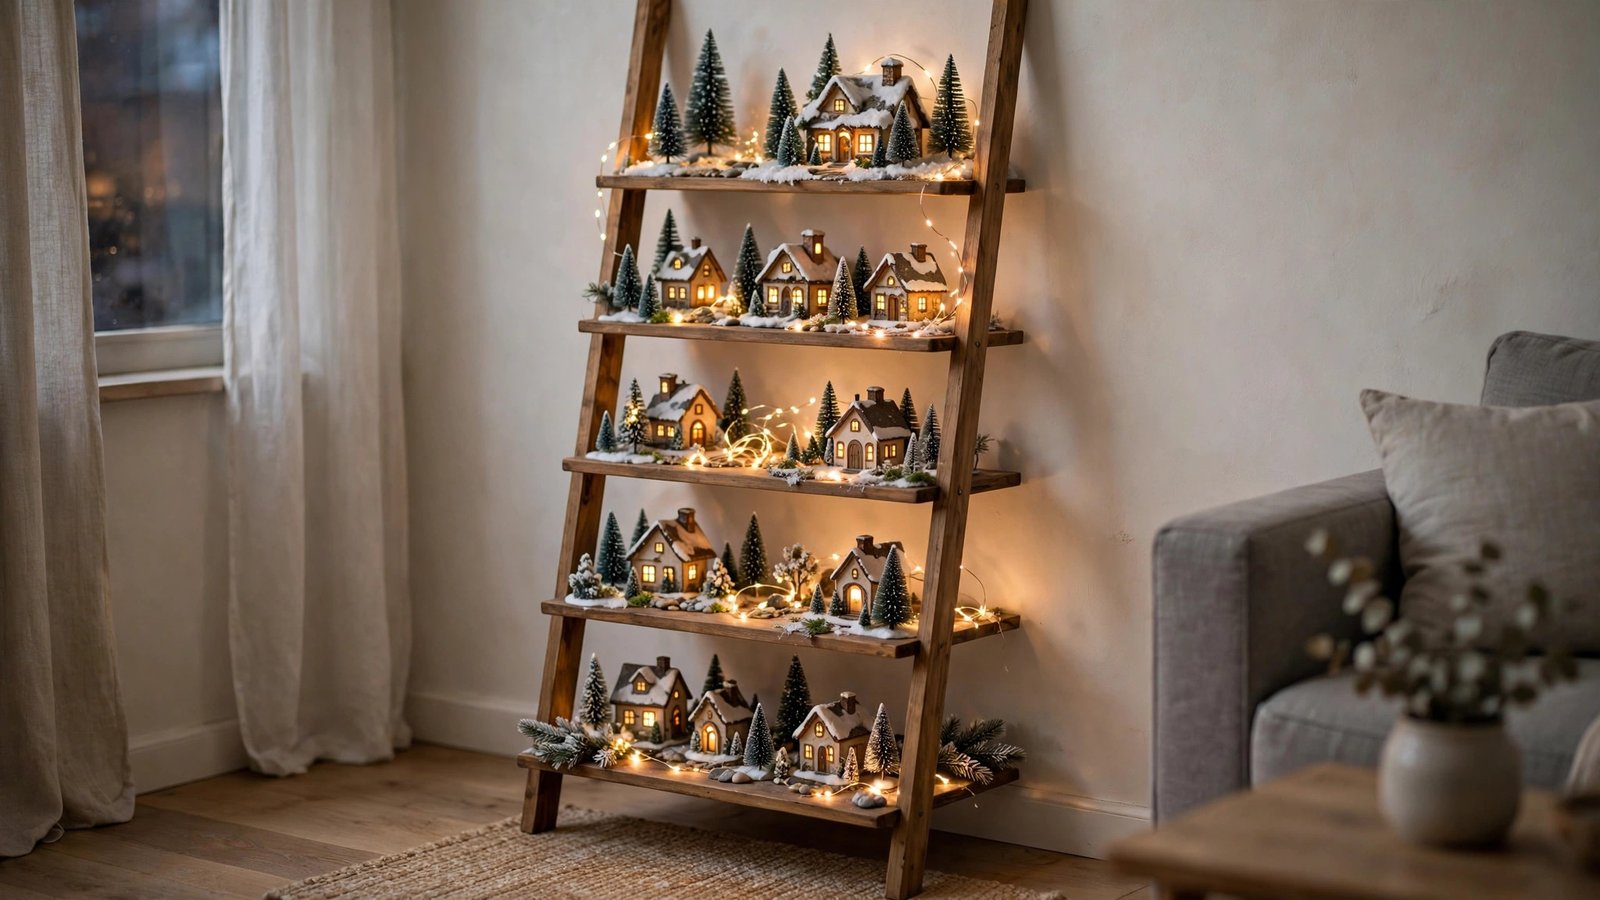
A leaning ladder shelf is a renter favorite for a reason: it leans against the wall, holds a surprising amount, and needs no screws at all. Give each rung a different piece of the village — a house on one shelf, a church on another, trees on a third — and the whole ladder becomes a vertical town, using a strip of floor barely wider than a bookshelf.
Why it works for renters: a leaning shelf grips by gravity and a wall bumper, so it leaves no holes and no marks when you move it. It also turns a blank wall into a display without a single drill, which is exactly the deposit-safe solution landlords love.
How to do it:
- Choose a leaning ladder shelf with shelves at least eight inches deep, and place it against a wall where it will not block a walkway.
- Line each shelf with felt to stop houses sliding and to protect the shelf surface.
- Assign one scene per shelf: a cottage and tree on the lowest shelf, a shop on the next, a church or tall house near the top.
- Keep heavier houses low and lighter trees and figurines high, so the shelf stays stable and bottom-heavy.
- Run a battery light string up the side of the ladder, tucking it behind the frame, with the pack hidden on the lowest shelf.
My renter tip: anchor the top of the ladder with a removable adhesive strip if your lease allows it and the shelf feels wobbly, especially if you have pets — but check that the strip is paint-safe first, and never screw a leaning shelf to the wall without landlord permission. A small strip of museum putty under each house also keeps the village steady if the shelf gets bumped.
Approximate cost: $25–$70 for houses and lights, if you already own the ladder shelf.
11. Glass Cloche Village Vignette
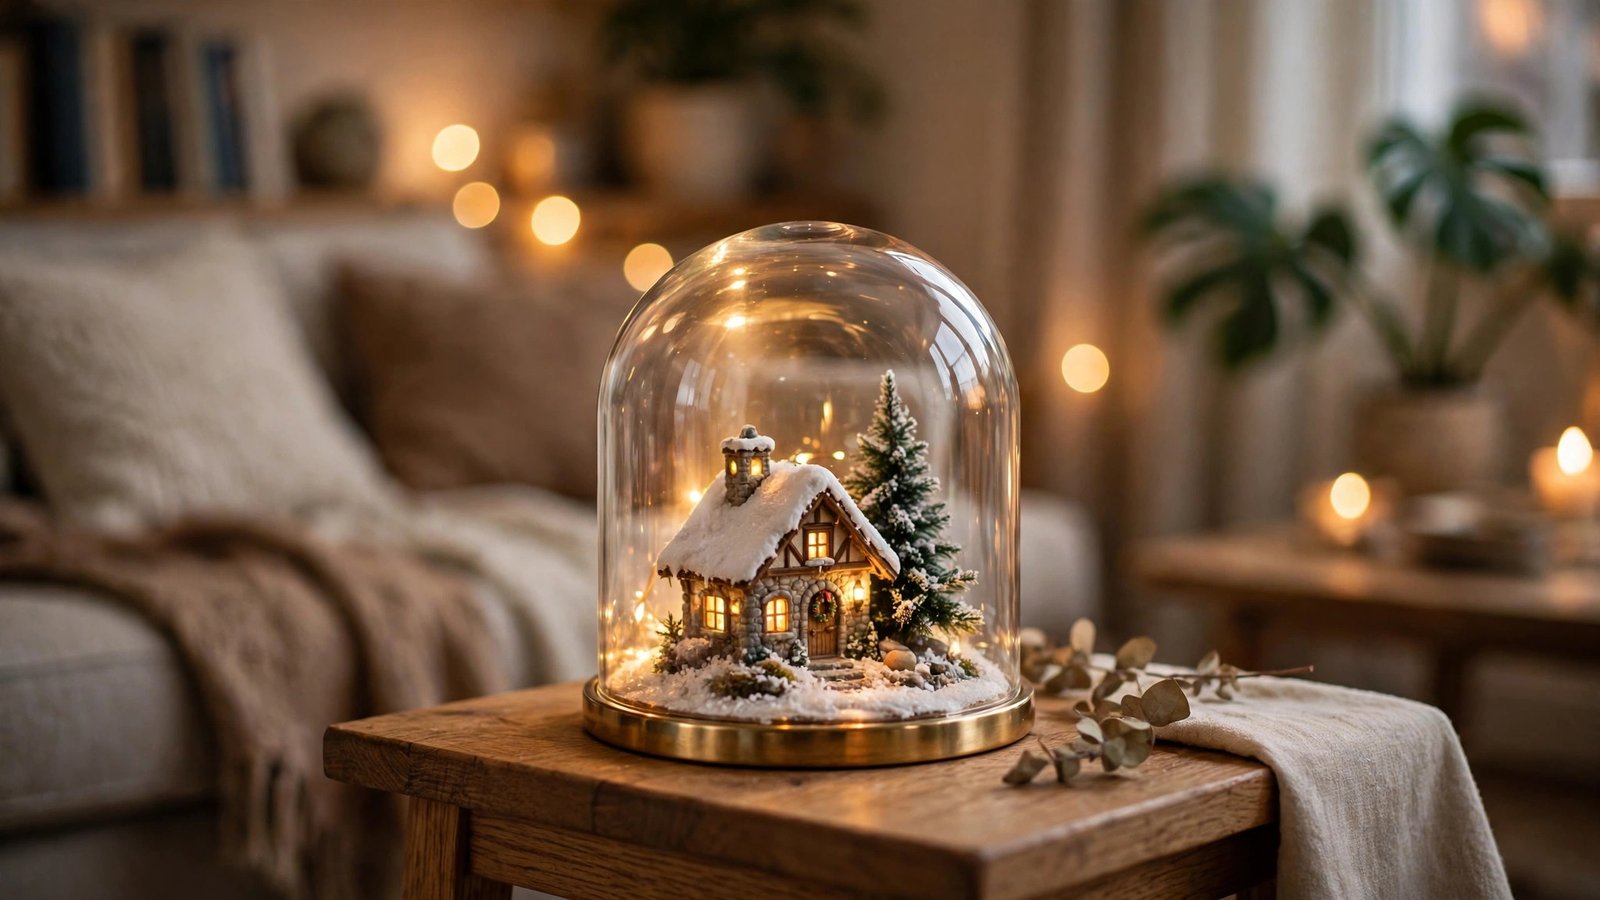
A glass cloche village is a single perfect scene under glass: one cottage, one tree, a dusting of snow, all protected inside a dome on a side table or shelf. It reads as a collector’s piece, it stays dust-free all season, and it is the ideal village for renters with cats, curious toddlers visiting, or a very small surface where a sprawling display would never survive.
Why it works for renters: a cloche display needs no installation, no wall contact, and no extra furniture — it sits on any surface you already have. The glass also protects delicate houses from bumps and dust, so you can use your prettiest, most fragile pieces without worrying.
How to do it:
- Choose a cloche or a large glass dome with a wooden base, wide enough for one house, one tree, and a little snow around them.
- Cover the base with white felt, cotton batting, or fake snow to create the ground for your scene.
- Place the house slightly off-center on the base, with the tree beside it and a tiny lamppost or figurine to complete the story.
- Add a short battery fairy light, coiled inside the base if the cloche has room, or place the cloche over a small light-up base.
- Set the cloche where it will catch light — near a window by day, near a lamp by evening — so the glass glows and the scene inside stays visible.
My renter tip: keep the cloche out of direct sunlight, which can heat the glass and fade the scene inside, and lift it by the base, not the glass, when you move it. If you have a cat, this is your safest village idea by far — the glass keeps paws out while still letting the glow show through beautifully.
Approximate cost: $20–$55 for a cloche, a house, and lights.
12. Rolling Bar Cart Village
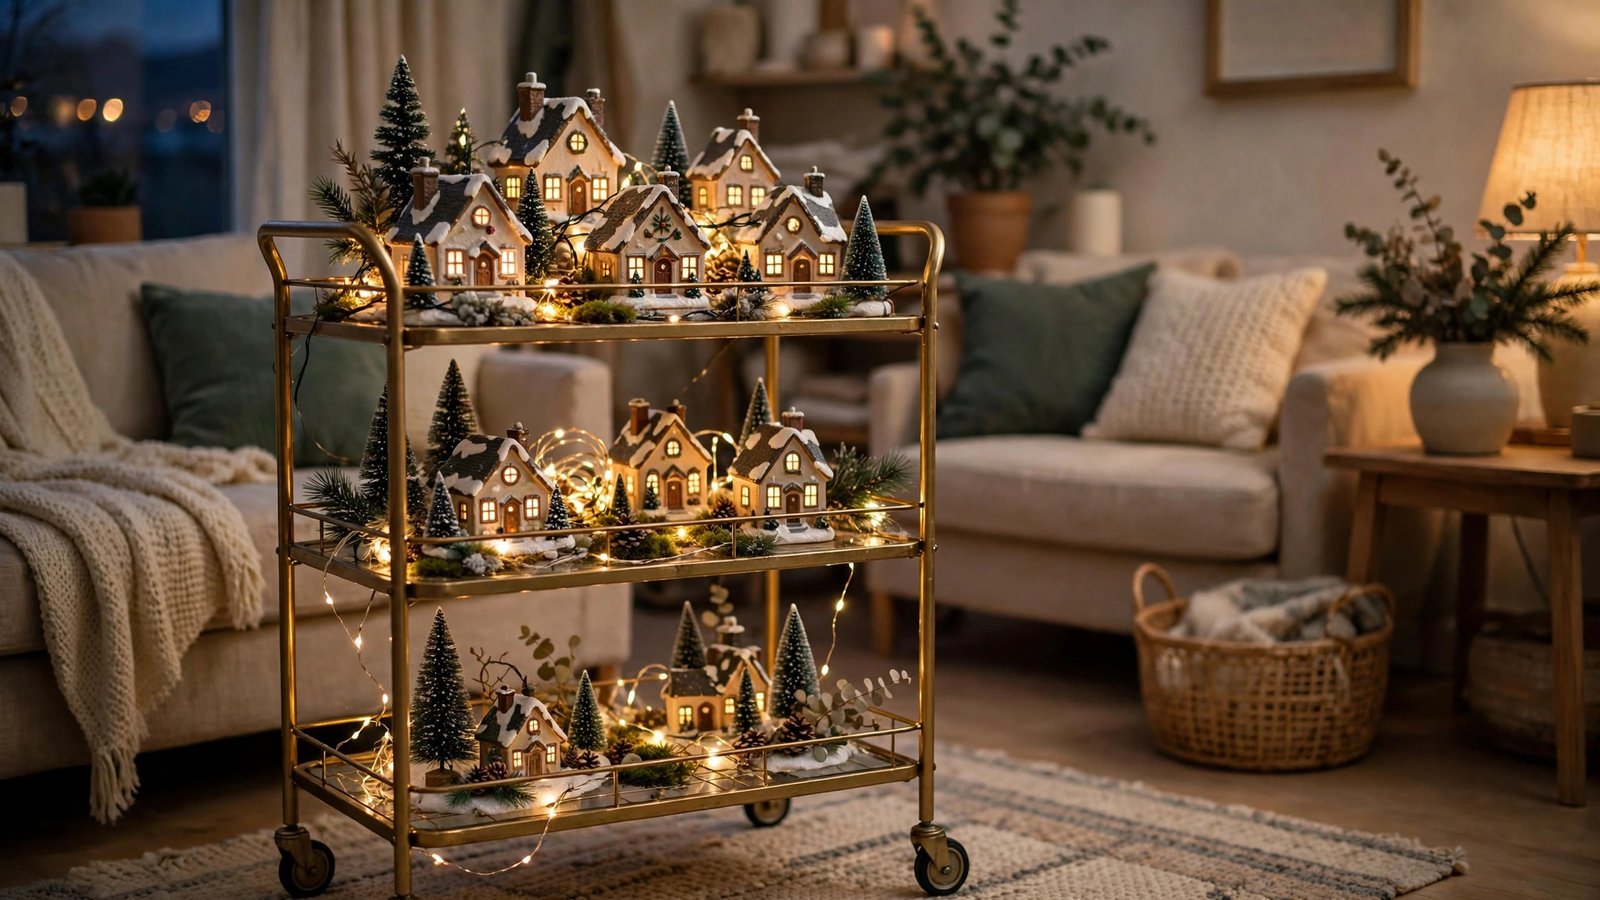
A rolling bar cart village is the most flexible village on this list, because it moves. Build your town on the cart’s shelves, wheel it into the living room for a party, tuck it into a corner for everyday life, and roll it out of the way when you need floor space.
Why it works for renters: a bar cart is furniture you already own, it needs no wall fixings, and it turns a piece you might otherwise use only for drinks into a seasonal display. The village travels with the cart, so you never have to rebuild it to change rooms, and in January the cart simply goes back to its everyday job with no holes, marks, or repairs to deal with.
How to do it:
- Clear the cart’s top and middle shelves, keeping the bottom shelf for storage or for the battery packs and spare pieces.
- Line each shelf with felt to stop houses sliding when the cart rolls, and to read as snow.
- Place the largest houses on the lower shelf for stability, and smaller houses and trees on the top shelf where they are most visible.
- Weave a battery light string around the cart’s frame, hiding the pack on the bottom shelf, so the whole cart glows as one unit.
- Lock the cart’s wheels once it is in place for the evening, and unlock them only when you want to move the village to another spot.
My renter tip: museum putty under each house is almost essential here — a cart that rolls, even gently, will shift unsecured houses. Test a slow roll across the room before party night, and adjust any house that slides. Keep the top shelf light, too, so the cart stays stable and easy to steer through a doorway.
Approximate cost: $25–$65 for houses, felt, and battery lights, if you already own the cart.
Conclusion
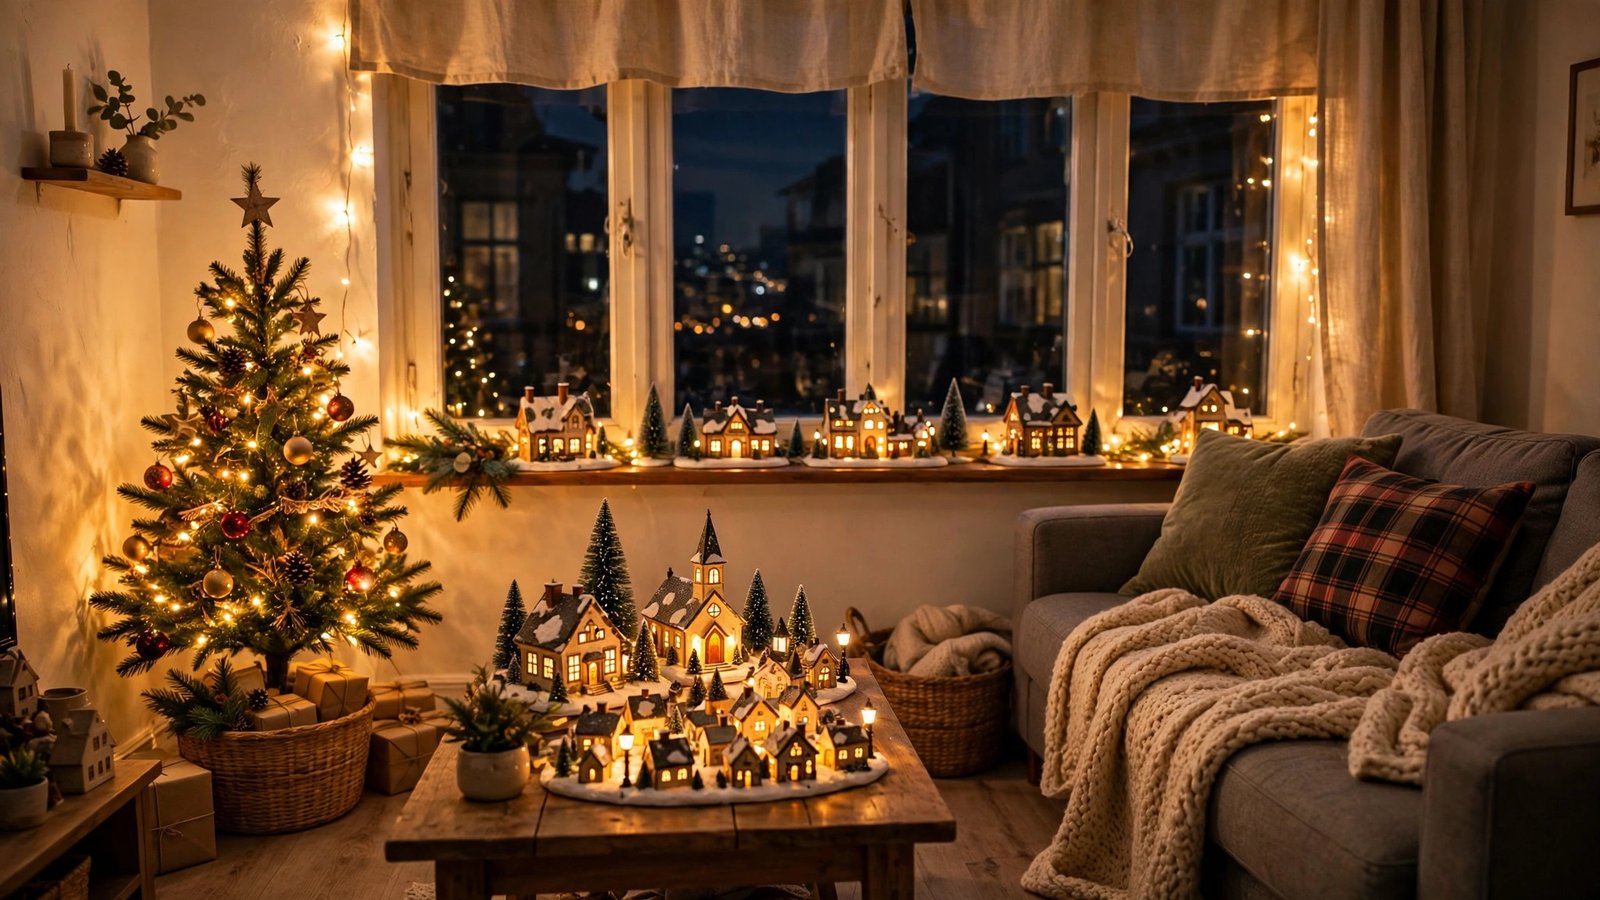
A small apartment does not limit your Christmas village — it focuses it. When you cannot spread a town across a whole table, you get creative with the windowsill, the bookshelf, the dresser, and the cart you already own. That focus is why small-apartment villages often look more thoughtful than big ones.
I’ve watched renters build beautiful villages in studios barely bigger than a bedroom, and the ones that worked best all had the same formula: one glowing scene where you enter, one where you sit in the evening, and one small surprise somewhere private, like a dresser or a cloche on a side table. Pick your three favorites from this list, keep the palette warm and the lights on a timer, and give yourself permission to stop there. Your home will glow, your deposit will stay safe, and your village will feel like it was made for your space — because, arranged this way, it was.
Please save this visual guide on Pinterest and share it with any renter friend dreaming of a Christmas village in a small apartment — the next renter in a studio will thank you for it.

Amelia leads HavenlyStyle’s editorial vision with a passion for elegant interiors and practical home living. With years of experience in home décor and lifestyle content, she ensures every article is accurate, inspiring, and easy to follow. From timeless decorating ideas to the latest interior design trends, Amelia is committed to helping readers create beautiful, functional spaces while maintaining HavenlyStyle’s trusted and welcoming voice.