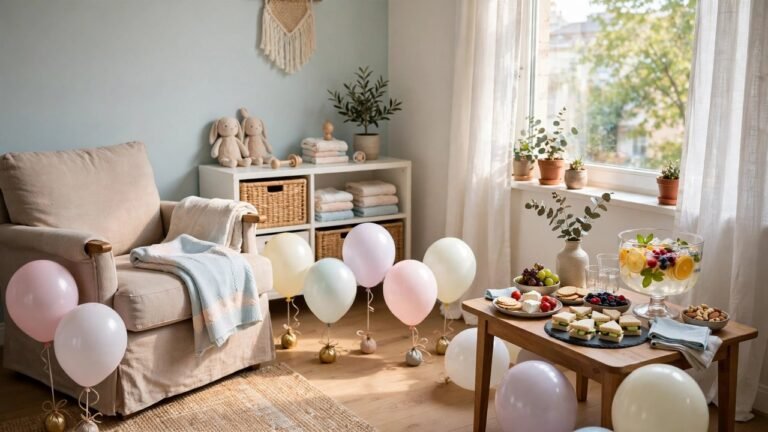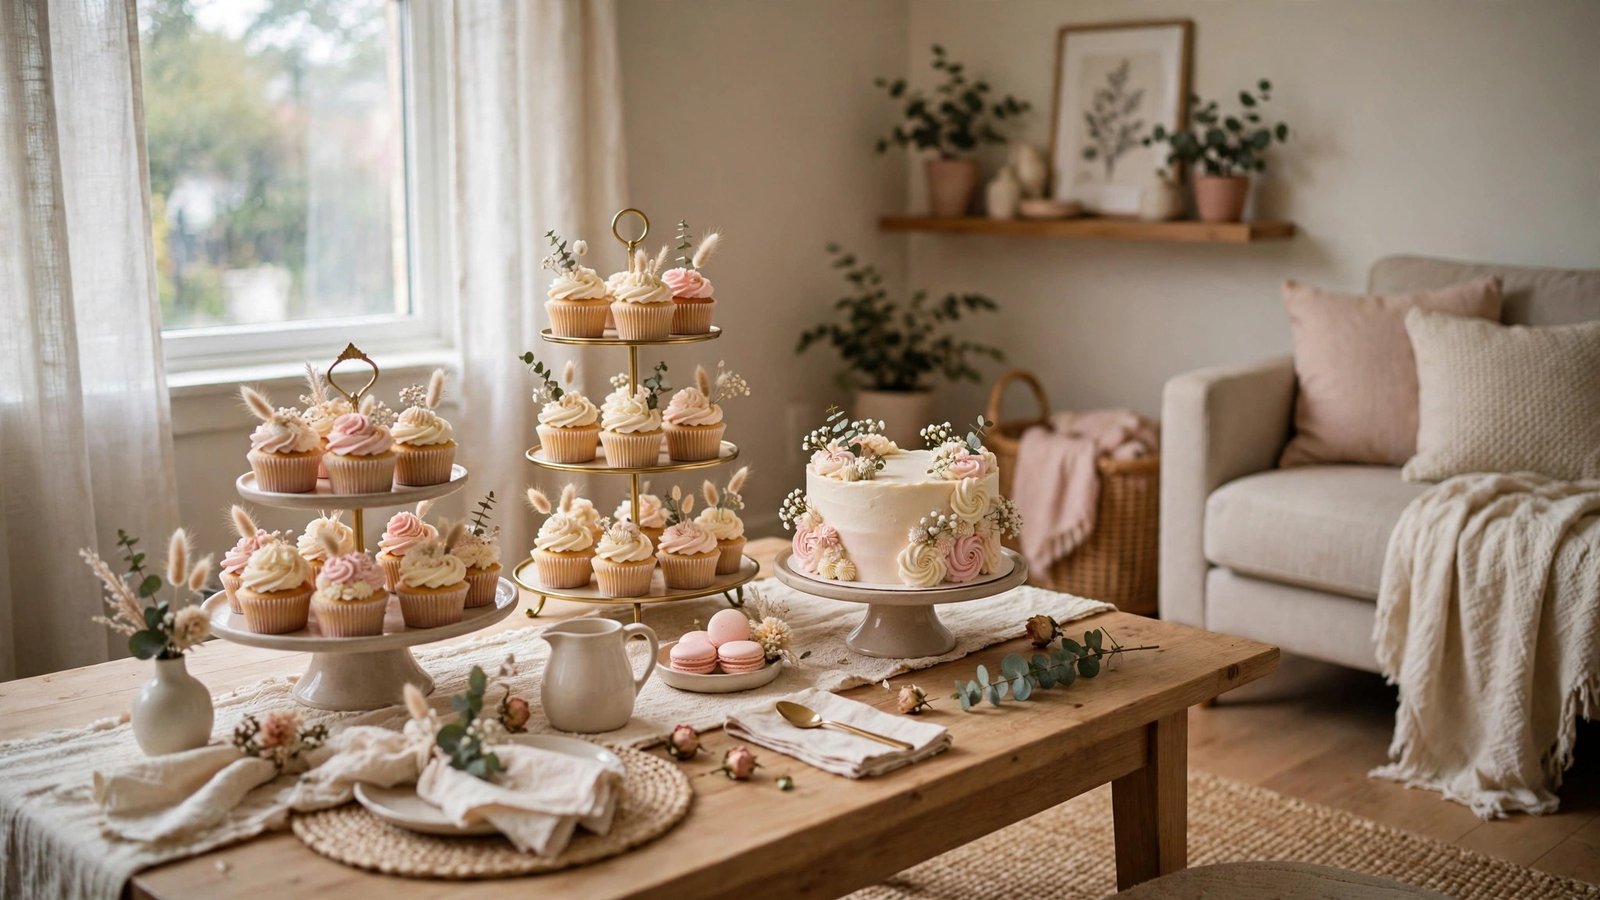
I’ve helped dozens of renters throw baby showers in apartments that were never designed for parties — a studio kitchen with one counter, a living room barely big enough for the couch, a folding table borrowed from a neighbor. And here’s what I’ve learned: the dessert table is the one spot guests remember, and it does not take a big house or a big budget to make it look like you spent hundreds. It takes one eye-catching centerpiece, a few smart fillers, and a table that looks intentional instead of thrown together.
If you’re planning a baby shower in a rental, you already know the constraints. You can’t drill into the walls for a backdrop. You can’t repaint the dining room. Your “venue” might be a card table in the corner of your living room, and your budget might be whatever is left after the venue snacks and the gift. I get it — I’ve personally seen renters pull off dessert tables that guests photographed more than the gift table, all for under fifty dollars, using grocery-store treats, dollar-store finds, and things they already owned.
This guide gives you twelve genuinely different dessert table ideas, each one built for small rental spaces and small budgets. Every idea includes real steps and an approximate cost range, and every single one is deposit-safe — nothing here requires a nail, a drill, or a landlord’s permission.
Executive Summary
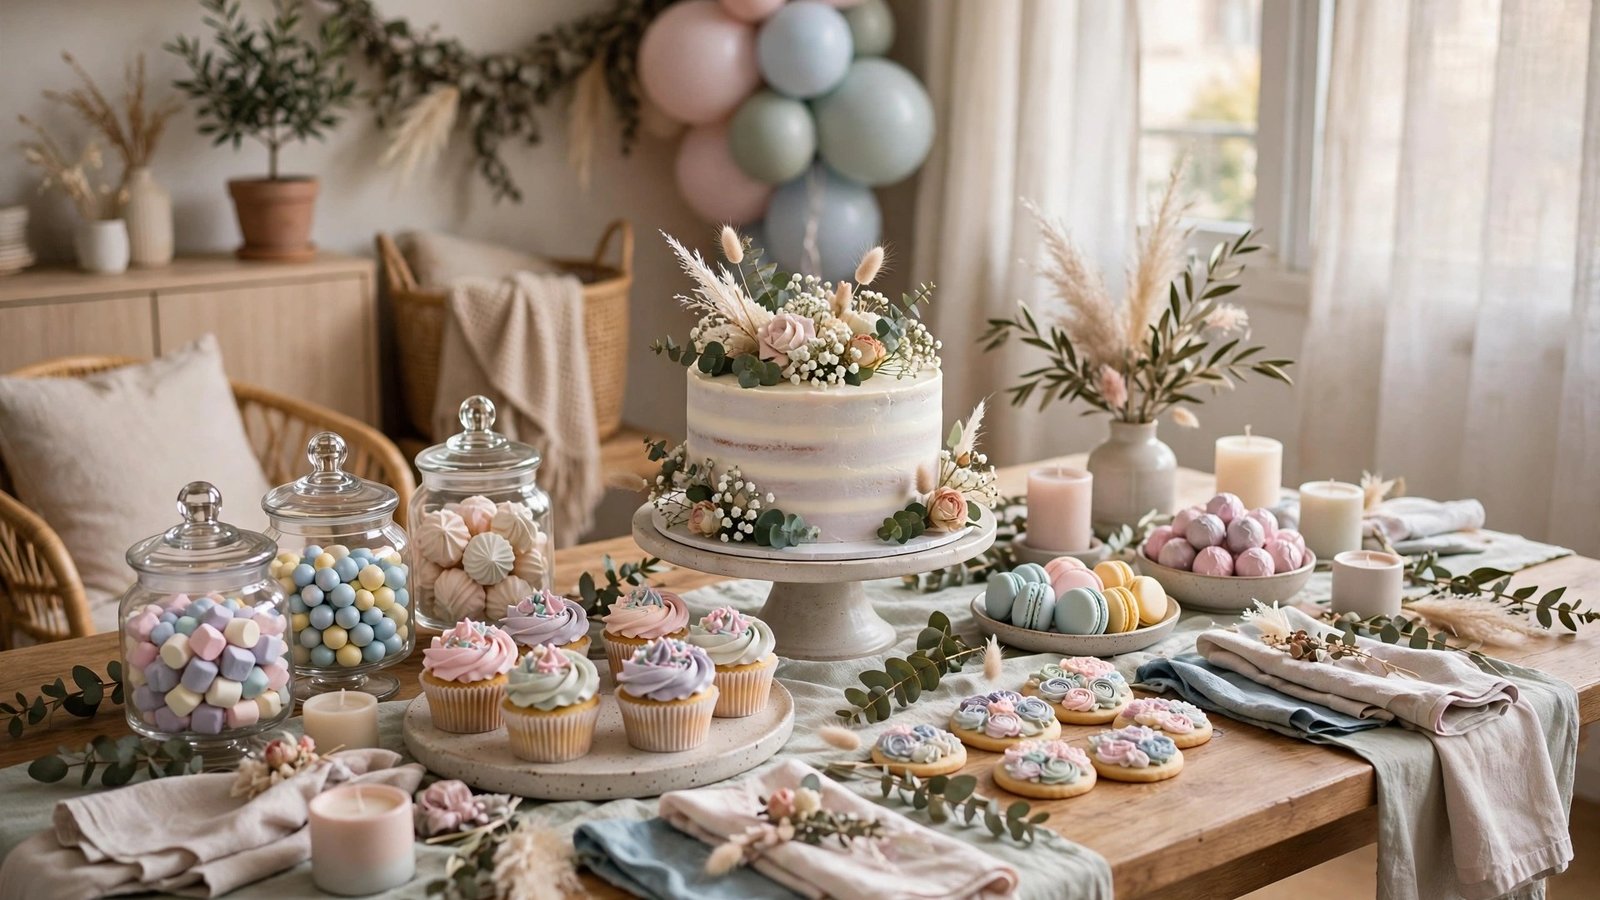
- One hero dessert does the heavy lifting — build everything else around it instead of buying twelve fancy items.
- Dollar-store stands, borrowed jars, and thrifted plates give you height and variety for a few dollars.
- Grocery-store bakery treats, dressed up at home, look homemade without the all-day baking marathon.
- A folding table plus a floor-length tablecloth looks like a real dessert station, even in a studio apartment.
- Removable backdrops (balloon garlands on Command hooks, leaning boards) add the wow factor without touching the walls.
- Label everything, keep portions small, and send guests home with leftover treats as favors — two jobs, one budget.
1. The One-Hero Cupcake Tower
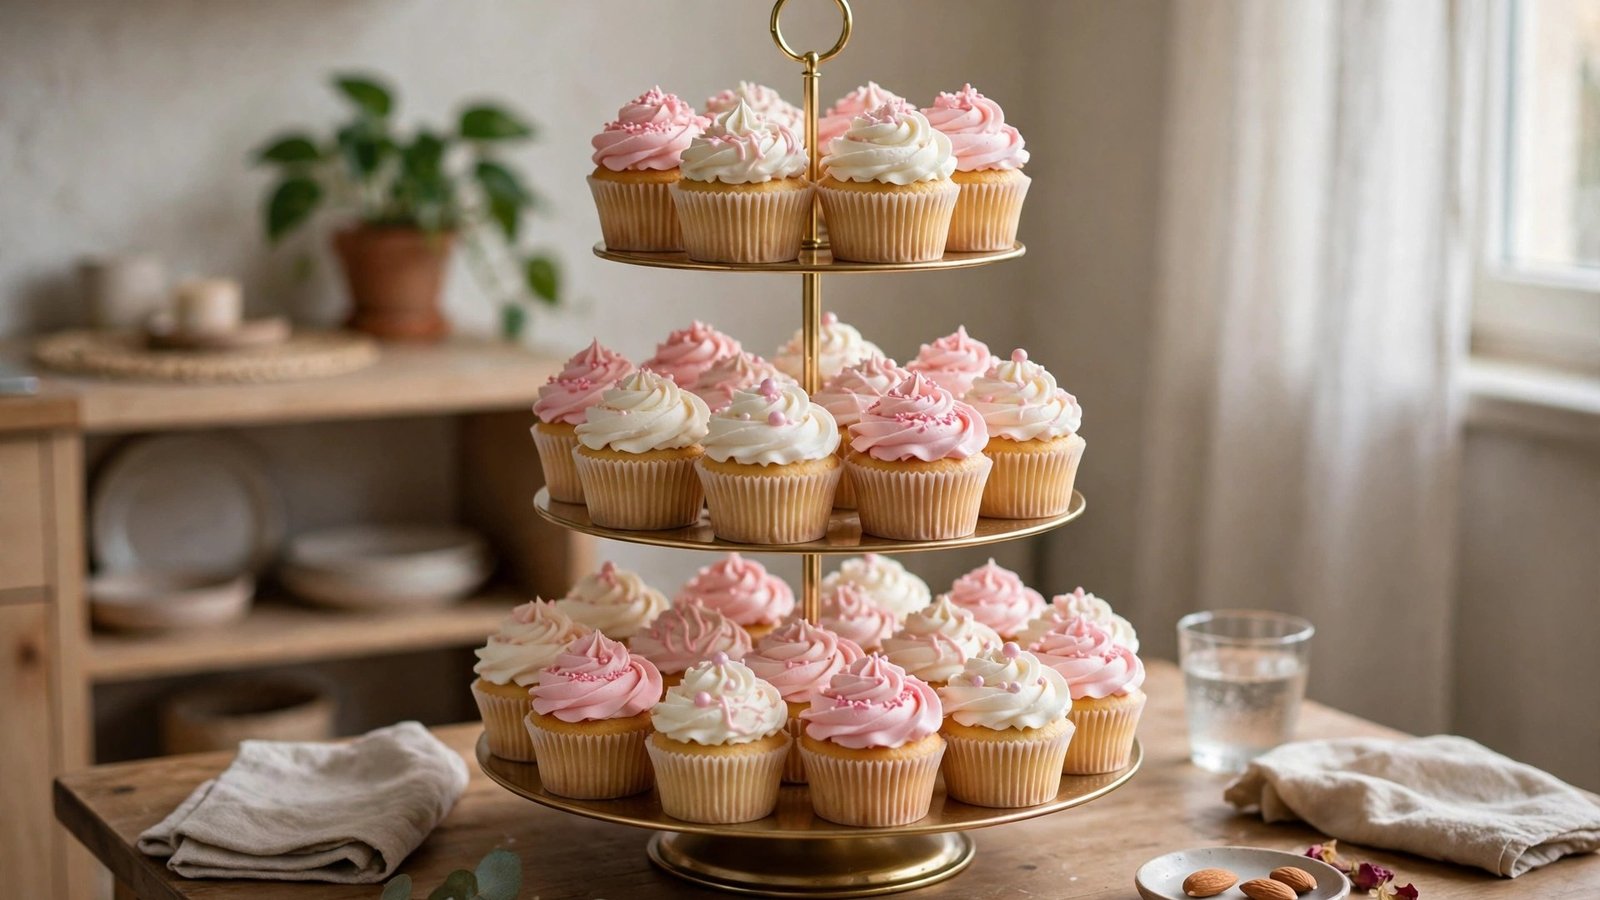
Pick one dessert to be the star and let everything else play backup. A cupcake tower is my go-to hero because it gives you instant height, it feeds a crowd, and it photographs beautifully — and you can build the whole thing from grocery-store cupcakes.
Why it works for renters: a tower needs about one square foot of table. That’s it. No sprawling buffet, no extra furniture, no wall space. It works on a card table, a kitchen counter, or even a sturdy TV tray stand if your apartment is truly tiny.
How to do it:
- Buy 24–36 mini or standard cupcakes from a grocery-store bakery in two colors that match your shower theme (pastel pink and white, or sage and cream, for example).
- Build or buy a tiered stand: stack three dollar-store plates on two dollar-store candlesticks or sturdy mugs, gluing nothing — just stack so you can take it apart after.
- Place the largest cupcakes on the bottom tier and the smallest on top, leaving a little space between each so the tower looks full but not crowded.
- Tuck a few silk flowers or paper fans between tiers for color, and put a small sign in front that says the flavor if you bought more than one.
- Surround the base with a handful of loose candies or mints to fill any bare table.
One more renter tip: if your table is truly tiny, skip the second tier and let the tower be the only tall item — a single strong focal point reads better in a small room than three competing ones, and it leaves room for drinks or a card box beside it.
Approximate cost: $20–$35 for cupcakes and a dollar-store stand, less if you already own plates.
2. The Dollar-Store Tiered Stand Trick
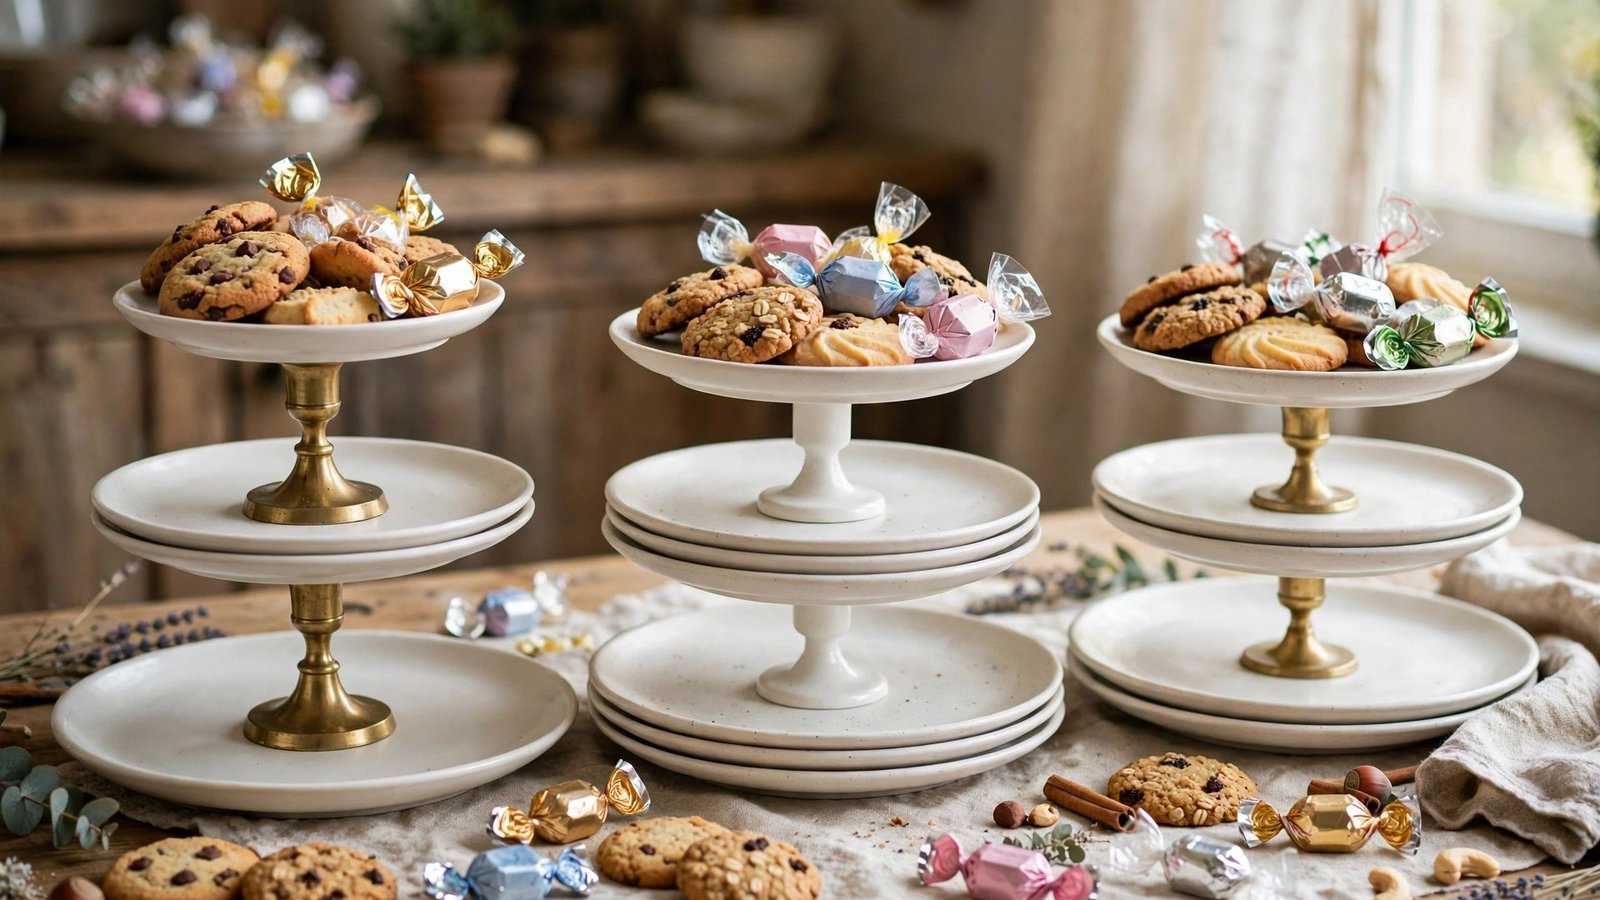
You don’t need to buy a fancy cake stand to get a professional-looking display. I’ve personally seen renters build an entire dessert table’s worth of height from dollar-store plates, bowls, and candlesticks — and guests assumed everything was rented from a party company.
Why it works for renters: everything stacks, comes apart, and fits in one small box for storage afterward. No bulky rental equipment, no delivery fees, no damage deposits on rented stands.
How to do it:
- Buy three to five plain white or pastel plates in different sizes, plus two or three candlesticks or short vases, all from the dollar store.
- Stack a large plate on a candlestick, then a medium plate, then a small plate on top — check that each layer is stable before you load it with food.
- Make two or three of these stands in different heights so your table has a skyline instead of a flat line.
- Fill the tiers with small treats: cookies on one, brownie bites on another, wrapped candies on the third.
- After the party, unstack everything and store it flat in a single tote for the next celebration.
If you rent a furnished place, check what you already have before you shop — many furnished apartments come with plain white plates and a few mugs that stack into a perfectly good stand, which means this whole idea can cost you nothing at all.
Approximate cost: $10–$20 total for plates and candlesticks.
3. Grocery-Store Bakery, Dressed Up at Home
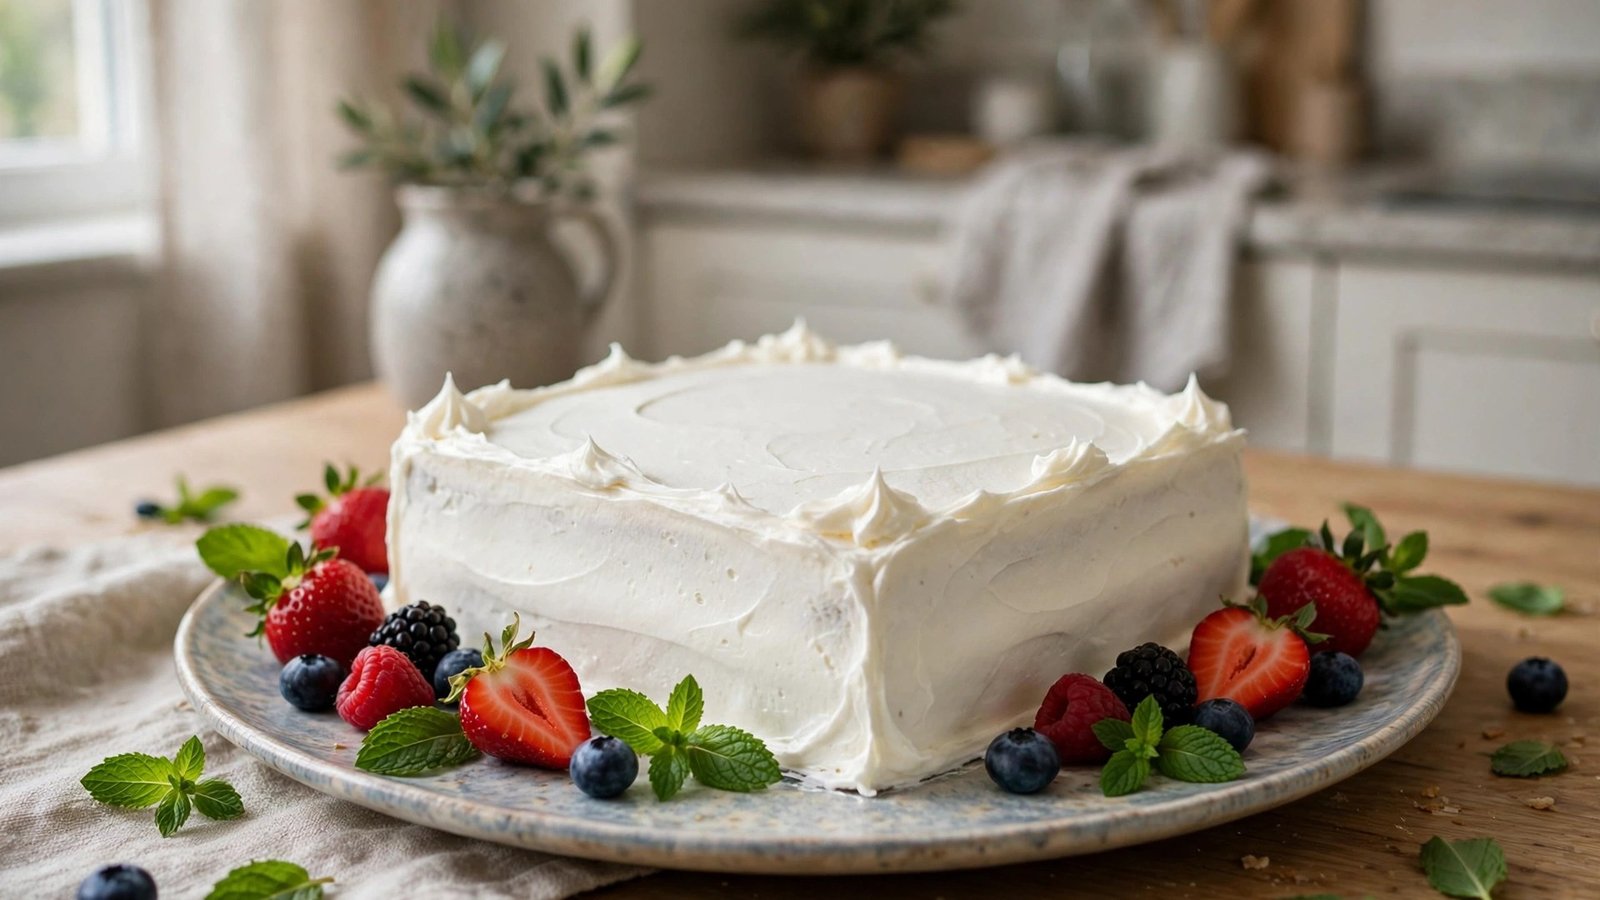
Here’s a secret from someone who has set up a lot of shower tables: nobody can tell a grocery-store cake was store-bought once you re-plate it, add fresh fruit, and cut it into pretty portions. The bakery does the baking; you do the styling.
Why it works for renters: your apartment kitchen doesn’t need to become a bakery. No mixer, no oven marathon, no flour on every surface the morning of the party. You buy, you plate, you’re done.
How to do it:
- Buy one sheet cake or a dozen bakery cookies from the grocery store in a plain flavor and simple frosting color.
- At home, transfer treats to your own plates or stands — never serve them in the plastic bakery box.
- Add a ring of fresh berries, mint leaves, or edible flowers around the cake, and dust cookies lightly with powdered sugar just before guests arrive.
- Cut the cake into small, neat squares or slices so it looks like a catered dessert bar instead of a birthday cake.
- Write little flavor labels on folded cardstock so guests know what they’re picking up.
A note on timing that matters in a small kitchen: pick up the cake the morning of the party, not the night before, so your fridge stays free for drinks and perishables — and transport it flat in the trunk or on the floor of the back seat so the frosting survives the ride.
Approximate cost: $15–$30 for a sheet cake or two dozen bakery cookies, plus a few dollars for berries.
4. The Folding-Table Dessert Station
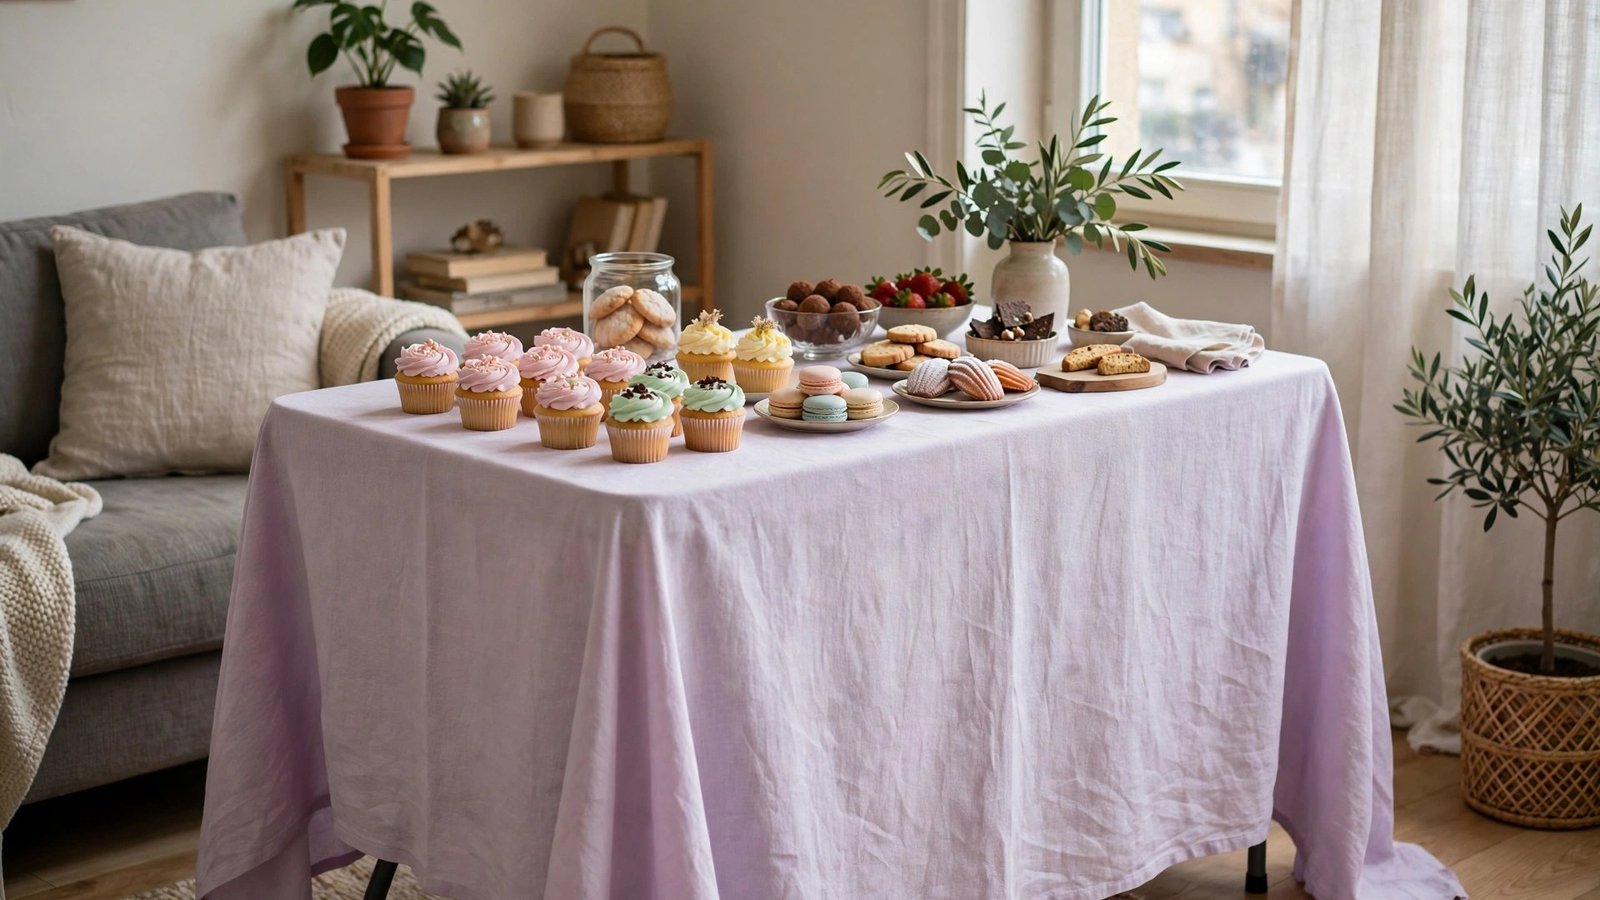
Most renters don’t own a buffet table, and that’s fine. A folding table covered with a floor-length tablecloth becomes a dessert station that looks intentional — the cloth hides the folding legs and instantly makes the setup feel like an event.
Why it works for renters: the table folds flat for storage, the cloth costs a few dollars, and the whole station can go up in a corner of the living room and come down in ten minutes when the party ends. No furniture purchases, no landlord issues.
How to do it:
- Borrow or buy a six-foot folding table, or use two card tables pushed together for a longer display.
- Cover it with a floor-length tablecloth in a solid color that matches your theme — a plain white or pastel cloth from a discount store works perfectly.
- Place your tallest item (a cupcake tower or tiered stand) slightly off-center so the table has a focal point.
- Arrange shorter items in front and to the sides, stepping down in height toward the edges.
- Hide a small trash bag and extra napkins under the tablecloth at one end for quick cleanup.
If you don’t own a folding table, ask in a local buy-nothing group or borrow from a neighbor a few days ahead — folding tables are one of the most commonly lent party items, and borrowing one keeps this idea nearly free.
Approximate cost: $10–$25 for a tablecloth and a borrowed table; $40–$60 if you buy a folding table new.
5. Mason Jar Desserts Made in Your Apartment Kitchen
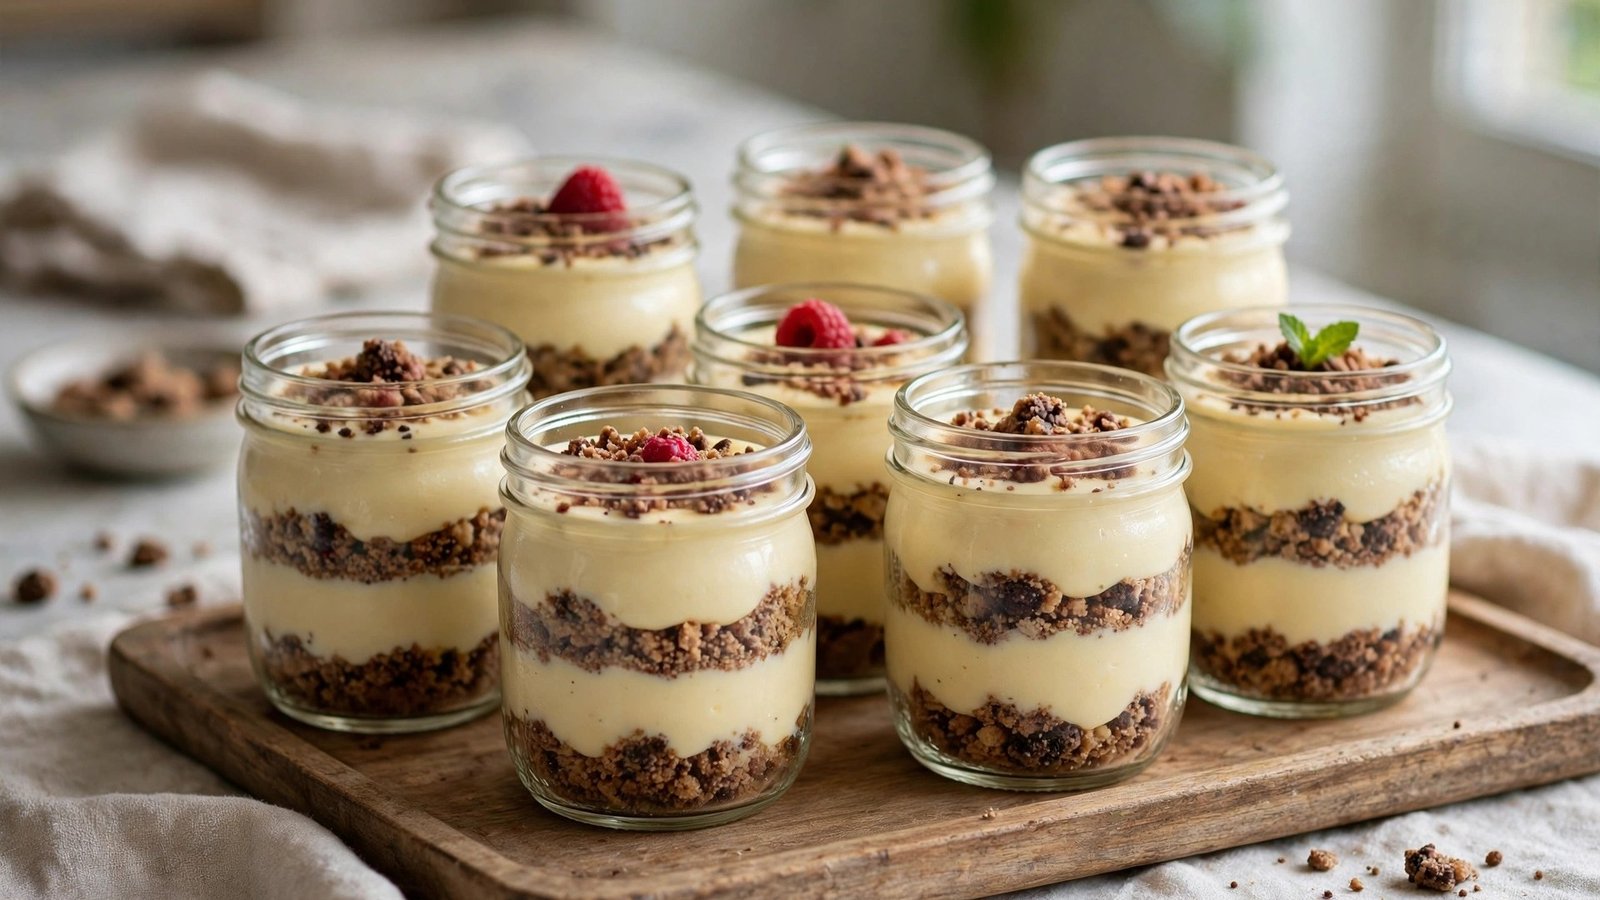
Individual desserts in small jars look expensive and solve the small-space problem beautifully: guests grab one and go, no cutting, no serving, no plates piling up. Pudding parfaits, mousse, or layered cake cups all work.
Why it works for renters: you make them the night before in your own kitchen, they stack neatly in the fridge, and they double as the table decoration. No oven space needed if you use no-bake fillings like pudding, whipped cream, and crushed cookies.
How to do it:
- Gather 12–20 small mason jars or clear plastic cups — borrow them if you can, or buy a case cheaply.
- Layer crushed cookies, pudding or mousse, and whipped cream in each jar, finishing with a berry or a sprinkle of cookie crumbs on top.
- Chill overnight with the lids on, then remove lids and set jars out on the table just before guests arrive.
- Group jars on a tray or a cake stand so they read as one display instead of scattered cups.
- Tie a small ribbon or a paper tag around a few jars for color, and label the flavor on a table card.
A small-kitchen note: make the jars in two batches if your fridge is tight, and use the freezer shelf for the first batch overnight — the jars thaw in about an hour on the counter and taste just as fresh.
Approximate cost: $15–$25 for ingredients for about 20 jars, less if you already own jars.
6. The Borrowed-Jar Candy and Popcorn Buffet
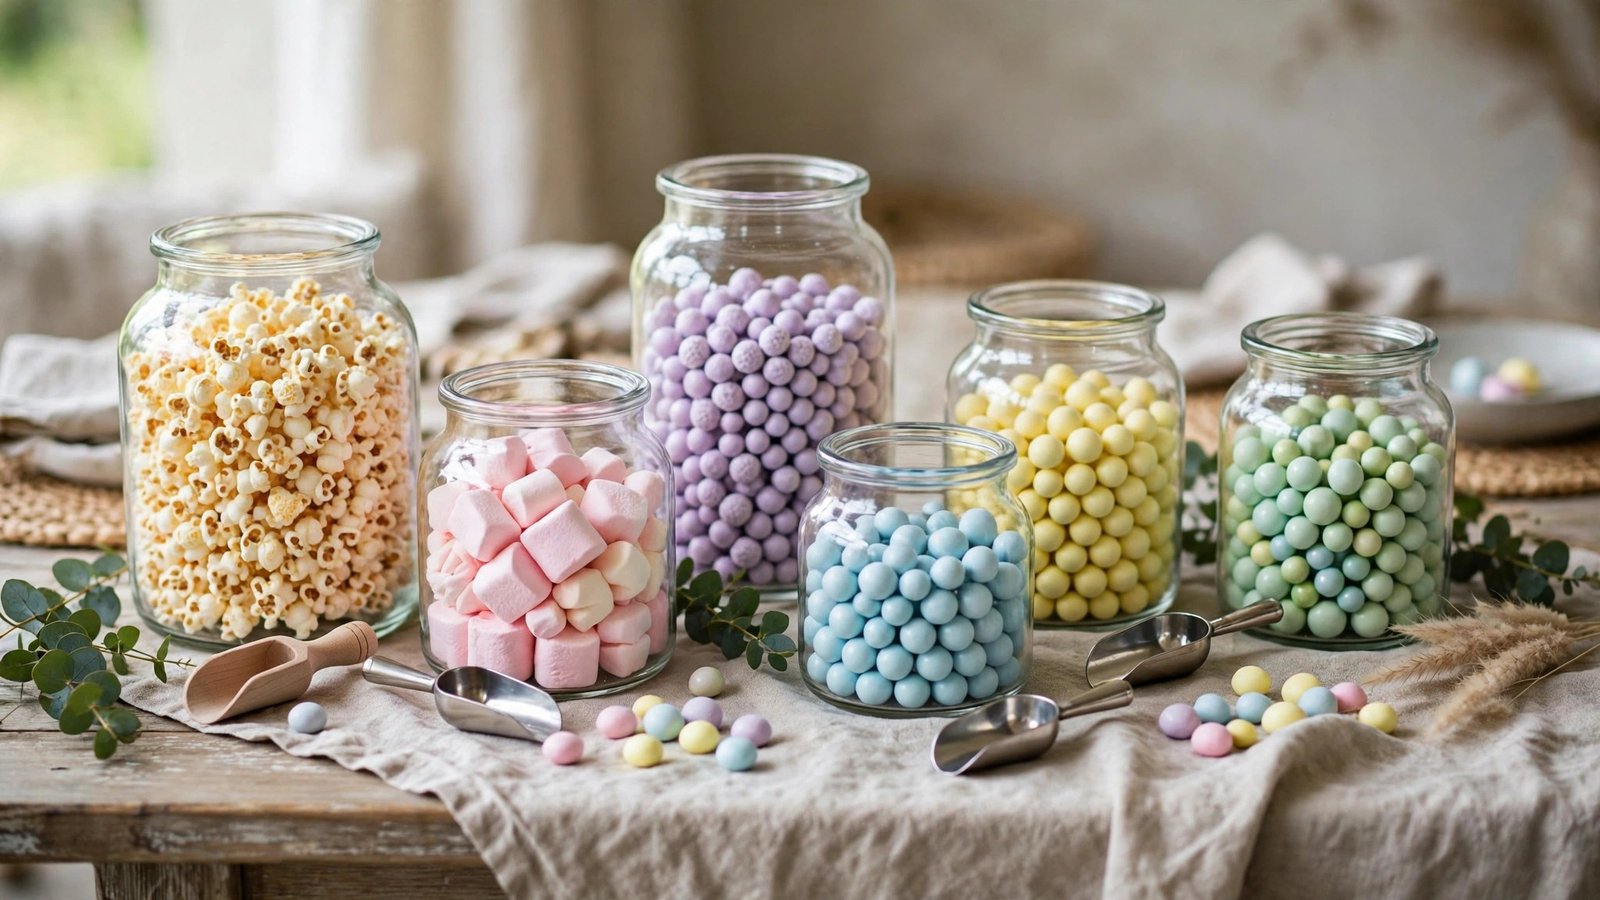
A candy buffet looks like a splurge, but it’s one of the cheapest ways to fill a table — especially when the containers are borrowed. Ask friends for glass jars, apothecary-style canisters, or even big pasta sauce jars you’ve saved and washed.
Why it works for renters: candy and popcorn don’t need refrigeration, don’t melt in a warm apartment, and can sit out the whole party. The jars are the decoration, so you don’t need extra decor spending.
How to do it:
- Collect six to eight clear jars in different heights from friends, your own pantry, or the thrift store.
- Fill them with bulk candy in your theme colors — pastel gummies, wrapped chocolates, rock candy sticks — plus one jar of popcorn or pretzels for a salty option.
- Set jars at the back of the table with the tallest in the middle, and put a small scoop or tongs in each one.
- Add a few small favor bags or cups nearby so guests can scoop their own mix to take home.
- Scatter a handful of loose candies on the tablecloth between jars to fill gaps and add color.
If you live in a building with shared laundry or a shared party room, ask whether you can set the jars out there instead of your apartment — a candy buffet travels well in a tote bag and instantly upgrades a plain community room.
Approximate cost: $15–$30 for bulk candy and popcorn; jars free if borrowed.
7. The Lemonade and Cookie Pairing Station
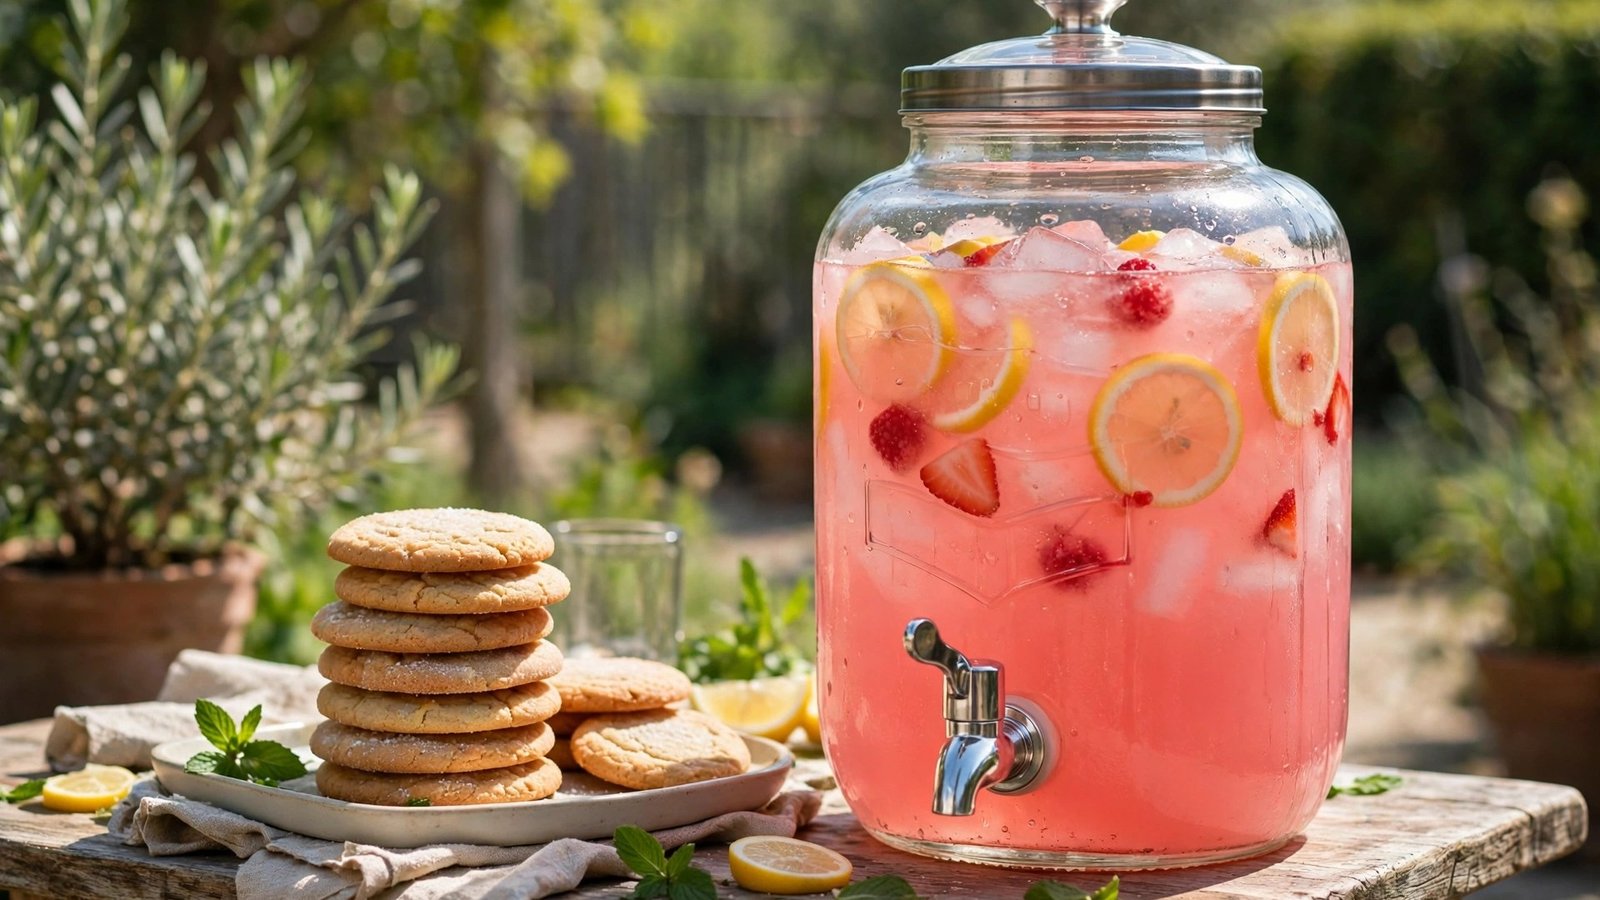
Pairing a simple drink with cookies turns two cheap items into a “station” that feels designed. A big drink dispenser with lemonade or pink punch, plus a tray of cookies, gives guests something to do at the table besides just grabbing dessert.
Why it works for renters: a drink dispenser sits on one corner of the table and needs no extra furniture, and cookies are the easiest dessert to buy or bake in bulk. It also keeps guests from crowding the main food table.
How to do it:
- Borrow or buy a large drink dispenser and fill it with lemonade, pink punch, or infused water.
- Bake or buy two to three dozen simple cookies — sugar cookies, snickerdoodles, or shortbread all hold up well at room temperature.
- Stack cookies on a plate or stand next to the dispenser, with a small sign naming the drink and the cookie pairing.
- Set out small cups and napkins, and keep a towel under the dispenser in case of drips.
- Add lemon slices or frozen berries to the dispenser for color — they cost almost nothing and look lovely.
This station also solves a common apartment-party problem: it gives guests somewhere to stand that isn’t the kitchen. Put the dispenser near the living room, not next to the stove, and foot traffic spreads out instead of jamming into your cooking space.
Approximate cost: $15–$25 for drinks, cookies, and cups.
8. The Leaned Donut Board (No Drilling Required)
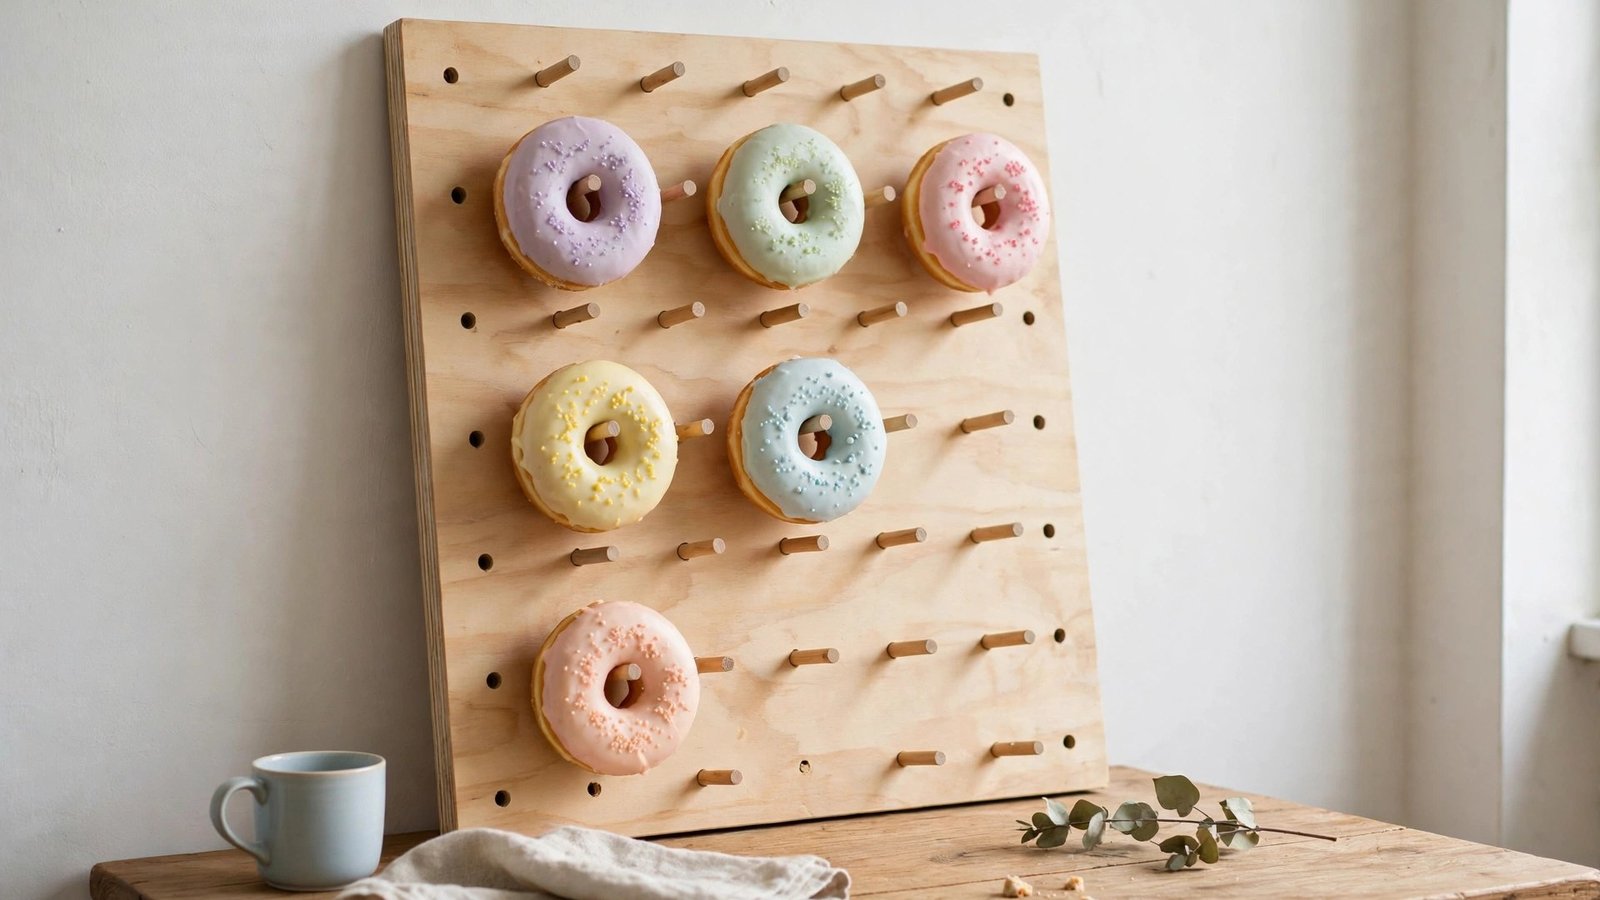
Donut walls are all over social media, but renters can’t drill a pegboard into the wall — and they don’t need to. A foam board or a large cutting board leaned against the wall at the back of the table gives you the same look with zero damage.
Why it works for renters: leaning means no nails, no Command strips that might fail, and no landlord conversation. The board comes down when the party ends and the wall is untouched.
How to do it:
- Buy a large foam board or a lightweight wooden board and a pack of small wooden dowels or pegs from a craft store.
- Push the dowels through the board in a grid pattern, spacing them wide enough for a donut on each peg.
- Lean the board against the wall behind the dessert table, wedging the bottom against the table so it can’t slide.
- Slide one donut onto each peg, alternating colors and frostings, and leave the bottom row empty so nothing touches the table.
- Put a small sign beside it (“Please take one!”) so guests know the donuts are meant to be eaten.
If your landlord is strict about wall contact, test the board’s lean on a rug or a towel first so it can’t scuff the paint — and never lean it on a freshly painted wall or a wall with loose plaster, since even a light board can leave a mark.
Approximate cost: $15–$30 for the board, dowels, and two dozen donuts.
9. Fresh Fruit Skewers and a Simple Fruit Platter
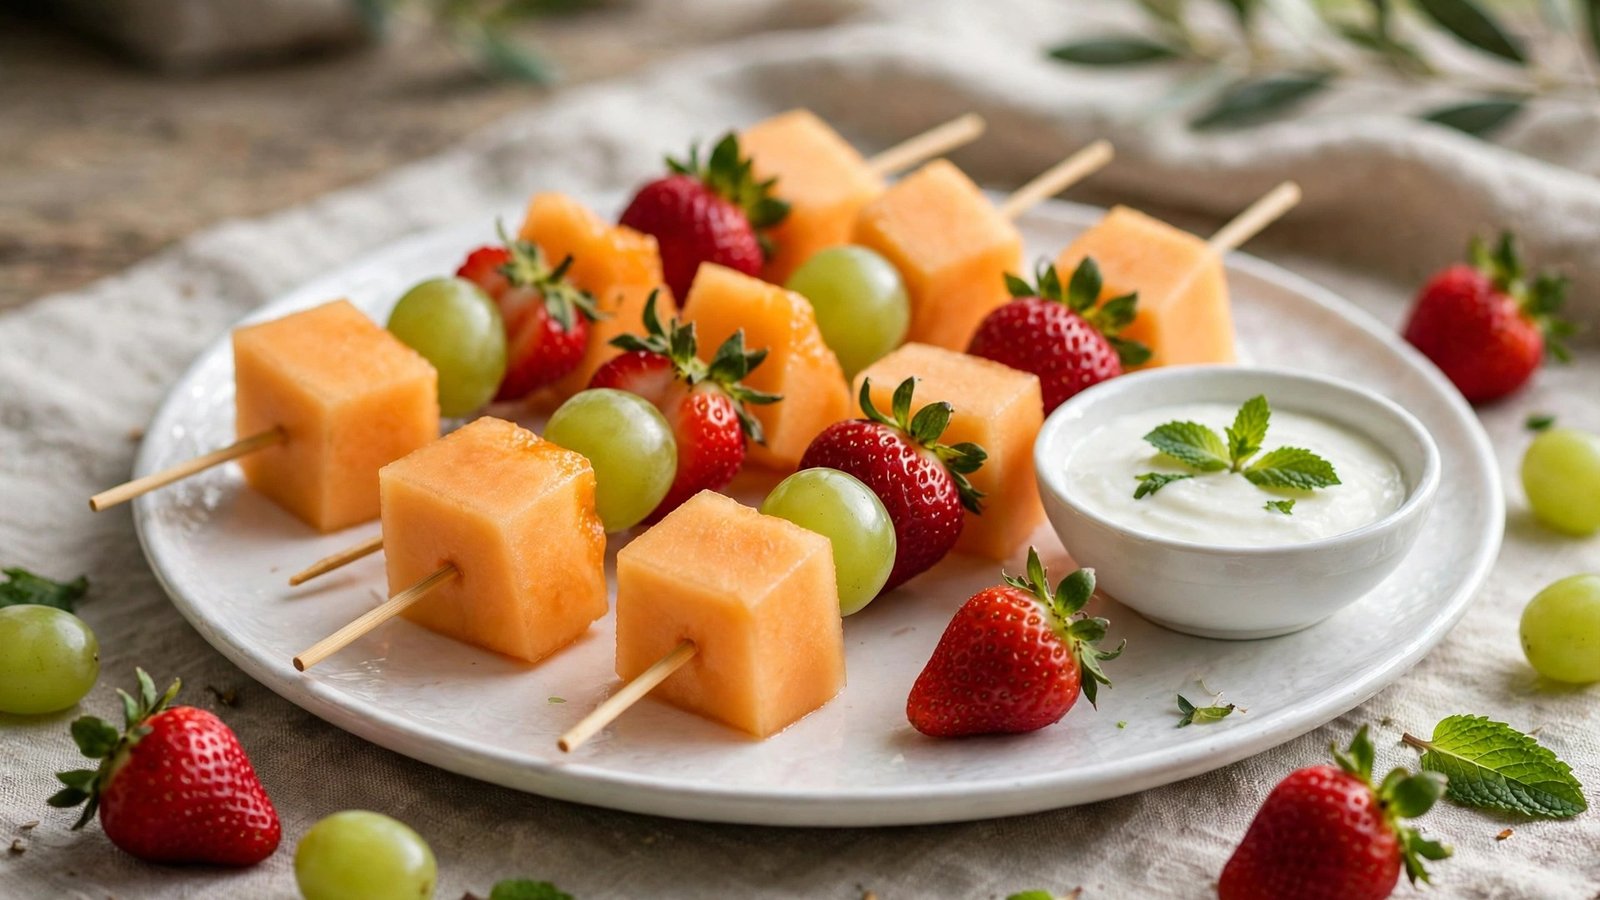
A dessert table needs something light, especially at a baby shower where guests graze for hours. Fruit skewers are cheap, colorful, and refreshing — and they balance out all the sugar so the table doesn’t feel heavy.
Why it works for renters: fruit needs no baking, no oven, and almost no prep space. You can assemble skewers on a cutting board in a small kitchen, and a platter fits on any table without extra equipment.
How to do it:
- Buy in-season fruit — melon, grapes, strawberries, pineapple — because in-season fruit costs less and tastes better.
- Cut fruit into bite-size pieces and thread them onto short wooden skewers, alternating colors for a pretty pattern.
- Stand the skewers upright in a jar or lay them in rows on a platter lined with a paper doily.
- Add a small bowl of yogurt dip or melted chocolate on the side for dipping.
- Keep the platter chilled until just before the party, and refill it once halfway through if it empties.
Buy the fruit the day before and cut it the morning of the party so it stays crisp — cut fruit dries out fast in a warm apartment, and a quick squeeze of lemon over apple or banana pieces keeps them from browning before guests arrive.
Approximate cost: $12–$25 for fruit and skewers, depending on the season.
10. Thrifted Cake Stands and Mismatched Plates
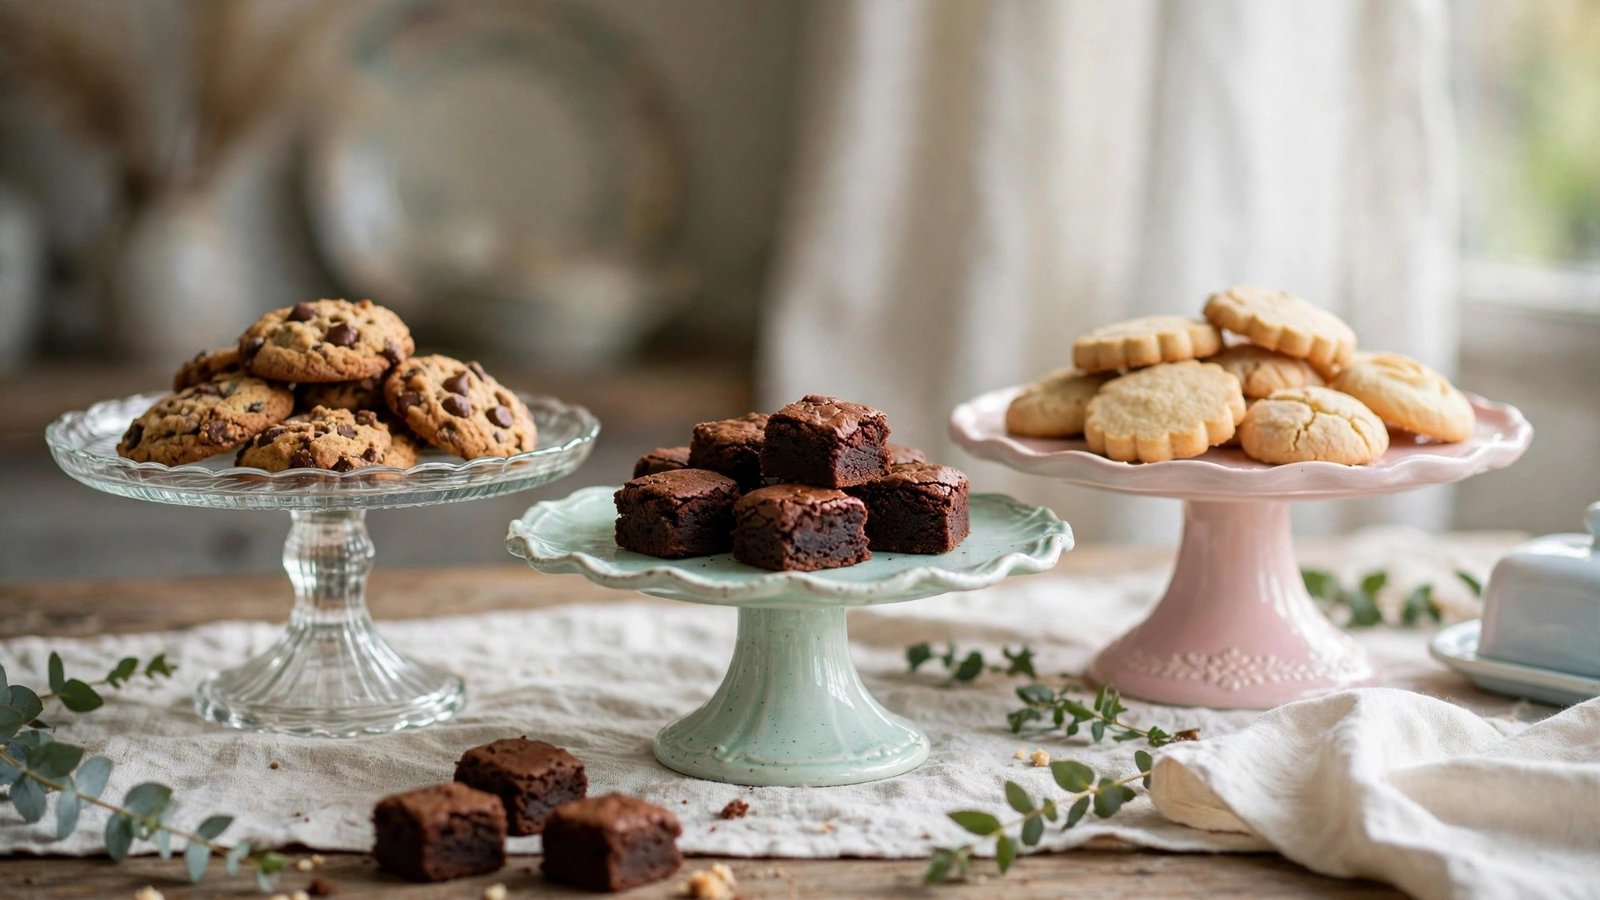
A matching dessert set is nice, but a collected look is actually more charming — and far cheaper. Thrift stores are full of pretty cake stands, vintage plates, and glass pedestals for a dollar or two each, and the mix-and-match style hides the fact that nothing was expensive.
Why it works for renters: thrifted pieces cost almost nothing, they’re easy to store in a small apartment (one or two stands, not a set of twelve), and you can re-donate anything you don’t love after the party.
How to do it:
- Visit a thrift store a week or two before the shower and pick up three to five stands or pretty plates in white, glass, or pastel.
- Wash everything thoroughly and check for chips — a chipped plate can still hold wrapped candies if you’d rather not serve food directly on it.
- Use the tallest stand for your hero dessert and the smaller plates for cookies, candies, and brownie bites.
- Mix heights and materials on purpose: glass next to ceramic, a tall stand next to a flat plate.
- After the party, keep your favorites and donate the rest back — the table cost you almost nothing to build.
When you thrift, go early in the week if you can — weekend shoppers pick over the housewares shelves, and a Tuesday morning trip often turns up the prettiest stands for the lowest prices.
Approximate cost: $5–$15 for thrifted stands and plates.
11. The Removable Balloon and Tissue Backdrop
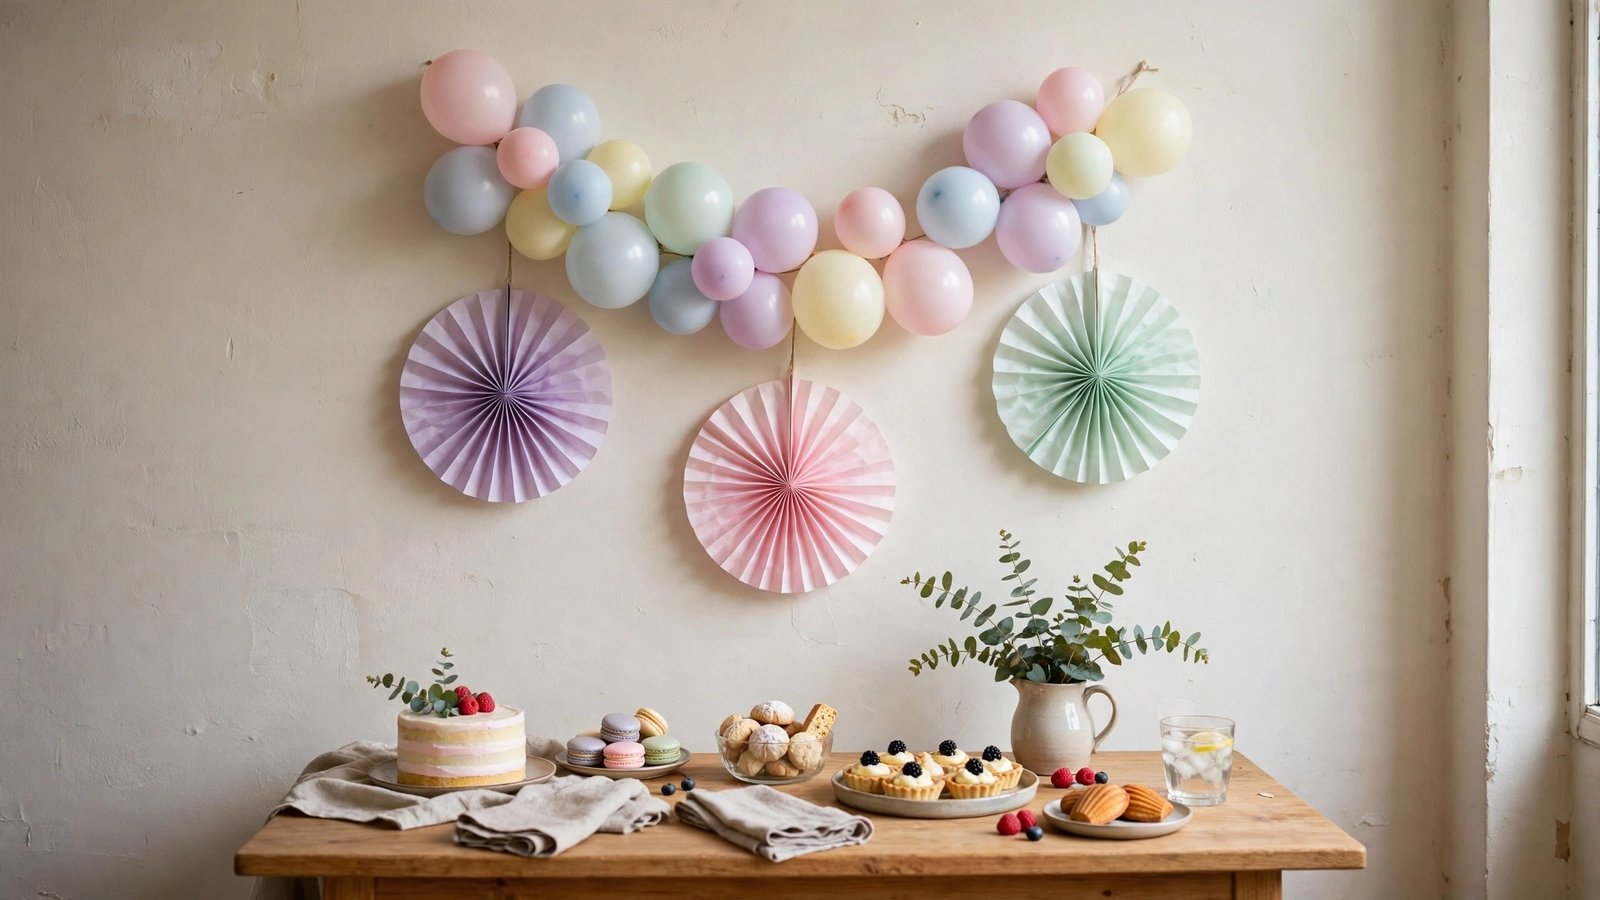
The wall behind your dessert table is free decoration space — as long as you don’t damage it. A small balloon garland on Command hooks, or tissue-paper fans stuck up with painter’s tape, frames the table and makes the whole setup photograph like a professional party.
Why it works for renters: Command hooks and painter’s tape come off cleanly, which is exactly what a deposit depends on. No holes, no peeling paint, no repair bill when you move out.
How to do it:
- Buy a small balloon garland kit or a pack of tissue-paper fans in your theme colors from a discount or craft store.
- Hang the garland from two Command hooks placed high on the wall, or tape tissue fans up with small loops of painter’s tape.
- Keep the backdrop narrow — just wider than the table — so it frames the desserts instead of swallowing the room.
- Test one hook or tape loop on a hidden spot first to make sure it removes cleanly from your walls.
- Take everything down the same day, peel hooks slowly, and check the wall before you call the party done.
Keep the backdrop simple on purpose: in a small apartment, one garland or three fans is plenty. An oversized backdrop eats visual space and makes the room feel smaller, while a narrow frame makes the dessert table feel like a special corner.
Approximate cost: $10–$25 for a balloon kit or tissue fans plus hooks and tape.
12. Printable Labels and Take-Home Favor Bags
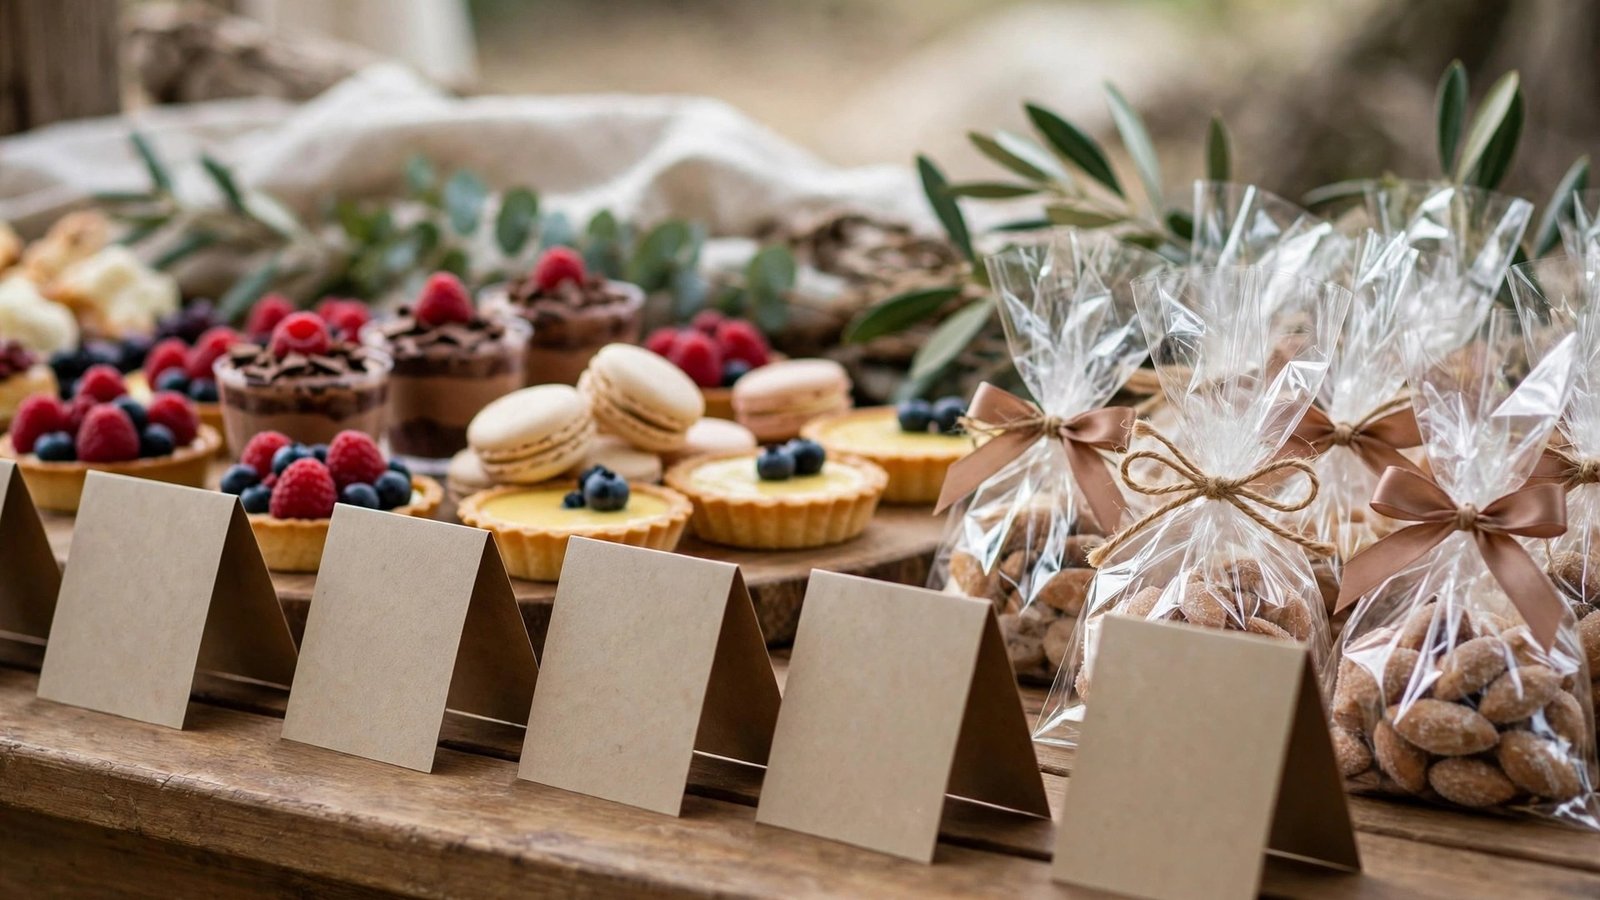
The cheapest upgrade on any dessert table is labeling. Printed or handwritten food tags make grocery-store treats look intentional, help guests with allergies, and turn the table into a display instead of a pile of snacks. And if you pack leftovers into favor bags, the dessert table does double duty as the party favor.
Why it works for renters: labels cost pennies, favor bags cost pennies, and you skip buying separate favors entirely. One table, two jobs, and guests leave with something sweet.
How to do it:
- Print or hand-write small food labels on cardstock — the dessert name, and one allergy note if relevant (“contains nuts”).
- Fold each label into a tent card and place it in front of its dessert, keeping the writing facing the guests.
- Buy a pack of small cellophane bags or paper favor bags and set them at the end of the table with a sign (“Take a treat home!”).
- Near the end of the party, pack leftover cookies, candies, and wrapped treats into the bags for guests who didn’t grab one.
- Tie each bag with a ribbon scrap or a twist tie — it takes seconds and makes a grocery-store cookie feel like a gift.
One last renter-friendly detail: keep a small roll of tape and a marker by the table during the party, so if a label falls over or a bag needs a name tag, you can fix it in seconds without hunting through a junk drawer mid-celebration.
Approximate cost: $5–$12 for cardstock, bags, and ribbon.
Conclusion
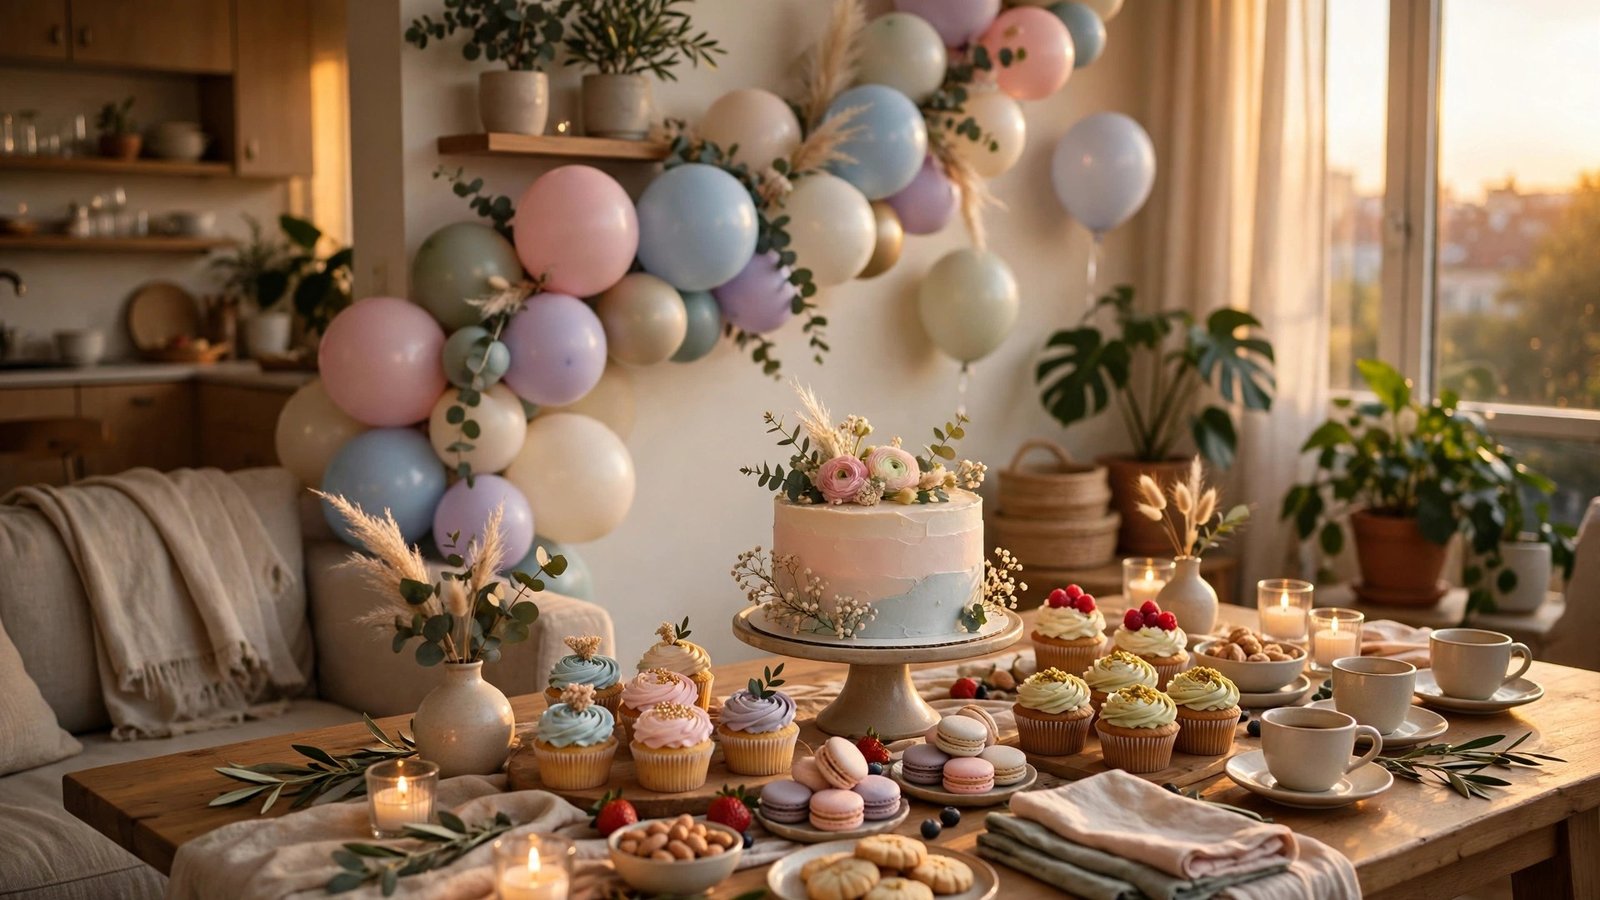
A beautiful baby shower dessert table in a rental is not about how much you spend or how big your apartment is. It’s about one hero dessert, a few dollars’ worth of height and color, and a table that looks like you meant it. I’ve watched renters with a card table, a grocery-store cake, and a handful of dollar-store plates create a dessert display their guests talked about for weeks — and you can do the same with the ideas in this guide.
Start with the hero dessert, add one or two fillers that fit your budget, and finish with labels and a removable backdrop. Keep portions small, keep the table tidy, and don’t stress about perfection — guests remember the feeling of the party, not whether every cupcake matched. You’ve got this, and your dessert table is going to look wonderful.
Please save this visual guide on Pinterest and share it with any friend planning a baby shower in a small space — they’ll thank you when their dessert table looks this good on a budget like yours.

Amelia leads HavenlyStyle’s editorial vision with a passion for elegant interiors and practical home living. With years of experience in home décor and lifestyle content, she ensures every article is accurate, inspiring, and easy to follow. From timeless decorating ideas to the latest interior design trends, Amelia is committed to helping readers create beautiful, functional spaces while maintaining HavenlyStyle’s trusted and welcoming voice.