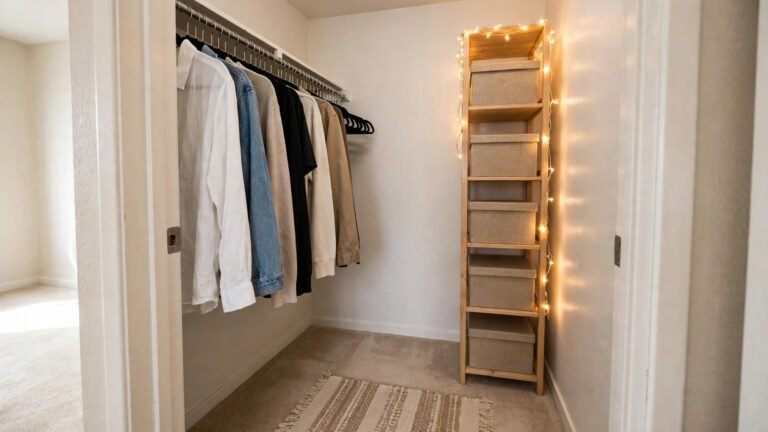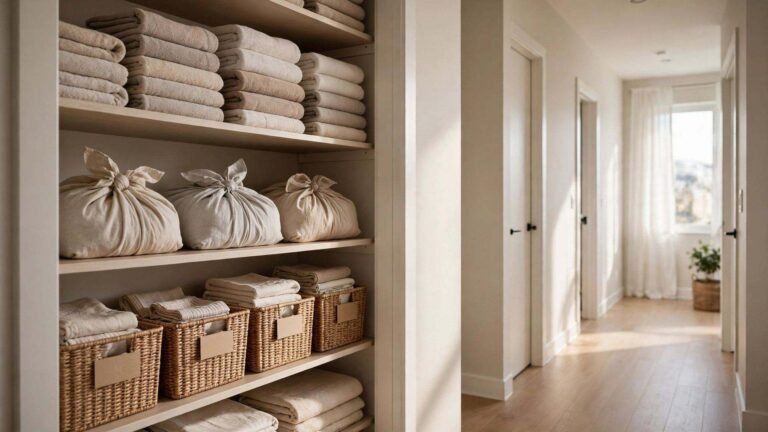
If your rental closet could talk, it would be begging you to stop pretending your heavy winter coat and your light fall jacket can live happily on the same rod. I’ve helped dozens of renters reorganize small closets, and the winter switch is always the hardest one — not because it’s complicated, but because winter gear is simply bigger, bulkier, and wetter than everything else you own. One down parka takes up the same rod space as four fall jackets. Boots eat floor space. Sweaters pile up until they topple. And if you’re renting, you can’t just drill in another rod or install an entryway mudroom the way a homeowner would.
The good news is that a proper winter closet rotation doesn’t require permission from your landlord or a single screw in the wall. It’s about moving the right things to the front, sending the fall layers into storage (not the trash, not a black hole — actual labeled storage you’ll be glad to open again in March), and building a small, renter-friendly winter station near your door for all the wet, salty, drippy gear that winter throws at you. Every idea below is removable, reversible, and deposit-safe, and each one is built for the specific winter-renter problems: coats that eat closets, boots that puddle, entryways the size of a doormat, and wool sweaters that mysteriously shrink.
By the time you’re done, your closet will have a clear winter front row, your fall clothes will be sleeping safely in labeled bins, and your mornings will stop starting with a wrestling match against a tangled pile of scarves.
Executive Summary
- Rotate by warmth, not by habit: heavy winter coats, boots, and sweaters move to the front row; light fall layers go into labeled under-bed or top-shelf storage.
- A freestanding garment rack (no drilling, no landlord permission) is the single biggest win for renters whose closets can’t hold winter bulk.
- Winter is wet — give boots and dripping gear a dedicated tray zone at your tiny entryway so slush never migrates into your bedroom.
- Sweaters should be folded, never hung: hanger hooks stretch knit shoulders, and shelf dividers keep tall stacks from toppling.
- Moisture and moths are winter’s quiet enemies: toss moisture absorbers in every storage bin and cedar rings on wool coats.
- End the job by pre-packing for spring: label your winter storage “winter exit” so the March swap takes one hour, not one weekend.
1. Pull Every Fall Layer Out Before You Add a Single Winter Thing
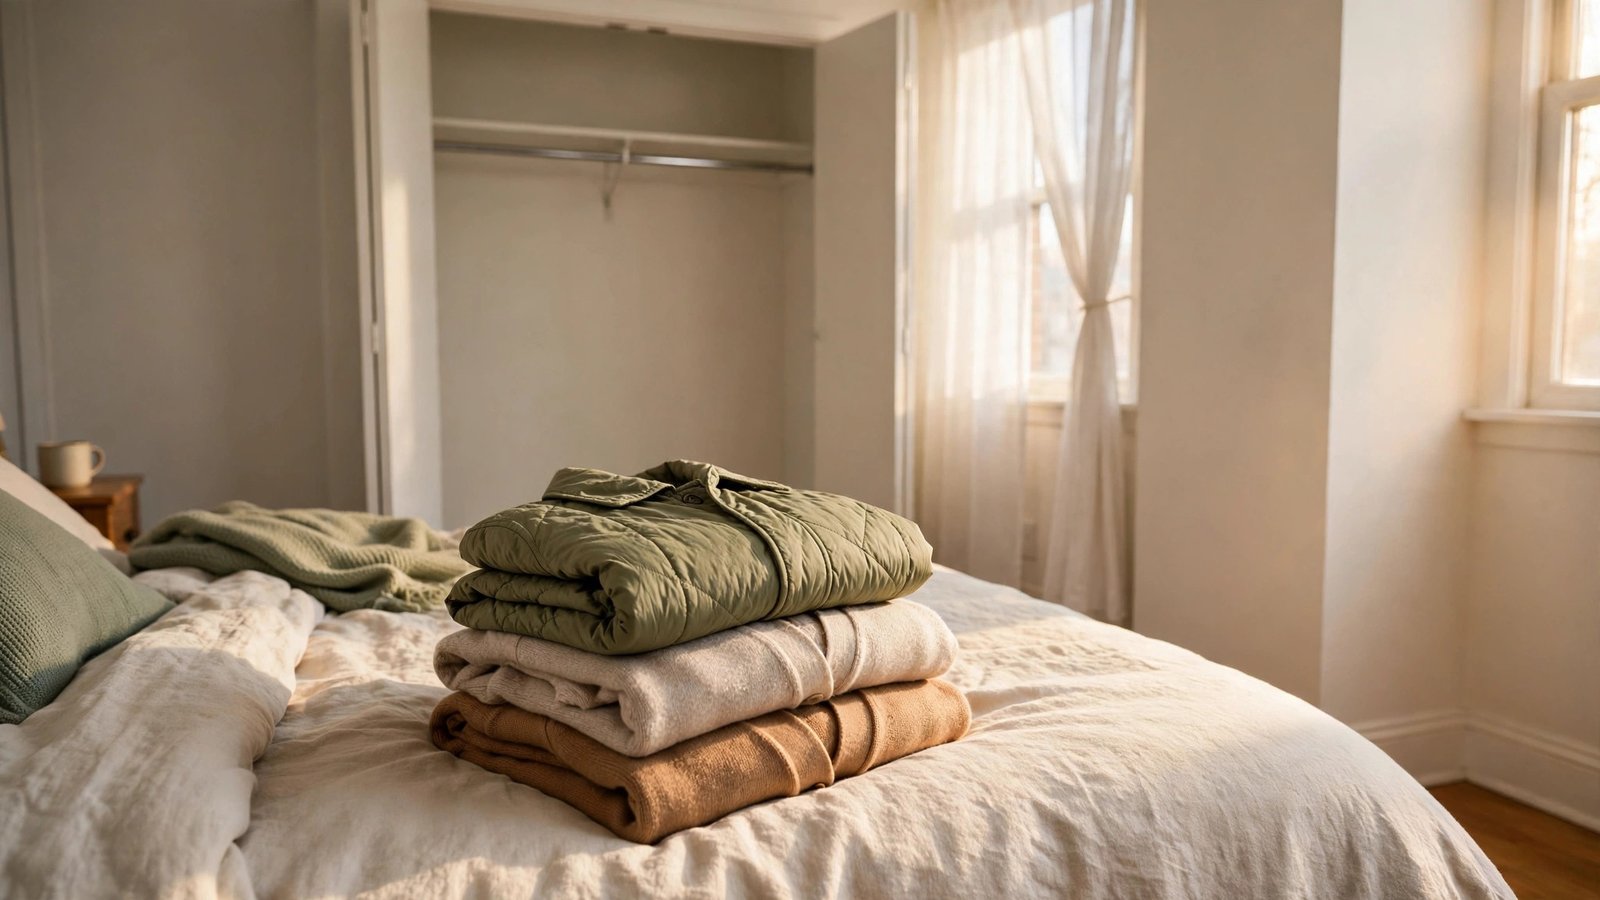
The biggest mistake I see renters make is layering winter on top of fall — shoving parkas in front of lightweight jackets until nothing is reachable and everything is wrinkled. A real rotation starts with a full eviction of fall. That means lightweight jackets, raincoats, light cardigans, and anything you haven’t worn since the first frost comes off the rod and out of the drawers.
Why it works for renters: your closet square footage is fixed and your landlord isn’t giving you a bigger one. You can’t expand, so you have to curate. Removing fall first shows you exactly how much real estate your winter wardrobe needs, which keeps you from panic-buying storage furniture you don’t actually need. Everything you remove is reversible — nothing is donated or thrown away, just stored, so there’s zero regret.
Here’s how to do it:
- Set a timer for 45 minutes and take every fall-weight layer out of the closet and drawers. Lay it all on the bed so the empty space is visible.
- Sort into three piles: store (clean fall clothes you’ll wear again in spring), repair (missing button, loose hem), and rehome (doesn’t fit, never worn — bag it for donation later, keep the bag out of the closet).
- Fold the “store” pile neatly; you’ll pack it in Step 2’s bins. Put repairs in a small tote by the door so they actually leave the apartment for the tailor.
- Hang the winter gear you own in the empty closet just to see the true volume — this visual tells you whether you need the garment rack in Idea 3.
- Wipe down the empty shelves and vacuum the closet floor before anything goes back in; winter brings more dust and salt than you think.
Approximate cost: $0–$10 (a fresh donation bag and maybe a shelf wipe).
2. Store Fall Layers in Labeled, Moisture-Protected Bins Under the Bed
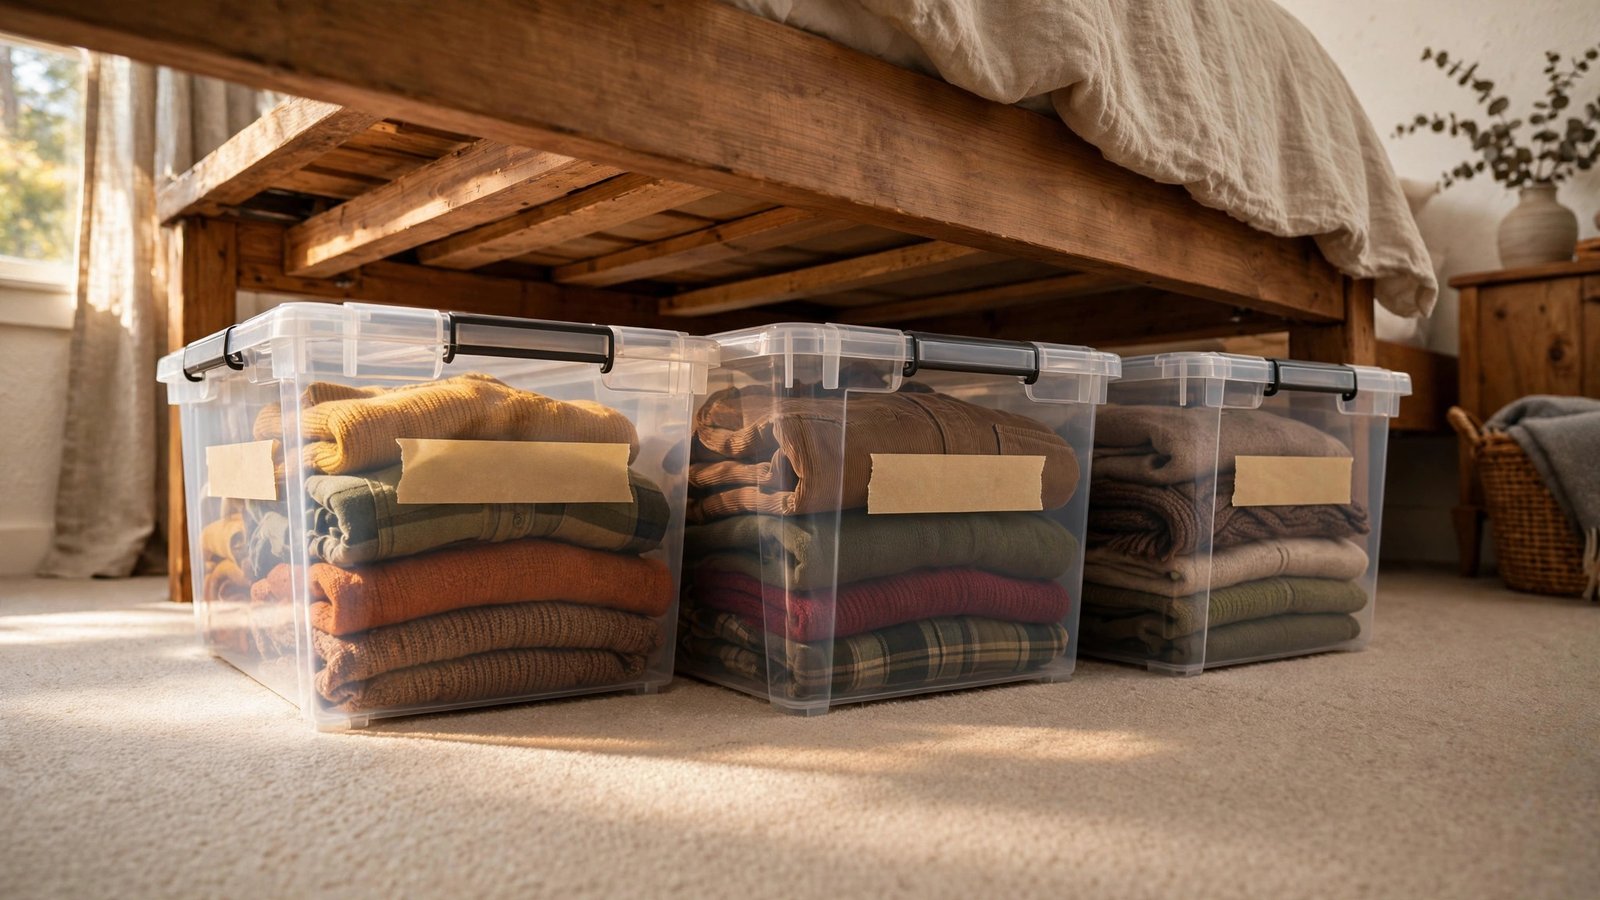
Your fall clothes don’t need prime closet space from December to March, but they do need a home that keeps them clean, dry, and findable. For most renters, that home is under the bed — dead space you’re already paying for. Flat, low-profile storage bins with locking lids slide under standard bed frames and keep dust, damp, and curious pets away from your clothes for four months.
Why it works for renters: under-bed storage is 100% removable and requires zero installation. Unlike a storage unit (monthly fee) or a friend’s garage (mice, mildew, mystery smells), your own under-bed bins are free, climate-controlled, and right there when spring arrives. Lids matter in winter because apartments get dry heat and occasional humidity swings — open fabric bags let in dust and dryness that make stored clothes smell stale by March.
Here’s how to do it:
- Measure your under-bed clearance first (most frames give you 6–8 inches); buy bins that are at least an inch shorter so they slide without scraping.
- Fold fall layers with a sheet of plain tissue or a dryer sheet between stacks — it cuts static and keeps them smelling fresh.
- Toss one small moisture-absorber packet or a cedar block into each bin before you close the lid; winter apartments swing between desert-dry and damp.
- Label every bin on the short end with painter’s tape and a marker: “FALL — light jackets,” “FALL — raincoats,” “FALL — spring dresses.” You’ll thank yourself in March.
- Slide bins in with the labels facing out, heaviest items toward the headboard so nothing migrates when you pull one out.
Approximate cost: $20–$50 for a set of two to four flat bins, depending on size.
3. Give Heavy Coats Their Own Freestanding Garment Rack
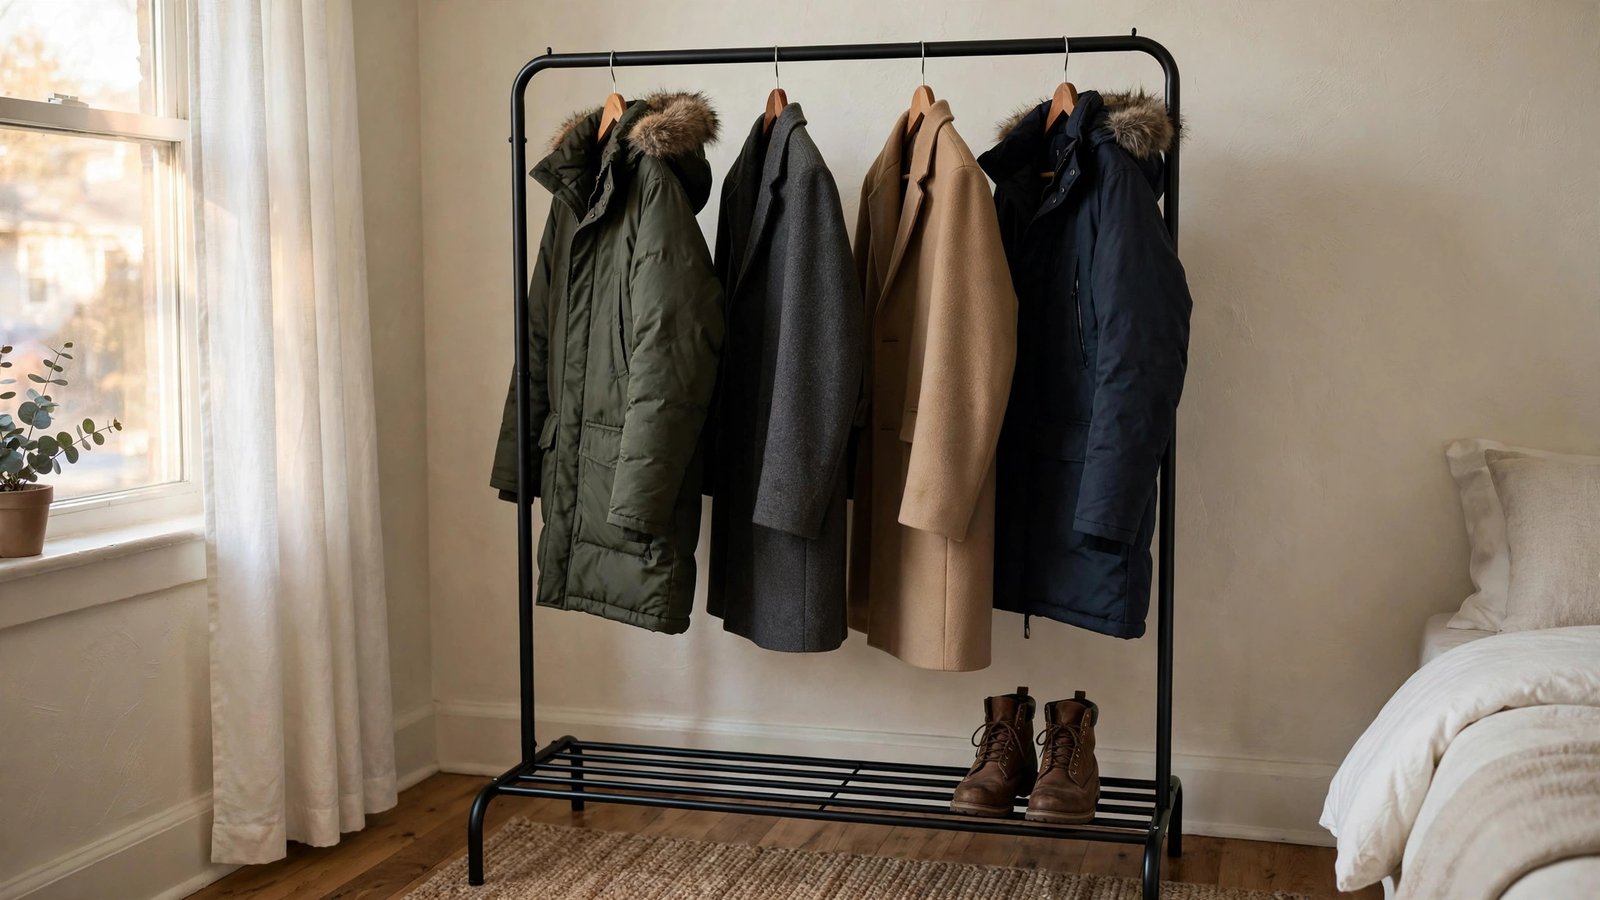
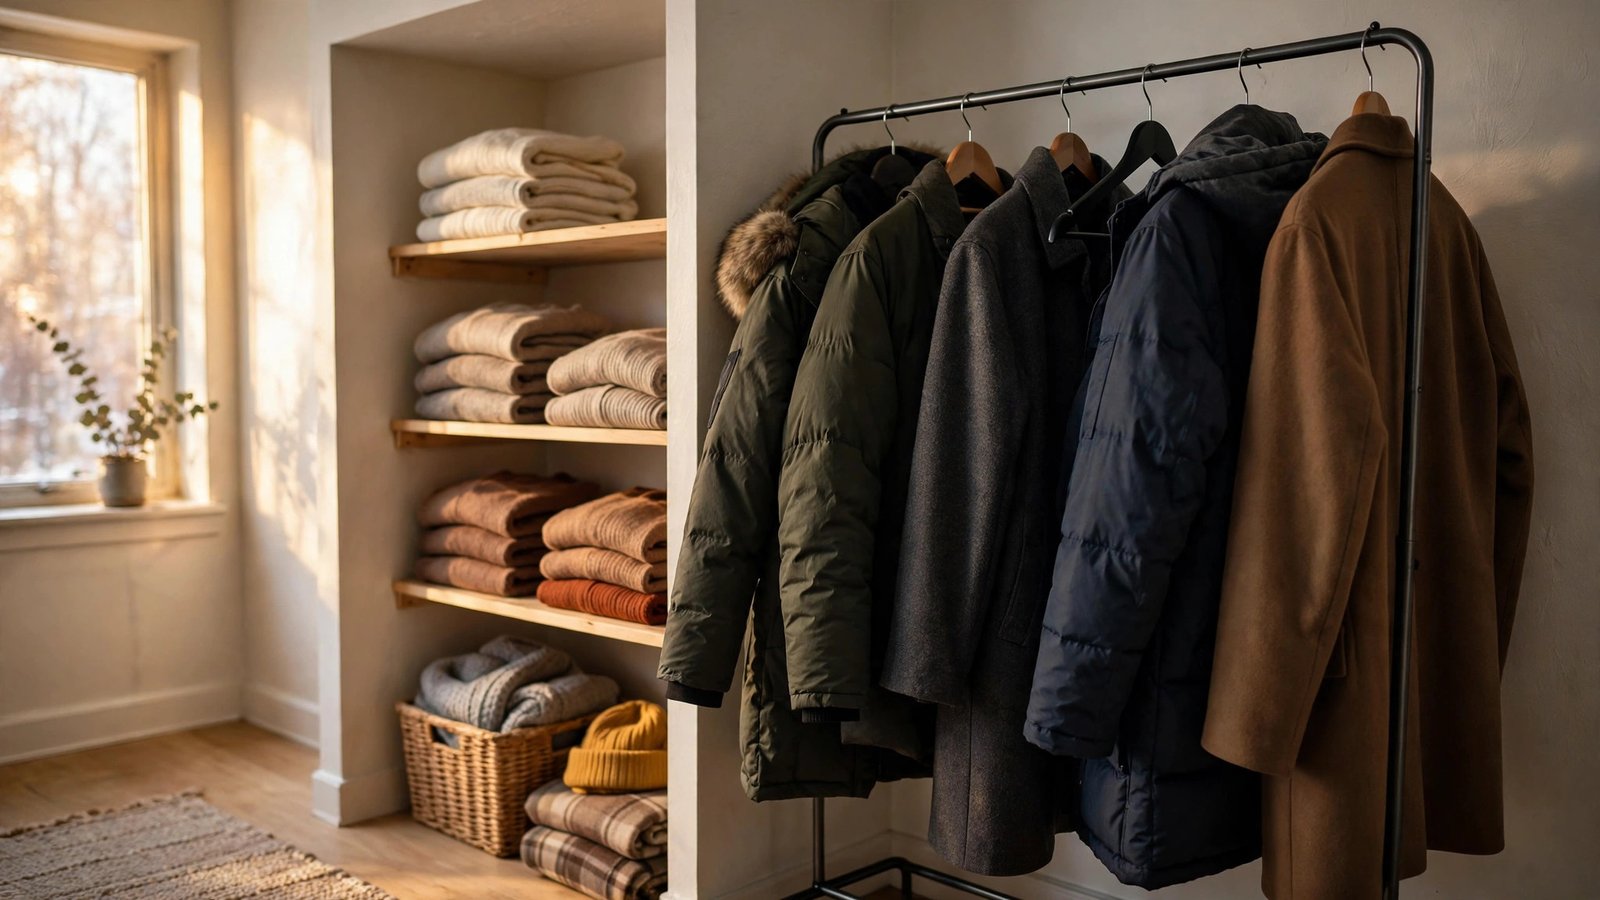
This is the move I recommend first to every winter renter with a reach-in closet, because nothing else solves the bulk problem. A freestanding garment rack — the sturdy metal kind with a bottom shelf — holds four to six heavy coats, parkas, and wool overcoats that would otherwise devour your entire closet rod. Place it in a bedroom corner, beside the closet, or in an unused dining nook, and your closet is instantly freed up for sweaters and everyday clothes.
Why it works for renters: it’s furniture, not a fixture. No drilling, no screws, no wall anchors, no landlord conversation. When you move, it disassembles flat in ten minutes. Choose a rack rated for at least 50 pounds — cheap racks bow under the weight of wet wool, and a collapsed rack at 6 a.m. is a special kind of misery. The bottom shelf doubles as boot or bag storage, which matters when your entryway is the size of a doormat.
Here’s how to do it:
- Sort your outerwear by warmth tier: heavy parkas and wool coats go on the rack; lighter puffer vests and fleece stay in the closet.
- Assemble the rack away from direct radiator or heating-vent blast — constant hot air dries out wool and leather over a season.
- Hang the heaviest coats on the outer ends of the bar, not the middle; it balances the load and keeps the rack from tipping when you yank one coat off in a hurry.
- Use the bottom shelf for a boot tray (see Idea 4) or a basket for hats and gloves so the rack becomes a mini winter station.
- Leave two inches between coats on the bar — cramming them shoulder-to-shoulder traps moisture and wrinkles the shoulders.
Approximate cost: $30–$70 for a sturdy single-bar rack.
4. Build a Drip Zone for Boots at the Tiniest Entryway

Winter’s dirtiest secret is what happens at your front door: slush, road salt, and meltwater pooling under boots and then — because rental entryways are famously tiny — migrating onto your floors, your rug, and eventually your bedroom. A dedicated drip zone is a low tray (or two) with raised edges that catches everything a pair of winter boots sheds. It’s the single cheapest way to protect both your floors and your security deposit.
Why it works for renters: salt stains and water damage on floors are exactly the kind of thing landlords photograph at move-out. A $20 tray prevents a $200 floor-repair argument. Everything is removable — lift the tray, wipe the floor, done. For entryways with literally no floor space, a narrow tray tucked against the wall still beats nothing, and you can stack a second tray vertically with a small boot rack on top.
Here’s how to do it:
- Measure your entryway’s usable floor strip — even 24 inches wide is enough for a two-boot tray.
- Choose a tray with at least a 1.5-inch lip; shallow cookie sheets overflow, and the whole point is containment.
- Place a washable low-pile mat under the tray to catch the drips that miss — machine-washable, because it will get gross.
- Assign each household member one side of the tray so boots rotate in and out instead of stacking into a wet mountain.
- Empty and wipe the tray weekly; standing salt water corrodes the tray itself and smells like a hockey bag by February.
Approximate cost: $15–$40 for a tray plus a washable mat.
5. Fold Sweaters — Never Hang Them — and Divide the Shelves
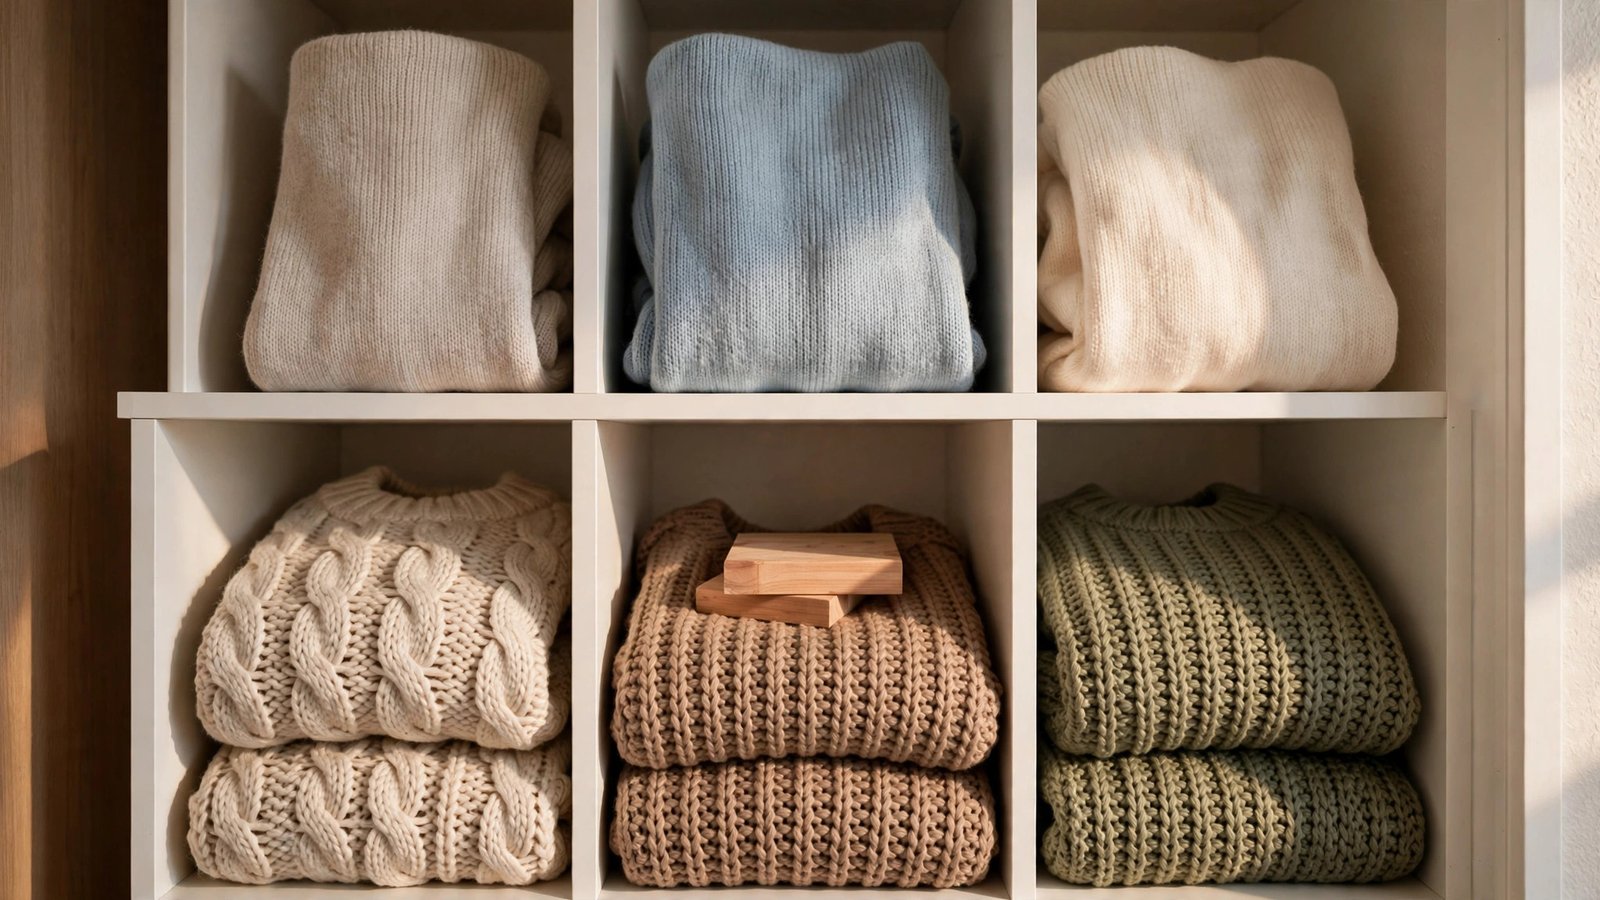
I’ve personally seen more ruined sweaters from bad hanging than from moths. A knit sweater on a standard hanger stretches at the shoulders within weeks, and those little pointed “hanger nipples” never fully come out. Winter means sweaters, which means your closet needs a folding system. Shelf dividers — the upright panels that clip or stand on a shelf — turn one tall shelf into neat cubbies so your stacks don’t lean, slide, and avalanche every time you pull the middle one.
Why it works for renters: dividers sit on the shelf — no screws, no adhesive, nothing to patch at move-out. They also multiply usable space: a divided shelf holds roughly twice as many folded sweaters as an undivided one because you can stack higher without collapse. This is pure renter math — more storage from the same square footage, zero deposit risk.
Here’s how to do it:
- Pull every sweater off its hanger and refold using the “file fold” (fold into a rectangle that stands upright like files in a drawer) so you can see each one.
- Sort by weight: chunky knits on the bottom shelf (they’re heavy and stable), fine-gauge knits and cashmere-blends up top.
- Stand dividers every 10–12 inches to create cubbies; one cubby per color family or per person in a shared closet.
- Put the two or three sweaters you wear weekly at eye level and the “holiday party” sparkle knits higher — accessibility follows frequency.
- Tuck a cedar ring or sachet into each cubby; wool and cashmere are moth magnets, and winter storage is long.
Approximate cost: $12–$30 for a set of shelf dividers; cedar rings about $8–$15 for a pack.
6. Double Your Rod Space with a Tension Rod — No Drilling Required
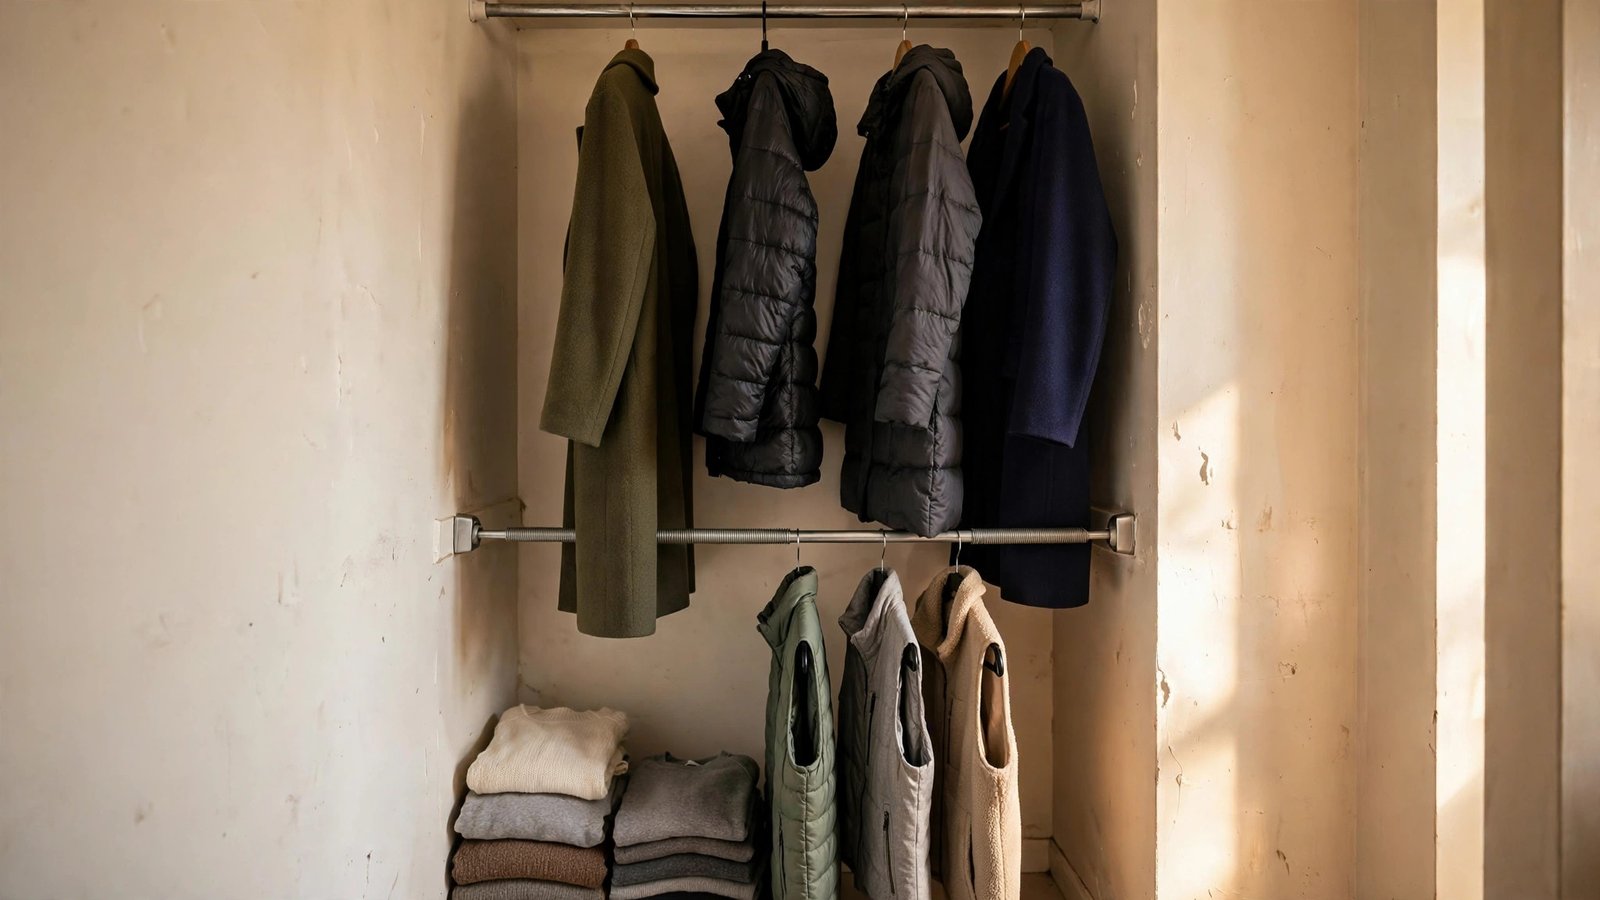
Heavy winter clothes are bulkier, which means the single rod your landlord provided suddenly isn’t enough. A tension rod — the spring-loaded kind that wedges between two walls with pressure alone — creates a second hanging tier inside a reach-in closet or even inside a wide doorway alcove. Hang shorter winter items (folded-over sweaters in a pinch, vests, scarves on hooks, tomorrow’s outfit) on the lower tier and keep long coats on the upper.
Why it works for renters: tension rods are the definition of reversible. Twist to install, twist to remove, and the only trace is a faint pressure mark that wipes off. No landlord permission needed, no patching, no spackle. Just check the weight rating — a rod rated for 20 pounds will sag under wet wool, so size up to one rated for 30+ pounds for winter duty.
Here’s how to do it:
- Measure the inside width of your closet at the height where you want the second rod; buy a tension rod that covers that range with room to spare.
- Install the lower rod at about 40 inches off the closet floor — high enough for folded garments to hang without pooling, low enough to reach.
- Twist until snug, then give it a firm downward tug test with your full hand weight before loading it with clothes.
- Load the lower tier with lighter items only — vests, scarves, tomorrow’s outfit, lighter jackets — and keep the heavy coats on the landlord’s original rod.
- In spring, twist it out and store it flat behind the dresser; it disappears completely for your lighter wardrobe.
Approximate cost: $15–$35 for a heavy-duty tension rod.
7. Create a Grab-and-Go Winter Accessories Station by the Door
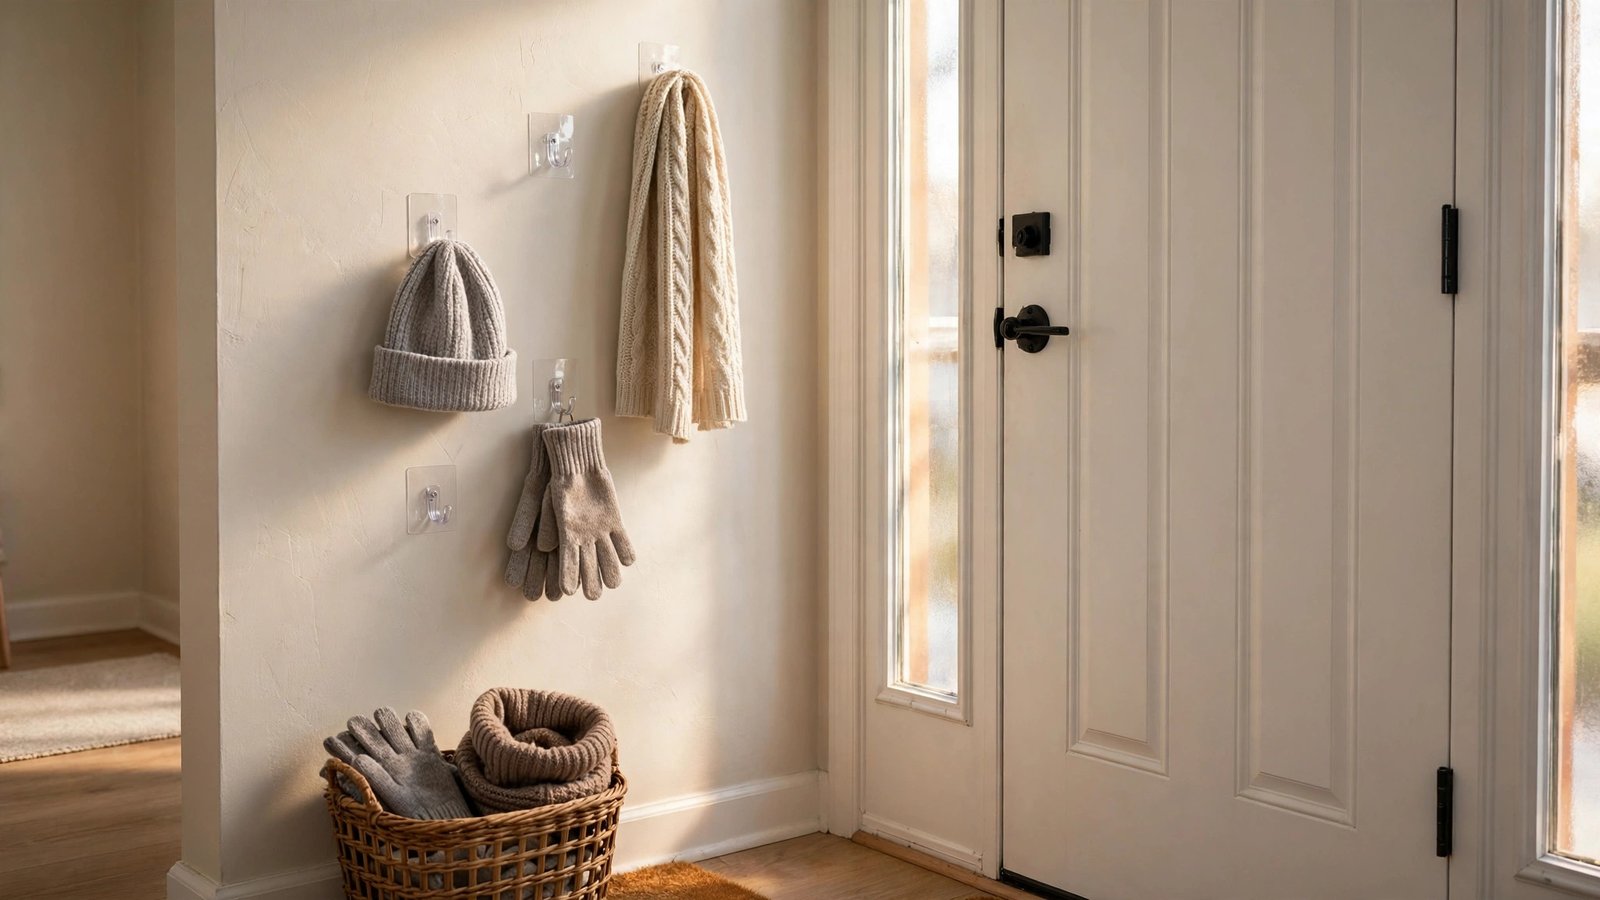
Scarves, gloves, hats, and earmuffs are small, but they’re the reason winter mornings feel chaotic — they’re always in a different place than you thought. A grab-and-go station near your front door corrals all of it: a few adhesive hooks on the wall or the back of the door, plus one basket or wall pocket per person. You see everything, you grab everything, you leave.
Why it works for renters: adhesive hooks rated for a few pounds hold winter accessories easily and peel off cleanly at move-out (warm them with a hair dryer for 30 seconds before pulling the tab). Nothing is drilled, nothing is permanent. For renters with zero wall space, an over-the-door hook panel does the same job. This station also ends the “where are my gloves” panic that makes everyone late in January.
Here’s how to do it:
- Pick the spot: the wall beside the door, the back of the door itself, or the side of a coat closet — within arm’s reach of where you put on boots.
- Stick up 3–5 adhesive hooks at staggered heights: scarves on the high hooks, hats and earmuffs in the middle, gloves lowest (kids’ reach if you have little ones).
- Add one basket, bin, or fabric wall pocket per person underneath for the overflow — spare gloves, neck warmers, the hat you only wear on the coldest days.
- Do a weekly 60-second reset every Sunday: unmatched gloves get paired, damp items get dried, anything migrated to the couch goes home.
- Keep one “emergency pair” of gloves in the basket at all times — the pair you grab when the good pair is inexplicably missing.
Approximate cost: $10–$25 for adhesive hooks plus a basket or wall pocket.
8. Set Up a Holiday and Event Outfit Capsule
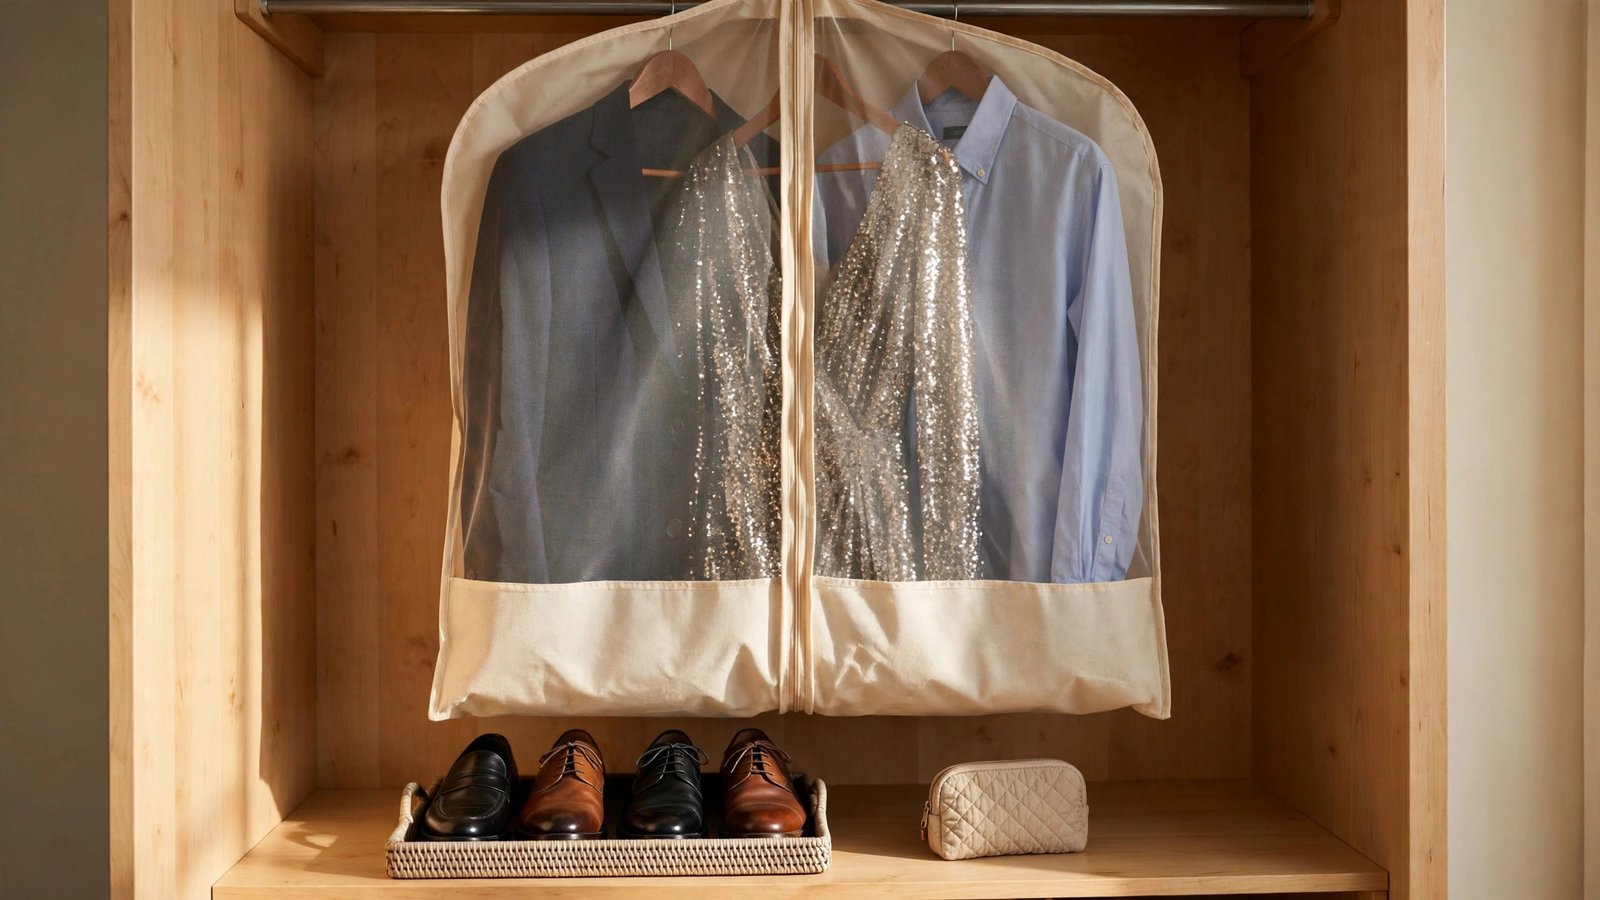
Winter isn’t just cold — it’s social. Holiday parties, office gatherings, New Year’s Eve, family dinners: the outfits for these live in an awkward middle ground, too dressy for daily rotation but needed often enough from November to January that burying them in deep storage is a mistake. A small “event capsule” — one section of the closet, or one end of the garment rack from Idea 3 — keeps them visible, wrinkle-free, and separate from your daily winter workhorses.
Why it works for renters: this is about zoning, not buying. You’re not adding storage; you’re assigning a visible, intentional home to clothes that otherwise get crushed behind parkas or forgotten in a guest-room pile. Keeping dress clothes out of the daily crush means fewer wrinkles, fewer last-minute steaming emergencies, and no panicked shopping for something you already own.
Here’s how to do it:
- Gather every holiday and event outfit — dresses, blazers, dress shirts, nice shoes — and hang them together in one zone, dressiest to least dressy.
- Cover the zone with a breathable garment bag or an old clean sheet draped over the rod; it keeps dust off during the weeks between events.
- Put the matching shoes directly below in a small tray or box so the whole outfit is grabbable as a unit.
- Add a tiny “event kit” beside it: a lint roller, a stain-removal pen, and safety pins in a zip pouch — winter parties and red wine are old enemies.
- When January ends, this zone becomes your first spring-transition area — the structure is already there, just swap the contents.
Approximate cost: $0–$20 (a garment bag and a lint roller if you don’t own them).
9. Protect Wool and Stored Gear from Moths and Moisture
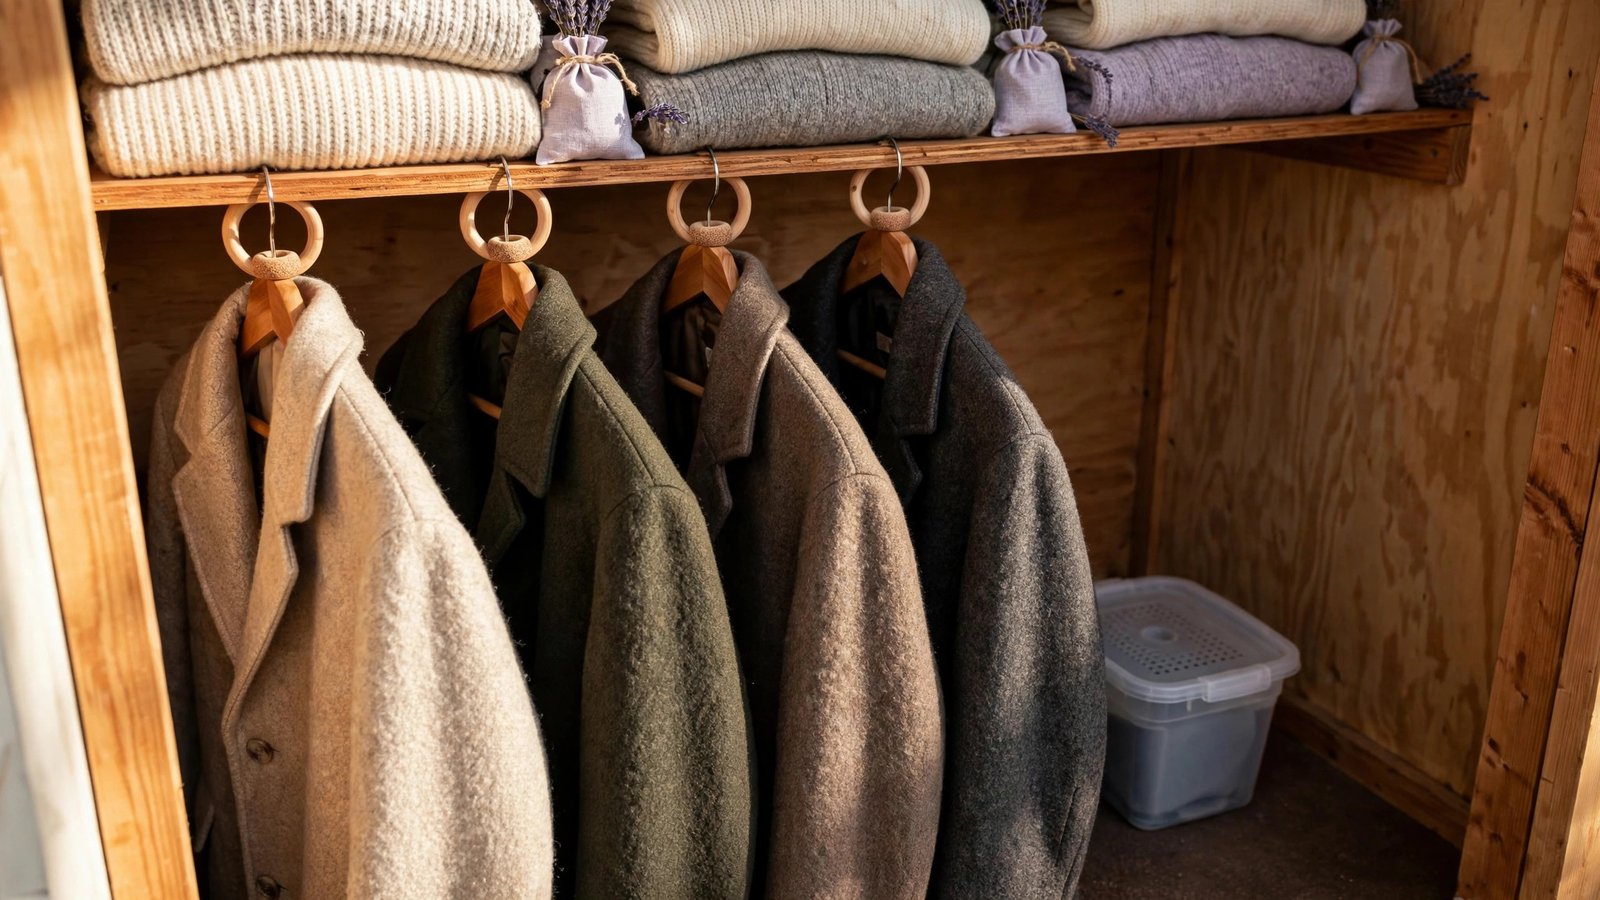
Winter wardrobes are full of exactly what moths love (wool, cashmere, down) and exactly what moisture ruins (leather boots, suede, stored fall layers). I’ve helped renters open spring bins to find tiny holes in a favorite sweater — a preventable loss that stings for months. A two-front defense takes ten minutes: cedar or lavender for the moths, moisture absorbers for the damp.
Why it works for renters: both defenses are non-toxic, removable, and cheap — no sprays, no mothballs (which smell like a grandmother’s attic and are miserable in small apartments), nothing that touches the walls or requires permission. Cedar rings slip onto hangers, sachets tuck into bins, and moisture-absorber tubs sit on closet floors and get tossed in spring.
Here’s how to do it:
- Before storing anything wool or cashmere, make sure it’s clean — moths are attracted to body oils and food traces more than to the fiber itself.
- Hang one cedar ring on every wool coat hanger and tuck a cedar block or lavender sachet into each folded-sweater cubby and storage bin.
- Place one small moisture-absorber tub on the closet floor and one inside each under-bed bin, especially if your apartment runs humid or your closet is on an exterior wall.
- Check absorbers monthly and replace when the crystals dissolve or the tub fills — usually once mid-winter.
- In March, air out the cedar in sunlight for an hour to refresh it; sand it lightly if the scent has faded, and it’s good for another season.
Approximate cost: $10–$25 total for cedar rings or blocks, sachets, and a few moisture absorbers.
10. Pre-Pack Your Spring Exit So March Takes One Hour
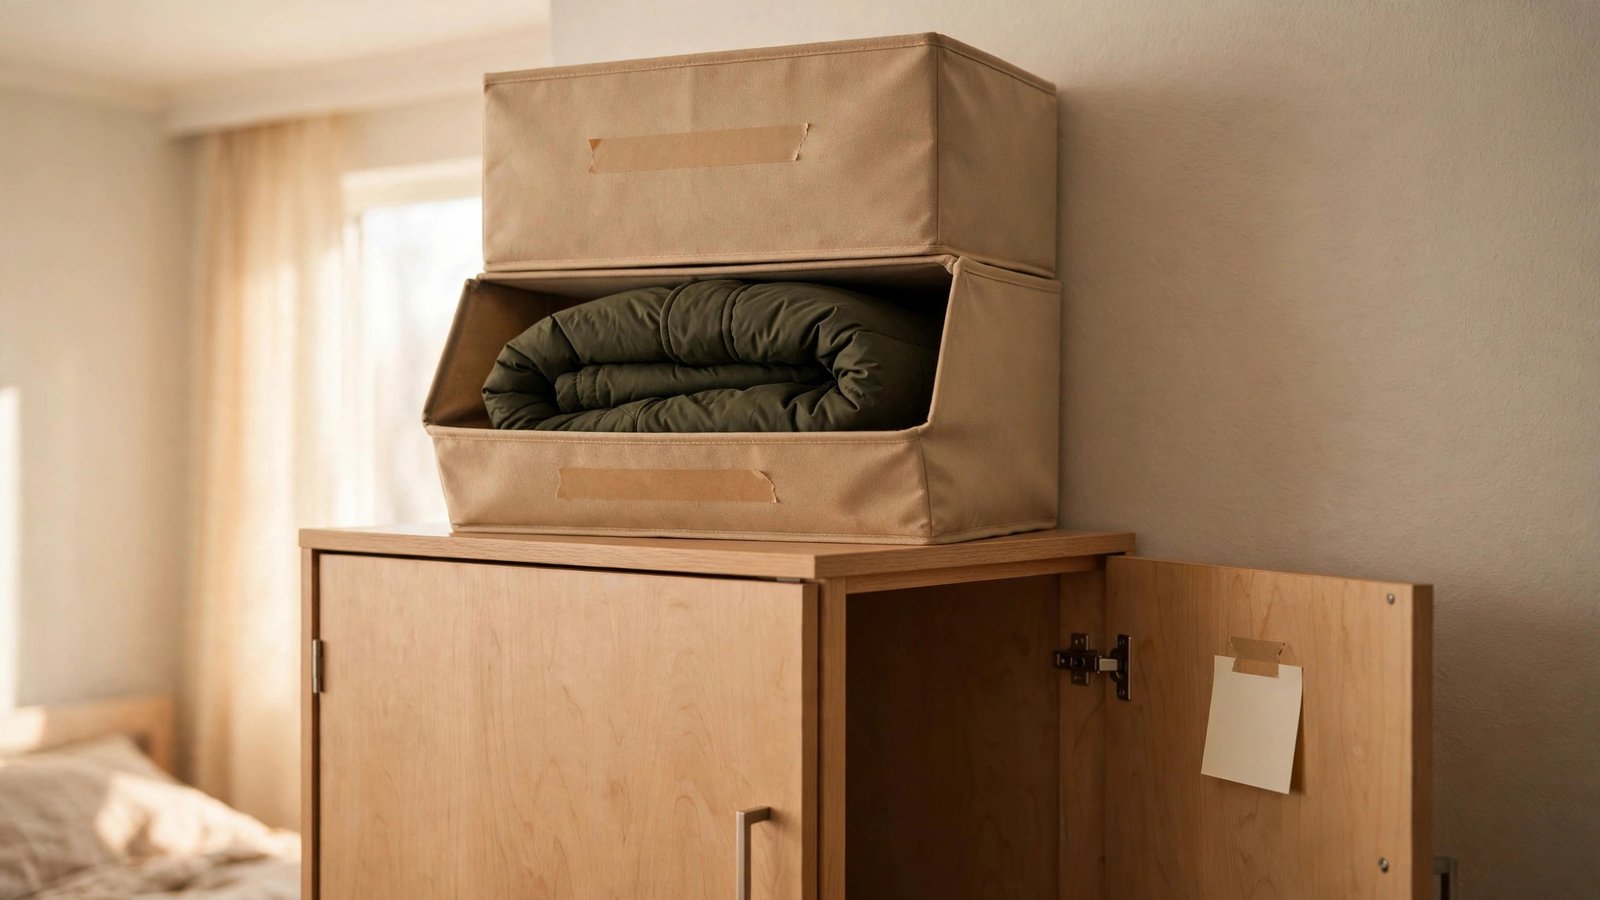
Here’s the practitioner secret nobody tells renters: the winter rotation isn’t finished until you’ve planned its undoing. While everything is fresh in your mind, pre-pack the spring swap. Label one set of bins “WINTER EXIT,” note on the label what’s inside in plain words, and leave yourself a one-line instruction taped inside the closet door. Future you — tired, busy, and suddenly facing 60-degree weather in March — will be enormously grateful.
Why it works for renters: spring arrives fast and closets don’t swap themselves. Renters who pre-plan the exit avoid the classic March chaos of winter coats still hogging the rod while spring jackets pile on the bed for three weeks. It also protects your deposit-adjacent sanity: an orderly swap means no frantic cramming, no broken tension rods, no mystery bins shoved in a hallway.
Here’s how to do it:
- As you finish the rotation, set aside two empty bins or bags and label them “WINTER EXIT — heavy coats” and “WINTER EXIT — boots & accessories.”
- Write a one-line cheat sheet on painter’s tape inside the closet door: “March: coats → WINTER EXIT bins, fall bins → closet, tension rod out.” That’s the whole plan.
- Vacuum-seal or tightly roll the bulkiest winter items (puffer coats compress beautifully) so the exit bins actually close.
- Photograph your finished winter closet setup with your phone — in March, the photo reminds you where the fall bins go back.
- Store the WINTER EXIT bins somewhere accessible but out of the way — top of the closet, not buried behind holiday decorations.
Approximate cost: $0–$15 (painter’s tape, a marker, and vacuum bags if you want them).
Conclusion
A winter closet rotation isn’t really about winter — it’s about taking control of the smallest, most hardworking storage space in your rental and making it serve the season you’re actually living in. You pulled the fall layers out instead of burying them, gave your heavy coats a rack of their own, built a drip zone that protects your floors and your deposit, folded your sweaters the way they deserve, doubled your rod without a single drill hole, stationed your gloves where your hands can find them, zoned your holiday outfits, defended your wool from moths and moisture, and — the move that separates the pros from the rest — pre-packed your spring exit before you needed it.
None of it required landlord permission. All of it comes out clean when you move. And every January morning from here on starts the same way: coat within reach, boots dry-ish and waiting, gloves exactly where you left them. That’s not just organization — that’s winter on your terms, in a rental that finally feels like it was designed for the way you live.
Please save this visual guide on Pinterest and follow along for more renter-friendly closet ideas — your future self, standing in a calm closet on a freezing morning, will be glad you did.

Amelia leads HavenlyStyle’s editorial vision with a passion for elegant interiors and practical home living. With years of experience in home décor and lifestyle content, she ensures every article is accurate, inspiring, and easy to follow. From timeless decorating ideas to the latest interior design trends, Amelia is committed to helping readers create beautiful, functional spaces while maintaining HavenlyStyle’s trusted and welcoming voice.