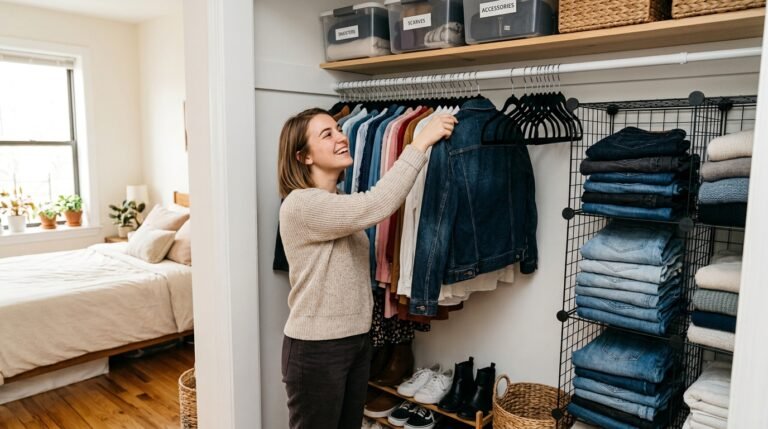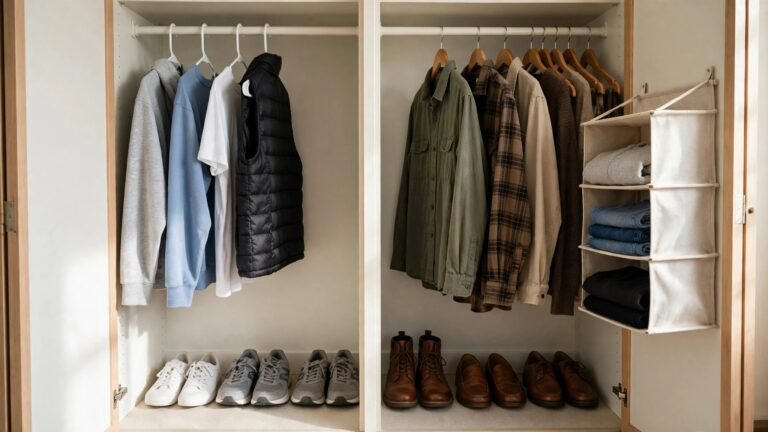
Moving day has a way of exposing every shortcut in your closet. One minute you are pulling a jacket off a hook, and the next you are staring at a tangled pile of hangers, a shoe that lost its mate somewhere between the bedroom and the front door, and a dress you forgot you owned. I have helped dozens of renters pack up apartments, studios, and rental houses, and I have noticed the same pattern again and again: the closet is the last room people pack, so it gets the least planning and the most panic.
That panic costs renters in two very specific ways. First, clothes arrive wrinkled, stretched, or stained, and the first week in the new place turns into an ironing marathon instead of a fresh start. Second, the old closet gets left dirty or damaged — scuffed rods, adhesive residue on the walls, dust in the corners — and that is exactly the kind of thing that can eat into a security deposit. A good closet pack-down solves both problems at once. It protects your clothes in transit, it leaves the old closet clean and undamaged, and it sets up a fast, calm unpack in the new place.
The twelve ideas below are ordered by impact, starting with the moves that save you the most time and stress. Every one of them passes the renter test: it is removable, reversible, or clearly flagged when it needs a landlord conversation first. You do not need fancy equipment or a big budget, just a plan, a few basic supplies, and an afternoon to do it right.
Executive Summary
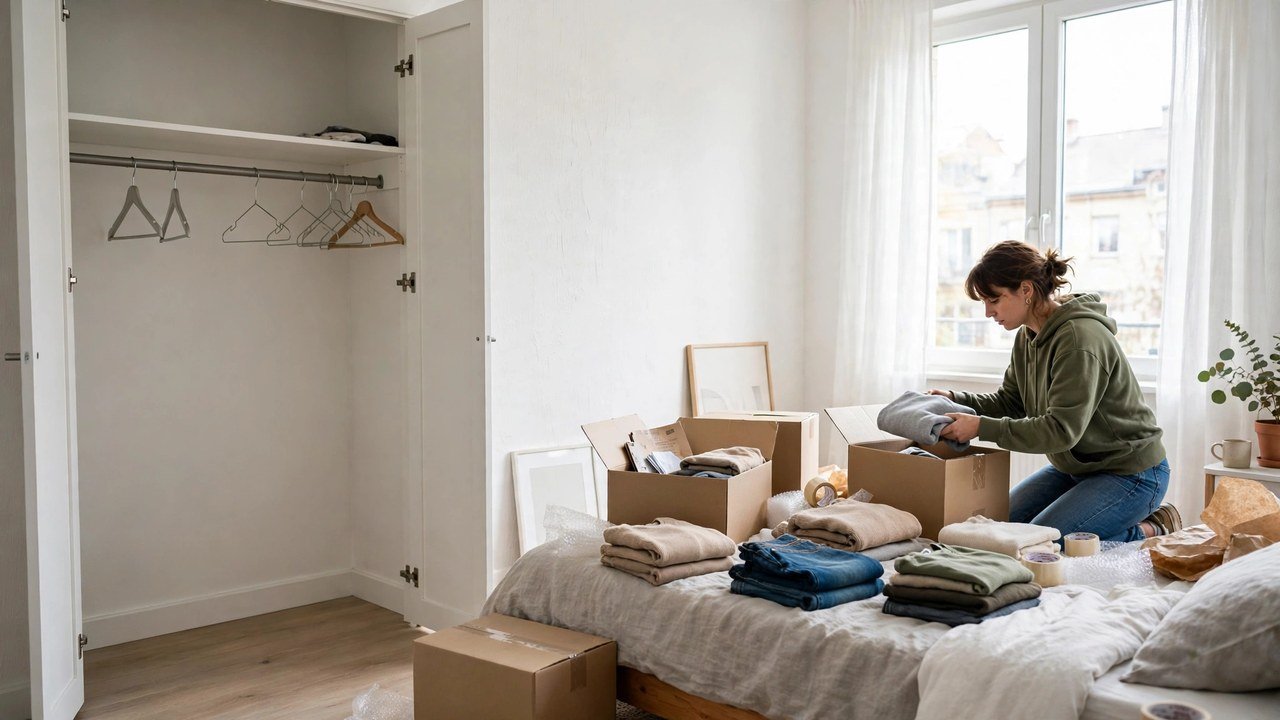
- Photograph your closet before you pack anything, so you have a record of its condition and a map for rebuilding it.
- Pack hanging clothes still on their hangers in garment bags or wardrobe boxes, so they arrive ready to hang with almost no wrinkles.
- Sort as you pack into clear zones — keep, donate, first-night, and seasonal — instead of moving clutter you no longer want.
- Label every box and bag by closet zone and destination, so unpacking takes hours, not days.
- Remove every no-drill hook, rod, and organizer carefully, patch nothing you should not, and leave the closet cleaner than you found it.
- Pack one first-night closet kit separately, so your first morning in the new place feels normal, not frantic.
1. Photograph Your Closet Before You Touch a Single Hanger
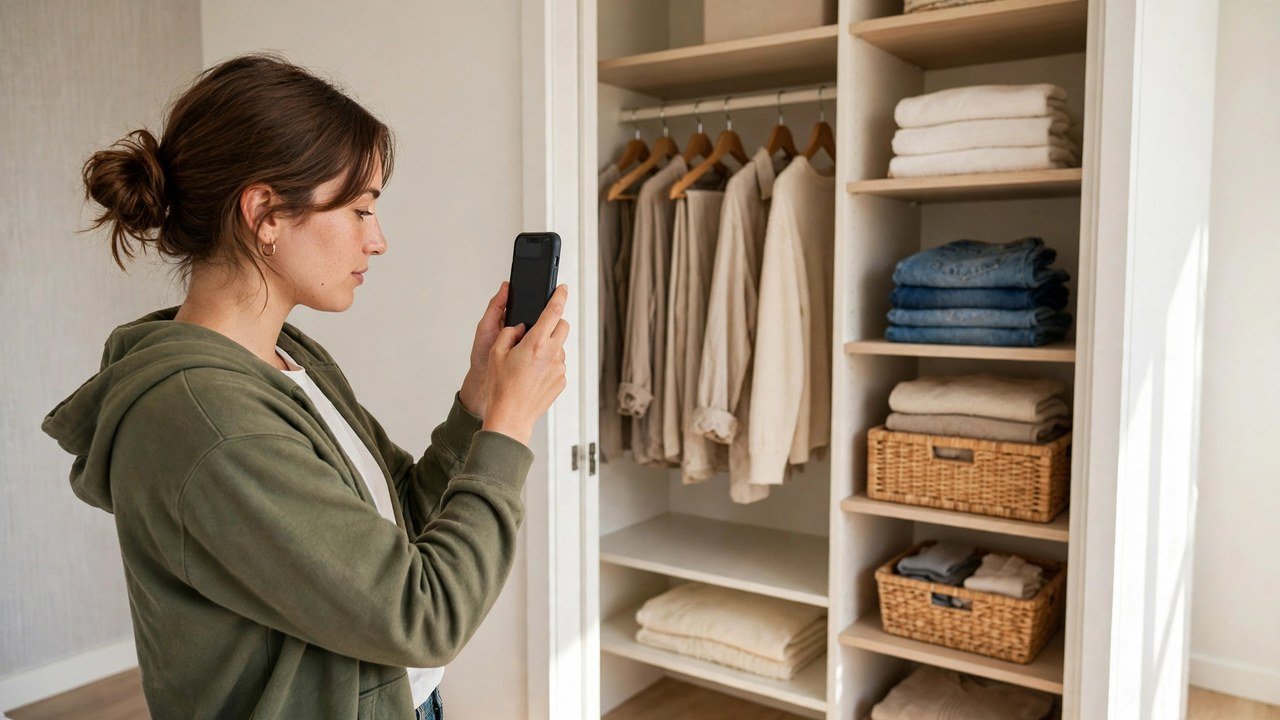
Before you pull anything down, take clear photos of your closet exactly as it is: the full view with the doors open, close-ups of each wall, the rod and shelf brackets, the floor, and any existing marks or scuffs. I have personally seen this one habit save renters real arguments, because it creates a simple, dated record of the condition you are handing back.
This works for renters because your deposit depends on condition, not memory. If a scuff was already there when you moved in, a photo proves it. If a hook left a faint mark, you will know exactly where to clean it later. It also gives you a rebuilding map: when you stand in your new closet, you can see what arrangement actually worked instead of guessing.
- Open the closet doors fully and photograph the whole space in daylight, top to bottom.
- Photograph each wall, the rod ends, shelf edges, and the floor separately, getting close enough to show marks clearly.
- Photograph the inside of the doors and any hardware you installed, like hooks or rods.
- Save the photos in a folder labeled with your old address and the move date, and email a copy to yourself so they are not lost with a phone.
Approximate cost: $0, using the phone you already own.
2. Edit First, Pack Second: Sort Into Keep, Donate, and First-Night Piles
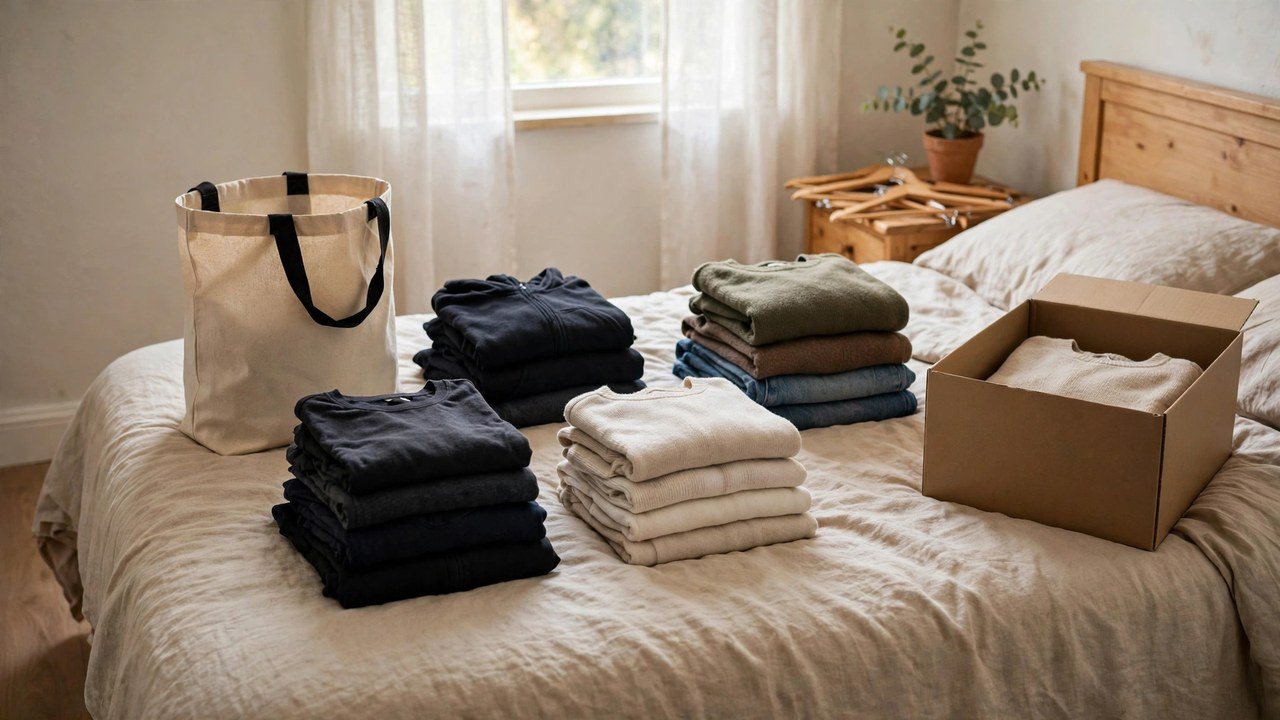
The fastest way to make moving day easier is to move less stuff. I have helped dozens of renters who packed everything, moved it, and then donated half of it from the new apartment — doing the same work twice. Sorting before you pack means fewer boxes, lower moving costs, and a new closet that starts organized instead of overstuffed.
This is especially powerful for renters because closet space in a new place is often smaller, not bigger. Editing now prevents the dreaded first-week pile on the new bedroom floor, where unpacked clothes live for a month because there was never a plan for them.
- Pull everything out in sections — one rod section or one shelf at a time — so the room stays workable.
- Make three clear piles or bags: keep, donate, and first-night (clothes you will need in the first two days).
- Ask one honest question per item: have I worn this in the last year, and does it fit my life now? If the answer is no twice, it goes in donate.
- Bag donations immediately and set them by the door, so they leave before moving day and never get re-packed by accident.
- Keep the first-night pile separate and visible; it becomes the kit in Idea 6.
Approximate cost: $0 to $10 for donation bags.
3. Move Hanging Clothes on Their Hangers in Garment Bags
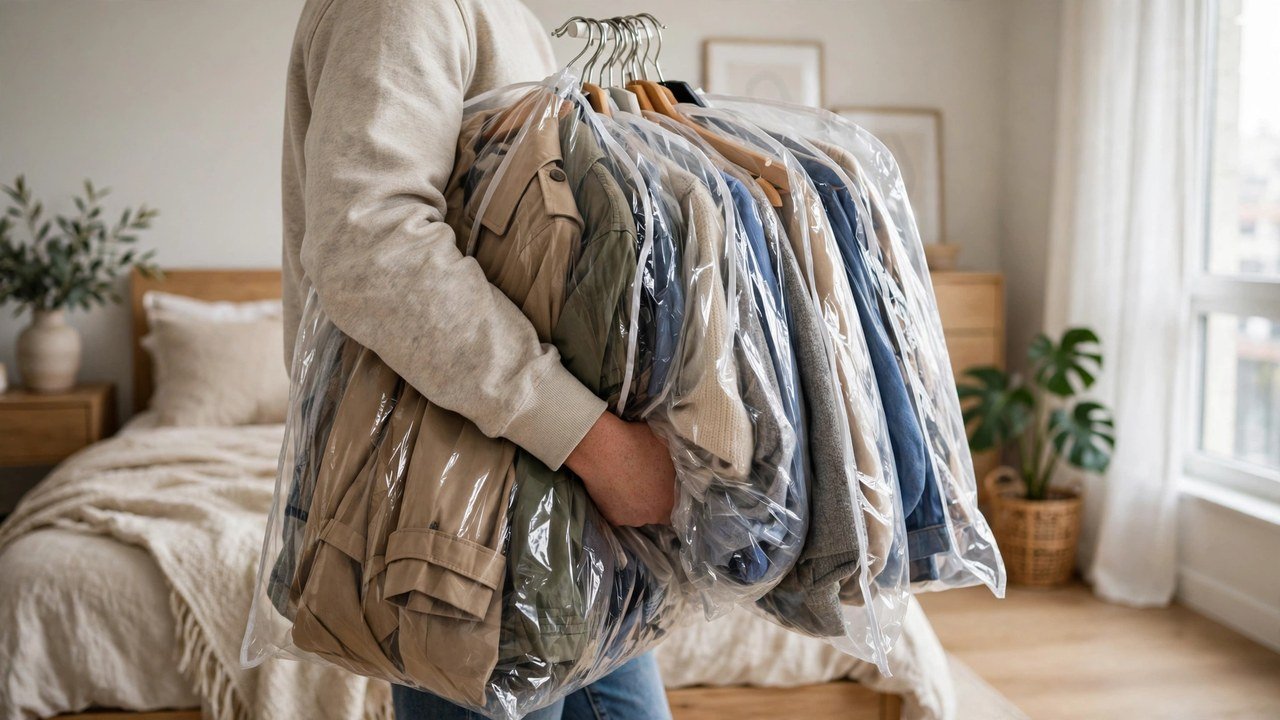
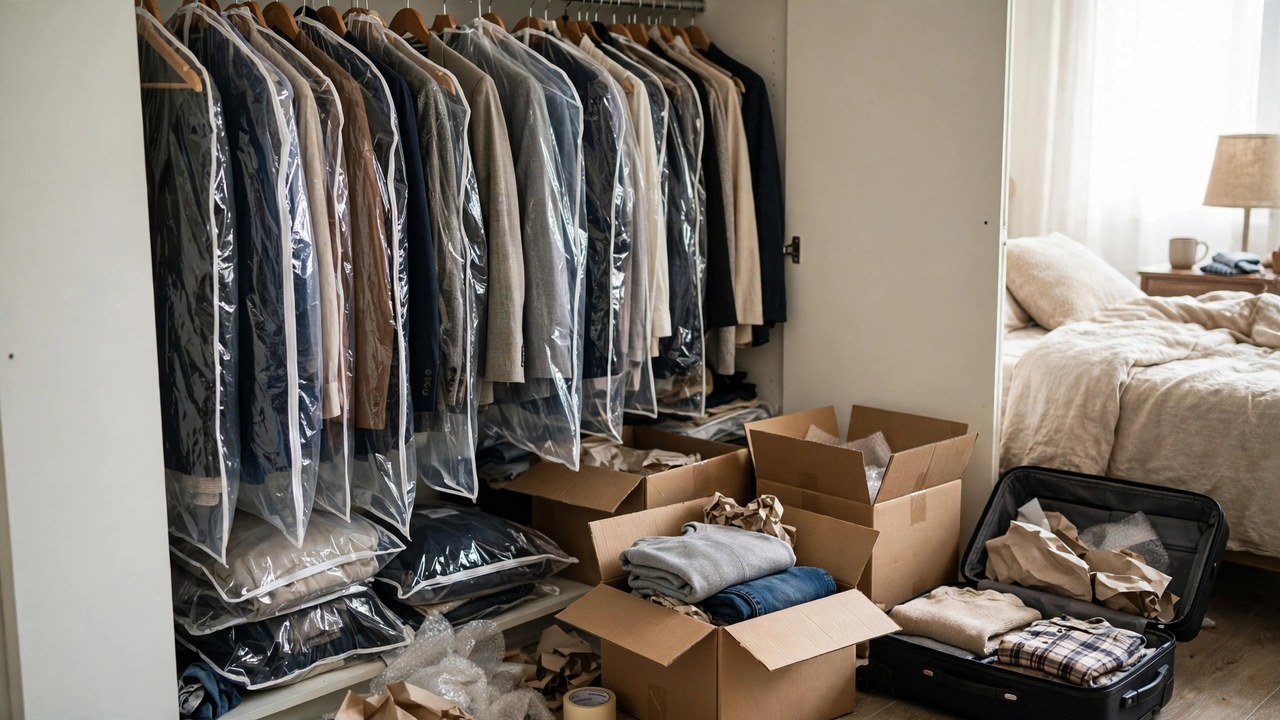
This is the single biggest wrinkle-saver I know. Instead of taking every shirt off its hanger, folding it, and then re-hanging it later, you bundle groups of hangers together, slip a garment bag over the whole group, and carry the bundle straight to the car or the moving truck. Your clothes stay in the same order they were in, and they arrive ready to hang.
For renters, this matters twice over. You are usually unpacking without a lot of spare time — work starts Monday, the boxes are everywhere — and clothes that arrive hanging can be put away in minutes. It also protects structured pieces like blazers, coats, and dresses, which lose their shape fastest when folded into a box.
- Group hangers in bundles of five to eight, keeping similar items together, such as work shirts or dresses.
- Loop a rubber band or a strip of fabric around the bundle of hooks so the hangers stay together in transit.
- Slip a garment bag over each bundle from the top down, and tie or zip the bottom loosely around the bundle.
- Lay bundles flat in the car trunk or across the back seat, or hang them from a hook or rod in the moving truck if one is available.
- At the new place, hang each bundle directly on the new rod before you open any boxes — your closet is half done in ten minutes.
Approximate cost: $10 to $30 for a set of garment bags, or $0 if you reuse dry-cleaner bags and tape the bottoms closed.
4. Roll, Do Not Fold, Your Folded Clothes Into Suitcases
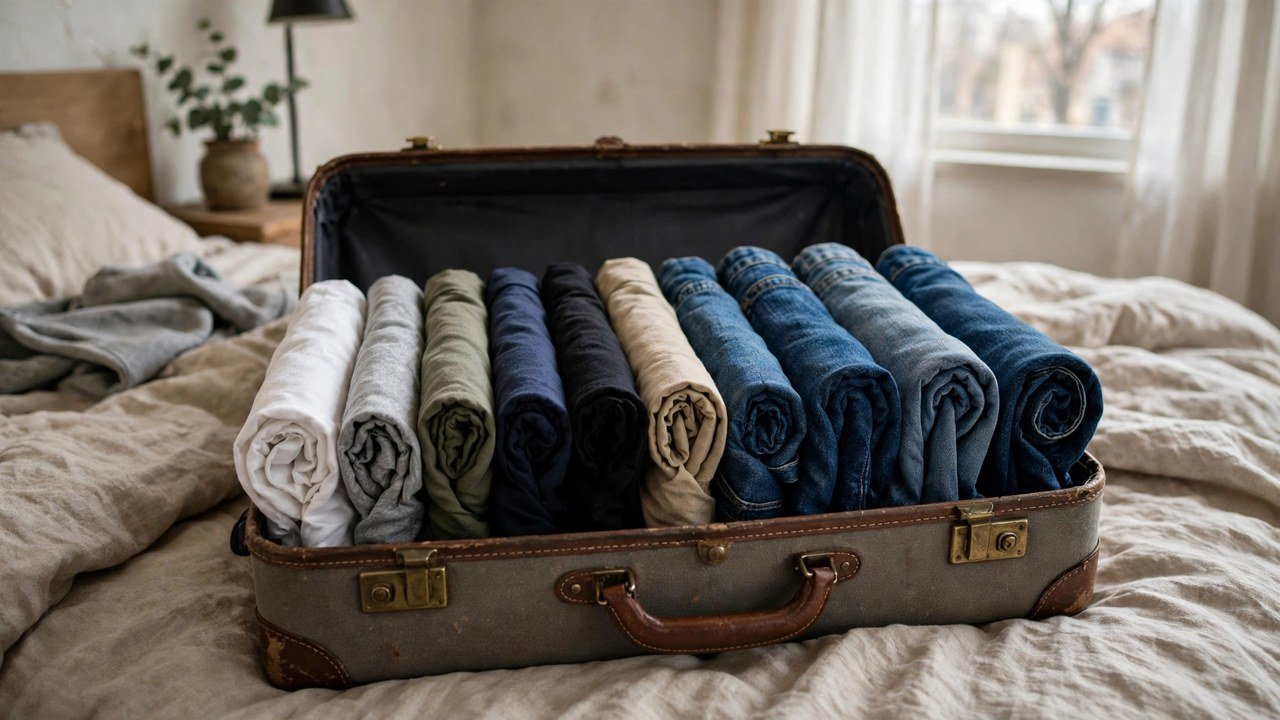
For everything that lives folded — T-shirts, jeans, sweaters, lounge clothes — rolling beats folding for a move. Rolled clothes take up less space, they wrinkle less than flat-folded stacks, and you can see every item in a suitcase at a glance instead of digging through layers.
Renters benefit because suitcases are free packing containers you already own, and they have handles and wheels for the stairs and hallways that apartment moves always seem to involve. Rolling also keeps drawers and shelves in their original order: roll one shelf section at a time, and you can unroll it in the same order on the other end.
- Empty one shelf or drawer section at a time, keeping categories together.
- Lay each item flat, fold the sleeves or sides in, and roll firmly from the bottom up.
- Pack rolls side by side in a suitcase or sturdy bag, standing them upright like files so you can see each one.
- Put heavier rolls, like jeans and sweaters, at the bottom of the suitcase and lighter ones on top.
- Tuck socks and small accessories into the gaps between rolls, so nothing rattles loose in transit.
Approximate cost: $0 if you use suitcases you own; $15 to $40 for an extra duffel if you need one.
5. Label Every Box and Bag by Closet Zone, Not Just “Clothes”

A box labeled “clothes” is a mystery box. A box labeled “Closet — Work Shirts — Hang First” is a set of instructions. I have personally seen renters lose an entire evening opening six identical boxes to find one pair of work pants, and that evening is completely avoidable with a labeling system that takes five extra minutes per box.
Labeling by zone works for renters because move-in days are chaotic, and you will probably unpack the closet in short bursts between other rooms. Clear labels let you grab exactly the zone you need — work clothes before a Monday meeting, workout clothes before a morning run — without tearing the whole system apart.
- Decide on your zones before you start packing: for example, work, everyday, outerwear, shoes, accessories, and seasonal.
- Write the zone, the destination room, and a one-line instruction on each box, such as “Closet — Everyday — Fold to Shelf.”
- Add a star or a colored tape strip to the boxes you need first, so they are easy to spot in a stack.
- Number your closet boxes in packing order and keep a quick list on your phone of what is in each number.
- Tape the label on two sides of each box, not just the top, so it stays visible when boxes are stacked.
Approximate cost: $5 to $15 for a marker, tape, and labels.
6. Pack a First-Night Closet Kit and Carry It Yourself
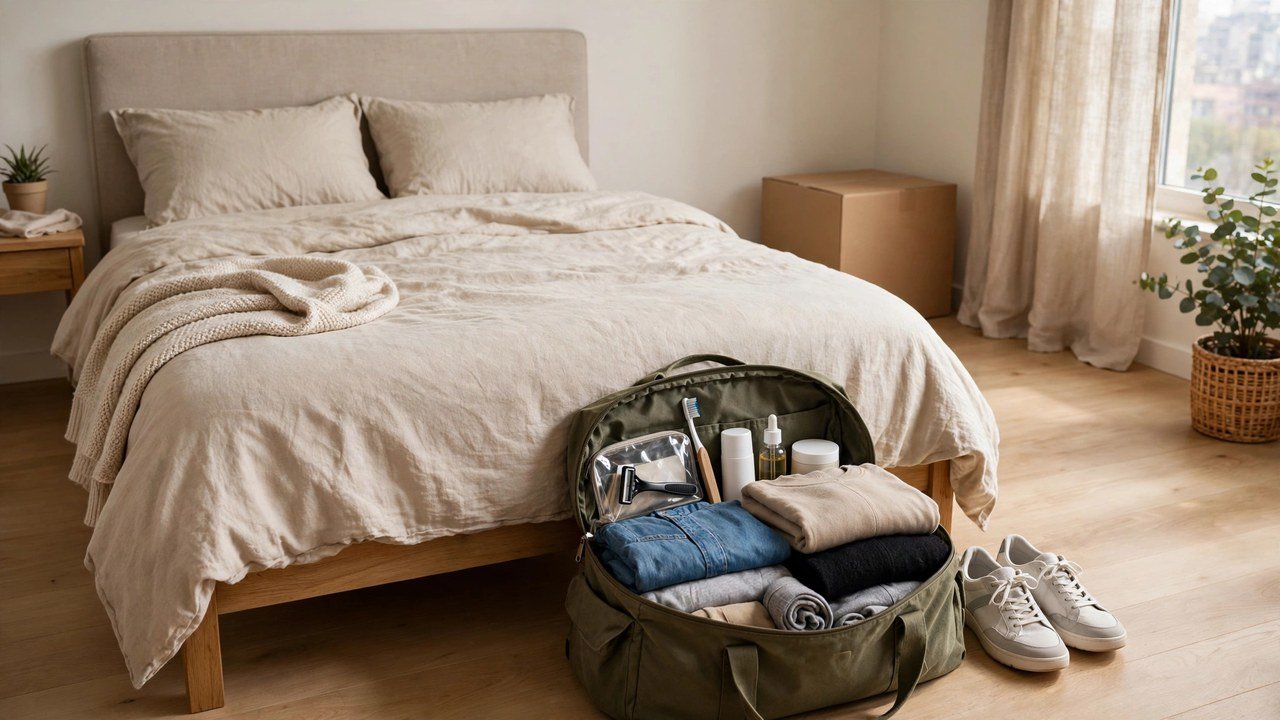
Your first-night closet kit is the bag you keep with you, not in the moving truck. It holds everything you need to get dressed, sleep comfortably, and look presentable for the next two days, even if the rest of your closet is still in boxes. I recommend this to every renter I help, because the first morning in a new place is hard enough without hunting for a clean shirt.
This is a renter essential because moving trucks run late, elevators get booked, and unpacking rarely goes to plan. The kit means a delayed truck is an inconvenience, not a crisis, and you can go to work or meet your new neighbors looking like yourself.
- Choose outfits for two full days, including work or errand clothes, sleepwear, and a change of underwear and socks.
- Add toiletries you use every morning, any daily medication in its original container, and your phone charger.
- Include one pair of everyday shoes, a light jacket or sweater, and any jewelry or accessories you wear daily.
- Pack the kit in a bag you can carry yourself — a backpack, a small suitcase, or a tote — and keep it in your car, not the truck.
- Put a hanger or two in the kit as well, so you can hang the next day's outfit on a door hook on night one.
Approximate cost: $0, using a bag you already own.
7. Remove No-Drill Hardware Without a Trace
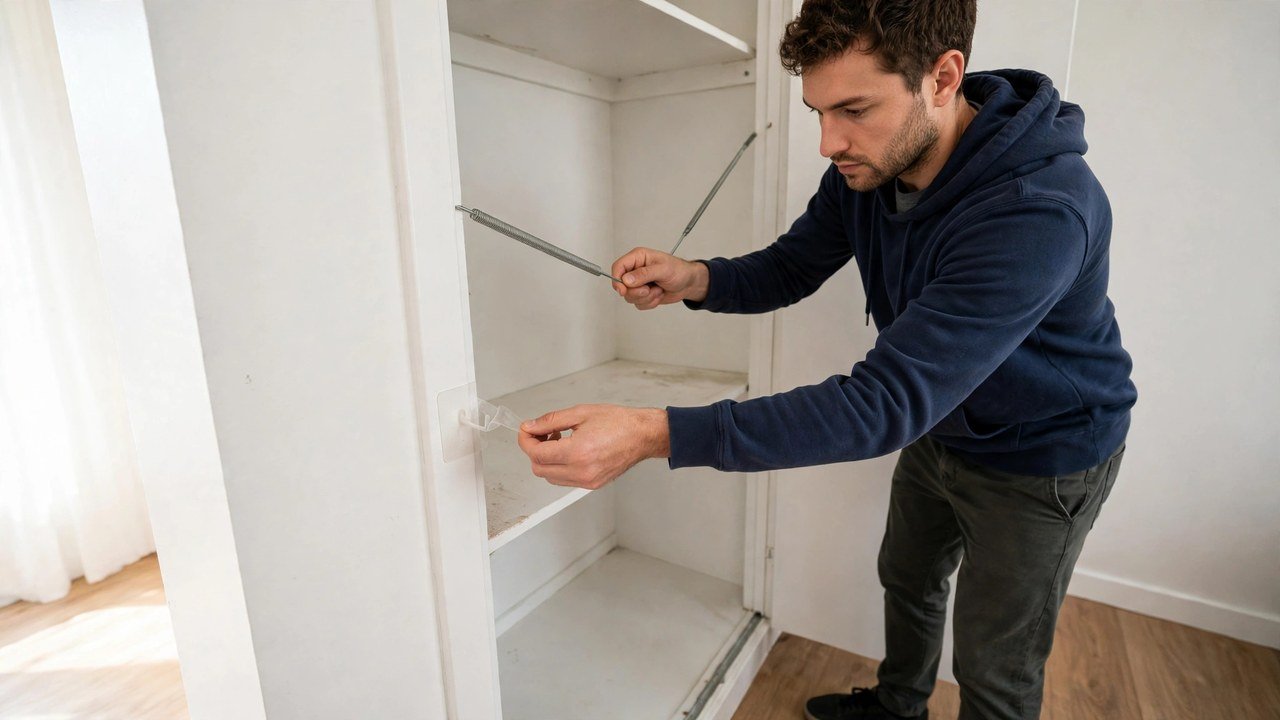
Tension rods, over-the-door hooks, adhesive hooks, and freestanding organizers are renter favorites precisely because they do not drill into walls. They still need a careful removal, though. Yanked adhesive can peel paint, a tension rod released too fast can dent a wall, and a forgotten hook can cost you at a move-out inspection.
The renter test here is simple: everything you installed should come out cleanly, leaving the closet in the same condition you found it. Doing this slowly, with the right technique for each type, protects your deposit and your relationship with your landlord, and it lets you reuse the hardware in the new place.
- For adhesive hooks, warm the strip gently with a hair dryer on low, then pull the tab slowly straight down along the wall, never outward.
- For tension rods, twist to release the pressure gradually, and hold both ends so the rod does not spring against the wall.
- For over-the-door hooks, lift them straight off and check the door edge and frame for scuffs.
- Wipe every spot where hardware sat with a damp cloth, and compare it against your move-in photos from Idea 1.
- Bag all hardware, screws, and brackets together, labeled with what they belong to, so you can reinstall them without a hardware-store trip.
Approximate cost: $0 to $10 for a damp cloth, a hair dryer you own, and a small bag or box. Flag for landlord permission: only if you installed anything with screws or anchors — in that case, ask before removing or filling, and follow your lease.
8. Protect Shoes With Stuffing, Pairing, and Separation
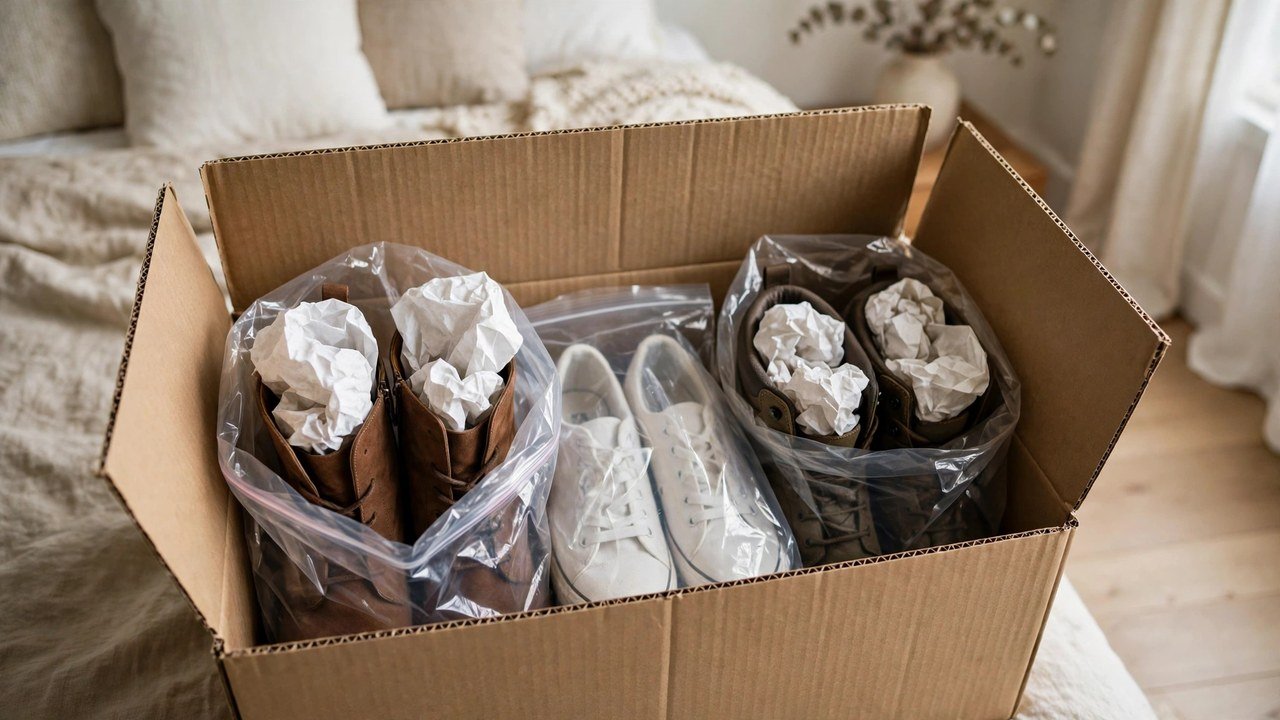
Shoes are the closet items most likely to arrive scuffed, squashed, or single. A boot that loses its shape, a suede shoe that rubs against a heel, or a pair separated in two boxes can turn a simple unpack into a frustrating search. Packing shoes deliberately keeps them wearable and keeps dirt and scuffs off your clothes.
For renters, this also matters for the old closet floor. Shoes dragged across a closet floor on moving day can leave marks, and loose shoes in a moving box can leak dirt onto clean clothes. A little separation now saves cleaning later on both ends of the move.
- Pair every shoe together with a rubber band, a sock, or a small bag, so pairs cannot separate in transit.
- Stuff boots and structured shoes lightly with tissue paper, old T-shirts, or packing paper so they hold their shape.
- Place each pair in its own bag, shoe bag, or plastic bag, to keep dirt and color transfer off clothes.
- Pack shoes in a dedicated box, with heavier boots at the bottom and lighter shoes on top.
- Set that box by the door on moving day, so shoes are the last closet item out and the first easy item to place in the new closet.
Approximate cost: $5 to $20 for shoe bags or plastic bags and packing paper.
9. Use Vacuum Bags for Bulky Seasonal Clothes, With Care
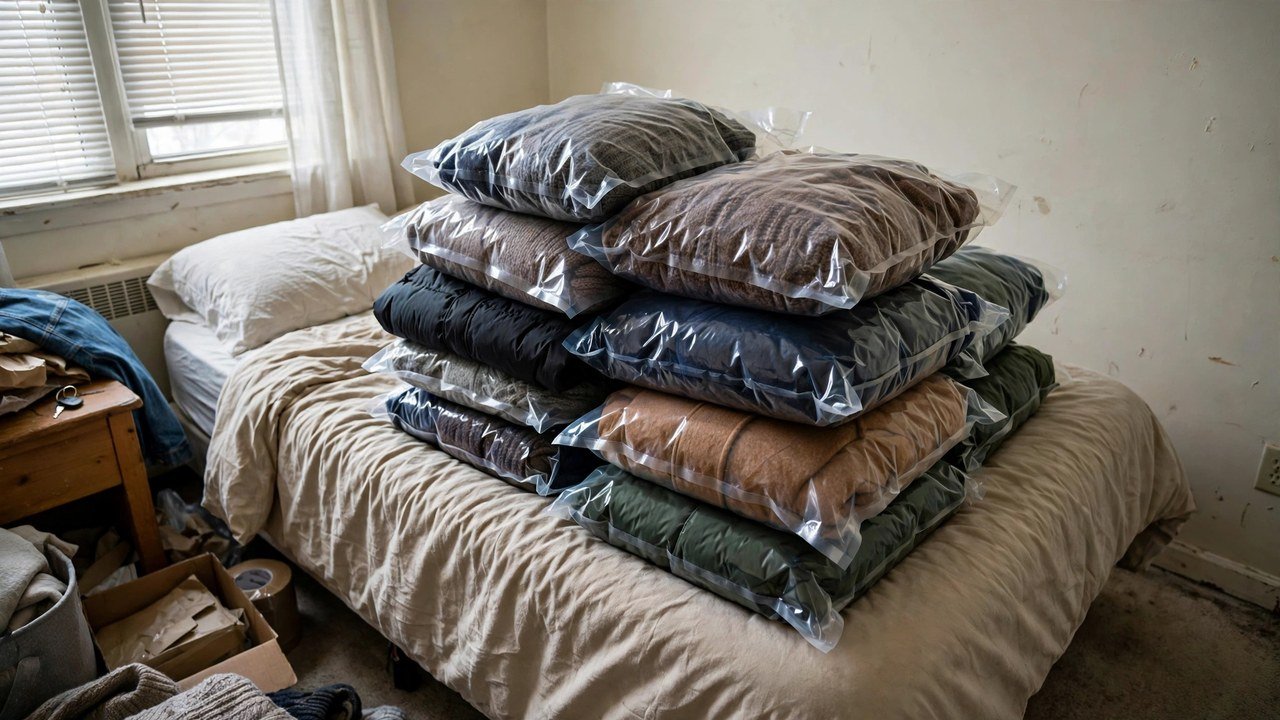
Vacuum-sealed bags are a gift for bulky seasonal items: winter coats, heavy sweaters, and thick blankets can shrink to a fraction of their size, freeing up real space in a car or a moving truck. I have helped renters fit an entire winter wardrobe into two bags this way, and it changes how much room a move actually needs.
Use them carefully, though. Vacuum bags are best for sturdy, washable items, not for leather, structured coats, or anything you will need in the first week. Over-compressing delicate fabrics for weeks can leave creases that are hard to remove, and a bag that loses its seal mid-move can puff back up and waste the space you saved.
- Sort out bulky seasonal items you will not need for at least a month, and wash or air them first.
- Fold each item neatly, place it in the bag without overfilling, and seal the zip closure completely.
- Vacuum the air out slowly, stopping when the bag is firm but not rock-hard, so seams are not stressed.
- Label the bag clearly with its contents and season, such as “Winter — Heavy Sweaters.”
- Pack sealed bags flat in a suitcase or on top of boxes, where they will not be punctured by sharp box edges.
Approximate cost: $10 to $25 for a pack of vacuum bags.
10. Clean the Empty Closet Like a Move-Out Inspection
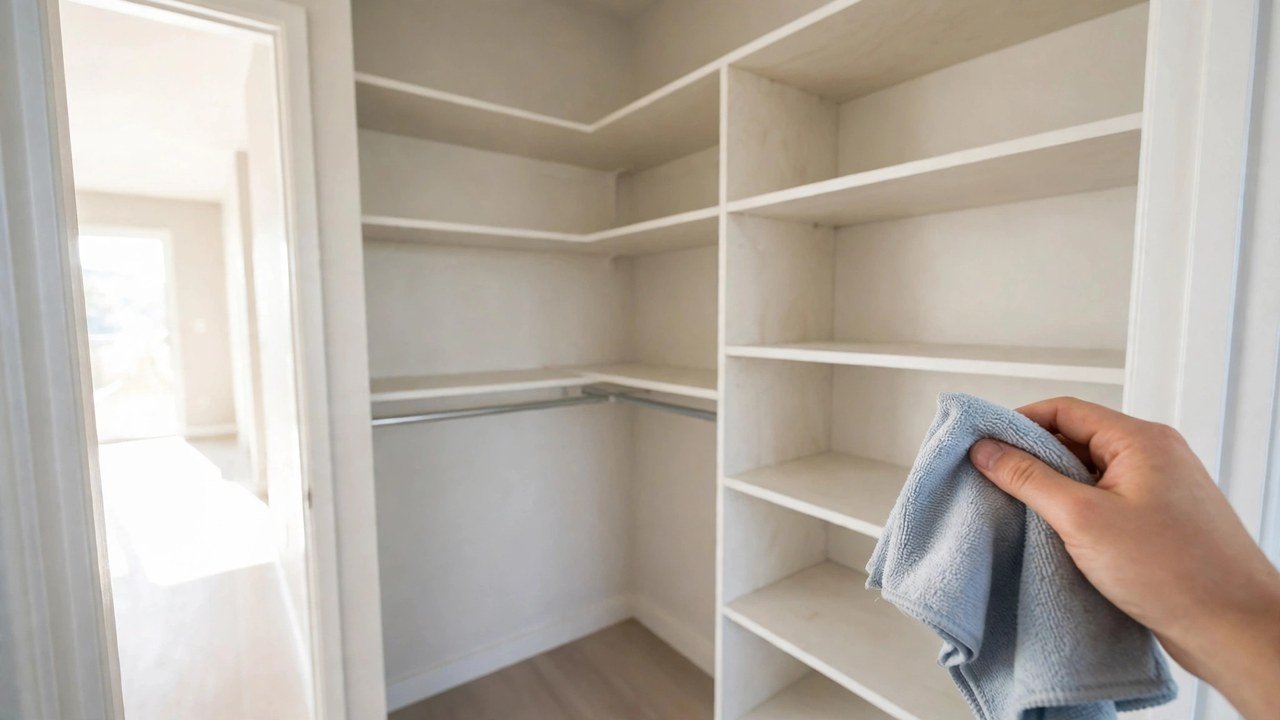
Once the closet is empty, it is your chance to hand it back in great shape. Dust on shelves, scuffs on the floor, and forgotten items in corners are the small things inspectors notice, and they are also the easiest things to fix when the space is clear. I always tell renters to treat the empty closet as its own small cleaning job, not an afterthought.
This idea directly protects your deposit. A clean, empty closet photographs beautifully, it matches the condition in your move-in photos, and it leaves no reason for a cleaning deduction tied to that space. It also gives you a calm, clear ending to the old apartment, which matters more than people expect on a stressful day.
- Remove every last item, including things tucked on high shelves, in corners, and behind doors.
- Wipe shelves, rods, and walls with a damp cloth, working top to bottom so dust falls to the floor.
- Vacuum or sweep the floor, paying attention to corners and the track under sliding doors.
- Check for scuffs or marks, clean what you can with a damp cloth, and photograph the finished empty closet.
- Do a final sweep with a flashlight or your phone light, checking high shelves and dark corners for forgotten items.
Approximate cost: $0 to $15 for cleaning cloths and a basic all-purpose cleaner you already use. Flag for landlord permission: do not fill nail holes, repaint, or patch walls unless your lease allows it or your landlord has agreed — cleaning is safe, repairs need a conversation first.
11. Bundle Hangers Together So They Survive the Move
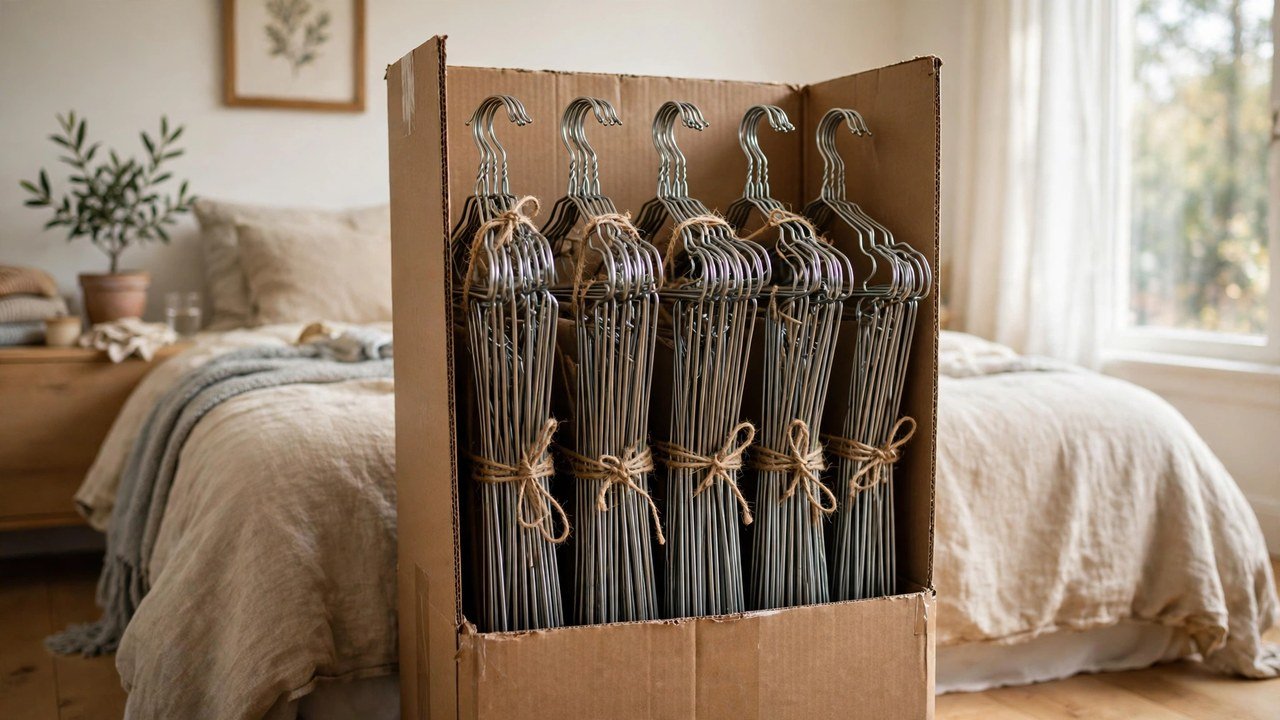
Empty hangers are surprisingly awkward to move: they tangle, they snap, and they poke through bags. Bundling them turns a mess into a neat, portable package, and it means you can set up the new closet immediately instead of buying a fresh set of hangers on your first night.
Renters move more often than homeowners on average, so reusable hangers are worth protecting. A good bundle survives several moves, and it keeps your hanging system consistent from one closet to the next, which makes unpacking feel familiar instead of starting from scratch.
- Sort hangers by type — wooden, velvet, plastic, clips — and bundle like with like.
- Bundle ten to fifteen hangers at a time, aligning the hooks in the same direction.
- Wrap a rubber band, a strip of fabric, or a zip tie around each bundle, and cover the hooks with a small cloth or bag so they do not snag clothes.
- Stand bundles upright in a tall box, a laundry bag, or a tote, so they do not tangle in transit.
- Label the bundle box “Hangers — Hang First,” so it is unpacked with the hanging clothes, not buried under boxes.
Approximate cost: $0 to $5 for rubber bands or zip ties.
12. Unpack by Zone, Hanging First and Shelves Second
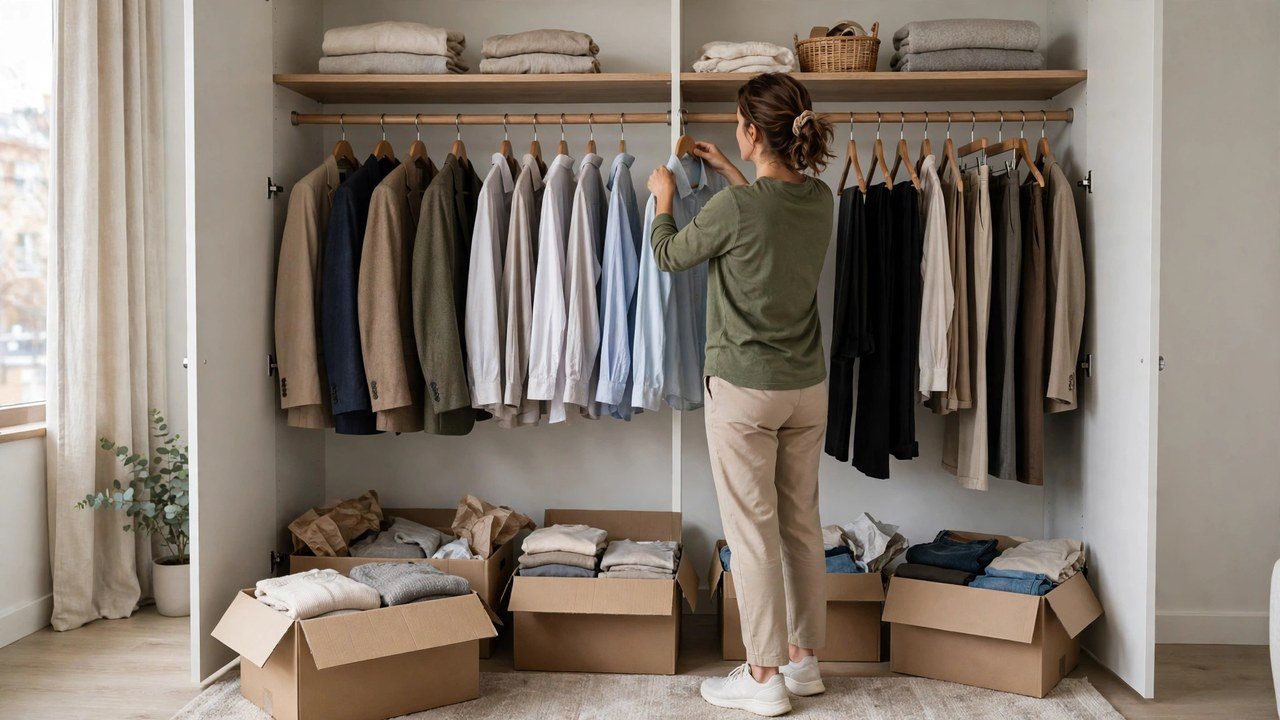
Unpacking is where most closet systems fall apart, because people open boxes randomly and end up with clothes everywhere. The zone system flips that: you hang first, because hanging is fast and instantly visible, then you fill shelves zone by zone, and you stop when each zone is done instead of living among half-open boxes.
For renters, this is the payoff for all the labeling and sorting you did while packing. A zone unpack can be finished in a single focused session, it leaves the bedroom usable on night one, and it prevents the classic renter trap of the “unpacking pile” that is still on the floor a month later.
- Hang your garment-bag bundles first, zone by zone, starting with work clothes and everyday clothes.
- Place your hanger bundles on the rod, so you have hangers ready for anything that arrives folded.
- Fill shelves one zone at a time — everyday first, then accessories, then seasonal — instead of opening every box at once.
- Put shoes in their new spot as a single job, using the paired bags from Idea 8, so they do not scatter.
- Break down each box as you empty it, and do a final check: every zone has a home, and nothing is left in a pile on the floor.
Approximate cost: $0, using the labels and bundles you already prepared.
One more habit makes this system stick: before you call the closet done, step back and look at it the way a guest would. Are the everyday clothes easy to reach without moving three other zones? Are the shoes together, and is there a clear spot for tomorrow's outfit? If something feels awkward, move it now, while the boxes are already broken down and you still remember why you labeled things the way you did. A ten-minute adjustment on unpacking day can save you months of small daily friction, and it is far easier than reorganizing a closet that has settled into a messy routine. I have seen renters skip this final check and then live around one annoying shelf for an entire lease, so treat this last look as part of the unpack, not an optional extra.
Conclusion
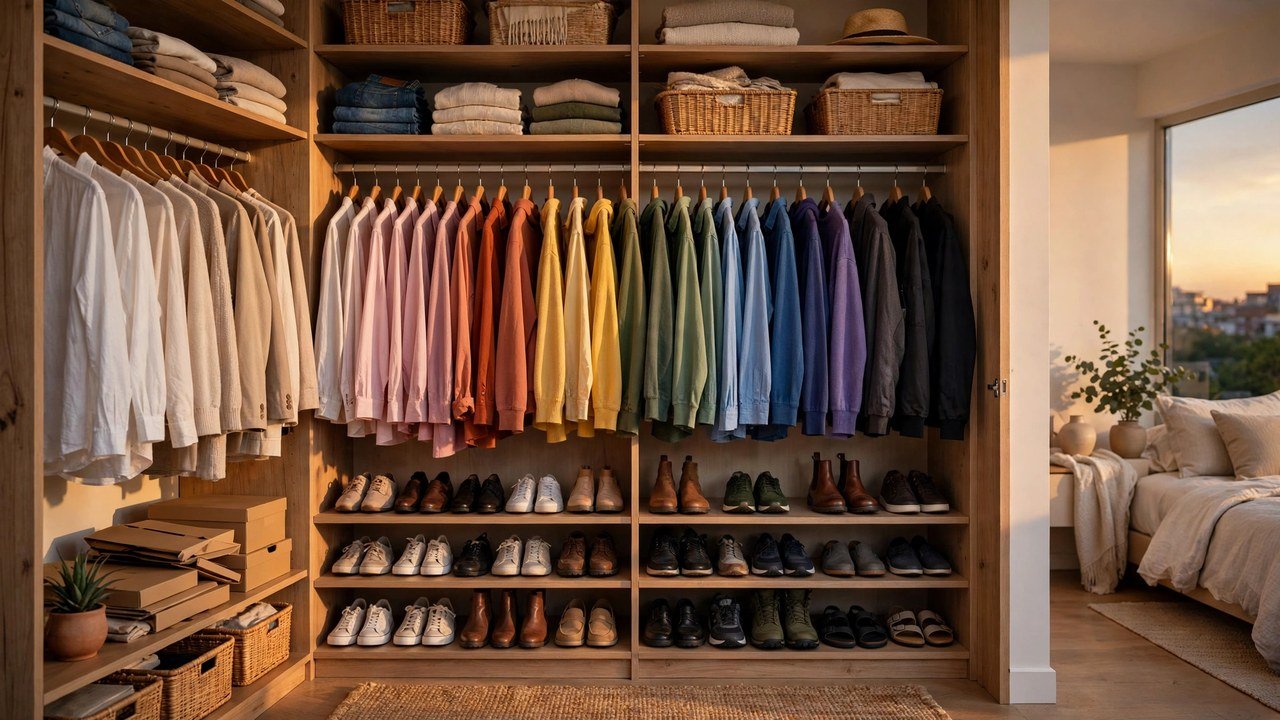
A moving-day closet pack-down is not really about boxes and bags. It is about giving yourself a calmer move and a cleaner start. When you photograph first, edit honestly, keep hanging clothes on their hangers, label by zone, and clean the old closet like an inspection, you protect two things renters care about most: your clothes and your deposit. And when you unpack by zone, hanging first, your new closet feels like home on the first night, not the first month.
Start with the highest-impact moves — the photos, the garment bags, and the first-night kit — and let the rest follow in order. You do not need to do everything perfectly, and you do not need to buy a lot of new supplies. You just need a plan that respects the rules of renting: removable, reversible, and kind to the walls you are leaving behind. Your future self, standing in a tidy new closet with a clean shirt for tomorrow, will be glad you took the afternoon to do it right.
Please save this visual guide on Pinterest and share it with a renter friend who is packing up a closet soon, so their moving day feels just as calm and organized as yours will.

Amelia leads HavenlyStyle’s editorial vision with a passion for elegant interiors and practical home living. With years of experience in home décor and lifestyle content, she ensures every article is accurate, inspiring, and easy to follow. From timeless decorating ideas to the latest interior design trends, Amelia is committed to helping readers create beautiful, functional spaces while maintaining HavenlyStyle’s trusted and welcoming voice.