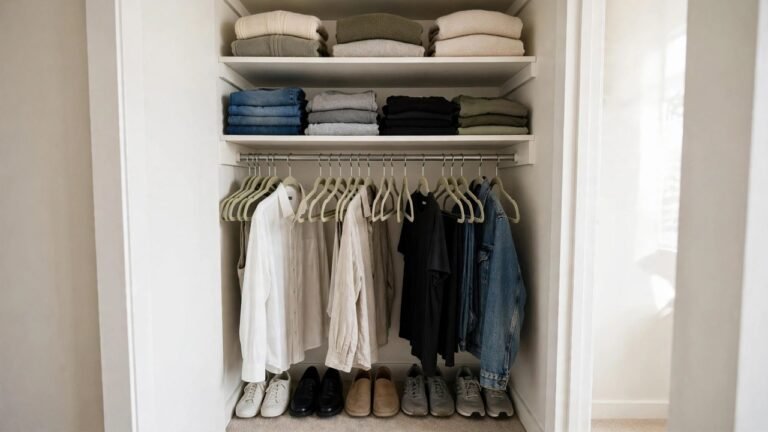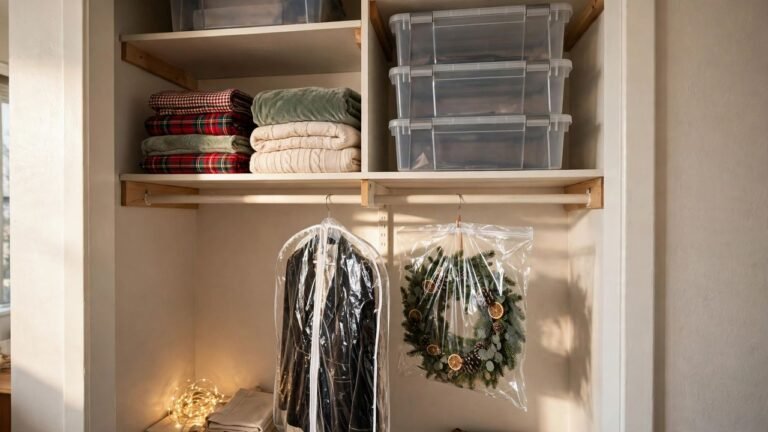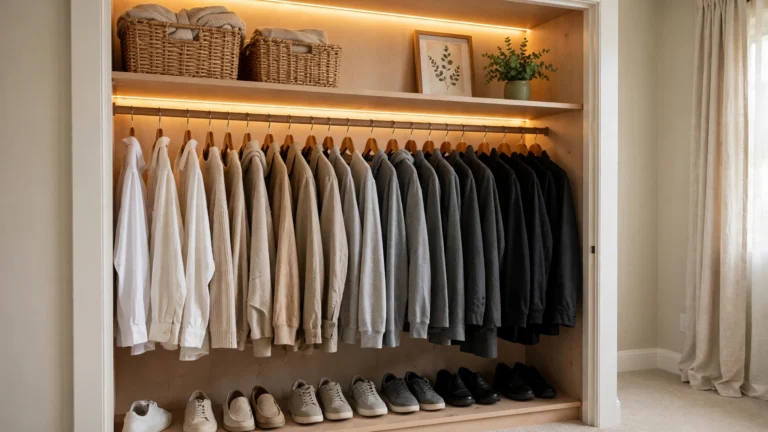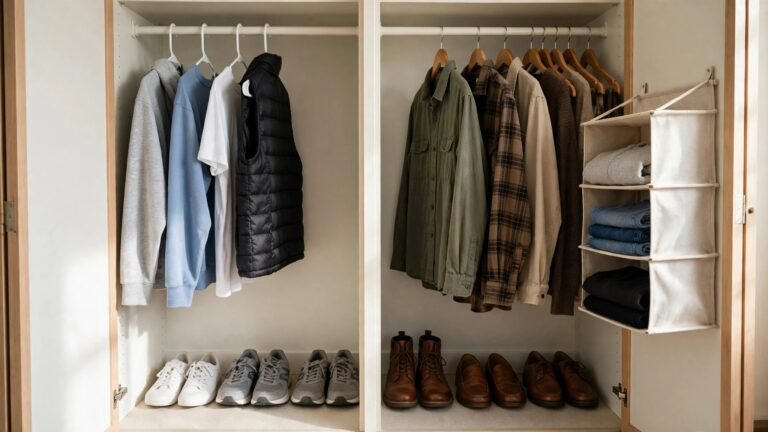
Here’s the thing about living in a rental with no closet: the generic advice — “just buy a wardrobe!” — doesn’t help when your space isn’t generic. I’ve helped dozens of renters over the years, and the ones who struggle most aren’t missing furniture. They’re missing flat, usable walls. They’ve got a slanted patch under the stairs, a weird recessed nook nobody can explain, a dead corner behind the bedroom door, a hallway that turns at a funny angle. The wardrobe problem in these homes isn’t about storage volume. It’s about storage geometry.
I learned this firsthand in my own rental, a converted duplex with zero bedroom closets and a staircase that cut straight through the living area. There was an alcove beside the front door that was barely three feet wide and an under-stair cavity the previous tenant had filled with… nothing, because nobody knew what to do with it. The standard freestanding wardrobe would have swallowed the only walking path to the kitchen. A dresser alone wouldn’t hold my hanging clothes. What worked — and what I’ve since helped renters repeat in apartments, old farmhouses, and studios across the country — was treating those awkward spots as the wardrobe itself instead of working around them.
That’s exactly what this guide is. These aren’t general no-closet solutions like armoires or dressers (I’ve covered those elsewhere). These are ten ideas built specifically around the three awkward-space situations renters actually face: the under-stair void, the alcove or recessed nook, and the garment rack as a styled anchor in a space where nothing else fits. Every single one is deposit-safe — removable, no drilling into structural walls, no permanent changes — because your security deposit is not a renovation budget.
If you’ve been staring at a slanted under-stair wall or a strange little nook thinking “there’s got to be something better than a pile of clothes on a chair,” you’re in the right place.
Executive Summary
- Under-stair spaces and wall alcoves are the two most wasted storage zones in rental homes — and the two best places to build a wardrobe without a closet.
- A garment rack becomes a room feature (not an eyesore) when you zone it deliberately with a rug, matching hangers, and a curated capsule rather than everything you own.
- Tension rods and freestanding frames beat drilling every time: you can build a full hidden “closet” inside an alcove or under-stair cavity with zero holes in the wall.
- The slope under stairs is a feature, not a bug — hang clothes on the tall side, roll bins and drawers into the low side, and you get a complete wardrobe system.
- Every idea here is fully removable for move-out day, with costs running roughly $25–$120 per setup (approximate ranges given per idea).
1. The Under-Stair Double-Rod Wardrobe
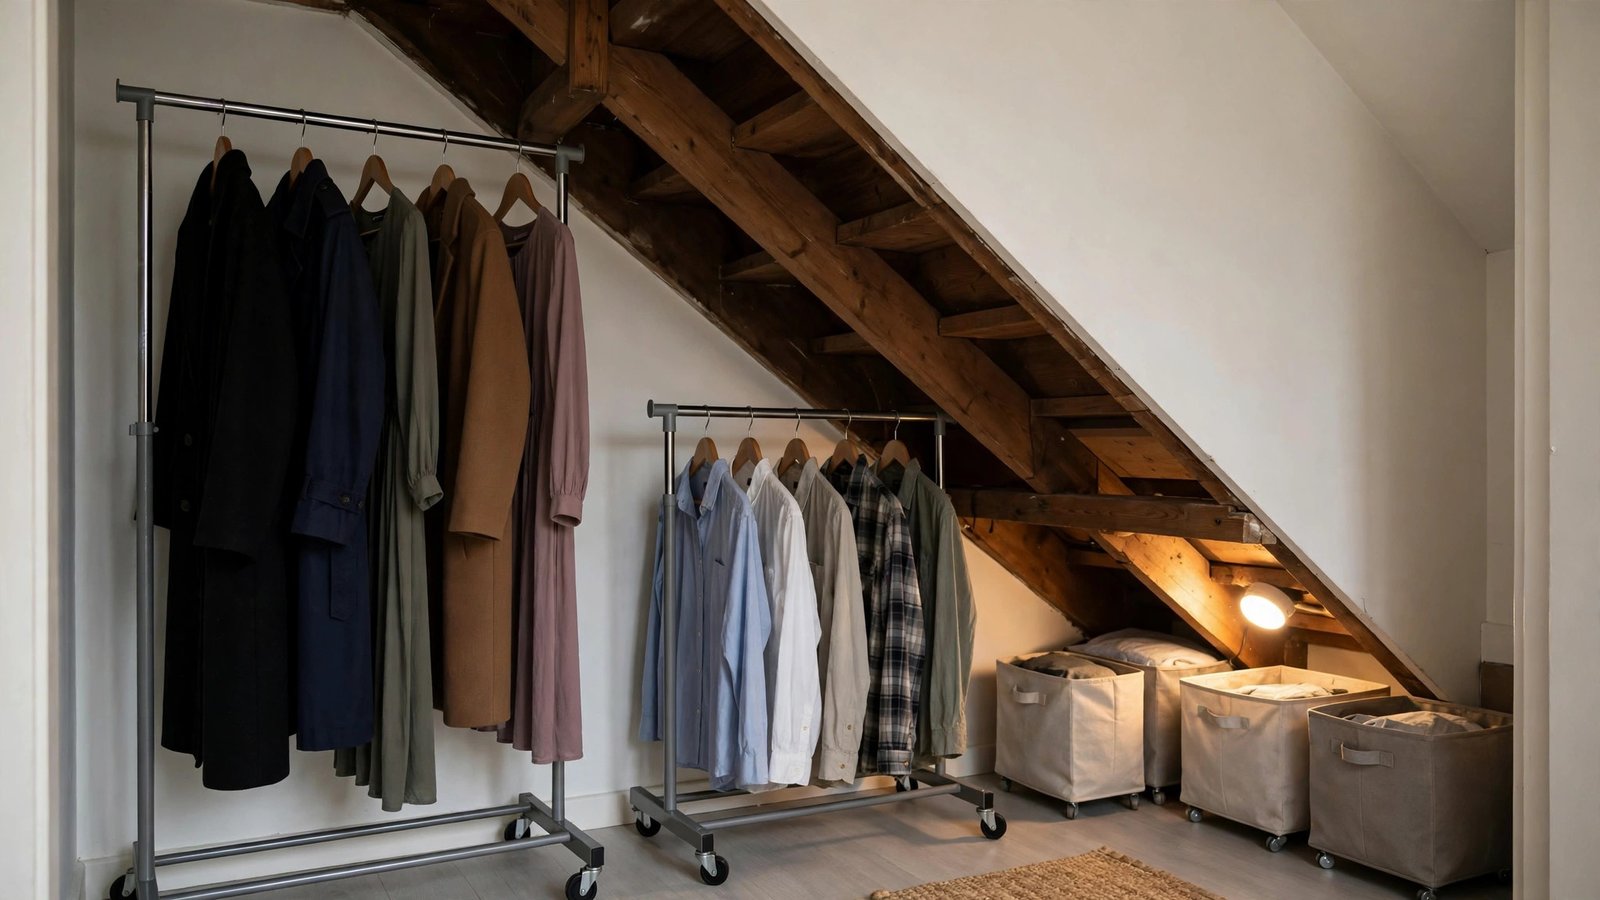
What it is: a two-rod hanging system installed inside the under-stair cavity, turning dead space into your main wardrobe. The tall end of the slope handles long dresses and coats; the short end handles shirts, folded items, and shoes.
Why it works for renters: under-stair areas are usually ignored storage voids, so you’re not sacrificing any living space. Nothing attaches to the stairs’ structure — you use freestanding or tension-mounted rods — so there’s nothing to repair at move-out.
How to do it:
- Measure the cavity: height at the tallest and shortest points, depth, and width. Note any pipes, the water heater, or electrical panels you must keep accessible.
- Place a freestanding double garment rack or two single tension rods sized to the cavity — one rod set at the tall end for long items, one at the short end for tops.
- Fill the lowest sloped stretch with rolling under-bed storage bins (they slide right under the slope where nothing hangs).
- Add an LED battery puck light or two on the underside of the stairs so you can actually see your clothes.
- Drape a tension-rod curtain across the cavity opening if the stairs face your living room — instant hidden closet.
Approximate cost: $40–$90 for rods, bins, and curtain.
Small-cavity variant: the single tall-end rod
Not every under-stair space is fully yours — water heaters, electrical panels, and meters often claim part of it, and anything service-related must stay reachable. If only the tall end is free, skip the double system and install a single short freestanding rack or one tension rod just in that section. Hang your longest items there and let the rest of the cavity keep its utility job. I’ve also seen renters use an angled shower-tension rod that follows the slope for a short run of shirts. The principle stays the same: claim only the space you can actually use, keep a clear path to anything a technician might need, and never block a shut-off valve or breaker box for the sake of storage. A half-cavity wardrobe that respects the utilities is still a wardrobe.
2. The Alcove Curtain-Closet
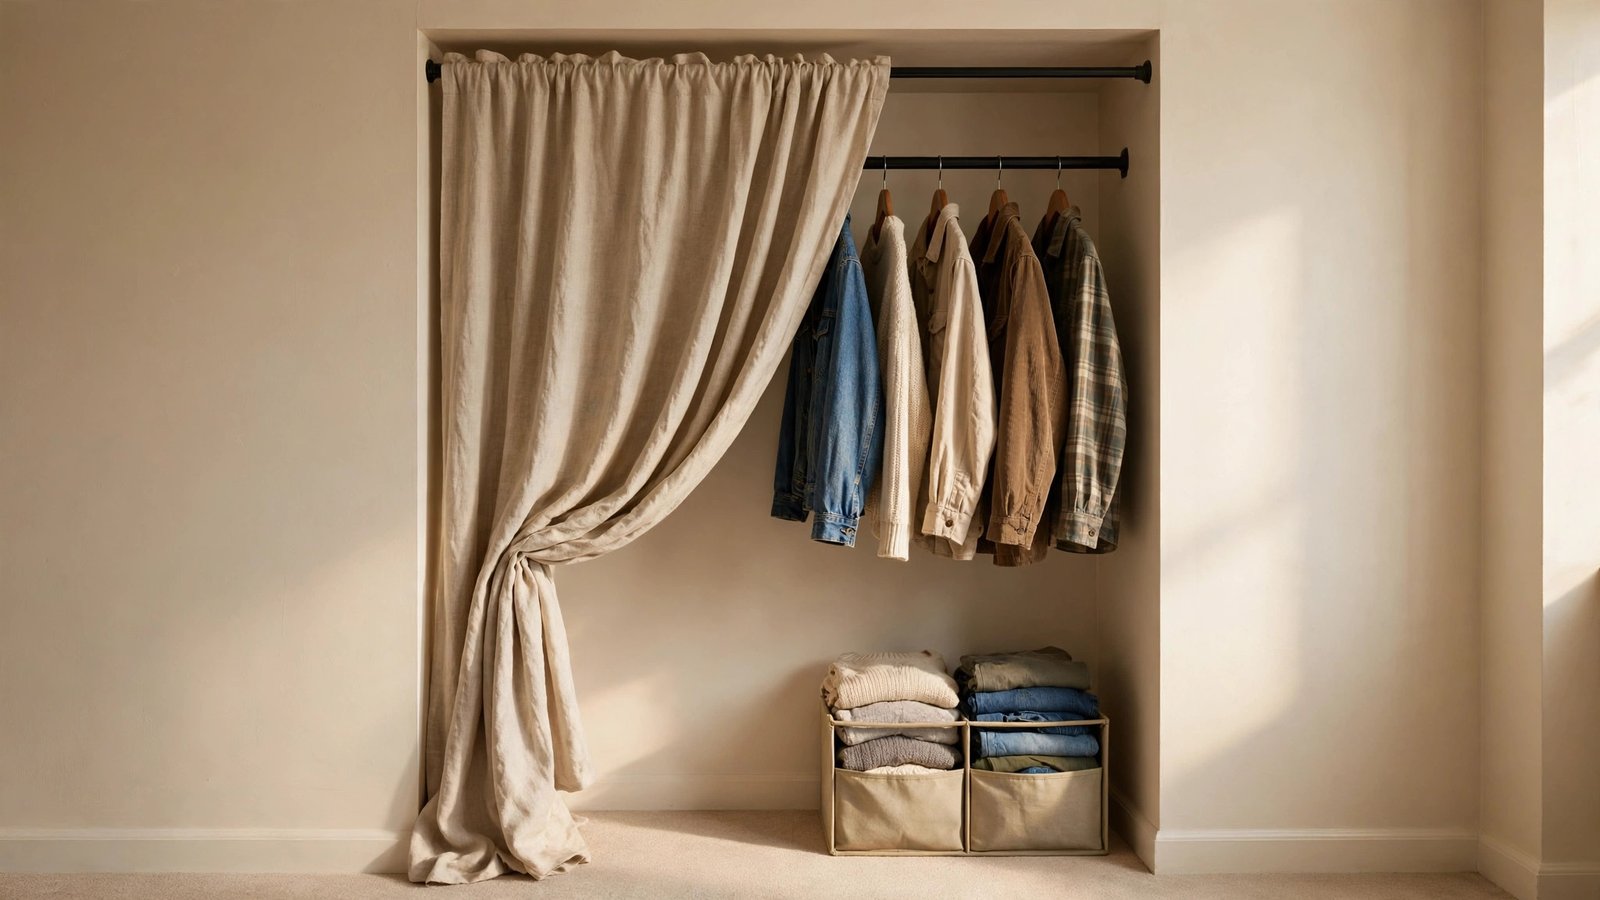
What it is: a recessed alcove or wall nook — the kind you find beside fireplaces, flanking bedroom windows, or in hallway dead ends — converted into a full closet with a tension rod and a floor-length curtain.
Why it works for renters: alcoves already have three walls, so you get the closet feel for free. A tension rod spans the opening with zero hardware, and the curtain hides everything while adding softness and color to the room. When you move, the rod comes down in thirty seconds and the alcove is exactly as you found it.
How to do it:
- Measure the alcove opening width and interior depth. You want at least 20 inches of depth so hangers clear the back wall.
- Install a heavy-duty tension rod across the opening at about 66–72 inches high (measure your longest hanging garment first).
- Hang a floor-length curtain or two on the rod — a fabric shower curtain works beautifully and washes easily.
- Inside, add a freestanding shoe rack or a stack of fabric cube organizers against the back wall for folded items.
- If the alcove is deep, run a second tension rod behind the first: front rod for hanging, back rod for a privacy curtain, or double up the hanging capacity.
Approximate cost: $30–$70 for tension rod, curtains, and interior organizers.
Material options for the curtain
The curtain is the whole look, so choose it like you’d choose paint. A canvas drop cloth — the kind sold for painting — gives a tailored, linen-like finish for very little money and hems easily with iron-on hem tape (no sewing). Linen-look curtain panels read softer and more traditional. If the alcove is in your bedroom, a blackout curtain does double duty by darkening the sleeping area. Whatever you pick, make it machine-washable: closet curtains collect dust faster than window curtains because clothes shed fibers. Buy two sets if the fabric is inexpensive, so one can be in the wash while the other hangs. Floor-length is non-negotiable — a curtain that stops mid-wall makes the alcove look like a shower stall.
3. The Boutique-Corner Garment Rack
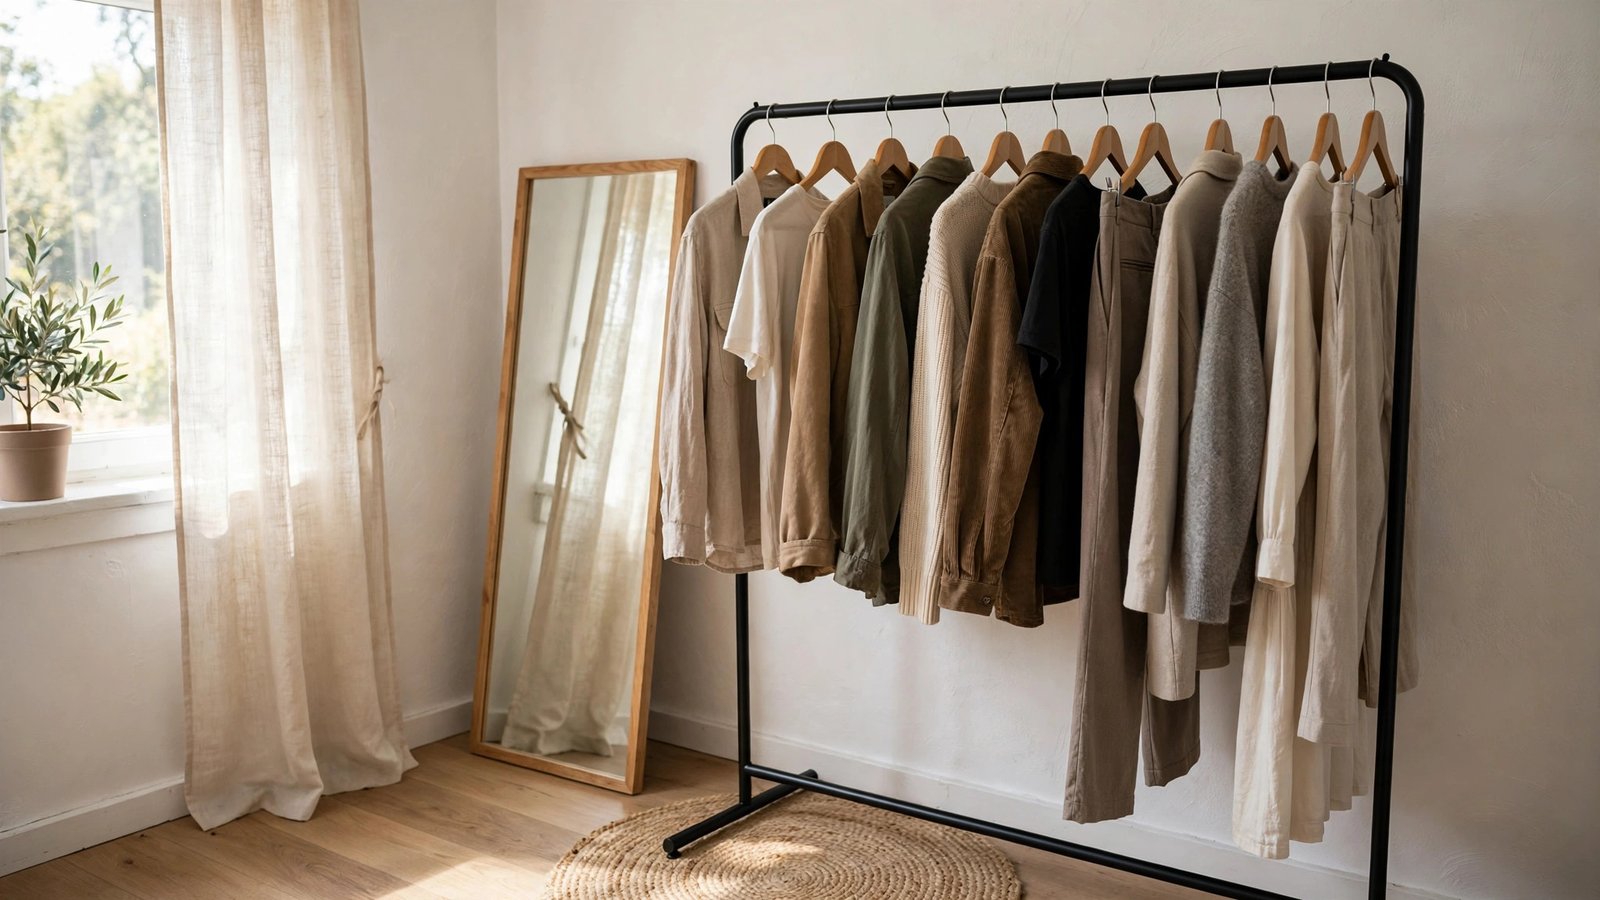
What it is: one well-chosen garment rack placed in an awkward empty corner and styled like a boutique display — not a dumping ground. This is the answer for rooms where a wardrobe won’t fit but a corner sits empty.
Why it works for renters: a rack needs only about two feet of floor along a wall, fits corners that reject boxy furniture, and moves with you in one trip. Styled deliberately — matching hangers, a tight color story, nothing overstuffed — it reads as decor, which matters in studios where your closet is on display.
How to do it:
- Claim a corner that’s currently dead space: beside a window, behind the bedroom door swing, or at the end of a hallway. Lay down a small rug to visually zone it as the “dressing corner.”
- Choose a single-rail rack with a sturdy base (look for one rated for heavy coats — flimsy racks bow and tip).
- Hang a tight capsule: your 10–15 most-worn pieces in a cohesive color palette, spaced with room to breathe. Store the rest elsewhere.
- Use matching slim hangers — the visual uniformity alone makes a rack look expensive.
- Anchor it with one accessory: a leaning full-length mirror beside it or a small plant, so the corner reads intentional.
Approximate cost: $35–$80 for the rack, rug, and matching hangers.
When the corner has a window
The best boutique corners are often beside windows — the natural light makes the clothes look great and the corner feel larger. Position the rack perpendicular to the window wall rather than flat against it, so light falls across the garments instead of backlighting them into silhouettes. Keep at least six inches of clearance so curtains can still close and the window opens for ventilation. One caution I’ve learned the hard way: never let the rack block an egress window or a fire-escape path. If the window is your secondary exit, the rack goes on the opposite corner, no exceptions. A small sheer panel hung on a tension rod behind the rack softens the window light and hides any scuffed rental trim at the same time.
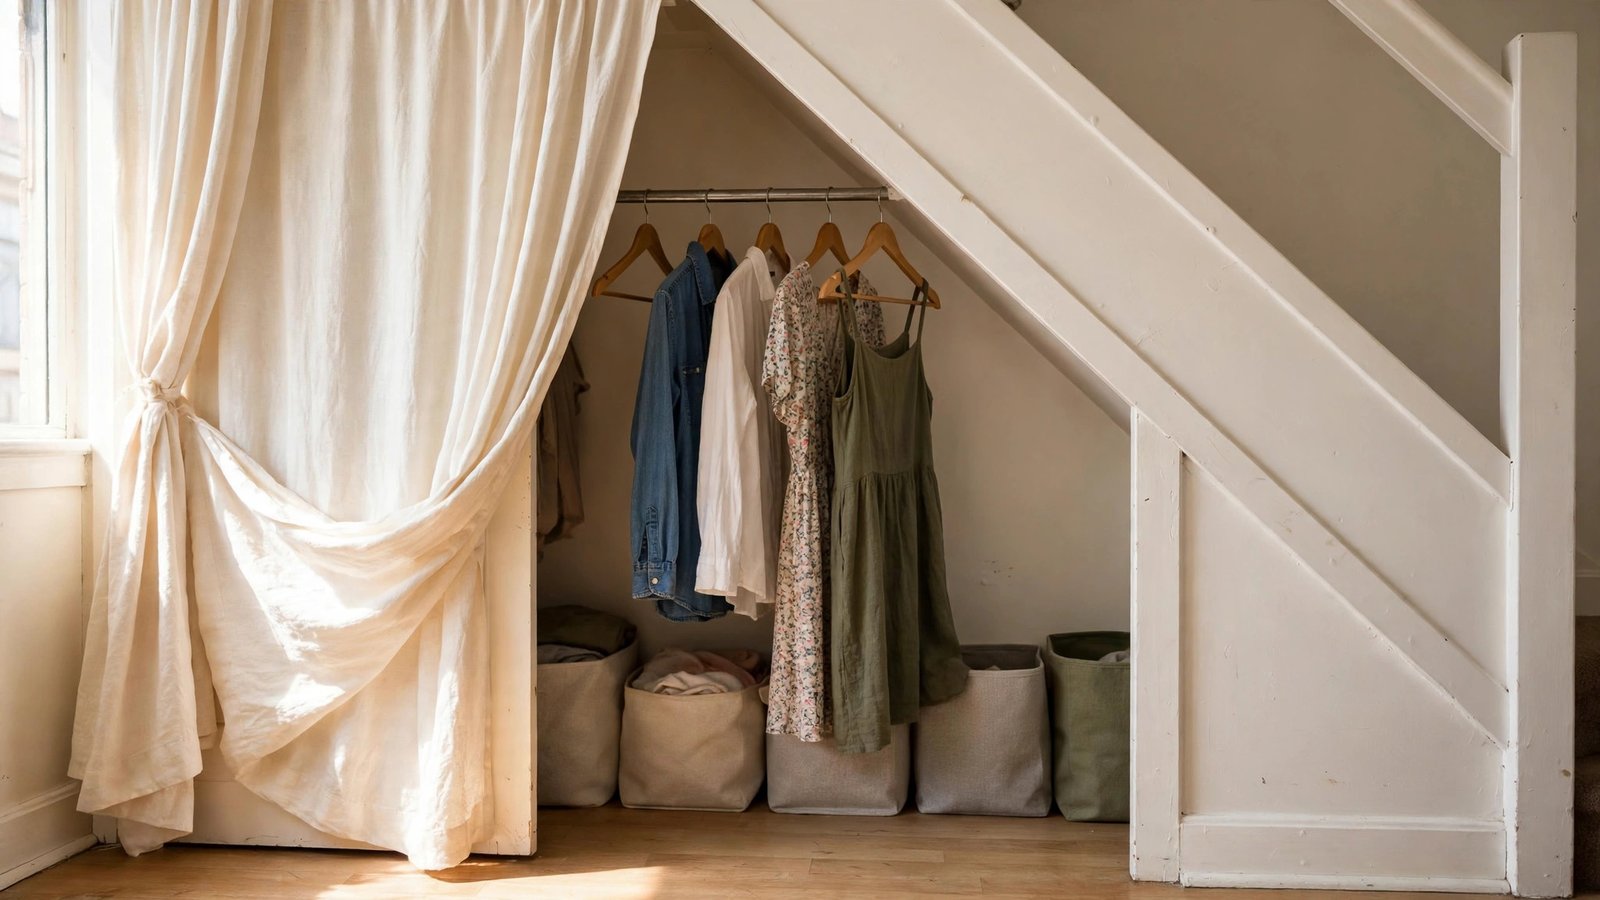
4. The Under-Stair Hidden Closet With Curtain Front
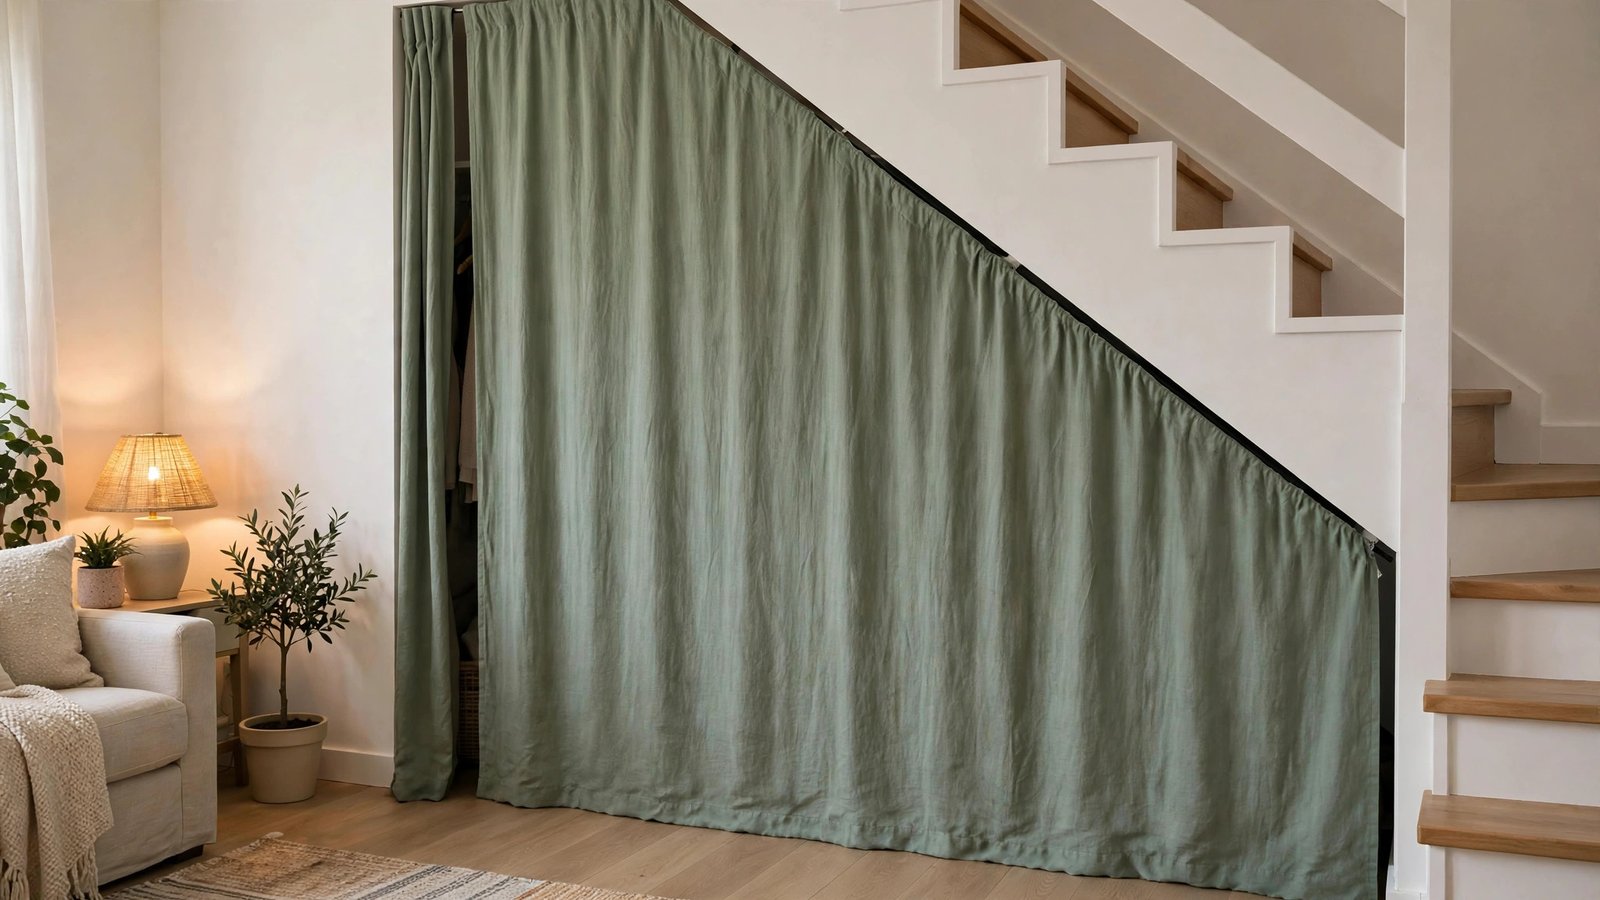
What it is: taking idea #1 further — a full framed “closet” built inside the under-stair cavity with a curtain front that makes it look like a built-in wardrobe rather than open storage.
Why it works for renters: many renters avoid under-stair storage because it looks messy from the living room. The curtain front solves the visual problem without a single screw. You get the function of a built-in closet with the reversibility of a shower curtain.
How to do it:
- Clear and measure the cavity, keeping a path to anything that needs maintenance access (meters, shut-off valves).
- Build your interior exactly like the double-rod wardrobe: rods for hanging, bins and low drawers rolling under the slope.
- Mount a tension rod across the full cavity opening at the top, just inside the stair edge.
- Hang curtain panels that reach the floor — choose a fabric that complements the room, since this will read as a wall of fabric.
- Add stick-on (removable adhesive) hooks on the stair-side wall of the cavity for bags, hats, and tomorrow’s outfit.
Approximate cost: $50–$100 for rods, bins, curtains, and adhesive hooks.
Renter-proofing the contact points
The only thing that can cost you deposit money in this setup is friction and adhesive residue, so protect the contact points. Slip felt pads or cut sections of foam pipe insulation over the tension rod ends where they press against the wall — painted drywall dents under sustained pressure. On the adhesive hooks, use only removable strips rated for the weight, and apply them to clean, dry paint; hooks applied to dusty walls fail and take paint with them when they fall. At move-out, warm each strip with a hair dryer for thirty seconds before pulling straight down — the adhesive releases cleanly instead of tearing. Photograph the bare cavity on move-in day, too. I’ve seen landlords forget what the space looked like and blame renters for pre-existing scuffs.
5. The Recessed-Nook Shoe and Accessory Wall
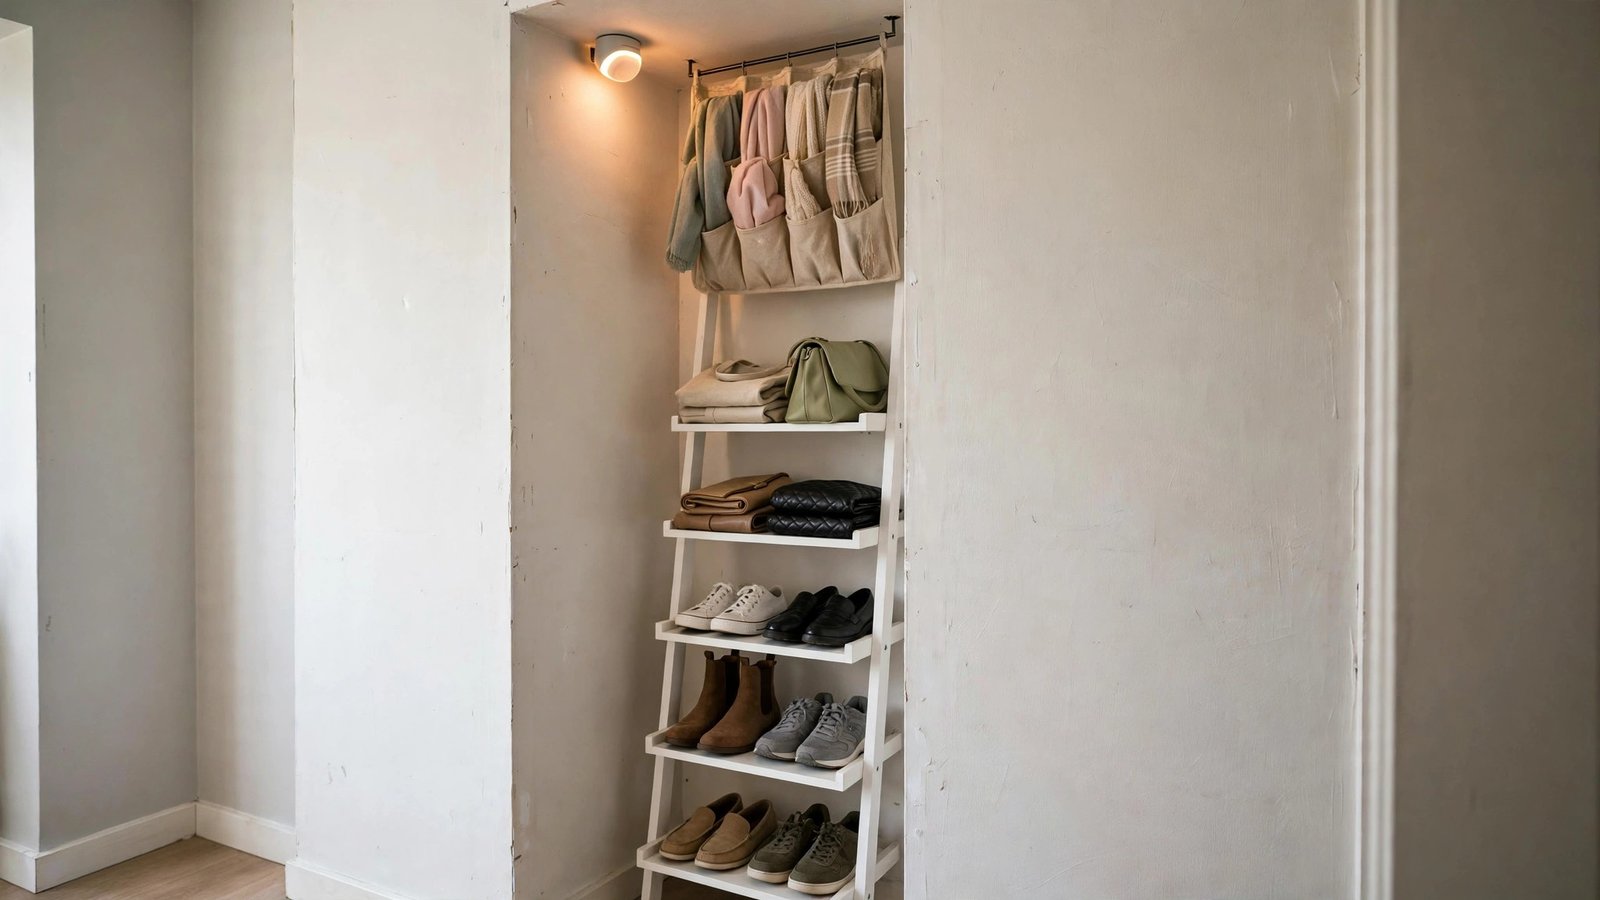
What it is: a narrow recessed nook — too shallow for hanging clothes — turned into vertical storage for shoes, bags, and accessories using leaning and over-the-frame organizers that need no wall mounting.
Why it works for renters: every rental seems to have one nook that’s four inches too shallow to be useful. Shoes and accessories are the perfect fill because they need depth, not width. Leaning ladder shelves and door-frame-hung organizers touch nothing permanently.
How to do it:
- Measure the nook’s width, depth, and height. Even 8–10 inches of depth holds shoes and folded bags.
- Slot in a narrow leaning ladder shelf or a slim bookcase — anything that stands on its own feet.
- Hang an over-the-frame fabric organizer from the top edge of the nook frame (or from a tension rod) for scarves, belts, and sunglasses.
- Use the floor of the nook for a low tray or boot rack, and the top shelf for a small basket of off-season accessories.
- Add a battery-operated motion-sensor light so the nook doesn’t become a dark hole you avoid.
Approximate cost: $25–$60 for a leaning shelf, hanging organizer, and light.
Deeper-nook upgrade: double-duty hanging
If your nook is deeper than about 12 inches, you can get a second job out of it. Run a short tension rod across the nook at mid-height and hang accessories on S-hooks — belts, handbags by their straps, hats on clip rings. The ladder shelf in front still holds shoes, and the rod behind it holds everything that dangles. This double-layer trick works because accessories are thin; they occupy the air space behind the shelf without crowding it. I’ve set this up in entry nooks where the family needed shoes for four people plus a place for work bags. One warning: keep heavier bags on the shelf, not the rod. Tension rods hold hanging weight well but sag under a loaded tote, and a sagging rod in a nook is a pain to re-tension around a shelf.
6. The Studio Dressing Zone: Garment Rack Plus Cube Station

What it is: a complete “closet zone” for studio apartments — a garment rack paired side-by-side with a fabric cube organizer, creating a defined dressing area where there is no bedroom to hide one in.
Why it works for renters: studios and one-bedrooms force your wardrobe into your living space, and a lone rack looks temporary. Pairing the rack with a matching cube unit makes it read as a furniture grouping — a dressing zone — while the cubes swallow everything a rack can’t hold (underwear, workout clothes, pajamas). Both pieces are freestanding and move-out friendly.
How to do it:
- Find a wall run of at least 5–6 feet in your studio — beside the bed, along the entry wall, or behind the sofa. Lay a runner rug to define the zone.
- Place the garment rack on one end and a 4- or 6-cube fabric organizer on the other, aligned along the same wall.
- Hang daily wear on the rack (tops, dresses, jackets); fill the cubes with folded categories — one cube per category.
- Top the cube unit with a tray for jewelry, sunglasses, and keys so the zone doubles as your getting-ready station.
- Hang a tension-rod curtain from a freestanding clothing-rack frame (or a folding screen) in front if you want the zone concealable when guests come over.
Approximate cost: $60–$120 for the rack, cube unit, and rug.
Studio layout variants
The wall beside the bed is the classic spot, but three other placements work just as well depending on your floor plan. Behind the sofa: the zone becomes a backdrop you see when you walk in, so style it like a display — best for people whose clothes are genuinely attractive. As a room divider: place the rack and cubes back-to-back in the middle of a large studio to split sleeping from living areas; style both sides, since you’ll see the backs of the cubes from the bed. Along the entry wall: the first thing you and guests see, so add the folding screen and keep the capsule tight. In every layout, the rug is what sells it — without the rug, two furniture pieces sit against a wall; with it, you have a dressing room.
7. The Under-Stair Low Drawer Roll-In
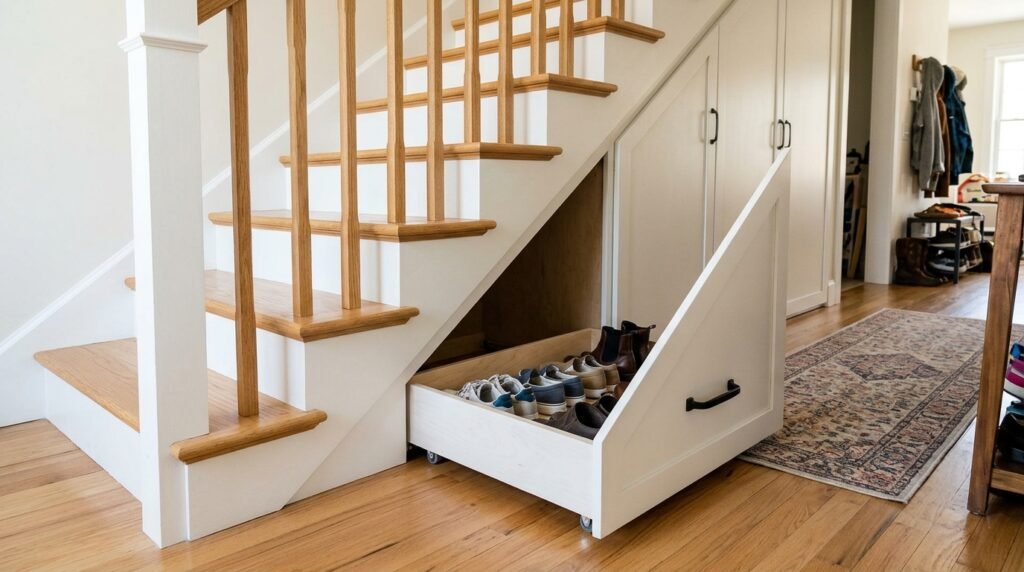
What it is: a drawer-based system for the lowest part of the under-stair slope — the stretch too short for hanging — using rolling plastic or wood drawer units that slide in and out like drawers in a built-in closet.
Why it works for renters: the low end of a stair slope is where most under-stair attempts fail, because people try to hang clothes where there’s no height. Drawers flip the logic: the slope becomes deep storage for folded jeans, sweaters, and t-shirts. Rolling units need no installation and pull out fully for access.
How to do it:
- Measure the slope at several points and mark where the ceiling drops below about 40 inches — that’s your drawer zone.
- Buy two or three rolling drawer units (the 3-drawer plastic towers work; wood rolling carts look better) that fit under the slope’s lowest point.
- Label each drawer by category so the system stays usable — “jeans,” “sweaters,” “gym,” and so on.
- Pair the drawer zone with a short garment rack at the tall end of the cavity for hanging items, so the whole under-stair space works as one wardrobe.
- Slide a low-profile rug or mat under the units so they roll smoothly and don’t scuff the floor.
Approximate cost: $45–$95 for rolling drawer units and labels.
Drawer material options
Three materials dominate this job, and the right one depends on your climate and your eye. Plastic drawer towers are the cheapest and the most moisture-resistant — smart if your under-stair area runs damp or sits against an exterior wall. Wood rolling carts look far better in a living-room-facing cavity and hold their shape under heavy sweaters, but they cost more. Fabric drawer units (the kind sold for cube organizers) are the middle ground: soft, quiet, and light enough to pull out with one hand. Whichever you choose, drop a cedar ball or a lavender sachet in each drawer. Enclosed under-stair spaces get musty, and folded clothes absorb that smell fast. Ventilate the cavity once a month by leaving it open for a day.
8. The Entry Alcove Valet Nook

What it is: a recessed alcove near the front door — common in older rentals and duplexes — converted into a valet station: tomorrow’s outfit, your daily bag, keys, and a mirror, all in one grab-and-go spot.
Why it works for renters: entry alcoves are classic dead space — too small for furniture, too visible to ignore. A valet nook turns your morning routine into a one-stop station and keeps the “chair pile of clothes” from colonizing your living room. Everything is freestanding or tension-mounted.
How to do it:
- Choose the alcove closest to your front door. Measure width and depth — even 24 inches wide works.
- Mount a short tension rod or set a small tabletop valet stand inside for tomorrow’s outfit.
- Add a freestanding leaning mirror against one side of the alcove for last-minute checks.
- Place a small tray or bowl on a narrow console table (or a wall-mounted-with-adhesive-strip shelf) for keys, wallet, and sunglasses.
- Hang a couple of removable adhesive hooks at the back of the alcove for your daily bag and a light jacket.
Approximate cost: $30–$75 for the stand or rod, mirror, tray, and hooks.
Shallow-alcove variant: the half-depth valet
Some entry alcoves are frustratingly shallow — six inches deep, barely a ledge. You can still run the valet logic at half depth. Skip the rod and stand entirely: mount three removable adhesive hooks in a vertical line on the back wall of the alcove for tomorrow’s outfit (shirt on top, pants in the middle, jacket at the bottom), lean the mirror against the side wall at a slight angle, and put the key tray on a narrow floating shelf attached with removable strips. The whole station occupies about two square feet of floor. I’ve set this up in a railroad apartment where the “entry alcove” was really just a thickened door frame. The grab-and-go routine doesn’t need depth — it needs everything in one sightline the second you walk toward the door.
9. The Corner-L Garment Rack for Odd Floor Plans
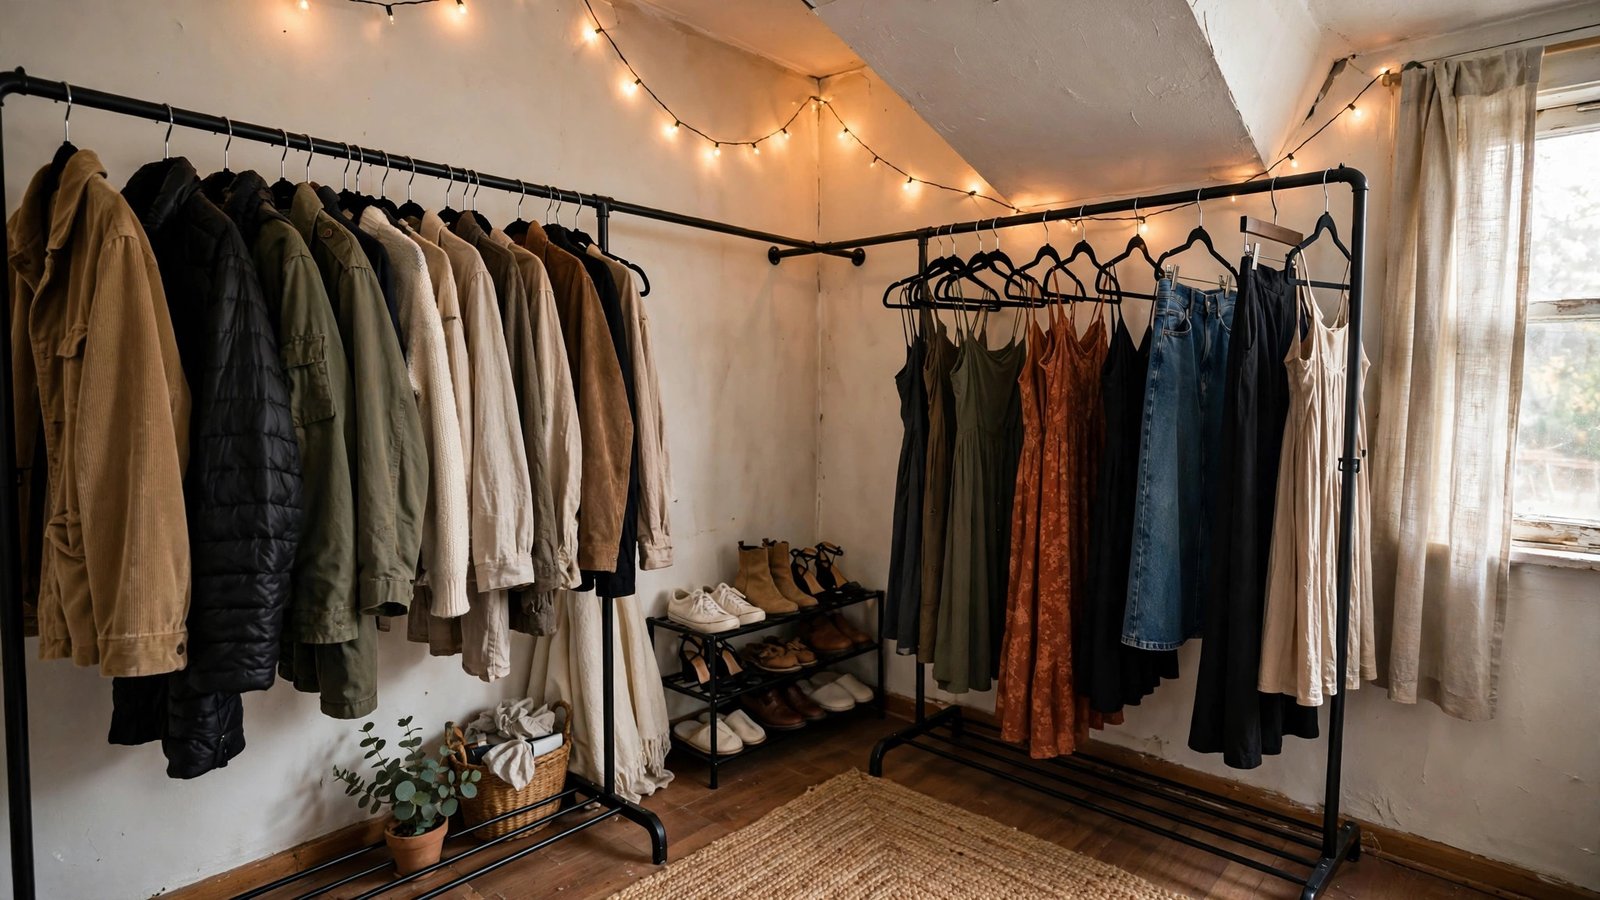
What it is: two garment racks arranged in an L-shape to claim a dead corner in an awkwardly shaped bedroom or studio — doubling hanging capacity while fitting a footprint no single wardrobe could.
Why it works for renters: old rentals and converted spaces often have corners that are the only free wall — too short for a wardrobe, angled oddly, or broken up by a radiator or window. Two racks in an L turn that dead corner into a walk-in-feeling wardrobe nook. They’re fully freestanding, so odd angles are no problem.
How to do it:
- Map your dead corner: measure both wall runs and note anything fixed (radiators, outlets, window trim) the racks must clear.
- Place one rack along each wall so they meet at the corner, forming an L. Leave the inner corner open so you can step in and reach both rails.
- Assign each rail a job: one for tops and jackets, one for bottoms and dresses — or one for daily wear and one for occasion/seasonal pieces.
- Tuck a low shoe rack or a pair of stacking bins into the inner angle of the L, where the racks’ legs leave a gap.
- Drape string lights or add a floor lamp nearby so the corner feels like a boutique fitting nook rather than a storage afterthought.
Approximate cost: $55–$110 for two racks, shoe rack or bins, and lighting.
Budget variant: one rack plus a hook wall
If two racks stretch the budget, you can build the L with one rack and a wall of removable adhesive hooks forming the second arm. Mount six to eight heavy-duty hooks in two rows along the adjoining wall — top row for jackets and dresses on hangers, bottom row for bags and tomorrow’s outfit. The hooks cost a fraction of a second rack and handle the lighter half of the wardrobe perfectly. Later, when the budget allows, the second rack drops into exactly the spot the hooks were marking, and you’ll already know the layout works. I’ve had renters run the hook-wall version for a full year before upgrading. Just respect the weight ratings honestly — one overloaded hook pulling paint off the wall wipes out the savings.
10. The Under-Stair Seasonal Swap Station
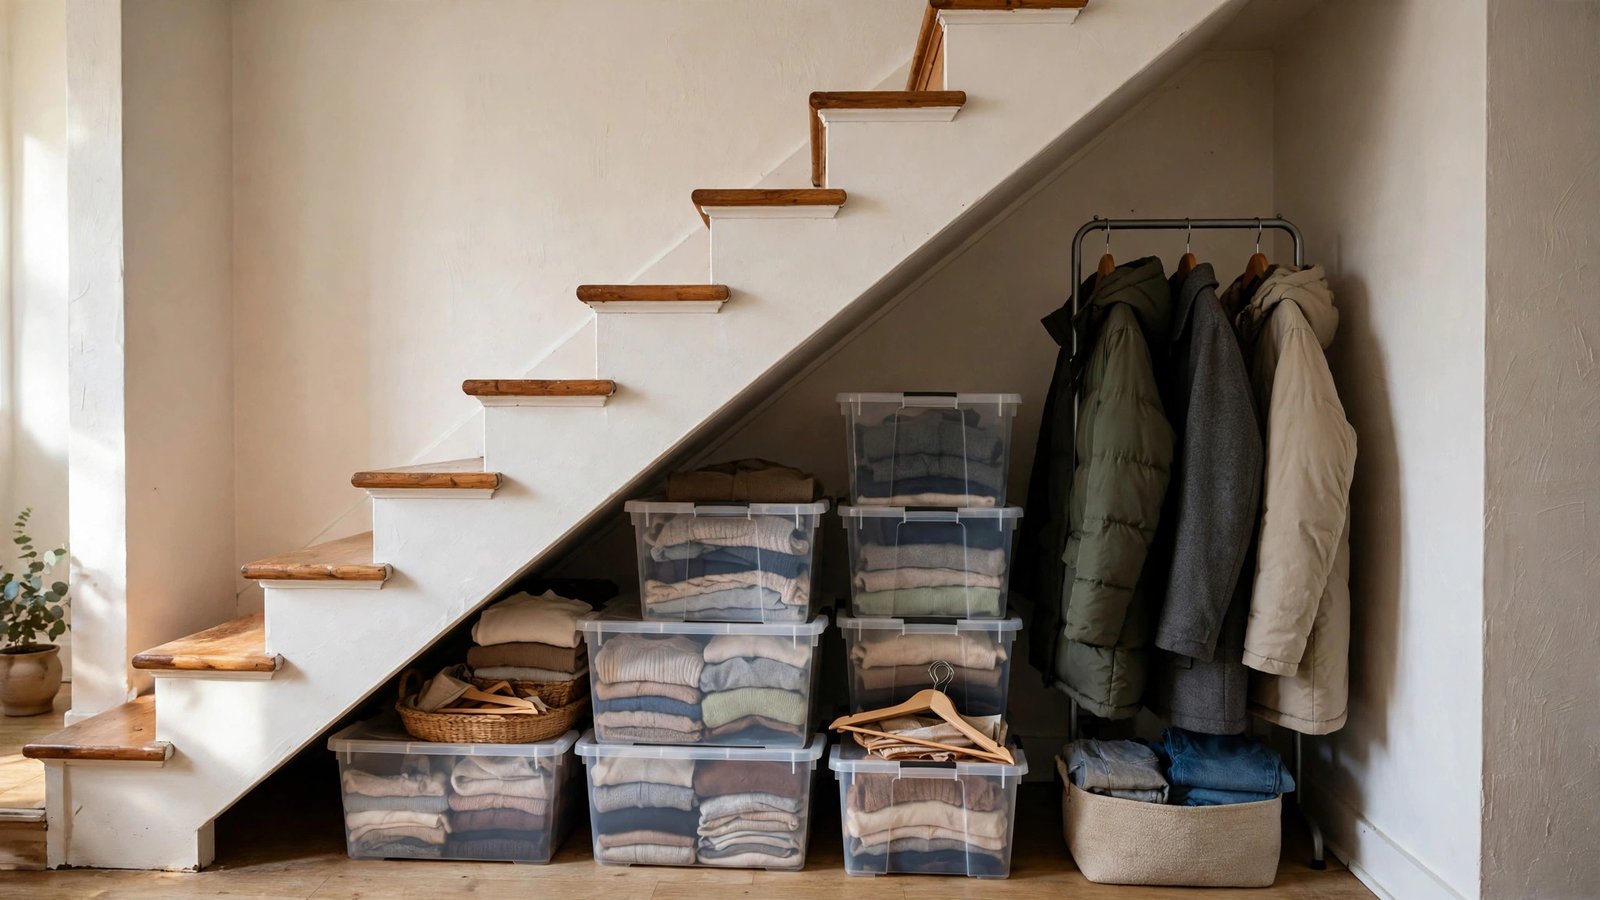
What it is: using the under-stair cavity as your seasonal rotation hub — off-season clothes live in labeled bins under the slope while in-season pieces hang on a short rack at the tall end, so your main wardrobe space never overflows.
Why it works for renters: the biggest wardrobe problem in rentals isn’t just “no closet” — it’s that the no-closet substitutes (racks, nooks) overflow the moment seasons change. A dedicated swap station keeps your everyday system lean. Under-stair space is ideal because it’s out of the way but still inside your home, unlike a storage unit you pay for monthly.
How to do it:
- Sort your wardrobe into in-season and off-season piles — be honest, and donate what you haven’t worn in a year.
- Pack off-season clothes into clear, labeled bins and slide them deep under the slope, smallest bins lowest.
- Set a short garment rack or a single tension rod at the tall end for in-season overflow — the coats and boots your main rack can’t hold.
- Put a reminder in your phone for the seasonal swap (I do mine the first weekend of April and October) so the station actually gets used.
- Keep one “transition” bin at the front of the cavity for those in-between weeks when the weather can’t make up its mind.
Approximate cost: $35–$80 for bins, labels, and a short rack or rod.
No-stairs variant: the deep-alcove swap station
No staircase? The swap-station logic ports cleanly to any deep, out-of-the-way zone: the back half of a deep bedroom alcove, the space under a loft bed, or the far end of a wide hallway nook. Use the same system — labeled clear bins for off-season, one short rack or tension rod at the accessible end for in-season overflow. The key is the same: the swap station lives where you don’t look at it daily, so your everyday wardrobe zone stays lean and styled. I’ve even seen renters run this in the dead space behind a bedroom door that never fully opens against the wall. Measure the depth first and buy bins that slide in without forcing; a bin you have to wrestle out in April won’t get used in October.
Conclusion: Your Awkward Space Is the Wardrobe
Here’s what I want you to take away from all of this: the under-stair void, the strange little alcove, the corner that fits nothing — those aren’t problems with your rental. They’re the wardrobe, hiding in plain sight. I’ve watched renters go from clothes-on-every-chair chaos to calm, styled, genuinely functional storage without drilling a single hole, without asking a landlord for permission, and without spending more than a nice dinner out. The secret was never a bigger apartment. It was looking at the awkward spaces with fresh eyes and giving each one a single, clear job.
Start with the space that bugs you most. If it’s the under-stair cavity, try the double-rod wardrobe or the curtain-front hidden closet this weekend — both go up in an afternoon. If it’s an alcove, the curtain-closet takes about an hour. And if you’re in a studio where everything shows, the boutique-corner rack or the L-shaped corner setup will make your wardrobe look like a design choice instead of a compromise. Measure first, keep everything removable, and let the slope and the nooks do the work they were always meant to do.
You’ve got this — and your deposit stays exactly where it belongs, in your pocket.
Please save this visual guide on Pinterest and share it with a renter friend who’s still living out of laundry baskets — awkward spaces deserve beautiful solutions too.

Amelia leads HavenlyStyle’s editorial vision with a passion for elegant interiors and practical home living. With years of experience in home décor and lifestyle content, she ensures every article is accurate, inspiring, and easy to follow. From timeless decorating ideas to the latest interior design trends, Amelia is committed to helping readers create beautiful, functional spaces while maintaining HavenlyStyle’s trusted and welcoming voice.