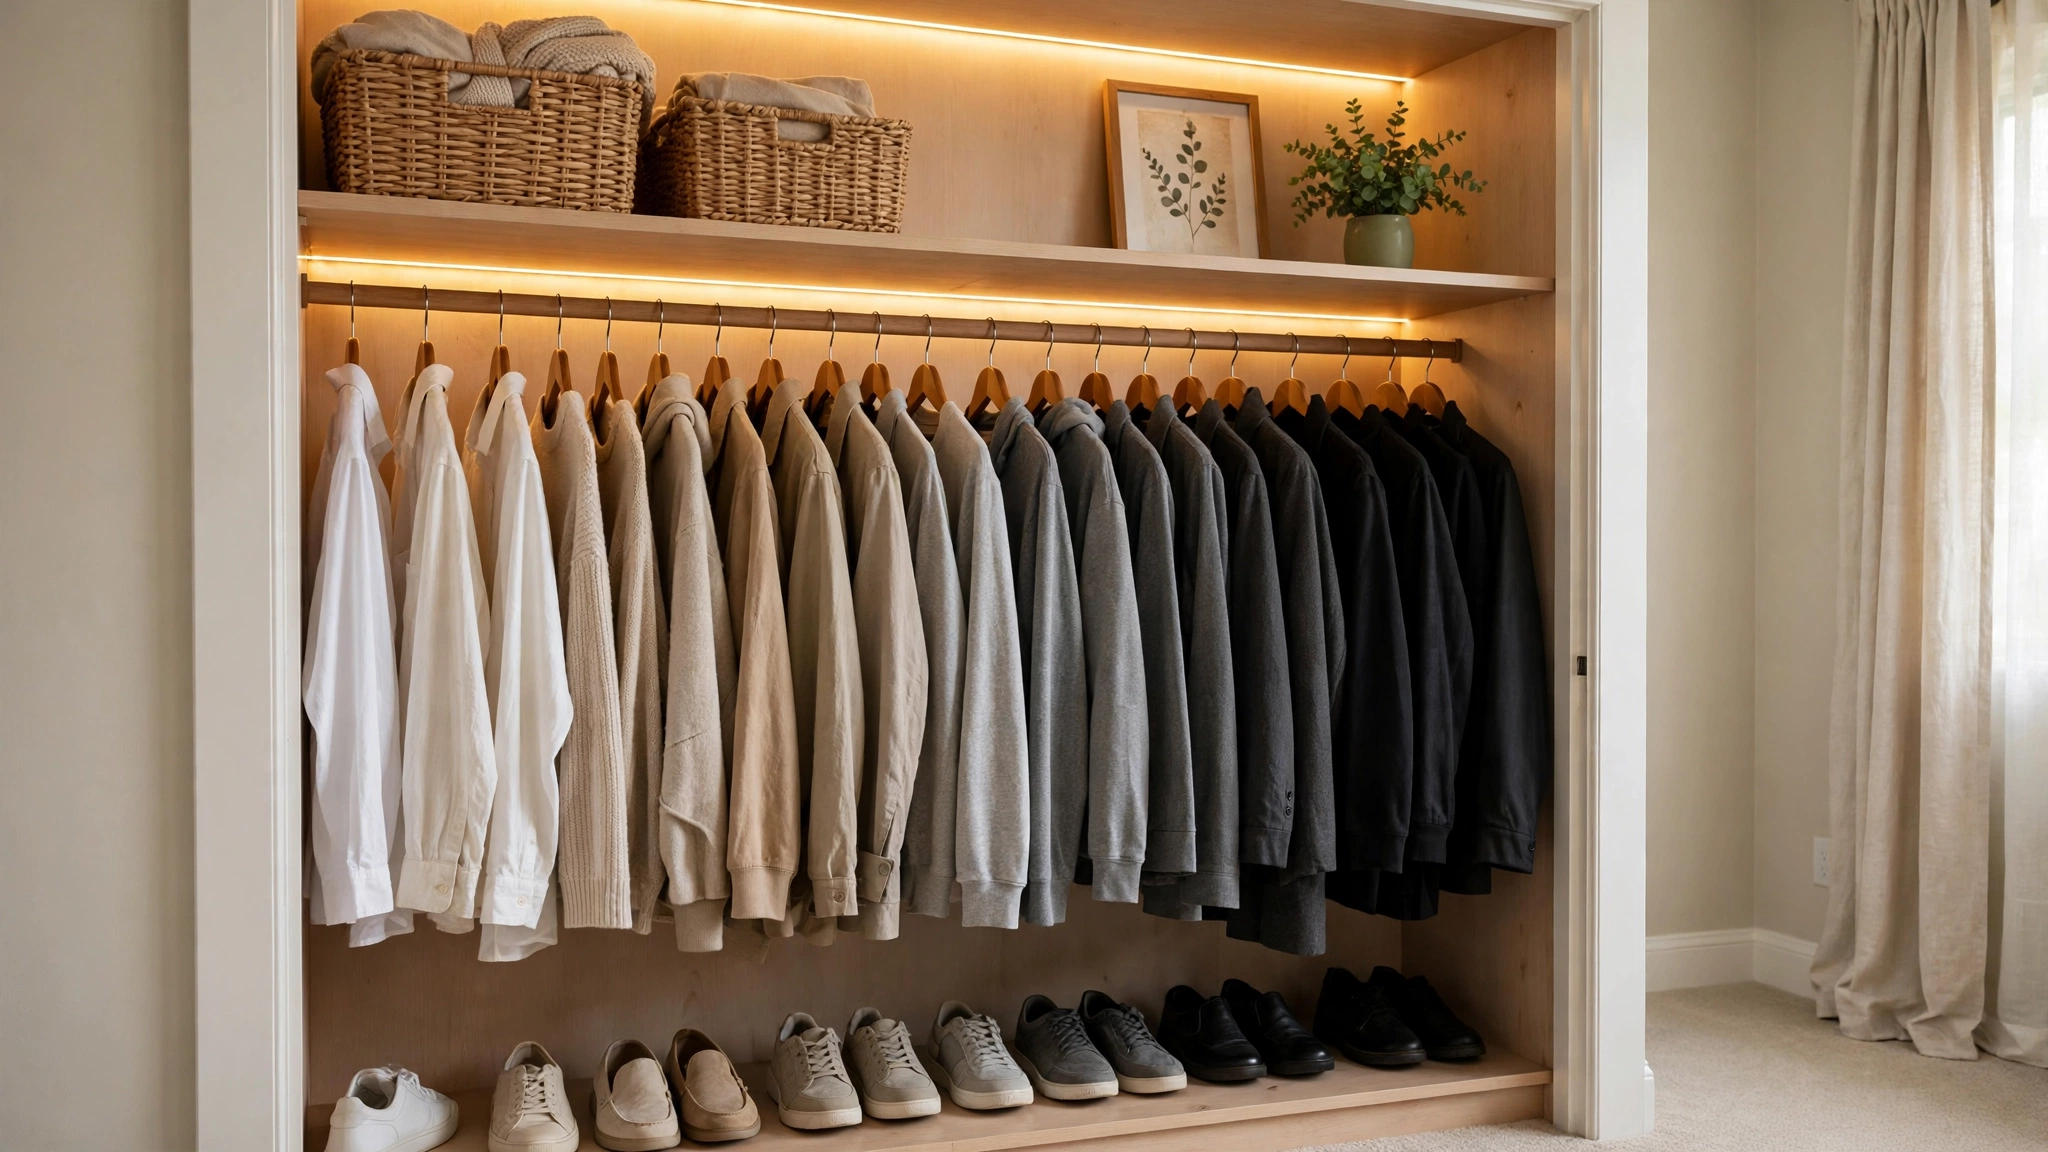
I’ve helped dozens of renters make peace with the same awkward feature: a wardrobe with no doors. Maybe your apartment came with an open closet alcove that never had doors. Maybe the sliding doors were off their tracks and painted shut before you moved in, so you took them down (and, I hope, stored them in a closet or under the bed for move-out day). Either way, you’re now staring at all your clothes from your bed, and it looks less like decor and more like a storage unit with a mattress next to it.
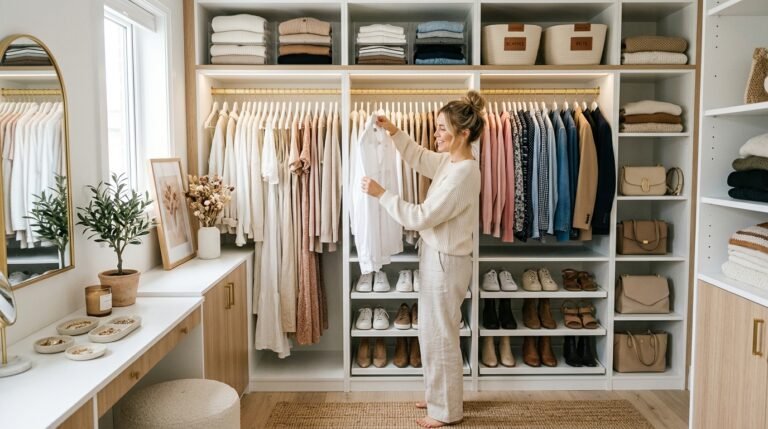
Here’s what I’ve learned after walking through this with renter after renter: an open wardrobe is actually an advantage. Doors hide clutter; an open wardrobe forces you into the same kind of intentional styling that makes boutique clothing racks look so good. You just need the same toolkit — curation, light, symmetry, and a few removable finishes — to turn “my landlord didn’t install doors” into “this is the best-looking corner of my room.”
Every idea below passes the renter test. Nothing requires drilling, painting, or permanent changes. When your lease ends, everything comes down or out in an afternoon, and your deposit stays exactly where it belongs — in your pocket.
Executive Summary
- Your open wardrobe looks like a mess for one reason: it currently reads as storage, not display. Every idea here flips that perception.
- The two highest-impact moves are free or nearly free: group your hanging clothes by color, and switch to matching slim hangers.
- Light does the heavy lifting. A $15-25 battery LED strip makes an open wardrobe look like intentional display furniture instead of a bare closet.
- Peel-and-stick wallpaper on the back panel, removable trim around the frame, and coordinated baskets are all fully reversible and landlord-friendly.
- Give everything breathing room. An open wardrobe styled at 80% capacity looks designed; at 100% it looks stuffed.
- Save this post to your “Dream Apartment” board on Pinterest before you start — you’ll want the visual reference while you shop and style.
1. Curate Your Clothes by Color So the Rack Reads as Decor

The single biggest difference between a messy open wardrobe and an intentional one has nothing to do with what you own — it’s the order you hang it in. I’ve walked into apartments where a $300 wardrobe from a thrift store looked like a boutique display, and $2,000 custom closets that looked like a sale bin. The difference was always curation.
Why it works for renters: It costs nothing, takes an hour, and is completely reversible — you’re just rehanging clothes. It also happens to be the trick every stylist and boutique uses, because the human eye reads a color gradient as order. When your clothes run from light to dark (or are grouped into tight color families), the whole wardrobe reads as a single styled composition instead of a random assortment of laundry.
How to do it:
- Pull everything off the rod and sort into piles by color family — whites and creams, beiges and tans, pastels, brights, darks and blacks.
- Rehang in a smooth gradient: start with white on the left, move through creams, pastels, brights, and end with black on the right. Keep tops with tops, bottoms with bottoms, so the gradient isn’t broken by silhouettes.
- Tuck the oddballs away. That one neon windbreaker you wear twice a year doesn’t need to break your gradient — it goes on a high shelf or in a bin (idea #5), not on display.
- Fold chunky knits instead of hanging them. Sweaters stretch on hangers and break the visual line; a stack of folded knits in your color order, placed on a shelf, looks deliberate and neat.
Approximate cost: $0. The only investment is an afternoon and a little discipline about putting things back in their color zone.
2. Switch to Matching Slim Hangers
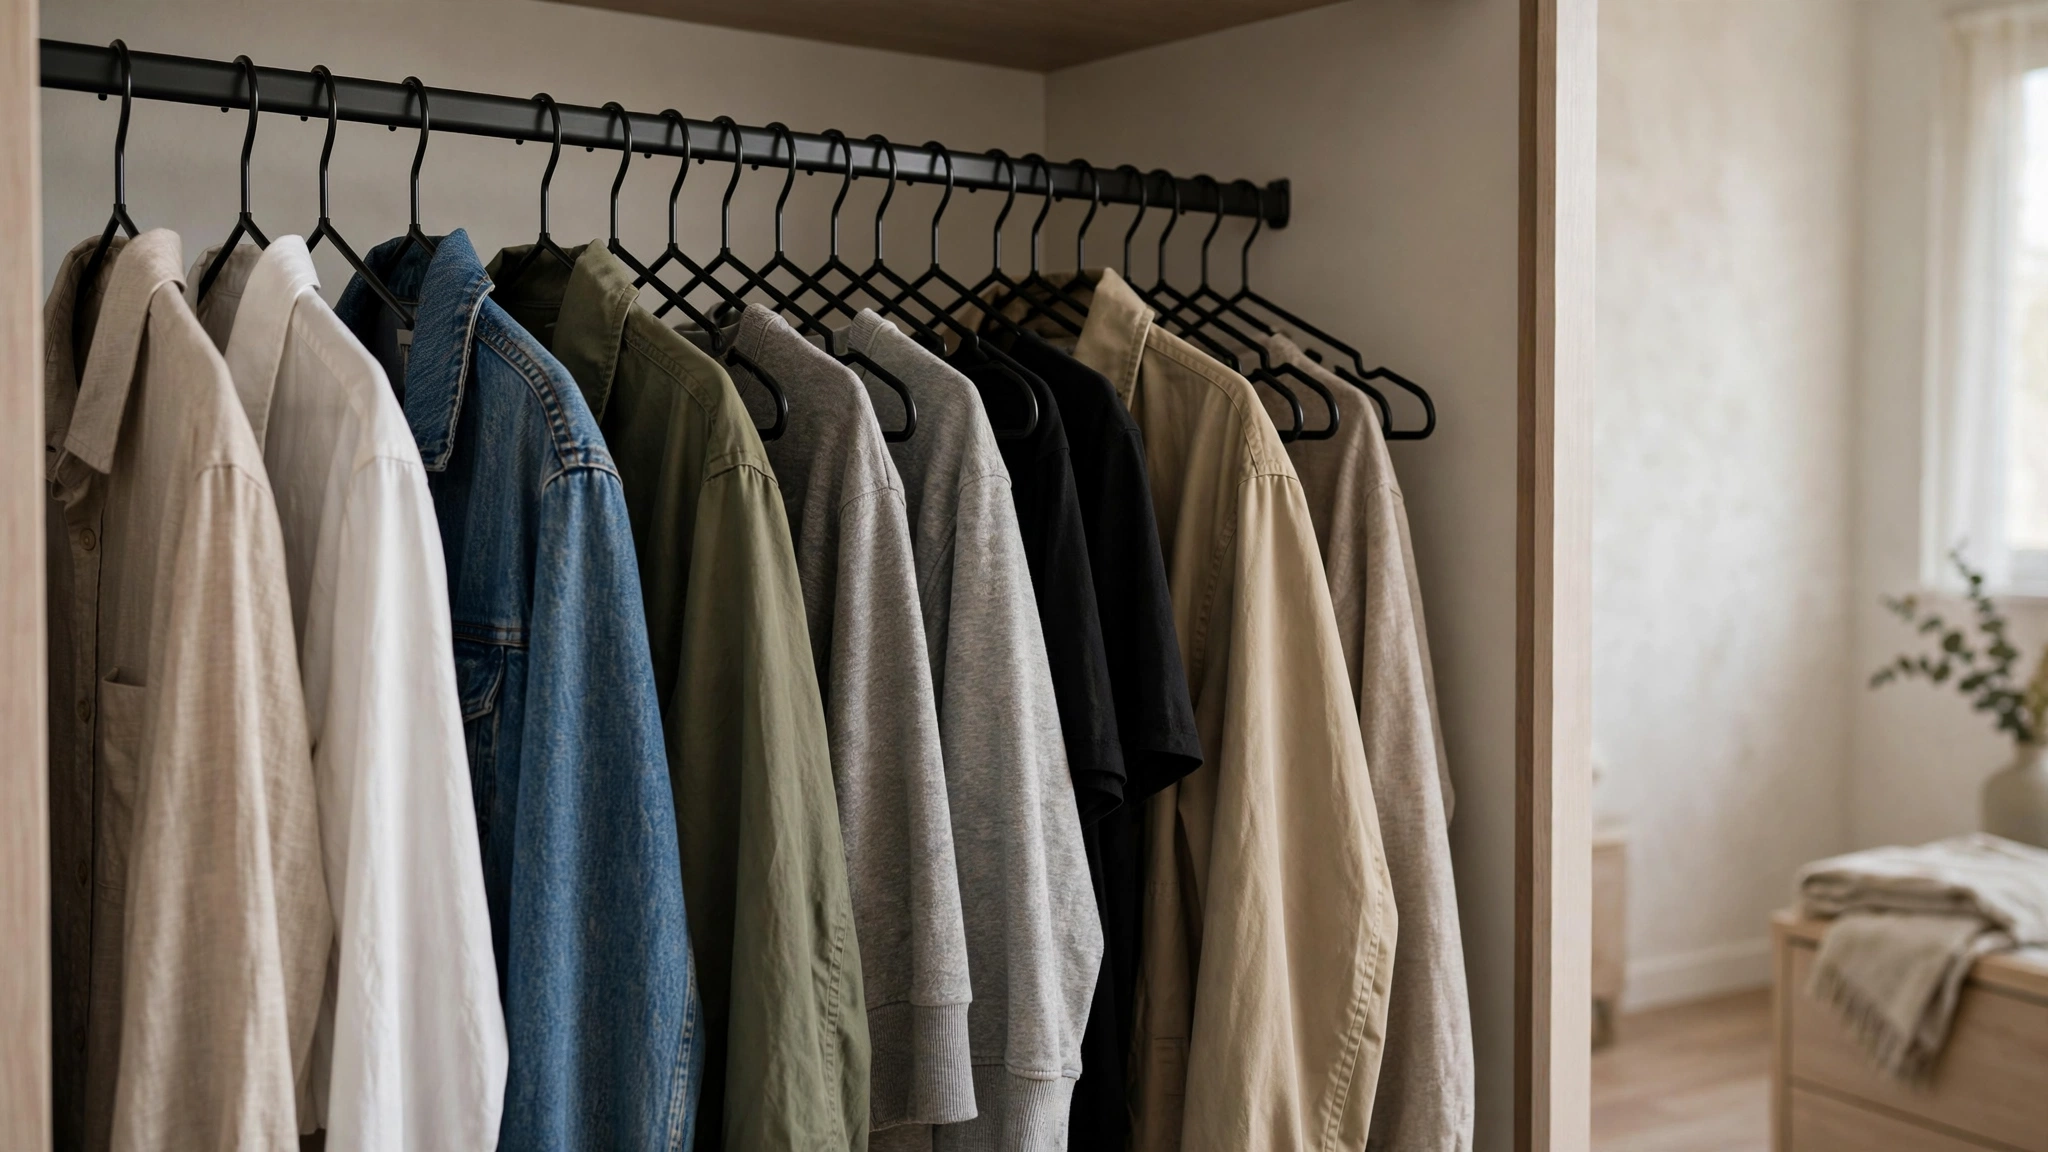
If color curation is the composition, matching hangers are the frame. Walk past any open wardrobe and your eye catches the hangers first — and if you see a mix of wire dry-cleaner hangers, chunky plastic tubed hangers, and three different colors, the whole thing reads as chaos no matter how nicely the clothes are arranged.
Why it works for renters: Hangers travel with you. This is one of the few wardrobe investments that moves to your next apartment with zero reinstall work, and slim velvet or slim plastic hangers nearly double your rod capacity compared to mixed chunky ones. That matters when your open wardrobe is all you’ve got and every inch counts.
How to do it:
- Count your hanging items first — buy one pack type in one color (black, gray, or beige all disappear visually; white works if your clothes are mostly dark). Slim velvet hangers are the crowd favorite, but slim molded plastic ones work just as well.
- Hang every hanger facing the same direction, hooks all pointing the same way. It sounds fussy; it photographs beautifully and it genuinely makes the rod look calmer.
- Keep heavy items off the slim hangers. Coats and heavy denim do better on a few sturdier wooden or contoured hangers in a matching finish — mixing in one sturdy style for outerwear reads as intentional, not inconsistent.
- Recycle or donate the mismatched hangers the same day. If they stay in the apartment, they’ll creep back onto the rod within a week.
Approximate cost: $12-25 for a multi-pack of 30-50 slim hangers, enough for most open wardrobes.
3. Add LED Strip Lighting So It Looks Like Display Furniture
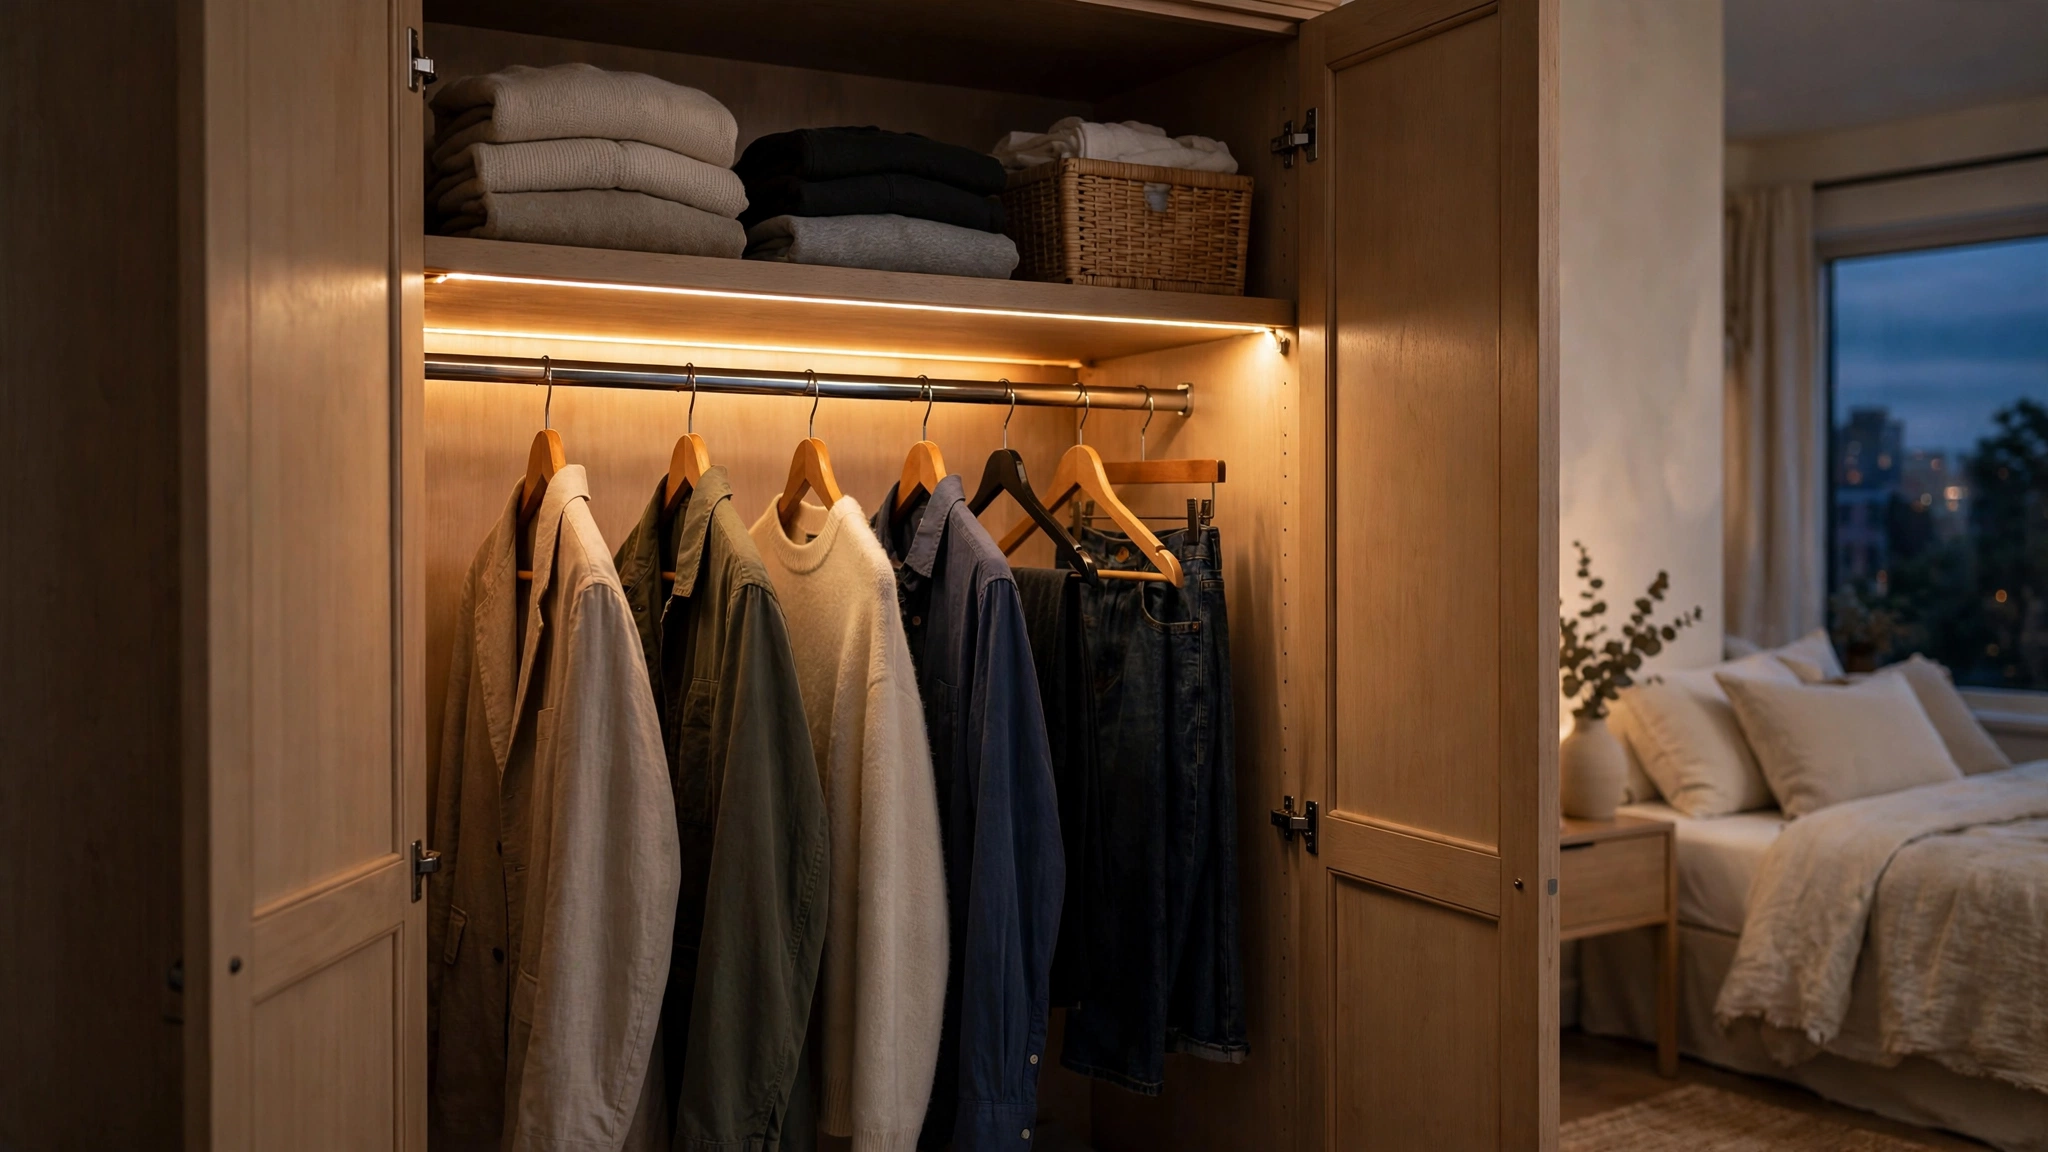
This is the move that makes guests ask “wait, did this come with the apartment?” Light tells the brain that something is meant to be looked at. Museums light art; boutiques light racks; you can light your wardrobe. A warm LED strip tucked under a shelf or along the inside of the frame turns an open wardrobe into a glowing display niche, and it hides a multitude of sins — slightly uneven folds and imperfect spacing look ten times better in warm light.
Why it works for renters: Battery-powered LED strips and puck lights need no wiring, no drilling, and no electrician. They mount with adhesive backing or magnetic strips, peel off cleanly at move-out, and most remotes or timers cost less than a takeout dinner. This is also the fastest transformation on this list: about fifteen minutes from box to glow.
How to do it:
- Measure the inside width of your wardrobe frame or shelf. Buy a warm-white (2700-3000K) LED strip in the closest length — warm light flatters clothes and skin; cool blue-white light makes everything look like a warehouse.
- Stick the strip to the underside of the top shelf or the top inside edge of the frame, set back about an inch from the front edge so you see the glow, not the dots. Run the wire (or place the battery pack) discreetly on top of the frame.
- If a strip feels like too much, use two or three battery puck lights with adhesive backs, spaced evenly along the top. They give the same display-case effect with zero measuring.
- Set a timer if your lights have one. Having the wardrobe glow on in the evening and off overnight makes it feel like a permanent feature of the room rather than a project you did once.
Approximate cost: $15-30 for a battery LED strip or puck light set with remote and timer.
4. Give the Back Panel a Removable Makeover
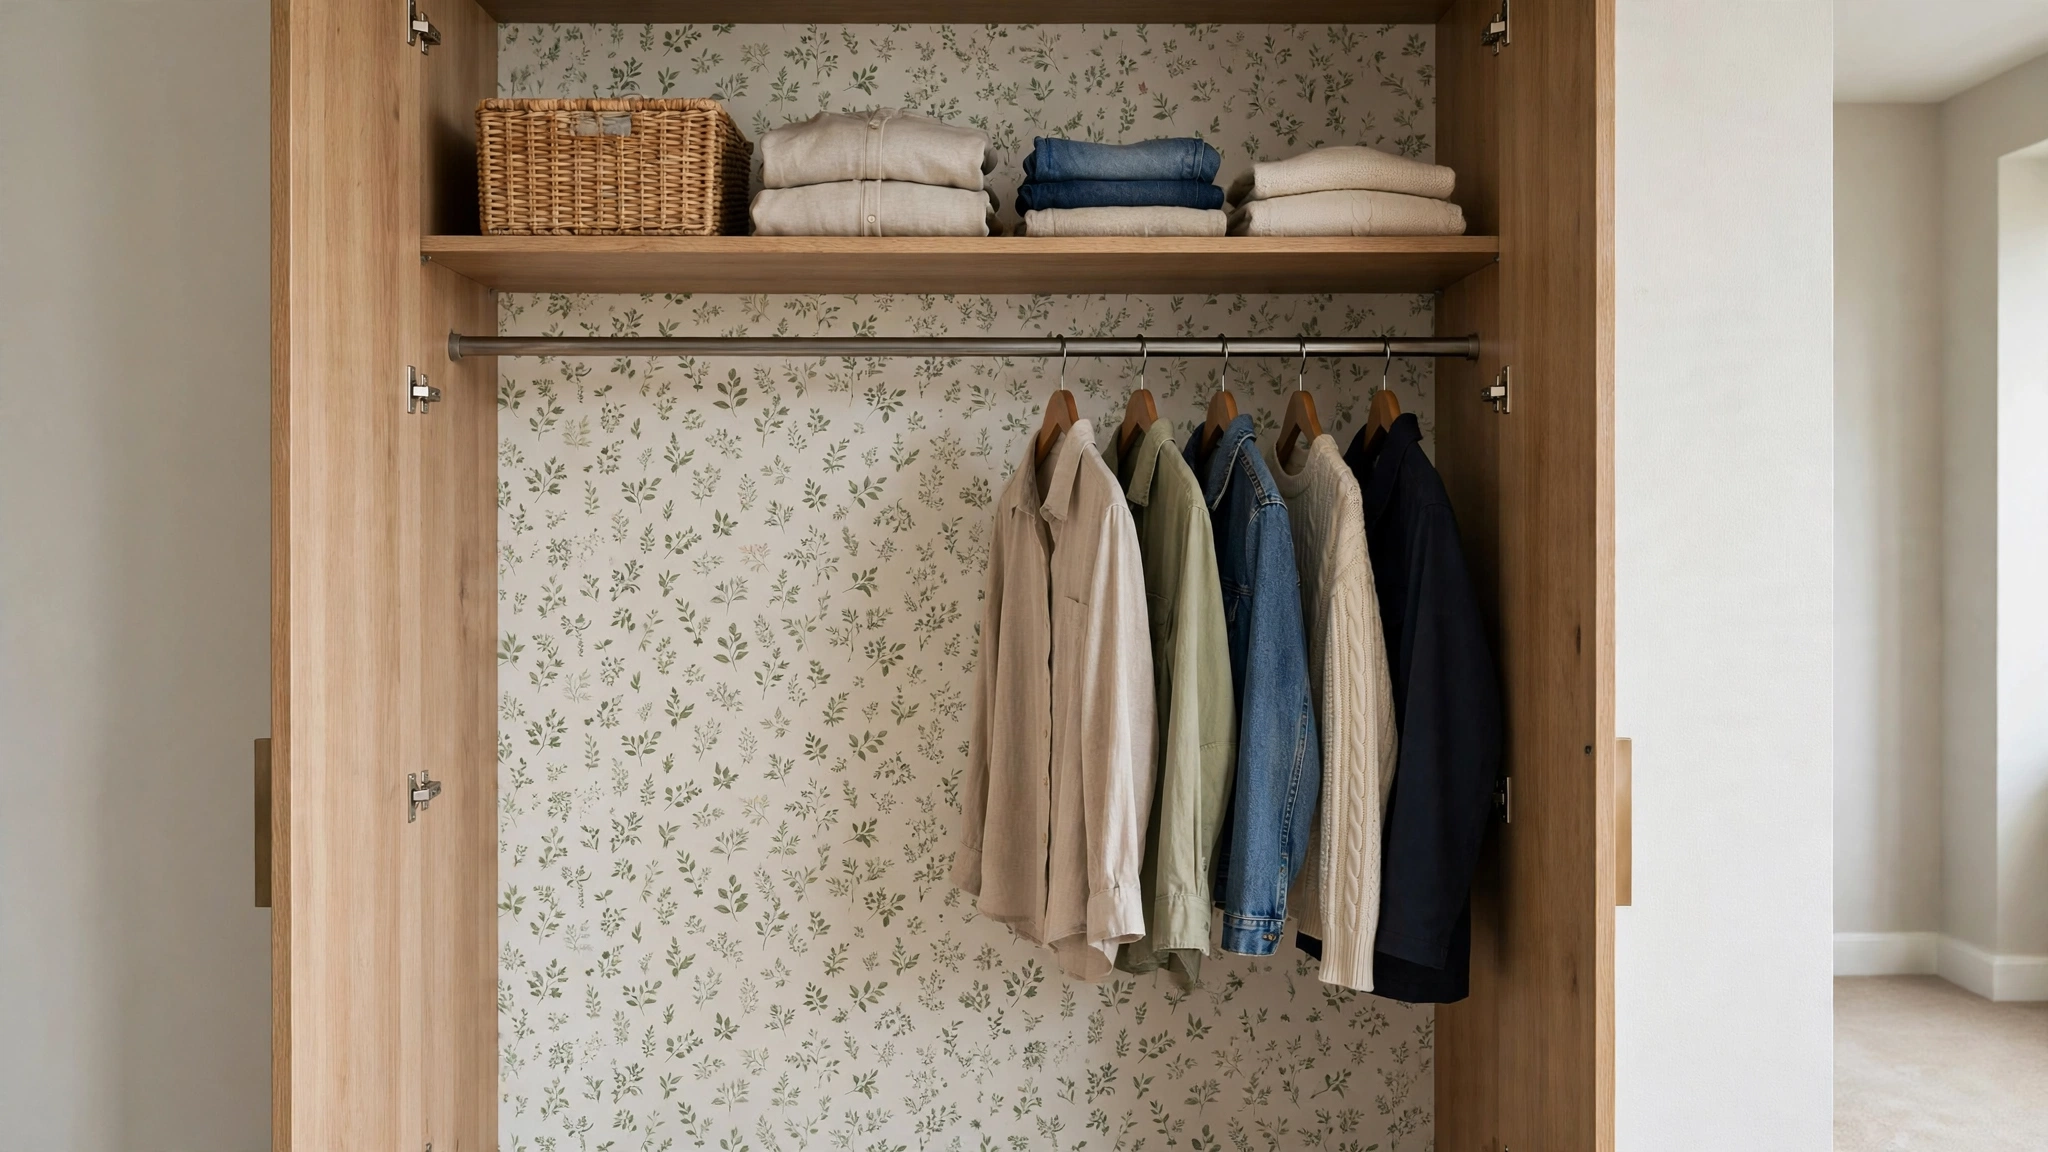
An open wardrobe is basically a shadow box: whatever’s behind your clothes becomes the backdrop of the whole composition. If that backdrop is scuffed drywall, beige rental paint, or the unfinished back of a freestanding wardrobe, everything in front of it looks a little tired. A removable back-panel finish — peel-and-stick wallpaper, washi-patterned contact paper, or even a tension-hung fabric panel — gives the wardrobe depth, pattern, and personality.
Why it works for renters: Peel-and-stick wallpaper and quality contact paper are designed to come off without damaging walls; most reputable brands even advertise damage-free removal. Because you’re only covering the inside back of a wardrobe, you need a fraction of a roll, which keeps the cost low and lets you be braver with pattern than you would be on a whole wall. And if your landlord ever raises an eyebrow, it peels off in one afternoon.
How to do it:
- Measure the back panel and buy a single roll (or a few large sheets) of peel-and-stick wallpaper in a pattern that flatters your clothes — subtle textures, small-scale prints, or warm neutrals work best. Avoid anything too busy; it’s a backdrop, not the star.
- Clean the back panel with a damp cloth and let it dry completely. Adhesive sticks best to clean, dry surfaces, and you want full contact so edges don’t lift.
- Apply from the top down, smoothing as you go, and trim the excess with a sharp craft knife. If you’re nervous about commitment, start with just the back panel of one section to see how you like it.
- No wallpaper in the budget? A tension rod stretched across the inside of the wardrobe with a piece of fabric hung behind your clothes gives the same layered-backdrop effect for a few dollars — and it’s even easier to remove.
Approximate cost: $10-40 for a partial roll of peel-and-stick wallpaper or a fabric panel with a tension rod.
5. Style Shelves With Coordinated Baskets and Bins
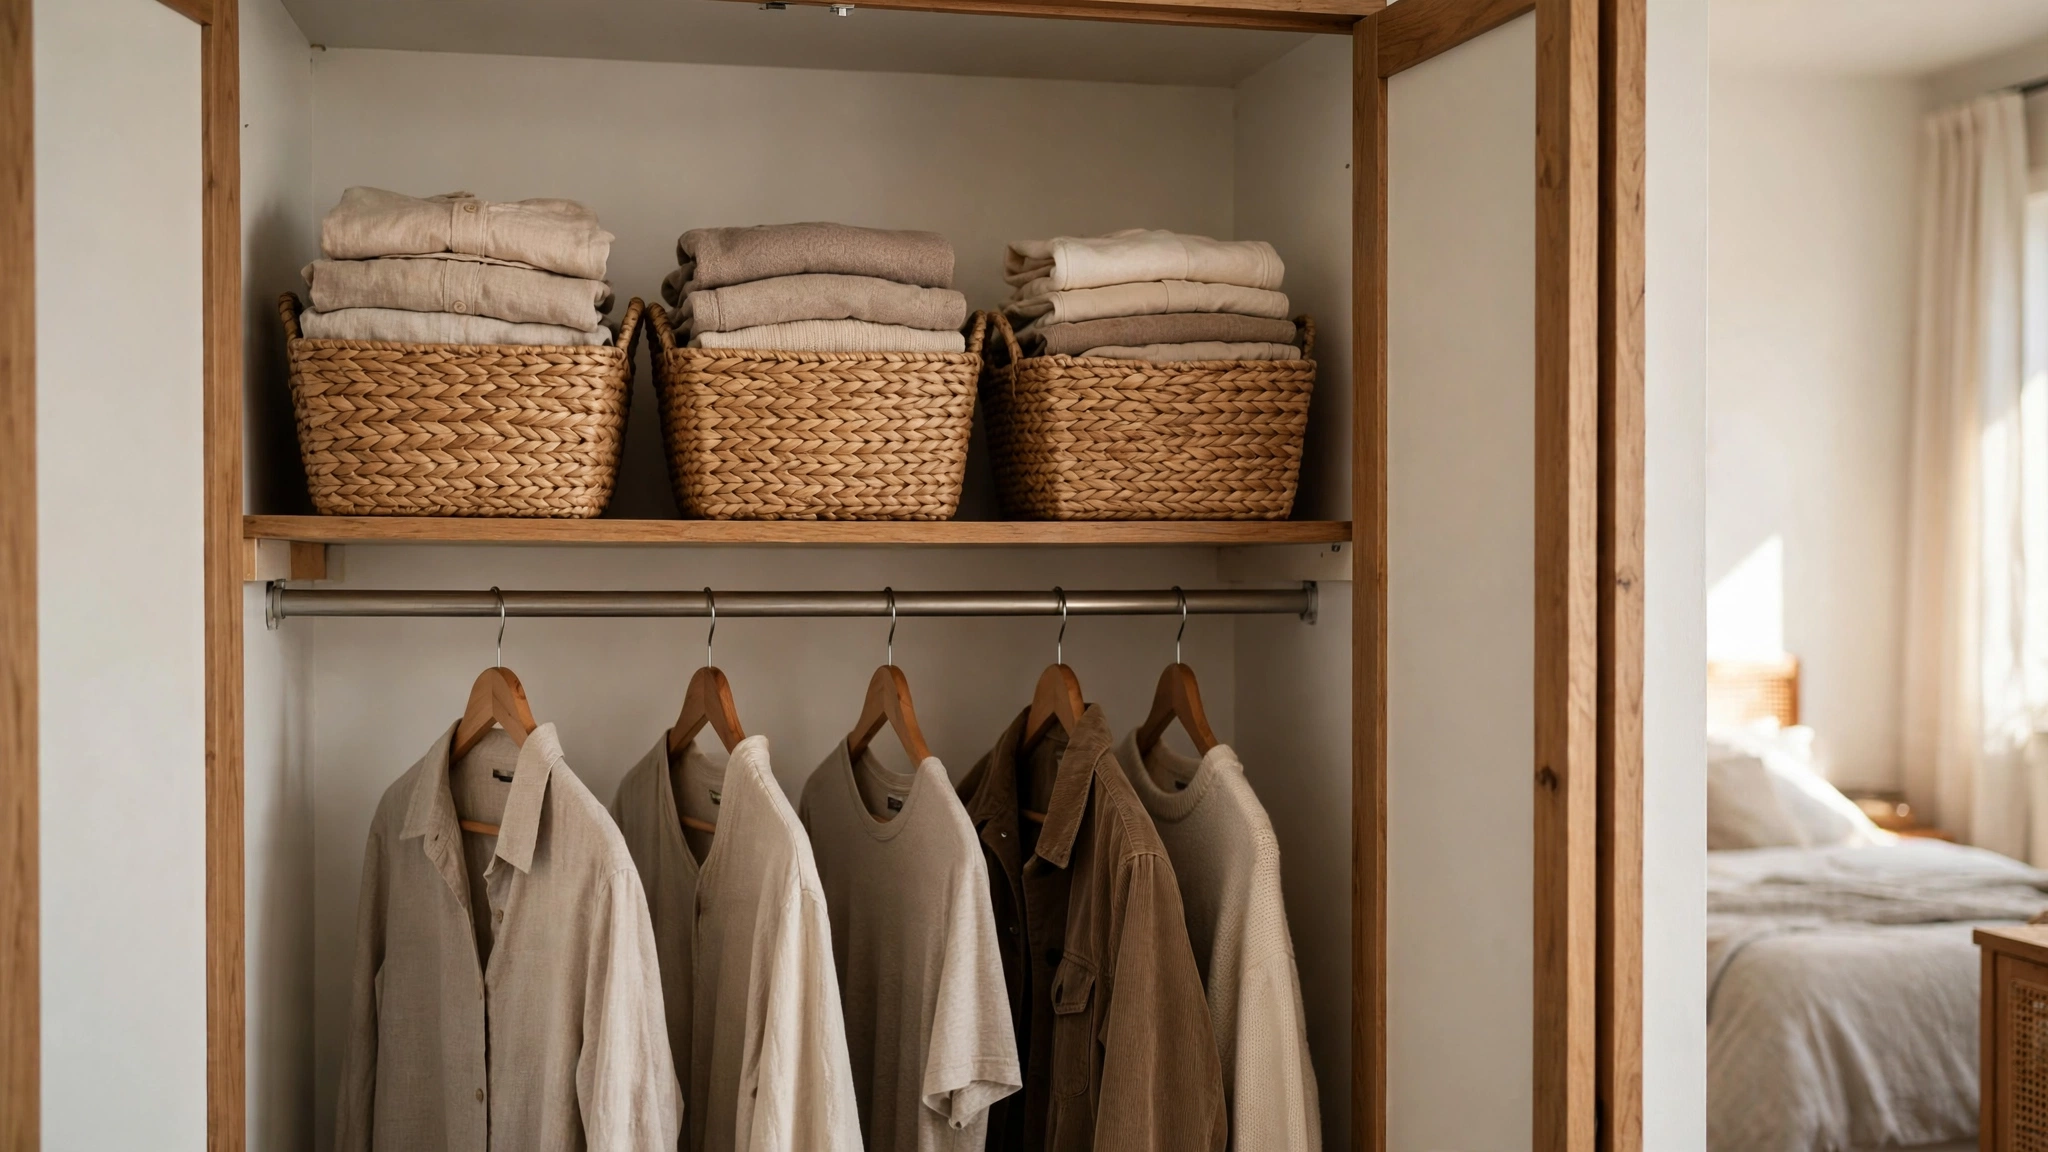
Every open wardrobe has a “mess zone” — the shelf where jeans, workout clothes, and things that don’t hang go to become a pile. You can’t eliminate the pile, but you can contain it. Coordinated baskets and bins turn the chaos zone into something that looks styled, and they hide the categories that are hardest to keep pretty: underwear, socks, workout gear, and seasonal overflow.
Why it works for renters: Baskets are furniture, not fixtures. They sit on shelves, they come with you to the next place, and they require zero installation. A row of matching baskets in a natural material also adds the texture and warmth that open wardrobes often lack — it breaks up the all-clothes visual and makes the unit read as furniture rather than a closet that lost its doors.
How to do it:
- Measure your shelves and buy baskets that fit snugly side by side — a shelf with three identical baskets looks designed; three different baskets looks like a thrift-store accident. Natural woven, fabric, or matte plastic all work; pick one material and one color family.
- Assign one category per basket and label them if it helps you maintain the system — socks, underwear, workout clothes, accessories. The labels can be removable tag holders or chalk labels so nothing is permanent.
- Fold using a simple file fold (clothes standing upright like files in a drawer) instead of stacking. You can see everything at a glance, nothing gets crushed at the bottom, and the baskets stay neat even when they’re full.
- Leave one basket deliberately empty or half-empty. It becomes the landing zone for things that need putting away later, and it keeps the shelf from looking overstuffed.
Approximate cost: $15-40 for a set of 3-5 coordinating baskets, depending on material and size.
6. Use Symmetry and Breathing Room
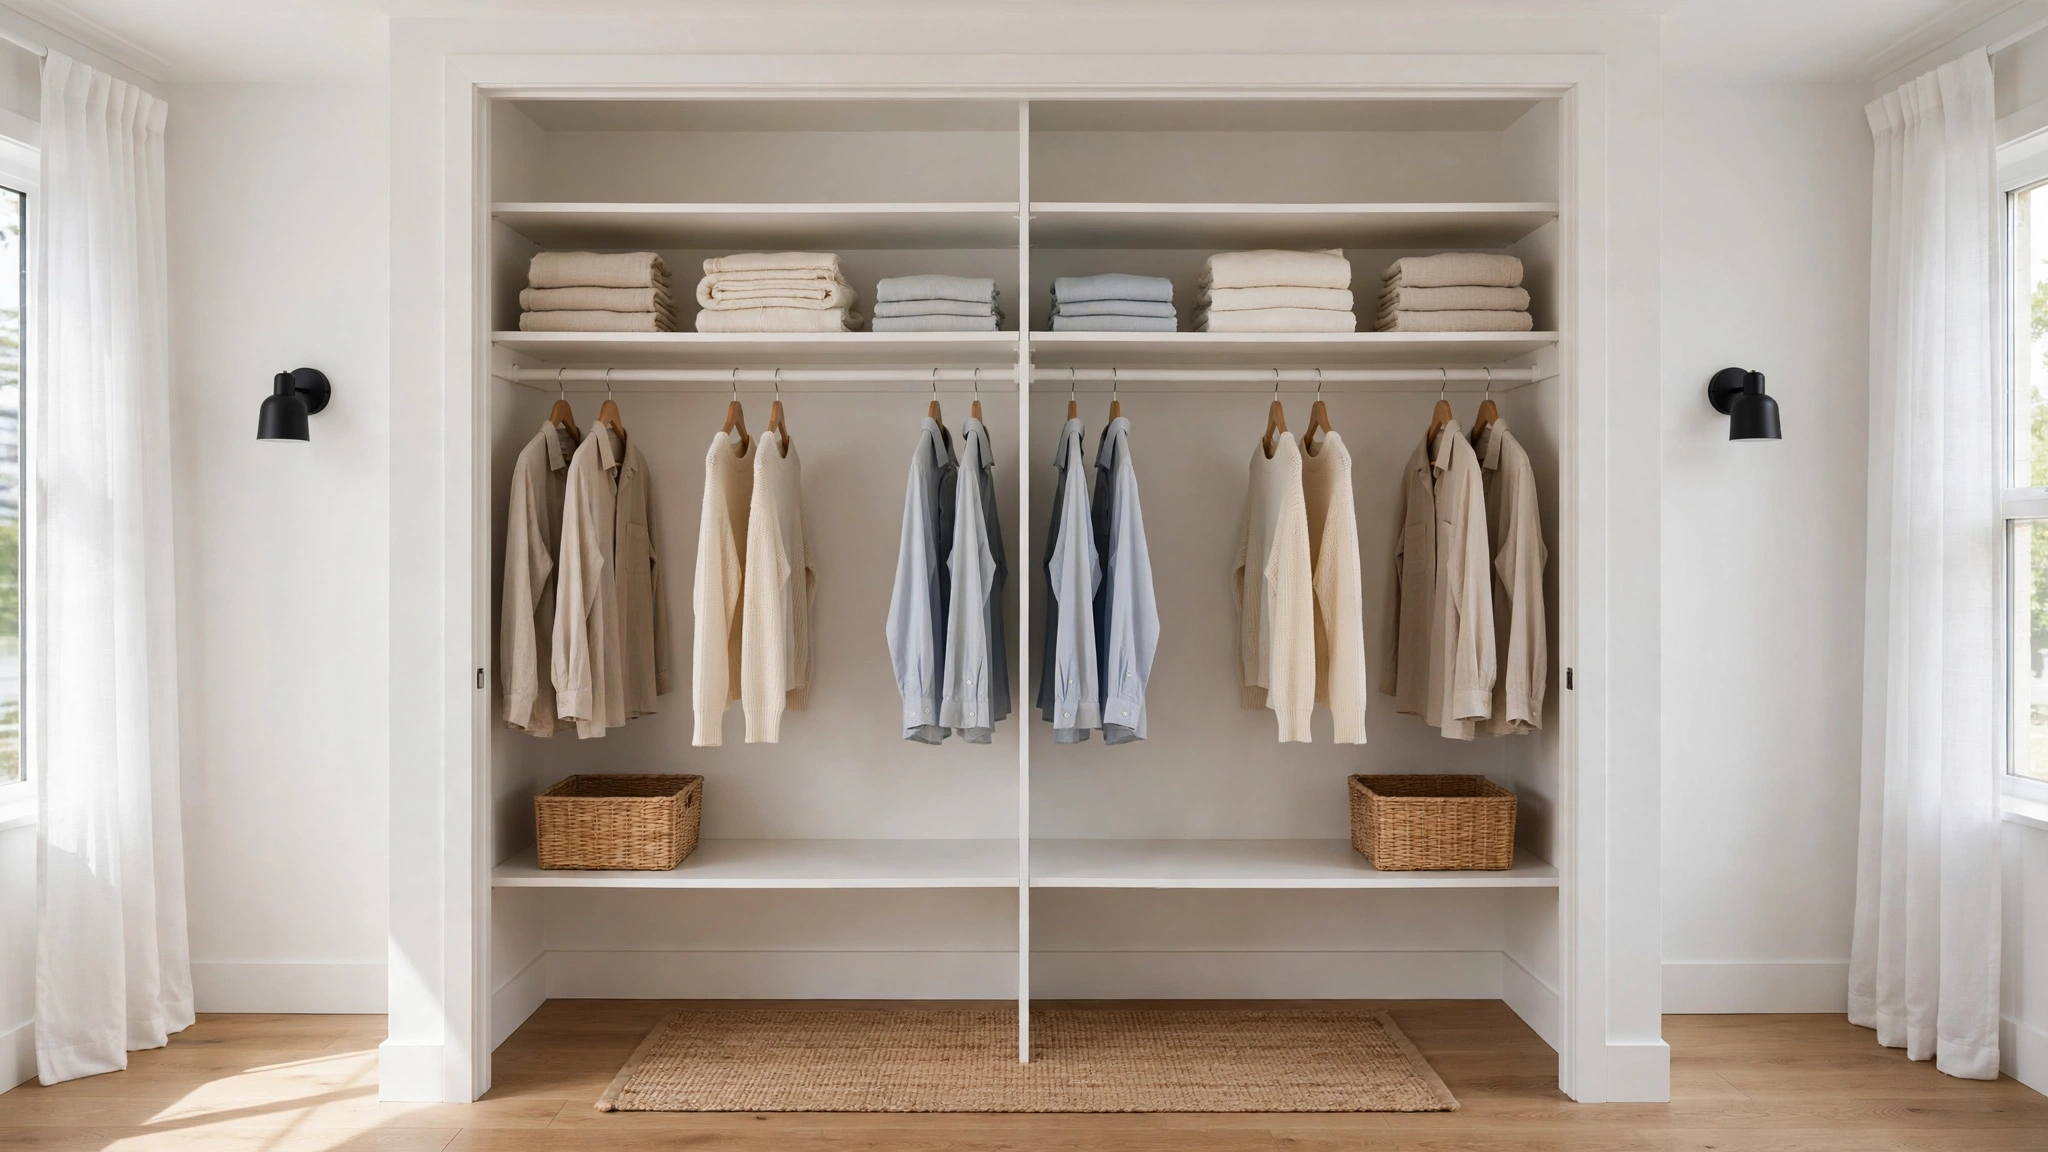
Here’s a styling secret from every visual merchandiser I’ve ever talked to: restraint photographs better than abundance. An open wardrobe crammed to 100% capacity looks like a storage problem. The same wardrobe at 75-80% capacity, with a little air between groupings, looks like a curated display. Spacing is free, and it’s the fastest way to make everything else you’ve done look twice as good.
Why it works for renters: This is pure arrangement — no purchases, no installation, fully reversible by definition. It’s also the step that protects everything above: color curation falls apart when items are jammed together, and matching hangers can’t do their job if the rod is overstuffed. Think of breathing room as the editing pass that makes the styling visible.
How to do it:
- Aim for visual balance: group the longest items (dresses, coats) on one end and the shortest (folded shelves, baskets) toward the other, or mirror the arrangement around the center. Even a rough symmetry reads as intentional.
- Leave two to three inches of clear space between your clothing groups — between the work clothes and the weekend clothes, between hanging and shelving. That gap is what the eye reads as “designed.”
- If you’re over capacity, that’s information, not failure. Move off-season clothes (idea #10) to under-bed storage or a high shelf in bins, and donate the pieces you skip every morning. An open wardrobe punishes overstuffing visibly, so edit harder than you would with a doored closet.
- Step back to the doorway and squint. Seriously — squinting blurs the details and shows you the overall shapes. If one side looks heavy and the other looks empty, shift a basket or a shoe row to rebalance.
Approximate cost: $0. Maybe a donation bag or two, which is a gain, not a cost.
7. Style the Top Surface Like a Display Shelf
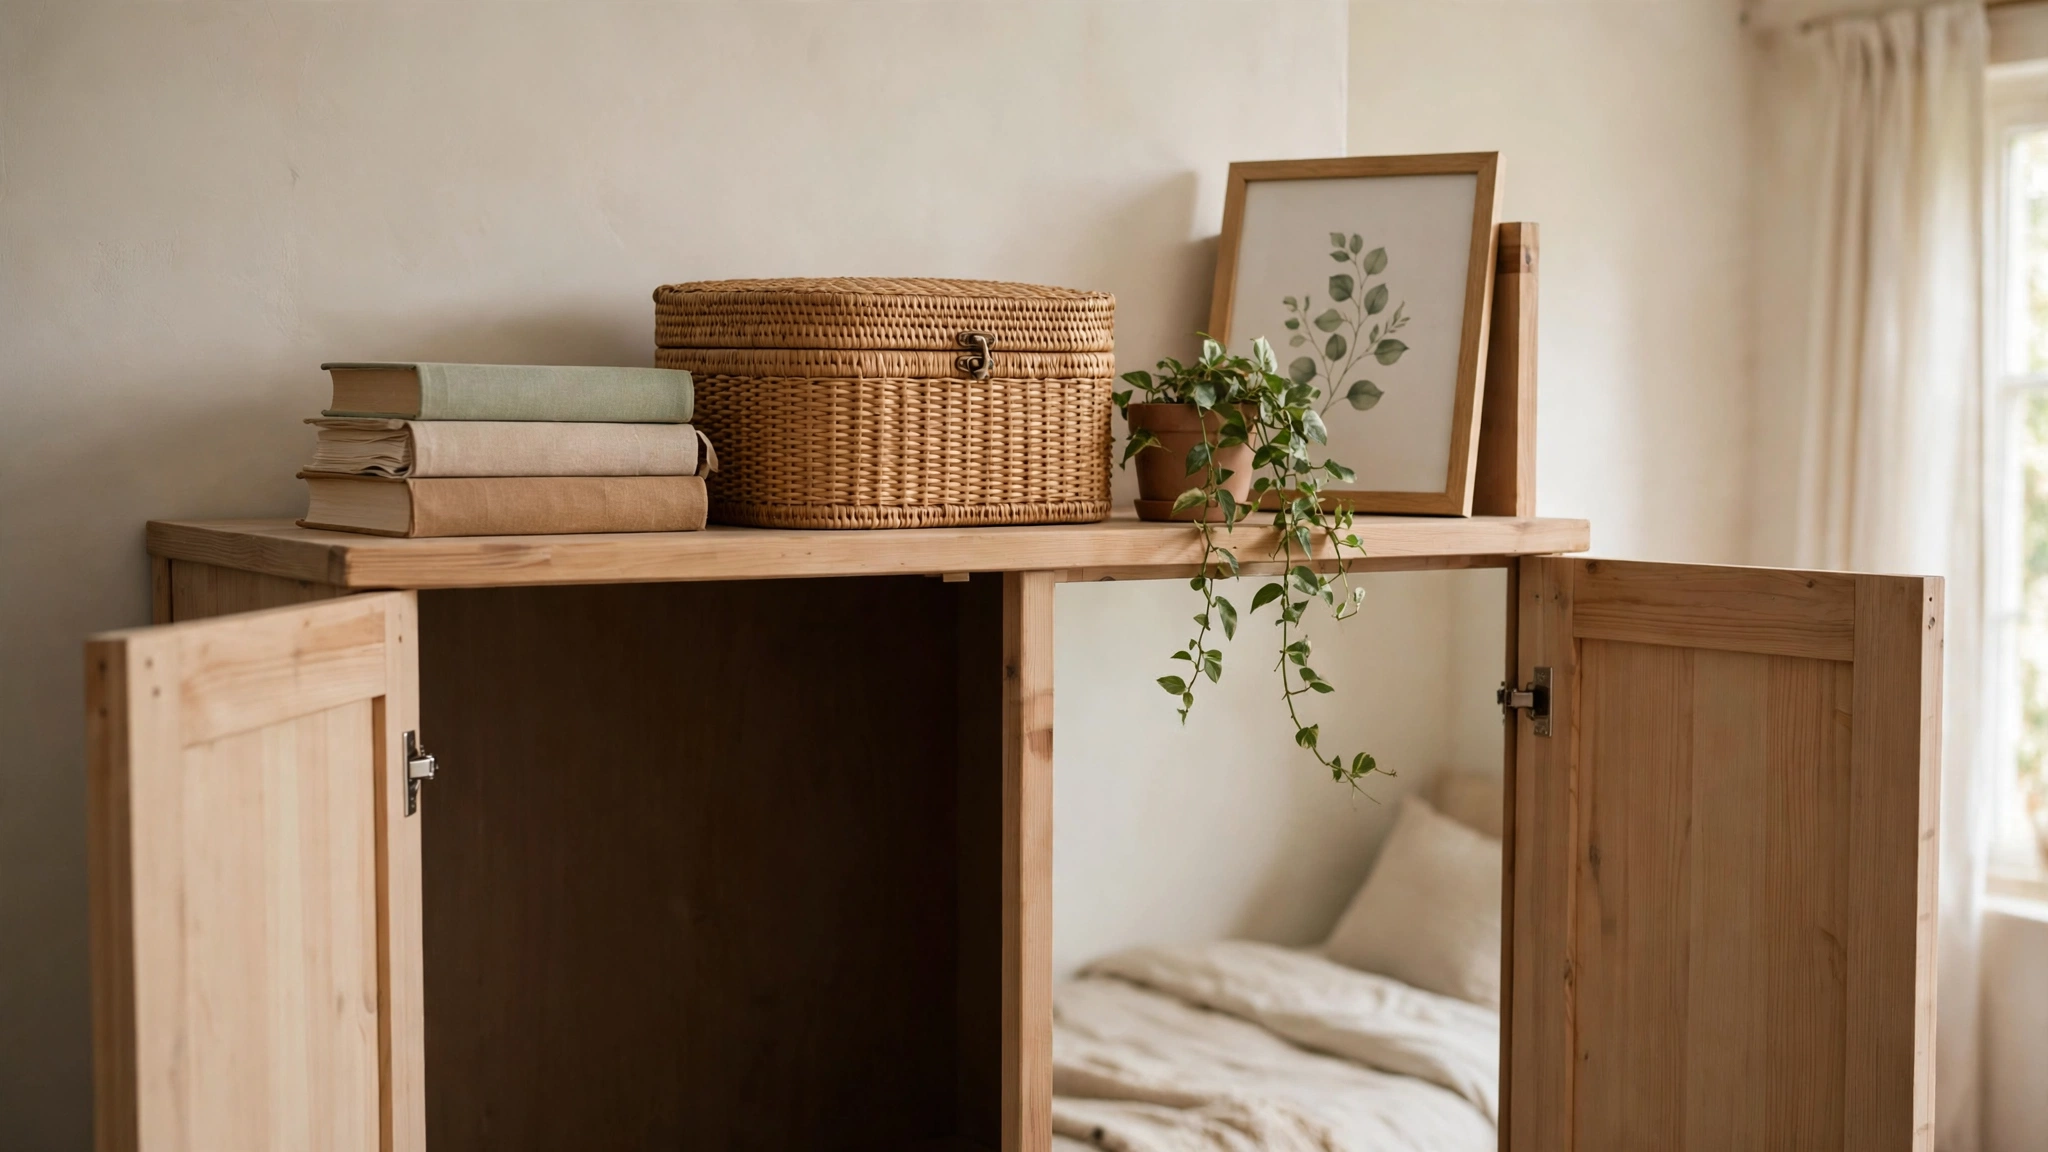
The top of an open wardrobe is prime real estate that most renters waste on a jumble of handbags, hat boxes, and “I’ll deal with it later” piles. But in a doorless wardrobe, the top is at eye level from across the room — it’s the first thing people see. Treat it like the top of a bookshelf or a mantel: a few intentional objects, and nothing else.
Why it works for renters: Nothing here attaches to the landlord’s property. You’re arranging objects you already own on a surface that already exists. It’s also the easiest zone to refresh — swapping two or three objects seasonally (idea #10) keeps the whole wardrobe feeling current with almost no effort.
How to do it:
- Clear the top completely and start fresh. Everything that lived up there goes somewhere intentional — handbags get hooks inside the wardrobe or a row on a shelf; “later” piles get sorted or donated.
- Arrange three to five objects with varied heights: a small stack of books, a lidded box that hides small clutter, a trailing plant or a small vase, a framed photo or print. Odd numbers and varied heights are the classic stylist formula because they look natural rather than lined up.
- Keep the back edge of the top slightly fuller and the front edge clear. Depth makes the display look layered; a clear front edge keeps it from feeling like it’s about to avalanche onto the floor.
- Resist the urge to use the top as overflow storage. The moment the top becomes a second pile, the whole wardrobe reads as cluttered again — even if the inside is perfect. If overflow is real, that’s a sign to edit (idea #6), not to stack higher.
Approximate cost: $0-30, depending on whether you use what you own or add a storage box or small plant.
8. Line Up Shoes in Coordinated Rows
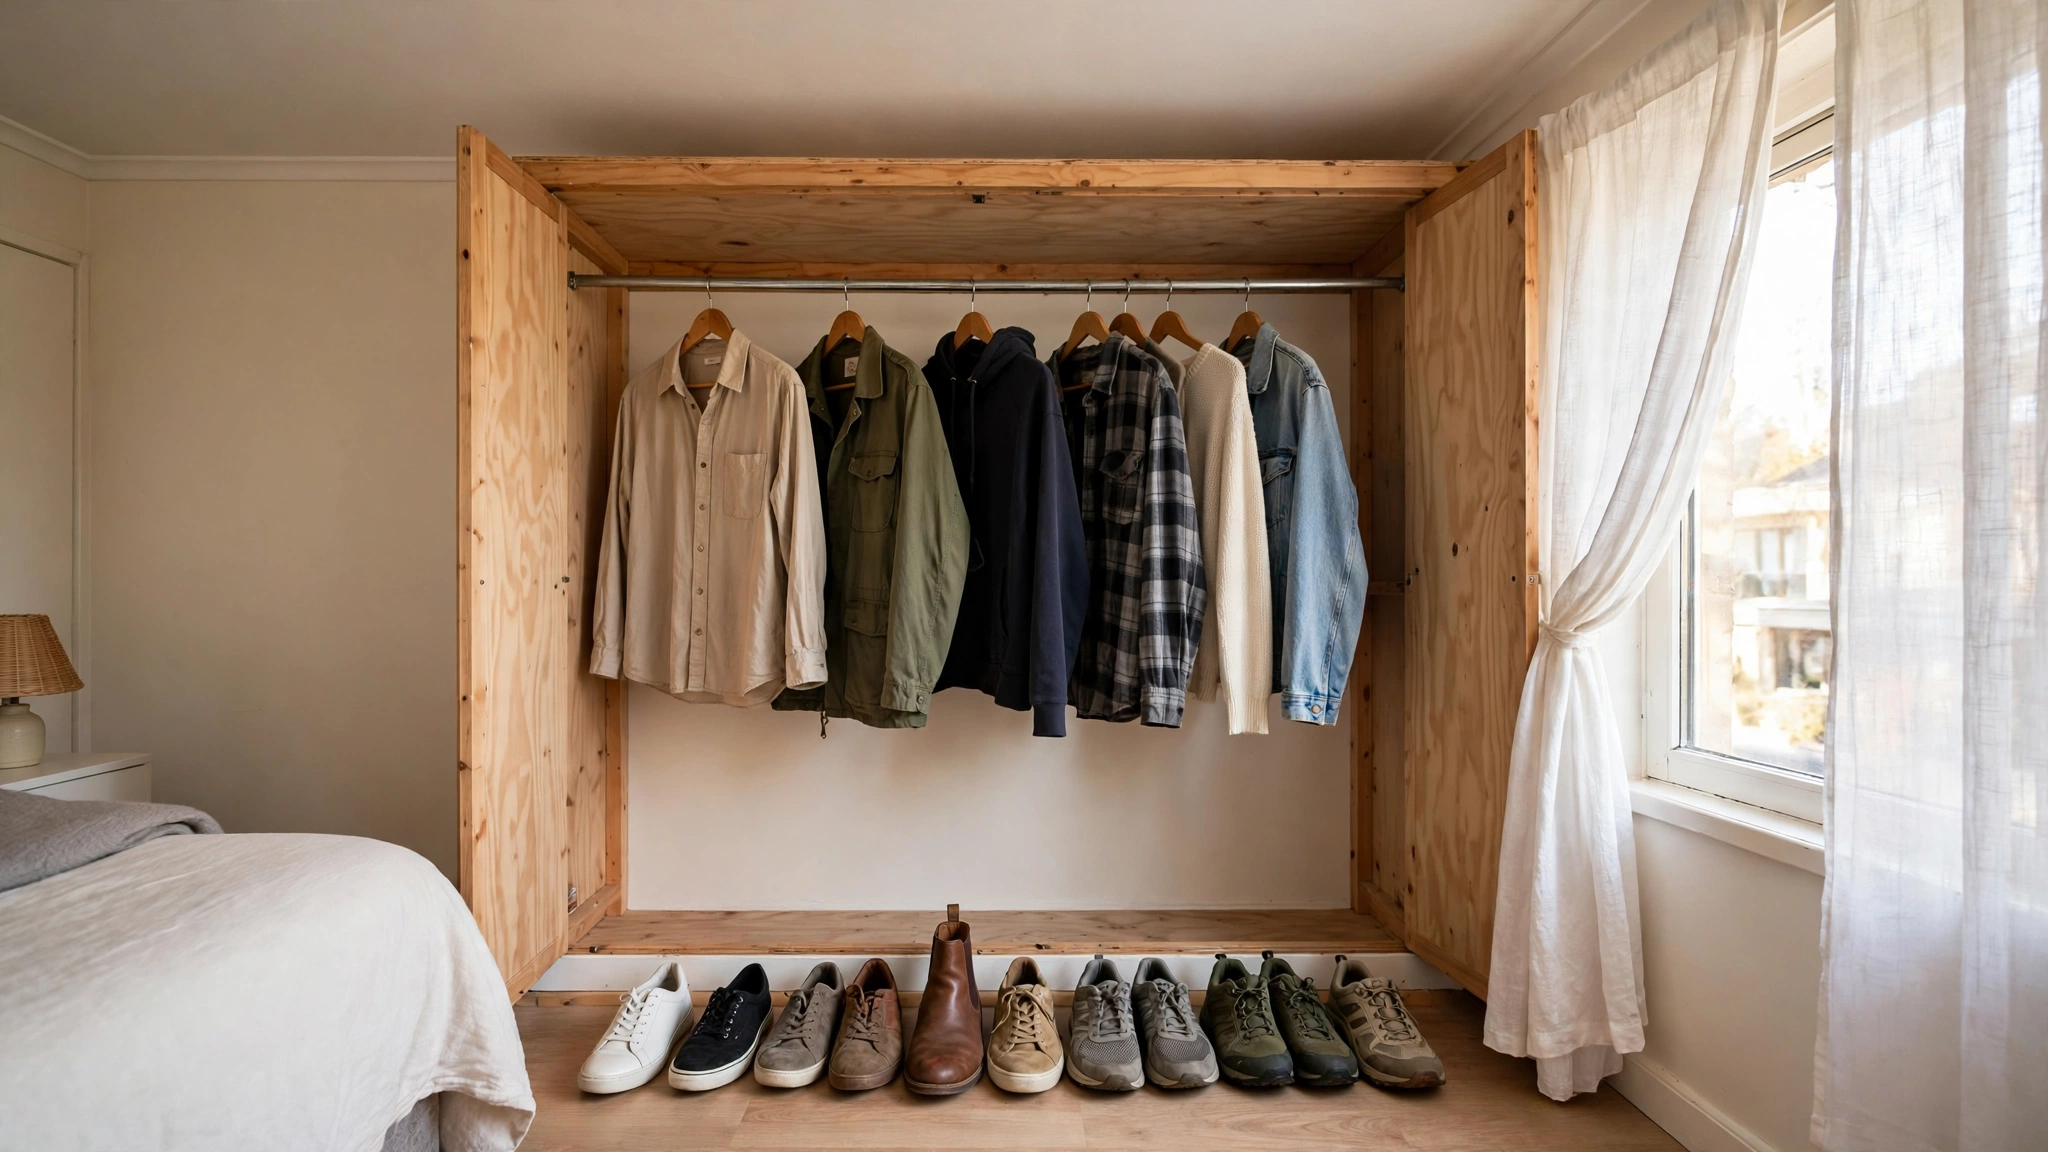
Shoes are the detail that makes or breaks an open wardrobe, because they’re low to the ground where the eye naturally finishes its scan — and a jumble of mismatched pairs under the hanging clothes is the visual equivalent of a mic drop of chaos. A row of shoes, lined up toe-forward with consistent spacing, finishes the composition the way a hem finishes a garment.
Why it works for renters: Shoes live on the floor or a low shelf — no installation, no damage, nothing to undo. A simple freestanding shoe rack or a few low boxes can organize a dozen pairs without touching the walls. And like matching hangers, shoe storage travels with you.
How to do it:
- Start with a clean row: every pair toe-forward, facing the same direction, with about an inch between pairs. Just this — before you buy anything — will transform the bottom of the wardrobe.
- If floor space is tight, add a low two-tier freestanding shoe rack that fits under the hanging clothes. Measure the clearance first; you want the longest hanging items to clear the top of the rack by a few inches.
- Group by color or by type within the row — all the sneakers together, all the boots together. The same curation principle from idea #1 works down at floor level.
- Store the off-season and rarely-worn pairs elsewhere — in labeled boxes on a high shelf or under the bed. The row on display should be your current rotation only. Ten pairs on display look designed; twenty look like a shoe store clearance rack.
Approximate cost: $0-25 for a freestanding two-tier shoe rack; $0 if you use the floor or existing boxes.
9. Frame It With Removable Trim Molding
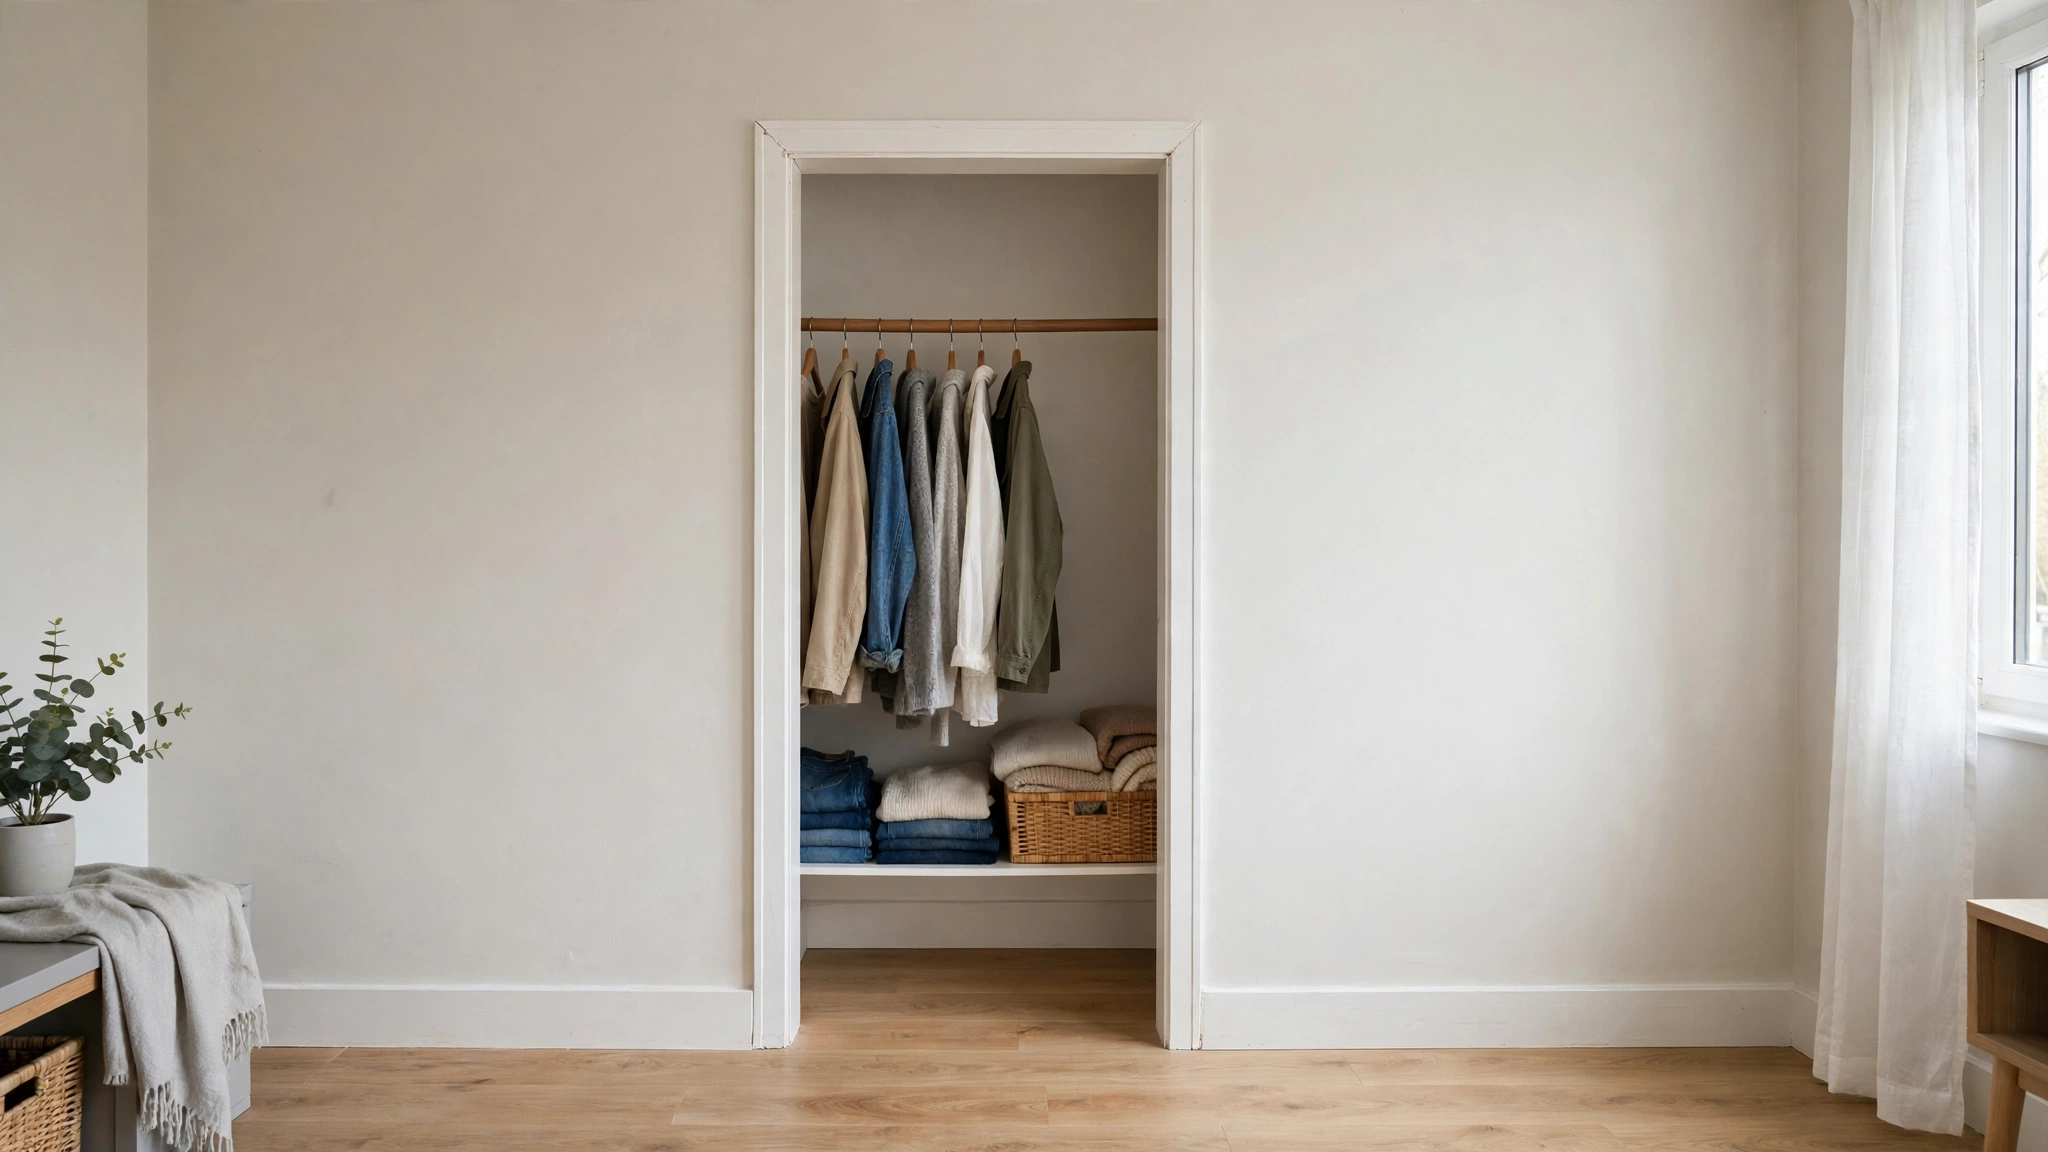
If your open wardrobe is an alcove or a built-in nook rather than freestanding furniture, you can give it an architectural frame that makes it look like a designed feature instead of a missing-doors accident. Self-adhesive trim molding — lightweight foam or PVC strips with peel-and-stick backing — outlines the opening like a picture frame, and it changes the whole read of the space from “unfinished” to “intentional.”
Why it works for renters: This is the one idea on the list that sounds permanent but isn’t. Peel-and-stick trim is specifically made to be removed without damaging paint; it’s the same category as removable hooks and strips that renters use everywhere. You’re not nailing anything into the landlord’s walls. When you move, it peels off, and a quick wipe with a damp cloth removes any residue. (As with all adhesive products, do a small test patch first in an inconspicuous spot, and keep the packaging — most leases appreciate documented care.)
How to do it:
- Measure the front face of the wardrobe opening — top and both sides. Buy lightweight self-adhesive trim molding in a simple profile (plain flat trim reads modern; a small ogee profile reads classic). White or cream works in almost every rental.
- Cut the pieces to length with a small hand saw or sturdy craft knife, and miter or butt-join the corners. Dry-fit everything before peeling any backing.
- Peel and press the trim around the opening, starting at the top. Hold each piece firmly for thirty seconds so the adhesive bonds fully.
- If trim feels like too much, a narrower version of the same trick works: a thin peel-and-stick border or even a clean line of washi tape in a solid color around the opening gives a hint of framing for a few dollars.
Approximate cost: $15-35 for enough peel-and-stick trim to frame a standard wardrobe opening.
10. Rotate a Seasonal Capsule Display
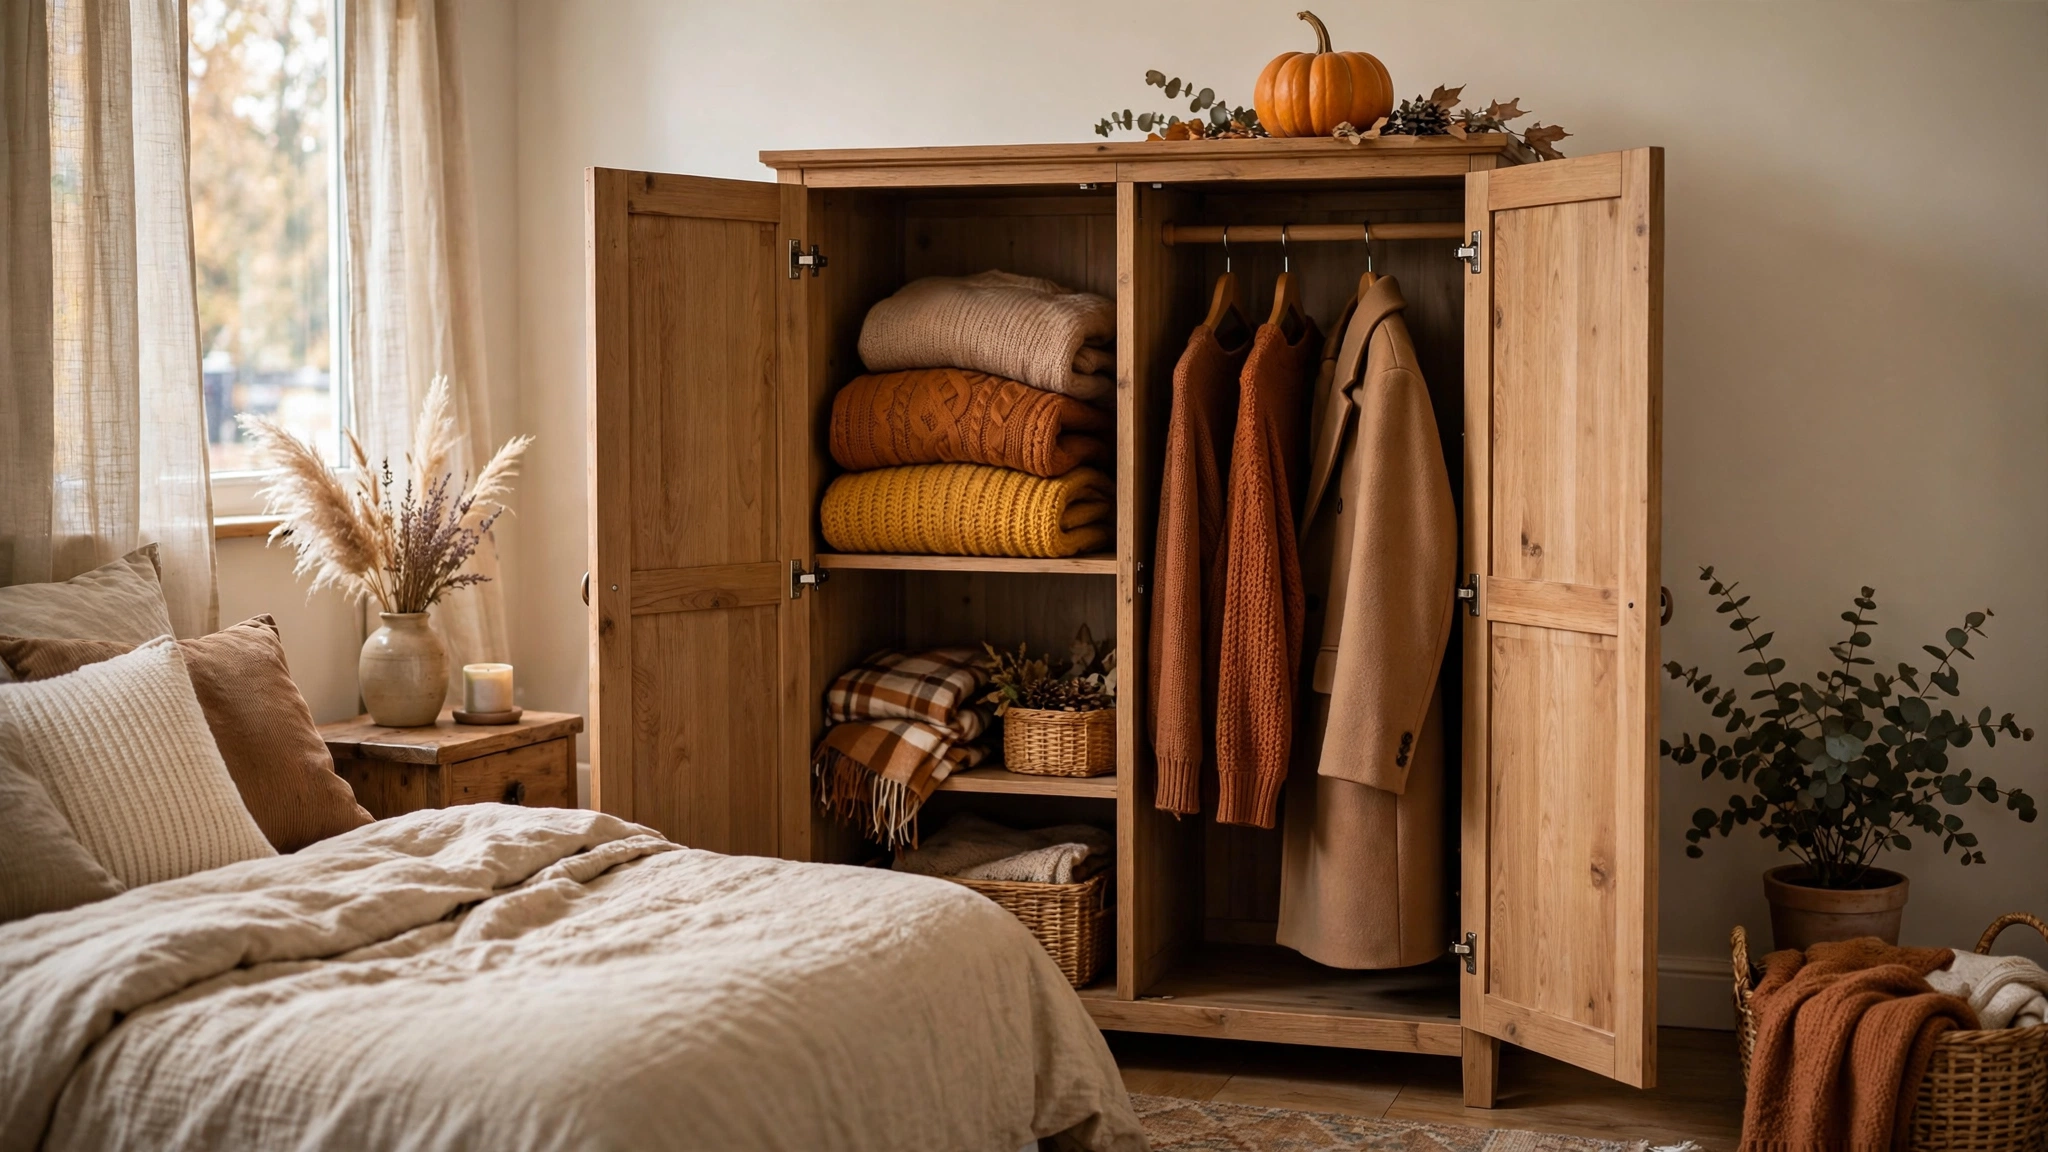
The final layer is the one that makes your open wardrobe feel alive rather than static: a small, deliberate seasonal rotation. Set aside one shelf or one section of the rod as your “display capsule” — the current season’s best pieces, styled with extra care, while everything off-season lives in bins elsewhere. When the season changes, the capsule changes, and the whole wardrobe gets a refresh without a single new purchase.
Why it works for renters: This is a system, not a product. It costs nothing, requires no installation, and it solves the two biggest open-wardrobe problems at once — overstuffing (idea #6) and staleness. Renters who rotate seasonally also report that getting dressed gets easier, because the display capsule is essentially a pre-edited daily selection.
How to do it:
- Designate the capsule zone: one shelf, or about a foot of rod space plus one basket. Keep it small — the constraint is the point.
- Choose 8-12 pieces that define the current season for you — the coat you actually reach for, the boots, the sweaters in this season’s colors. Hang or fold them with the full styling treatment: color order, matching hangers, breathing room.
- Add one seasonal touch to the top-of-wardrobe display (idea #7): a small pumpkin in fall, a sprig of evergreen in winter, a shell or two in summer. One object is enough — this isn’t a holiday display, it’s a wardrobe.
- When the season turns, box the capsule into a labeled bin (under the bed or on a high shelf) and build the next one. The swap takes under an hour and it genuinely feels like redecorating, because visually, it is.
Approximate cost: $0. The bins for off-season storage are the only possible expense, $10-20 if you don’t already own them.
Your Open Wardrobe Can Be the Best Corner of Your Room
An open wardrobe with no doors isn’t a defect in your rental — it’s a display waiting to happen. Start with the free wins: hang your clothes in color order, get the hangers to match, and give everything some breathing room. Add light and a removable back-panel finish, and you’ve got something that looks like it was designed, not inherited from a landlord who gave up on sliding doors.
I’ve seen renters go from embarrassed-by-their-closet to genuinely proud of it in a single weekend, and the best part is that every one of these ideas comes down cleanly when the lease ends. Your deposit stays safe, your landlord stays happy, and you get to look at something beautiful every morning while you get dressed. That’s a pretty good trade for an afternoon of styling.
Please save this visual guide on Pinterest and pin it to your “Dream Apartment” or “Closet Goals” board — you’ll want it handy when you’re standing in the store deciding between basket sizes, and I’d love for it to help the next renter who’s staring at a doorless wardrobe wondering where to start.

Amelia leads HavenlyStyle’s editorial vision with a passion for elegant interiors and practical home living. With years of experience in home décor and lifestyle content, she ensures every article is accurate, inspiring, and easy to follow. From timeless decorating ideas to the latest interior design trends, Amelia is committed to helping readers create beautiful, functional spaces while maintaining HavenlyStyle’s trusted and welcoming voice.