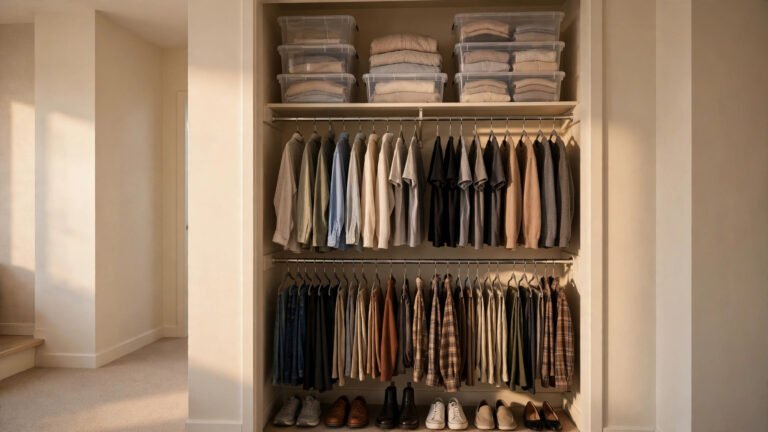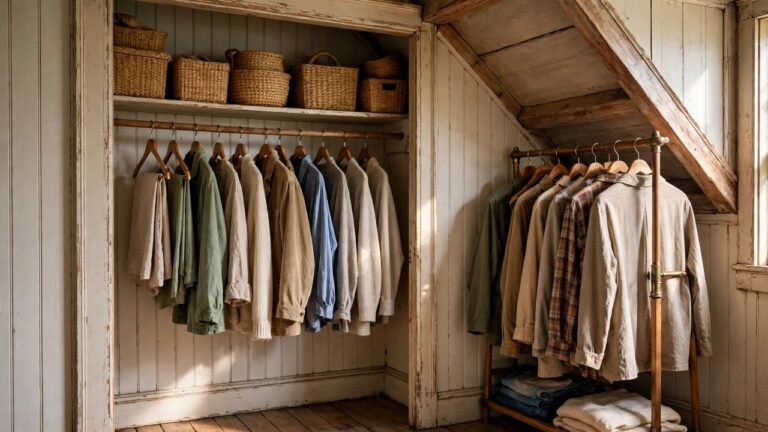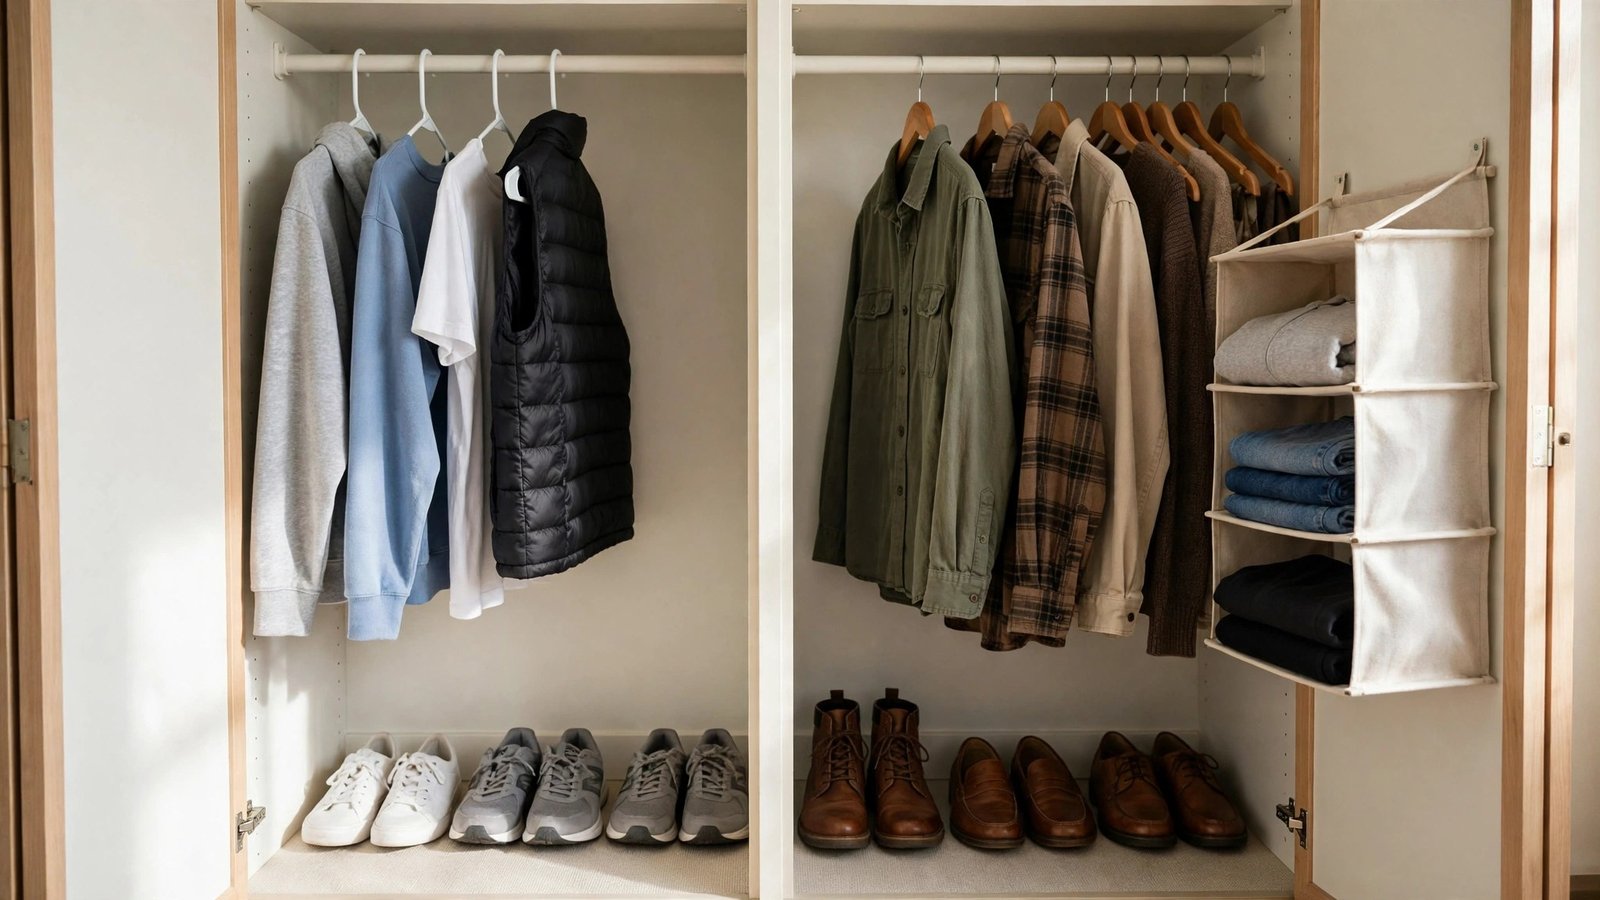
Sharing a dorm room means sharing a closet — and dorm closets were never generous to begin with. A typical shared dorm gives you one narrow wardrobe-closet hybrid, a single rod, maybe one shelf, and a roommate with the same number of clothes as you. Add strict housing rules (no drilling, no holes, damage fines at move-out), and it feels impossible to keep things fair and tidy.
I’ve helped dozens of students and their parents crack exactly this problem at move-in weekend, and I’ve seen the same pattern play out every September: the roommates who set up a system on day one stay friends all year, and the ones who wing it are arguing about floor space by October. The secret is that a shared dorm closet isn’t really a closet problem — it’s a systems problem. Split the space visibly and fairly so ownership is never in doubt, borrow vertical inches you forgot existed, and use the lofted-bed space and under-bed space as overflow so the actual closet never has to hold everything. Every idea below is completely removable and reversible, survives housing inspections without a scratch, and packs down into a car trunk come the May move-out. You won’t patch a single hole or lose a dollar of your deposit.
Executive Summary
- Split the one rod and shelf visibly down the middle so each roommate owns an unmistakable zone — fairness you can see stops closet wars before they start.
- Hang nothing permanently: use tension rods, over-door racks, adhesive hooks, and freestanding organizers that housing inspectors ignore and that vanish at move-out with no repair.
- Treat the lofted bed and under-bed space as closet overflow — seasonal clothes and shoes live there, freeing the closet for daily wear only.
- Go vertical in the 8-foot ceiling: hanging shelf towers and stacked bins squeeze capacity from air, not floor space.
- Build everything portable: rolling carts, pop-up wardrobes, and zip bags that unpack in minutes on move-in day and fit in a car trunk in May.
- Give the laundry hamper a real job in the closet zone so dirty clothes never colonize the shared floor.
1. The Fair-Split Rod Divider
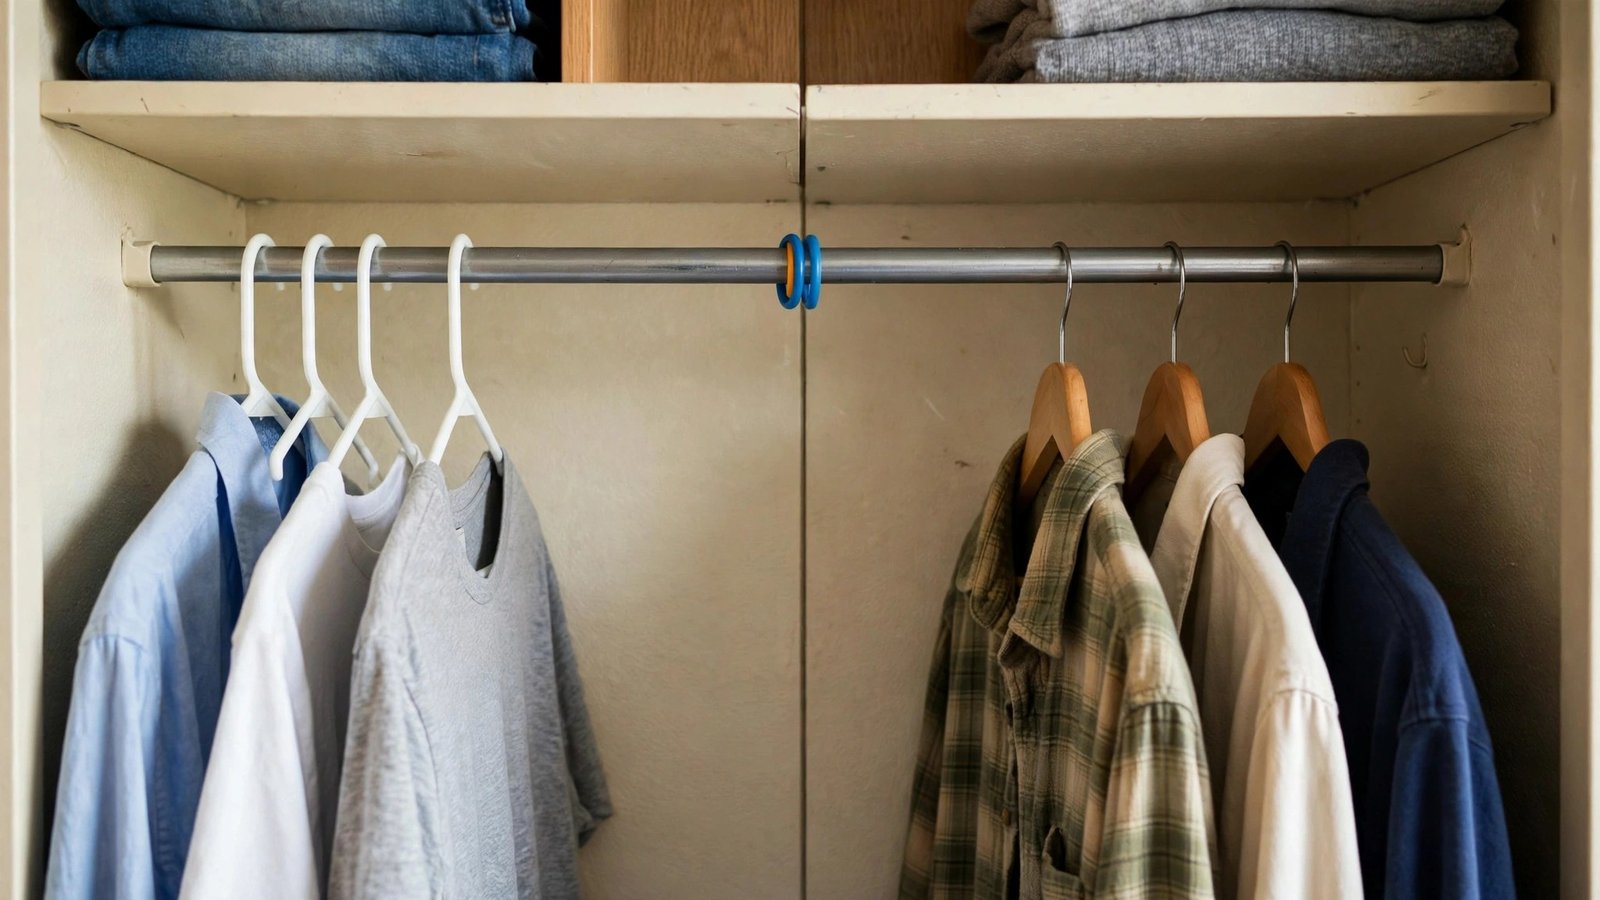
What it is: A clean, visible center line through the one shared rod so each roommate gets exactly half — marked with two different-colored hanger sets and a small clip-on marker at the rod’s midpoint. This isn’t a product so much as an agreement made visible, and it’s the foundation every other idea in this post builds on.
Why it works for dorm renters: Nothing creates roommate friction faster than one person’s clothes drifting across the whole rod while the other squeezes into six inches. A visible split makes the boundary undeniable without any permanent marker, nails, or paint on the dorm’s furniture. It costs nothing, takes two minutes, and when housing does a room inspection, there is literally nothing attached to their property to flag. I’ve personally seen this one tiny change defuse more roommate tension than any organizer you can buy — because most closet arguments aren’t really about clothes, they’re about fairness.
How to do it:
- Measure the rod together and agree on the exact midpoint — actually measure it with a tape or your phone, because eyeballing it is how the “my half is smaller” argument starts.
- Each roommate picks one hanger color for ALL their clothes, creating an instant visual boundary you can read from across the room. Matching hangers also make the closet look twice as tidy.
- Clip a small removable plastic ring, ribbon, or shower curtain ring around the rod at the midpoint as the physical marker that says “this is the line.”
- Hang the heaviest items (coats, jeans) nearest the midpoint so neither side feels like it got the weaker end of the rod, and redistribute together if one side’s hangers start creeping.
- Revisit the split once a month — a thirty-second check keeps the system honest all year.
Approximate cost: $0–$8 (only if you buy a matching hanger set).
2. Add a Second Hanging Level With a Rod Doubler
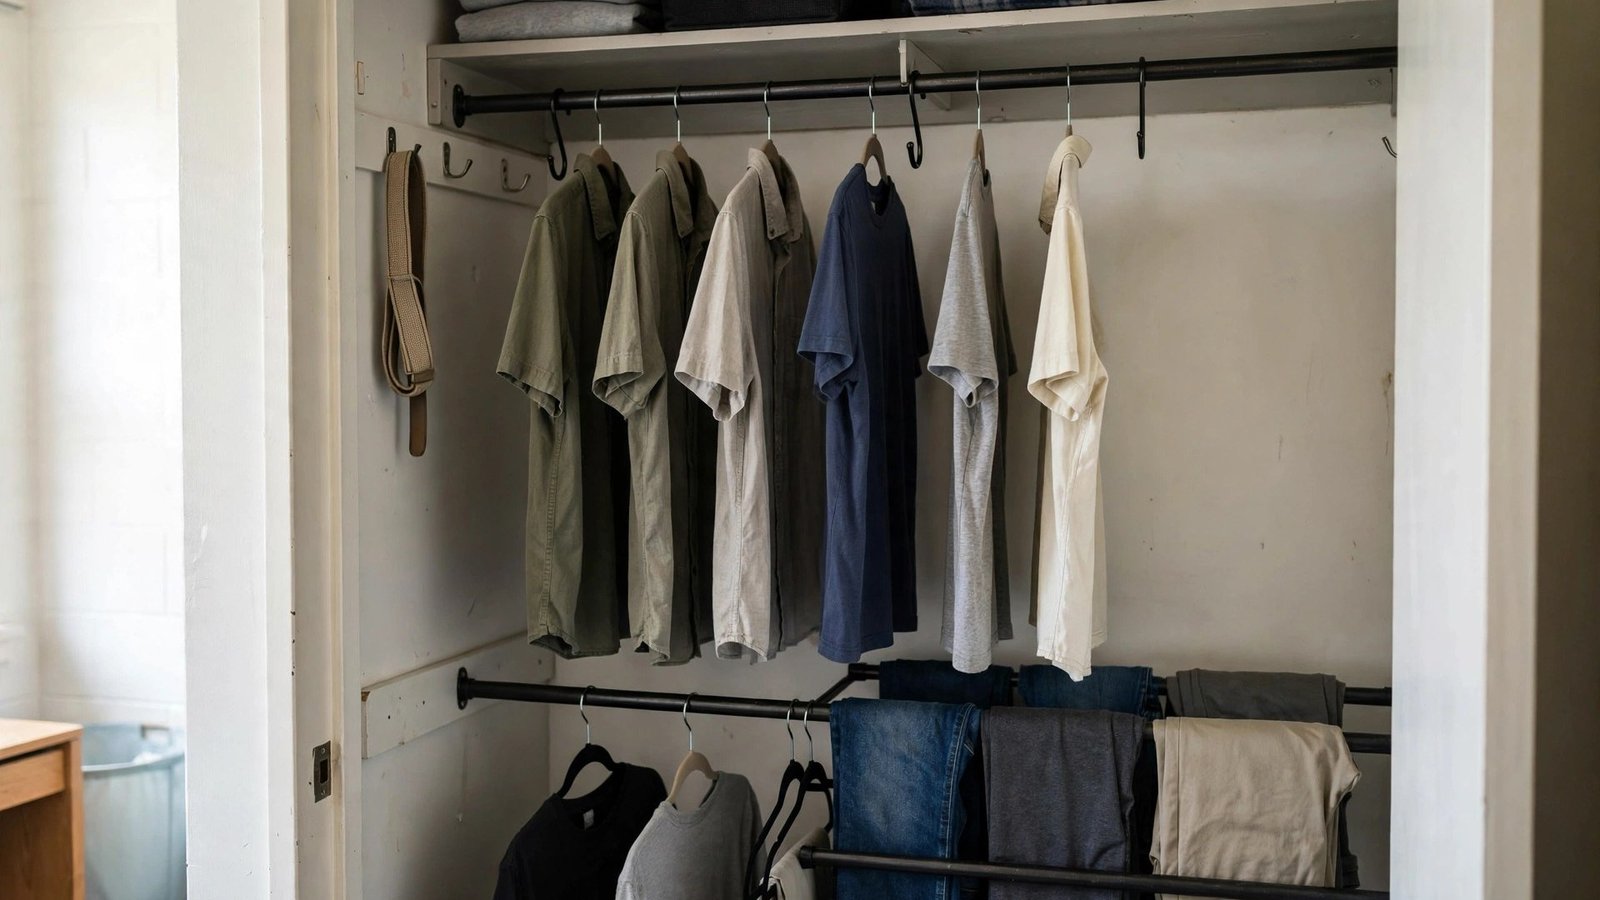
What it is: A hanging extender that clips or hooks onto the existing closet rod, creating a second rod about a foot below the first — instantly doubling the hanging space without touching the dorm’s furniture in any way.
Why it works for dorm renters: Dorm rods are single, fixed, and usually mounted high enough that shirts and blouses hang in a sea of wasted air while the floor below goes unused. A rod doubler borrows that dead vertical space. It hangs from the rod itself with no screws, no adhesive, and no damage, and it comes down in seconds when it’s time to move out. Both roommates can split the new lower level the same fair way as the top rod, so this one purchase genuinely doubles a shared resource. I’ve noticed that students who add this one piece suddenly stop fighting over rod space entirely, because the scarcity that caused the fight is gone.
How to do it:
- Hang your shortest garments (shirts, blouses, folded-over pants) on the top rod and measure the empty space beneath them to confirm a lower level will fit.
- Clip the doubler rod onto the existing rod so the second level sits just below your short hangers, with enough clearance that nothing drags.
- Move one roommate’s short items to the lower level and the other’s to the upper level, or split both levels down the middle as in idea 1 — decide together so it feels fair.
- Keep heavy items like winter coats off the doubler if the original rod feels flimsy; dorm hardware is often lighter-duty than it looks.
- At move-out, unclip it and toss it in the trunk — it packs completely flat.
Approximate cost: $10–$18.
3. Hang a Six-Shelf Fabric Organizer for Shared Folding Space

What it is: A fabric hanging shelf unit that drapes over the closet rod, creating six sturdy cubbies for folded clothes, bags, and accessories — with no tools, no drilling, and nothing attached to the room.
Why it works for dorm renters: Dorm closets almost never include enough shelf space for two people’s folded clothes, and folded piles on the one existing shelf collapse into each other within a week. A hanging organizer turns one hook-width of rod into a whole column of private storage, and it folds flat into a suitcase at move-out. Split it horizontally — three cubbies each — and both roommates get genuinely private folding space without a single permanent change to the room. Because it hangs from the rod rather than standing on the floor, it also keeps the closet floor clear for shoes.
How to do it:
- Choose an organizer with firm, structured shelves rather than floppy fabric ones, so stacks of jeans don’t sag and lean into your roommate’s cubbies.
- Loop it over the rod on one end of the closet; if you hang two, each roommate gets their own unit, and if you hang one, divide the six cubbies evenly.
- Assign each cubby a category — tops, workout clothes, pajamas, undergarments — so folded piles stay intentional instead of becoming mystery stacks.
- Roll rather than fold bulky items to fit more per cubby, reduce wrinkles, and keep stacks from toppling when you pull one item out.
- Keep the bottom cubby for the heaviest items so the unit hangs straight and doesn’t pull sideways on the rod.
Approximate cost: $12–$25.
4. Claim the Door With an Over-Door Hook Rack
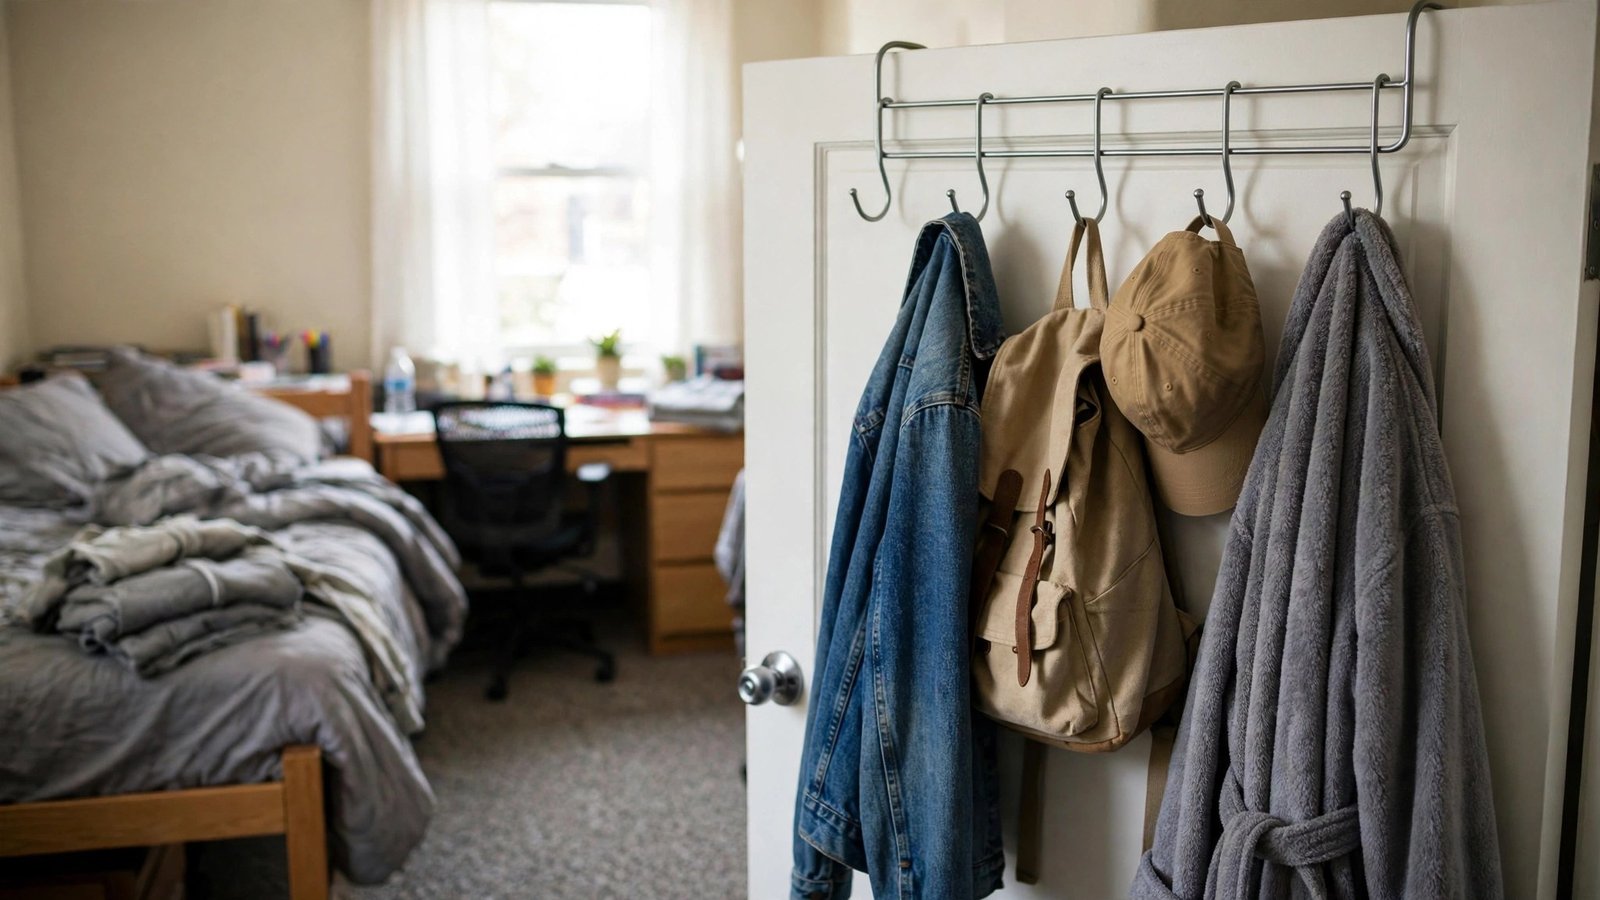
What it is: A metal hook rack that slides over the top of the closet door or the room door — no screws, no adhesive, no marks — giving you instant hanging space for jackets, robes, hats, bags, and tomorrow’s outfit.
Why it works for dorm renters: Dorm doors are damage-free hanging gold that most students completely ignore. The rack leaves zero marks, survives housing inspections, and lifts off in seconds. In a shared room, this is where the “getting ready” stuff lives — the outfit laid out for the morning, the jacket you grab on the way to class — so the closet stays reserved for actual storage instead of becoming a dumping ground. It also keeps backpacks off the shared floor, which is honestly worth the price alone when two people live in 150 square feet.
How to do it:
- Hang the rack over the closet door first, since that’s where its items belong; the room door works as a second location if you need more hooks.
- Give each roommate their own clearly assigned hooks (a strip of tape with initials works) so daily-grab items never mix and nobody’s jacket ends up on the floor.
- Use the bottom, sturdiest hooks for heavy items like backpacks and the upper hooks for hats, scarves, and light layers.
- Hang tomorrow’s outfit on one hook each evening — it speeds up mornings and keeps the bed clear of the “chair pile” that haunts every dorm room.
- Before housing inspections, just lift the rack off — there is nothing attached to cite, fine, or photograph.
Approximate cost: $8–$15.
5. Build a Lofted-Bed Overflow Wardrobe Station
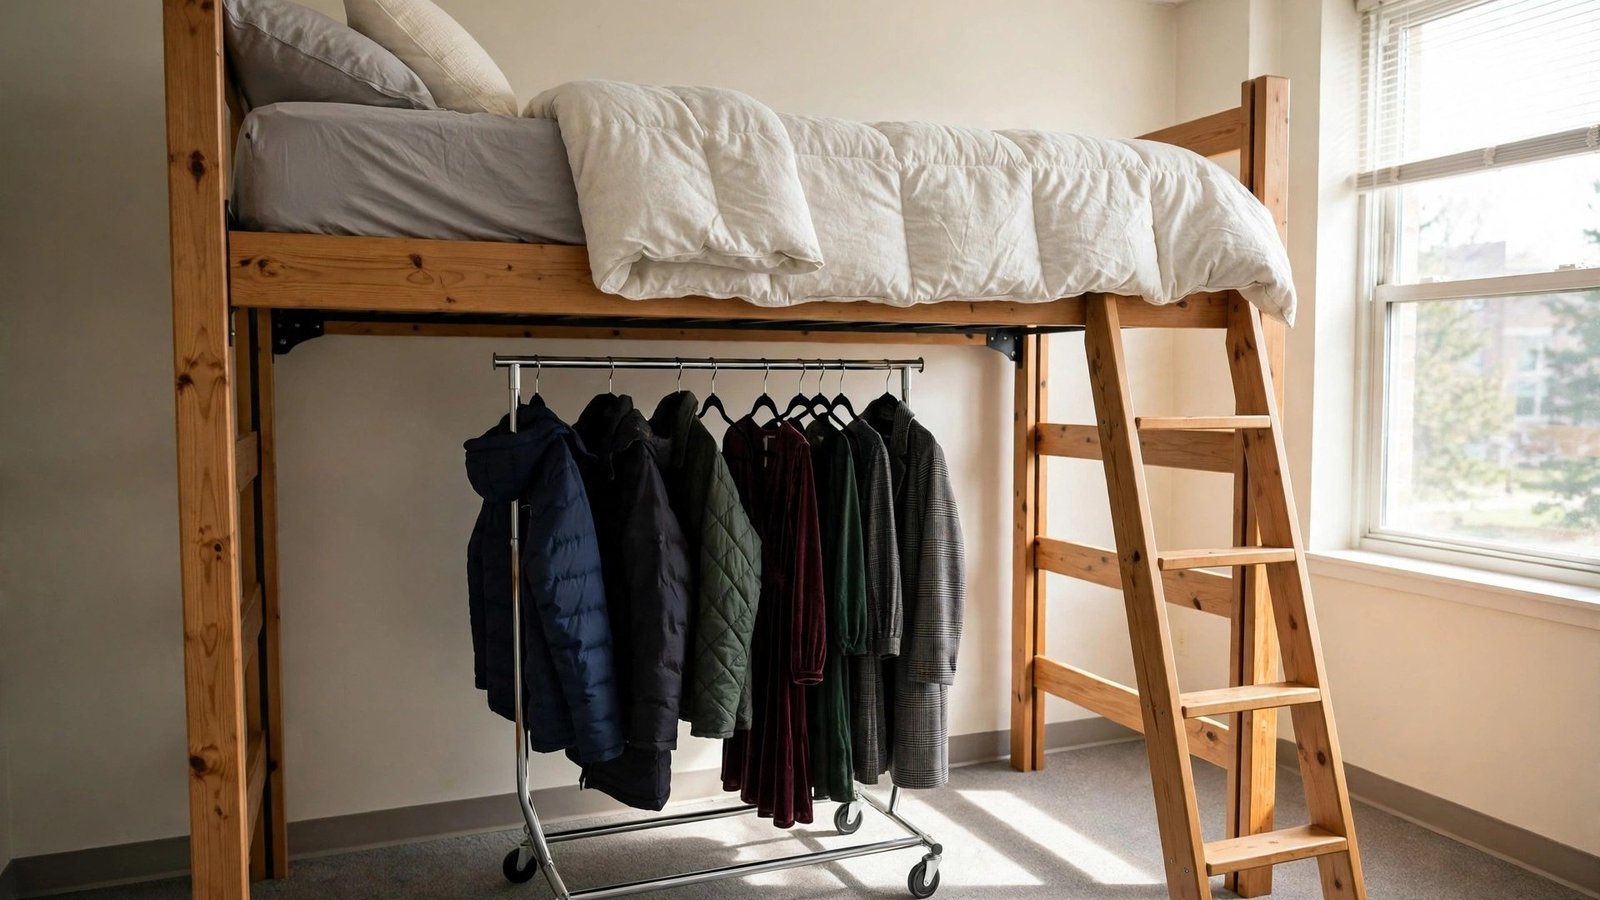
What it is: A freestanding garment rack tucked into the space under a lofted bed, functioning as a genuine second closet for off-season coats, dresses, formal wear, and bulky items that would otherwise crowd the shared rod.
Why it works for dorm renters: Most dorms loft beds or allow it, and the space underneath is enormous dead air doing absolutely nothing. A freestanding rack touches nothing — no holes in the bed frame, no marks on the floor, nothing for an inspector to notice — so it’s fully damage-proof. This is the single move that takes the most pressure off a tiny shared closet: formal wear, winter coats, and bulky sweaters live at the rack, and the actual closet holds only daily clothes. It disassembles in about ten minutes for the May move-out and fits in a car trunk with room to spare.
How to do it:
- Confirm your bed is lofted (or can be raised) and measure the clearance underneath before buying anything — racks come in fixed heights.
- Choose a freestanding rack with a wide, stable base; avoid anything designed to lean against a wall or bed frame, since dorm walls and frames can’t be anchored to.
- Dedicate it by category and roommate — one side winter coats, the other formal wear, or one side per person — so it never degrades into a shared junk pile.
- Add a fabric garment cover if you want it to look tidy and protect clothes from dust that collects under beds.
- Keep a small step stool nearby if the rack is tall; reaching overhead in a cramped room gets old fast.
Approximate cost: $25–$40.
6. Roll a Narrow Cart Into the Wardrobe’s Dead Gap
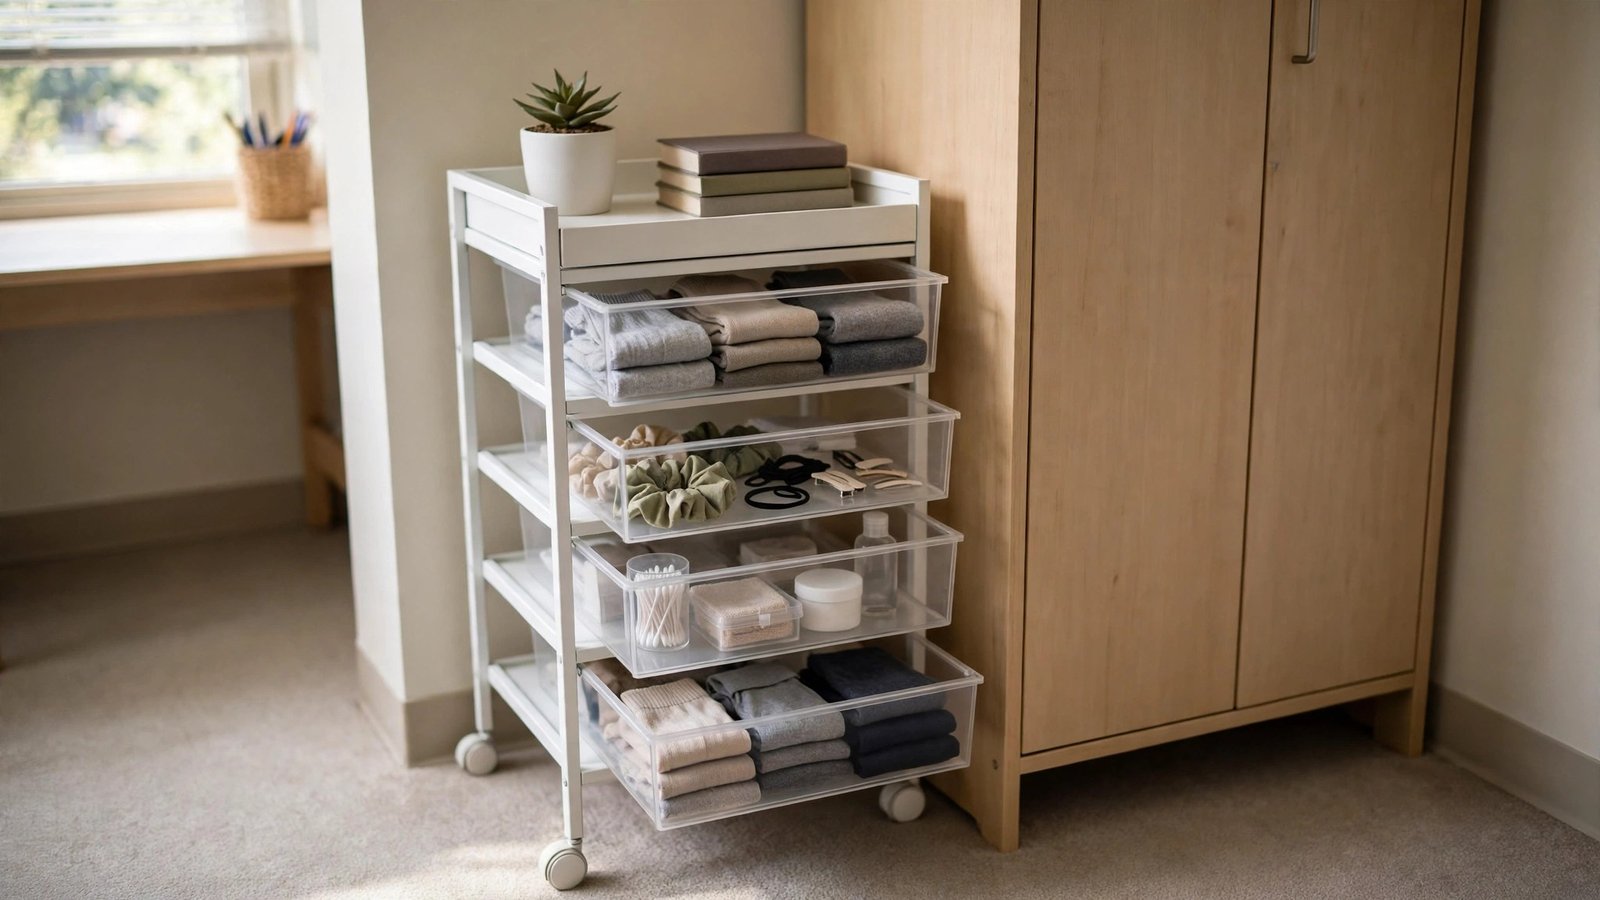
What it is: A slim rolling storage cart — usually about 8 inches wide with four or five tiers — that slides into the awkward dead space beside or inside the narrow dorm wardrobe where hangers can’t fit.
Why it works for dorm renters: Every dorm wardrobe has one wasted vertical sliver: too narrow for hangers, too deep to comfortably reach, collecting dust and lost socks. A rolling cart turns that dead space into five drawers of genuinely useful storage for socks, underwear, accessories, medications, and toiletries. It touches nothing permanently, rolls out for move-out in seconds, and the drawers split cleanly between roommates. I’ve personally seen these carts hold more small-item storage than the entire rest of a dorm wardrobe — small things are what actually disappear in shared rooms.
How to do it:
- Measure the gap precisely — these carts come in very specific widths, so measure first and order second, not the other way around.
- Assign each drawer a purpose (socks, underwear, accessories, toiletries, chargers) so small items stop vanishing into the wardrobe’s dark corners.
- Use the top tray for shared items both roommates need: lint roller, stain stick, mini sewing kit, spare batteries.
- Roll the cart out fully when getting dressed so both roommates can reach their drawers without squeezing past each other.
- Wipe the wheels at the end of the year — dorm floors are filthy, and clean wheels won’t mark your car trunk on the drive home.
Approximate cost: $20–$35.
7. Stash Out-of-Season Clothes in Under-Bed Zip Bags
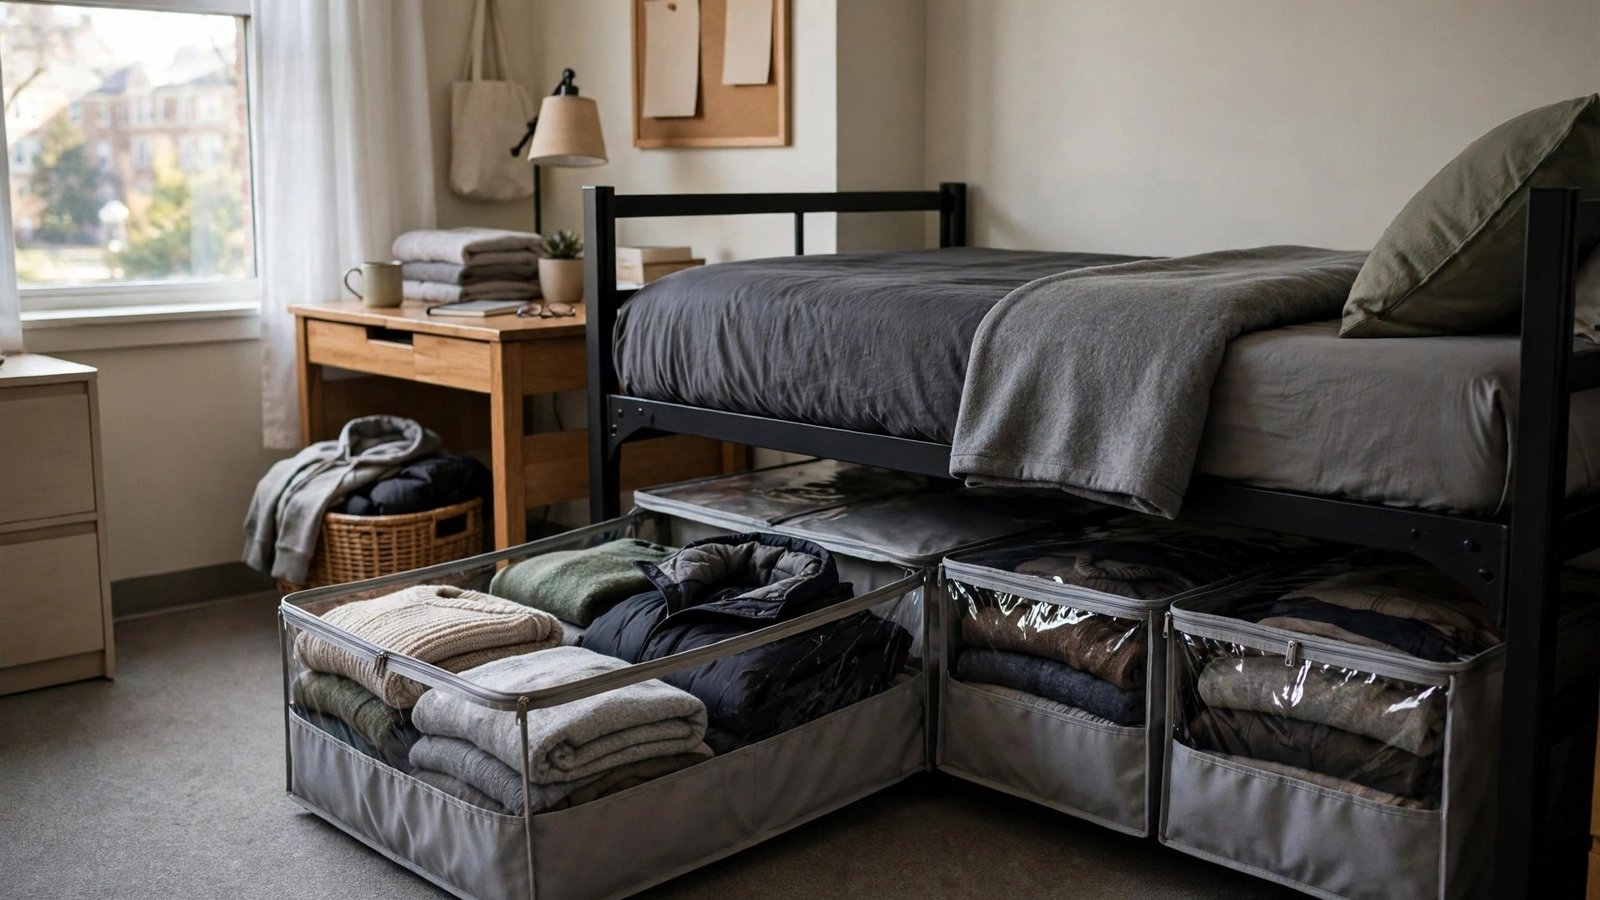
What it is: Flat, zippered storage bags that slide under the dorm bed, holding sweaters, boots, heavy coats, and other off-season clothes that don’t deserve precious shared closet space right now.
Why it works for dorm renters: In a shared closet, every single inch matters, and the heavy sweater you’ll wear in December shouldn’t occupy rod space in September. Zip bags keep off-season clothes clean, compressed, and out of sight under the bed — zero dorm damage, completely portable for move-out, and nearly free. When the seasons flip, you swap the bags’ contents with the closet in one afternoon, and it feels like getting a whole new wardrobe. This seasonal rotation is how two people make one small closet work year-round.
How to do it:
- Wash and FULLY dry everything before bagging — trapped moisture under a bed gets musty fast, and you won’t open these for months.
- Roll clothes instead of folding to fit more per bag and reduce the wrinkles that deep folds create over a semester.
- Label each bag by season AND owner (“Maya — Winter”, “Jordan — Winter”) so both roommates know whose is whose without opening them.
- Add a dryer sheet or cedar sachet in each bag to keep things fresh through the semester.
- Slide bags toward the center of the under-bed space so they’re reachable, and keep the front edge clear for shoes and the laundry hamper.
Approximate cost: $10–$20 for a set.
8. Stack Vertically to the 8-Foot Ceiling
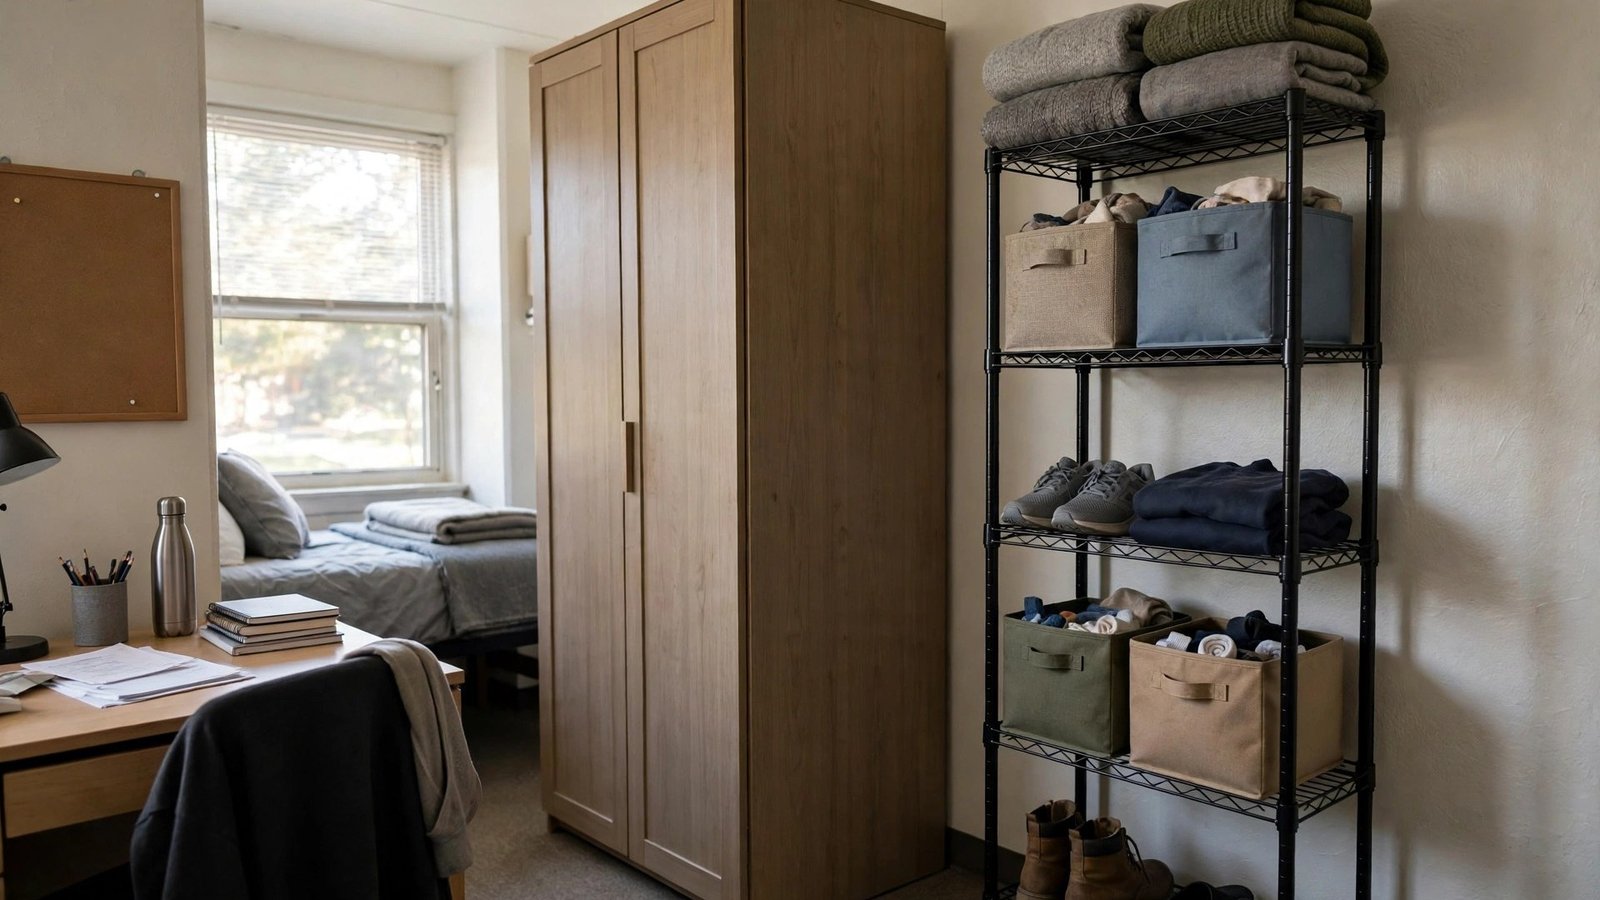
What it is: A tall, narrow freestanding shelving tower placed beside the wardrobe, using the dorm’s full 8-foot ceiling height for bins, shoes, bags, and bulky extras.
Why it works for dorm renters: Dorm rooms have high ceilings and almost no floor plan — the only direction left to grow is up. A narrow tower claims a footprint smaller than a pizza box while adding five or six levels of storage. Freestanding means no wall anchors, no screws, and nothing for housing to fine you for. Split it by shelf — alternate shelves fairly, or give the top shelves to whoever can actually reach them — and it becomes genuinely shared storage instead of one person’s tower. This is also where the awkward bulky stuff goes: extra bedding, the printer, the snack stockpile.
How to do it:
- Measure from floor to ceiling and pick a tower that uses nearly all the height without scraping the ceiling or blocking the sprinkler head — housing cares about that.
- Place the heaviest bins on the bottom shelves for stability; never top-load a freestanding unit, especially on a smooth dorm floor.
- Use fabric bins on the shelves so each shelf becomes a pull-out drawer with a label — one roommate’s bins on the left, the other’s on the right.
- Keep daily-grab items at arm height and rarely-used items (extra sheets, first-aid kit) up top.
- Put a non-slip pad under the tower’s feet so it never walks across the floor when you pull a bin out.
Approximate cost: $25–$50.
9. Pop Up a Portable Wardrobe for Move-In Flexibility
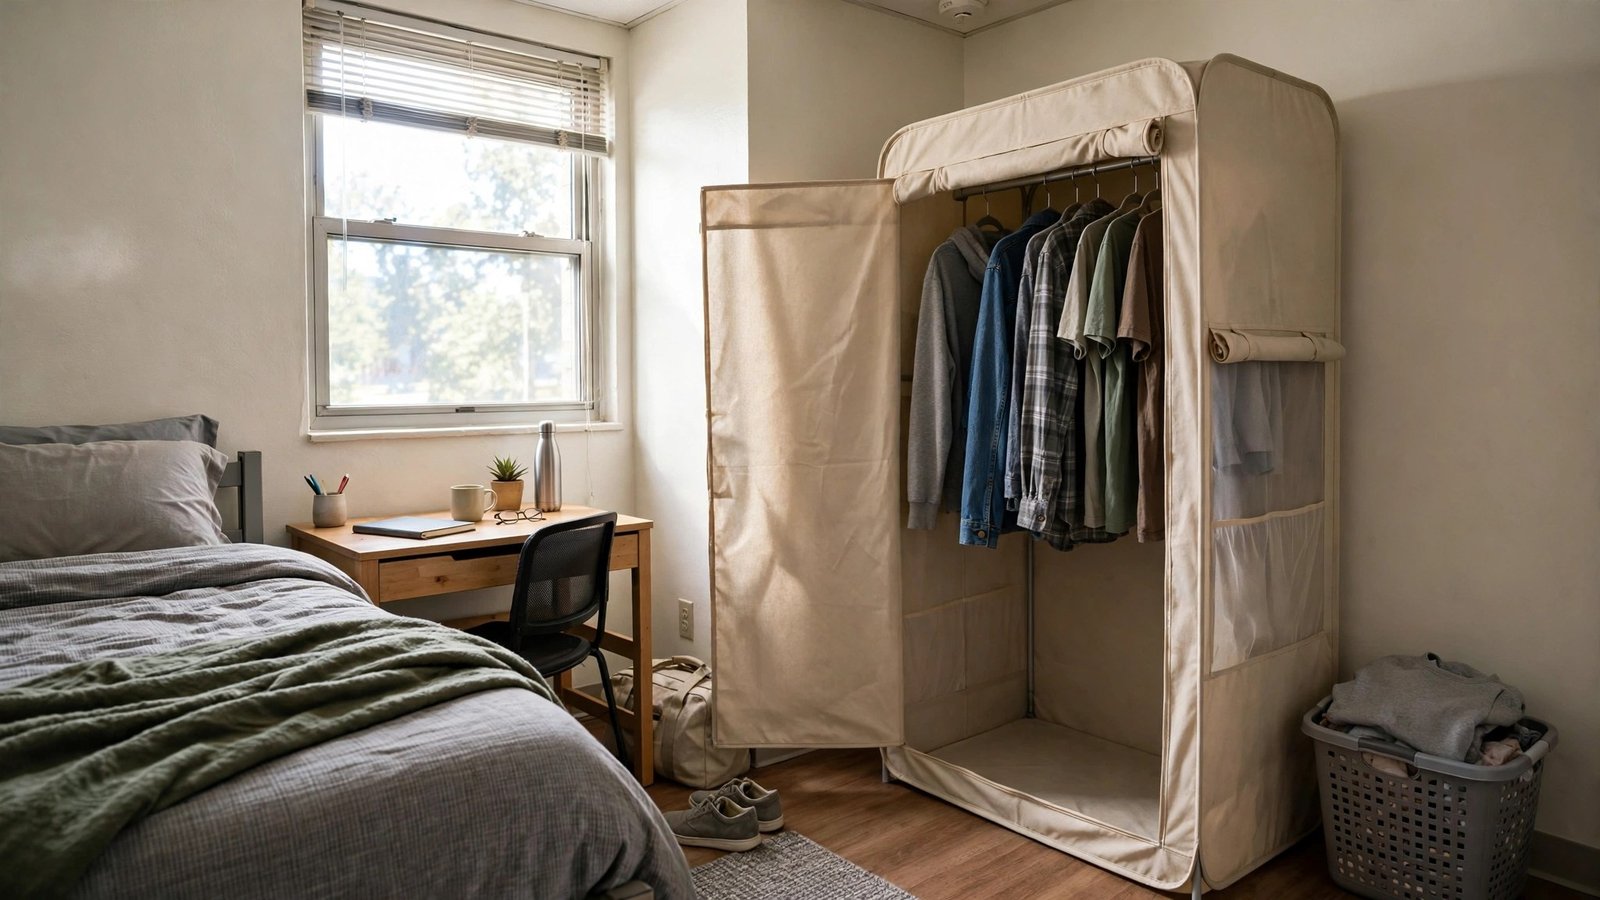
What it is: A pop-up fabric wardrobe — a lightweight metal frame with a fabric shell and its own hanging rod — that assembles in minutes and holds a full rack of clothes anywhere in the room.
Why it works for dorm renters: Some dorms assign rooms where the built-in closet is genuinely too small for two people, or the wardrobe sits in an awful spot. A pop-up wardrobe is an instant second closet that touches nothing, costs little, assembles without a single tool, and collapses flat for the car ride home in May. It’s the pressure valve that keeps roommate closet negotiations friendly — when overflow has somewhere legitimate to go, nobody has to lose. I’ve noticed parents love buying this one at move-in because it solves the “there’s no way both wardrobes fit here” panic in about ten minutes.
How to do it:
- Pick a corner with enough clearance for the fabric door flap to open fully — measure before you assemble.
- Assemble the frame first, then drape the shell; most pop up in under ten minutes with no tools and no instructions worth reading.
- Use it for one roommate’s full wardrobe, or split it down the middle like the main closet so both people benefit.
- Hang lighter items here and keep heavy coats on the dorm’s built-in rod, since pop-up frames have weight limits.
- Fold the frame flat at move-out and slide it behind the car seat — it takes almost no trunk space at all.
Approximate cost: $25–$45.
10. Split Shoe Storage So Two Pairs of Feet Don’t Collide

What it is: A two-part shoe system designed for two people: one over-the-door shoe organizer (split down the middle) for everyday shoes, plus a low stackable shoe rack on the closet floor beneath the shortest hanging clothes for the rest.
Why it works for dorm renters: Shoes are the silent closet-killer in shared rooms — they migrate to the floor, multiply, and start arguments about whose sneakers are blocking the door. Over-door organizers use zero floor space, attach with zero damage, and split cleanly: left column yours, right column mine. The under-rod rack uses the dead floor space beneath short hanging clothes that would otherwise sit empty. Both pieces leave with you in May with no trace. Agreeing on a shoe limit per person at the start of the year is the quiet genius of this system — it caps the chaos before it starts.
How to do it:
- Hang the over-door organizer on the inside of the closet door and split the columns evenly between roommates — count the pockets and divide them exactly.
- Place a two-tier stackable rack on the closet floor beneath the shortest hanging clothes, where headroom is wasted anyway.
- Agree on a set number of shoe slots per roommate so the system can’t be overwhelmed by a growing collection.
- Store out-of-season boots in the under-bed zip bags from idea 7 rather than letting them eat closet slots all year.
- Keep one pair of slip-ons by the room door for quick trips — they never belonged in the closet at all.
Approximate cost: $15–$30.
11. Build a No-Damage Accessory Wall Inside the Closet
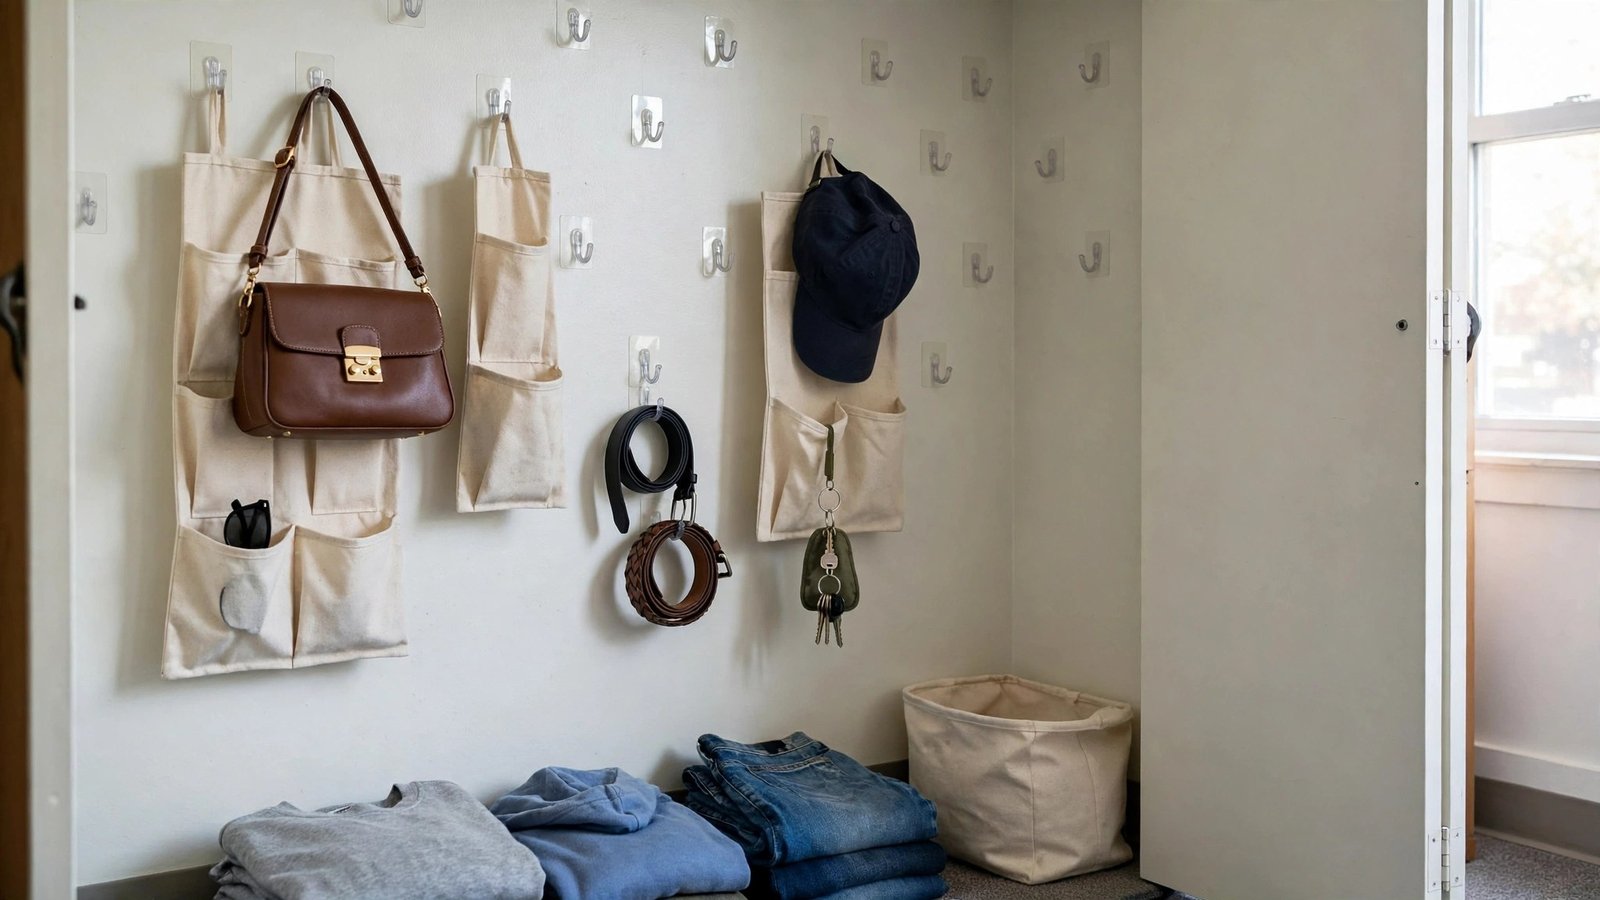
What it is: A grid of adhesive hooks and small hanging pouches mounted on the inside closet wall, creating a dedicated home for bags, belts, hats, jewelry, sunglasses, and keys.
Why it works for dorm renters: Accessories are tiny, easy to lose, and they drown in shared closets — one roommate’s belts tangle with the other’s scarves, and earrings vanish forever. Adhesive hooks remove cleanly with the pull tab: no holes, no paint damage, inspection-proof when removed properly. They turn a bare closet wall — pure wasted surface — into a personal display where everything is visible and grabbable. Each roommate claims their own section, so there’s never a question of whose scarf is whose. Done right, it looks like a boutique wall, not a dorm hack.
How to do it:
- Clean the closet wall with rubbing alcohol first — adhesive hooks fail on dusty dorm walls, and a failed hook at 2 a.m. is how jewelry ends up on the floor.
- Map out two zones (one per roommate) before sticking anything, and photograph the layout so you can recreate or adjust it later.
- Use large hooks for bags and backpacks, medium hooks for hats and belts, and small hooks or pouches for jewelry, keys, and sunglasses.
- Hang a small pouch or lanyard hook at eye level for the items you grab daily — keys, ID, the earbuds — so they never get buried.
- Remove slowly with the pull tab at move-out — rushing the pull tears paint, and paint tears cost real deposit money.
Approximate cost: $8–$15.
12. Divide Shelves With Tension Dividers and a Label System
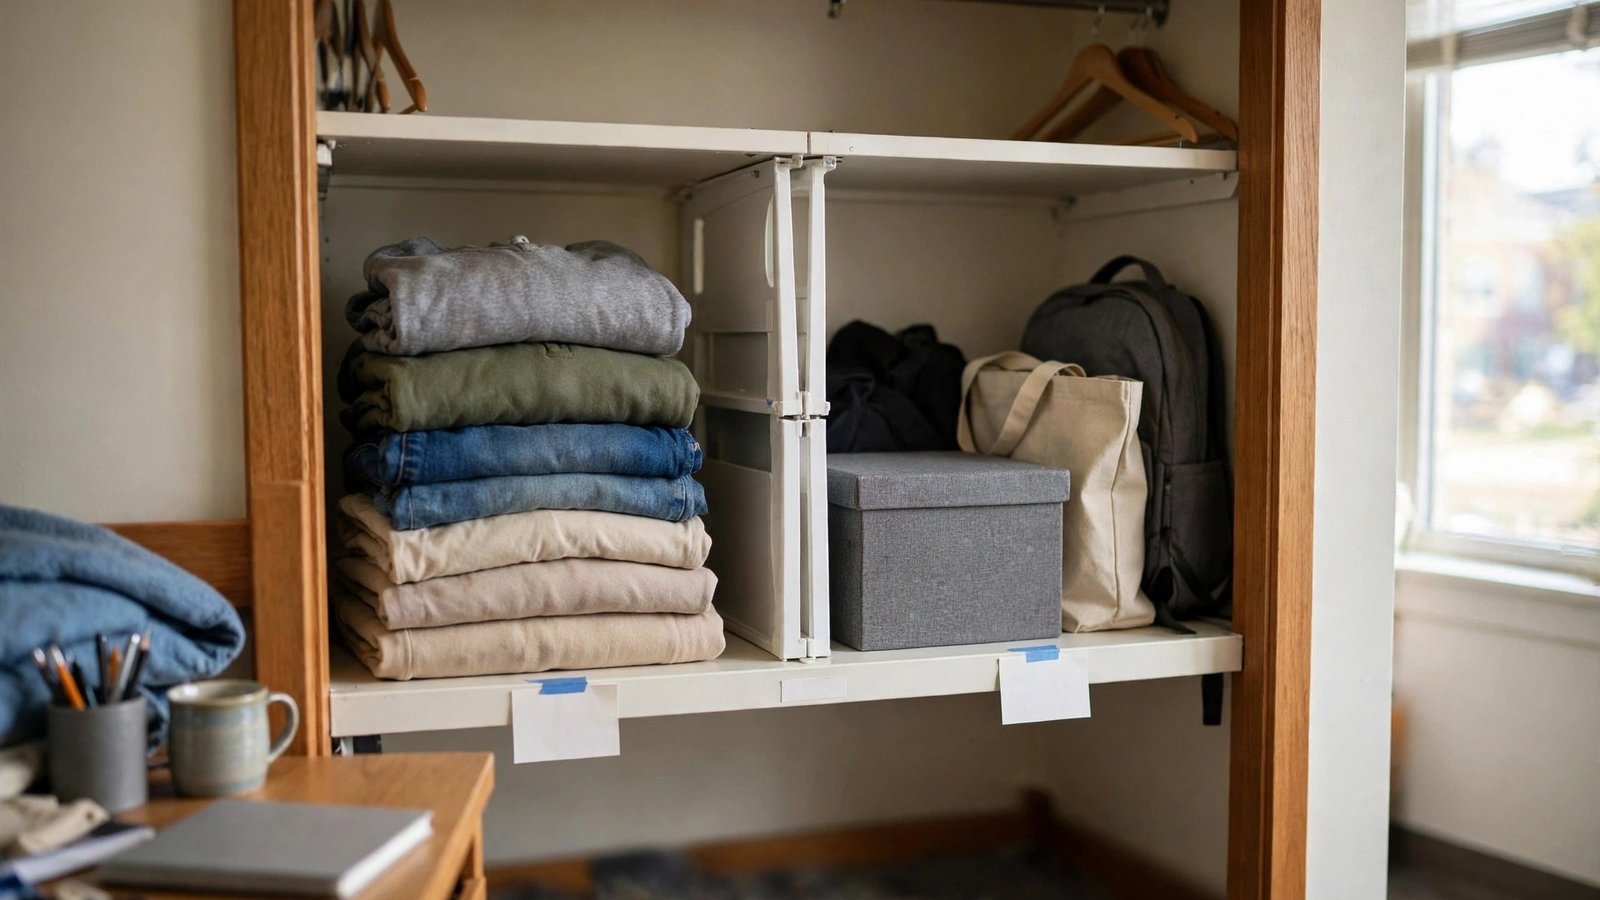
What it is: Spring-loaded shelf dividers plus simple removable labels that turn the one dorm closet shelf into two clearly owned halves, with labeled zones inside each half for bags, folded extras, and shared supplies.
Why it works for dorm renters: The single closet shelf is prime real estate, and without dividers, folded stacks lean into each other and collapse by October — taking the fair split from idea 1 down with them. Dividers grip by spring tension alone: no screws, no adhesive, no marks on the dorm’s shelf, and they lift out in seconds at move-out. Labels make ownership obvious at a glance, which is what keeps the system working when you’re both exhausted at midnight. This is the finishing touch that locks the whole fair-split system in place for the full year.
How to do it:
- Measure the shelf’s depth and front-to-back height, then buy dividers sized to grip snugly without forcing or scratching.
- Place one divider at the exact midpoint and label each side with a roommate’s name or initial so the boundary is unmistakable.
- Add subdivisions within each half — one zone for bags, one for folded extras, one for shared supplies — so stacks stay upright instead of leaning.
- Use removable labels or painter’s tape for names so the shelf is completely label-free at move-out inspection.
- Do a five-minute shelf reset together once a month; dividers drift over time, and a quick nudge keeps everything honest.
Approximate cost: $10–$18.
Conclusion
A shared dorm closet doesn’t have to be a daily source of roommate tension — it just needs a system both people can see and trust. Once you’ve drawn a fair line through the rod, doubled your hanging levels, claimed the door and the walls with damage-free storage, and pushed the seasonal overflow under the lofted bed and into under-bed bags, that tiny closet starts to feel almost generous. The ideas that go vertical and the ones that roll away are what make it all fit in 150 square feet, and the fair-split habit is what keeps it peaceful in November when the novelty of college has worn off and you’re both tired. The best part is that every single one of these ideas walks out of the room with you in May — no patching, no painting, no fines, no awkward conversations with housing about mysterious holes. Move-in day sets the tone for the whole year, so get the systems in place together with your roommate on day one, and you’ll both actually enjoy getting dressed in the morning. Please save this visual guide on Pinterest and share it with your roommate before move-in — future you will be so glad you planned the closet before the clothes arrived.

Amelia leads HavenlyStyle’s editorial vision with a passion for elegant interiors and practical home living. With years of experience in home décor and lifestyle content, she ensures every article is accurate, inspiring, and easy to follow. From timeless decorating ideas to the latest interior design trends, Amelia is committed to helping readers create beautiful, functional spaces while maintaining HavenlyStyle’s trusted and welcoming voice.