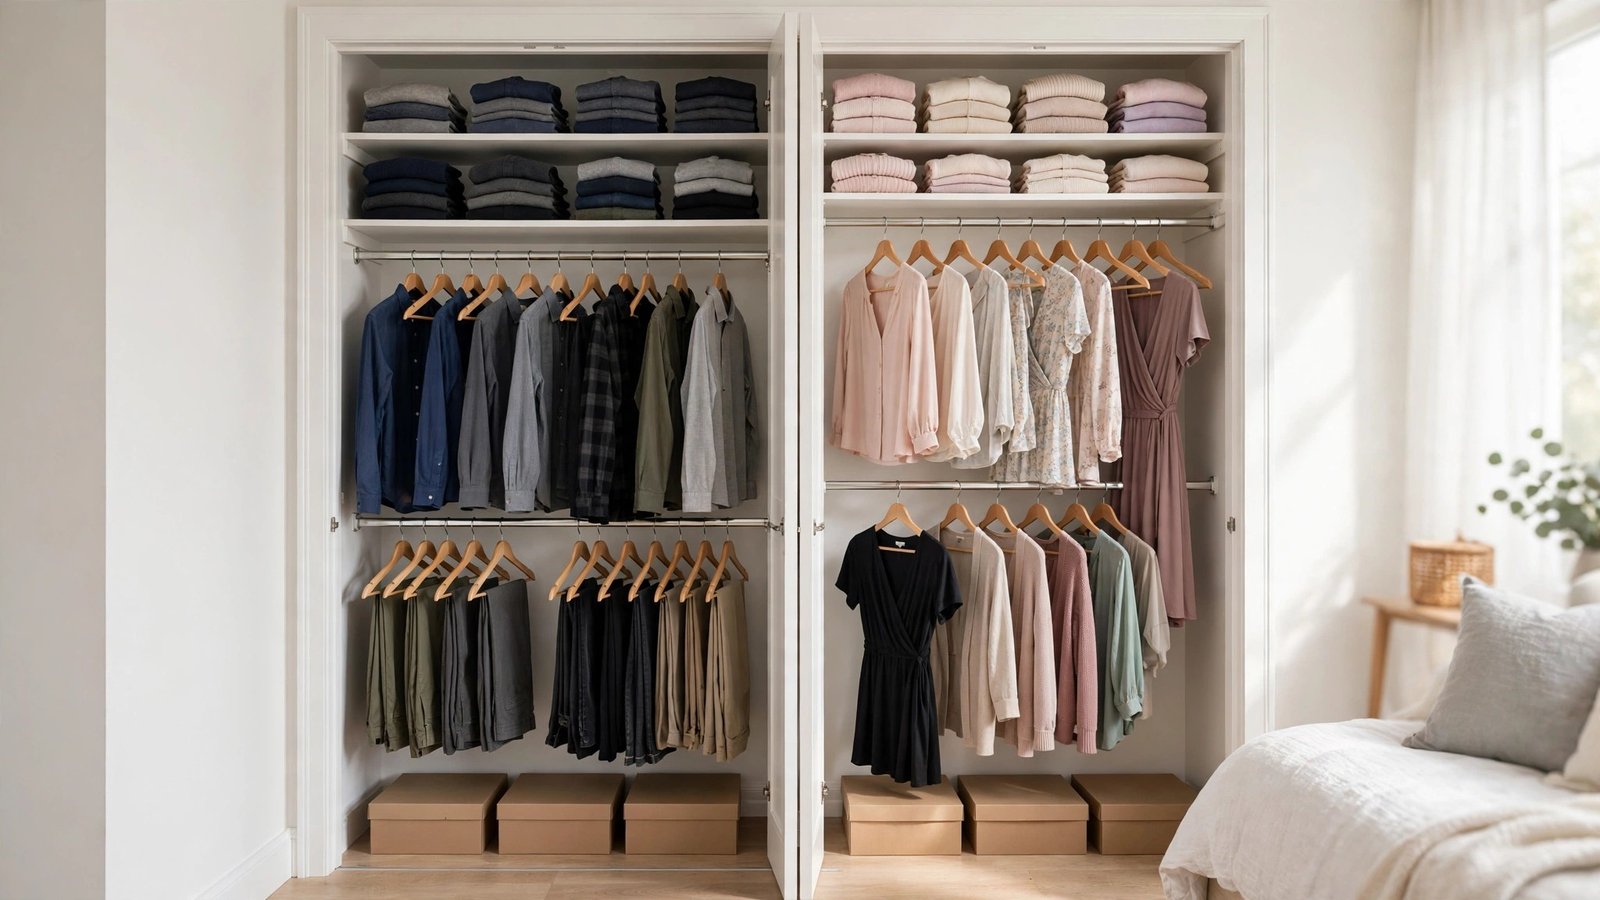
I have walked into hundreds of rental closets over the years, and the shared ones always tell the same story. One side is a neat row of folded sweaters and color-coordinated hangers. The other side is a avalanche of hoodies, gym bags, and shoes in a tangled heap. And somewhere in the middle, one partner is silently resenting the other partner’s jeans for touching their blazers.
Sharing one closet with someone you live with is one of the most common renter friction points I have seen. In most apartments you rent, the master bedroom comes with exactly one reach-in closet, and there is no second one coming. You cannot knock down a wall, you cannot install a built-in system, and your landlord has made it very clear that anything permanent is a deposit risk.
Here is the good news: the closets that work best for two people are rarely the biggest ones. They are the ones with clear rules, defined zones, and products that can be removed in an afternoon when move-out day arrives. I have personally seen couples go from daily closet arguments to a system that runs itself in a single weekend, and I have noticed that the transformation almost never requires spending more than a modest dinner-out budget.
In this guide, I am sharing my 10 favorite renter-friendly closet organization ideas for couples, ordered by impact. Every idea is removable, reversible, and deposit-safe, because your landlord should never be able to tell two people lived in that closet. Let us turn your one closet into a space that works for both of you.
Executive Summary
- Sharing one closet works when you split it into two clear zones — ambiguous space is what causes the mess and the arguments.
- Doubling your hanging space with a no-drill second rod is the single biggest capacity upgrade you can make in a rental closet.
- Vertical storage (hanging fabric organizers, shelf risers, door-back racks) adds “rooms” to your closet without a single screw.
- Matching slim hangers, color-coded by person, instantly free up inches of rod space and end the hanger tug-of-war.
- Shoes, seasonal clothes, and small items need their own homes — clear zones for each keep them from invading hanging space.
- A short weekly reset routine and a simple “one in, one out” rule keep the system working long after the initial organize.
1. Split the Closet Into Two Defined Zones
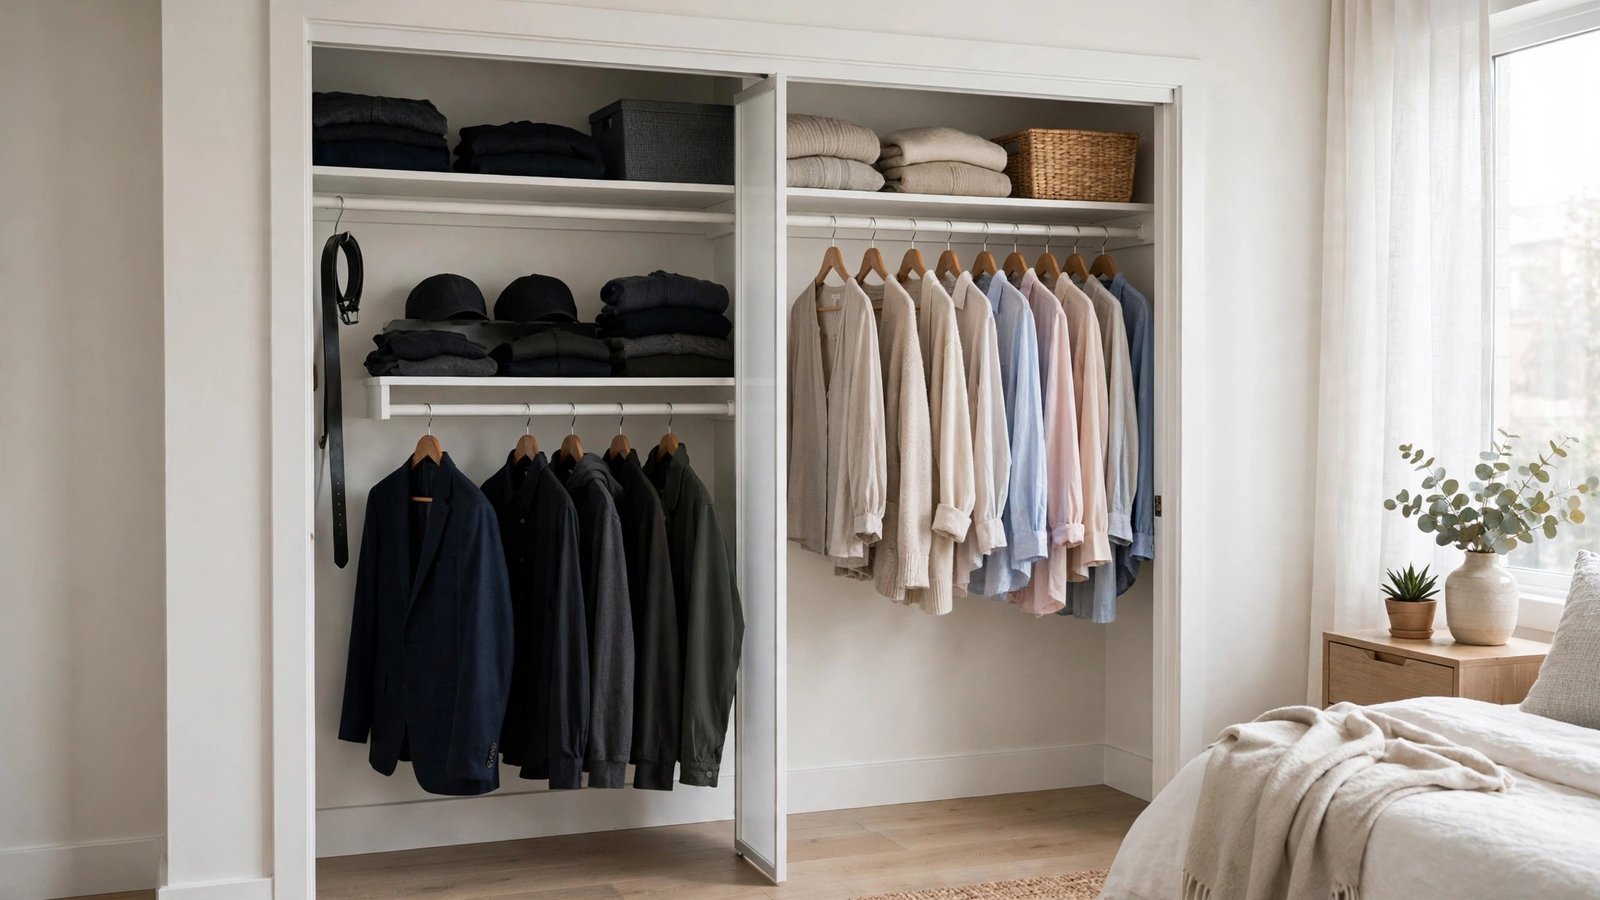
This is the highest-impact change you can make, and it costs nothing. Before you buy a single product, stand in front of your closet and draw an invisible line down the middle: one side belongs to Person A, the other to Person B. In a typical reach-in closet, left/right works best; in a walk-in, you can split front-to-back or by wall.
It works for renters because every organizer, bin, and hanger you add later will sit inside a zone that has a clear owner. Ambiguity is what turns shared closets into battlegrounds — clothes migrate, blame flies, and nobody feels responsible for the mess. Zones give each of you ownership, which I have noticed is the psychological difference between a closet that stays tidy and one that collapses by Thursday.
To make the zones real and visible:
- Measure your closet’s width and agree on the split — 50/50 is fair, but adjust if one of you has significantly more clothes; the important thing is that both of you agree out loud.
- Mark the boundary with a removable visual cue, like a strip of painter’s tape on the rod or a ribbon tied around it — painter’s tape peels off cleanly at move-out.
- Each of you keeps only your own clothes inside your zone, including shoes on the floor below your half.
- For shared items both of you use (winter coats, luggage, the vacuum), assign a shared zone — the top shelf or the very center — so they have a home that belongs to neither person.
- Do a quick walk-through together after the first week and adjust the line if one zone is bursting while the other has empty space.
One more thing I always tell couples: revisit the split after a month, not just a week. Wardrobes shift with the seasons, and a split that felt perfect in October can feel lopsided by January. The couples I have seen succeed long-term treat the boundary as a living agreement, not a treaty carved in stone — a five-minute conversation every season keeps it fair for both of you, and it costs nothing to redraw a piece of tape.
Approximate cost: $0–$5 (a roll of painter’s tape is the only possible expense).
2. Add a No-Drill Second Hanging Rod to Double Your Space
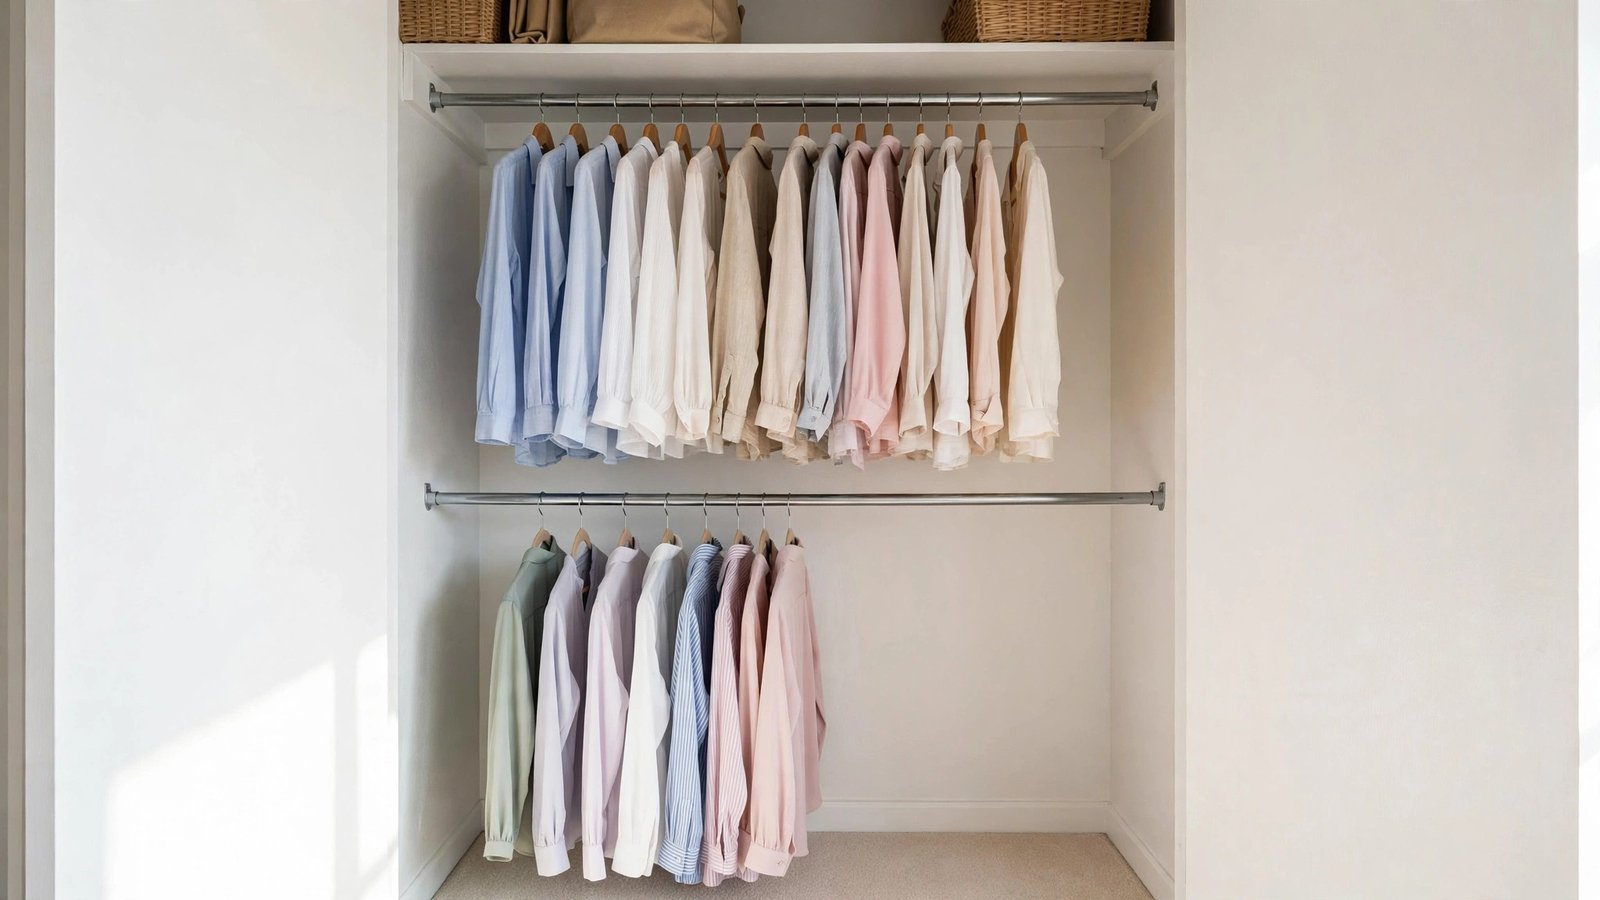
Most rental closets come with a single hanging rod, which leaves an enormous dead zone of air between the bottom of your clothes and the floor. A second rod installed below the existing one can roughly double your hanging capacity overnight, and the no-drill versions are completely deposit-safe.
There are two renter-friendly options. A tension rod wedges between the closet walls with spring pressure — no screws, no brackets. A rod extender or hanging rod hangs from the existing rod itself, so there is not even wall contact. I have personally seen these survive years of daily use in rentals, and both come out in minutes when you move.
Why it works for renters specifically: you are using the vertical space your landlord already gave you, with zero permanent modification. That dead zone below your hanging shirts is wasted real estate in almost every rental closet I have ever opened.
To install one:
- Measure the inside width of your closet and the distance from the existing rod to the floor — you need at least 40 inches of clearance for two tiers of adult clothes.
- Choose your style: a heavy-duty tension rod (look for one with non-slip rubber ends so it does not scuff the paint) or a rod that suspends from the existing rod.
- If you go the tension-rod route, twist it to extend until it holds firmly between the walls, then give it a downward tug to test it before loading it up.
- Hang shorter items on the lower rod — shirts, folded-over pants, skirts — and reserve the upper rod for longer pieces like dresses and coats.
- Split the double-rod setup between your zones from idea #1, so each person gets an upper and lower section on their own side.
A quick word on weight: tension rods have limits, so keep heavy denim and thick winter coats on the landlord’s original rod and let the second rod carry the lighter everyday shirts. I have personally seen a fully loaded tension rod hold strong for years, but distributing the weight sensibly is what keeps it — and your security deposit — safe. If your closet walls feel flimsy, the hang-from-the-rod style is the safer pick since it borrows the strength of the original hardware.
Approximate cost: $15–$30 for a sturdy tension rod or rod extender.
3. Hang a Fabric Shelf Organizer for Folded Clothes
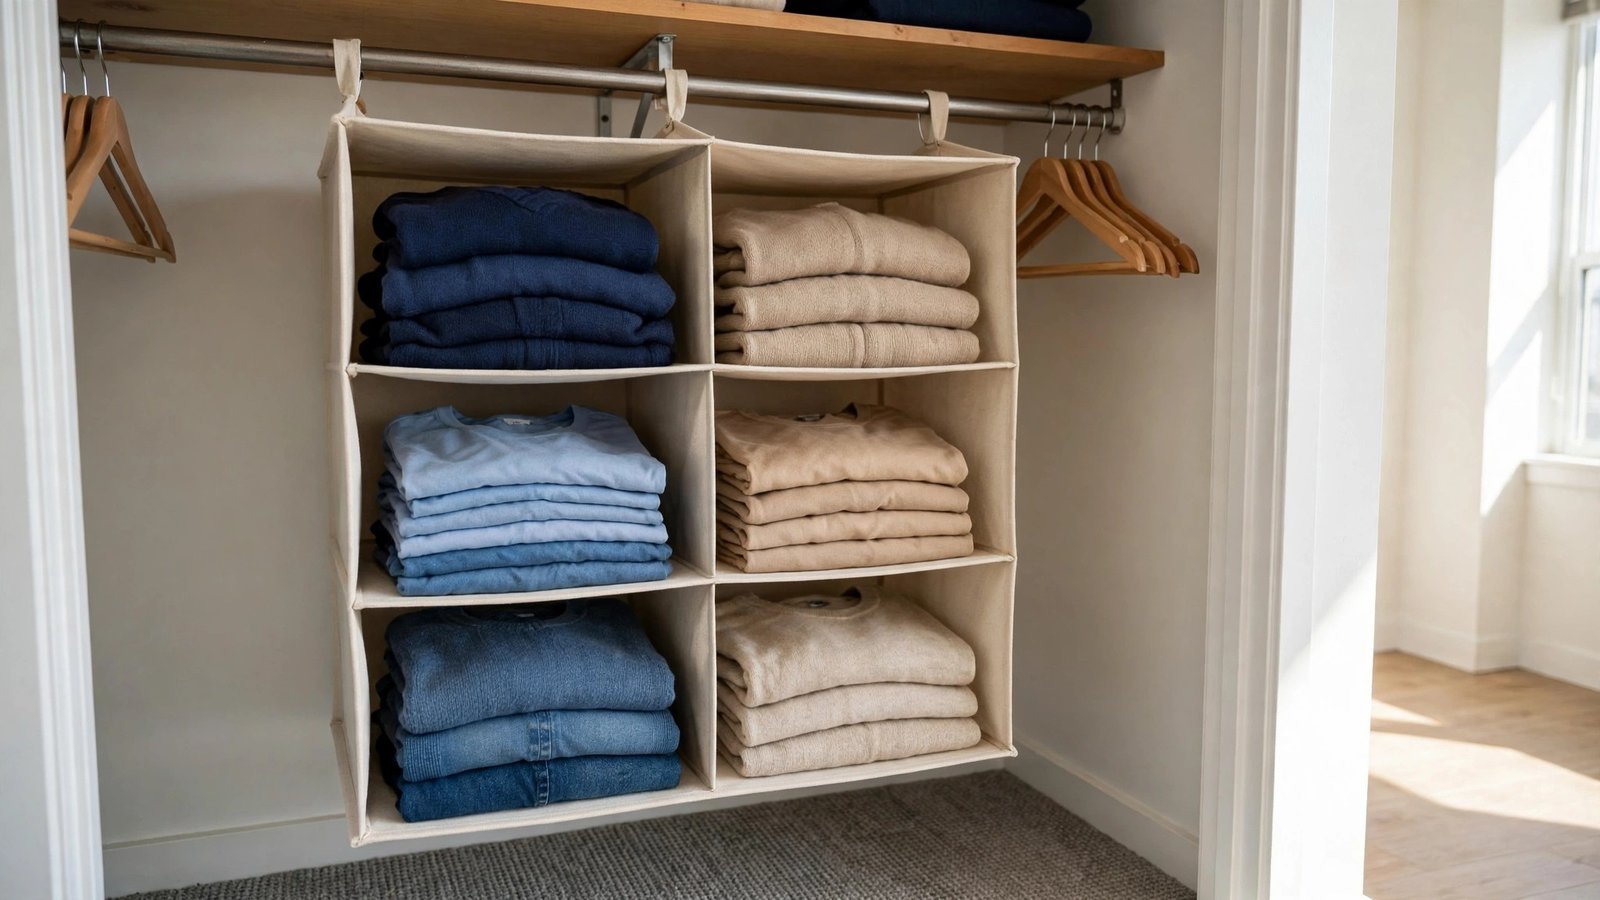
Not everything should live on a hanger. Sweaters stretch, jeans eat rod space, and T-shirts slip. A fabric hanging shelf organizer — the kind that drapes over your existing closet rod and divides into stacked cubbies — gives each of you a set of “shelves” that did not exist before, with zero tools.
This is one of my favorite renter solutions because it adds real structure to a closet that your landlord will probably never upgrade. It works beautifully for couples: each person claims two or three cubbies, and suddenly folded clothes have a home that is not the dresser or the floor. I have noticed that couples who use these stop arguing about whose sweaters are on whose shelf, because the cubbies make ownership obvious.
To set it up:
- Pick a hanging organizer with 5–6 tiers so each of you can claim at least two cubbies; the fabric-and-cardboard style is light and fully collapsible.
- Loop its straps over the closet rod inside your own zone and secure them with the attached fasteners — it should hang straight and not swing.
- Assign the top cubbies to the partner with more folded items, or split them evenly and label each cubby’s edge with a small removable tag.
- Fold knits, T-shirts, and workout clothes in compact file-folds so you can see every item from the front — stacking hides the bottom layers and causes digging.
- Refresh it once a month: refold anything that has slumped, and relocate anything that has drifted into the other person’s cubbies.
Approximate cost: $15–$25 per organizer; many couples use one or two.
4. Claim the Back of the Door for Shoes and Accessories
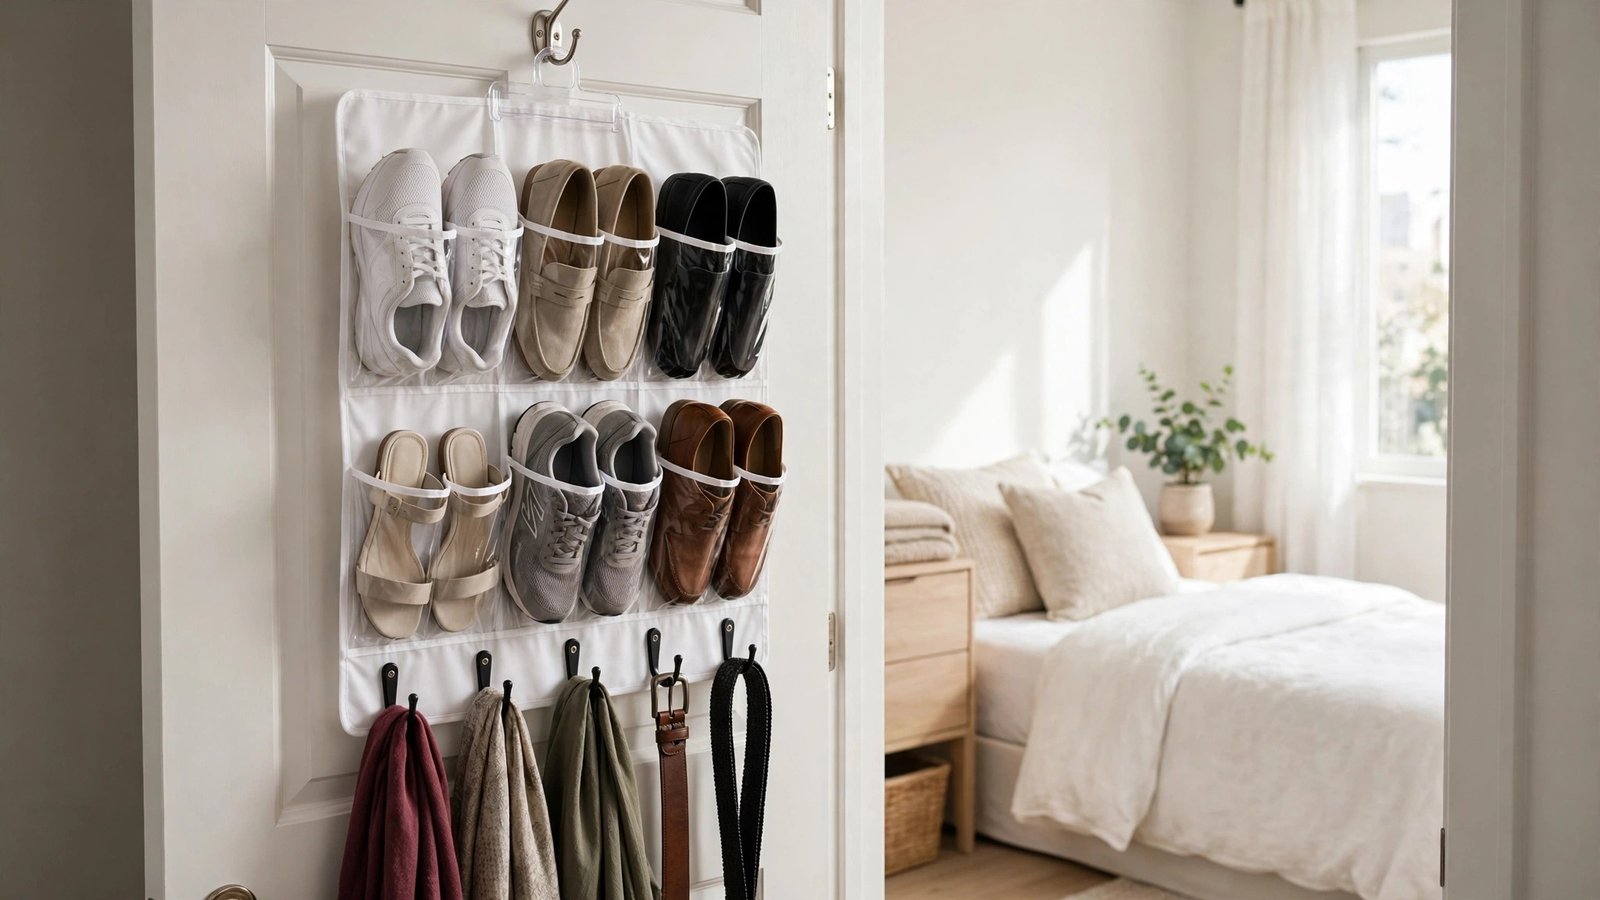
The inside of the closet door is prime real estate that most couples ignore completely. An over-the-door organizer — hooks that slip over the top of the door with no screws — turns that flat surface into storage for shoes, scarves, belts, hats, and bags.
For renters, this is pure gold. Door-back organizers leave zero marks when removed, they hold a surprising amount of weight, and they free up the floor and rod space for the things that genuinely need to hang or stack. I have personally seen this single product clear enough floor space in a small reach-in closet to make the whole thing feel twice as big.
To do it right:
- Confirm your closet door has enough clearance to close with an organizer on the back — sliding closet doors often do not, in which case use the bedroom-side door or a tension-rod hook on the wall instead.
- Choose a style that fits your needs: clear shoe pockets for visibility, fabric cubbies for bags and accessories, or simple hooks for robes and tomorrow’s outfit.
- Split the pockets between your zones — top rows for one person, bottom rows for the other — so neither of you digs through the other’s shoes.
- Keep it to lightweight items: shoes, scarves, belts, and hats are ideal; do not overload it with heavy bags or it will stress the door.
- When you move, lift it off the door in ten seconds — no patching, no paint touch-ups, no deposit drama.
Approximate cost: $12–$20.
5. Switch to Matching Slim Velvet Hangers, Color-Coded by Person
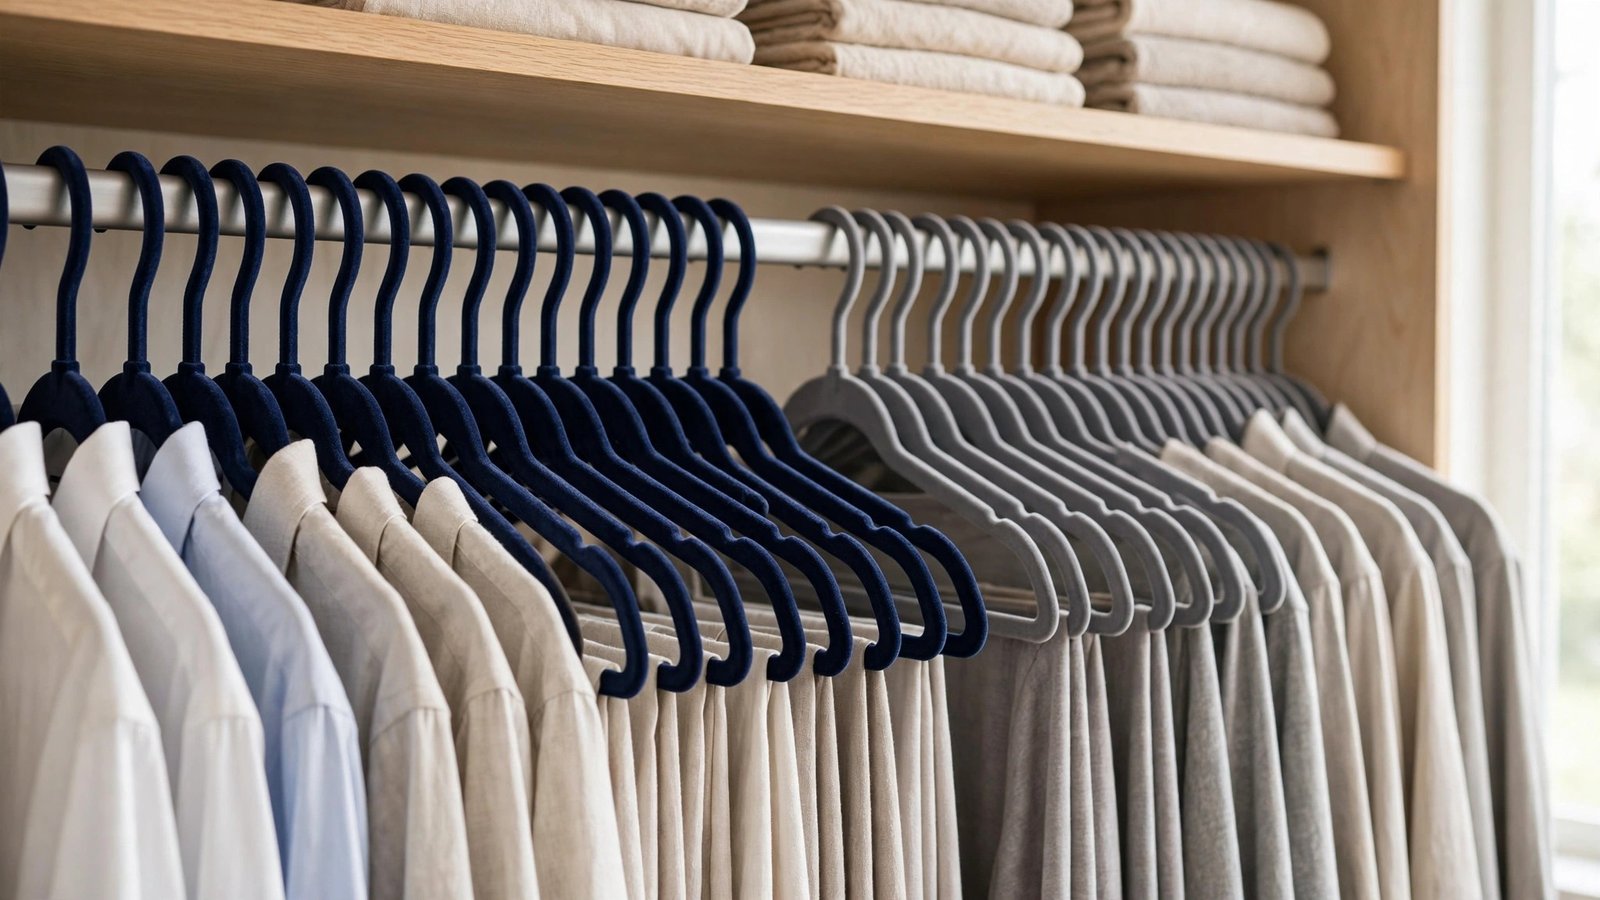
Bulky plastic and mismatched dry-cleaner hangers are silently stealing rod space from your closet. Slim velvet hangers are about half as thick as standard plastic hangers, and switching a shared closet over can free up several inches of rod — often enough for an extra dozen garments per person.
The couples’ trick I always recommend: each person gets a different hanger color. I have noticed this does two things at once. First, it makes the closet look instantly more organized, because visual clutter drops dramatically when 80 hangers match. Second, it ends the quiet war over whose clothes are creeping into whose zone — you can see at a glance when a navy hanger has wandered onto the gray side.
To make the switch:
- Count your total hanging garments so you buy enough — most couples need 60–100 slim hangers for a shared closet.
- Each of you picks a color (velvet hangers come in multipacks of one color), and you commit: your clothes only ever go on your color.
- Re-hang everything in one pass, tossing bent wire and bulky plastic hangers as you go — donate or recycle the discards.
- Hang each garment the same way (all hooks facing the same direction) for that uniform, boutique-closet look that makes the space feel calmer.
- Keep a few spare hangers of each color at the end of each zone so new purchases have a home waiting.
Approximate cost: $20–$35 for a 100-pack of slim velvet hangers.
Renter note
Hangers are the cheapest square-footage-per-dollar upgrade in this whole guide. If you buy nothing else, buy these. One honest caveat I share with every renter: do the swap all at once, in a single session, rather than buying a small pack “to try.” A closet with two hanger styles looks messier than one with all mismatched hangers, and the rod-space savings only show up once the bulky hangers are gone. A hundred slim hangers fit in one shopping bag and take about forty minutes to switch over — it is the fastest visible transformation on this entire list.
6. Use Shelf Dividers and Stackable Risers to Share Shelves

The long fixed shelf above the rod in a rental closet is usually one wide, deep surface where folded clothes slowly become a leaning tower. Shelf dividers — clear acrylic or wire panels that slide onto the shelf — turn that one shelf into neat compartments, and stackable shelf risers give you a second level of storage on top of it.
This works brilliantly for couples because deep rental shelves are otherwise a shared no-man’s land. With dividers, each of you gets two or three defined cubbies, and your folded stacks stop toppling into each other. I have helped couples implement this in under twenty minutes, and it is one of those changes that looks custom while being completely removable.
To set it up:
- Measure the depth of your top shelf so you buy dividers that fit — most rental shelves are 12–16 inches deep.
- Slide the dividers onto the shelf to create sections, assigning equal sections to each person per your zone split.
- Add one or two stackable shelf risers inside a section to create a second tier — perfect for handbags, hats, or folded linens.
- Fold clothes in tidy, uniform stacks that fit within each section’s width, so nothing leans into the neighboring section.
- Reserve the very top of the shelf (above easy reach) for true out-of-season storage rather than daily clothes.
Approximate cost: $15–$30 for a set of dividers plus a riser or two.
7. Add a Slim Rolling Cart for Small Items
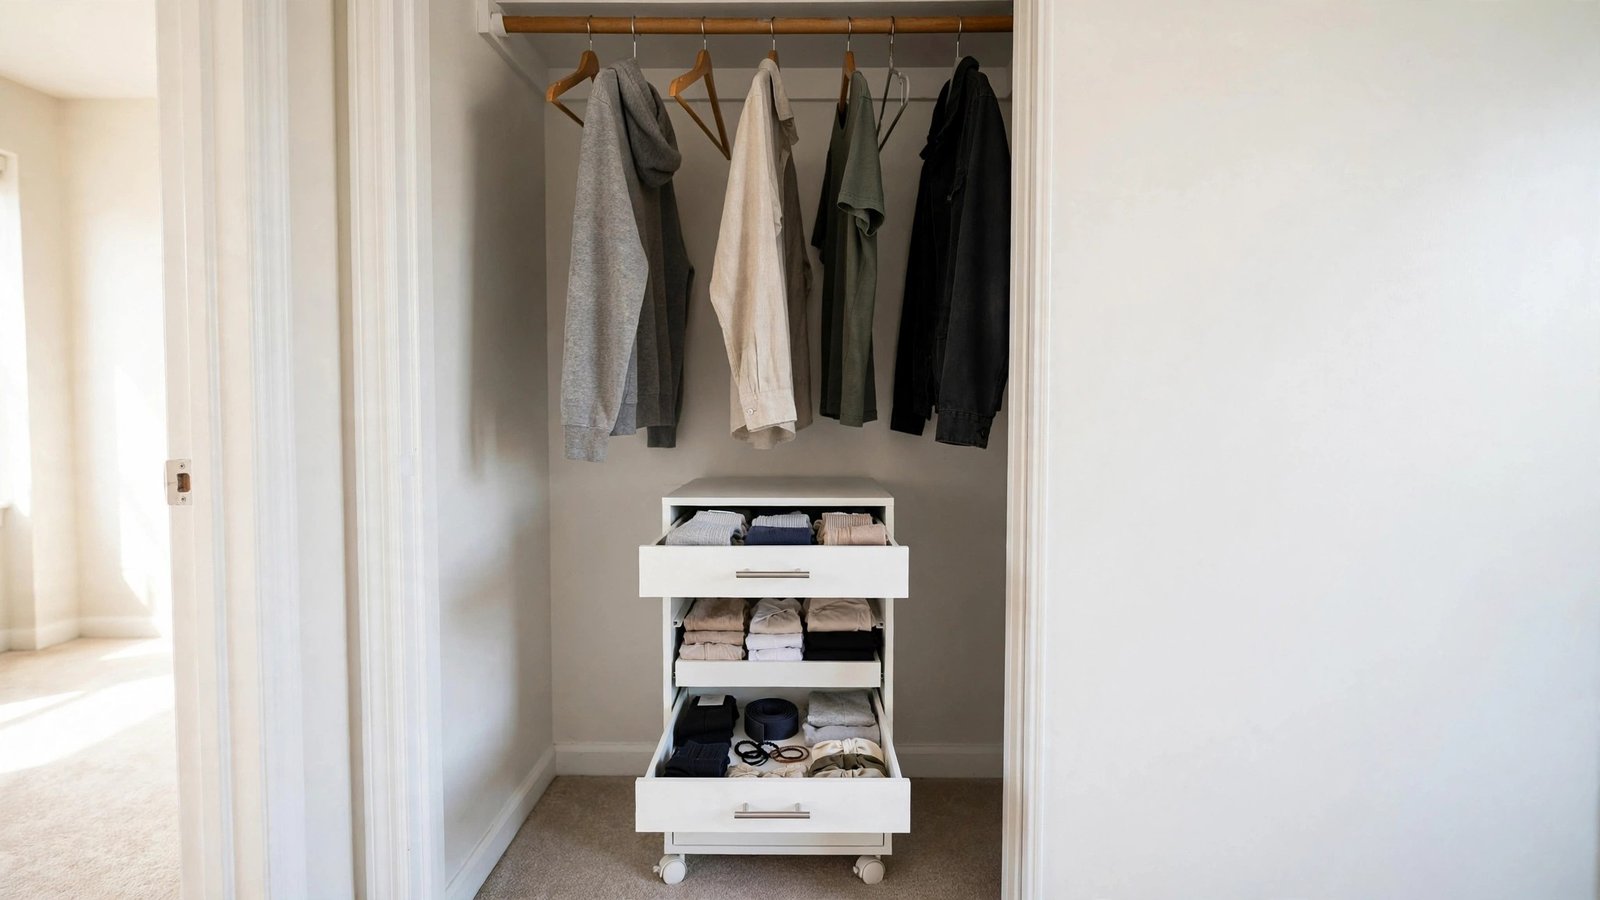
Underwear, socks, ties, jewelry, and all the small stuff that does not hang well is what turns shared closets into chaos. A slim rolling cart with drawers — the narrow kind designed for bathroom or kitchen gaps — slides neatly into the dead space at one end of a closet or underneath a hanging rod.
I love this for renters because it is furniture, not a fixture: it rolls out at move-out like it was never there. For couples, the trick is assigning drawers, not shelves — each person gets two or three drawers, and the narrow vertical footprint means it fits even in a modest reach-in closet where floor space is precious.
To make it work:
- Measure the narrow gap you plan to use — carts come in widths from about 5 to 9 inches, so find one that fits your space with room to roll.
- Decide drawer ownership up front and label each drawer front with a removable label or a small piece of painter’s tape with a name on it.
- Give each drawer a category: underwear, socks, accessories, and a catch-all “small stuff” drawer so nothing migrates to the floor.
- Roll it out fully when dressing so both of you can access drawers without crowding each other in the morning.
- Wipe the cart down before move-out and roll it to your next place — it is genuinely reusable furniture, not a sunk cost.
Approximate cost: $25–$45.
8. Give Shoes Their Own System (One Rule Per Person)

Shoes are the number-one floor-space thief in a shared closet, and couples almost always have different shoe habits — one person lines them up, the other kicks them off. The fix is not a bigger shoe rack; it is a system with one clear rule per person and a defined home for every pair.
Clear stackable shoe boxes are my top pick for rentals: they protect shoes from dust, they stack into a tidy tower, and you can see what is inside without opening anything. An under-rod shoe rack or a simple two-tier floor rack also works beautifully, especially on the floor beneath each person’s zone. What matters is that shoes never live in a loose pile, because loose piles spread.
To set it up:
- Each of you counts your everyday shoes and agrees on a reasonable number to keep in the closet — the rest go to an entryway rack or storage.
- Choose one container style per person (clear boxes for one, a floor rack for the other is fine — the systems do not have to match, the zones just have to be respected).
- Place shoe storage directly under each person’s hanging zone so getting dressed is a single motion, not a closet expedition.
- Stack boxes no more than four or five high so they stay stable, and keep the most-worn pairs at the most accessible level.
- Enforce the rule: shoes return to their home after wearing, no exceptions — a shoe system only works if the shoes actually go back.
Approximate cost: $15–$30 for a set of clear boxes or a two-tier rack.
9. Move Off-Season Clothes to Labeled Bins Up High
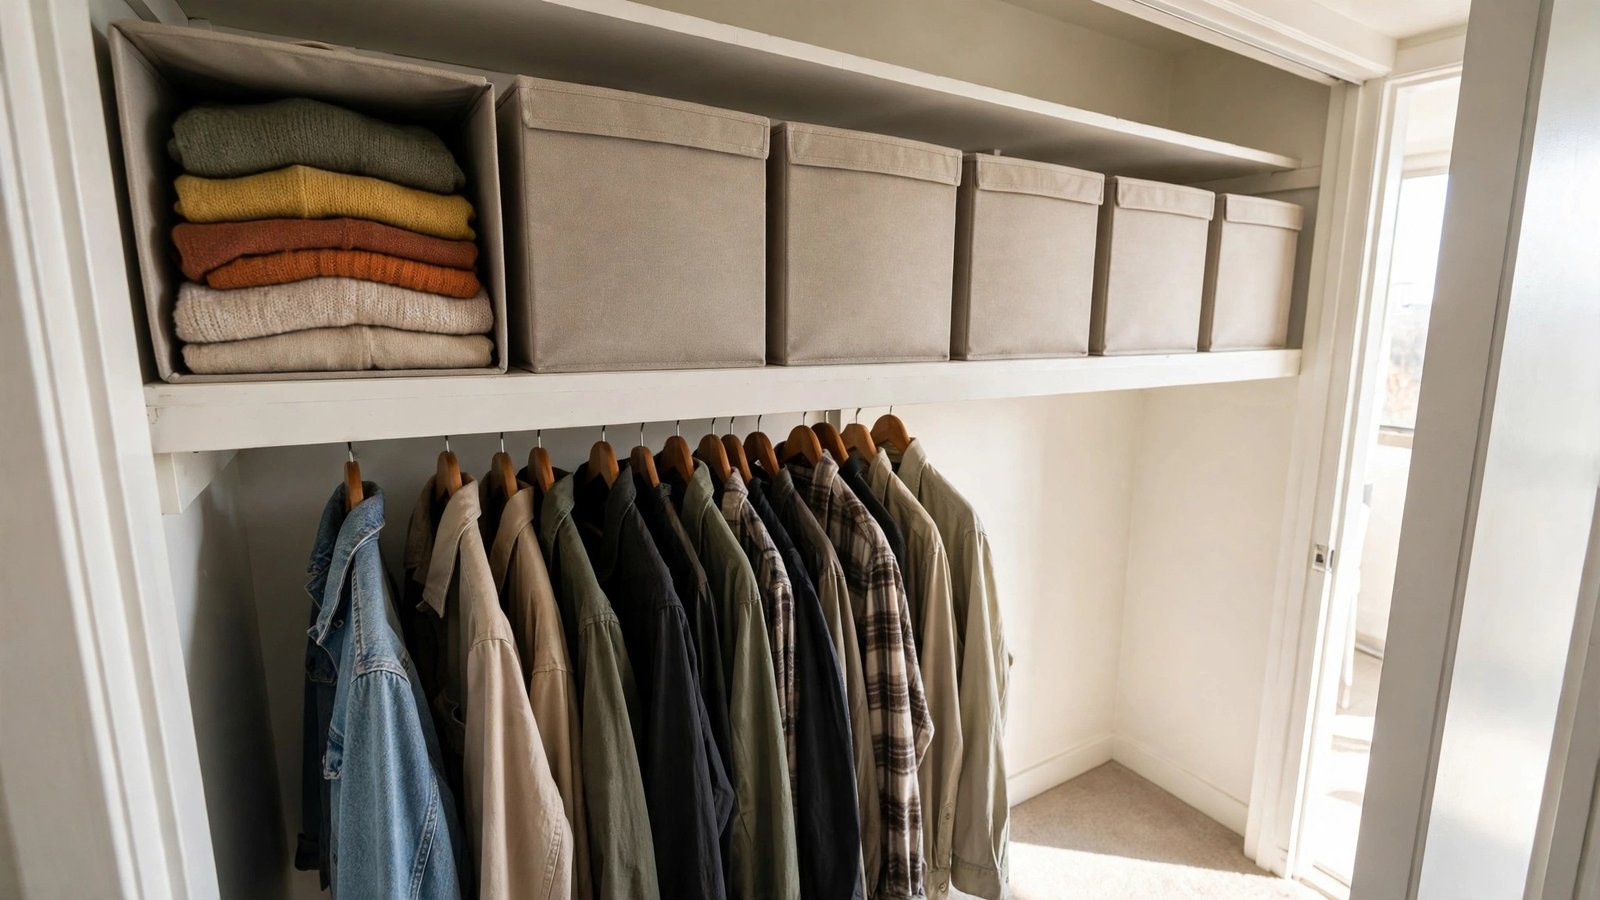
Here is a hard truth I share with every couple: about a third of what is in your closet right now does not need to be in your closet right now. Heavy winter coats in July, summer dresses in January — these are stealing prime rod and shelf space from the clothes you actually wear this week.
The renter-friendly answer is fabric storage bins on the high shelf or above the closet. Soft-sided bins fit awkward top-shelf spaces, they are light to lift down, and they collapse flat when empty. Label each bin by person and season — “Alex: Winter,” “Sam: Summer” — so there is no confusion about whose bin is whose.
To do the seasonal rotation:
- Each of you pulls out everything you have not worn in the last 30 days and sorts it into “current season” and “off-season” piles.
- Fold off-season clothes neatly (a vacuum-seal bag inside the bin compresses bulky sweaters even further) and place them in the bins.
- Label the bins clearly on the front-facing side with removable labels or tags so you can identify them without pulling them down.
- Lift the bins onto the high shelf, heaviest at the bottom of the stack, and take a quick phone photo of the labels so you remember what went where.
- When the season turns, swap the bins’ contents in one session — twenty minutes twice a year buys you a dramatically roomier closet every day in between.
Approximate cost: $12–$25 for a set of two to four fabric bins with labels.
10. Run a 15-Minute Weekly Closet Reset Together
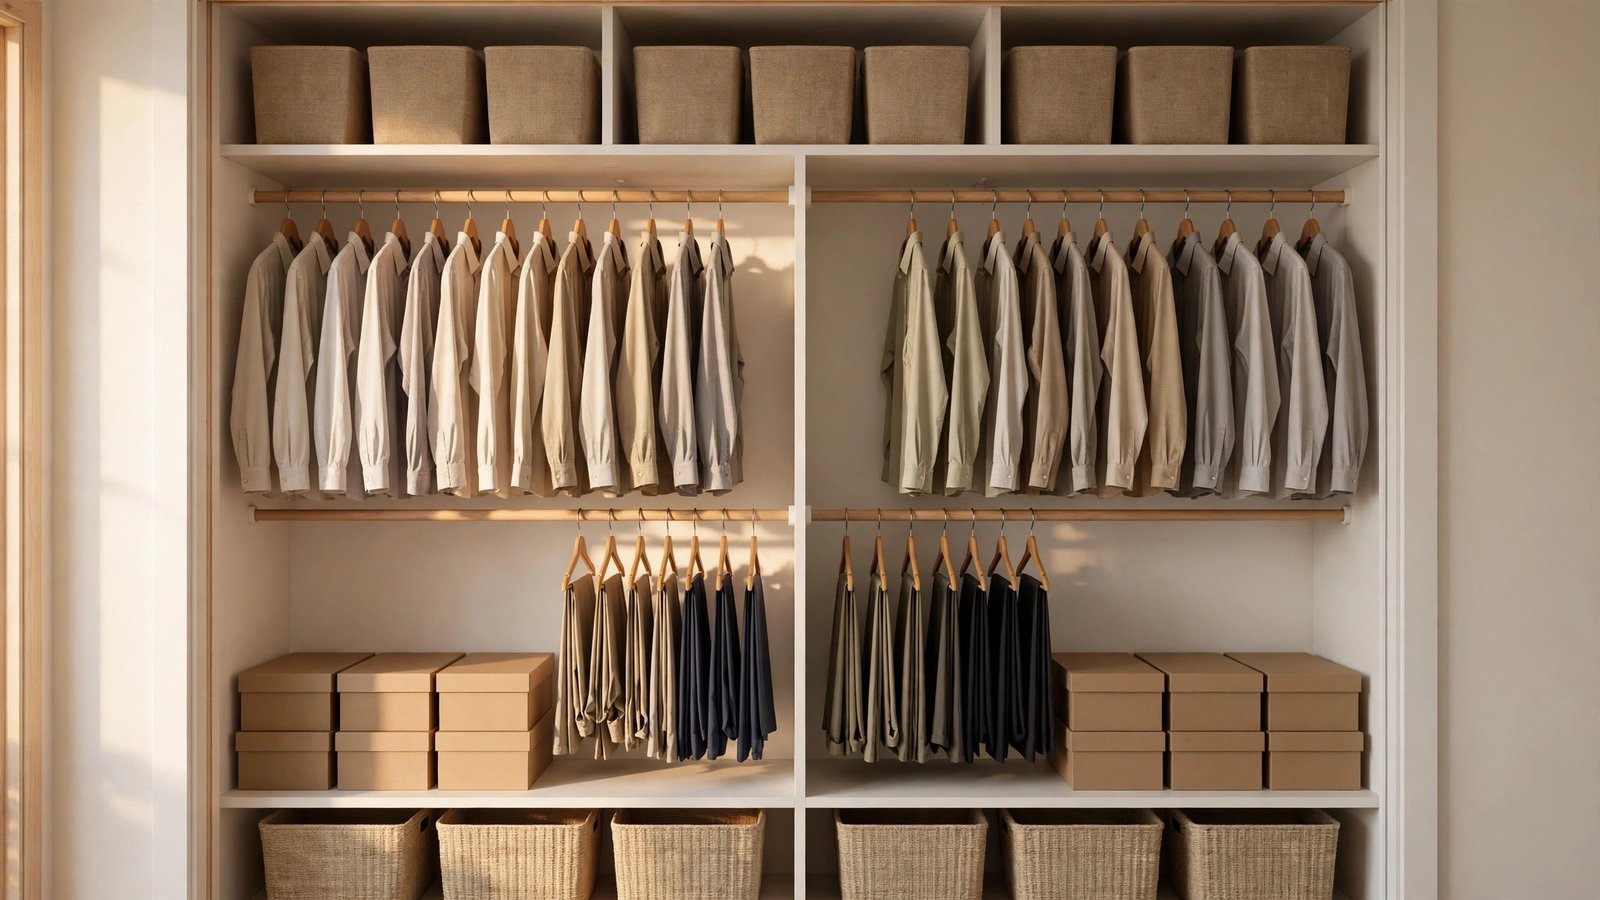
This is the least glamorous idea on the list and the one I have noticed matters most. Every organizing product in the world cannot save a closet if nobody maintains it. The couples whose closets stay beautiful are not the ones with the most products — they are the ones with a tiny maintenance habit.
A weekly reset is simple: once a week, at the same time, both of you spend fifteen minutes in the closet together. Return strays to their zones, refold anything that slumped, rehang anything that fell, and each toss one thing into a donate bag. Pair it with a “one in, one out” rule — when a new garment enters the closet, an old one leaves — and your closet can never outgrow its space.
To build the habit:
- Pick a standing time that fits your week — Sunday evening while the laundry finishes is the classic choice.
- Set a timer for fifteen minutes so it stays quick and neither of you dreads it.
- Each person works only in their own zone: rehang, refold, and return shoes to their homes.
- Keep a small donate bag hanging on the door-back organizer (see idea #4) and drop one worn-out or unworn item in each week.
- Once a month, do a five-minute zone check: is the boundary still fair, or has one of you outgrown your half?
I have noticed that couples who skip the maintenance always end up re-organizing the whole closet every three or four months in a giant, exhausting purge — while the fifteen-minutes-a-week couples never need to. It is the difference between brushing your teeth and needing a root canal. Fifteen small minutes genuinely beats one miserable Saturday, and doing it together keeps it feeling fair instead of like one person’s chore.
Approximate cost: $0 — this one runs on teamwork, not products.
Your Closet, Finally Working for Both of You
Sharing one closet does not have to mean one of you wins and the other lives out of a laundry basket. When I look at the closets that couples love, they all share the same DNA: clear zones so nobody wonders what goes where, double the hanging space so nobody fights over the rod, a home for shoes and small things so the floor stays clear, and a tiny weekly habit that keeps the whole system humming.
Start with the two free ideas — the zone split and the weekly reset — and add the products one weekend at a time. You will be amazed how quickly a single rental closet starts feeling like it was designed for two people, even though your landlord designed it for whoever showed up first.
And here is the part I always remind my renter couples about: everything in this guide comes out cleanly when you move. No holes in the walls, no brackets to patch, no evidence for the walk-through. Your deposit stays safe, and you take every product — and every habit — with you to the next place.
Please save this visual guide on Pinterest and share it with your partner so you can tackle your closet together this weekend — I promise the “after” photo will be worth it.

Amelia leads HavenlyStyle’s editorial vision with a passion for elegant interiors and practical home living. With years of experience in home décor and lifestyle content, she ensures every article is accurate, inspiring, and easy to follow. From timeless decorating ideas to the latest interior design trends, Amelia is committed to helping readers create beautiful, functional spaces while maintaining HavenlyStyle’s trusted and welcoming voice.