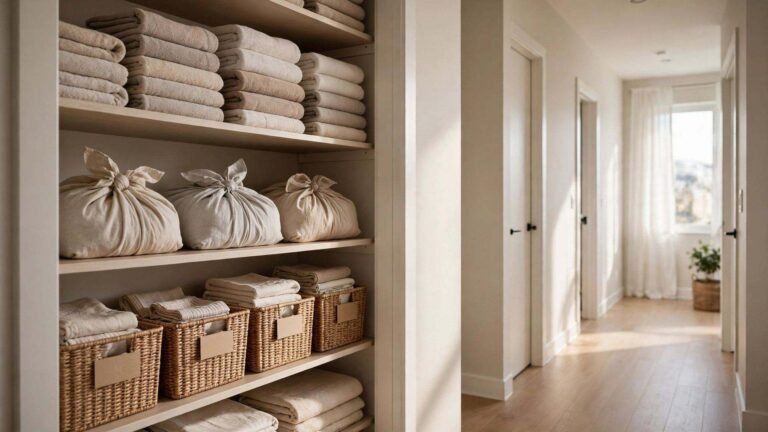
Nothing humbles you quite like moving into an apartment you love — great light, decent kitchen, friendly neighbors — and realizing your bedroom has no closet. Not a small closet. Not a weirdly shaped closet. No closet at all. If you’ve ever stood in an empty room with two suitcases and a garbage bag of hangers wondering where your clothes are supposed to live, you’re in good company. I’ve helped dozens of renters solve exactly this problem, from studio dwellers in pre-war walk-ups to families squeezing into garden apartments where the “closet” was clearly an afterthought.
The good news: a missing closet is a furniture problem, not a moving problem. Every solution in this post is deposit-safe — no drilling, no painting, nothing your landlord can charge you for when you leave. I’ve personally seen all twelve of these setups work in real rentals, and I’ve noted the approximate cost and the honest effort level for each. No closet? No problem. Your clothes are about to get a better home than the spare-room floor they’ve been living on.
Executive Summary
- A single sturdy garment rack can replace most of a standard closet for most renters — stability matters more than style.
- Unused nooks, alcoves, hallways, and corners become wardrobe zones with tension rods and curtain panels — zero drilling required.
- Freestanding armoires and vintage wardrobe cabinets add enclosed, dust-free storage that moves with you.
- Rolling racks, leaning ladders, and open shelving towers cover small spaces, folded items, and shoes without a single screw in the wall.
- For renters with awkward layouts, under-stair storage, behind-curtain nooks, and multi-rack “closet rooms” turn wasted space into a real dressing area.
- Every idea below is reversible and deposit-safe; each one includes concrete steps and an approximate cost range so you can start today.
1. The Sturdy Garment Rack: Your New Closet Backbone
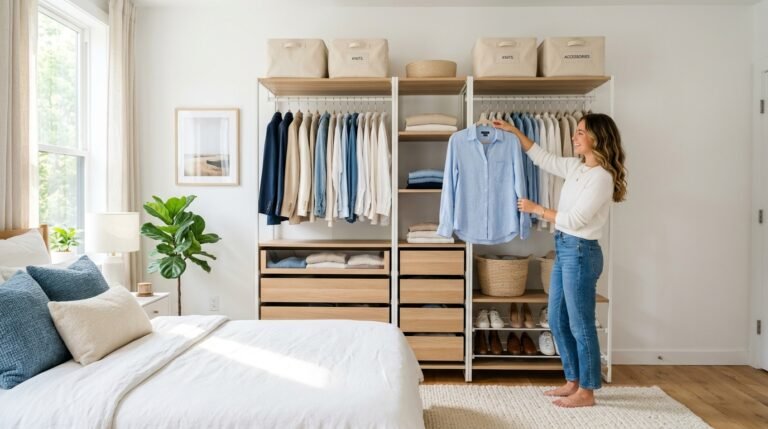
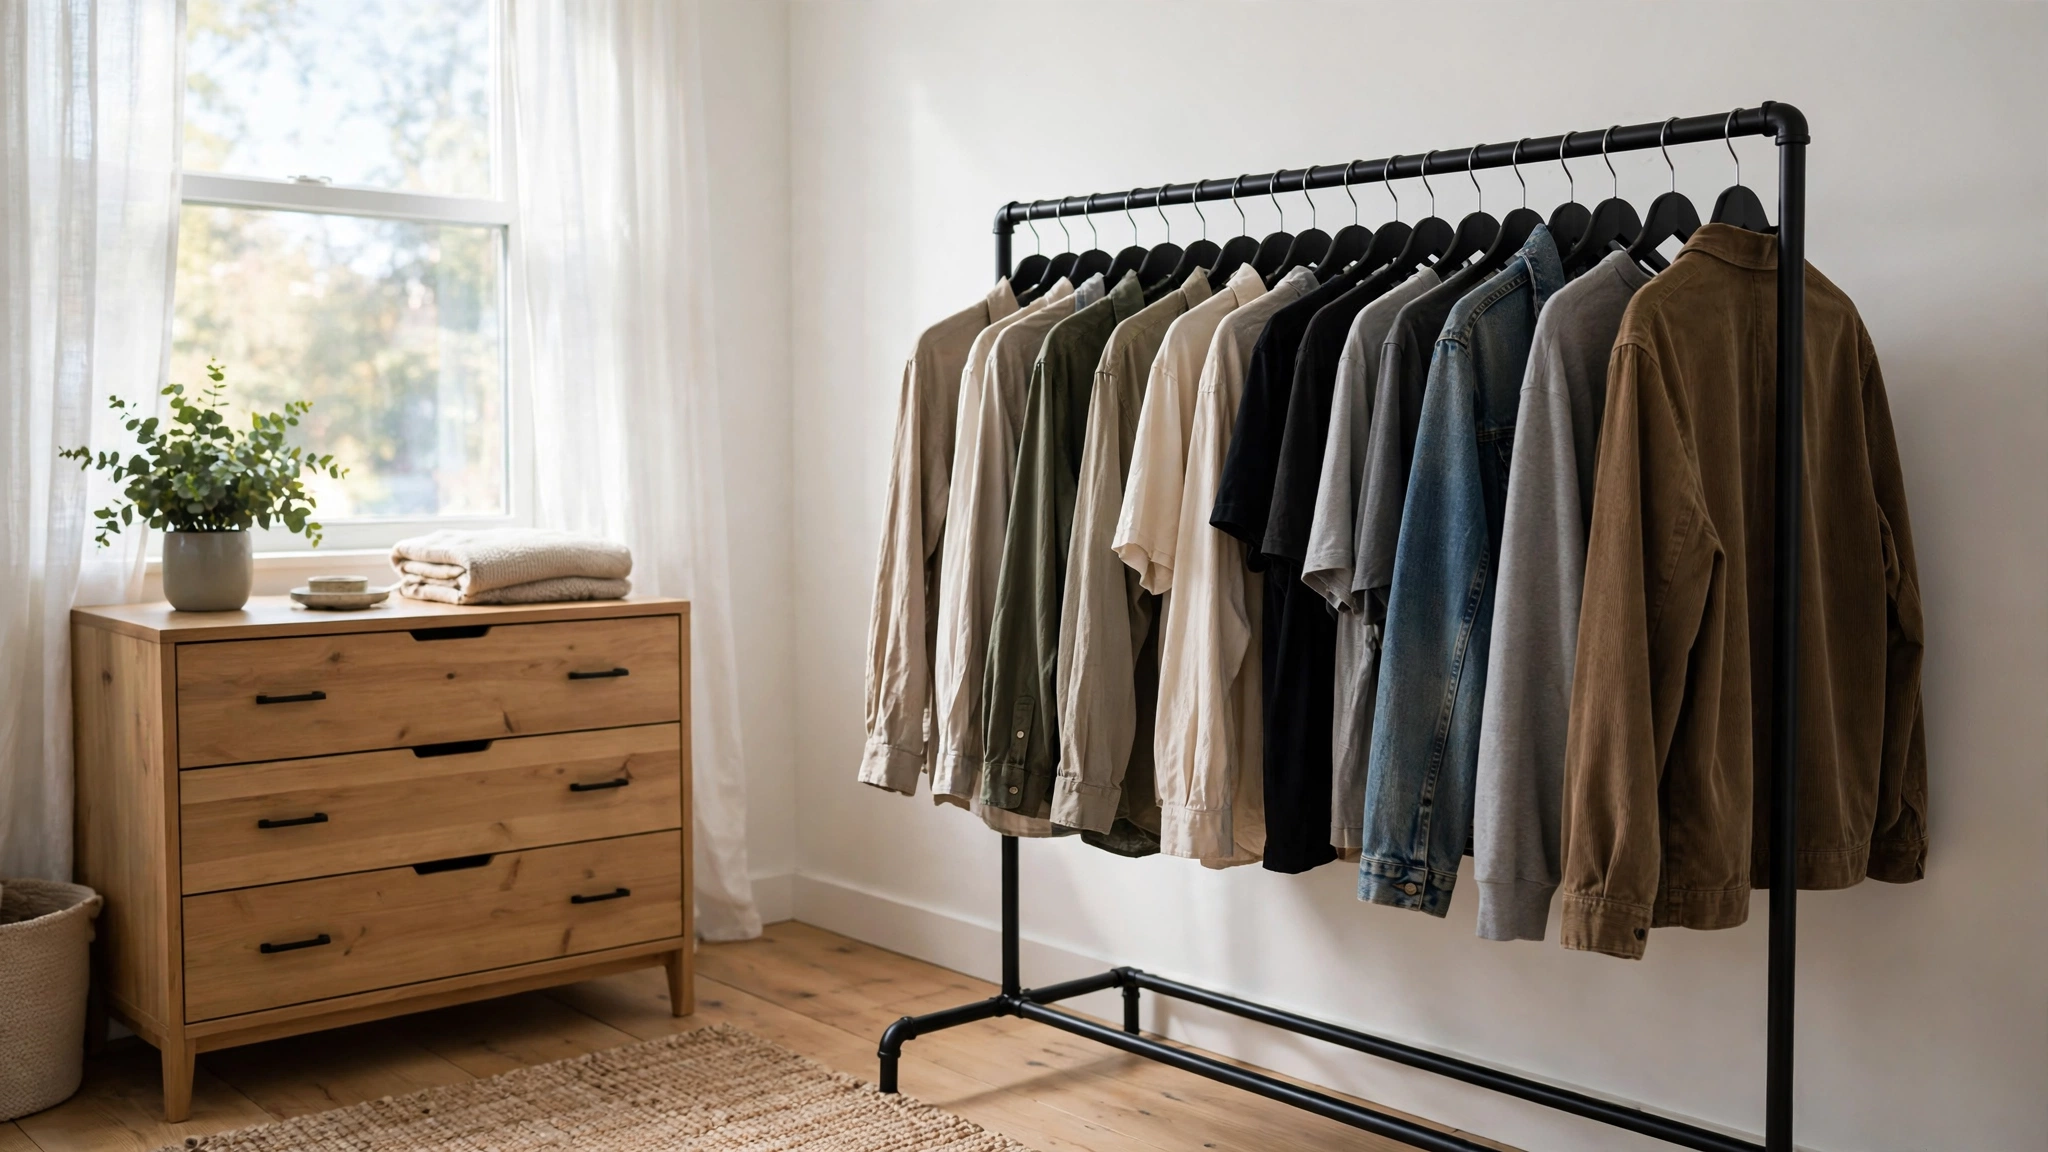
Let’s start with the single highest-impact solution: a freestanding garment rack that does the job a closet rod used to do. This is the workhorse I’ve recommended most often, because it works on day one, in any room, with any landlord.
Why it works for renters: It touches the floor and nothing else. No screws, no anchors, no wall contact. When your lease ends, you fold it up (many models disassemble in minutes) and take it with you. A heavy-duty rack also beats the flimsy single-bar racks that buckle under winter coats — stability is everything here. I’ve seen a cheap rack dump a full wardrobe onto a bedroom floor overnight, and nobody needs that particular alarm clock. Spend a little more once, and the rack will outlast several leases.
How to do it:
- Measure your space first: a standard 4-foot-wide rack needs about 2 feet of depth for hangers to swing freely. Leave walking room around it.
- Choose a rack rated for at least 100 pounds, with a reinforced center bar or double-frame construction. Single-tube frames wobble — ask me how I know.
- Place it against the longest uninterrupted wall section you have, not in the middle of the room — wall-adjacent placement reads as intentional, not cluttered.
- Arrange clothes by category (work, casual, outerwear) and color family so it looks styled rather than like a laundry explosion. Matching hangers are a cheap upgrade that makes a huge visual difference.
- Add a slim shoe tray or a low storage bench underneath to catch the floor space below the hanging clothes.
Approximate cost: $40–$120 for a sturdy freestanding rack, depending on size and finish.
2. Turn an Alcove or Hallway Nook Into a Wardrobe Zone
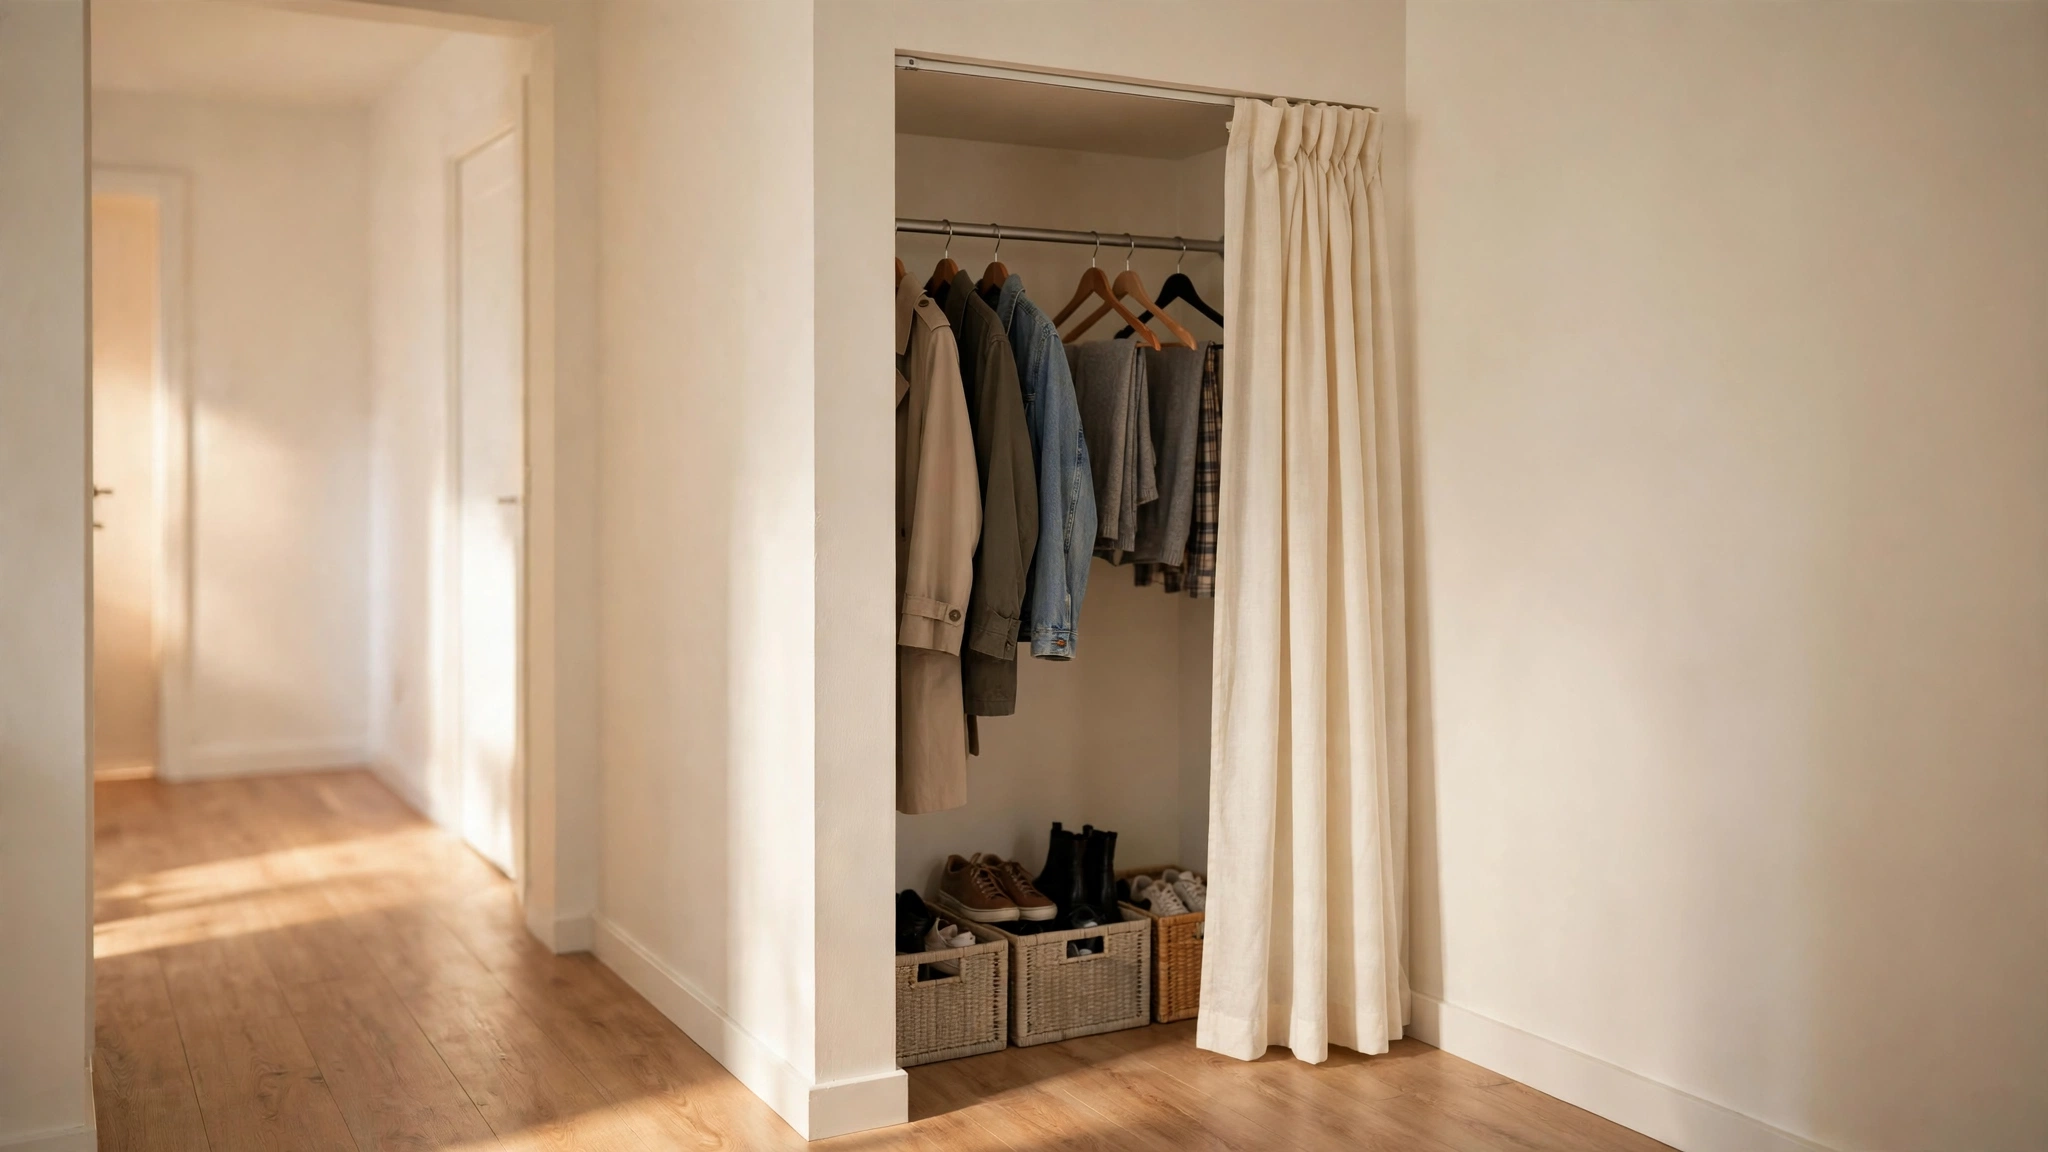
Renters often ignore the odd little spaces in their apartments — the alcove beside the chimney, the hallway jog, the dead corner next to the bedroom door. Those spaces are wardrobes in disguise.
Why it works for renters: You’re using space that was already wasted, and everything is pressure-mounted or freestanding, so the landlord never needs to know it changed. A curtained alcove reads as a built-in closet to anyone who visits. I once helped a renter turn a 3-foot hallway jog into the only “closet” in her studio, and every guest assumed it was original to the apartment. The trick is treating the curtain like a design element — choose fabric you’d actually want in the room, not whatever’s cheapest.
How to do it:
- Scout your rental for alcoves, hallway insets, or recessed wall sections at least 2 feet deep — that’s the minimum for hangers.
- Mount a tension rod across the opening at about 66–72 inches high. Tension rods grip with spring pressure, so there’s no drilling and no marks when you remove them.
- Hang a full-length curtain panel on the rod to act as a “closet door” that hides the contents.
- Add a small garment rack or a second tension rod inside the alcove for double-hanging (short items top and bottom doubles your capacity).
- Place a narrow shoe rack or a couple of stackable bins on the floor of the alcove for shoes and accessories.
Approximate cost: $15–$60 for tension rod, curtain panel, and bins.
3. The Freestanding Armoire: Enclosed Storage That Moves With You
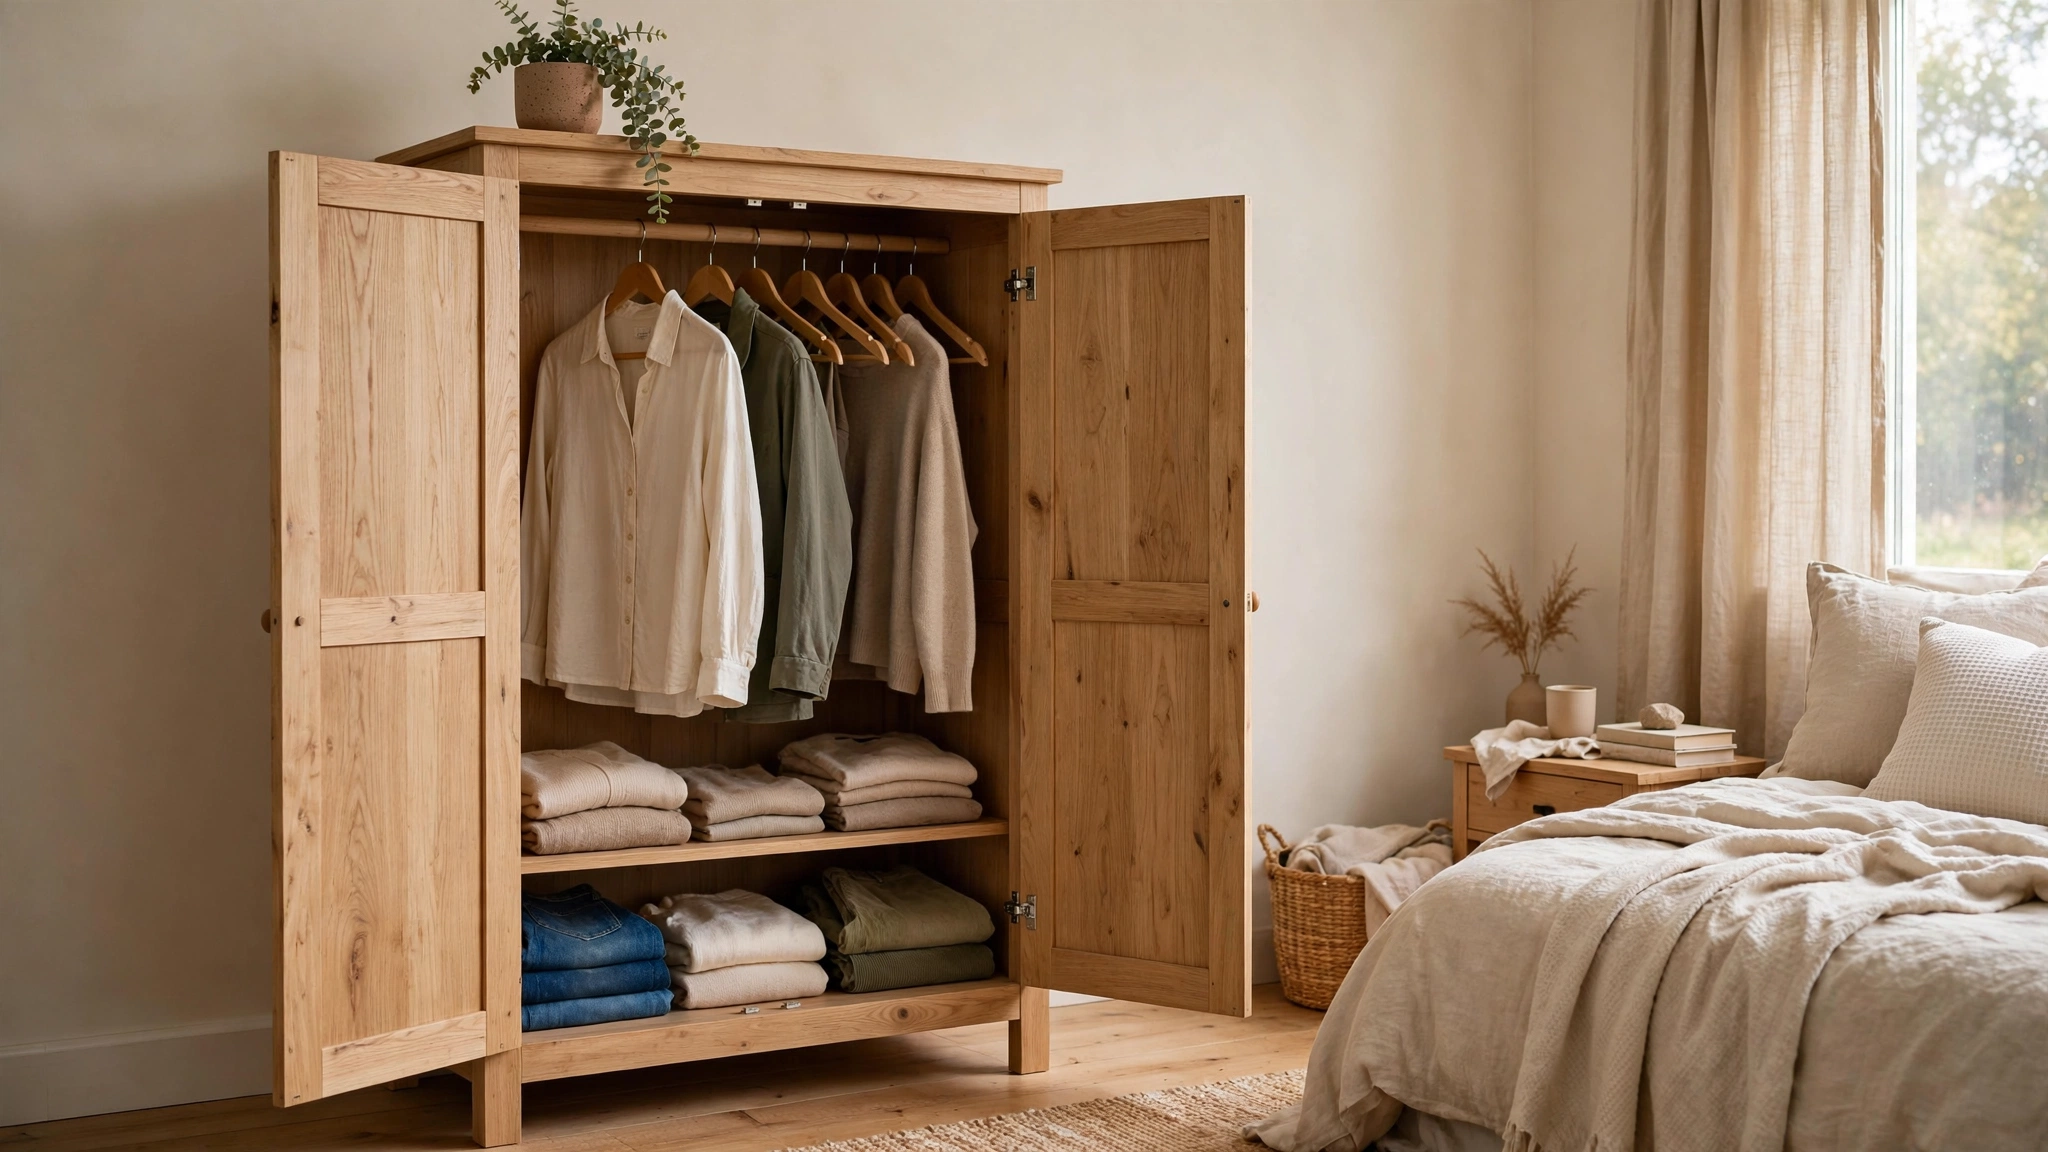
If the open-rack look isn’t for you — some people simply don’t want their clothes on display — a freestanding armoire or wardrobe cabinet is the closest thing to a real closet you can buy. I’ve seen renters use these in studio apartments where the rack-in-the-corner look just didn’t fit their style.
Why it works for renters: It’s furniture, not a fixture. It sits against a wall like a dresser or bookcase, encloses everything behind doors (so no dust on your clothes), and moves to your next apartment. Nothing about it involves the landlord. And because an armoire is a single substantial piece, it anchors a room the way a good sofa anchors a living room — renters with zero closets often tell me the armoire made the bedroom finally feel “finished,” which is a real psychological win in a space you’re renting.
How to do it:
- Measure doorways and stairwells before you buy — armoires are bulky, and I’ve watched too many renters discover their dream cabinet won’t fit up the stairs.
- Look for units with both a hanging section and shelves or drawers; combination pieces replace a closet and a dresser at once.
- Position it on the bedroom’s largest wall, anchoring the room the way a bed anchors it — an armoire against a wall looks permanent in the best way.
- Organize the interior with slim hangers and shelf dividers so it holds as much as a real closet would.
- Style the top with a tray, a small plant, or a framed print so it reads as furniture, not a storage box.
Approximate cost: $150–$500 for a decent freestanding wardrobe, depending on size and material.
4. Curtain-Draped Clothing Zones: The Instant Closet Wall
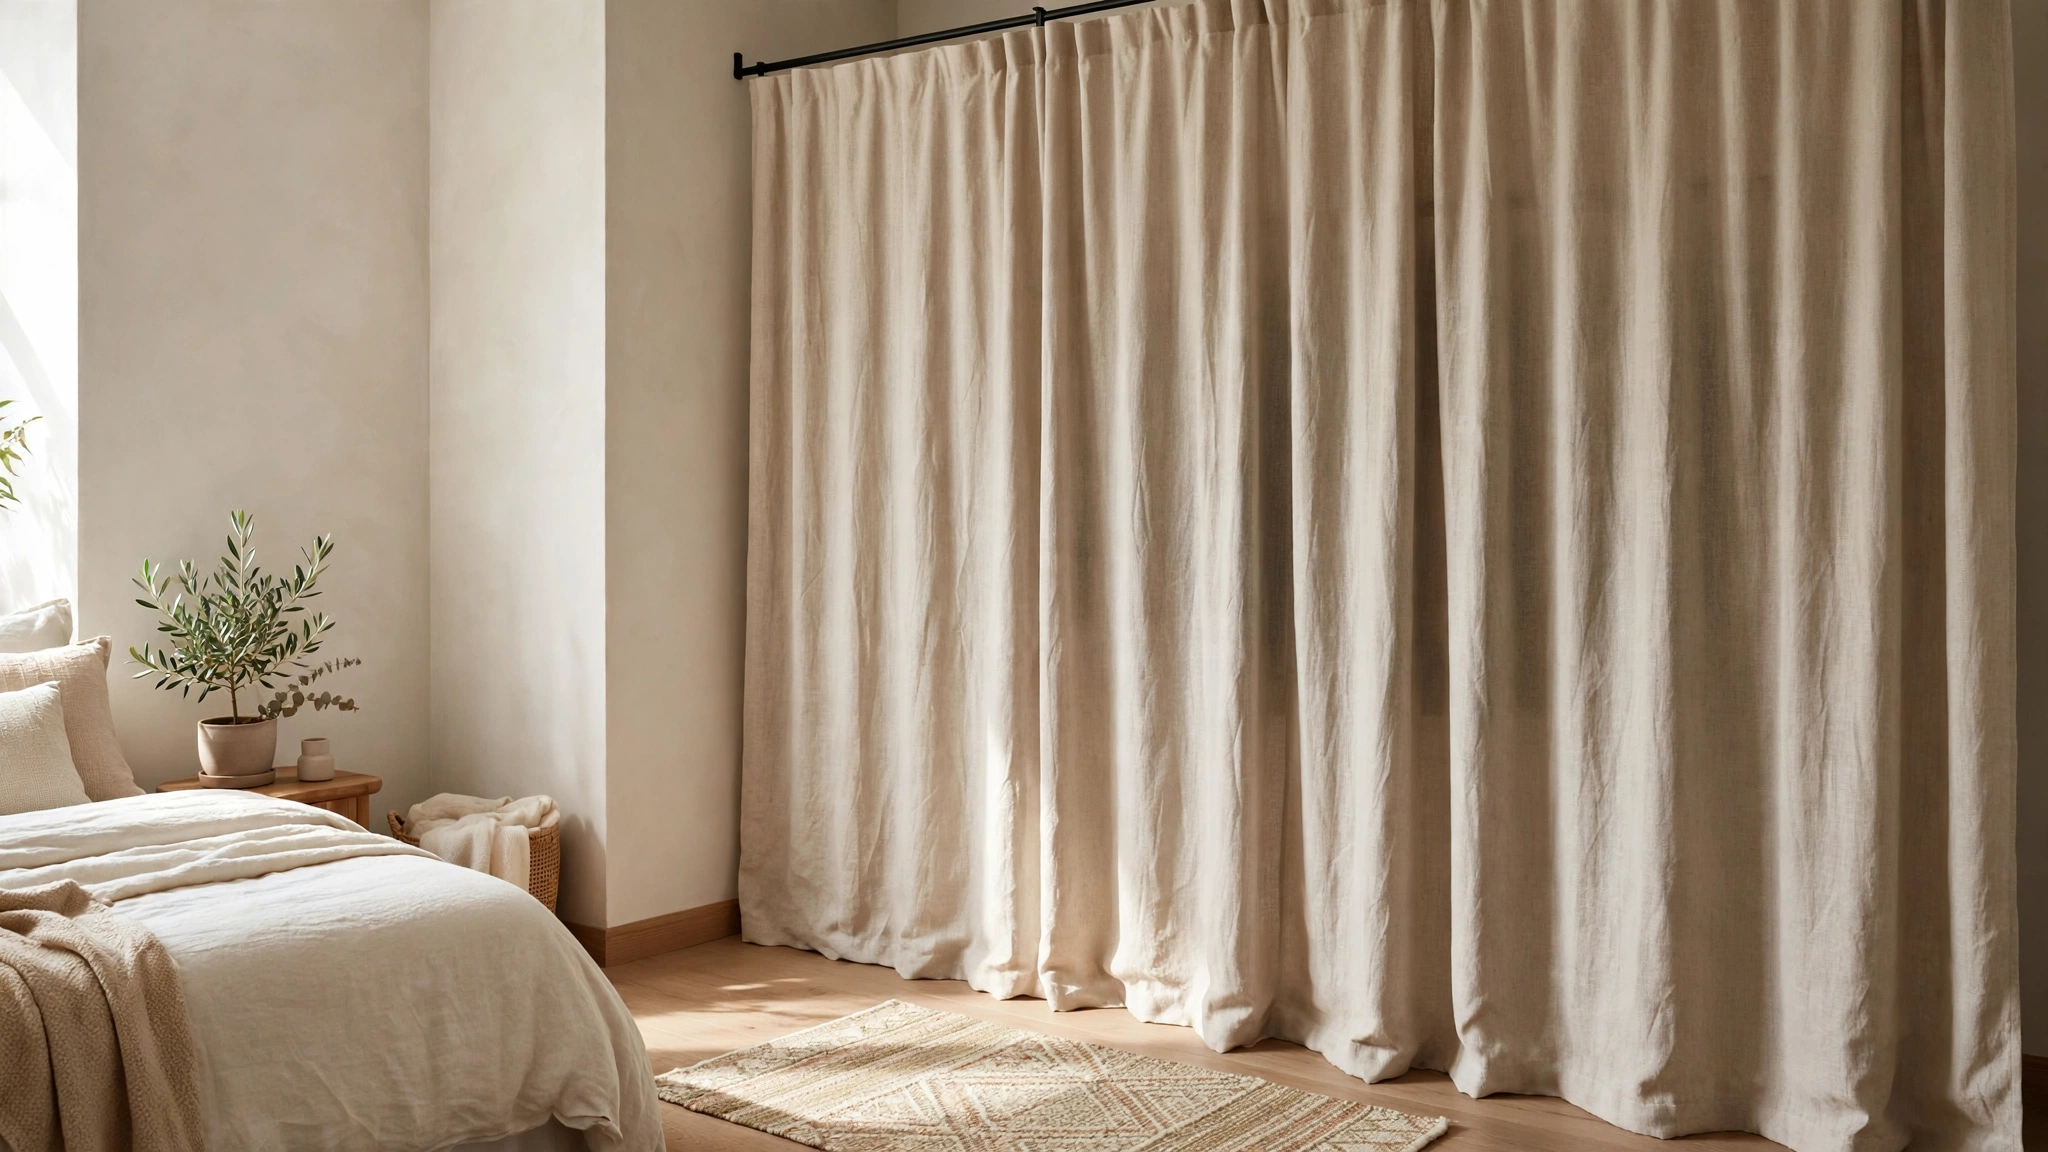
This is one of my favorite renter tricks because it’s so simple: hang a floor-to-ceiling curtain panel in front of a rack or rail, and suddenly there’s a “wall” where your wardrobe lives. Guests see a soft fabric panel; you see your entire closet behind it.
Why it works for renters: Curtains on tension rods or ceiling-mounted tracks (the adhesive or tension kind, not screwed in) are fully removable. The fabric softens the room, hides visual clutter, and gives you the private “dressing area” feeling a closet provides. This is also the fastest way to make an open rack setup look deliberate in listing photos or when family visits — two curtain panels and a tension rod can hide a multitude of sins, and I’ve watched renters do the whole thing in under an hour.
How to do it:
- Choose the wall or corner where your clothes will live, then measure ceiling height and width.
- Mount a tension rod between two walls (for a corner or alcove) or use a freestanding curtain frame if you only have one wall to work with.
- Hang two curtain panels — floor-length, in a color that matches your bedding or walls — so the zone feels like part of the room’s design, not a cover-up.
- Set up your garment rack or double rod behind the curtains, keeping a few inches of clearance so the fabric doesn’t snag hangers.
- Add a small rug in front of the curtain zone to define it as a distinct “dressing area” within the room.
Approximate cost: $30–$100 for rods, panels, and a small rug.
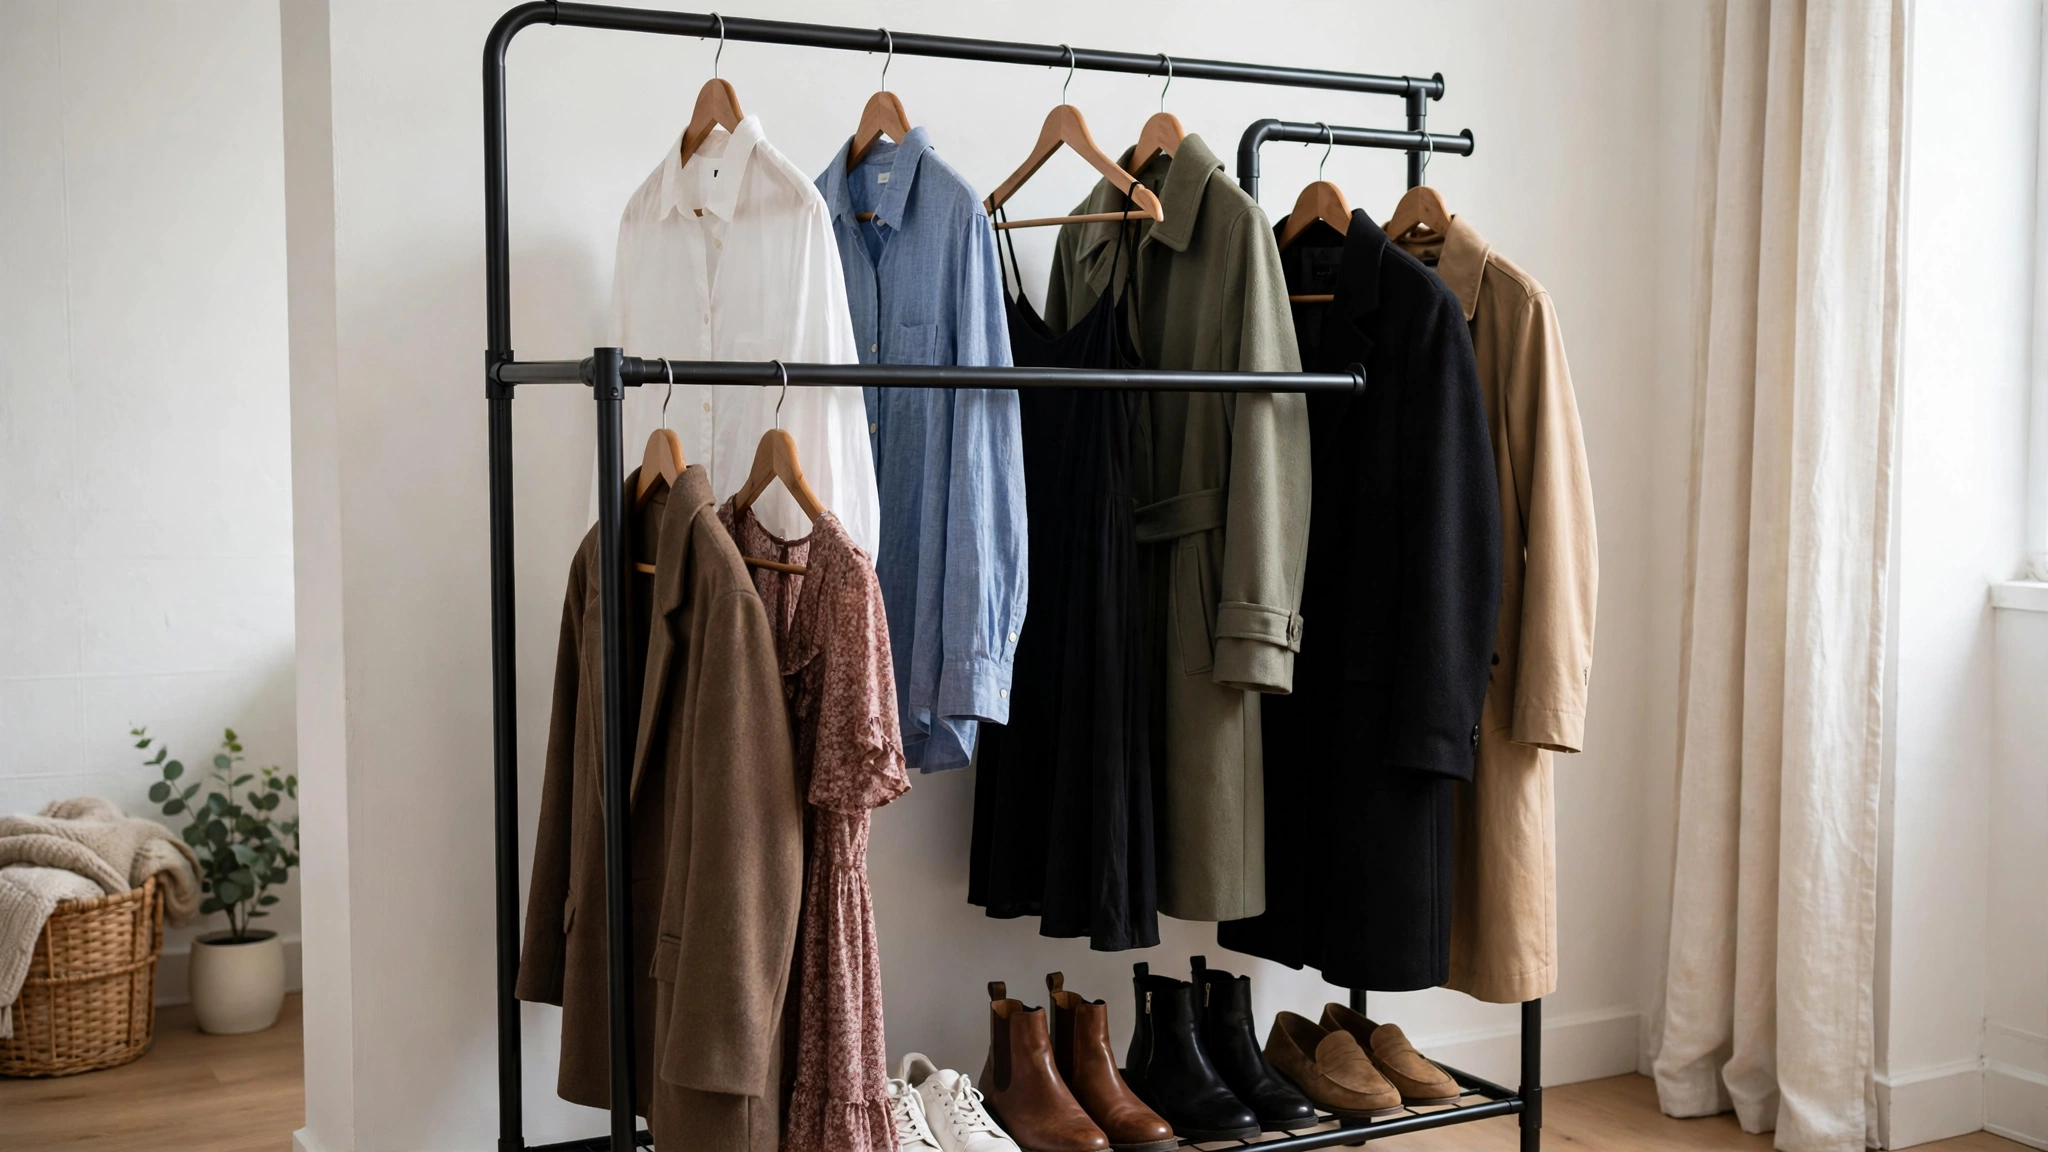
5. The Rolling Double-Rod Rack for Tight Spaces
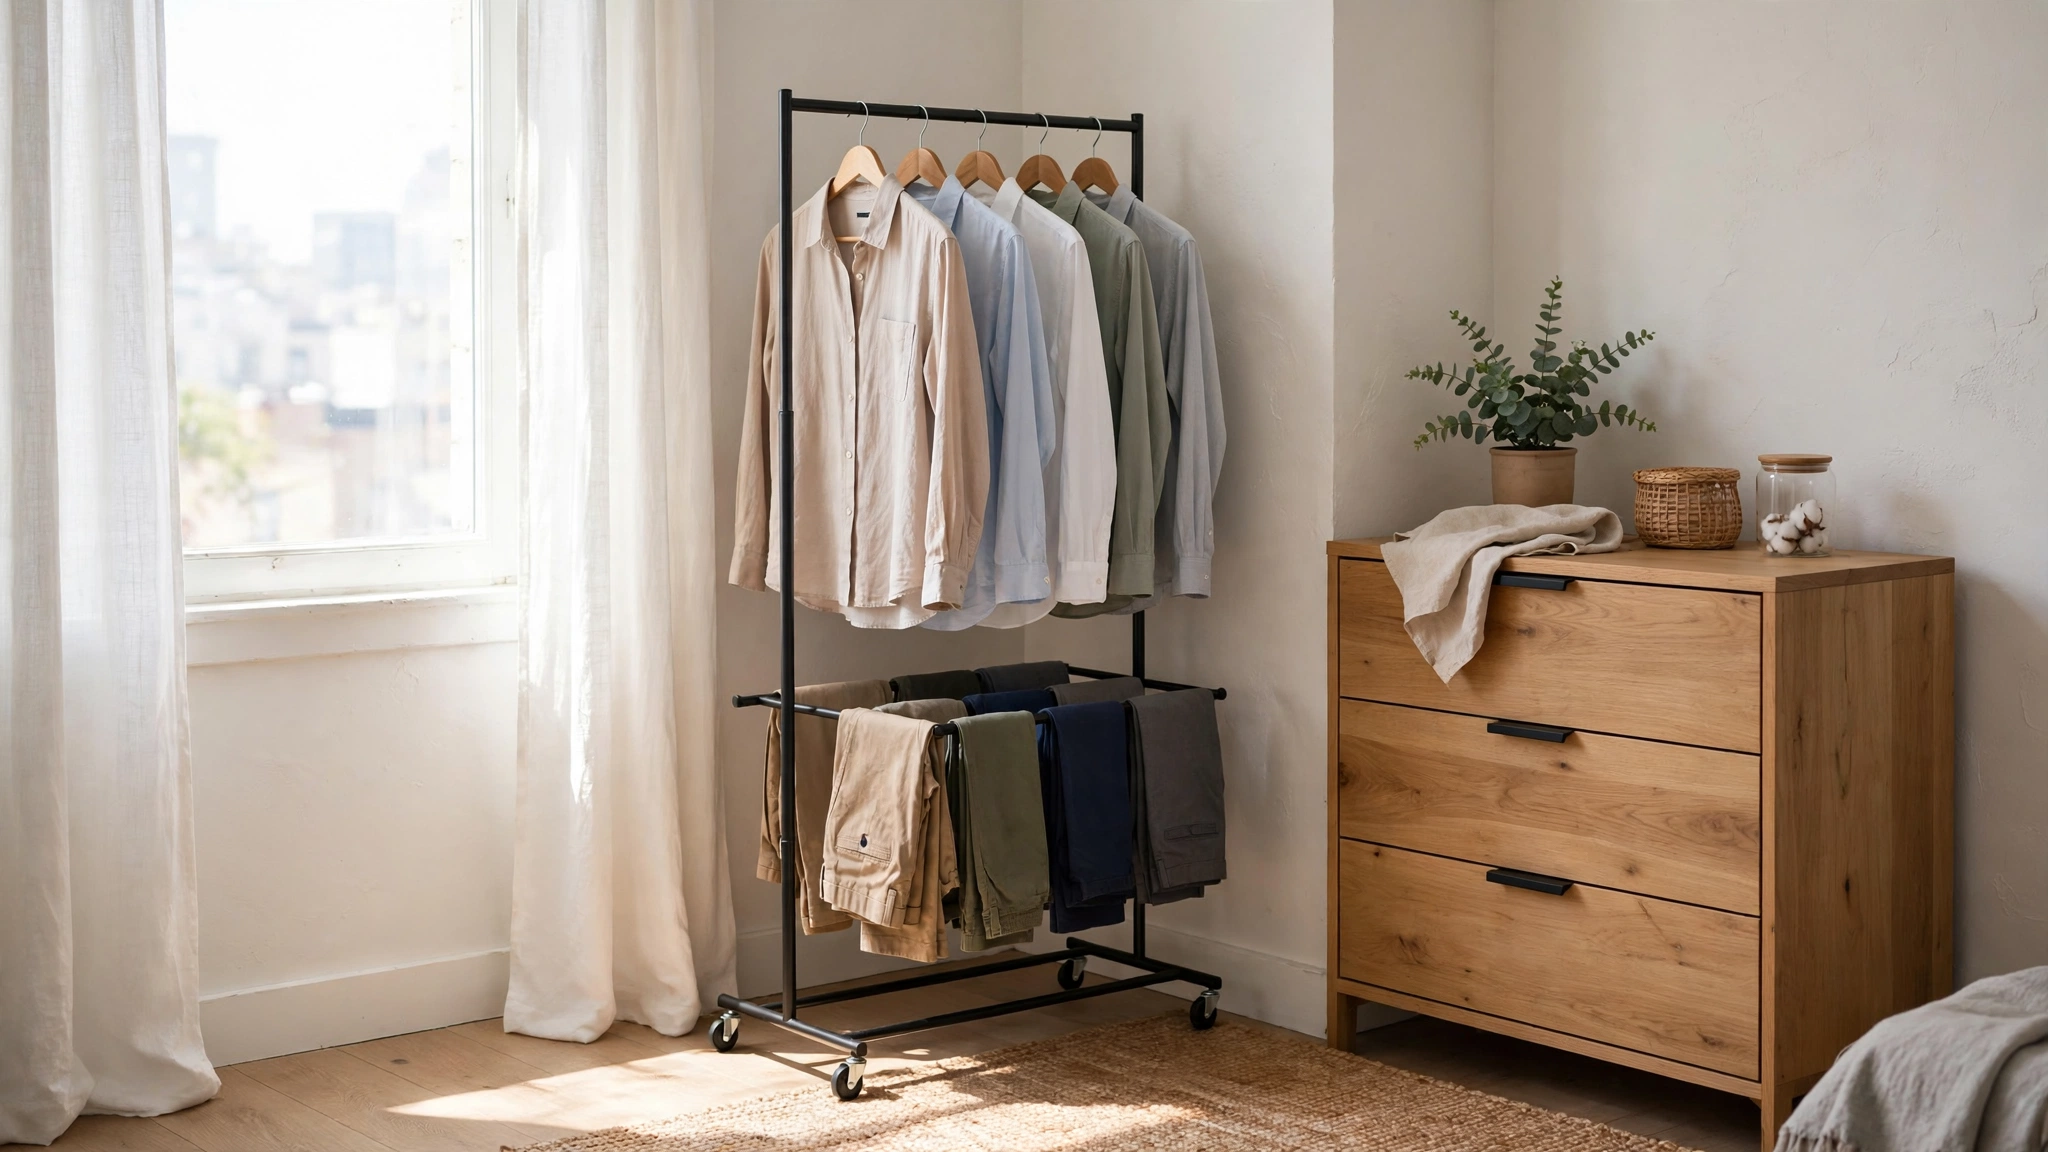
When floor space is truly limited, a rolling rack earns its keep. These are the narrower, wheeled cousins of the standard garment rack, and I recommend them constantly for studios and shared bedrooms where every square foot is spoken for.
Why it works for renters: Wheels mean the entire wardrobe relocates in seconds — roll it out to get dressed, roll it behind a curtain or into a closet-free corner when guests arrive. Nothing touches the walls, and it disassembles flat for moving day. I recommend double-rod rollers especially for couples sharing a small bedroom: give each person one rod, and the eternal “whose stuff is whose” argument quietly resolves itself. It’s the closest thing to his-and-hers closets that a studio will ever offer.
How to do it:
- Pick a double-rod rolling rack (two horizontal bars, one above the other) rather than a single rod — the lower rod doubles your hanging capacity in the same footprint.
- Check the wheel locks before loading it; a rack that drifts across the room is a rack you’ll stop using.
- Dedicate the top rod to longer items and the bottom rod to shirts and folded-over pants.
- Keep heavier items (coats, denim) toward the center of the rack so the weight stays balanced and it rolls smoothly.
- Park it in a “home base” spot — beside the dresser, behind a curtain zone, or in an unused corner — so it doesn’t become a roaming obstacle.
Approximate cost: $50–$130 for a quality rolling double-rod rack.
6. Wall-Mounted Rails Using No-Drill Tension Systems
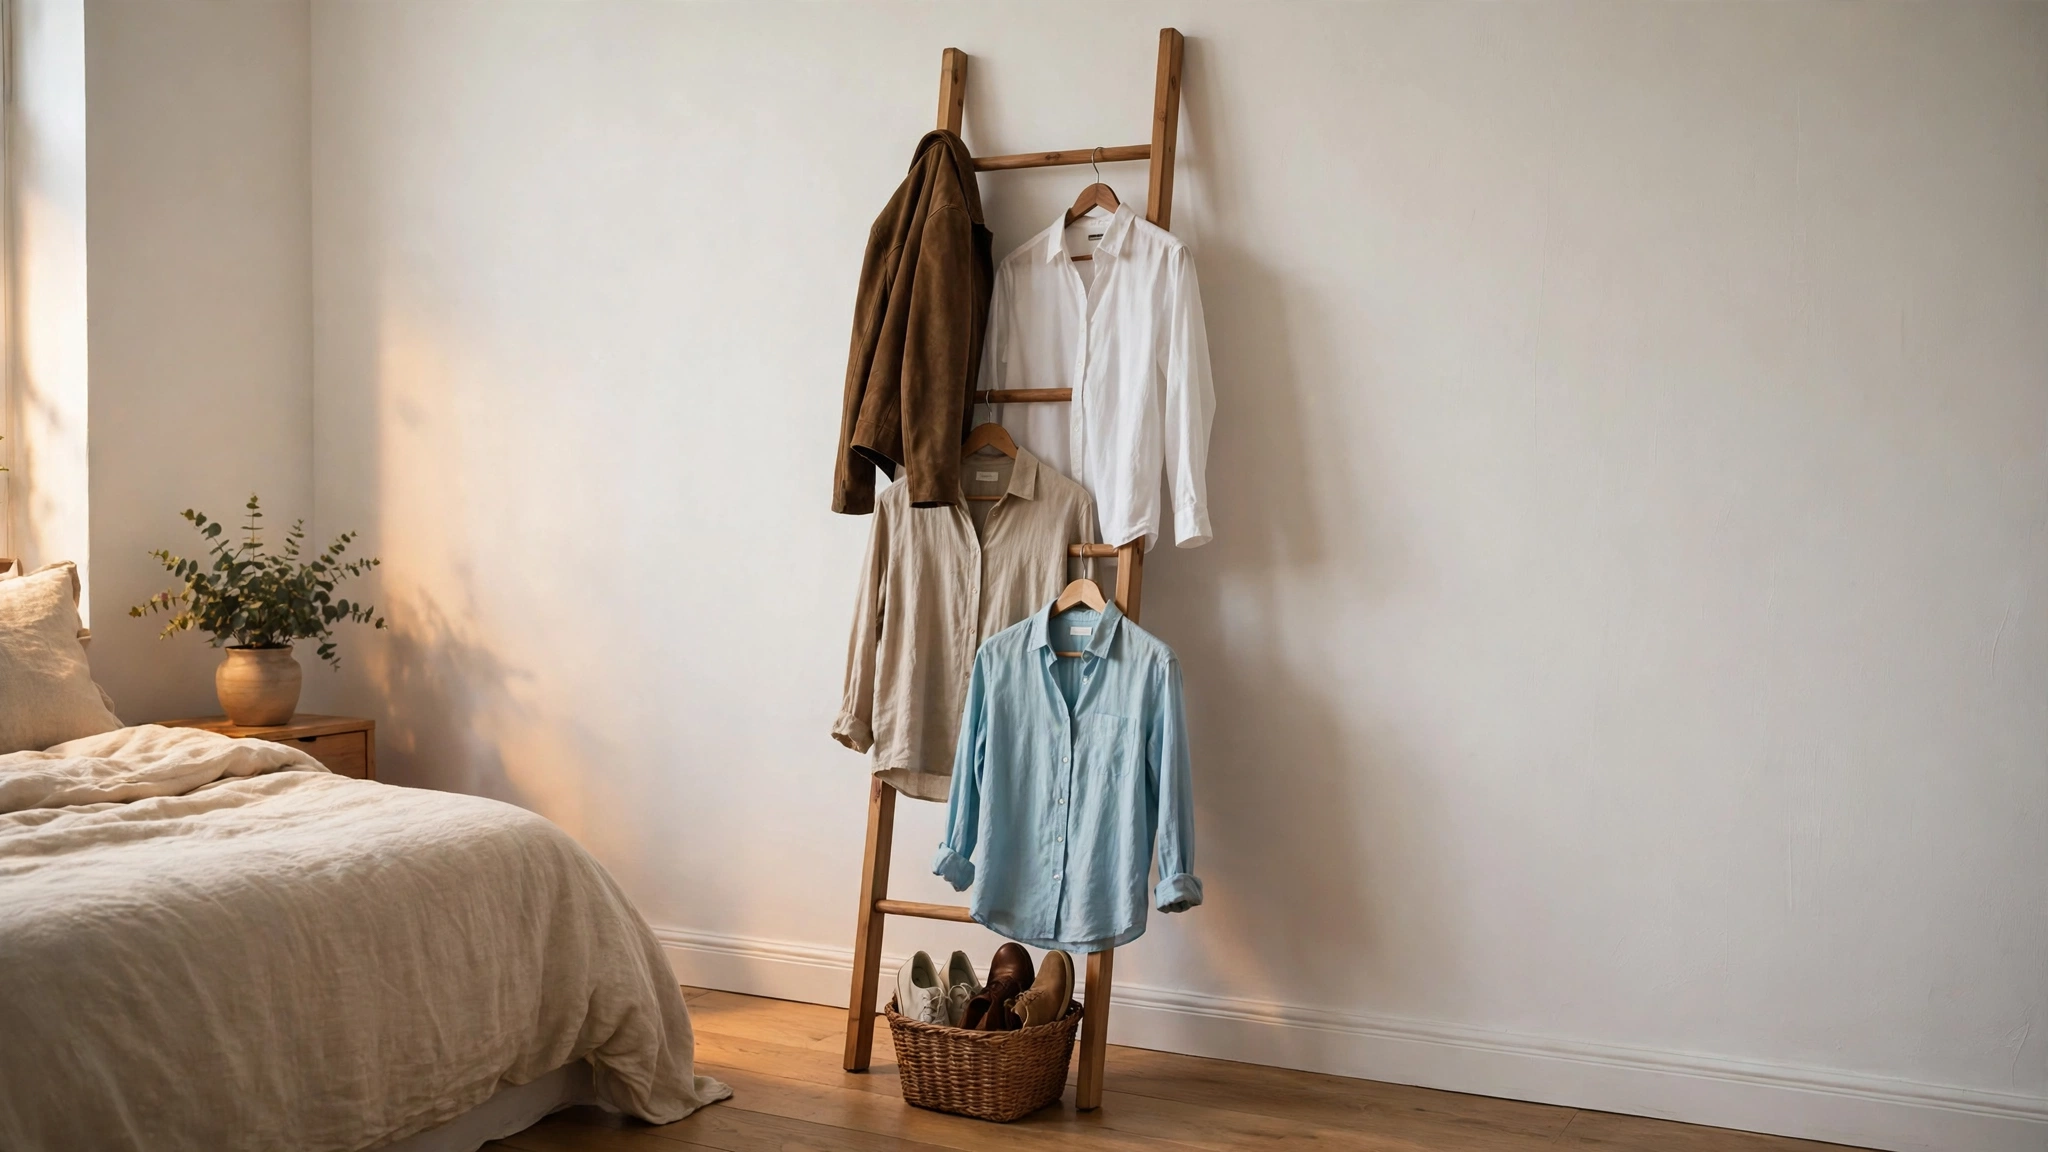
You don’t need screws to get a rail on the wall. Leaning ladder-style rails and tension-mounted vertical poles give you wall-adjacent hanging space using nothing but gravity and spring pressure — and they look genuinely good.
Why it works for renters: These systems never touch the wall with a fastener. A leaning rail rests against the wall at an angle like a ladder; a tension pole presses between floor and ceiling. Both come down in minutes with zero patching, zero paint touch-ups, and zero deposit drama. One caution I’ve learned from experience: always test the tension pole or leaning rail’s stability with your actual clothes’ weight before trusting it with your favorite pieces. A rail that holds three shirts is not automatically a rail that holds three winter coats.
How to do it:
- For a leaning rail: choose a sturdy wooden or metal ladder-style rack, lean it against a wall at a slight angle, and check that the feet grip your floor type (add small felt pads on hardwood).
- For a tension pole system: extend the pole between floor and ceiling, twist-lock it per the instructions, and verify it’s rock solid before hanging anything.
- Hang your most-worn items here — the pieces you reach for daily — since these rails are best for lighter, everyday loads rather than a full winter wardrobe.
- Style the rail intentionally: group by color or length so it reads as decor. A rail with ten random hangers looks messy; a rail with a curated capsule looks designed.
- Pair it with a small basket underneath for the shoes or bag you grab on your way out.
Approximate cost: $35–$110 depending on the style (leaning rail vs. tension pole system).
7. The Open Shelving Tower for Folded Everything
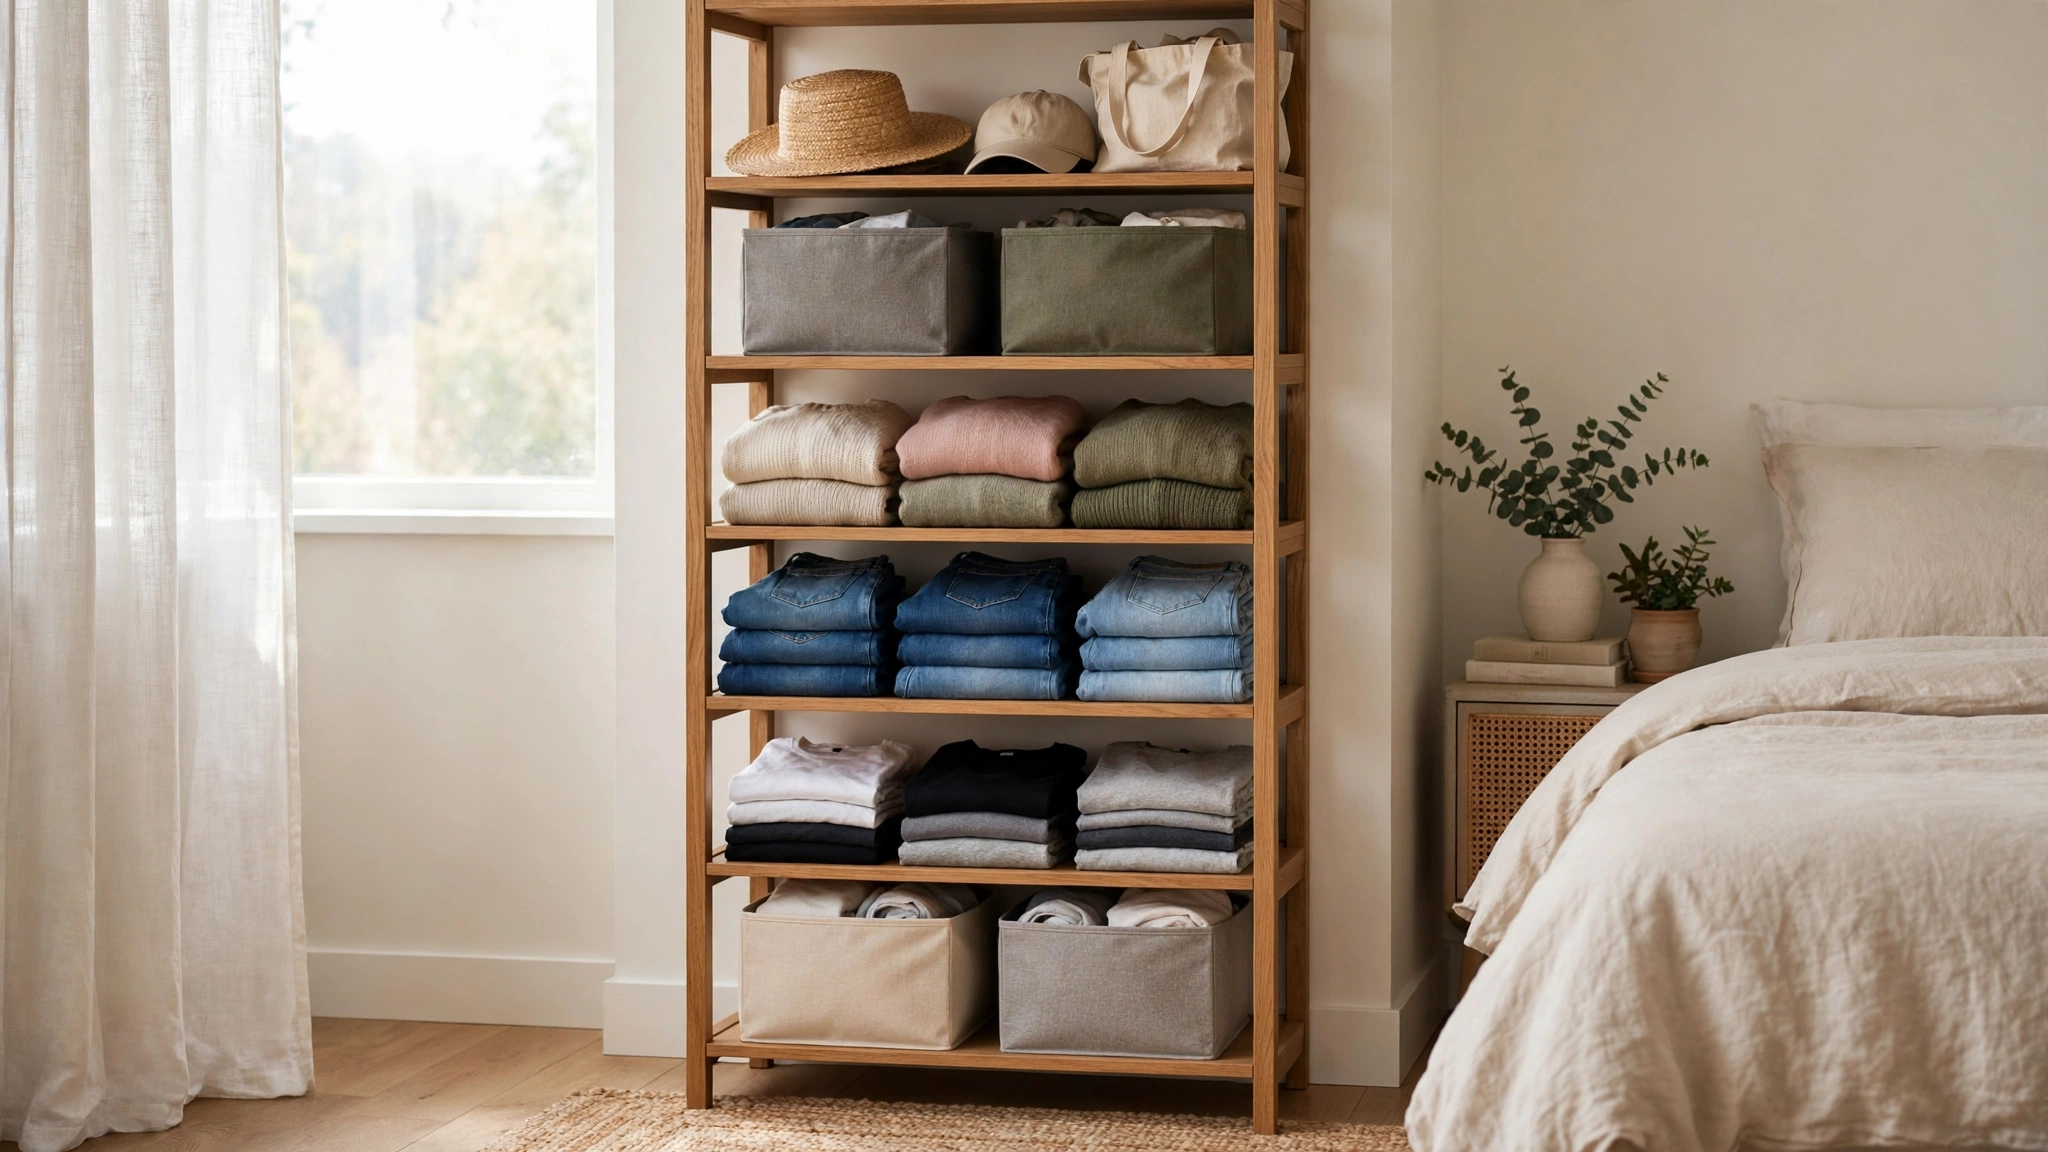
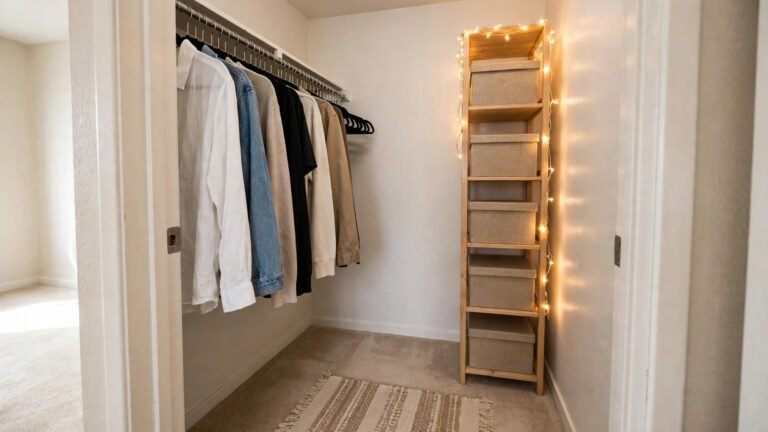
Not everything needs a hanger. An open shelving tower — tall, narrow, freestanding — handles folded jeans, sweaters, t-shirts, and accessories beautifully, and it fills the “dresser” role when there’s no closet dresser combo to be found.
Why it works for renters: It’s a bookshelf for clothes. Freestanding, movable, and endlessly reusable in future apartments. Fabric bins on the shelves keep folded items tidy and dust-free, and the whole unit costs less than a basic dresser. Pro tip from my own trial and error: file-fold your clothes (standing upright like files in a drawer) instead of stacking them flat. You’ll see everything at a glance, nothing gets crushed at the bottom, and the bins stay neat weeks longer.
How to do it:
- Choose a tower at least 5–6 feet tall and 12–16 inches deep — deep enough for folded sweaters, shallow enough not to eat the room.
- Place it against a wall near your hanging zone so getting dressed happens in one spot.
- Add fabric bins or open baskets to each shelf, one category per bin (tees, denim, workout, accessories). Label them if you share the space.
- Use the top shelf for items you grab daily — bags, hats, scarves — and the bottom for shoes or storage boxes.
- Keep the shelves edited: open storage shows everything, so a quick monthly purge keeps it looking intentional instead of chaotic.
Approximate cost: $40–$120 for the tower, plus $20–$40 for bins.
8. A Vintage or Thrifted Wardrobe Cabinet as a Statement Piece
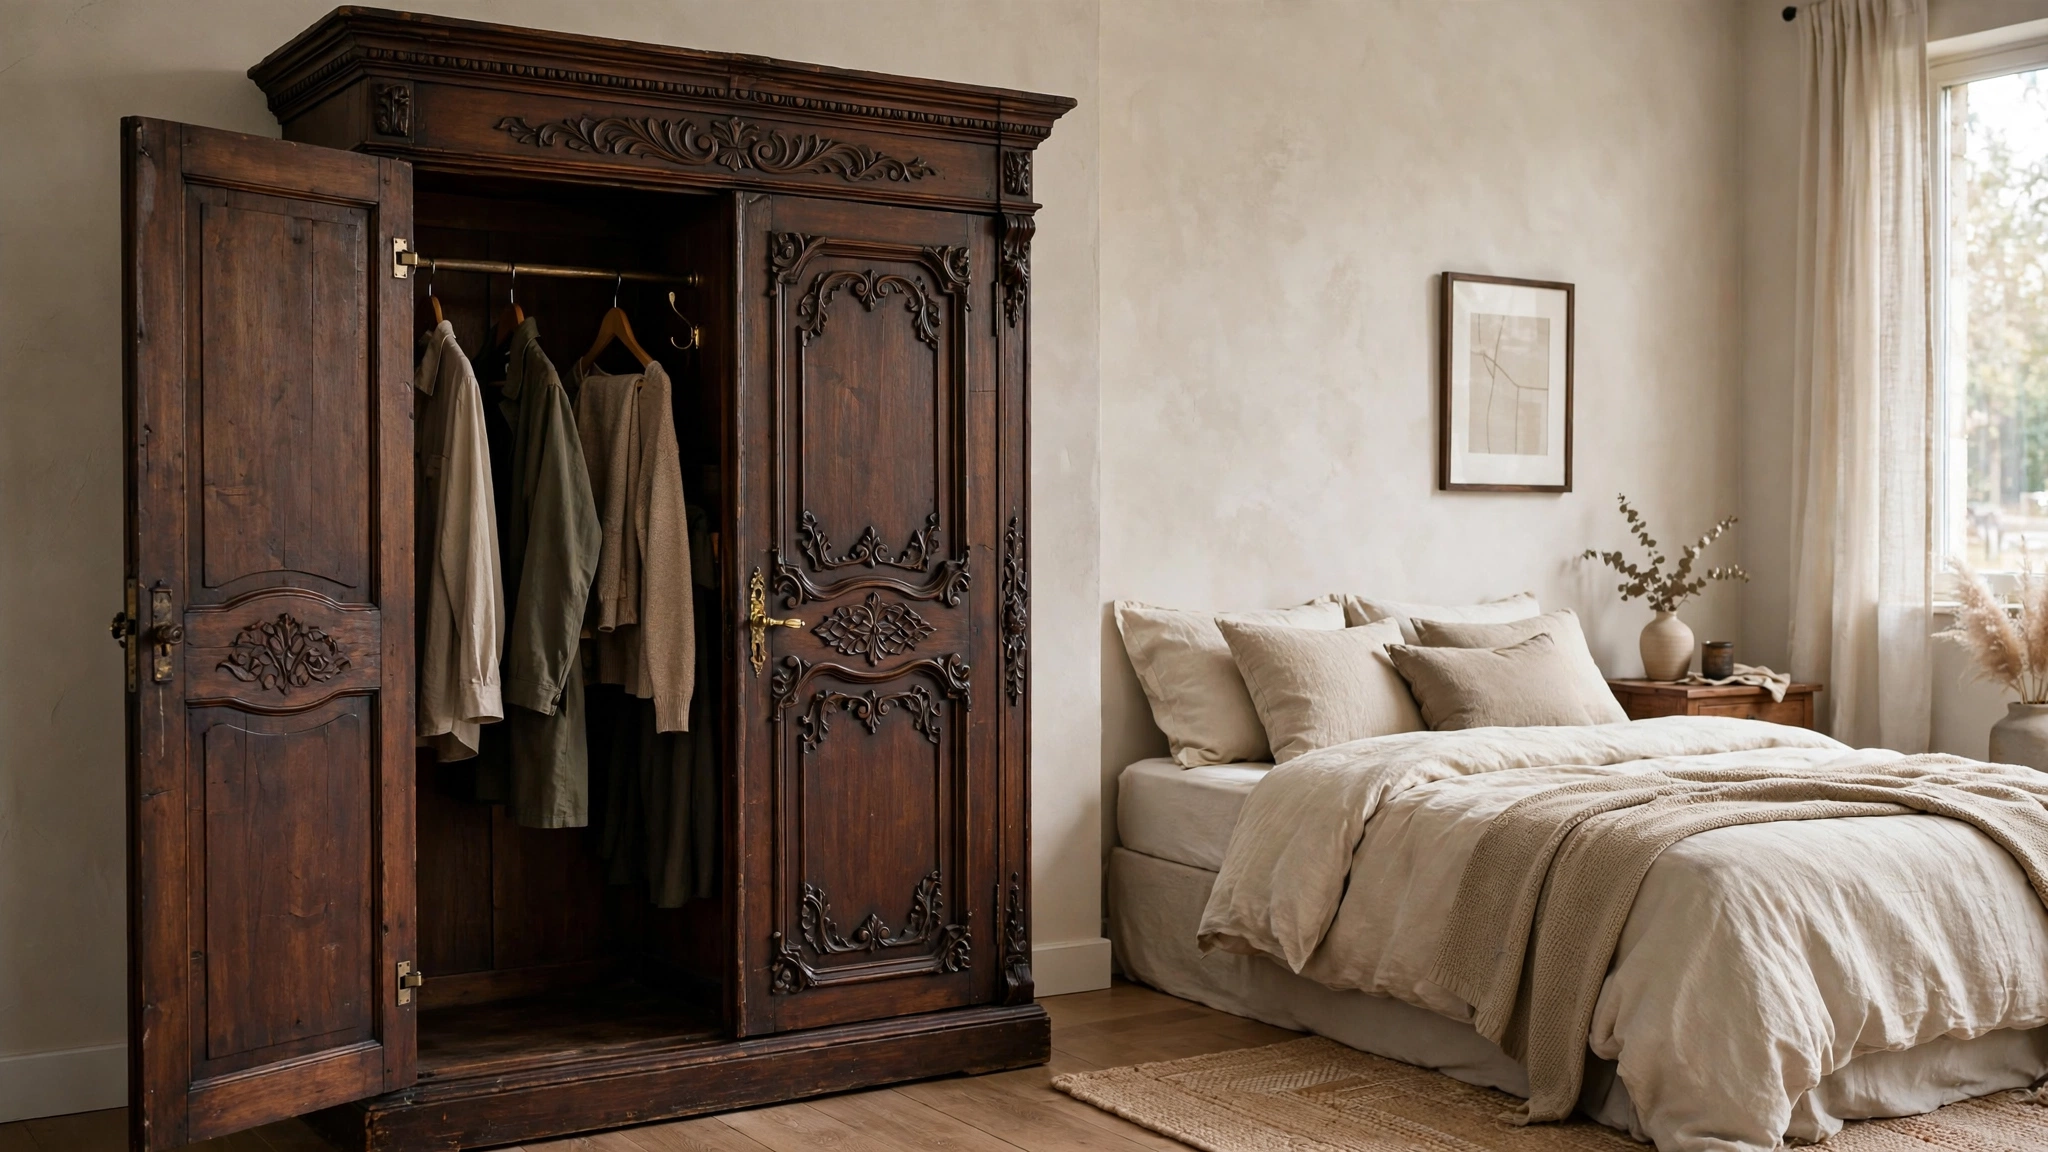
Here’s the approach with the most personality: a vintage wardrobe or thrifted cabinet with real doors, real hardware, and real character. I’ve helped renters score beautiful solid-wood wardrobes at thrift stores for less than the price of a flat-pack rack, and these pieces become the room’s focal point.
Why it works for renters: A standalone cabinet is pure furniture — it needs no permission, installs nothing, and moves with you. Vintage pieces are also typically sturdier than new budget furniture, and the enclosed design keeps clothes dust-free while looking like an intentional design choice. The hunt itself is part of the fun — I’ve had renters text me photos from thrift store aisles, and finding a solid-wood wardrobe for the price of a pizza is a genuine thrill that flat-pack furniture will never give you.
How to do it:
- Hunt thrift stores, estate sales, and online marketplaces for solid-wood wardrobes or large cabinets with doors — measure your space and doorways first.
- Check that the interior hanging rod is intact and sturdy; if it’s missing, a tension rod cut to fit usually works as a replacement.
- Give it a quick clean and, if the finish is rough, a light sanding and furniture polish — skip repainting unless you’re confident, since original finishes usually look best.
- Position it as a statement piece on the room’s main wall and style around it — it should look like the room was designed around the wardrobe, not the other way around.
- Organize the interior with matching hangers and a small shelf organizer so the inside matches the charm of the outside.
Approximate cost: $75–$300 secondhand (patience required), $250–$600 for curated vintage.
9. Behind-the-Curtain Nooks: Windows, Doors, and Dead Space
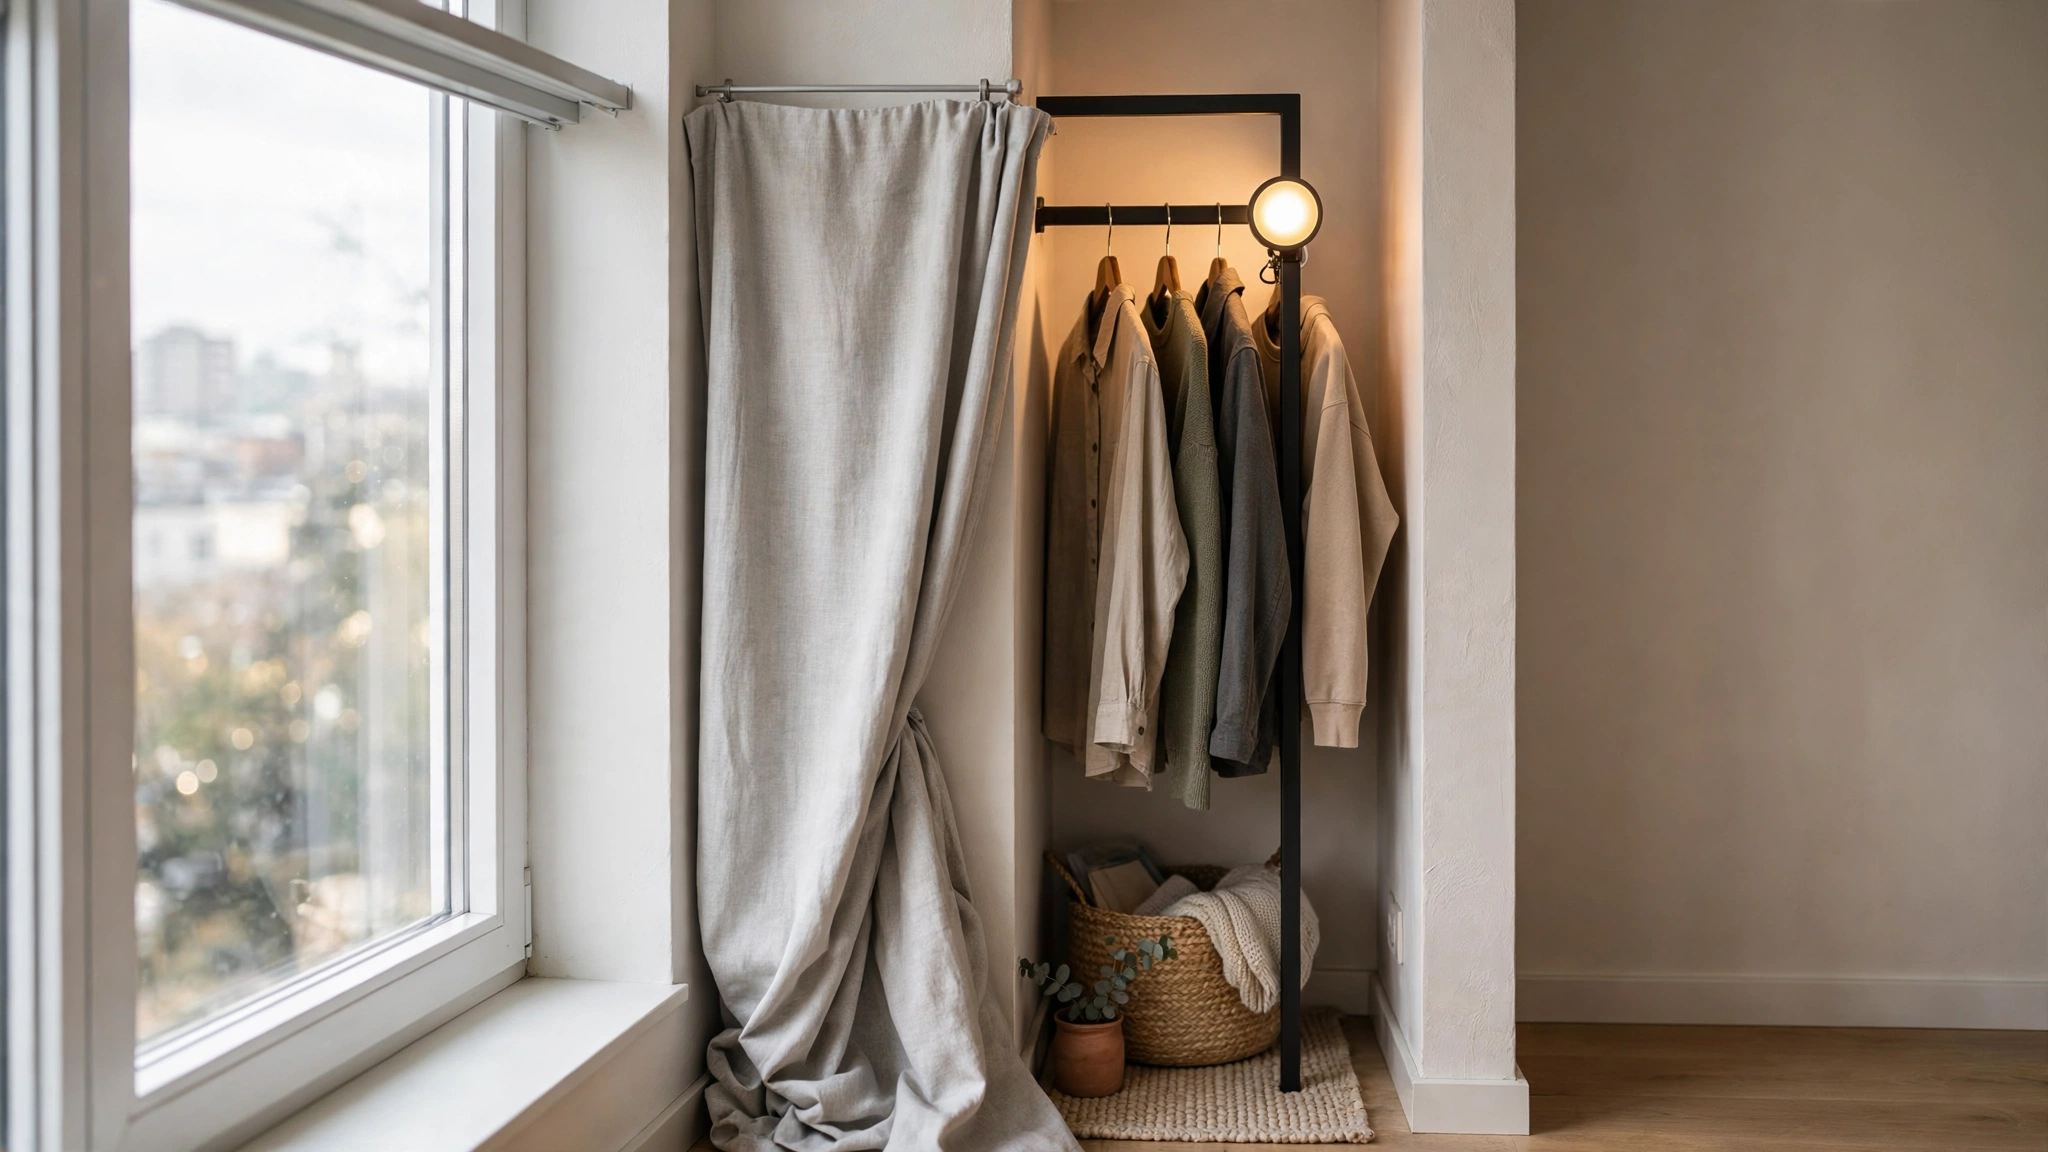
Every rental has dead space: the wall beside a window, the gap between a door swing and the corner, the strip of wall behind where the door opens. A curtain panel on a tension rod turns any of these into a hidden clothing nook.
Why it works for renters: You’re claiming space nobody was using, with zero installation. The curtain makes the nook disappear visually, so the room still feels clean and open. When you move, the rod and curtain come down without a trace. This is also a great answer for renters who work from home and need their video-call background to look tidy — one curtain panel and the laundry-rack chaos simply ceases to exist on camera.
How to do it:
- Identify a dead zone at least 18 inches deep where a rack or a few hooks can live without blocking doors, windows, or walkways.
- Mount a tension rod across the space at hanging height, or use a narrow freestanding rack that fits the footprint.
- Hang a curtain panel that coordinates with your room’s palette — this is what makes a dead zone look like a design decision.
- Store off-season or less-worn items here (formal wear, bulky coats) so your daily rack stays uncluttered.
- Add a small LED puck light or battery-operated stick-on light inside the nook so you can actually see what you’re grabbing.
Approximate cost: $20–$70 for the rod, curtain, and a battery light.
10. Under-Stair Storage for Rentals With Stairs
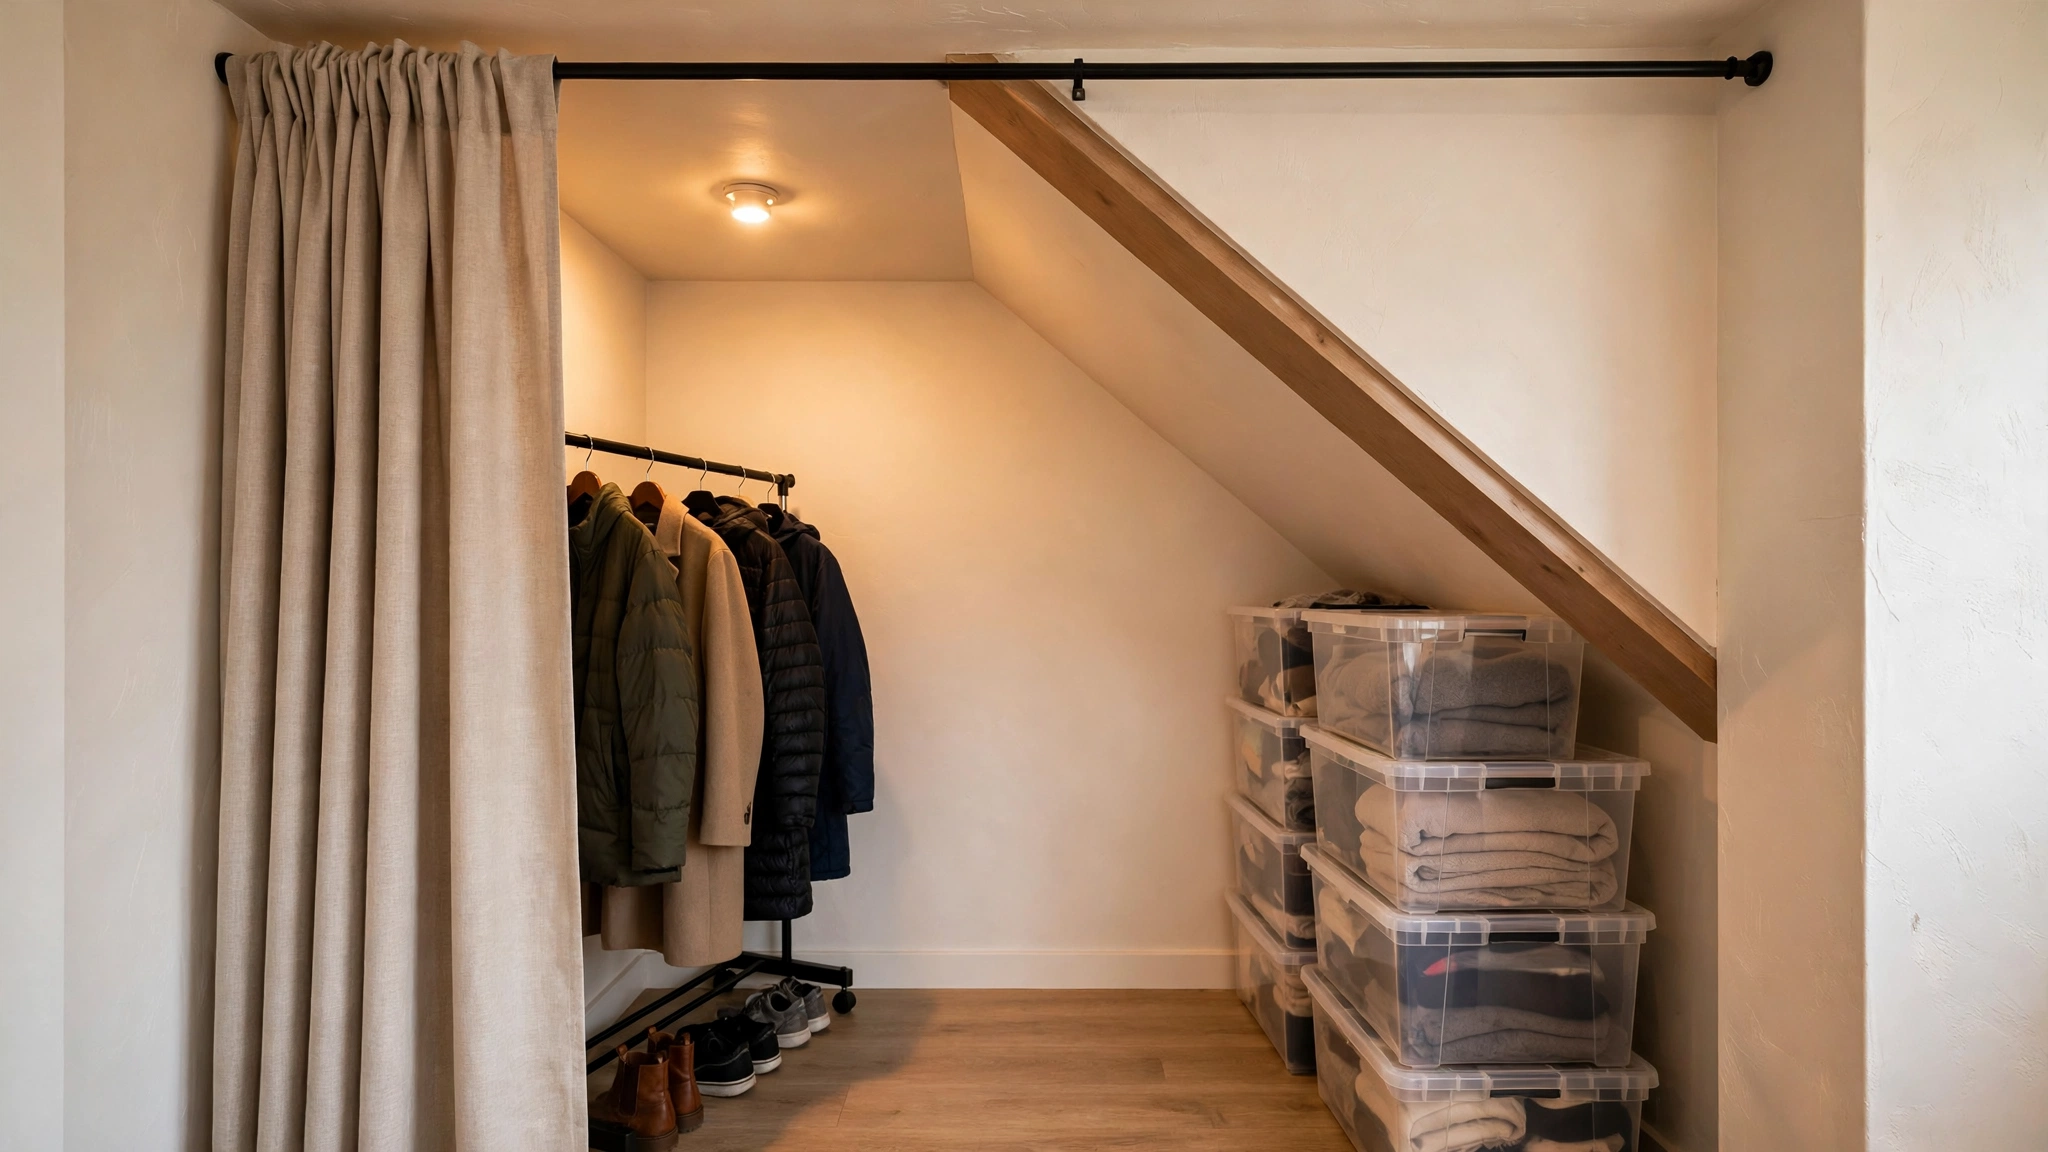
If your rental has stairs — a townhouse, a duplex, a split-level — the space underneath is some of the most underused square footage in the home. It makes an excellent wardrobe zone for off-season clothes, shoes, and accessories.
Why it works for renters: The under-stair area is awkward for most furniture, which is exactly why landlords don’t care what you do with it. Everything you add is freestanding — low racks, stackable bins, a curtain on a tension rod — so it all leaves with you. Fair warning: under-stair spaces tend to run a little dustier and darker than the rest of the house, so clear bins with lids and a battery light aren’t luxuries here — they’re what make the space genuinely usable day to day.
How to do it:
- Measure the under-stair space carefully, noting where the ceiling height drops — plan your storage around the tall end and use the low end for flat bins.
- Place a low-profile garment rack or a short tension rod in the tallest section for hanging items.
- Stack clear bins or labeled boxes along the slope for folded clothes, shoes, and seasonal items — clear bins save you from digging.
- Hang a curtain panel on a tension rod across the front of the space to hide the storage and give it a finished look.
- Keep a small step stool nearby if the space is deep; you’ll thank yourself the first time you need the box in the back.
Approximate cost: $40–$100 for racks, bins, and a curtain.
11. Platform Bed Zones: Clothing Storage Around Your Sleep Space
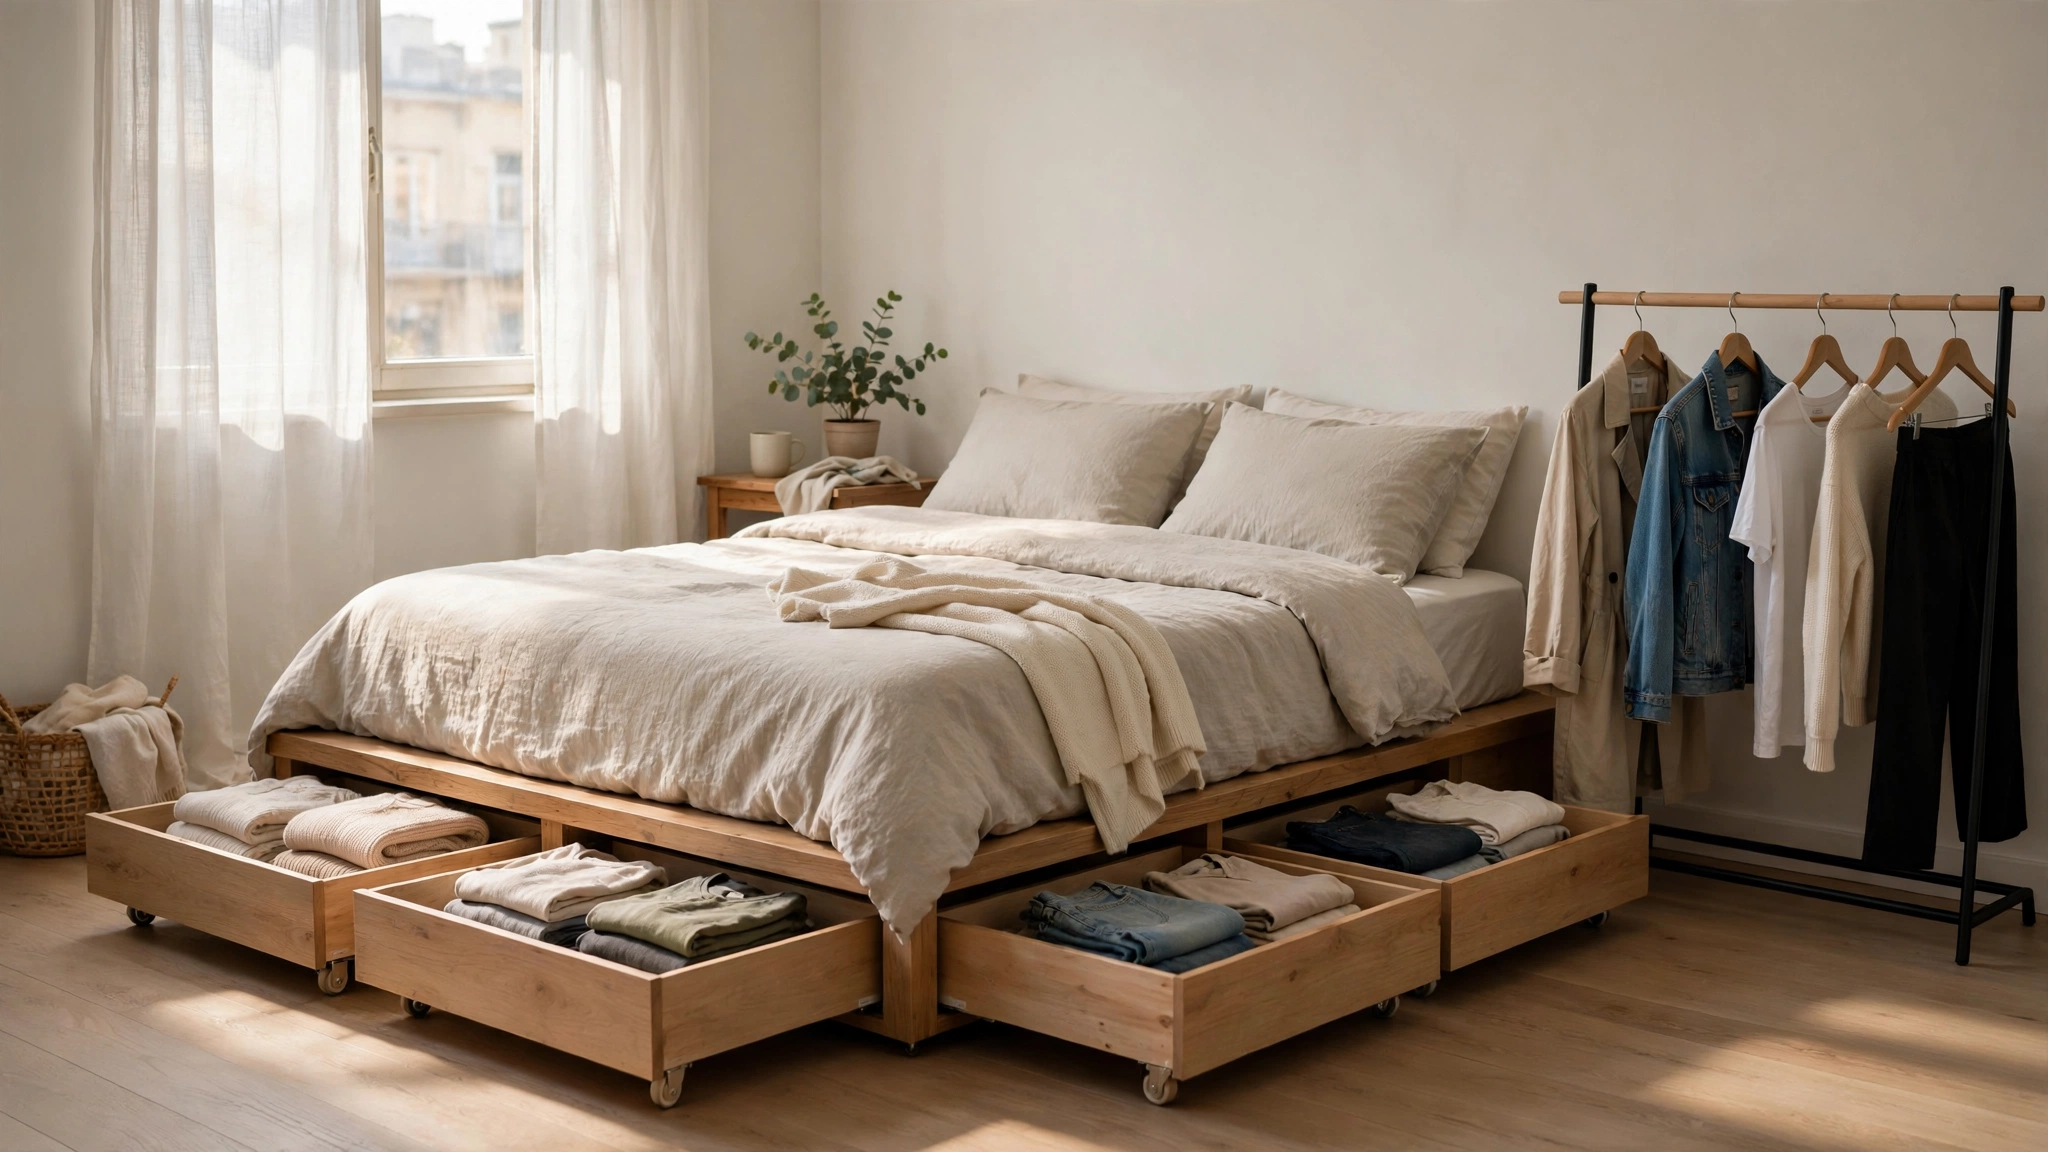
When the bedroom itself is tiny, the area around and under the bed becomes prime wardrobe real estate. A platform bed with clearance underneath, paired with low rolling garment racks or under-bed bins on the sides, creates a clothing zone that doesn’t steal a single square foot of floor space.
Why it works for renters: Under-bed storage uses space that was already there, and a platform bed is furniture you own — nothing attaches to the room. If your bed sits directly on the floor with no clearance, bed risers are a cheap fix: they add several inches of under-bed space in minutes and are fully removable. Just check that your bed frame handles risers safely before loading the bins. Low rolling drawers and flat bins slide in and out without any installation.
How to do it:
- Measure your bed’s under-clearance — you need at least 6 inches for flat bins, 10+ for rolling drawers.
- Use low, flat storage bins or rolling under-bed drawers for folded clothes, organized by category (one bin for tees, one for denim, one for off-season).
- Flank the bed with a low garment rack or a leaning rail on each side if floor space allows — this keeps daily outfits at arm’s reach.
- Add a small open shelf or a nightstand with drawers beside the bed for accessories, watches, and the items that used to live on a closet shelf.
- Keep the under-bed bins on a rotation: current-season clothes up front, off-season in the back, swapped twice a year.
Approximate cost: $30–$90 for bins and rolling drawers (assuming you already have the bed).
12. The Multi-Rack “Closet Room”: Build Your Own Walk-In
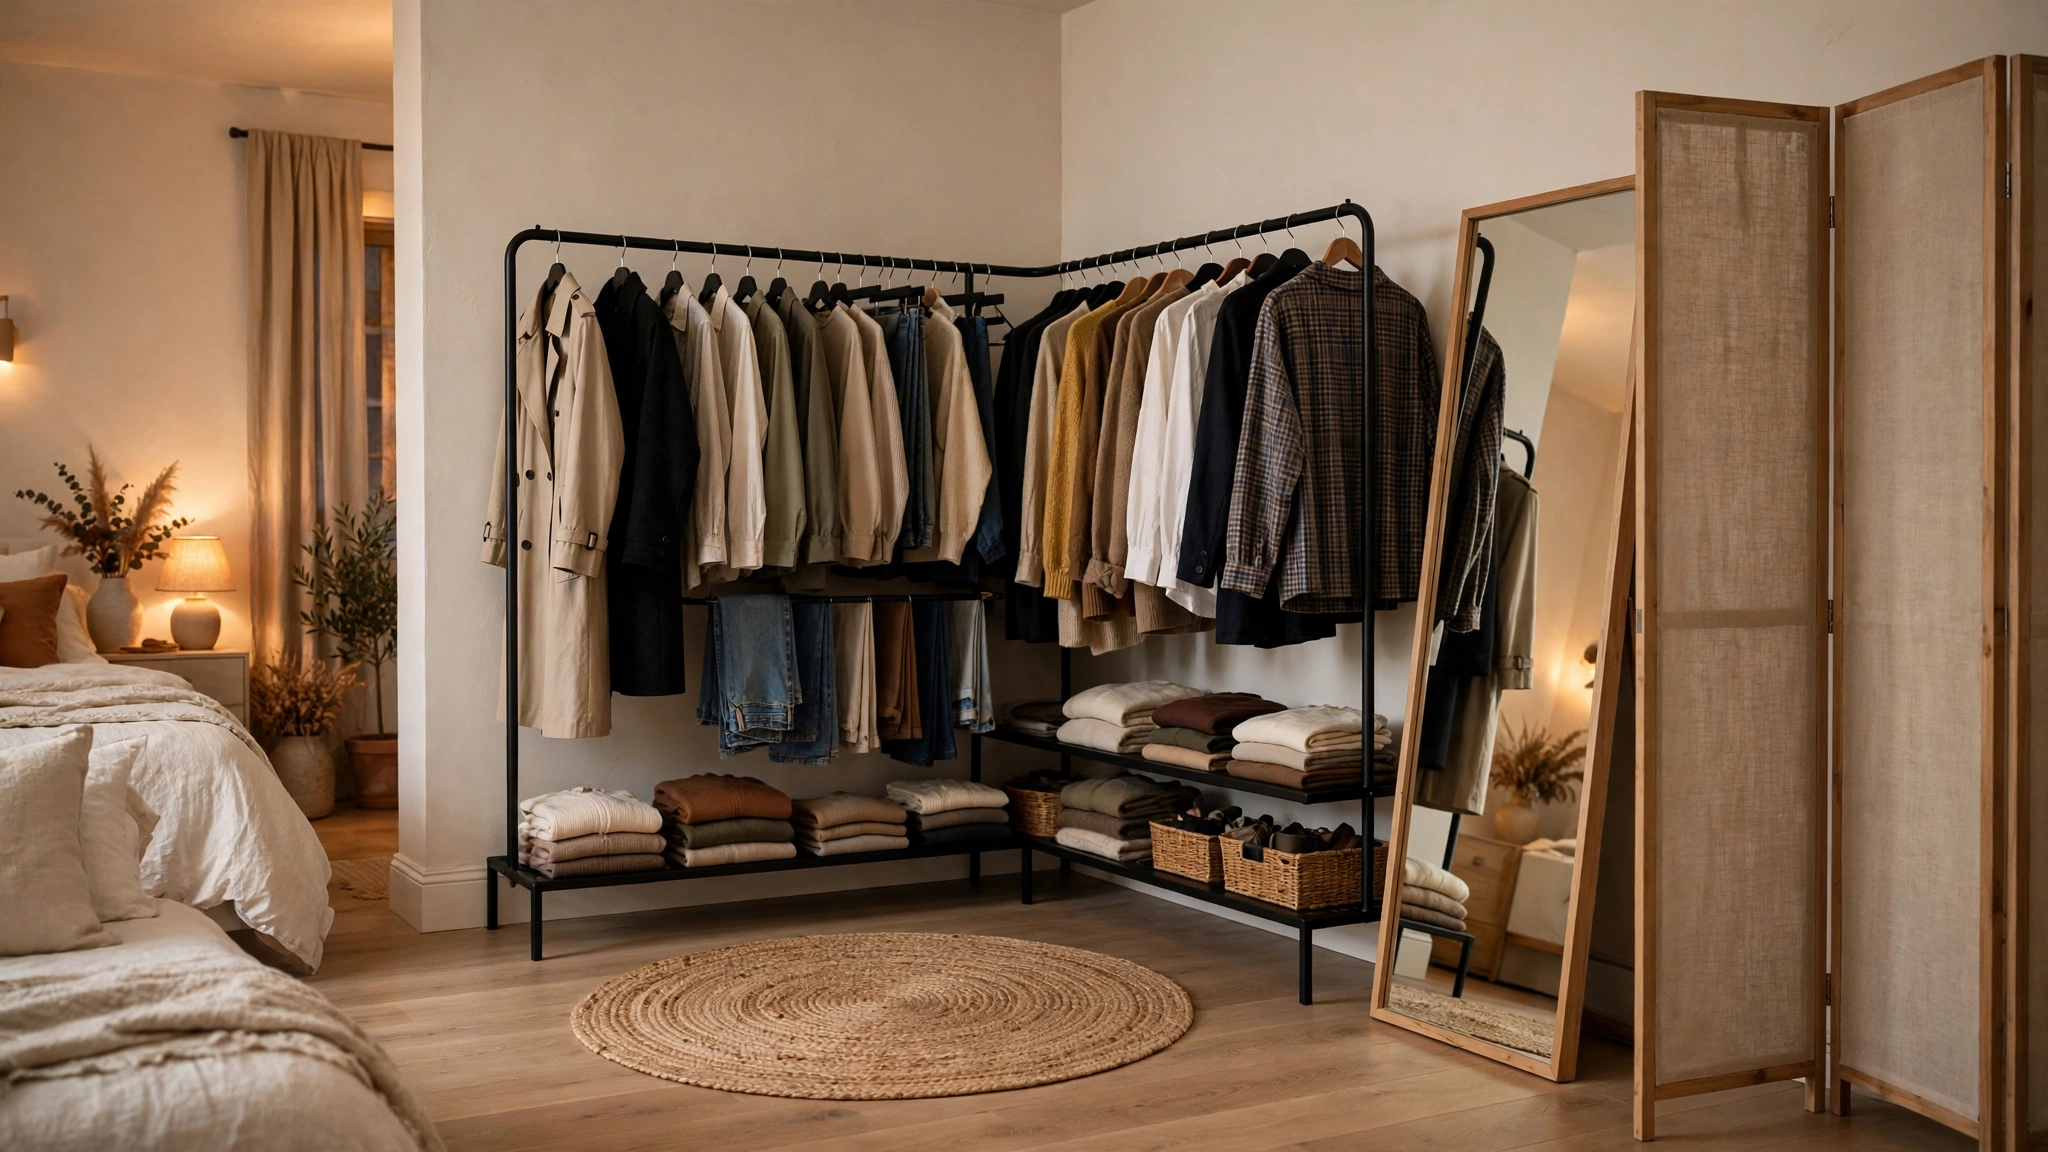
This is the full-commitment option, and honestly, it’s my favorite transformation to watch. Dedicate one corner or one wall of your bedroom — or a spare corner of a studio — to a multi-rack setup with a rug, a mirror, and good lighting, and you’ve built yourself a walk-in closet without a single wall.
Why it works for renters: Every component is freestanding: two or three garment racks arranged in an L or U shape, a rug to define the zone, a full-length leaning mirror, and a curtain or room divider to separate it from the sleeping area. It all disassembles on moving day. But while you live there, getting dressed feels like a boutique experience. I’ve helped three different renters build versions of this, and every one of them said the same thing: the “closet room” corner made their studio feel bigger, not smaller, because the clothing chaos finally had a defined home instead of bleeding into the whole apartment.
How to do it:
- Choose your corner: ideally 6–8 feet of wall space in an L shape, near a window or outlet for lighting.
- Arrange two sturdy garment racks in an L configuration — one for tops, one for bottoms and dresses — leaving the inside of the L as your standing/dressing space.
- Lay a rug in the center of the L to define the zone and make it feel like a distinct room.
- Lean a full-length mirror against one rack end or the wall (leaning, never mounted — no holes needed) and add a small stool or ottoman.
- Finish with a curtain panel on a tension rod or a folding room divider across the open side for privacy and a polished look.
Approximate cost: $120–$300 for the full setup (racks, rug, mirror, divider), much of which you’ll reuse for years.
Conclusion
Living without a closet forces a kind of creativity that closet-havers never develop — and honestly, most of the renters I’ve helped end up preferring their custom setups to the cramped reach-in closets they had before. Start with the backbone: a sturdy garment rack in the right spot. Then layer in one or two supporting ideas — a curtained alcove, an open shelving tower, a thrifted armoire — until getting dressed feels effortless again. Every solution here is reversible, deposit-safe, and designed to move with you to the next place, because your wardrobe system should be an investment in your life, not in your landlord’s property.
You’ve got this — and your clothes are about to be better organized than they’ve ever been. Please save this visual guide on Pinterest and share it with any renter friend who’s still living out of suitcases; nobody should have to choose between a great apartment and a place to hang their clothes.

Amelia leads HavenlyStyle’s editorial vision with a passion for elegant interiors and practical home living. With years of experience in home décor and lifestyle content, she ensures every article is accurate, inspiring, and easy to follow. From timeless decorating ideas to the latest interior design trends, Amelia is committed to helping readers create beautiful, functional spaces while maintaining HavenlyStyle’s trusted and welcoming voice.