Halloween is the one decorating season where being a renter actually works in your favor. Think about it: the whole holiday is built on temporary, slightly spooky, gloriously over-the-top displays that are only supposed to live for a few weeks. Nothing here needs to survive the winter. Nobody expects it to be permanent. And that means every idea in this guide leans on the same tools I hand to every renter I work with: adhesive hooks, removable clips, things that sit on the ground, and decorations that weigh nothing at all.
I’ve helped dozens of renters turn bland, landlord-beige entryways into Halloween showpieces without a single nail, screw, or paint swatch. The trick is never “sneak past the landlord” — it’s designing for removability from the very first step. If a decoration can’t come down in under ten minutes with a hairdryer and zero wall damage, it doesn’t make my list.
And here’s the budget reality: every single idea below costs between $3 and $20, and most come in under $10. You could do the entire porch for less than a takeout dinner. Nothing on this list requires you to buy tools, own a drill, or ask your landlord’s permission — though as always, if your lease has a specific clause about exterior decorations, give it a quick read first.
Executive Summary
- Total budget: under $50 — every idea costs $3–$20, and the top three combined stay under $25.
- Zero damage required — adhesive hooks, static cling, and gravity do all the work; no nails, screws, or paint.
- Start with light — orange string lights plus one pumpkin arrangement delivers 80% of the Halloween look.
- Paper and pumpkins beat plastic — paper garlands, cheesecloth, and painted pumpkins are cheaper and look better than most store-bought kits.
- Hang from what you already have — railings, doorknobs, bushes, and porch ceilings are all renter-safe anchor points.
- Everything comes down in minutes — every idea in this guide is removable before your move-out inspection.
1. The Adhesive-Hook Bat Garland Over Your Front Door

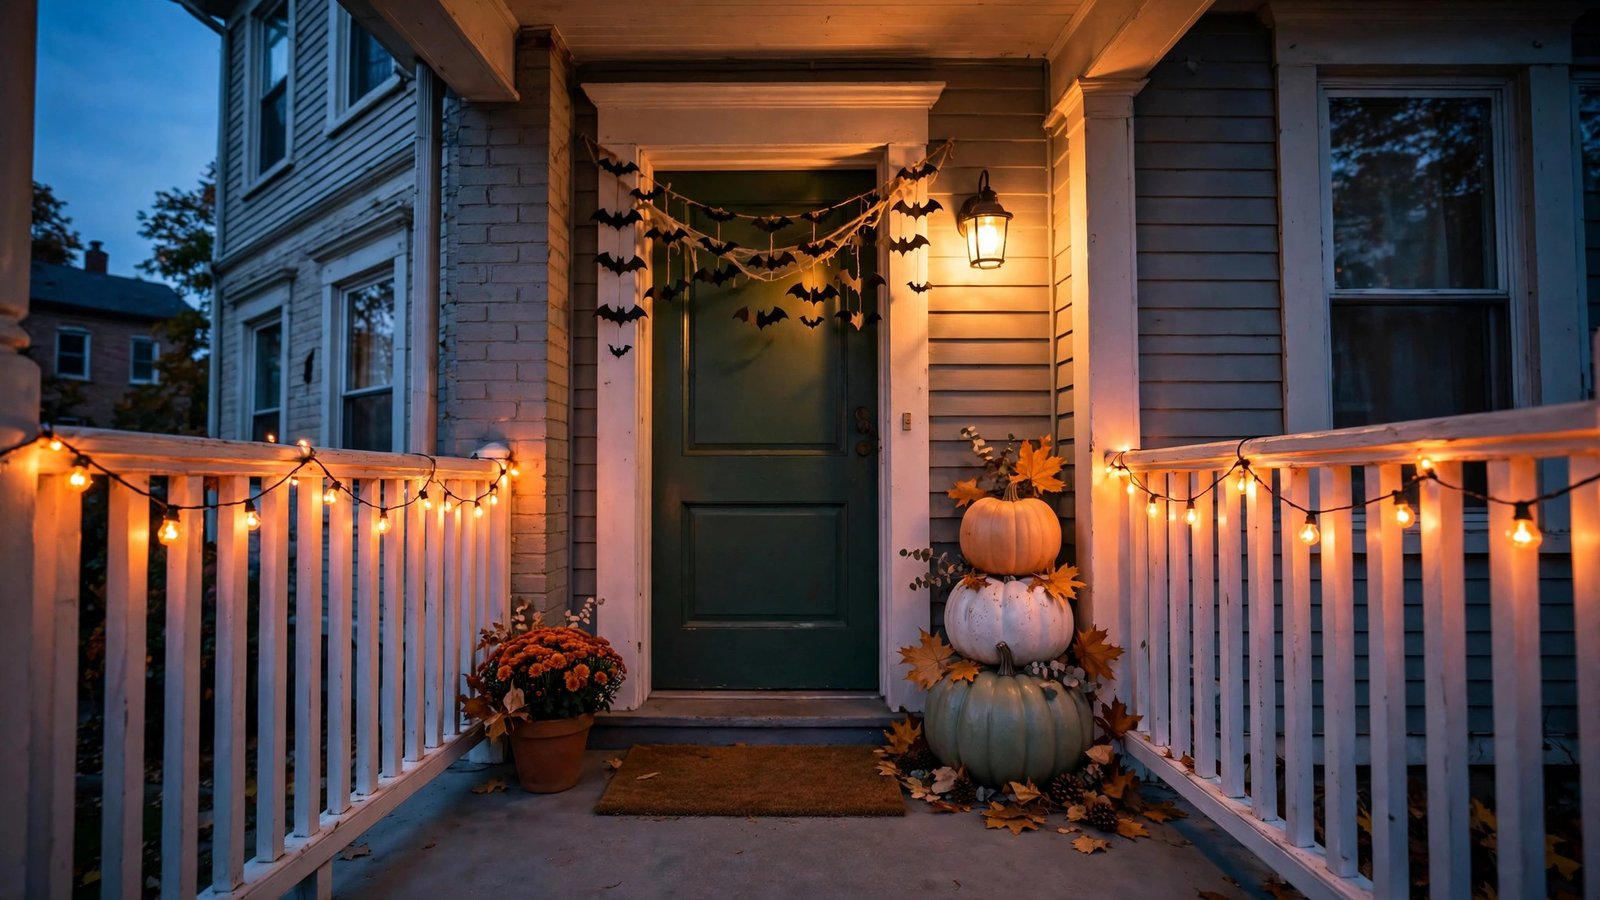
If you only do one thing from this list, make it this one. A bat garland framing your front door or entryway arch is the single highest-impact Halloween decoration per dollar I’ve ever seen in a rental. From the sidewalk, it reads as a full decorating scheme — dark, dramatic, unmistakable — and it’s literally just cut paper on a string.
Why it works for renters: The whole display hangs from small removable adhesive hooks — the kind that peel off with a pull tab. No holes in the door frame, no tape residue on paint. When November arrives, the garland coils into a shoebox for next year and the hooks peel away clean.
How to do it:
- Buy a pack of pre-cut black paper bats (or cut your own from black cardstock with a simple bat template — it’s one folded shape). Expect to pay around $5–$8 for 40–60 bats.
- Stick 3–5 small adhesive hooks along the top and sides of your door frame — hooks rated for the weight of paper are plenty.
- Thread the bats onto black string, fishing line, or thin twine, spacing them a few inches apart, and drape the strands from the hooks so they frame the door like a valance.
- Vary the strand lengths and let a few bats “fly” lower than the rest — that uneven silhouette is what makes it look professional instead of craft-store-flat.
- To store: leave the bats threaded, coil the strands gently, and stash them in a bag. They’ll survive for years.
Approximate cost: $5–$10 (paper bats, string, a small pack of adhesive hooks if you don’t have any).
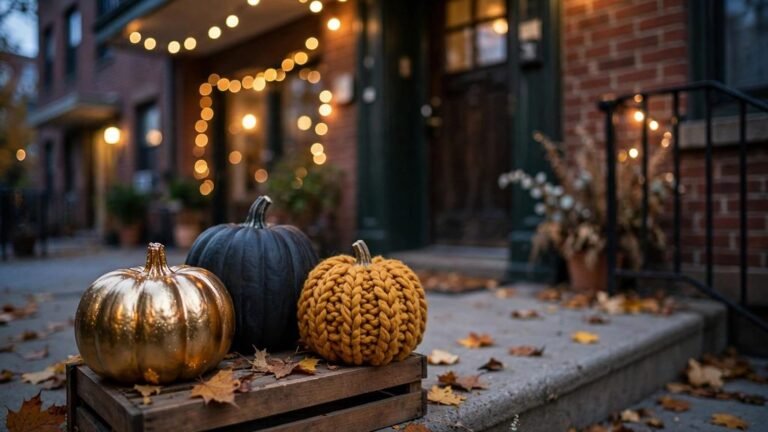
2. No-Carve Decorated Pumpkins (Skip the Mess Entirely)
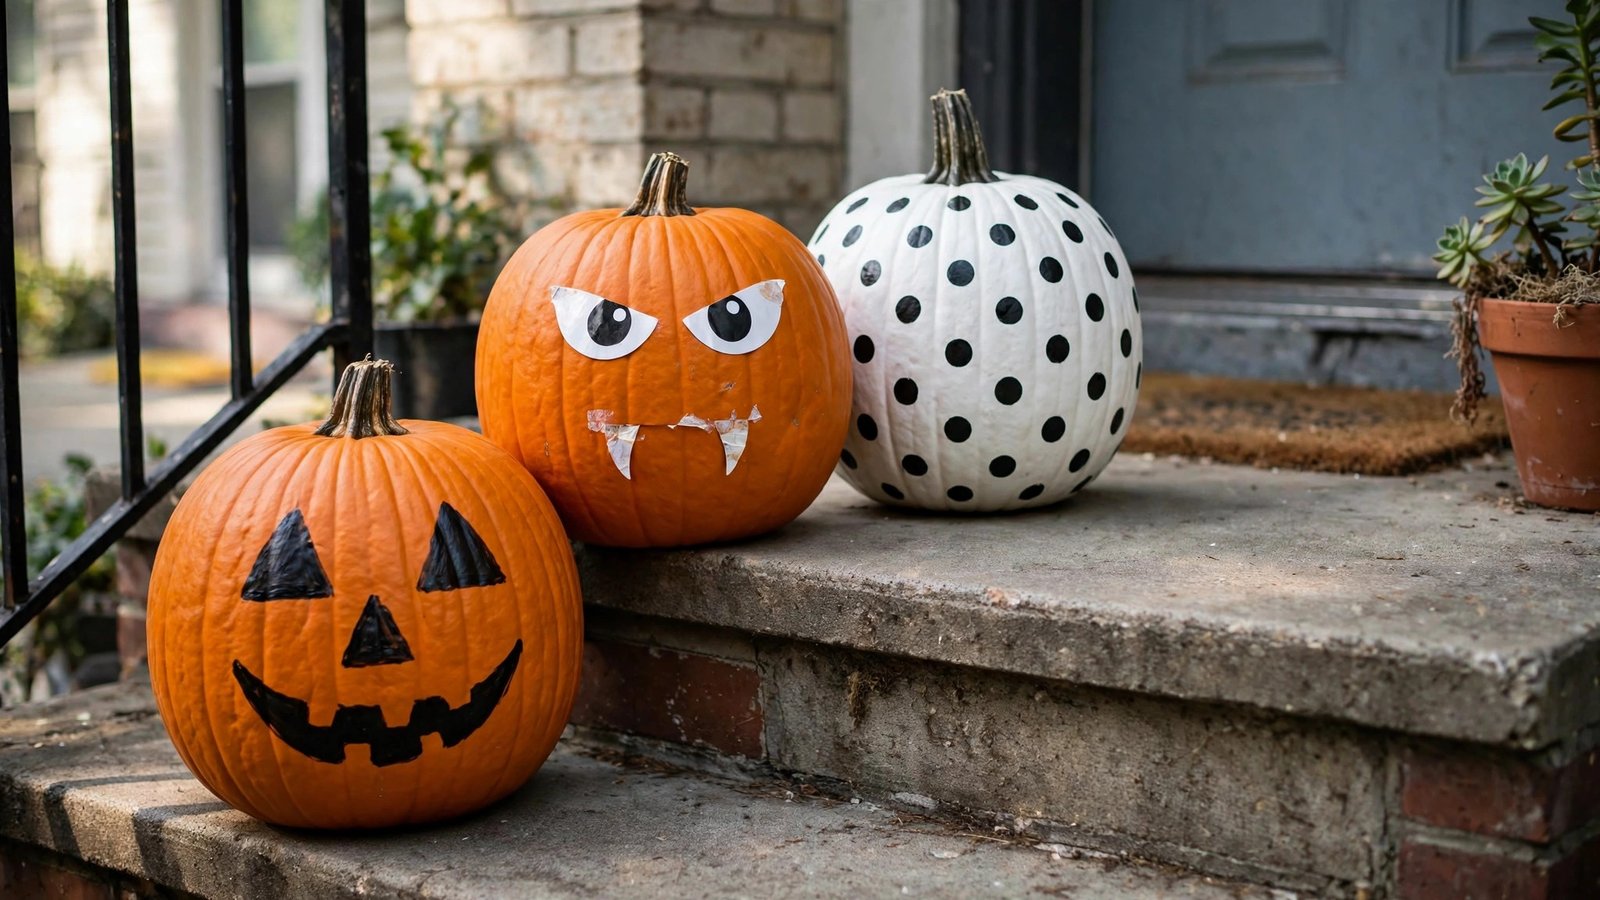
Carving pumpkins is fun for exactly one afternoon and then you spend two weeks with a rotting vegetable on your porch. I’ve personally seen renters switch to no-carve pumpkins and never go back — painted, stickered, or tattooed pumpkins last the entire month, look better in photos, and never attract fruit flies to your entryway.
Why it works for renters: Real pumpkins that never get cut don’t rot from the inside out, which means nothing stains your porch boards or doormat. No knives, no goo, and at the end of the season you compost a pumpkin that looks almost as good as the day you bought it.
How to do it:
- Pick up 2–3 medium pumpkins (the slightly bumpy ones actually take decoration better). For a porch display, an odd number looks better than an even one.
- Choose your method: stick-on Halloween face decals (eyes, mouths, fangs — about $5 a sheet), acrylic craft paint in black, white, and orange, or temporary-tattoo-style transfers you apply with a damp sponge.
- Wipe each pumpkin clean with a damp cloth and let it dry — decorations stick far better to a clean surface.
- Apply your design. For decals and transfers, smooth out air bubbles from the center outward. For paint, do one thin coat at a time; two coats beats one thick one.
- Group the pumpkins at different heights — one on the ground, one on a small stool or an upside-down crate — and you’ve got a pumpkin display that looks like you planned it for weeks.
Approximate cost: $8–$15 (pumpkins plus one decoration method).
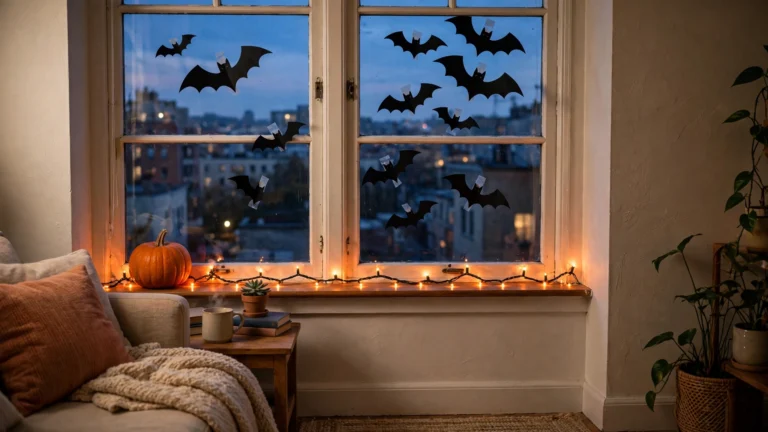
3. Static-Cling Window Silhouettes
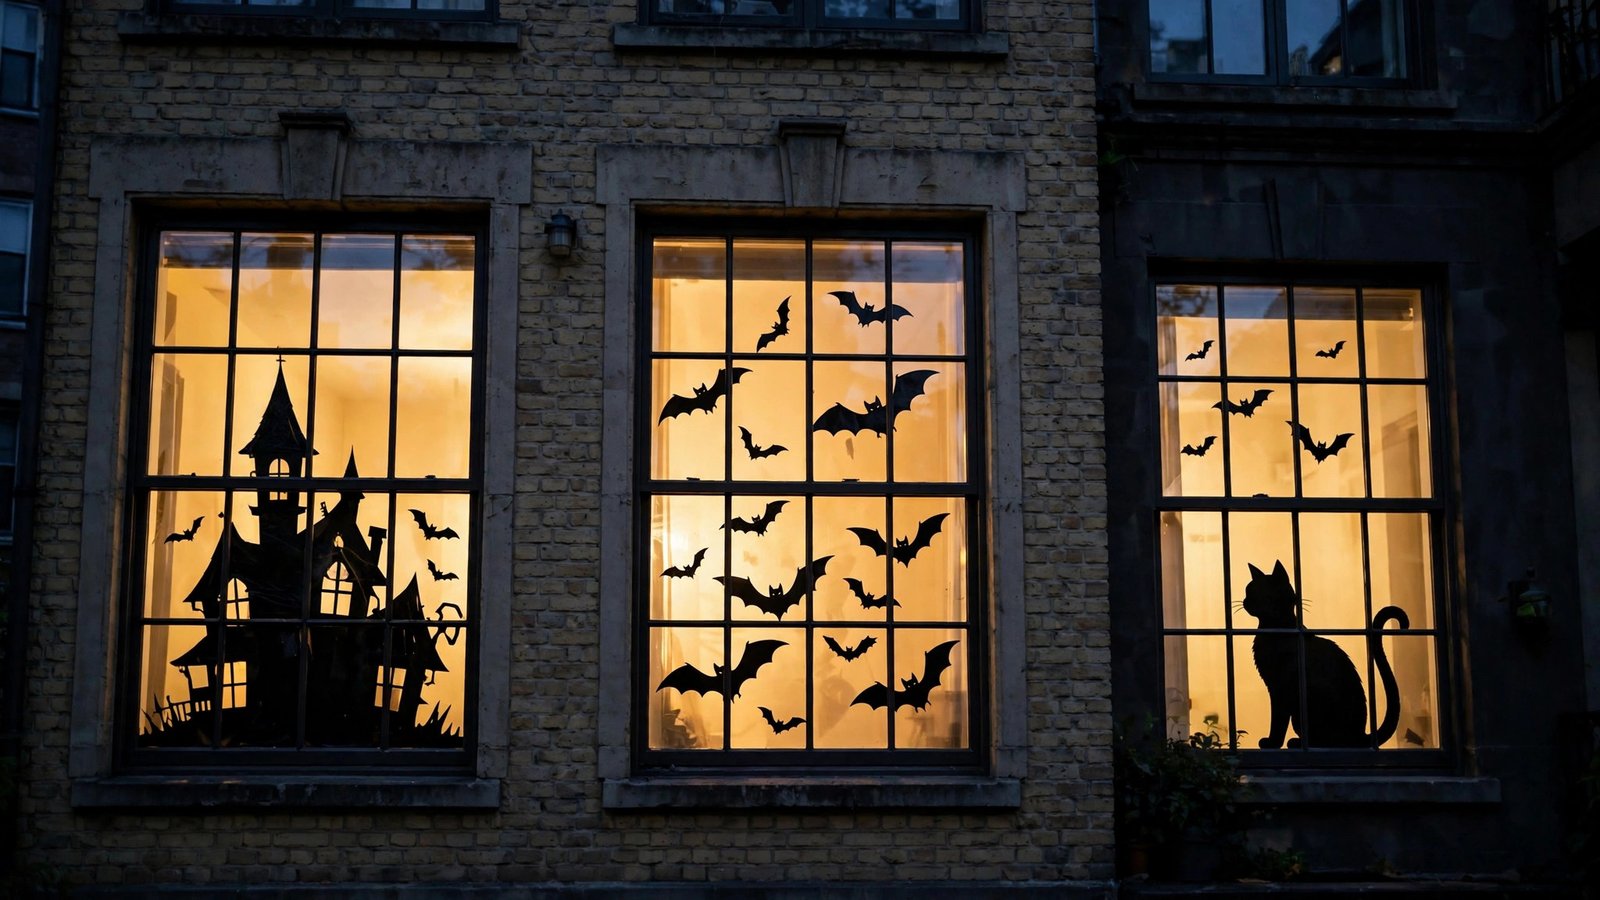
This is the decoration people knock on my door to ask about, and it’s the easiest one on the list. Halloween window clings — black cat silhouettes, haunted house shapes, spiderwebs — stick to glass with nothing but water. They glow when your interior lights are on, turning your apartment windows into a backlit Halloween scene for everyone walking by.
Why it works for renters: Static cling is the most renter-friendly product in existence. It uses no adhesive at all — the cling holds through static, peels off in seconds, and can be reused for years. It goes on your windows, not your walls, so your landlord’s paint is never even in the conversation.
How to do it:
- Buy a set of static-cling Halloween decals (look for the word “static cling” specifically — adhesive stickers are a different product and a different headache). A sheet set runs about $4–$7.
- Clean your front windows with glass cleaner and let them dry — dust is the only thing that makes cling fail.
- Mist the glass lightly with water from a spray bottle, press each cling into place, and smooth it flat with a credit card or your palm.
- Layer them: a haunted-house silhouette on the lower sash, bats “flying” across the upper pane. Scenes beat scattered shapes every time.
- Leave your entryway or living room light on after dark — backlit silhouettes are what sell this effect to the whole street.
Approximate cost: $4–$7.
4. Battery-Powered Orange String Lights on Adhesive Light Clips
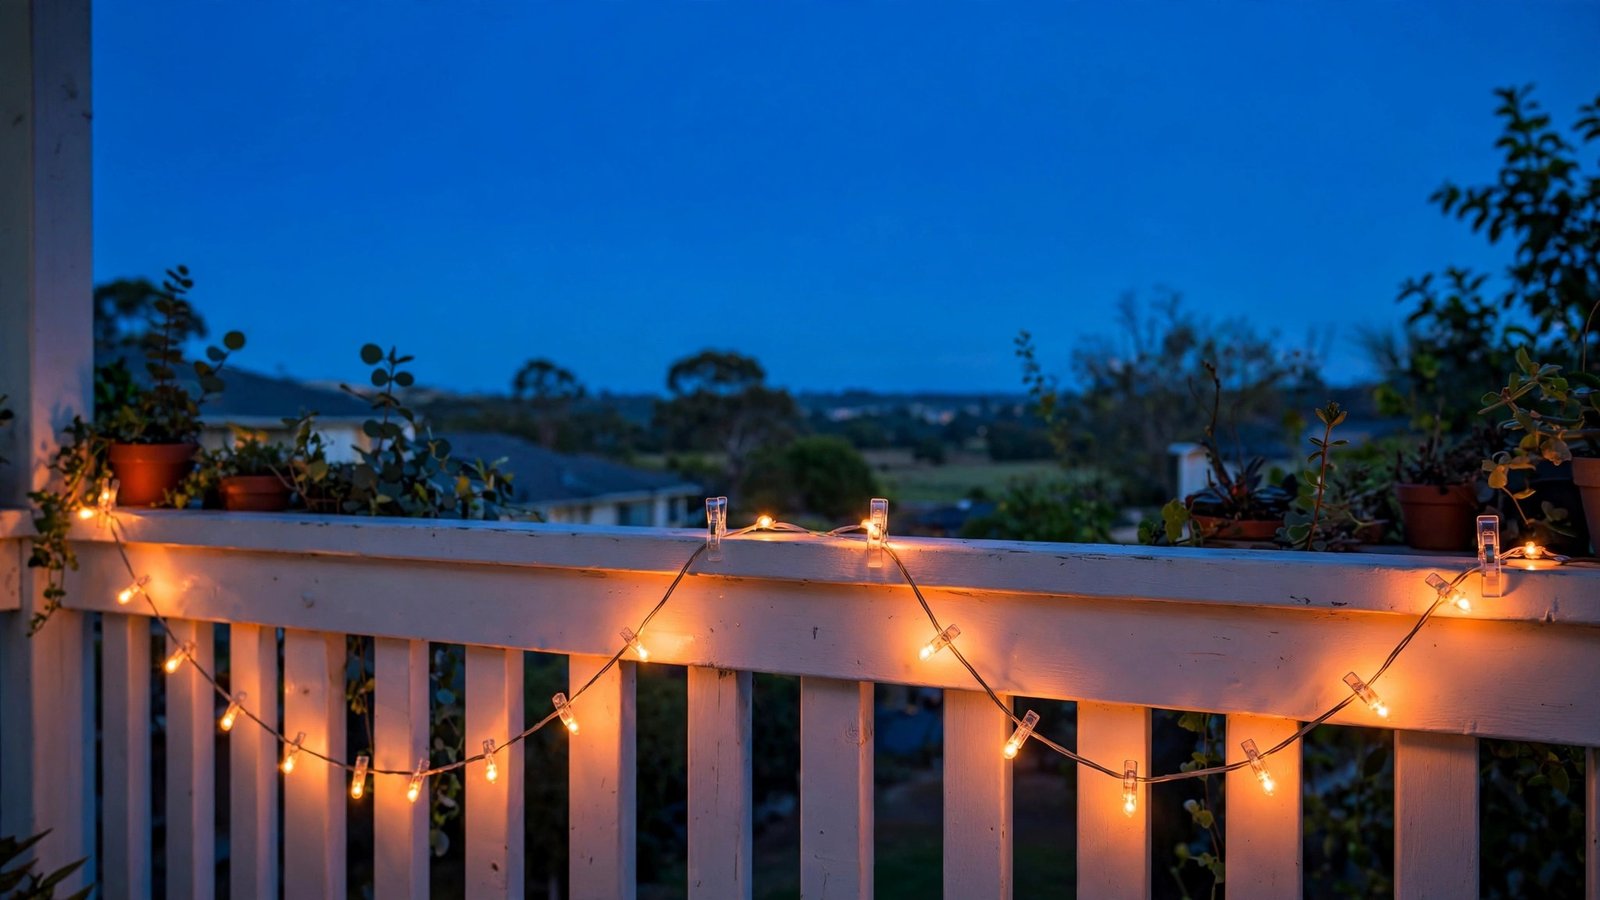
Lighting is atmosphere, and atmosphere is what separates “some pumpkins on a porch” from “a house that feels like Halloween.” Orange string lights wrapped along your porch railing or strung around the door frame instantly warm up the whole entry — and battery-powered strands mean no extension cords snaking across a walkway you share with neighbors.
Why it works for renters: Removable outdoor light clips (the small clear ones) stick to railings, trim, and door frames and peel off cleanly at season’s end. Battery packs tuck behind a planter or inside a pumpkin, so there’s no wiring, no drilling for a power source, and nothing permanently attached to the building.
How to do it:
- Get one or two strands of battery-operated warm-orange or amber string lights (50–100 LEDs per strand is plenty for a porch). Timed strands that switch on at dusk automatically are worth the extra dollar or two.
- Stick removable light clips along your railing top, door frame, or porch posts, spacing them 8–12 inches apart. Press firmly and wait an hour before hanging anything for the strongest hold.
- Weave the light strand through the clips, letting it sag naturally between clips — that gentle swag looks intentional; a laser-straight line looks like a hardware store display.
- Hide the battery pack inside a hollow pumpkin, behind a planter, or under a draped cloth so the glow looks sourceless.
- Flip the timer on and walk to the sidewalk to check your work. Adjust the swag from the view your neighbors actually see, not from your doormat.
Approximate cost: $8–$15 for lights and a pack of clips.
5. Cheesecloth Porch Ghosts
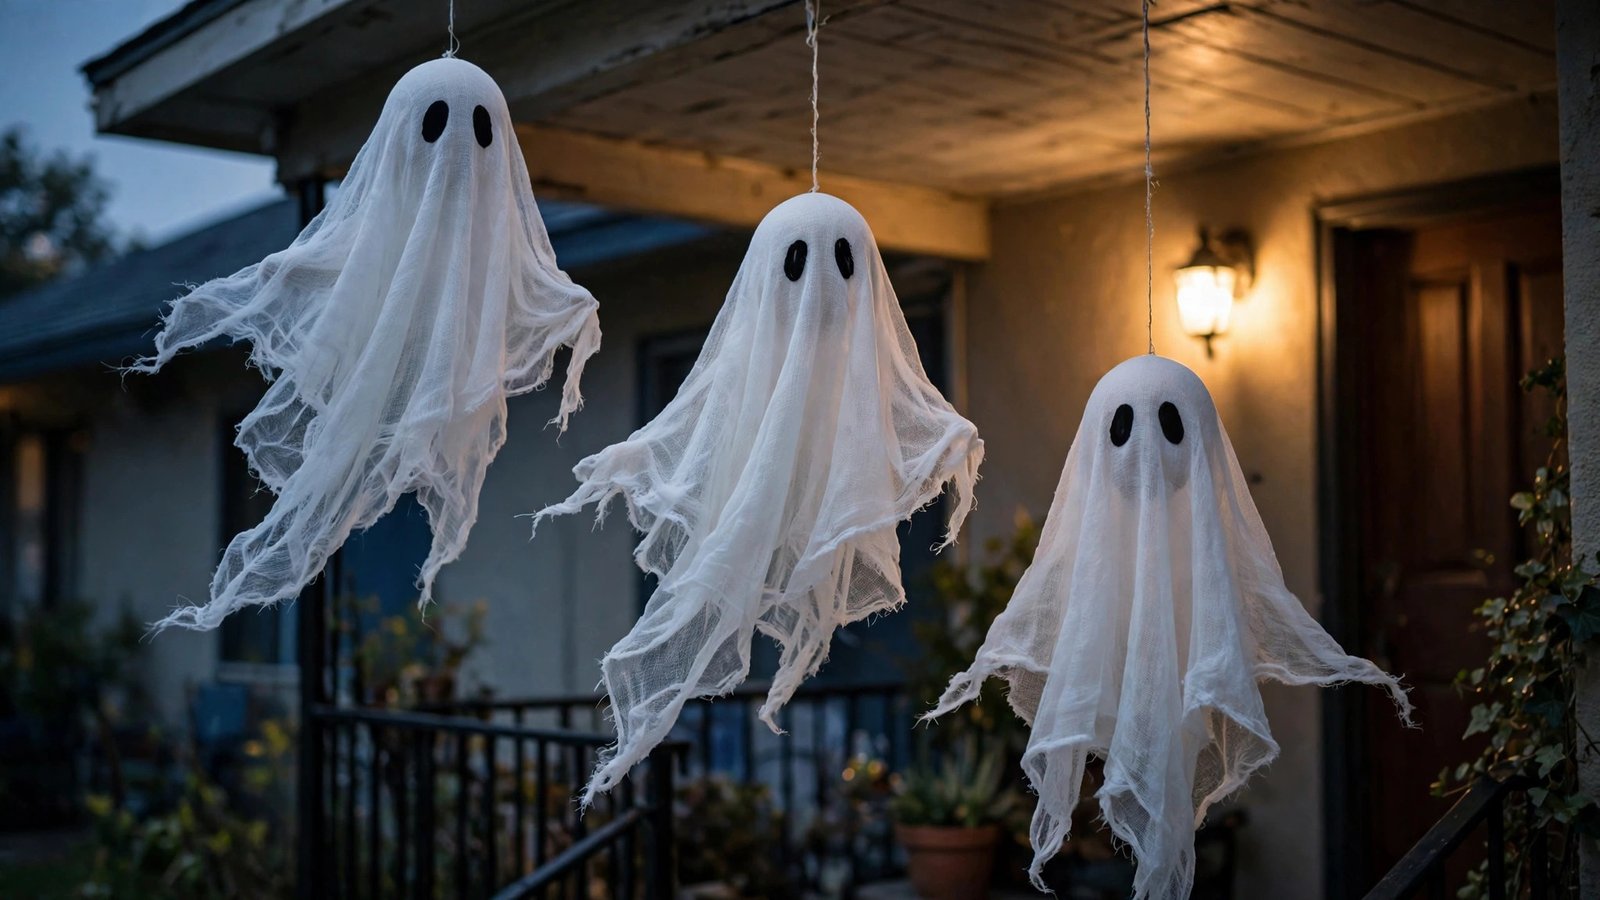
Cheesecloth ghosts are the Halloween equivalent of a magic trick: a few dollars of fabric and a balloon turn into floating figures that genuinely startle people after dark. I’ve watched a renter make three of these in under an hour and have the whole block stop to look. They’re wispy, eerie, and completely weightless — which makes them perfect porch material.
Why it works for renters: Each ghost weighs almost nothing, so it hangs from a single small adhesive hook on your porch ceiling or eave. No screws into the soffit, no holes anywhere. And cheesecloth comes down without a trace — it never touches a painted surface at all.
How to do it:
- Buy a bag of cheesecloth (the loose-weave kind, about $5–$8) and a few black adhesive felt circles or a black fabric marker for faces.
- Drape a large square of cheesecloth over a blown-up balloon sitting on a bowl to form the ghost’s head and body shape. Use 2–3 layers for a fuller look.
- Mist the cheesecloth lightly with water mixed with a spoonful of liquid starch, then let it dry completely — the starch gives the ghost just enough stiffness to hold its shape when the balloon is gone.
- Pop and remove the balloon, glue or draw on simple black oval eyes, and tie a loop of fishing line through the top of the head.
- Hang each ghost from an adhesive hook on the porch ceiling at slightly different heights. A light breeze makes them sway, which is the whole point.
Approximate cost: $5–$10.
6. Layered Halloween Doormats
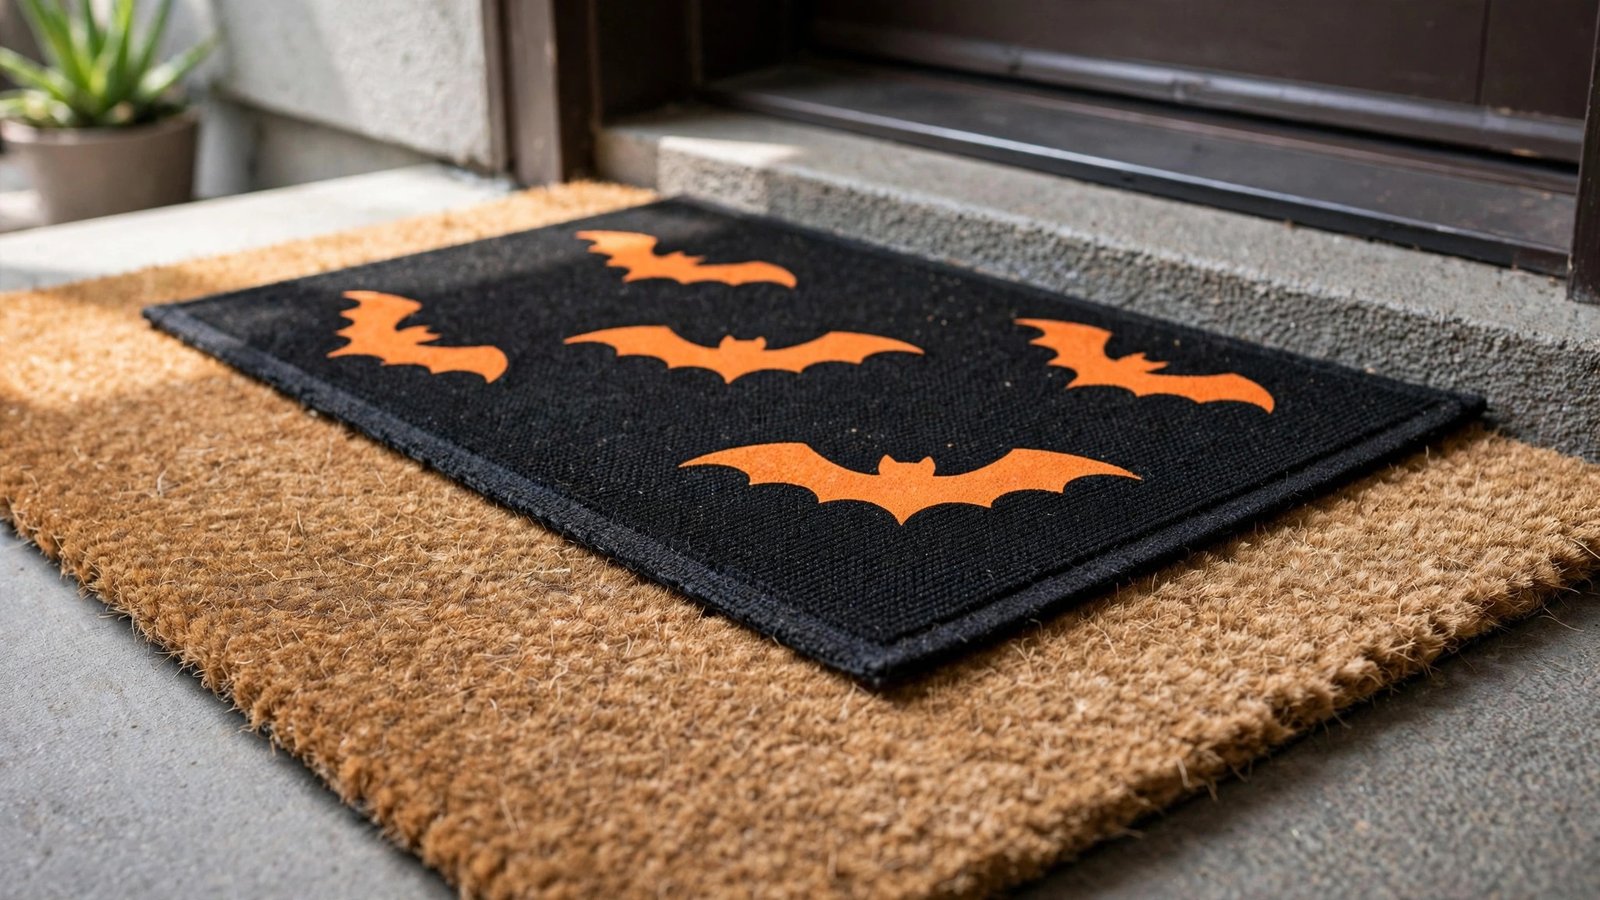
Here’s a designer trick that costs almost nothing and requires zero installation: layer a larger flat outdoor rug under a smaller Halloween doormat. The layering reads as styled and intentional — the same move home stagers use — and a “Trick or Treat” or bat-print mat peeking out from a plain natural-fiber rug makes your whole entryway look curated.
Why it works for renters: Mats sit on the ground. They touch nothing, attach to nothing, and come inside the moment the season ends. This is the purest form of renter-safe decorating, and it’s also the one your landlord will never have an opinion about.
How to do it:
- Start with a plain, flat outdoor rug slightly larger than your door (natural coir or a simple striped outdoor rug works — you may already own one).
- Center a smaller Halloween-themed doormat on top of it — look for one with a bold graphic or phrase that reads clearly from the walkway.
- Angle the top mat very slightly off-center. Perfectly squared mats look store-bought; a slight offset looks styled.
- If wind is an issue, a few dots of removable museum putty under the corners of the top mat keep it in place without touching your porch surface.
- Sweep both mats weekly — layered mats collect leaves fast, and a tidy entry sells the whole Halloween look better than any single decoration.
Approximate cost: $8–$18 (a Halloween mat; the base rug is optional if you already own one).
7. Paper-Bag Luminarias With LED Tea Lights
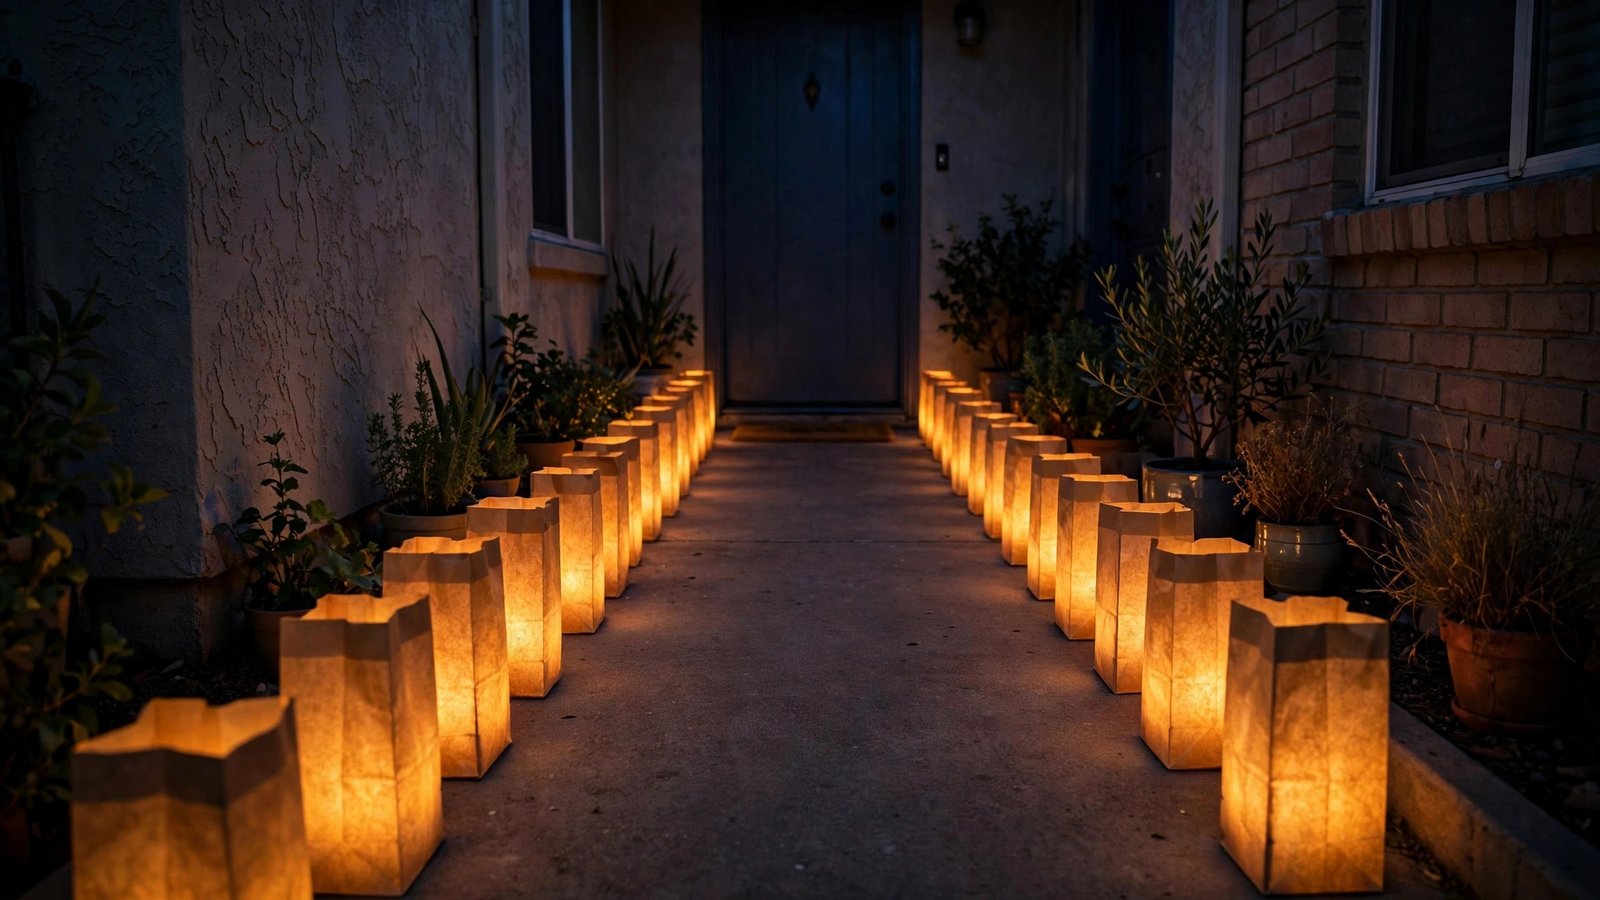
Line your walkway, porch steps, or the edge of a balcony with glowing paper-bag luminarias and your entry looks like a movie set for about five dollars. This is one of the oldest Halloween porch tricks in the book, and the LED version is completely renter-safe — no open flames anywhere near the building.
Why it works for renters: Paper bags sit on the ground with sand or gravel inside for weight — nothing stakes into the lawn, nothing attaches to the structure. Battery tea lights produce zero flame and zero soot, which is the part that matters if your lease mentions fire safety.
How to do it:
- Buy plain brown paper lunch bags (a pack of 50 costs a few dollars) and battery-operated tea lights (a 24-pack runs about $8–$10).
- Fold the top inch of each bag down twice to give it a finished cuff and a little stiffness against the breeze.
- Pour two inches of sand, gravel, or even dried beans into each bag to anchor it — this is what keeps them from blowing away at night.
- Drop a switched-on tea light into each bag, letting it rest on the sand. The bag glows amber from the inside.
- Space the luminarias 12–18 inches apart along walkway edges, porch steps, or a balcony ledge. Fifteen bags will transform even a long walkway.
Approximate cost: $5–$12 for bags, tea lights, and sand.
8. Mummy-Wrapped Planters
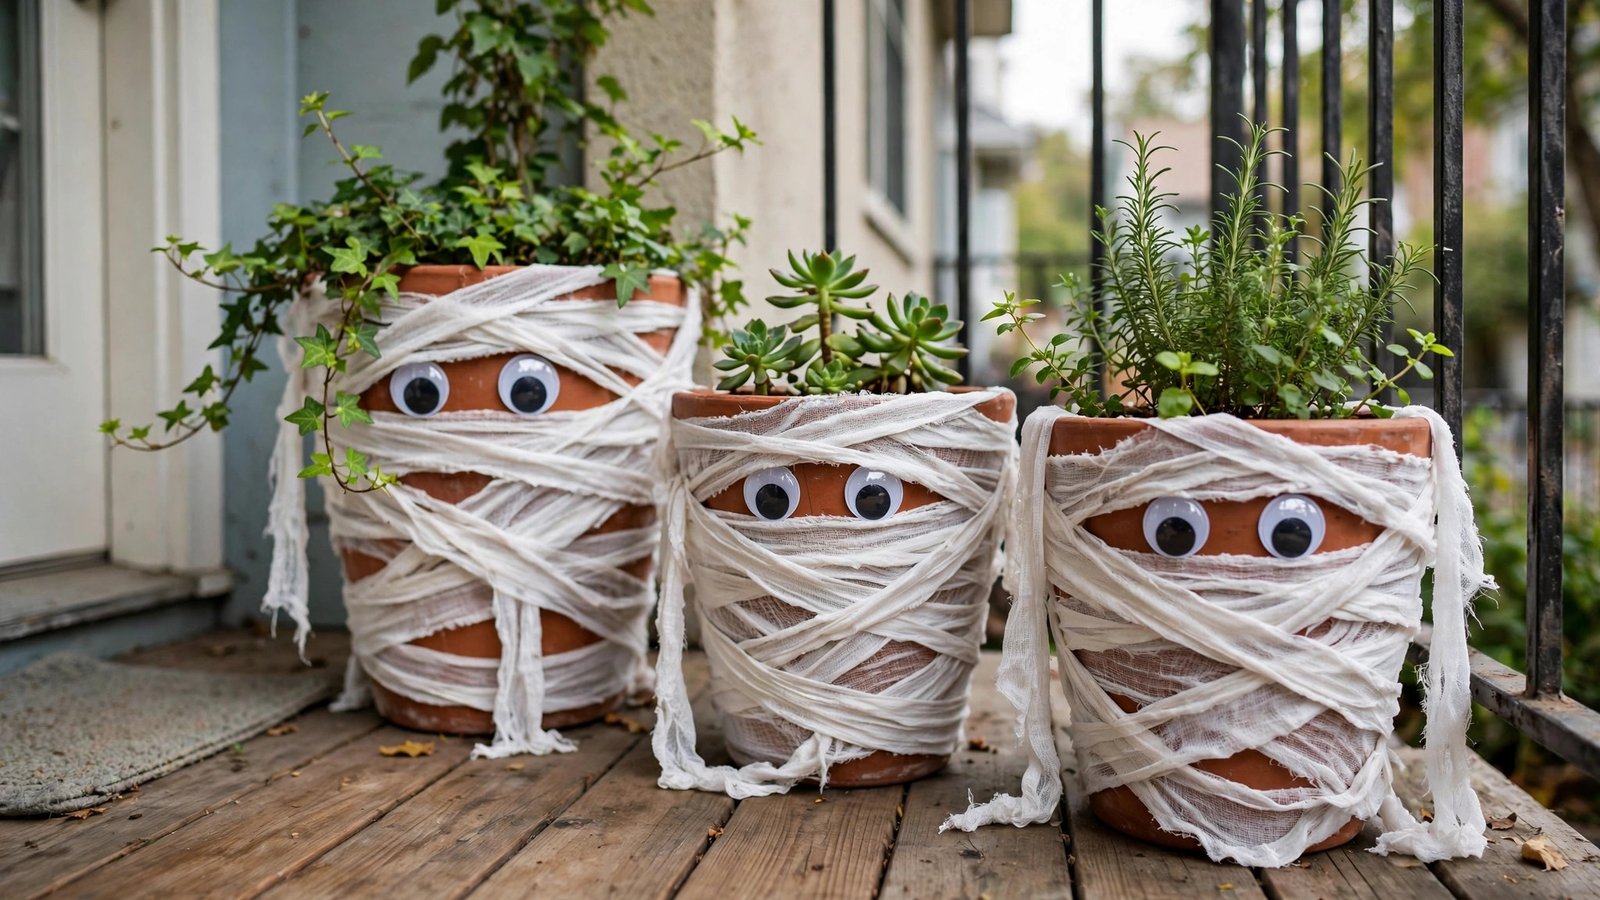
You already have planters on your porch. Wrap them in gauze and you’ve got Halloween decorations that cost almost nothing and take ten minutes. I started recommending this to renters who told me they had “nothing to work with” — it turns out the mums and ferns they already owned were the decorations all along.
Why it works for renters: The wrapping goes around your own pots, not the building. Strips of white gauze or torn fabric wrap around the planter and tie off — nothing adhesive, nothing permanent. Unwrap them in November and your planters look exactly as they did before.
How to do it:
- Buy a roll of white gauze, cheesecloth, or an inexpensive white cotton sheet from a thrift store to tear into strips (about $4–$7 total).
- Wrap each planter with overlapping strips of gauze, leaving small gaps between layers — the gaps are what make it read as a mummy instead of a bandage.
- Tuck two large googly eyes or two black felt ovals under the top layers of gauze so they peek out.
- Vary the tightness: wrap one planter snugly, let another drape looser for a more unraveling look. Different heights of plants sell the effect — a tall grass in a wrapped pot looks genuinely spooky.
- Step back and check from the walkway. If a planter looks like a blob, add a few more gauze layers on one side to give it shape.
Approximate cost: $4–$8.
9. The Stacked Pumpkin Topiary
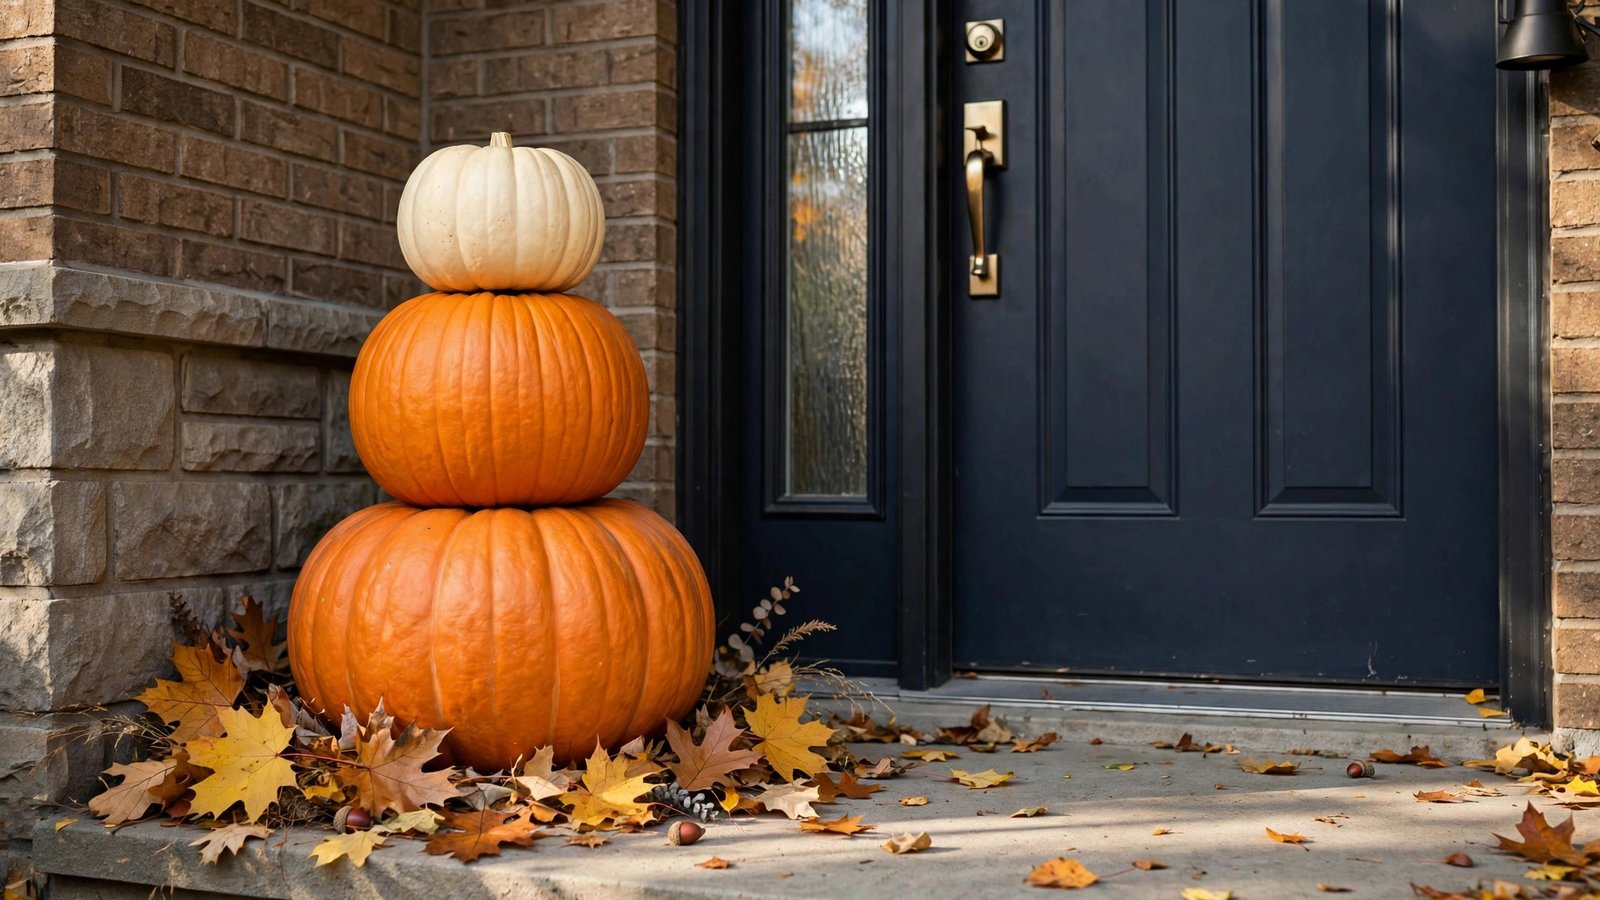
A pumpkin topiary — three pumpkins stacked largest to smallest beside your door — looks like you hired a decorator, and it’s just pumpkins doing what gravity does. I’ve seen this exact setup sell houses in listing photos; on a rental porch it makes the whole entry feel designed. No drilling a stake through anything, no foam carving — just stacking.
Why it works for renters: Nothing is pierced, glued, or attached. The pumpkins rest on each other on the ground or in one of your own urn planters. At the end of the season, the stack disassembles into compost with no trace left behind.
How to do it:
- Buy three pumpkins in descending sizes — large, medium, small — or two real ones topped with a lightweight faux pumpkin if the top feels unstable.
- Set the largest pumpkin on the ground beside your door, flat side down. Choose the flattest-bottomed pumpkin you can find for the base.
- Nest the medium pumpkin on top, rotating it until it sits steady. If it wobbles, a folded dish towel between the pumpkins (hidden from view) acts as a shim.
- Crown the stack with the smallest pumpkin. Tuck a few faux autumn leaves or a small mum cutting around the base to hide the seams.
- For extra stability on a windy porch, you can run a wooden dowel down through all three — one thin dowel through the stems is invisible from more than a foot away and keeps the stack standing through storms.
Approximate cost: $10–$18 (three pumpkins; leaves and dowel are optional extras).
10. A Chalkboard Welcome Sign on a Small Easel
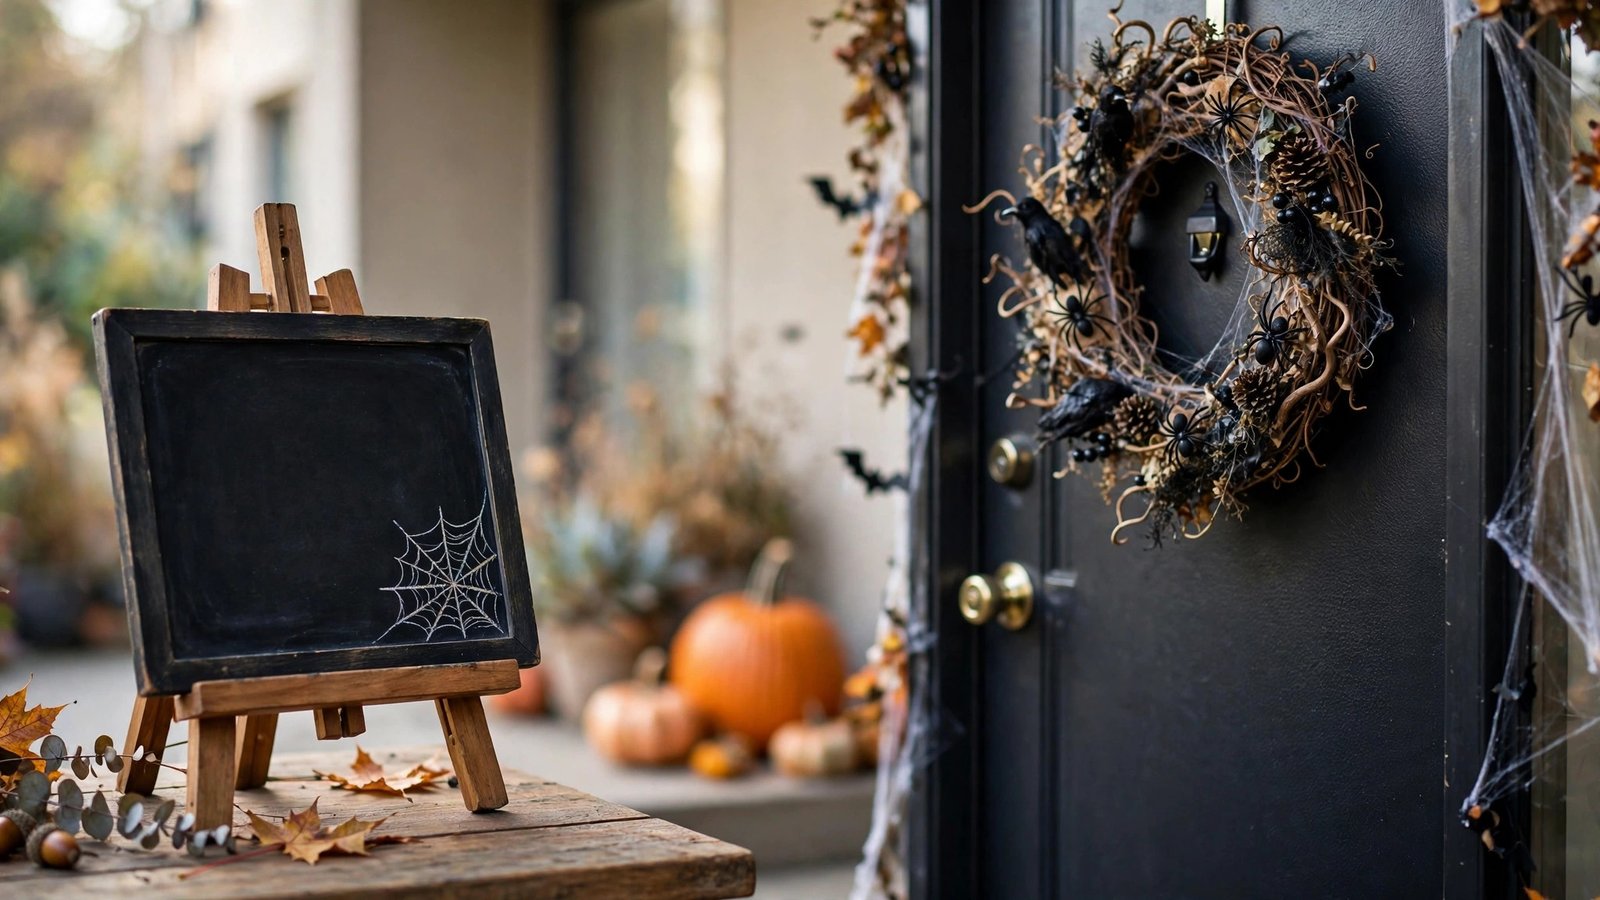
A framed chalkboard sign propped on a porch easel — “Trick or Treat,” “Enter If You Dare,” a little drawn spiderweb in the corner — is the decoration that makes trick-or-treaters feel personally invited. And because it stands on the ground, it works even for renters whose doors face a shared hallway or breezeway where hanging things is off-limits.
Why it works for renters: An easel stands on the ground and the chalkboard leans on it. Nothing touches the building at all — no adhesive, no hooks, nothing. Chalk wipes off and the board becomes a grocery list again in November.
How to do it:
- Pick up a small framed chalkboard (about $6–$10) and a tabletop easel or a small folding A-frame stand (about $5–$8). Check thrift stores first — chalkboards are one of the most common thrift finds in October.
- Write your message in chalk markers for bold, clean lines, or plain chalk for a hand-drawn look. Simple phrases beat long ones: “Trick or Treat,” “Boo,” “Happy Halloween.”
- Add one small doodle — a spiderweb in the corner, a row of bats along the top. One doodle reads as style; ten doodles read as clutter.
- Prop the board on the easel beside your door, angled slightly toward the walkway so approaching visitors see it straight on.
- Spray it lightly with hairspray if your porch gets damp — it sets the chalk enough to survive a misty evening (and still wipes off with a damp cloth).
Approximate cost: $10–$18 (less if thrifted).
11. Stretch Spiderwebs Across Bushes and Railings

One bag of stretchable spiderweb material — the white cobweb stuff — can cover an entire porch railing, a bush, and a corner of your door frame. It’s the fastest way to make a plain rental exterior look genuinely haunted, and it goes up in about fifteen minutes. The trick is restraint: a little webbing looks eerie, a lot looks like a craft store exploded.
Why it works for renters: The webbing catches on rough surfaces — bark, brick, railing spindles — with no adhesive needed. Where it needs a little help, a dot of removable adhesive putty holds it to smooth trim and pulls away cleanly. It never touches paint in a way that damages it.
How to do it:
- Buy one or two bags of stretch spiderweb material (about $3–$5 per bag) and a pack of plastic spiders (about $3).
- Pull a small clump from the bag and stretch it gently in all directions — thin, gauzy stretches look like real webs; thick clumps look like cotton candy.
- Drape the stretched webbing over bushes, along the top of your railing, or across one corner of the door frame, anchoring it on rough surfaces where it catches naturally.
- Tuck 3–5 plastic spiders into the webbing at different depths — one big spider near the center, smaller ones at the edges. Spiders sell the scale of the web.
- Step back to the sidewalk before you stop. Webbing always looks thinner from a distance than it does up close — add more than you think you need, then edit back the thickest clumps.
Approximate cost: $5–$10.
12. Floating Witch Hats With Lights Underneath
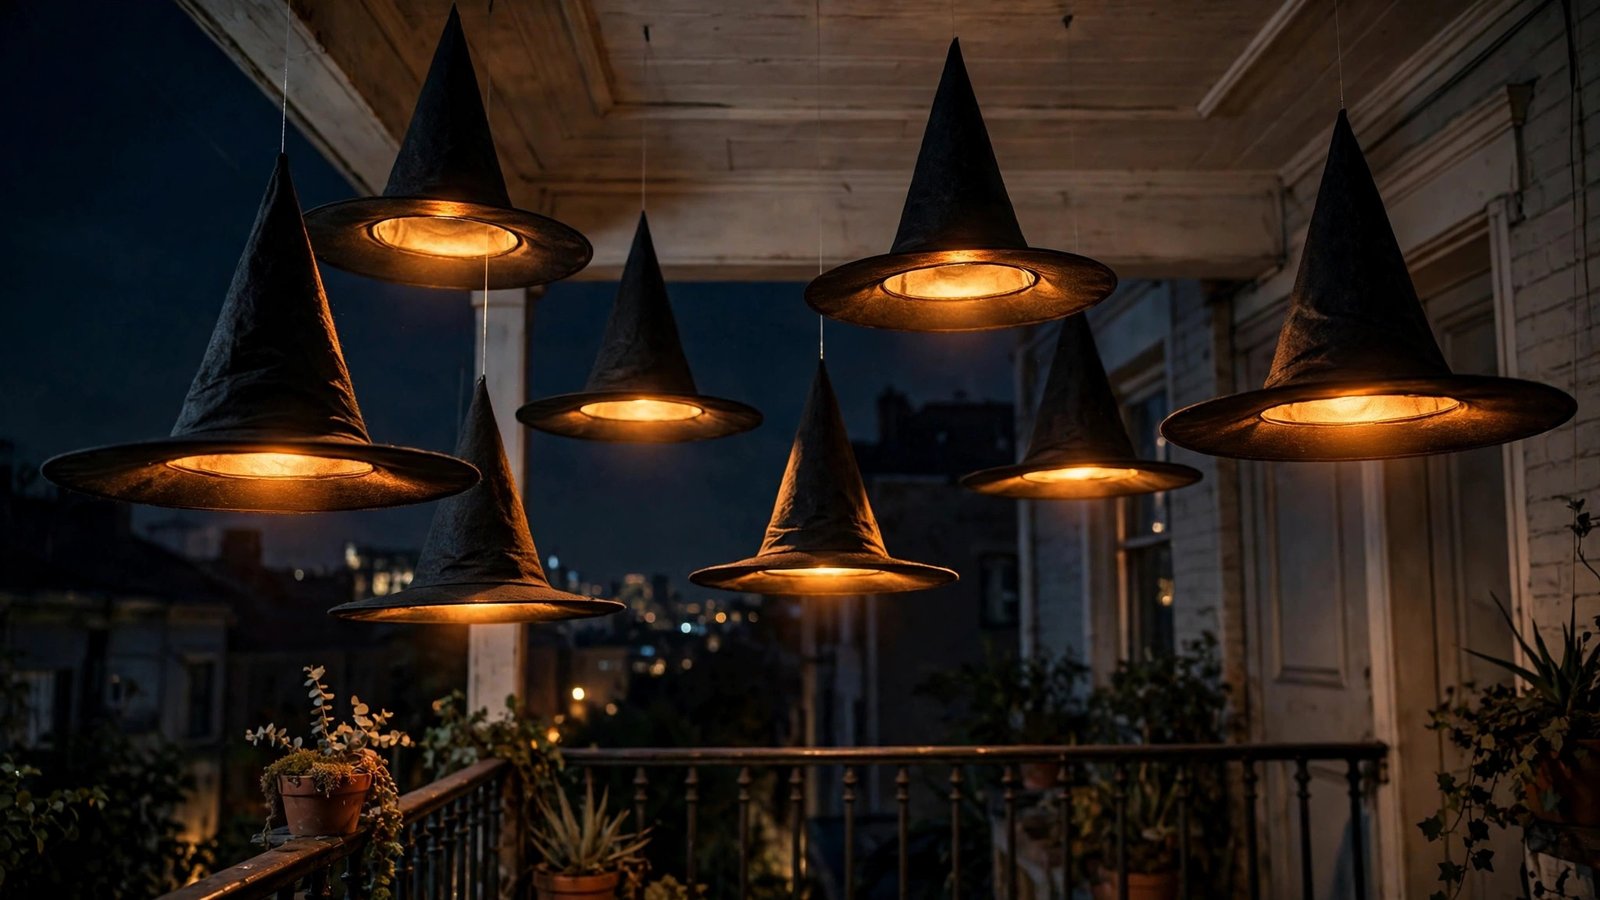
This is the finale piece — the decoration that gets photographed. Black witch hats suspended from your porch ceiling at different heights, each with a small battery light glowing underneath, look like a coven just landed. I’ve seen this single idea carry an entire porch: three or four floating hats and suddenly the whole entry feels enchanted.
Why it works for renters: Each hat hangs from one small adhesive hook on the porch ceiling or eave — the same removable hooks from idea #1. The lights are battery LED pucks or string lights, so there’s no wiring into the building. Total weight per hat is a few ounces.
How to do it:
- Buy 3–4 inexpensive black witch hats (party stores sell them for $3–$5 each in October) and a strand of battery-operated fairy lights or a few adhesive LED puck lights.
- Stick small adhesive hooks into your porch ceiling or along the eave, spacing them so the hats hang at staggered heights — high, medium, low.
- Hang each hat from its tip with fishing line tied to the hook. Vary the line lengths so the hats “float” at different levels.
- Tuck a battery fairy light strand up inside each hat (a few loops of the strand inside the cone) or stick an LED puck under the brim facing down, so each hat glows from within.
- Turn them on at dusk and check from the street — the hats should read as dark silhouettes with a warm glow underneath. Adjust heights until they look like they’re hovering.
Approximate cost: $12–$20 (hats plus lights).
You Don’t Need Permission to Be the Best-Looking Porch on the Block
Here’s what I want you to take away from this list: Halloween decorating as a renter isn’t about working around restrictions. It’s about a style of decorating — lightweight, removable, temporary — that happens to be exactly what this holiday does best. Paper bats, glowing pumpkins, a chalkboard sign, floating witch hats: every one of these comes down in minutes and leaves your deposit exactly where you found it.
Start with the lights and one pumpkin arrangement this weekend, then add one idea each evening. By Halloween night, your entry will look like it took a professional a week — and you’ll have spent less than fifty dollars on the whole thing.
Please save this visual guide on Pinterest and share it with your favorite renter friend — because the best Halloween porches are the ones that prove you never needed to own the place to make it magical.

Amelia leads HavenlyStyle’s editorial vision with a passion for elegant interiors and practical home living. With years of experience in home décor and lifestyle content, she ensures every article is accurate, inspiring, and easy to follow. From timeless decorating ideas to the latest interior design trends, Amelia is committed to helping readers create beautiful, functional spaces while maintaining HavenlyStyle’s trusted and welcoming voice.