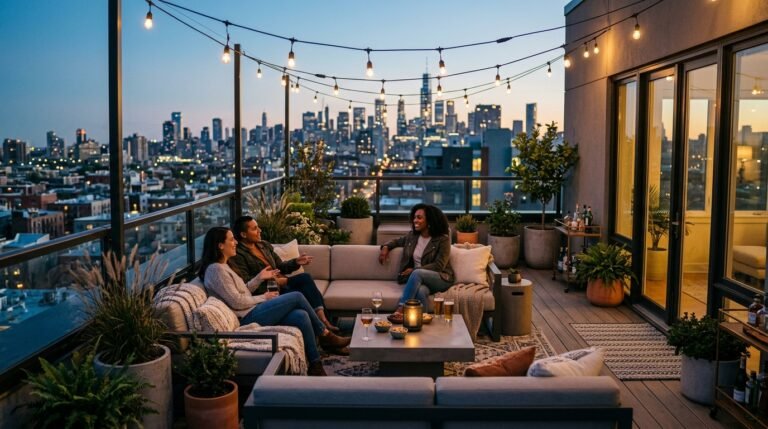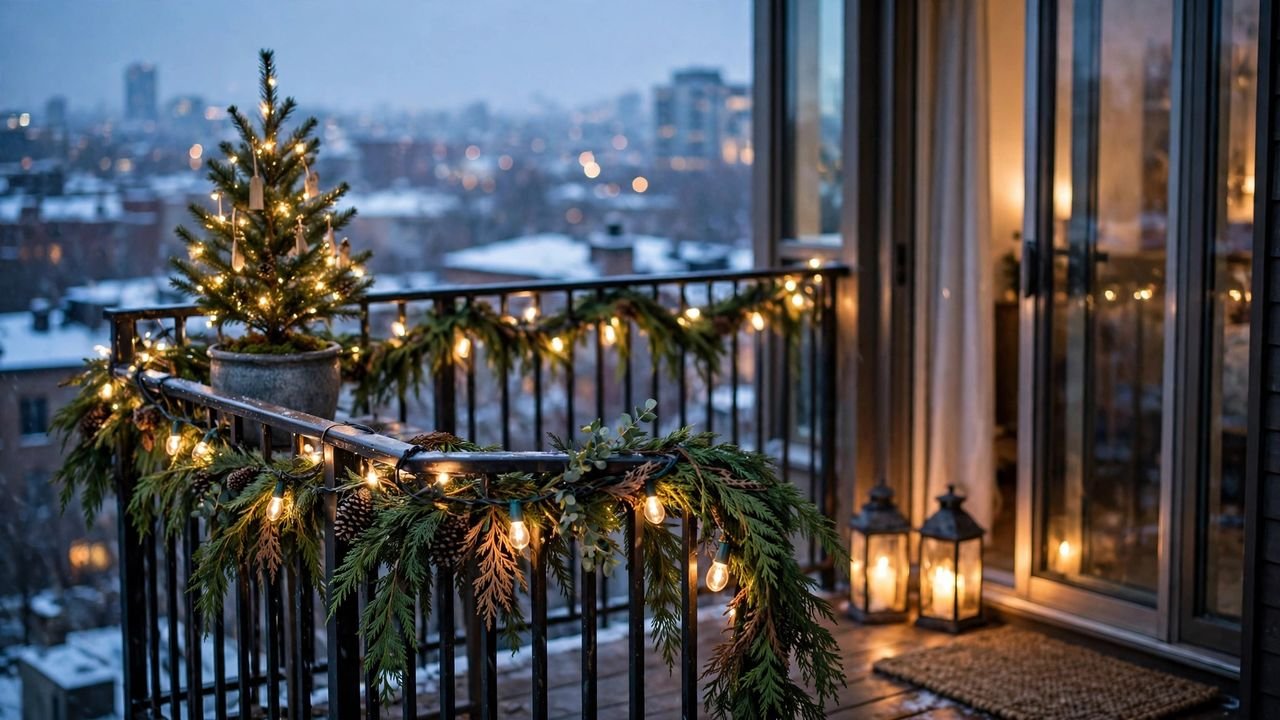
I’ve helped dozens of renters make tiny, rule-heavy apartment balconies look like they belong on a holiday card, and the starting point is always the same conversation: “My lease says I can’t drill into the railing, I can’t attach anything to the building exterior, and my balcony is barely big enough for two chairs.” Then they ask whether Christmas decor is even worth attempting out there. It absolutely is. A balcony is one of the few renter spaces with true holiday curb appeal — the people passing on the street see it, the neighbors across the courtyard see it, and you see it every evening from your living room through the glass door.
The catch is that balconies punish the wrong choices faster than any indoor space. One winter storm rips down a poorly hung garland. A plugged-in light string trips a breaker you can’t reset without maintenance. A cheap plastic wreath bleaches in the sun by mid-December. And anything that requires a drill bit into the railing or the siding puts your deposit at risk the moment the ladder comes out.
So this post is built around one rule: everything here hangs on pressure, hooks, zip ties, weight, or freestanding placement. No drilling into railings, no screws into the building exterior, no permanent changes of any kind. Twelve ideas, ordered by impact — what transforms the space most dramatically per dollar — each with concrete steps, approximate costs, and exactly why it survives landlord scrutiny.
Executive Summary
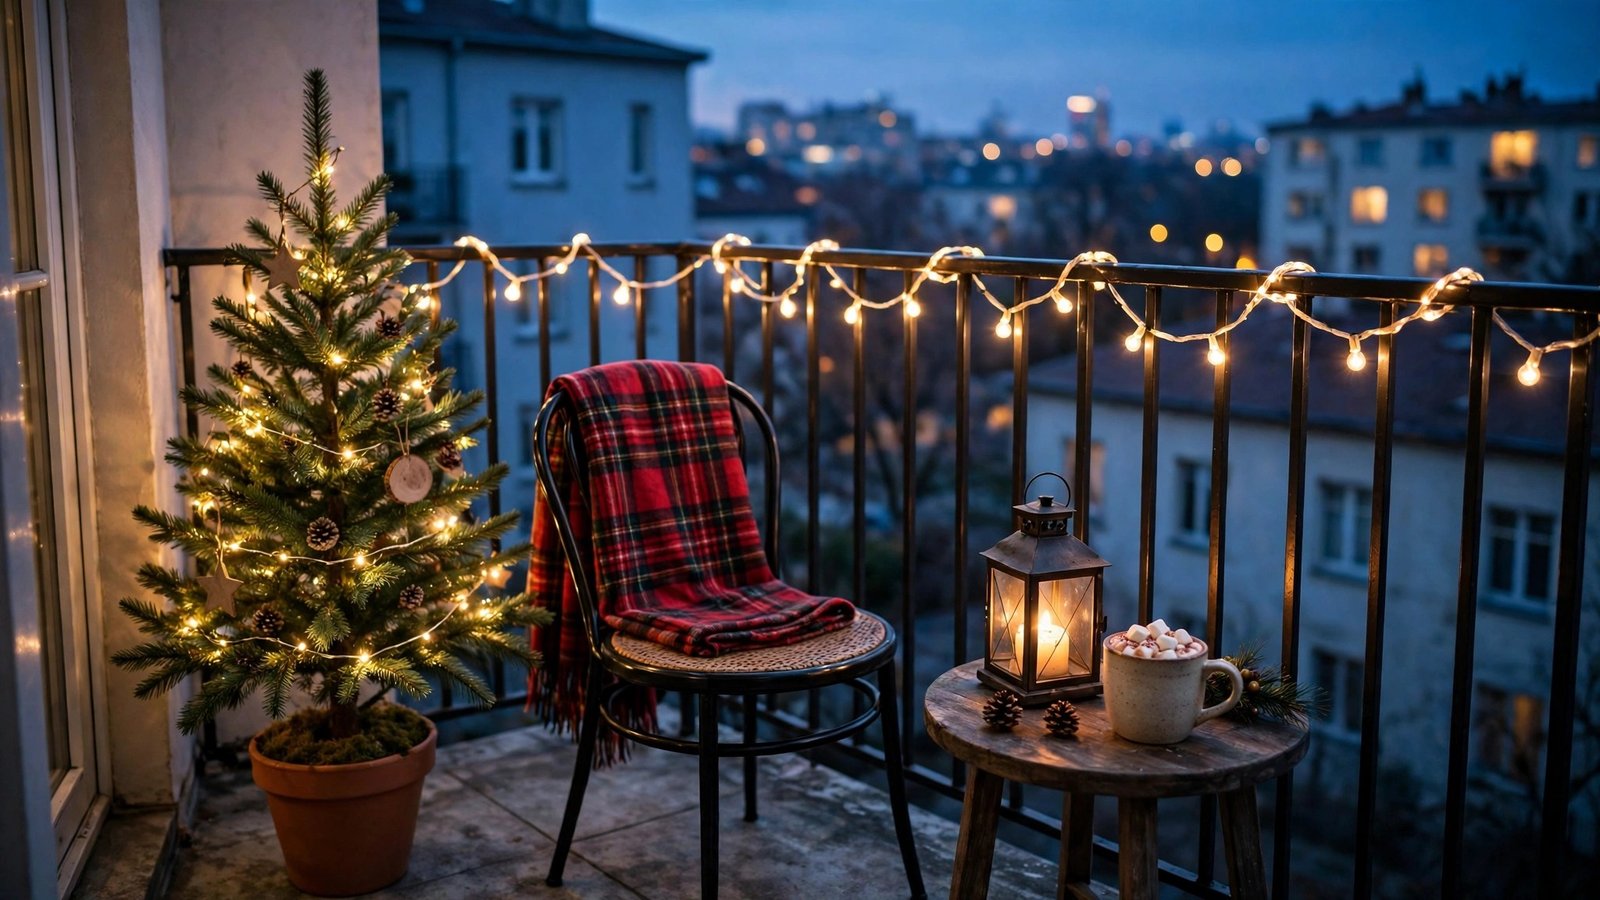
- The railing is your canvas, not your drill site. Wrap lights and garland around railings with zip ties or twist ties threaded through existing balusters — grip without holes, and they come off in minutes at takedown.
- Wind is the real enemy on balconies, not cold. High-rise and corner balconies need weighted bases, sandbagged planters, and low-profile mounting before aesthetics; anchor first, style second.
- No outlet is no problem. Battery-operated light strings with built-in timers and small solar string lights now run weeks on a charge, and they sidestep every lease rule about exterior outlets and extension cords.
- Face decor both directions. Half your audience sees the balcony from the street and half sees it from your living room — garlands, trees, and lights should read well through the glass door, not just from outside.
- Rentable-season storage beats attic hoarding. Choose decor that collapses, nests, or lives on the balcony year-round as planters and lanterns, so nothing eats your closet space in January.
1. Warm-White String Lights Zip-Tied to the Railing
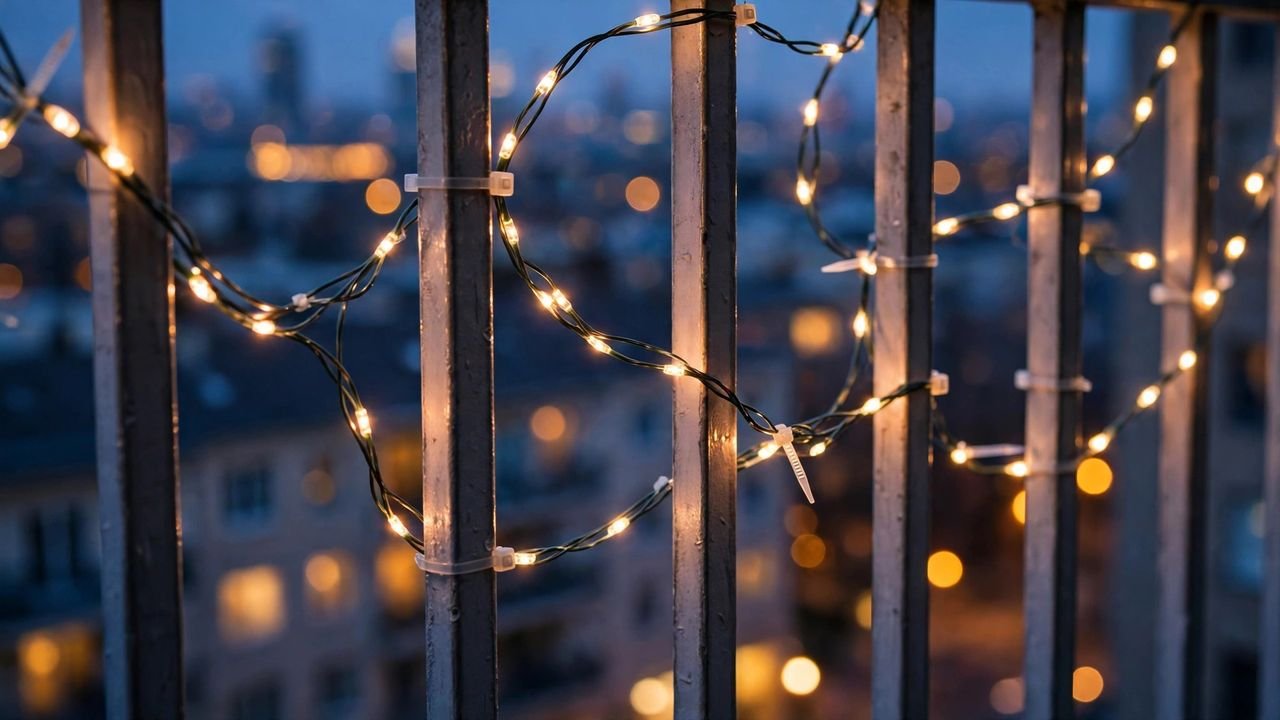
This is the highest-impact move on the list, and I recommend it first to every renter with a balcony: a long string of warm-white mini lights wrapped along the railing line. Nothing else transforms a dark winter balcony so fast. From the street, your railing becomes a glowing outline of the building’s edge. From inside, through the glass door, the lights read as a second room glowing softly beside your living room — and that double-duty visibility is exactly why balcony lights beat almost any other single purchase.
The renter trick is mounting without touching a drill. Balcony railings are almost always a grid of vertical balusters, and those balusters are tailor-made for twist ties, zip ties, and small cable ties. You weave the light string through and around the balusters and secure it every couple of feet. The ties grip the metal or wood with zero damage, the string can’t slide or bunch, and at takedown you snip the ties with scissors in under ten minutes.
Why it works for renters: There are no holes, no screws, and nothing attached to the building itself — the ties attach the string to itself around the railing you were allowed to lean on anyway. It’s fully removable and invisible once the string comes down. Flag: check your lease’s holiday-decor window first; many complexes allow exterior decor only from late November through mid-January.
How to do it:
- Measure your railing run first — pace it off or use a tape — and buy a string at least one and a half times that length so you can swag it gently instead of pulling it taut.
- Start at the end nearest your power source (or nearest where the string will live if it’s battery/solar) and weave the string through every second or third baluster, securing it with a zip tie or green garden twist tie at each point.
- Keep the string on the inside face of the railing where it’s slightly sheltered from direct wind, and leave a little slack between attachment points so gusts don’t strain the wire.
- Plug in or switch on at dusk and step back both from the balcony and from inside the living room — adjust any dark gaps before you finish.
- Approximate cost: $15–$40 for an outdoor-rated string and a pack of zip ties.
2. Cedar Garland Draped Along the Railing Top
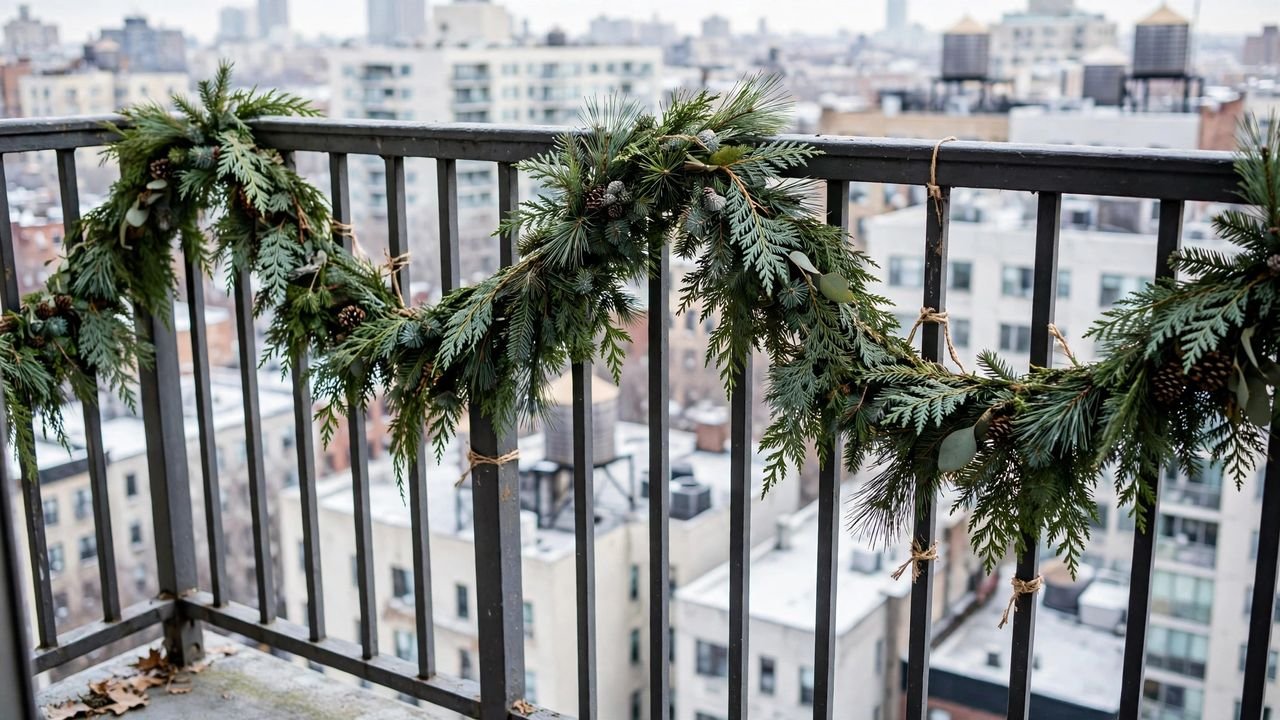
A garland is the balcony’s equivalent of crown molding: one long piece that turns a bare architectural line into something finished. Draped over the top rail and swagged between points, a cedar or mixed-pine garland adds texture and color by day and catches light beautifully at night, especially once the string lights from idea one are woven through it. I’ve personally seen a plain concrete-and-steel balcony railing look like a boutique hotel entrance with just one nine-foot garland and lights.
Real greenery smells wonderful and photographs beautifully, but know the tradeoff: real garland sheds needles onto your balcony (and the neighbor’s below, which can spark complaints) and dries out fast in wind. Faux garlands with cedar and pine mixed look convincing from more than a few feet away, weigh less, don’t shed, and pack flat for next year.
Why it works for renters: The garland drapes over the top rail by gravity and gets pinned at intervals with zip ties looped through the balusters — same reversible attachment as the lights, zero hardware in the building. At season’s end it lifts off and the railing is untouched.
How to do it:
- Buy one garland per six to eight feet of railing — measure first, because a stretched-thin garland looks sparse no matter how pretty the greenery.
- Lay the garland over the top rail and let it drape, then add gentle swags: pull it slightly upward at intervals and secure those high points to the railing with zip ties threaded through the balusters.
- If you’re layering with lights, weave the light string through the garland after it’s hung, not before — hanging a heavy pre-wired garland is awkward.
- For real greenery, mist it occasionally and plan to replace it if the needles brown before Christmas; for faux, fluff the branches by hand so it doesn’t read as one flat strip.
- Approximate cost: $25–$60 for a quality faux cedar or pine garland; real garlands run cheaper but are single-season.
3. A Mini Christmas Tree in a Weighted Planter
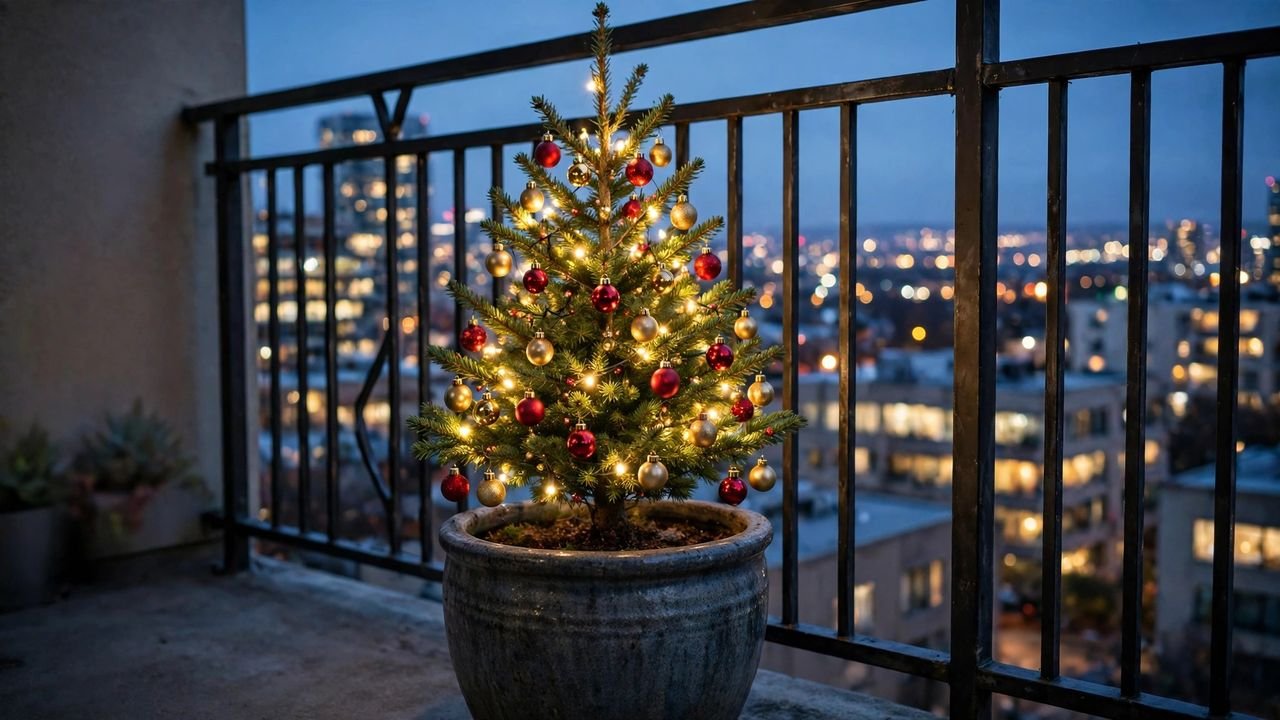
Every renter Christmas wants a tree, and the balcony is where renters finally get to have a real one without giving up half their living room. A small potted evergreen — or a quality artificial mini tree — set in a heavy planter becomes the balcony’s anchor: a single tall element that grounds all the lights and garland around it, visible from the street and glowing through the glass door at night. A live dwarf Alberta spruce or small Norfolk pine also doubles as a houseplant after the holidays if your zone allows it.
Why it works for renters: It’s entirely freestanding — a potted plant sits on your balcony floor and requires no mounting, no holes, and no permission from anyone. A live tree can move indoors in January; an artificial one folds flat into storage. Either way the building is untouched.
How to do it:
- Choose a tree between two and four feet tall — tall enough to read from the street, small enough to stay stable — and a planter at least a third as tall as the tree for proportion and ballast.
- Weight the planter: put a layer of bricks, a sandbag, or bagged sand at the bottom before the soil so the center of gravity stays low.
- Position the planter in the corner where the balcony meets the building wall, never at the open railing edge where wind is strongest.
- Decorate the tree itself lightly — a single mini string of battery lights and shatterproof (never glass) mini ornaments keep it wind-safe and safe for anything that drops below.
- Approximate cost: $30–$70 for a live dwarf spruce in a weighted planter; artificial mini trees with pots run $25–$50.
4. Battery and Solar Lights Where Outlets Are Scarce
Here’s the balcony reality many indoor decor guides ignore: a huge share of apartment balconies have no exterior outlet at all, and the ones that do often have rules about running extension cords through doorways (a tripping and weather-sealing issue) or a lease clause limiting exterior electrical use. I’ve watched renters plan an entire light display around an outlet that turned out to be a neighbor’s or a maintenance plug they weren’t allowed to use.
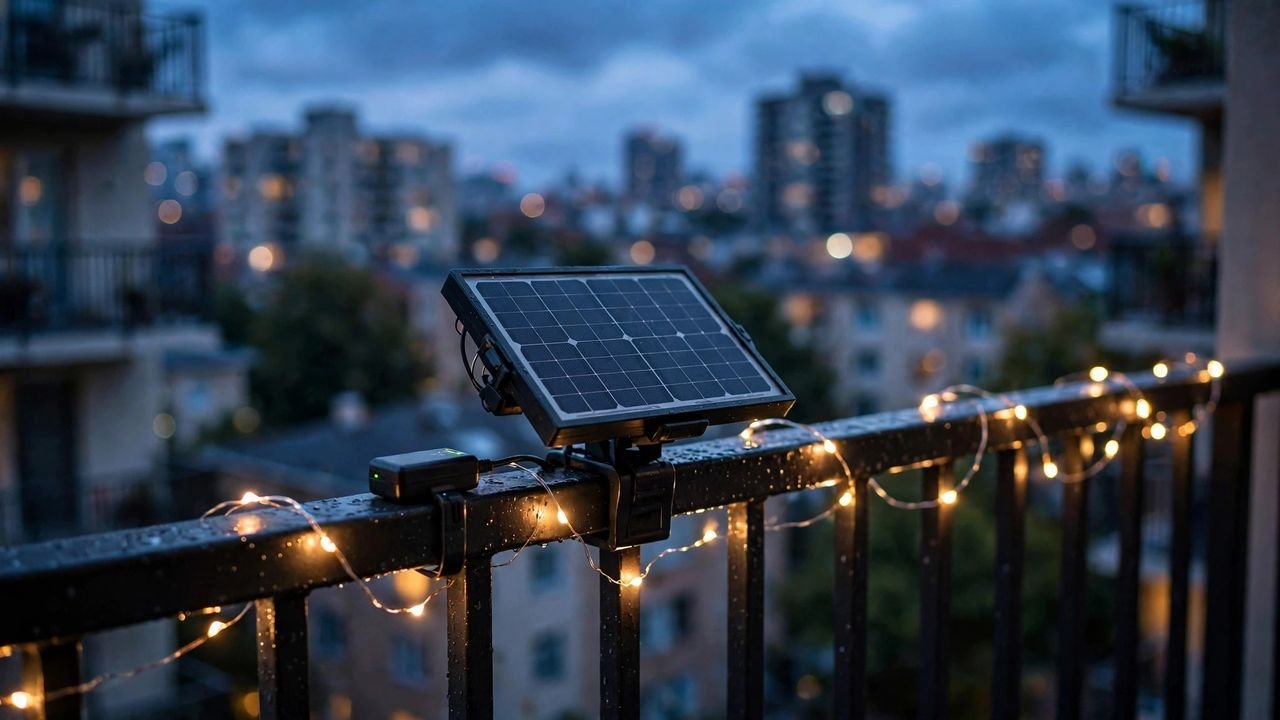
Battery-operated string lights with built-in timers are the renter answer. The timer matters more than the battery — a six-hour-on cycle means one set of batteries lasts most of the season, and the lights come on at dusk automatically. Solar string lights work the same way if your balcony gets direct sun; just position the little solar panel where it actually catches light, not buried in the garland.
Why it works for renters: No cords through doorways, no outlet hunting, no extension cords snaking across common areas — and no electrical footprint the building can object to. Everything is self-contained, portable, and moves indoors for parties or storage in seconds.
How to do it:
- For battery strings, buy ones with a built-in timer (most quality outdoor sets have it) and set the timer at dusk so the cycle anchors to your schedule.
- For solar strings, mount the tiny solar panel at the sunniest spot on the balcony — clipped to the top rail with a twist tie — and confirm it gets at least a few hours of direct sun, not just bright shade.
- Use one battery string per zone (railing run, tree, garland) rather than trying to chain zones together; short strings look neater and batteries last longer.
- Keep a spare set of batteries on hand so a mid-December blackout on one zone gets fixed in a minute, not a week.
- Approximate cost: $10–$25 per string for outdoor-rated battery or solar mini lights.
5. Wind-Proofing That Keeps Decor Where You Put It
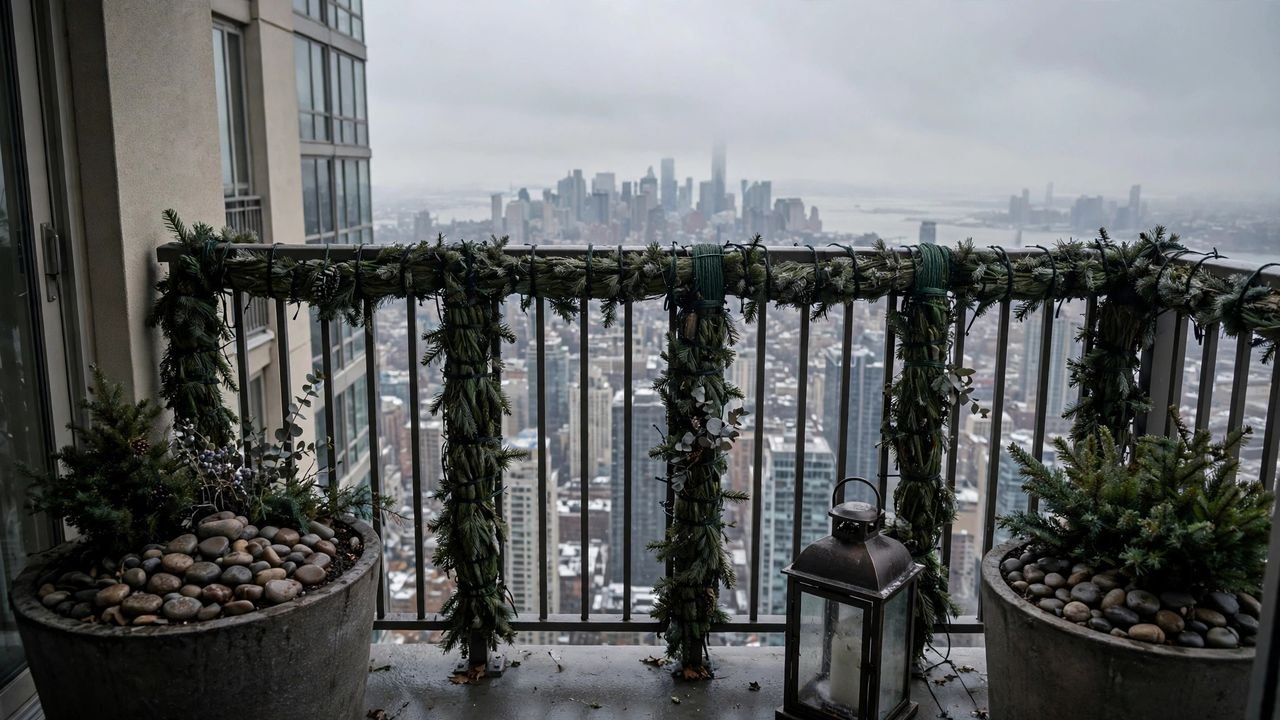
Before the pretty stuff, the practical: wind destroys more balcony decor than cold, sun, and rain combined. A high-rise balcony can see gusts that turn lightweight decor into projectiles, and there’s a genuine safety angle — anything that can blow off a balcony is something your lease and your neighbors take seriously. I’ve noticed that renters who wind-proof first spend the season enjoying their decor while everyone else is re-hanging garlands after every storm.
The principle is simple: everything on a balcony is either heavy, low, or tied down — ideally all three. Heavy planters replace light ones. Tall lightweight pieces move to the most sheltered corner. Garland and lights get tied at more frequent intervals on exposed runs.
Why it works for renters: Wind-proofing uses weight and ties, not fasteners — nothing is screwed into anything, so there’s no lease issue at all. It’s also the move that protects your neighbors’ property and your security deposit from damage claims, which is worth more than any decor.
How to do it:
- Walk the balcony and identify the windward side — the side facing the open street or prevailing wind — and place nothing lightweight on that edge.
- Weight every planter with sand, bricks, or river stones at the bottom; a planter should resist a firm shove from the side.
- On exposed railing runs, double the attachment points for garland and lights — a tie every 18 inches instead of every three feet.
- Bring in anything truly delicate (paper lanterns, fabric banners) ahead of named storms; thirty seconds of takedown beats a shattered lantern on the courtyard.
- Approximate cost: $0–$20 — mostly sand, bricks, and extra zip ties you likely already have.
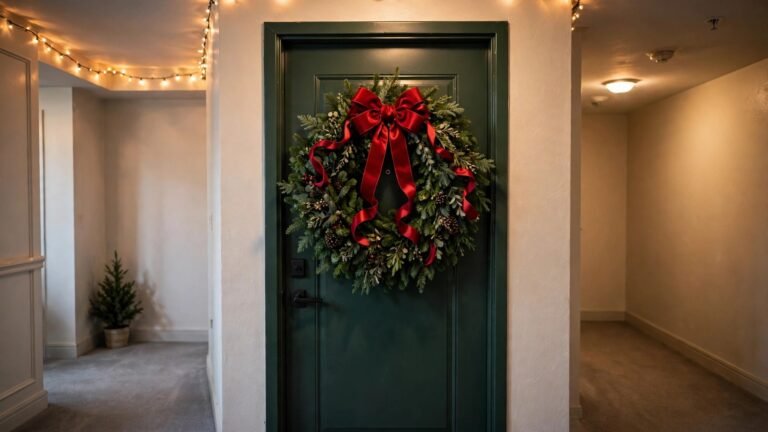
6. A Wreath on the Balcony Door or Railing Post
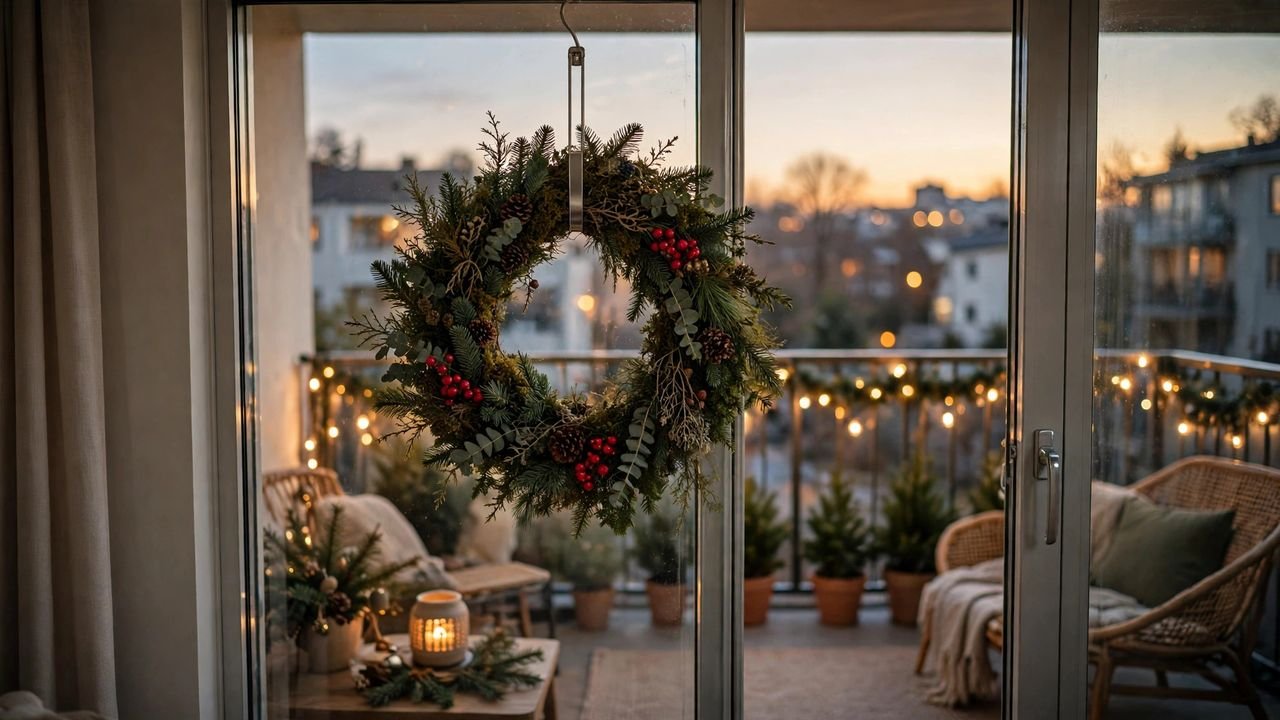
The balcony door is high-value real estate that most renters decorate last or never: it’s the surface you see every time you look out, and it’s the first thing guests see when the door opens. A wreath on the sliding door — or hung from a railing post facing the street — gives you a finished focal point for the cost of a single piece. I’ve helped renters place one wreath here and watched it carry the whole balcony because it sits at eye level where everything else sits low.
Mounting is the only decision, and it has to respect the door. Never screw into the door frame or stick adhesive hooks directly onto painted door surfaces that could peel — instead, use an over-the-door wreath hanger sized for sliding doors (the flat metal hooks made for this sit in the door track gap), or hang the wreath from the outside of a railing post with a wide ribbon tied through the balusters. Both read as intentional and both come off clean.
Why it works for renters: No holes, no adhesive on painted surfaces, nothing permanent. An over-the-door hanger uses the door’s own gap; a ribbon tie uses the railing’s own balusters. Either the wreath comes down in January and the door looks exactly as it did.
How to do it:
- Measure your door’s top clearance before buying a hanger — sliding doors have a specific track gap, and a too-thick hanger will bind.
- For the door option, slide the flat hanger over the top of the balcony door panel and hang the wreath at eye level, checking that the door still slides fully without catching.
- For the railing-post option, tie a wide weatherproof ribbon through two balusters around the post and hang the wreath from the ribbon’s knot.
- Choose a wreath rated for outdoor use or a faux one — real wreaths against a sun-facing door dry out and shed within weeks.
- Approximate cost: $20–$50 for an outdoor-rated faux wreath; over-the-door hangers run $5–$12.
7. Frost-Tolerant Potted Greens for Living Color
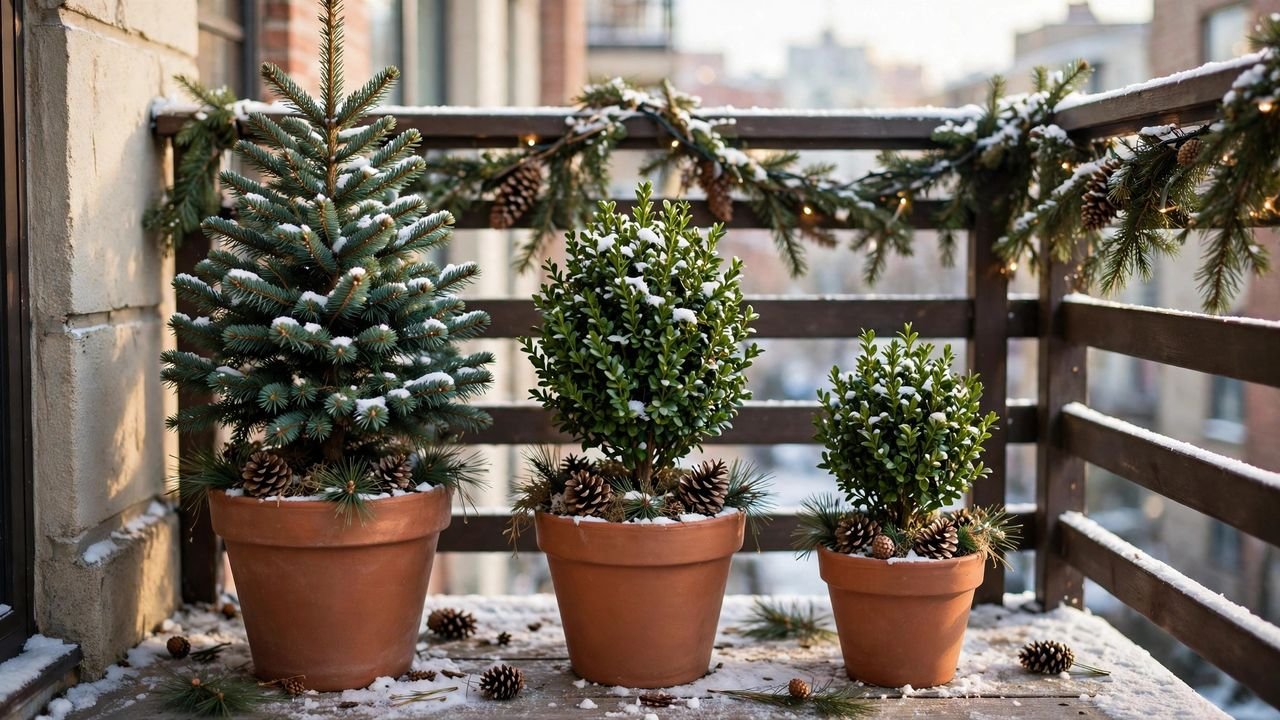
Once the tree is in place, the balcony usually needs one more layer: living greenery at floor level that fills the gaps between the tree, the railing, and the door. Potted evergreens, winter-flowering pansies, ornamental cabbage, and small boxwoods are the workhorses here — they survive freezing nights, they look festive without a single ornament, and they keep working after the holidays as ordinary balcony plants. A trio of pots in graduated heights is the classic arrangement, and it works on balconies as small as four feet deep.
This is also where renters beat homeowners: you don’t own the landscaping, so every plant lives in a pot, and pots are portable. A frost-tolerant plant in a pot comes inside during a deep freeze and goes back out the next day. That flexibility means you can buy slightly less-hardy plants than your zone officially allows and babysit them through cold snaps.
Why it works for renters: Pots are freestanding, portable, and lease-proof — the closest thing to landscaping you can have without touching the building. They need no mounting, survive wind when weighted, and convert to year-round plants in January.
How to do it:
- Group three pots in staggered heights near the tree or the door — odd numbers photograph and read better than pairs.
- Weight each pot with stones or sand at the base, especially on higher floors; top-heavy planted pots tip in gusts.
- Dress the soil line with pinecones, a few faux cranberries, or a thin layer of mulch so the pots look finished rather than freshly planted.
- On nights below your plants’ hardiness, pull the pots against the building wall or drape them with frost cloth — ten seconds of protection.
- Approximate cost: $15–$45 for a trio of small frost-tolerant plants in pots you may already own.
8. Windproof Lanterns with LED Candles
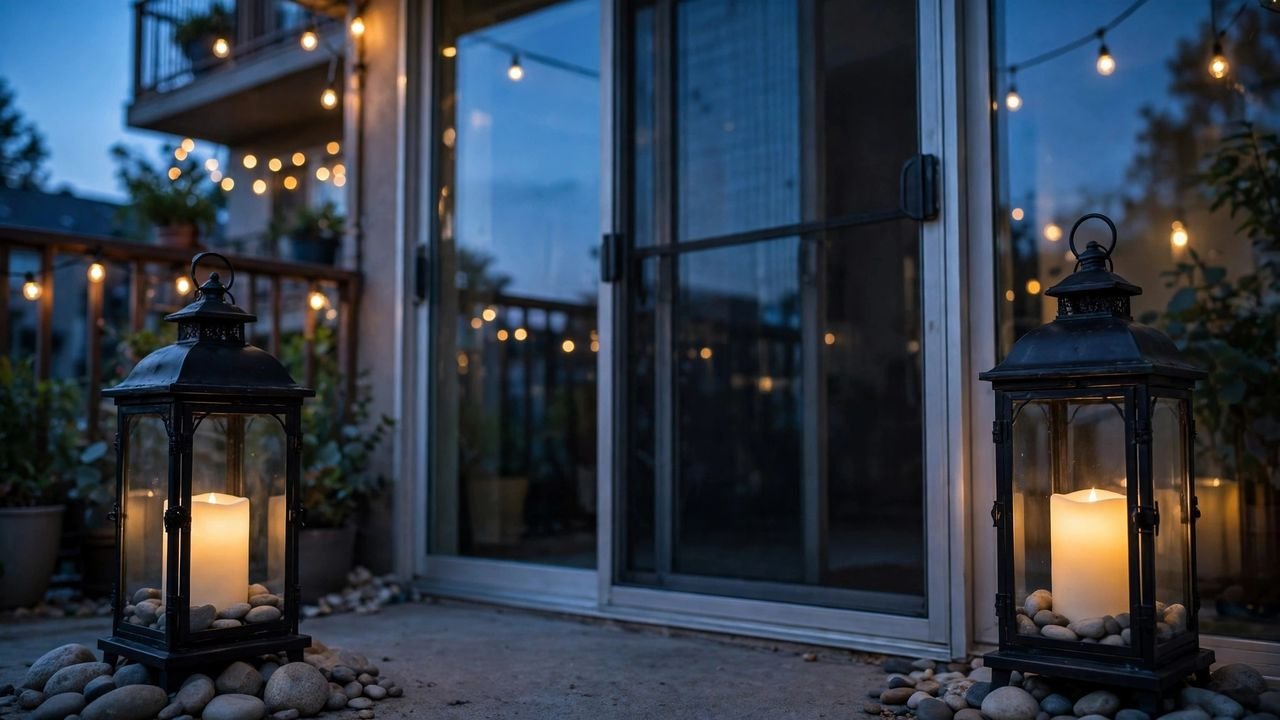
After dusk, lights on the railing do the big work, but lanterns do the intimate work: a pair of lanterns flanking the balcony door throws warm, low light across the floor and makes the whole balcony feel like a room rather than a ledge. Real candles are almost always a lease violation on balconies (open flame, wind, common-wall fire risk — just don’t), so this is LED-candle territory: flameless candles with a warm flicker that read as real from a few feet away and run on timers like the string lights.
Choose lanterns built for outdoors — metal or heavy glass with a latchable door — because a decorative indoor lantern cracks in the first freeze and a lightweight one becomes a sail. Heavy lanterns are also self-wind-proofing, which is the whole point: weight is a feature here. Two matching lanterns flanking the door is the classic placement; a third low one near the tree fills the middle ground.
Why it works for renters: Lanterns are freestanding furniture — they sit on the floor, need no mounting, no outlet, no permission. At takedown they move inside and light the hallway or bookshelf all winter.
How to do it:
- Buy two or three outdoor-rated lanterns heavy enough to resist tipping, with doors that latch so the LED candles stay put in wind.
- Place them flanking the balcony door, pulled slightly toward the building wall — never at the railing edge where they’re visible to knock over.
- Use flameless candles with a built-in timer set to dusk, so the lanterns light themselves every evening.
- Add river stones or sand at the lantern base for extra ballast, hidden under the candle plate.
- Approximate cost: $25–$60 for two outdoor lanterns plus flameless candles.
9. Dress the Sliding-Door Frame from the Inside
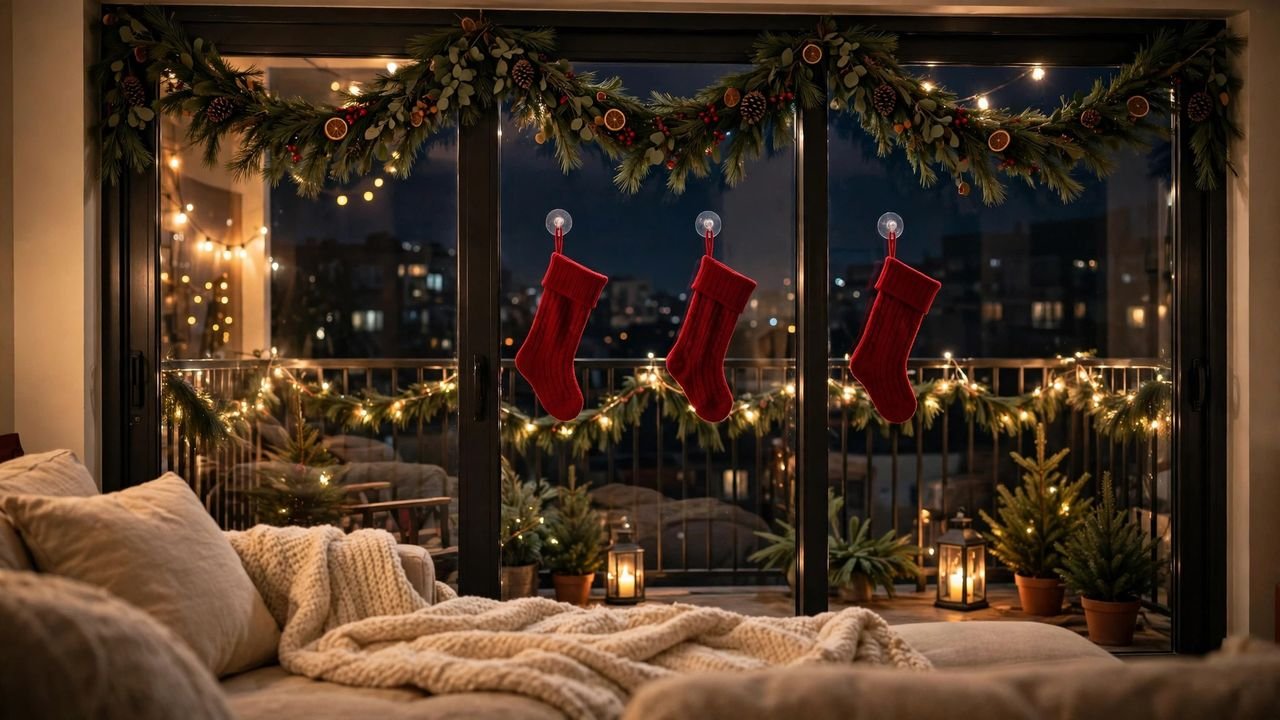
Here’s the idea renters overlook because they’re thinking about the street: the person who enjoys this decor most is you, looking at it through the glass door from your couch. Dressing the inside of the sliding-door frame — a light swag of garland across the top interior trim, a pair of stockings hung on the interior glass with suction cups, a strand of lights along the interior door frame — creates a framed holiday view that you live inside. From the street, it reads as a glowing doorway behind the balcony display; from the couch, it’s the centerpiece of the whole room.
This is the weatherproof zone: everything here is indoors, so delicate pieces that would die on an exposed balcony thrive here. Paper ornaments, real ribbon, a felt garland — all safe from wind and rain behind glass. And because it’s inside your unit, none of the exterior-decor lease rules apply.
Why it works for renters: Interior door-frame decor uses suction cups, tension, or lightweight adhesive hooks on your own interior trim — the most landlord-friendly zone in the apartment. It’s also the only decor guaranteed to survive every storm, since it’s behind glass.
How to do it:
- Swag a short garland across the top of the interior door frame, securing it with small removable adhesive hooks on the trim (test one hook on an inconspicuous spot first).
- Hang stockings or a pair of lightweight ornaments from the interior glass with suction-cup hooks — never adhesive directly on the glass if your lease mentions it.
- Run one battery light string along the interior frame so the doorway glows from inside at night, visible from the street as a lit portal.
- Step back to the couch and confirm the composition reads as one framed scene with the balcony lights behind it.
- Approximate cost: $15–$35 for a short garland, suction hooks, and a battery light string.
10. Outdoor-Rated Stocking Display on the Railing Cap

Stockings hung from the railing cap are a balcony classic for a reason: they’re cheap, they’re cheerful, and they put a personal, human touch on an architectural line. The renter upgrade is making them outdoor-rated and wind-safe. Felt or knit stockings soak up rain and freeze stiff; look for weatherproof or outdoor-rated stockings (or line regular ones by stuffing them lightly so they hold their shape). Hang them from the railing’s top cap or through the balusters with ribbon or zip ties, spaced evenly along the run.
Keep them empty or very lightly filled — heavy stockings pull hard on their ties in wind, and anything of value on a balcony railing is asking for trouble. Stuff them with tissue or a bit of crumpled paper so they keep their shape without the weight. The look is the same from more than a few feet away.
Why it works for renters: Same reversible attachment as every other railing decor — ribbon or zip ties through balusters, nothing permanent. And at takedown the stockings wash, dry, and pack into almost no space.
How to do it:
- Buy four to six weatherproof stockings (or line knit ones by stuffing them with crumpled tissue so they hold shape).
- Tie each stocking to the railing cap or through a baluster with a short length of weatherproof ribbon, spacing them evenly — roughly one per two feet of railing.
- Stuff them lightly with tissue so they read as full without adding wind-catching weight.
- Check that no stocking hangs below the railing’s bottom edge where it could flap against the building or a neighbor’s space.
- Approximate cost: $12–$30 for a set of weatherproof stockings and ribbon.
11. A Weatherproof Rug and Throw for a Finished Floor
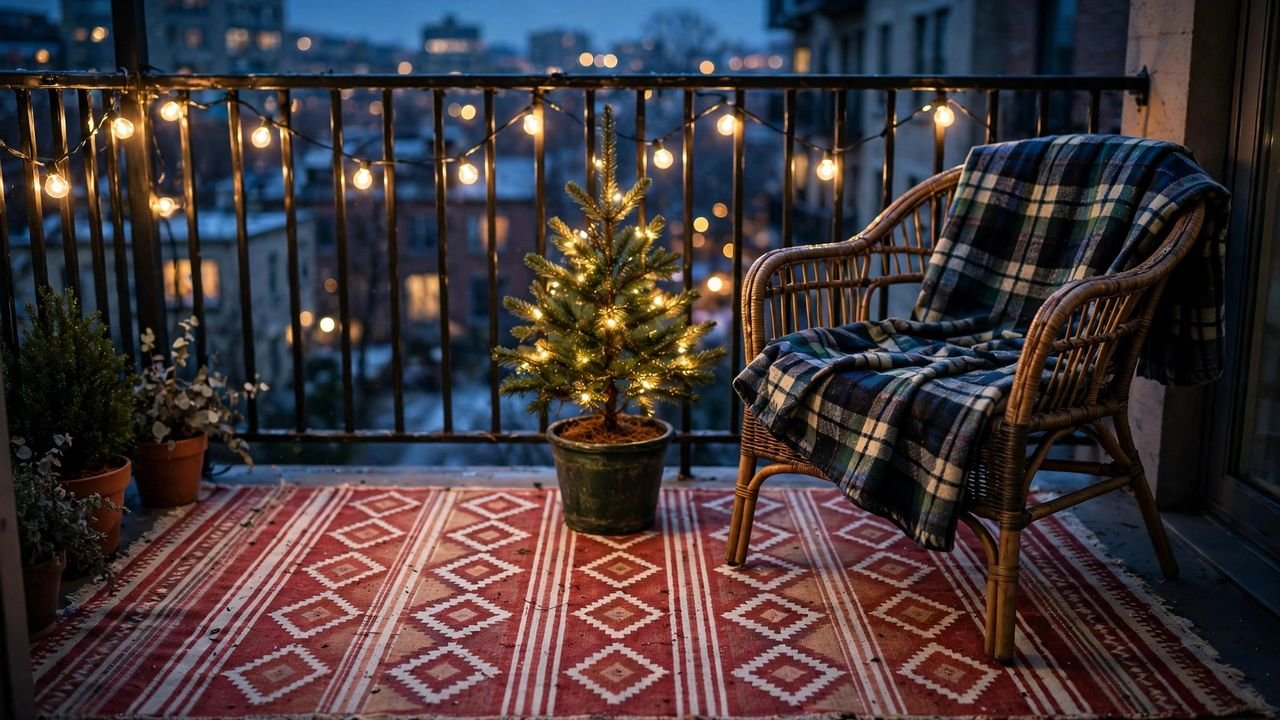
Concrete balcony floors are the least festive surface in the apartment, and they’re also the one surface renters can’t change. A weatherproof outdoor rug sized to the balcony floor does for the ground what garland does for the railing: it defines the space, adds pattern and color, and makes the whole balcony read as an outdoor room rather than a slab. Layer a weatherproof throw blanket over one chair, and the balcony becomes a place you actually sit in December — which is the whole point of decorating it.
Choose pieces rated for outdoor use so rain and morning frost don’t ruin them mid-season. Flat-weave outdoor rugs dry fast and don’t trap water against the concrete (a real concern — trapped moisture stains concrete, and you want that floor pristine at move-out). Bring the throw inside during rain; it takes ten seconds and keeps it fresh.
Why it works for renters: A rug is freestanding, rolls up in January, and covers existing floor imperfections without touching them. It also protects the concrete from scuffs all season, which is deposit-friendly in a way bare concrete isn’t.
How to do it:
- Measure the balcony floor and buy a flat-weave outdoor rug that leaves a few inches of border around the edges — wall-to-wall outdoor carpeting traps moisture.
- Lay the rug flat and weight the corners with the planters or lanterns you already placed so wind can’t lift it.
- Drape one weatherproof throw over the back of a chair; bring it inside during heavy rain or snow.
- At season’s end, hose the rug off, dry it fully, and roll it for storage or move it inside as an entryway rug.
- Approximate cost: $25–$55 for a small flat-weave outdoor rug; throws add $15–$30.
12. A Star Projector Aimed at the Balcony Wall
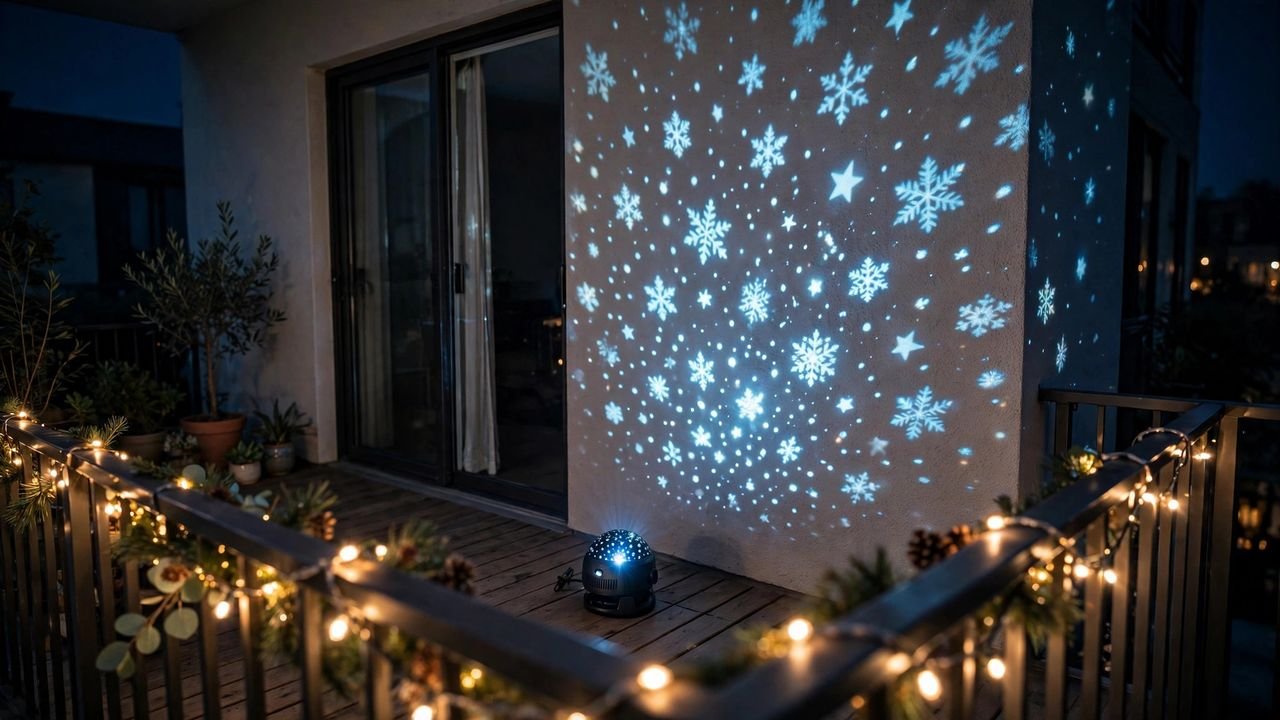
The zero-mount showpiece: a small star or snowflake projector set on the balcony floor, aimed at the building wall beside the door. It throws slow-drifting stars or falling snowflakes across the wall and railing, turning the whole balcony into a light scene with a device the size of a coffee mug. There is no more renter-compatible decor in existence — it plugs in (or runs on batteries), sits on the floor, and creates its effect with light alone. When the season ends, it lives in a drawer.
The trick is placement and courtesy. Aim the projector at your own wall, never at a neighbor’s window or the street — a stray laser-style projector beam in someone’s bedroom window is a fast track to a complaint and a lease citation. Keep the projection on your balcony’s surfaces: the wall beside your door, the inside of your railing, the floor. And use the timer so it runs during evening hours and sleeps overnight.
Why it works for renters: Nothing is mounted, hung, or attached. It’s a freestanding device producing light — fully reversible, fully portable, and it packs into a shoebox in January. The only renter rule is aim: keep the show on your own surfaces.
How to do it:
- Buy a projector rated for outdoor use with a timer and an auto-off — lasers and LEDs both exist; either works as long as it’s outdoor-rated.
- Set it low on the floor near the building wall, aimed upward and inward so the projection lands on your wall and railing, never across the property line.
- Test the aim at night before the season starts — adjust the angle so no beam hits a neighbor’s window or the street.
- Set the timer for evening hours (say, dusk to 10 PM) so it runs when it’s enjoyed and sleeps when it’s a light-pollution concern.
- Approximate cost: $20–$45 for an outdoor-rated star or snowflake projector with a timer.
Conclusion
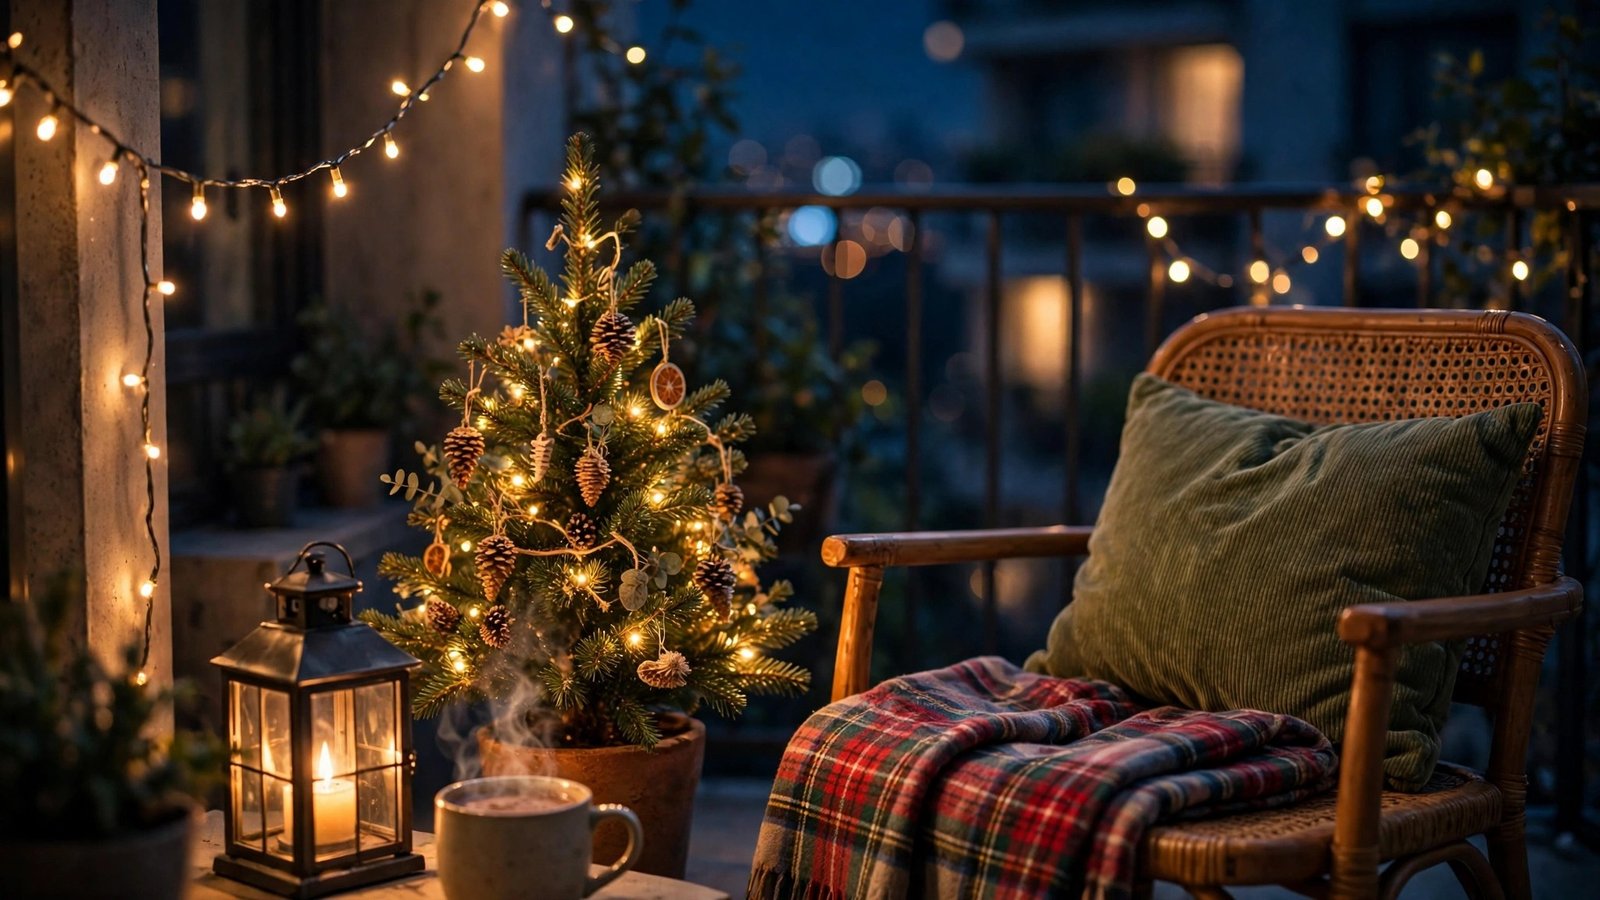
An apartment balcony is a small space with outsized rules — no drilling, no exterior fasteners, wind that treats decor like confetti — but those constraints turn out to be a gift. Everything in this post hangs on ties, weight, or gravity. The lights weave through balusters with zip ties. The garland drapes by gravity and pins with twist ties. The tree, the lanterns, the pots, and the projector all sit on the floor.
Start with the move that fits your balcony: lights and garland on the railing for maximum street impact, the weighted mini tree for a glowing anchor, or the indoor door-frame dressing if your balcony faces the worst of the weather. Add wind-proofing before aesthetics, keep everything outdoor-rated or behind glass, and aim the projector at your own wall. A balcony this festive makes you the neighbor whose place everyone slows down to look at — and you did it without a single hole in the building. Please save this visual guide on Pinterest and pin the balcony idea you’re trying first — your December evenings on that glowing little balcony will thank you.

Amelia leads HavenlyStyle’s editorial vision with a passion for elegant interiors and practical home living. With years of experience in home décor and lifestyle content, she ensures every article is accurate, inspiring, and easy to follow. From timeless decorating ideas to the latest interior design trends, Amelia is committed to helping readers create beautiful, functional spaces while maintaining HavenlyStyle’s trusted and welcoming voice.