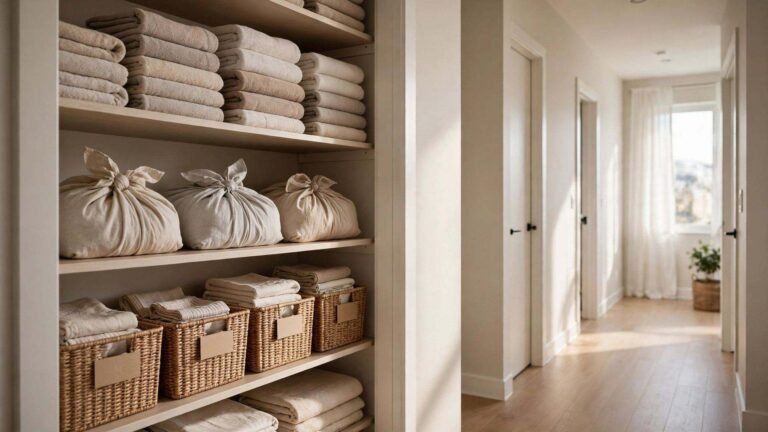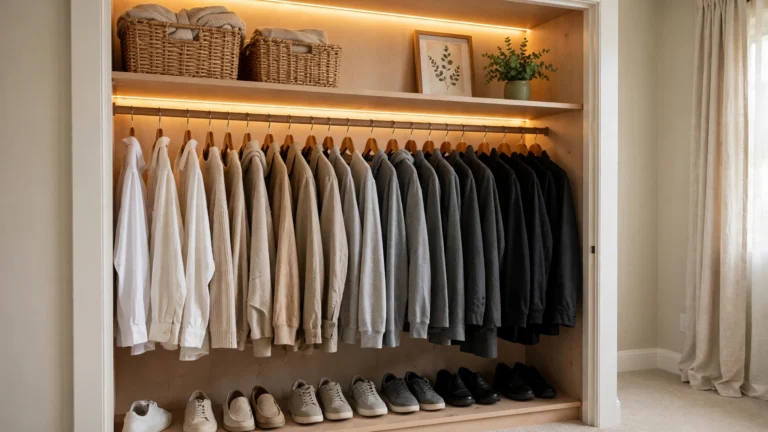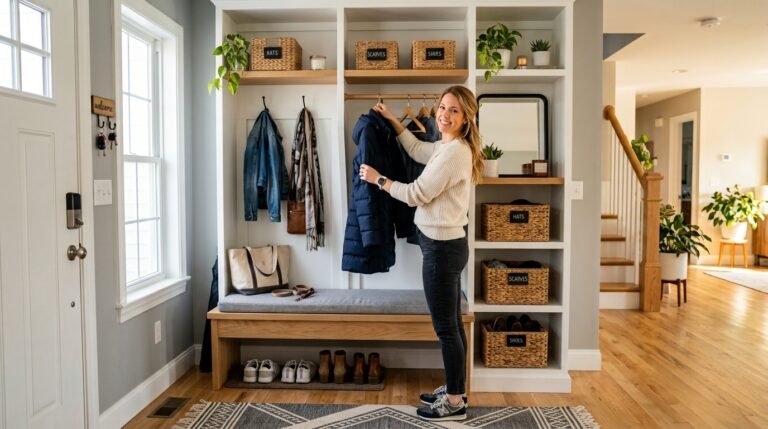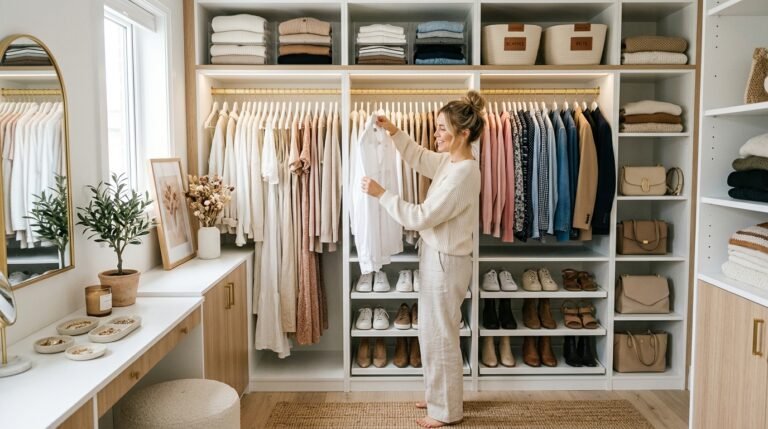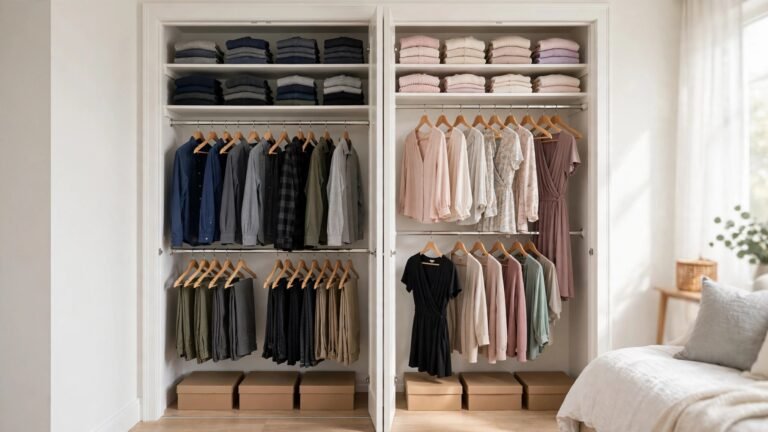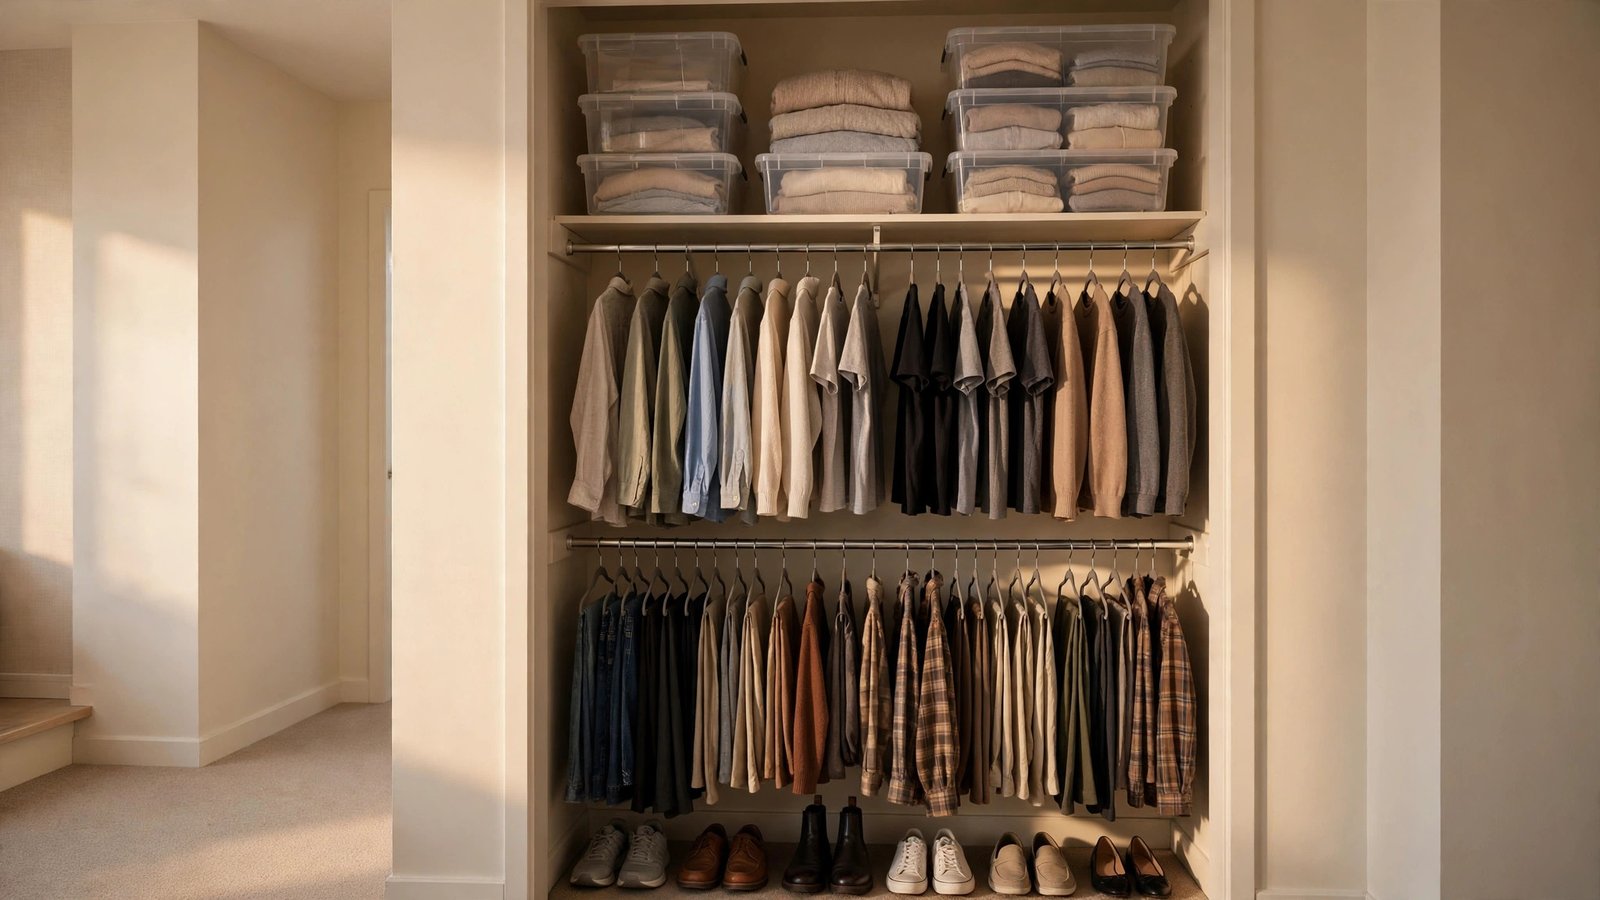
You found a great apartment. The rent is fair, the light is good, the location works — and then you open the closet door and find one lonely rod, a single sagging shelf, and absolutely nothing else. Sound familiar? If you’re a renter with a strict no-holes policy (and let’s be honest, most of us are), the closet feels like the one room you’re not allowed to fix. You can’t screw in extra rods, you can’t mount shelves to the studs, and every hole you make is money out of your deposit.
Here’s the good news: you don’t need a drill to have an organized, beautiful closet. I’ve helped dozens of renters rethink their closets using nothing but tension, gravity, adhesive strips, and freestanding pieces — and the results genuinely look like a custom install. The secret is choosing upgrades that work with what the landlord gave you instead of fighting it. Every idea below is strictly no-drill: no screws, no anchors, no holes, no wall damage of any kind. When your lease ends, each upgrade lifts out, peels off, or folds flat, and the closet looks exactly like it did on move-in day. That means you can invest with confidence — everything you buy comes with you to the next apartment.
These twelve upgrades are ordered by impact, starting with the single change that transforms most closets overnight. Work your way down the list, pick the ones that match your space and budget, and you’ll stop dreading the closet door before the month is out.
Executive Summary
- The highest-impact no-drill upgrade is a hanging rod doubler — it instantly doubles your hanging space using the rod you already have.
- Tension rods, over-door organizers, and adhesive hooks deliver custom-closet function with zero holes and zero repair.
- Freestanding pieces (garment racks, shoe towers, rolling carts) move with you, so the investment survives every lease.
- Slim hangers and cascading hooks create space without buying a single piece of furniture.
- Every idea below removes cleanly: expect your full deposit back and a closet that looks untouched on move-out day.
1. Double Your Hanging Space with a Closet Rod Doubler
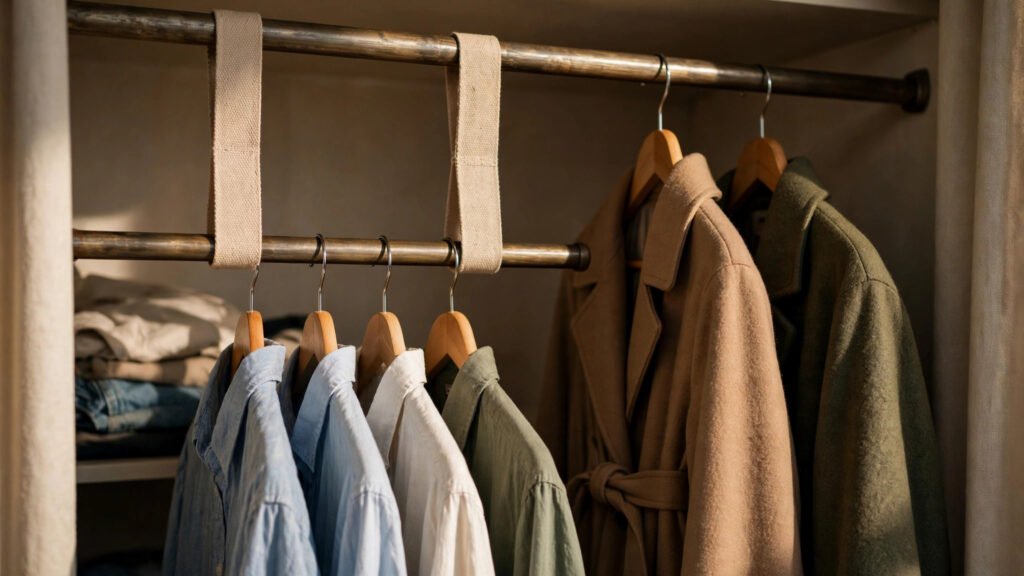
A rod doubler is a horizontal bar that hangs from your existing closet rod on sturdy straps or hooks, creating a second rail roughly halfway to the floor. It is, in my experience, the single most transformative no-drill upgrade a renter can make — one purchase, five minutes of setup, and your hanging space effectively doubles.
Why it works for renters: it uses the rod the landlord already installed, so there’s no mounting, no weight on the walls, and nothing to patch later. When you move, you unhook it, fold it flat, and take it with you. It holds shirts, blouses, and folded pants on the lower rail while dresses and coats stay on top — the classic double-hang layout that custom closet companies charge thousands for.
How to do it:
- Measure the width of your closet and the distance from the existing rod to the floor. You want at least 36 inches below the doubler for pants and shirts to hang without dragging.
- Choose a doubler sized to your closet (most adjust from about 17 to 30 inches wide) and rated for the weight you plan to hang — look for roughly 30 pounds capacity.
- Slide the straps or hooks over the existing rod and center the doubler so it doesn’t crowd one side.
- Hang your lighter items on the lower rail first — shirts and blouses — then distribute weight evenly across the bar.
- Keep heavy items like winter coats and denim jackets on the original upper rod so the doubler carries the lighter load.
Approximate cost: $12 to $25.
2. Add an Over-the-Door Pocket Organizer
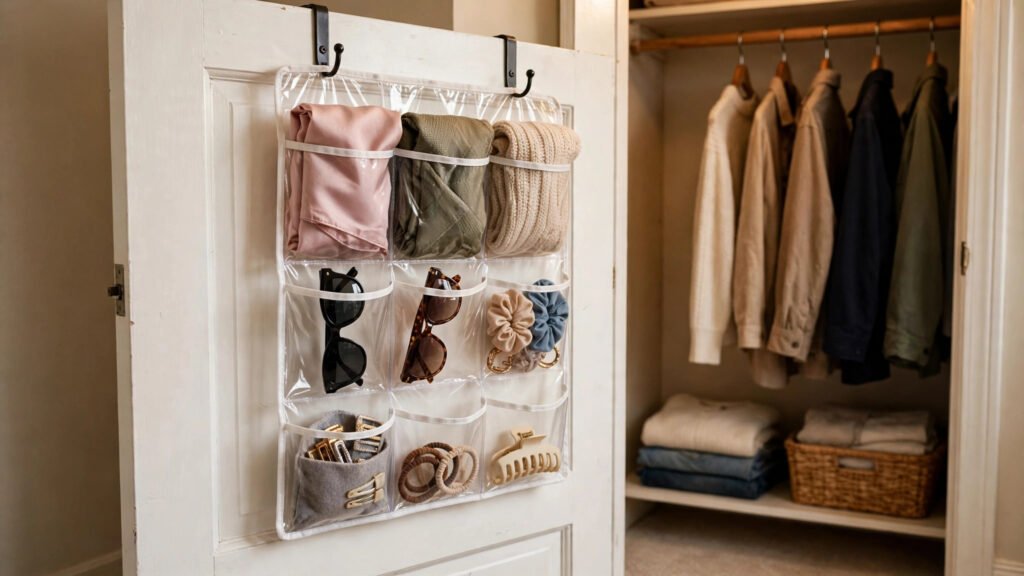
The back of the closet door is wasted square footage in almost every rental, and an over-the-door pocket organizer turns it into one of your hardest-working storage zones. These organizers hook over the top of the door — no screws, no adhesive, nothing touching the wall — and give you twenty or more clear pockets for the small things that usually drown in a pile.
Why it works for renters: the hooks rest on the door itself, so there’s zero contact with walls or trim. It lifts off in seconds for cleaning or moving, and a clear-pocket style lets you see everything at a glance, which means you actually use what you store. Shoes, scarves, belts, sunglasses, socks, underwear, cleaning supplies, pet gear — if it fits in a pocket, it stops cluttering your shelves.
How to do it:
- Measure the back of your closet door and check that it closes with about half an inch of clearance at the top — most doors accommodate the hooks fine.
- Choose a clear or mesh pocket organizer so contents stay visible; 24-pocket versions fit standard doors best.
- Slip the hooks over the top of the door and let the organizer hang flat — add the small foam pads (usually included) behind the bottom so it doesn’t thump when the door moves.
- Sort by category, one pocket per type: this is where discipline pays off, because a pocket organizer only works if similar items live together.
- Keep the heaviest items — shoes — in the bottom rows so the organizer stays balanced and the hooks never strain.
Approximate cost: $10 to $22.
3. Hang Fabric Shelf Cubbies from the Rod
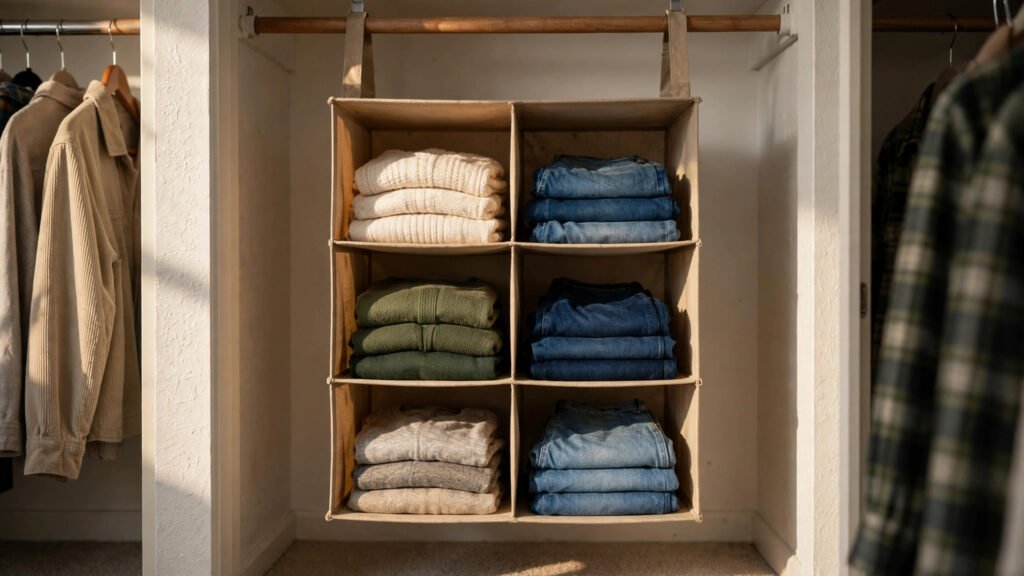
Hanging fabric shelves are vertical columns of open cubbies that suspend from your closet rod with straps or hook-and-loop fasteners. In one move you get five or six shelves where you previously had dead air — and because they’re fabric, they’re light, forgiving, and completely damage-free.
Why it works for renters: the whole unit hangs from the rod, so it never touches a wall. It folds flat into a suitcase on moving day, and it costs a fraction of what a bookshelf or storage cube unit would. I’ve seen renters use these for folded sweaters, jeans, handbags, workout gear, and kids’ clothes — anything that stacks better than it hangs.
How to do it:
- Check your rod’s height: six-shelf units need roughly 48 inches of vertical space, five-shelf units about 40.
- Pick a unit with sturdy side walls — reinforced canvas or oxford fabric holds its shape instead of collapsing inward.
- Loop the straps over the rod and pull them snug so the column hangs straight; an uneven hang makes the cubbies tilt.
- Dedicate each cubby to one category — one for jeans, one for sweaters, one for bags — so the system stays intuitive.
- Keep heavier items in the bottom cubbies and lighter folded knits up top for stability.
Approximate cost: $10 to $20.
4. Build an Adhesive Hook Grid on the Closet Walls
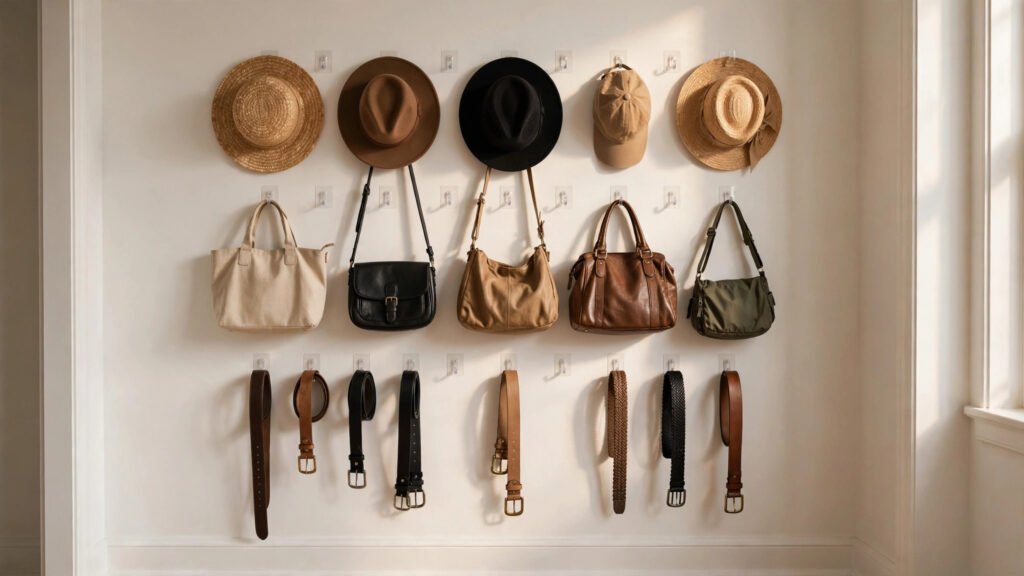
Removable adhesive hooks (the kind with pull-tab strips) let you create a custom grid of hanging spots on any smooth closet wall, the inside of the door, or even the side of a shelf. Individually they’re for a handbag or a hat; arranged as a grid, they become a whole organization system.
Why it works for renters: quality adhesive strips remove cleanly with a slow downward pull — no holes, no paint damage, no spackle, no argument with the landlord. This is the closest thing to mounted hooks without mounting anything, and you can reposition the grid whenever your needs change. Bags, belts, hats, jewelry, robes, tomorrow’s outfit — everything gets a visible, dedicated home.
How to do it:
- Wipe the wall spots with rubbing alcohol and let them dry — adhesive holds far better on clean, dry paint than on dusty walls.
- Plan your grid on paper first: rows for bags, a row for belts and scarves, a few singles for hats. Spacing hooks 8 to 10 inches apart keeps items from overlapping.
- Press each hook’s base firmly for a full 30 seconds, then wait an hour before hanging anything — the bond strengthens as it cures.
- Respect the weight rating on the package; most standard hooks hold 3 to 5 pounds, which covers bags, hats, and accessories easily.
- At move-out, pull each strip straight down slowly (never toward you) and every hook comes away cleanly with zero residue.
Approximate cost: $8 to $18 for a multi-pack.
5. Set Up a Freestanding Garment Rack
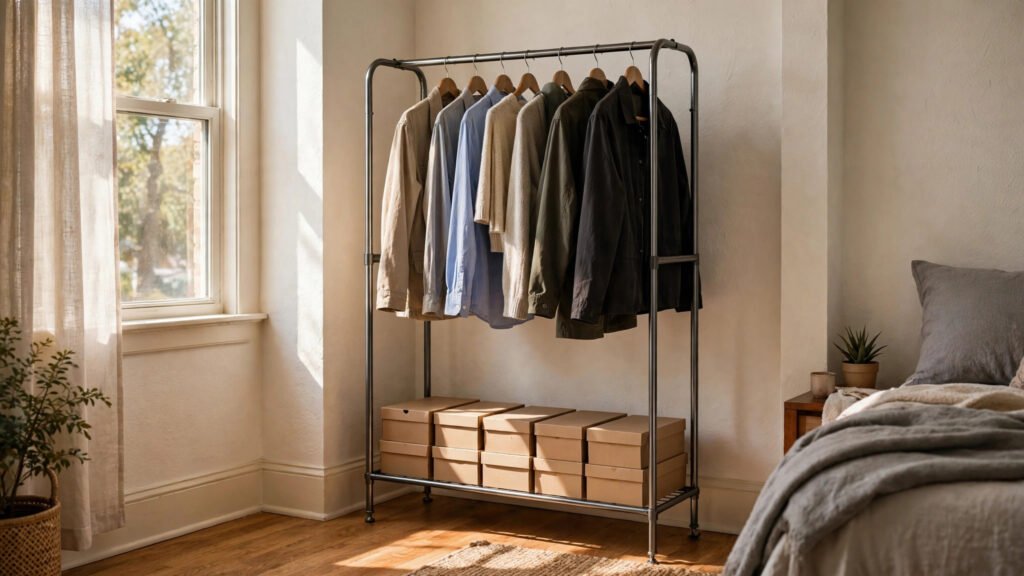
A freestanding garment rack is exactly what it sounds like: a sturdy metal frame on feet that holds a closet rod’s worth of clothes anywhere you put it. Placed inside a walk-in closet, beside it in the bedroom, or in that dead corner of the room, it adds serious hanging capacity without touching a single wall.
Why it works for renters: nothing mounts, nothing leans on drywall, and nothing stays behind when you leave. A good rack carries 50 pounds or more, which is a full week’s wardrobe or your entire coat collection. I recommend these constantly for renters whose closets are simply too small — the rack becomes an overflow wardrobe, a seasonal-rotation station, or a display for the pieces you actually love.
How to do it:
- Measure your available floor space first — a single-rail rack needs roughly 3 feet wide by 18 inches deep.
- Choose a rack with a lower shelf if you can; the shelf stabilizes the frame and gives you a bonus shoe or bin zone.
- Assemble it on a rug or mat if your floors scratch easily, and place the feet where they won’t block a walkway.
- Hang your least-worn or bulkiest items here — coats, occasion dresses, next-season pieces — to free the main closet for daily wear.
- Keep it curated: a garment rack looks intentional when it’s edited and chaotic when it’s overloaded, so cap it at what fits comfortably.
Approximate cost: $25 to $60.
6. Stack Folded Clothes in Clear Stackable Bins

Open closet shelves are where folded clothes go to become wrinkled piles. Clear stackable bins with lids fix this by giving every category its own contained, visible compartment that stacks vertically into dead air space.
Why it works for renters: bins need no installation at all — they sit on the existing shelf or the closet floor and stack on each other. Clear sides mean you see what’s inside without opening anything, and lids protect clothes from the dust that collects on high closet shelves. When you move, you pack the bins as-is and they become your moving boxes.
How to do it:
- Measure your shelf depth and height so the bins you buy actually fit — standard closet shelves are about 12 inches deep.
- Buy one size and stick with it: uniform bins stack safely and look dramatically tidier than a mix of shapes.
- Assign one bin per category — one for t-shirts, one for workout clothes, one for pajamas — and label the front with a removable label or a strip of painter’s tape.
- Stack no more than three or four high for stability, with the heaviest bin on the bottom.
- Fold clothes vertically (file-folding) so each piece stands upright and visible when you open the bin — this one habit halves the time you spend getting dressed.
Approximate cost: $15 to $35 for a set of four to six.
7. Roll In a Slim Storage Cart
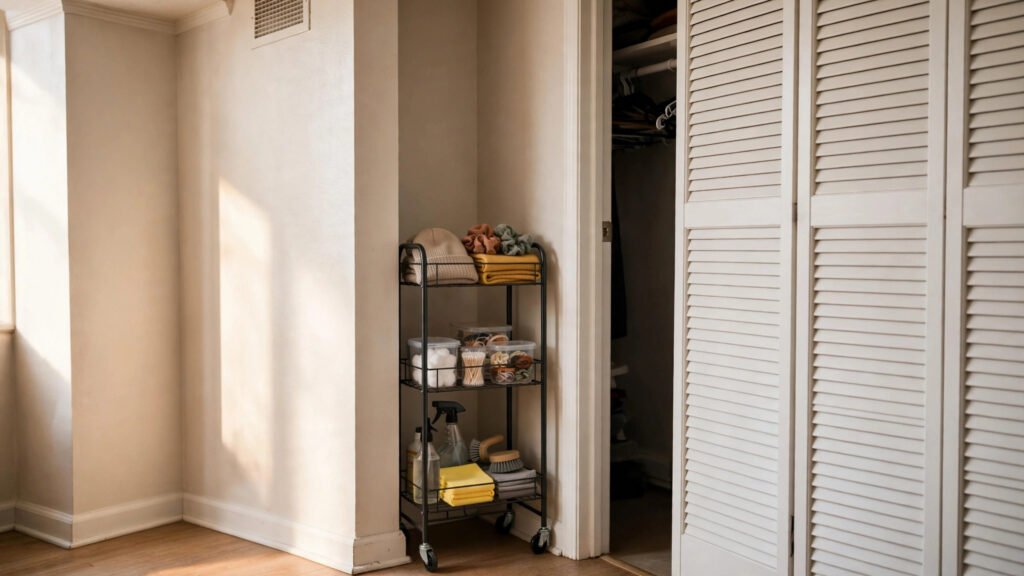
A narrow rolling cart — the kind with three or four tiers — slides into the gap beside the closet, the dead corner of a walk-in, or right inside a wide closet. It holds the awkward stuff that doesn’t hang or fold neatly: hair tools, accessories, cleaning supplies, craft materials, shoe-care kits.
Why it works for renters: it’s furniture, not a fixture, so the renter test is trivially passed — you roll it out on moving day and there’s nothing to undo. The wheels mean you can pull it out for full access and tuck it back into a six-inch gap, which makes it perfect for the narrow leftover spaces that every rental closet seems to have.
How to do it:
- Measure the gap you want to fill — slim carts run about 6 to 8 inches wide, so even the sliver between a dresser and the wall works.
- Choose a cart with a handle on top for pulling and locking casters if your floors slope at all.
- Dedicate each tier to one job: top tier for daily-use items, middle for accessories, bottom for backstock or cleaning supplies.
- Use small containers or cups on each tier to corral tiny items — an open tier without dividers just becomes a new junk drawer.
- Roll it out weekly for a thirty-second reset; carts stay useful only if the tiers stay roughly sorted.
Approximate cost: $20 to $40.
8. Run a Low Tension Rod as a Shoe Rail
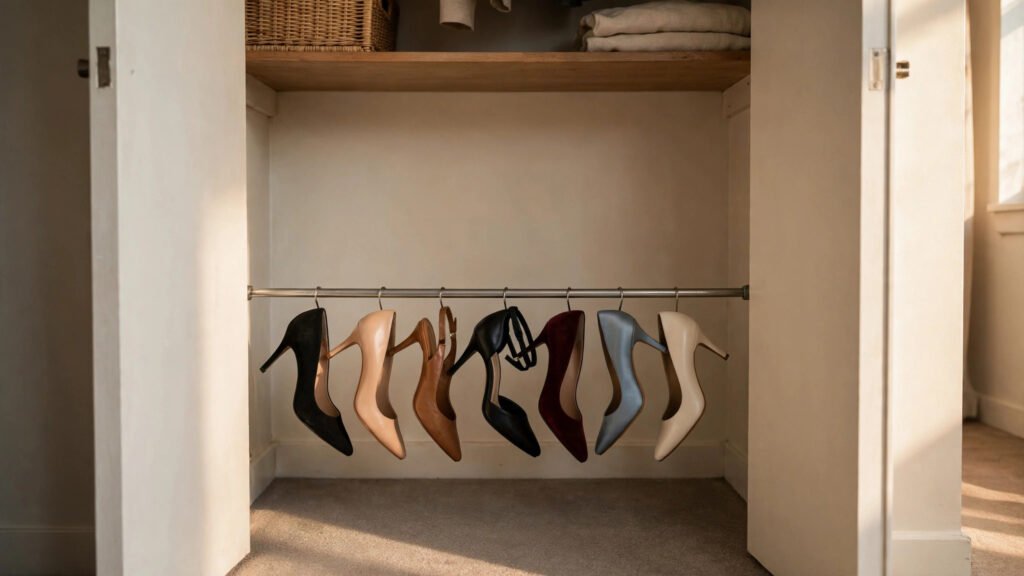
Tension rods aren’t just for curtains. Mounted low across a closet — about 6 to 8 inches off the floor — a tension rod becomes a tilted shoe rail: you hook the heels of each pair over the rod and they hang in a neat, visible row instead of piling up on the floor.
Why it works for renters: a tension rod grips the side walls with spring pressure alone — no holes, no brackets, nothing to repair. It takes thirty seconds to install and five to remove. This trick works beautifully for heels, wedges, and any shoe with a defined heel; it’s one of those upgrades that makes people ask who installed your custom shoe display.
How to do it:
- Measure the width between your closet’s side walls at the height you want the rail.
- Buy a tension rod that spans that width — most adjust across a range, so pick one where your measurement falls in the middle of its range for the strongest grip.
- Twist to extend the rod until it’s snug, then give it a firm test tug before loading it with shoes.
- Hang shoes by their heels, alternating direction so pairs nest together and you fit more per rod.
- Reserve this rail for heeled shoes and put flats, sneakers, and boots on the floor or a rack below — mixing types wastes the rail’s advantage.
Approximate cost: $8 to $15 per rod.
9. Add a Freestanding Stackable Shoe Tower
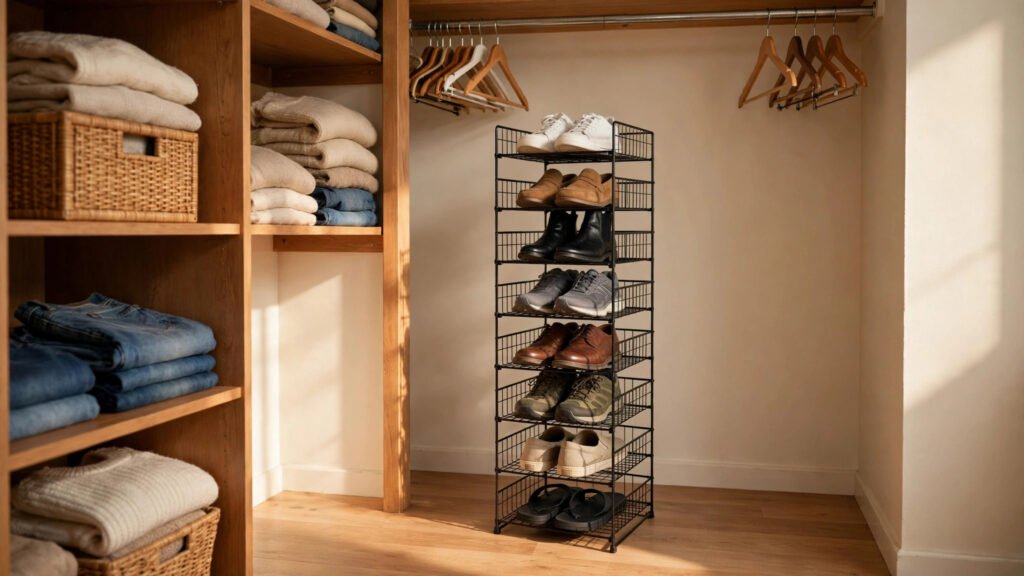
If your shoe collection has outgrown the closet floor, a freestanding stackable shoe tower — open tiers that snap or slot together — gives every pair a visible slot without a single screw. Most towers hold eight to twelve pairs per unit and you can stack or line up multiple units as the collection grows.
Why it works for renters: it’s assembled furniture that sits on the floor, so it passes the renter test completely — disassemble it in minutes when you move and the closet is untouched. Open tiers beat closed shoe boxes because you can see every pair, which means you actually wear your shoes instead of forgetting the ones in the back.
How to do it:
- Count your everyday shoes first and buy capacity for that number plus a little growth — one tower per eight to ten pairs is a good rule.
- Place the tower on the closet floor against a side wall, or just outside the closet if the interior is too narrow.
- Put daily-wear shoes at eye and knee level, occasion shoes up top, and out-of-season pairs in bins on the bottom tier.
- Alternate shoes toe-in and toe-out on each tier to fit more pairs per shelf.
- If the tower wobbles, redistribute weight with heavier boots on the bottom — never lean it against the wall for support in a way that scuffs paint.
Approximate cost: $18 to $35 per tower.
10. Hang Baskets Under the Existing Shelf
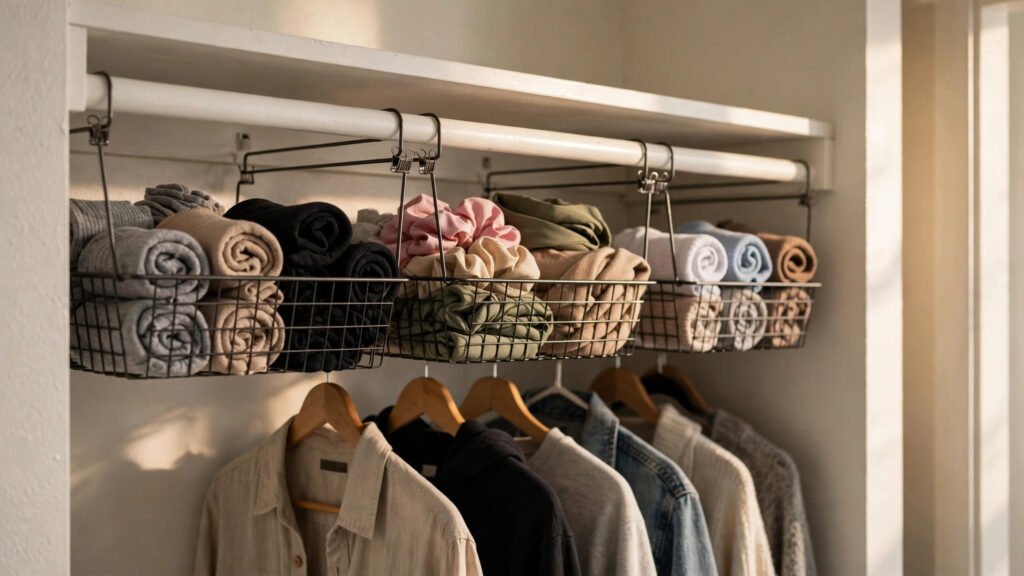
That single landlord shelf usually has a foot of wasted air beneath it. Wire or fabric baskets designed to hang from a shelf — they slide on with arms that grip the shelf board — turn that dead space into pull-out storage for socks, underwear, accessories, or folded tees.
Why it works for renters: the baskets grip the shelf itself, so they install in seconds with no tools and no wall contact. They slide off just as fast on moving day. This is one of my favorite upgrades for shallow rental closets because it adds storage exactly where the closet’s own design left a gap — no new furniture, no floor space sacrificed.
How to do it:
- Measure your shelf’s thickness and depth — under-shelf baskets are made for standard 10 to 12 inch deep shelves.
- Choose wire baskets for visibility or fabric ones for a softer look; both grip the same way.
- Slide the basket’s arms over the front edge of the shelf and push back until it sits level.
- Fill each basket by category and resist the urge to mix — one basket for socks, one for underwear, one for accessories.
- Don’t overload: these baskets typically hold 5 to 10 pounds each, so keep them to light, soft items.
Approximate cost: $10 to $20 for a set of two.
11. Swap to Slim Hangers with Cascading Hooks
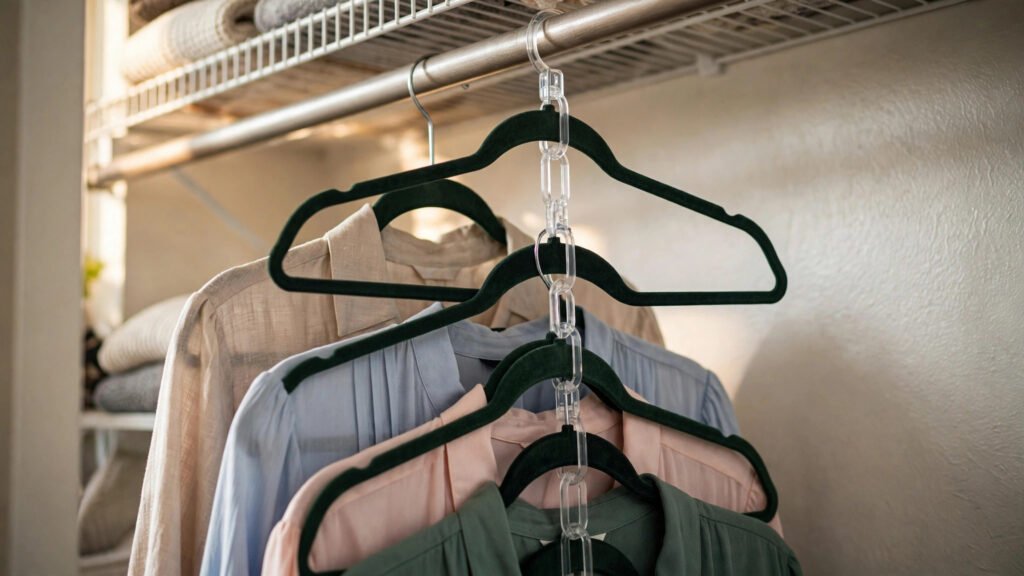
Sometimes the upgrade isn’t new storage — it’s the hangers themselves. Standard plastic hangers are nearly two inches thick; slim flocked hangers are a fraction of that, and switching a full closet can free up several inches of rod space. Add cascading hooks — small connectors that link hangers vertically — and one rod slot holds three or four garments.
Why it works for renters: hangers are pure personal property. There’s nothing to install, nothing to remove, and the whole upgrade moves with you automatically. The non-slip surface also stops the daily frustration of shirts sliding onto the closet floor, which is a small quality-of-life win that adds up fast.
How to do it:
- Count your hanging garments and buy slim hangers to match — most closets need 30 to 50.
- Swap hangers in one session rather than gradually; a half-converted closet doesn’t show you the real space gain.
- Donate or recycle the old bulky hangers the same day so they don’t creep back in.
- Add cascading hooks to group outfits or categories vertically — work blouses on one chain, for example.
- Keep one or two sturdy wooden hangers for heavy coats, since slim hangers are best for everyday-weight garments.
Approximate cost: $15 to $30 for a 50-pack of slim hangers; cascading hooks $6 to $12.
12. Light It Up with Battery LED Strips and Peel-and-Stick Accents
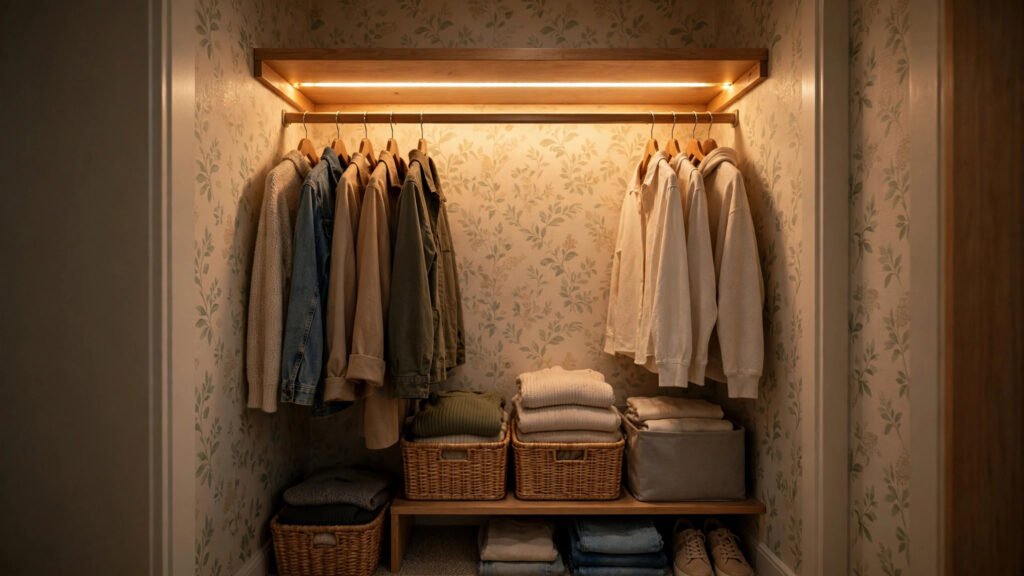
Rental closets are notoriously dark — one dim bulb, if you’re lucky — and you can’t see what you own in the dark. Battery-powered motion-sensor LED strips mount with adhesive backing and switch on the moment you open the door. Pair them with peel-and-stick wallpaper or a removable decal on the closet’s back wall and the whole space feels custom.
Why it works for renters: adhesive-mounted strips peel off cleanly, batteries mean no wiring and no electrician, and peel-and-stick wallpaper is designed to remove without damaging paint. This is the finishing upgrade — the one that makes the other eleven look twice as good. Good lighting alone makes a closet feel bigger and makes getting dressed genuinely easier.
How to do it:
- Measure the inside top edge of the closet where the strip will run so you buy the right length.
- Clean the mounting surface with rubbing alcohol, press the strip firmly for 30 seconds, and wait an hour before relying on the bond.
- Position the motion sensor where the door opening triggers it — usually just inside the top of the door frame.
- If adding peel-and-stick wallpaper, start with the back wall only: one accent wall reads as intentional, while papering everything can overwhelm a small closet.
- At move-out, pull adhesive strips straight down and peel wallpaper slowly from a corner at a low angle — both come away without damage.
Approximate cost: $12 to $25 for LED strips; $20 to $40 per roll of peel-and-stick wallpaper.
Conclusion
A great closet was never about square footage — it’s about using every inch you’ve got, and renters can do that without a single hole in the wall. Start with the rod doubler and the over-door organizer for the biggest overnight change, then layer in the smaller wins: the hook grid, the under-shelf baskets, the shoe rail. Within a weekend, your closet goes from a source of daily frustration to a space that actually works for your mornings. And the best part? When your lease ends, everything comes down cleanly, folds flat, or rolls out the door — your deposit intact, your upgrades ready for the next place. That’s the real win for renters: you get a closet that works like a custom build, but every dollar you spent follows you to wherever you live next.
You’ve put real thought into making a rental feel like home, and that effort deserves to be seen. Please save this visual guide on Pinterest and share it with a fellow renter who thinks their closet is a lost cause — these twelve no-drill upgrades might be exactly the permission they needed to start.

Amelia leads HavenlyStyle’s editorial vision with a passion for elegant interiors and practical home living. With years of experience in home décor and lifestyle content, she ensures every article is accurate, inspiring, and easy to follow. From timeless decorating ideas to the latest interior design trends, Amelia is committed to helping readers create beautiful, functional spaces while maintaining HavenlyStyle’s trusted and welcoming voice.