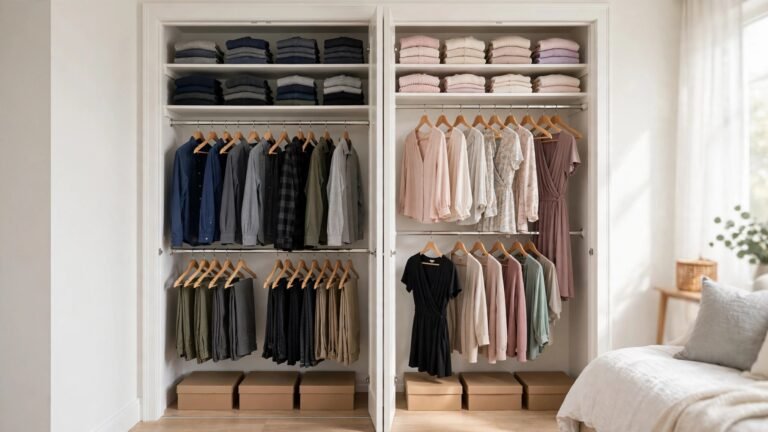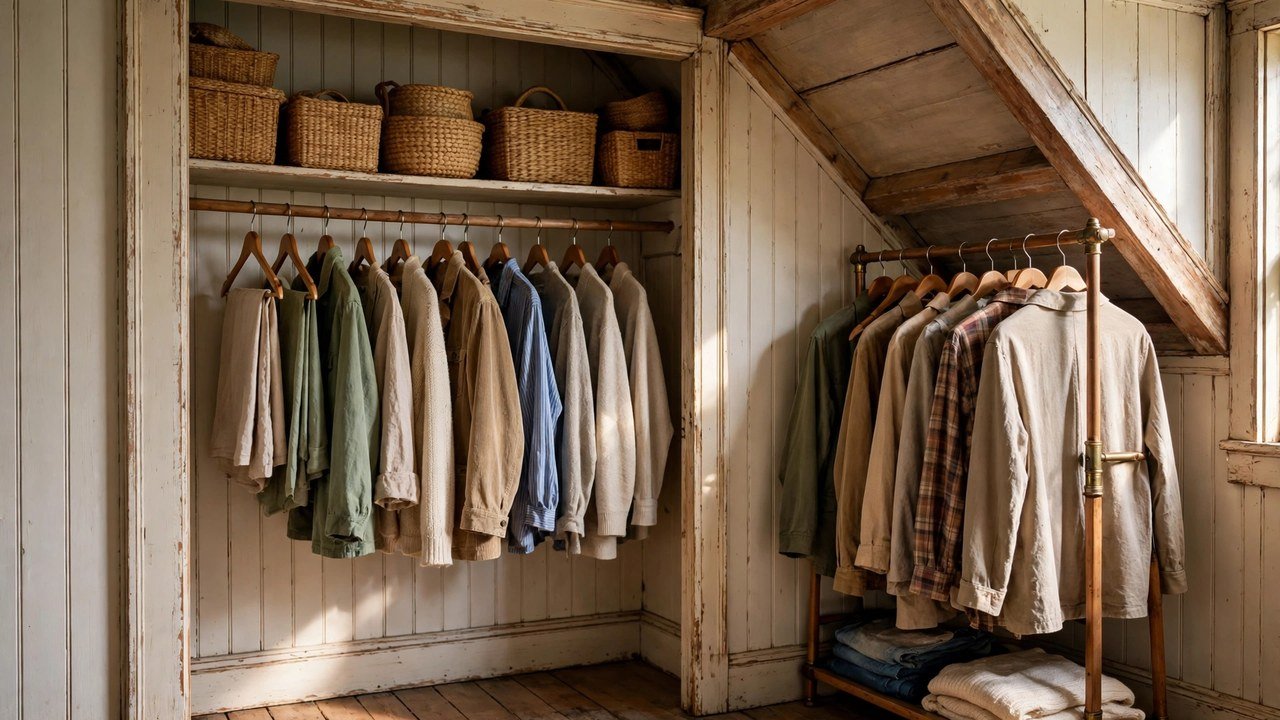
Old houses have soul. They also have closets that were designed for people who owned about six outfits, and those closets have not grown an inch since. I have helped dozens of renters move into beautiful old houses — the kind with original wood trim, plaster walls, and sloped ceilings — only to open the bedroom closet and find a space barely deep enough for a hanger, a rod that may or may not exist, and a door that sticks every single time it rains.
If that sounds like your place, you are not doing anything wrong. The closet is the problem, not you. Old-house closets come with a specific set of quirks: shallow depth that swallows hangers sideways, sloped ceilings that steal the top half of the room, plaster walls that crumble if you so much as look at a drill, odd-sized doors that nothing standard fits, and sometimes no built-in rod or shelf at all. Standard closet advice assumes a big rectangular box with sturdy drywall. Your closet is not that box, and these twelve ideas are built for the box you actually have.
Every idea below is deposit-safe and removable. Nothing here requires drilling into plaster, painting, or permanently changing the closet, so you can hand the keys back with your full deposit intact.
Executive Summary
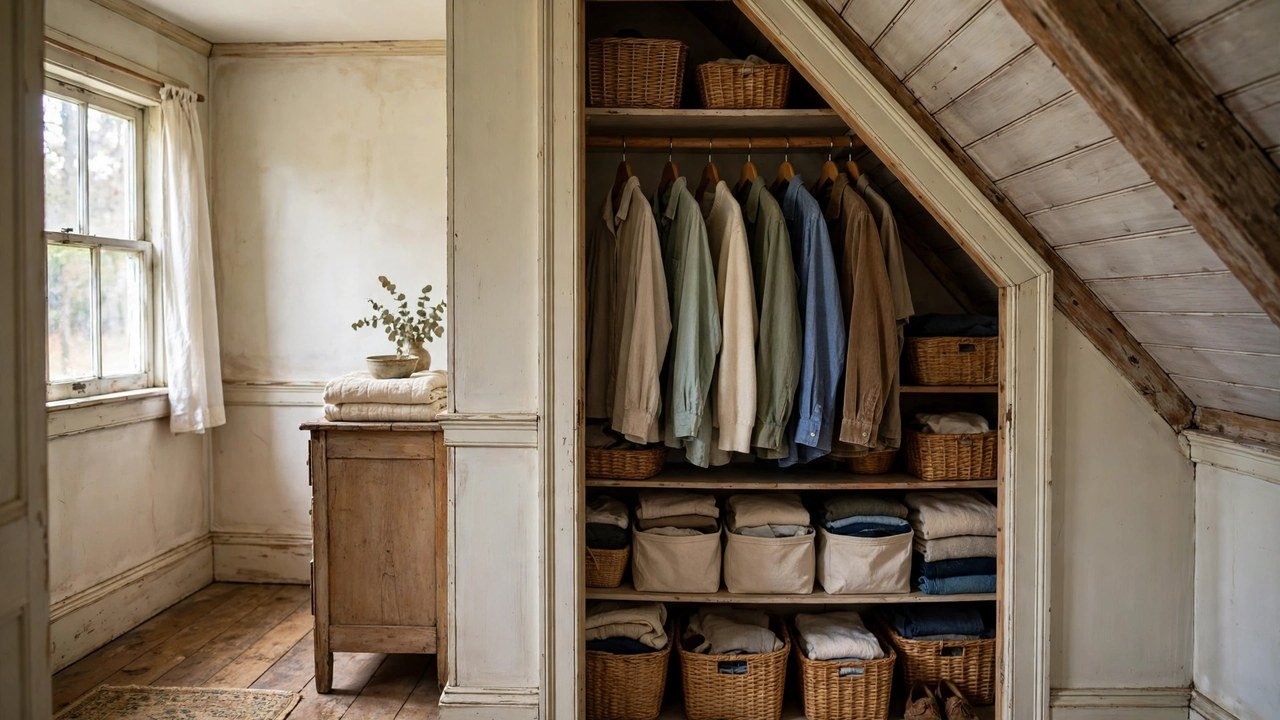
- Old-house closets fail in predictable ways: shallow depth, sloped ceilings, missing rods, fragile plaster, and odd doors. Match the fix to the quirk, not to a generic closet system.
- Tension rods and freestanding pieces do the heavy lifting, because they never touch your plaster walls with a screw.
- Hang clothes in two short tiers instead of one long row, and your tiny closet suddenly holds twice as much.
- Doors, dead corners under slopes, and the top shelf are free storage space most renters never use.
- Rotate seasonally. A tiny closet works when it only holds what you actually wear right now.
- Every idea below costs roughly $10 to $80, installs in under an hour, and comes out clean on move-out day.
1. Double Up With a Tension Rod When There Is No Rod at All
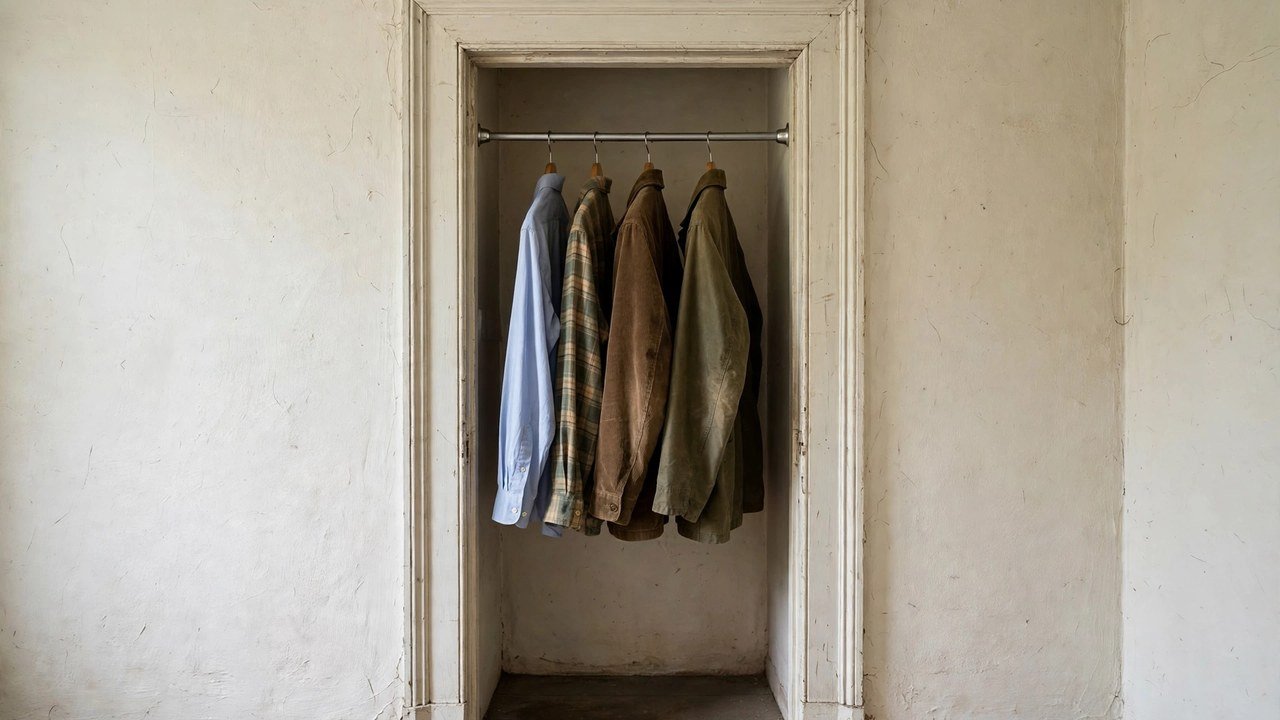
Many old-house closets have no rod whatsoever, just an empty box and maybe a single high shelf. Or the original rod is long gone, and the brackets crumbled out of the plaster years ago. A tension rod solves this without a single screw.
This works so well for renters because a tension rod grips the side walls with pressure alone. When you move out, you twist it loose and there is nothing to patch, spackle, or explain to your landlord. It also lets you set the height exactly where you need it, which matters when the closet is short or the ceiling slopes.
I have personally seen a single heavy-duty tension rod hold a full work wardrobe for two years straight in a 1920s duplex, and the walls looked untouched when the tenant left.
Here is how to do it:
- Measure the width of your closet at the height where you want the rod, not just at the top. Old closets are rarely square, and the width can change by an inch from top to bottom.
- Buy a heavy-duty tension rod rated for closet use, in a length that covers your measurement. A cheap shower rod will sag under real clothes, so spend a little more here.
- Twist it into place about 60 inches from the floor for longer items, or higher if you plan to add a second tier below.
- Load it gradually, starting from the center outward, and check after a day that it has not slipped. If your walls are slightly uneven, a small rubber grip pad on each end adds friction.
- On move-out day, twist and remove. That is the whole uninstall.
Approximate cost: $15 to $30 per rod.
2. Add a Second Hanging Tier for Shallow Closets
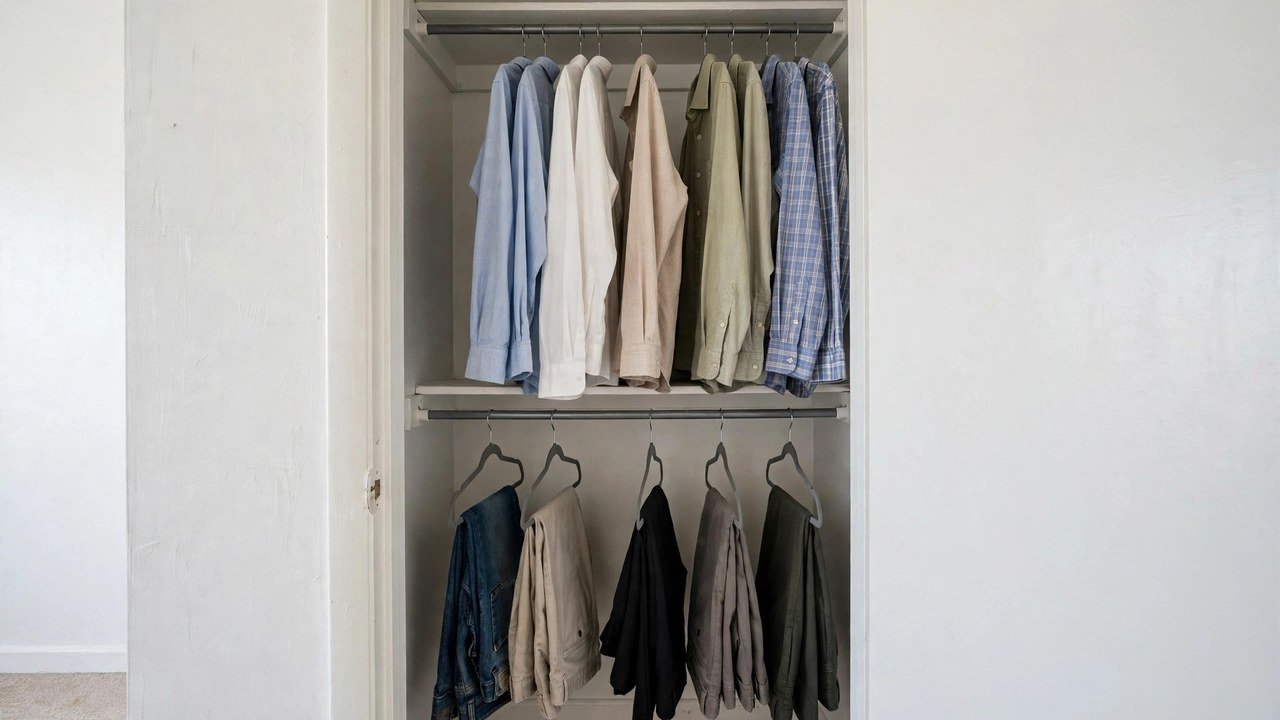
A shallow old-house closet — say 18 to 20 inches deep instead of the standard 24 — makes hangers stick out and doors refuse to close. The fix is not a deeper closet. It is shorter clothes, hung in two tiers.
This works for renters because it doubles hanging space using the closet you already have, with zero changes to the walls. Shirts, blouses, and folded-over pants all hang happily in a shorter tier, and you stop wasting the empty air below your long coats.
I have noticed that renters who make this one change stop dreading their closet within a week, because everything they wear most is suddenly at eye level instead of buried.
Here is how to do it:
- Keep your existing rod (or your new tension rod) at the top for longer pieces.
- Install a second tension rod about 40 inches below the first, or hang a clip-on second rod from the first one if the side walls are too uneven for tension.
- Move all shirts, blouses, and short jackets to the upper tier and all pants, folded over hangers, to the lower tier.
- Leave the deepest corner for the few long items you own, like a winter coat or a dress, hung on the top rod only.
- If hangers still catch on the door, switch to slim velvet hangers, which save nearly an inch of depth per garment.
Approximate cost: $15 to $35.
3. Hide the Mess With a Tension-Rod Curtain Instead of a Door
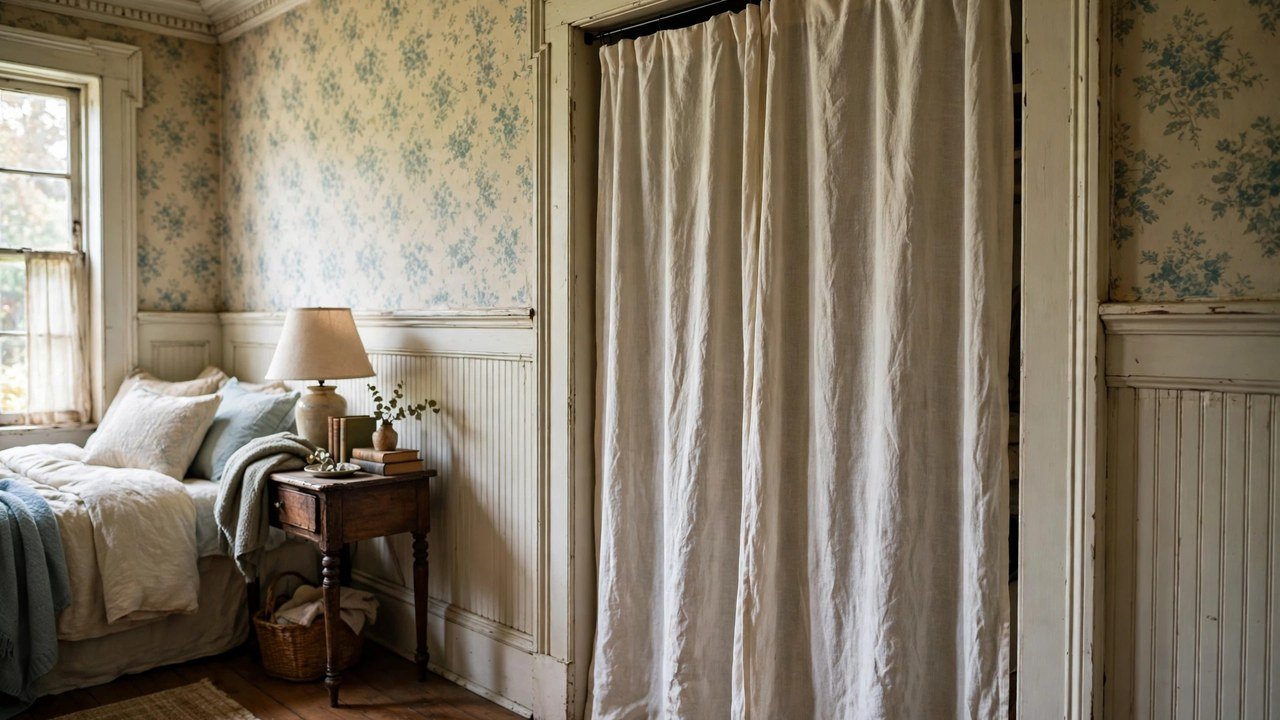
Some old-house closets have no door at all. Others have a door that is warped, missing its hardware, or an odd size that no replacement fits. A curtain on a tension rod is prettier than a broken door, and it costs almost nothing.
Renters love this one because it is fully reversible and it actually improves the room. A simple curtain softens a bedroom, hides visual clutter, and lets you access the whole closet opening instead of fighting a sticking door every morning.
I have personally seen a plain linen curtain make a doorless closet look like a deliberate design choice, especially when the fabric picks up a color already in the room.
Here is how to do it:
- Mount a tension rod inside the closet opening, at the very top of the frame, where the door would have been.
- Choose a curtain panel slightly wider than the opening so it hangs in soft folds rather than stretched flat.
- Hem or clip it so the bottom just brushes the floor, or ends right at the closet floor if you want to see your shoes.
- If the opening is very wide, use two panels on one rod so you can push one side open like a drape.
- Pick a fabric that matches your bedding or wall color so the closet reads as intentional, not as a cover-up.
Approximate cost: $10 to $40.
4. Use Adhesive Hooks and Rails on Plaster Walls You Must Not Drill
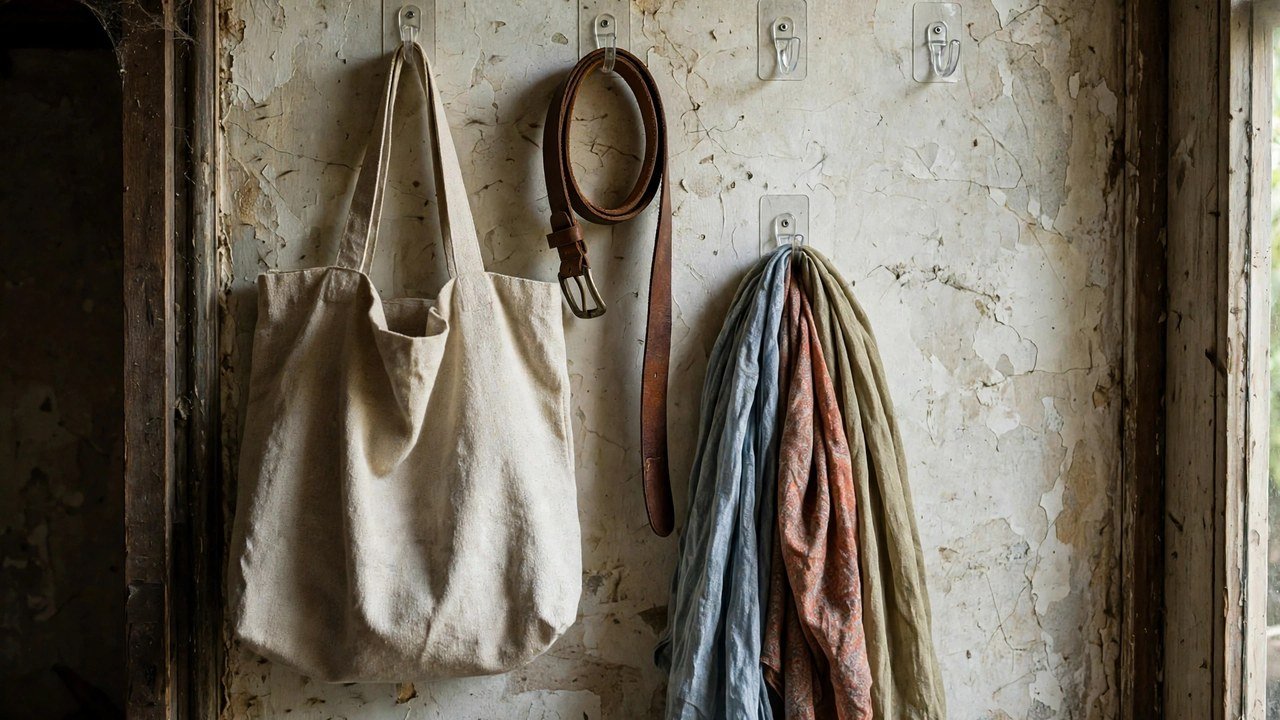
Plaster walls are the number-one reason renters in old houses feel stuck. One wrong screw can crack a whole section, and your lease probably forbids drilling anyway. Adhesive hooks and rails give you wall storage without ever touching a drill.
This is the renter test in its purest form: everything here peels off cleanly when you leave, as long as you follow the weight ratings and remove them with the pull-tab method rather than yanking.
I have helped dozens of renters in plaster-walled houses use this exact trick, and the ones who wait the full hour before loading the hooks are the ones who never lose a hook to the floor.
Here is how to do it:
- Clean the plaster spot with a dry cloth first. Dust is the enemy of adhesive, and old walls collect plenty of it.
- Choose adhesive hooks rated for the real weight, not the optimistic weight. A hook rated for five pounds holds a bag, not a loaded backpack.
- Press each hook firmly for thirty seconds, then wait a full hour before hanging anything on it.
- Use a row of hooks along the inside of the closet wall for belts, scarves, and bags, and an adhesive rail with several hooks for the back of the closet door if the surface is smooth.
- On move-out day, pull the tabs straight down slowly. Never pull outward, which is what damages plaster.
Approximate cost: $10 to $25 for a multi-pack.
5. Stack Open Bins on the Closet Floor for Shallow Depth
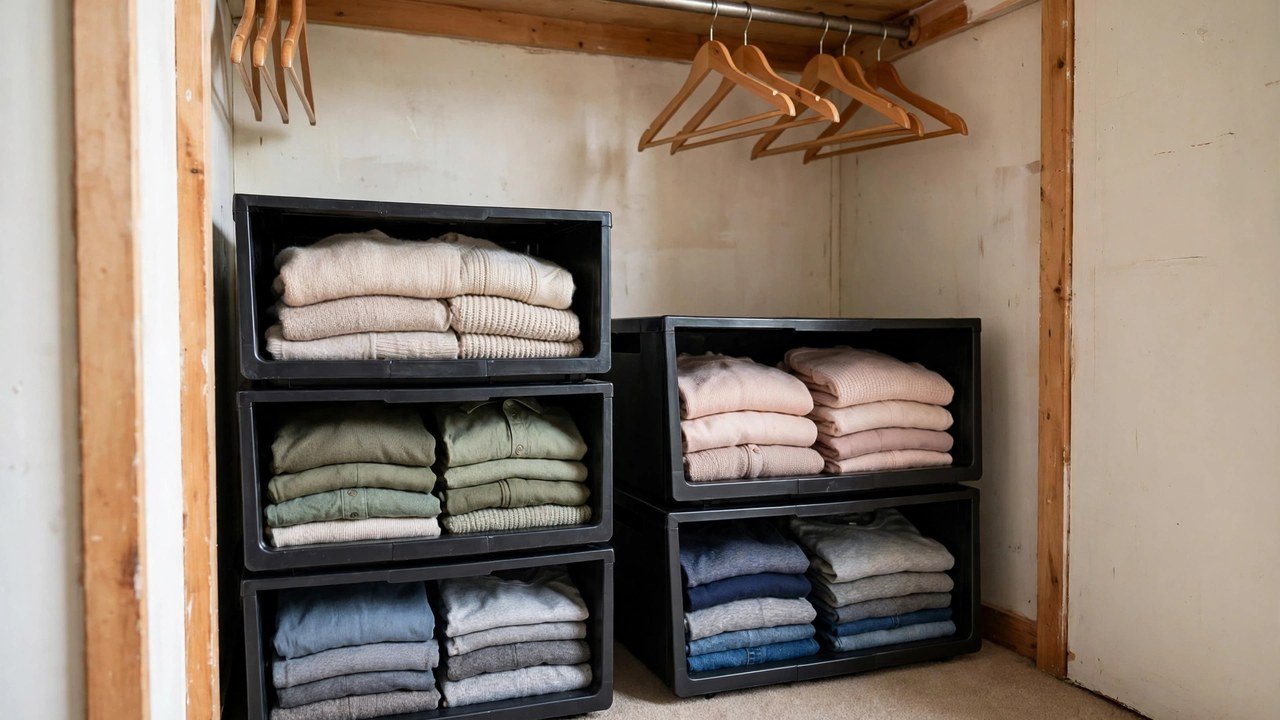
The floor of an old-house closet is often the most wasted space in it, because the closet is too shallow for a dresser and too awkward for a shoe rack. Open-front stacking bins turn that floor into drawers.
This works for renters because the bins are furniture, not fixtures. They move with you, they need no installation, and they keep folded clothes visible so you actually wear what you own instead of forgetting it in a pile.
I have noticed that open bins beat closed boxes every time in a small closet, because you can see what you own and you actually put things back where they belong.
Here is how to do it:
- Measure the closet floor width and depth, and buy bins that leave about an inch of clearance on each side so you can pull them out.
- Put heavy items like jeans and sweaters in the bottom bins, and lighter items like t-shirts and workout clothes on top.
- Label each bin with a removable tag or a clip-on label, not a sticker that leaves residue.
- Keep one bin for out-of-season accessories so they are not scattered across the top shelf.
- If the closet floor is uneven, which old houses often are, put a thin non-slip shelf liner under the bottom bin to stop sliding.
Approximate cost: $25 to $60 for a set.
6. Slide a Freestanding Shelf Tower Into a Narrow Closet

Some old-house closets are tall and narrow, like a chimney with a door. You cannot reach the top, and the bottom becomes a pile. A freestanding shelf tower sized to the closet turns that vertical shaft into usable shelves.
Renters love this because a shelf tower is not attached to anything. It slides in, it slides out, and your landlord never needs to know it was there. It also protects your clothes from the closet floor, which in old houses can be dusty or uneven.
I have personally seen a modest shelf tower rescue a closet so narrow the tenant had been living out of a suitcase, and she told me it felt like gaining a whole dresser.
Here is how to do it:
- Measure height, width, and depth at several points, because old closets taper. Buy the tower to fit the narrowest measurement.
- Assemble it outside the closet, then slide it in. Assembling inside a tiny closet is a lesson in frustration.
- Put folded clothes and bins on the middle shelves, and reserve the top shelf for things you grab rarely.
- Leave a few inches of hanging space beside the tower if the closet is wide enough, or go all-shelves if it is not.
- Anchor nothing to the wall. If the tower wobbles on an uneven floor, fold a piece of cardboard under the short leg.
Approximate cost: $30 to $70.
7. Turn a Narrow, Odd-Sized Door Into Storage With an Over-Door Organizer
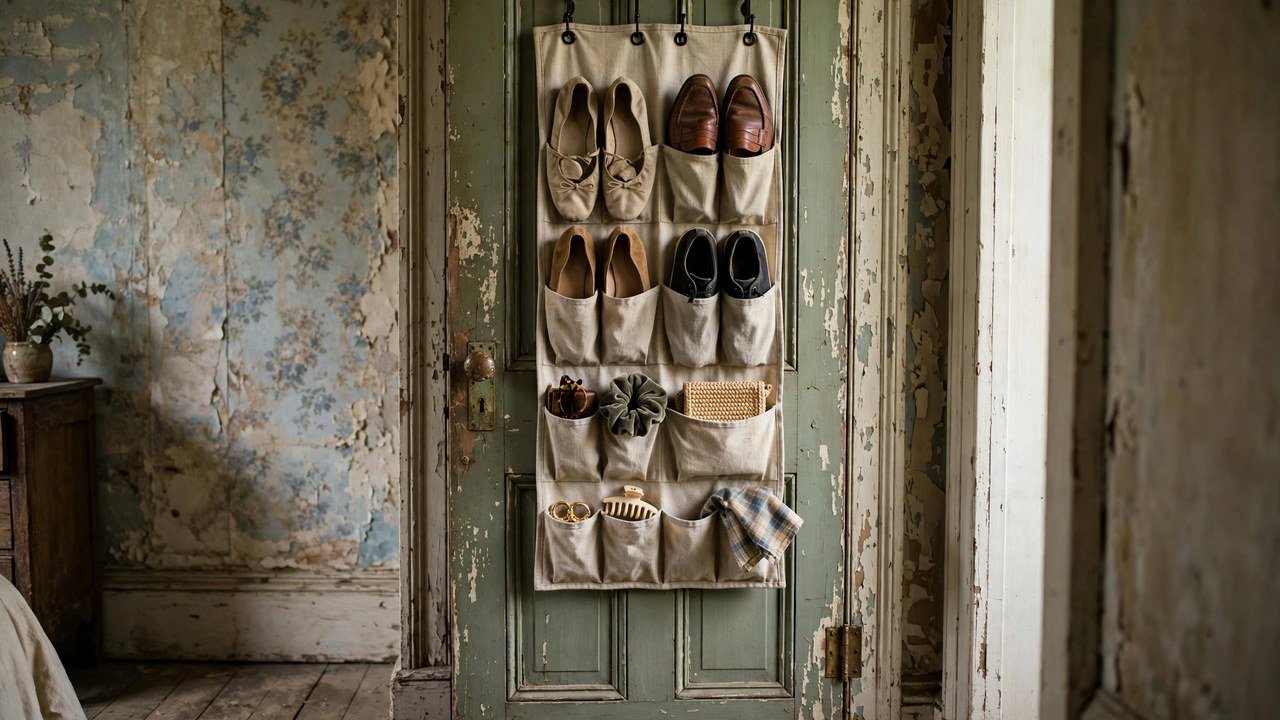
Old-house closet doors are rarely standard. They are narrower, shorter, or thicker than modern doors, which means most over-door hooks either do not fit or swing wildly. The trick is finding an organizer made for thin or narrow doors, and adjusting it rather than forcing it.
This is a renter favorite because the door itself becomes storage without a single hole. Shoes, accessories, and small items live on the door, freeing the tiny closet interior for actual clothes.
I have helped renters with doors so narrow that standard organizers swung like pendulums, and a strip of felt on the hooks fixed the fit in about thirty seconds.
Here is how to do it:
- Measure your door's thickness and width before buying anything. Old doors can be thinner than modern ones, and hooks sized for thick doors will rattle.
- Choose a slim over-door organizer with adjustable hooks, or add a strip of felt to the hooks so they grip a thin door snugly.
- Hang it on the inside of the closet door if the door opens into the room, so it stays hidden, or on the outside if you want quick access.
- Use the top pockets for small items like scarves and belts, and the lower pockets for shoes or cleaning supplies.
- Check that the door still closes fully. If it does not, move heavier items to the lower pockets, which pull the organizer flat against the door.
Approximate cost: $15 to $35.
8. Roll a Garment Cart Into the Dead Zone Under a Sloped Ceiling
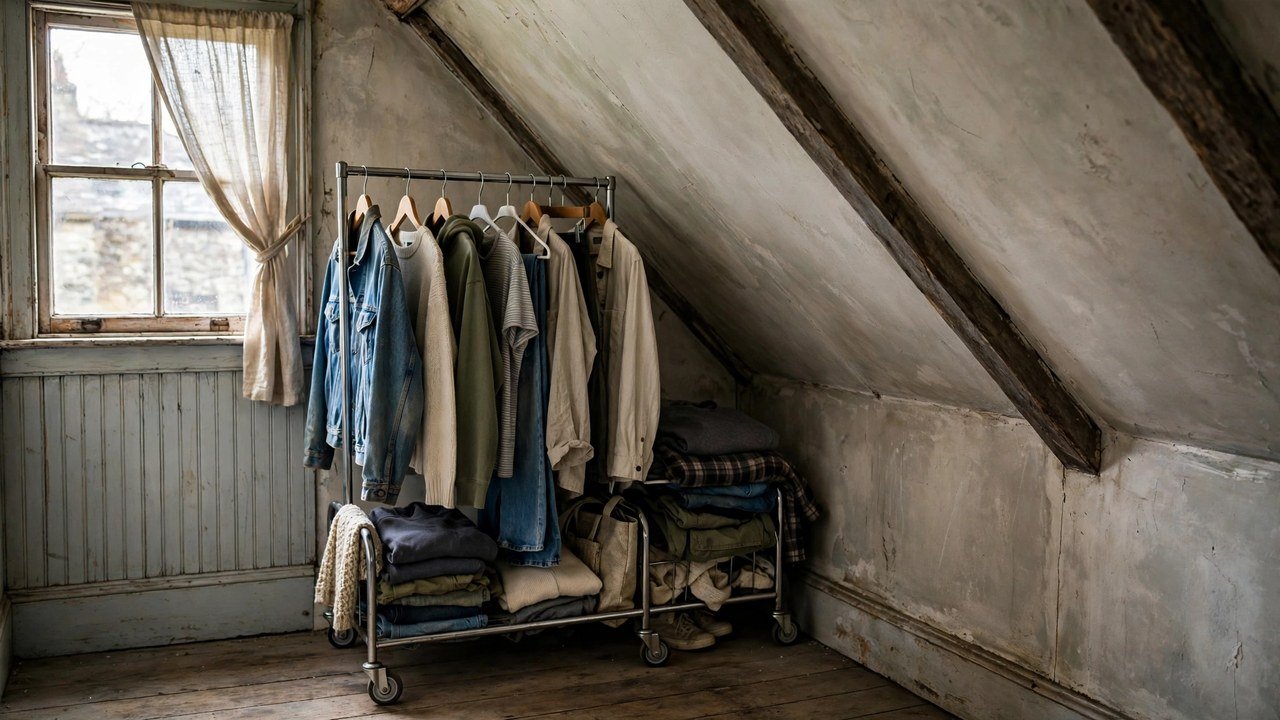
Sloped ceilings create dead zones: corners where you cannot stand up straight and cannot hang anything full-length. Instead of pretending that corner is usable closet space, roll a garment cart into it and let the slope work for you.
This works for renters because a rolling cart is furniture. It needs no installation, it moves when you rearrange, and it turns the most awkward square footage in the room into your most-used storage.
I have noticed that the sloped corner everyone ignores is usually the best-dressed corner once a cart moves in, because it finally has a job to do.
Here is how to do it:
- Measure the height of the slope at the spot where the cart will sit, and buy a cart shorter than that height by at least two inches.
- Put your most-worn outfits on the cart: tomorrow's work clothes, your favorite jeans and jackets, the pieces you reach for daily.
- Use the lower shelf of the cart for shoes or a bin of accessories.
- Roll the cart out in the morning and back in at night, so the dead zone becomes a dressing station instead of a dumping ground.
- If the floor slopes too, lock the cart's wheels once it is in place.
Approximate cost: $30 to $60.
9. Hang a Shelf Organizer From Your One Good Rod

Many old-house closets have exactly one sturdy feature: a single rod, or a single shelf. A hanging shelf organizer uses that one feature to create six shelves out of thin air, with no tools at all.
This is deposit-safe by definition. The organizer hangs from the rod with fabric straps, and when you move, you fold it up and take it with you. It is also the fastest idea on this list: it takes about two minutes to install.
I have personally seen this two-minute fix double the usable storage in a closet that had nothing but a rod and a prayer, and it is still the first thing I suggest to new renters.
Here is how to do it:
- Clear one section of the rod, about twelve inches wide, for the organizer.
- Hang the organizer by its straps and let it drop to its full length.
- Fold sweaters, t-shirts, and jeans into the cubbies instead of stacking them on a shelf where they topple.
- Use the top cubby for items you grab daily, so you are not digging every morning.
- Add small bins inside the lower cubbies for socks, underwear, and accessories that otherwise vanish into a pile.
Approximate cost: $12 to $30.
10. Claim the High Top Shelf With Baskets You Can Actually Reach
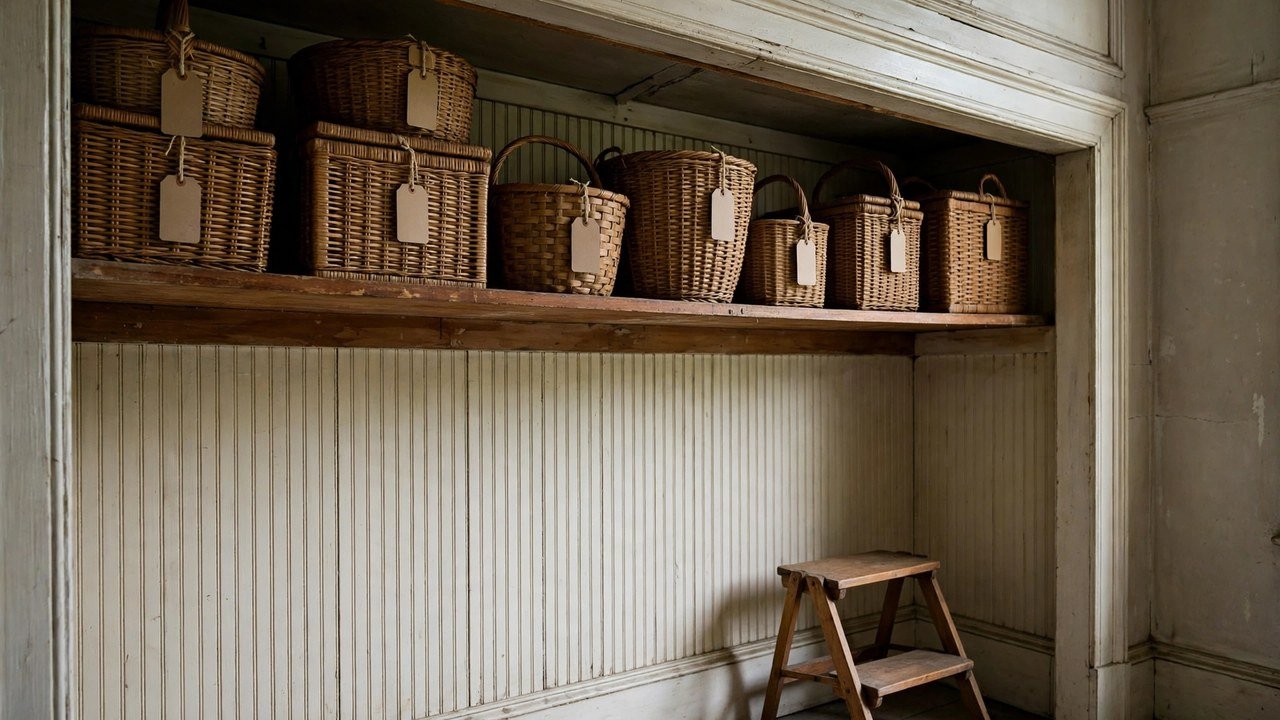
Old houses often have tall ceilings and one very high closet shelf that nobody uses, because reaching it requires a step stool and a prayer. Labeled baskets make that shelf useful, because you pull down a basket instead of climbing up to dig.
Renters benefit because baskets are portable and protective. They keep dust off your stored clothes, which matters in old houses, and they move with you to the next place.
I have helped dozens of renters reclaim that high shelf, and the step stool is the secret: once reaching it takes ten seconds, the shelf stops being dead space.
Here is how to do it:
- Buy sturdy baskets with handles, sized to the shelf depth. Measure first, because old shelves are often shallower than modern ones.
- Label each basket clearly: winter accessories, formal wear, keepsakes, or off-season clothes.
- Keep a small folding step stool in the closet so grabbing a basket is a ten-second job, not a production.
- Put the heaviest basket in the center of the shelf, where the shelf is best supported, not at the sagging ends.
- Rotate baskets seasonally: the current season's basket comes down, the past season's goes up.
Approximate cost: $20 to $50 for a set.
11. Make the Back of the Door Your Accessories Station

If your closet is tiny, your accessories cannot live in it. They need their own home, and the back of the closet door is the most overlooked real estate in the room. A few adhesive hooks and a hanging ring organizer turn it into a jewelry, belt, and scarf station.
This is fully renter-safe when you use adhesive hooks on a smooth door, or an over-door hook set if the door surface is rough or painted with old, flaky paint you do not want to disturb.
I have noticed that accessories are what make a tiny closet feel chaotic, because scarves and belts tangle with everything, so giving them their own door changes the whole room.
Here is how to do it:
- Choose the door surface first. Smooth painted doors take adhesive hooks well; rough or flaking doors are better with over-door hooks.
- Hang belts and long necklaces on the top hooks, where they can hang straight without tangling.
- Use a hanging ring or scarf organizer on a middle hook so scarves stay visible and unwrinkled.
- Add a small adhesive tray or pouch near the bottom for sunglasses and small items.
- Keep the total weight light. A door full of heavy bags will swing oddly and stress old hinges, which are often already loose.
Approximate cost: $10 to $30.
12. Rotate Seasonally, Because a Tiny Closet Cannot Hold a Whole Year
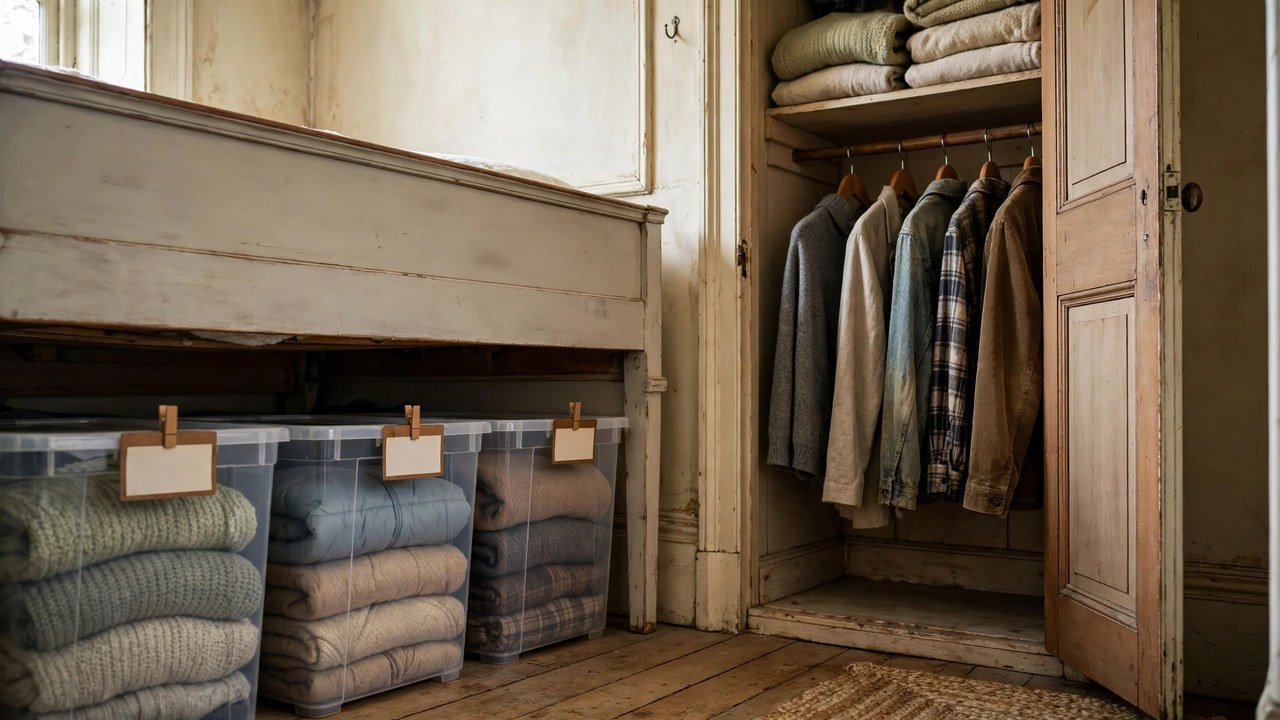
This is not a product. It is the habit that makes every other idea work. A tiny old-house closet fails when it tries to hold winter coats, summer dresses, and everything in between at the same time. Rotating seasonally means the closet only holds what you wear right now.
Renters in old houses feel this more than anyone, because old houses rarely have a linen closet, a spare room, or a garage full of storage to absorb the overflow. Your rotation system has to live somewhere, and the somewhere is usually under the bed or on top of the wardrobe.
I have personally seen this habit alone save more tiny closets than any product on this list, because a closet holding one season always feels twice as big as one holding four.
Here is how to do it:
- Twice a year, pull everything out of the closet and sort it into three piles: current season, next season, and donate or repair.
- Pack the off-season pile into labeled bins or vacuum bags, and store them under the bed, on top of the wardrobe, or in the highest closet basket.
- Put the current season's clothes back using the systems from ideas one through eleven, so everything has a home.
- When you buy something new, something old leaves the closet. One in, one out is the only rule that keeps a tiny closet honest.
- Set a phone reminder for the first weekend of spring and fall, so the rotation happens before the weather changes, not a month after.
Approximate cost: $15 to $40 for bins or vacuum bags.
Conclusion

Your old house gave you character, tall ceilings, and trim they simply do not make anymore. It also gave you a closet built for a different century. That does not mean you have to live out of laundry piles or stare at a cramped, chaotic closet every morning. A tension rod where there was no rod, a second tier where there was wasted air, a curtain where there was a broken door, and a few bins and baskets in the right places can turn the tiniest old-house closet into a space that actually works for your real life.
I have seen renters transform closets like yours in a single Saturday afternoon, with no tools, no landlord phone calls, and no deposit risk. Pick the two or three ideas that match your closet's quirks, start there, and let the rest follow when you are ready. Your closet is small, but it does not have to feel small. Please save this visual guide on Pinterest and share it with a fellow renter who is fighting their own tiny old-house closet — because nobody should have to figure this out alone.

Amelia leads HavenlyStyle’s editorial vision with a passion for elegant interiors and practical home living. With years of experience in home décor and lifestyle content, she ensures every article is accurate, inspiring, and easy to follow. From timeless decorating ideas to the latest interior design trends, Amelia is committed to helping readers create beautiful, functional spaces while maintaining HavenlyStyle’s trusted and welcoming voice.