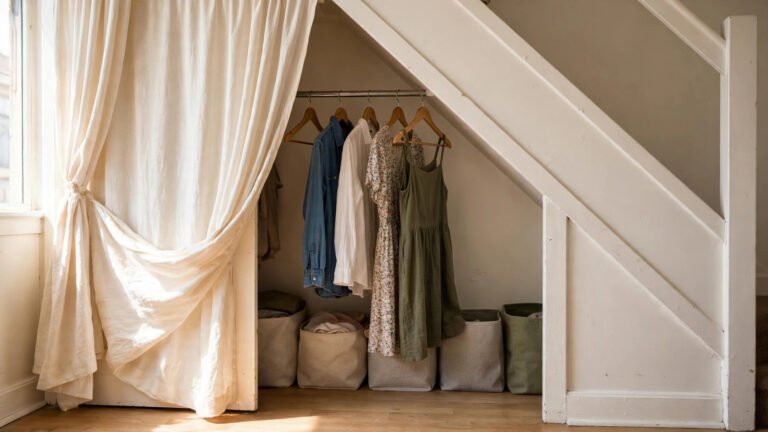
Most closet advice is written for someone standing at eye level with a five-foot rod, reaching the top shelf on tiptoe. If you use a wheelchair, that advice is quietly useless — and in a rental, you’re also stuck with the closet exactly as your landlord left it: rods mounted too high, shelves designed for someone else’s reach, and a strict rule about what you can and can’t change.
I’ve helped renters adapt closets in studio apartments, shared rentals, and older buildings with quirky layouts, and the pattern is always the same: the fix isn’t a full closet remodel. It’s a set of small, mostly no-drill changes that move everything you actually wear into your seated reach range — roughly the zone between your lap and the top of your head when seated — while keeping the landlord’s closet intact underneath. Every idea below passes two tests: it must genuinely work from a seated position, and it must be removable, reversible, or explicitly flagged when it needs landlord permission. No pretending the top shelf is usable. No drilling holes and hoping for the best.
Here’s the honest truth up front: the top shelf of a standard rental closet is dead storage for most wheelchair users, and that’s not a failure — it’s just geometry. The workaround is to stop treating it as your storage at all. Use it for long-term items you access once or twice a year (with a grabber tool or a helper), or simply ignore it and build your whole wardrobe in the zone you can reach comfortably. Everything below is designed around that philosophy.
Executive Summary
- Lower the hanging zone, don’t fight it: a no-drill tension rod mounted below the existing rod brings your daily clothes into seated reach for under $25, and it comes down in seconds on move-out day.
- Pull-down closet rods exist — but they usually need permission: they’re the gold standard for seated reach, so I’ve included them with an honest flag that most versions require screwing into studs or the wall.
- Everything you touch daily should live between lap height and the top of your head when seated: hooks, slide-out baskets, lazy susans, and front-opening bins all move the “action zone” down where you can actually use it.
- Freestanding wins for renters: rolling garment racks and rolling carts need zero installation, so there’s nothing to repair when you move.
- Labels, pulls, and reach tools close the gap: large-print high-contrast labels, magnetic cabinet pulls instead of knobs, and a good grabber tool turn a decent closet into a fully usable one.
1. Lower the Rod: Mount a No-Drill Tension Rod Below the Existing One
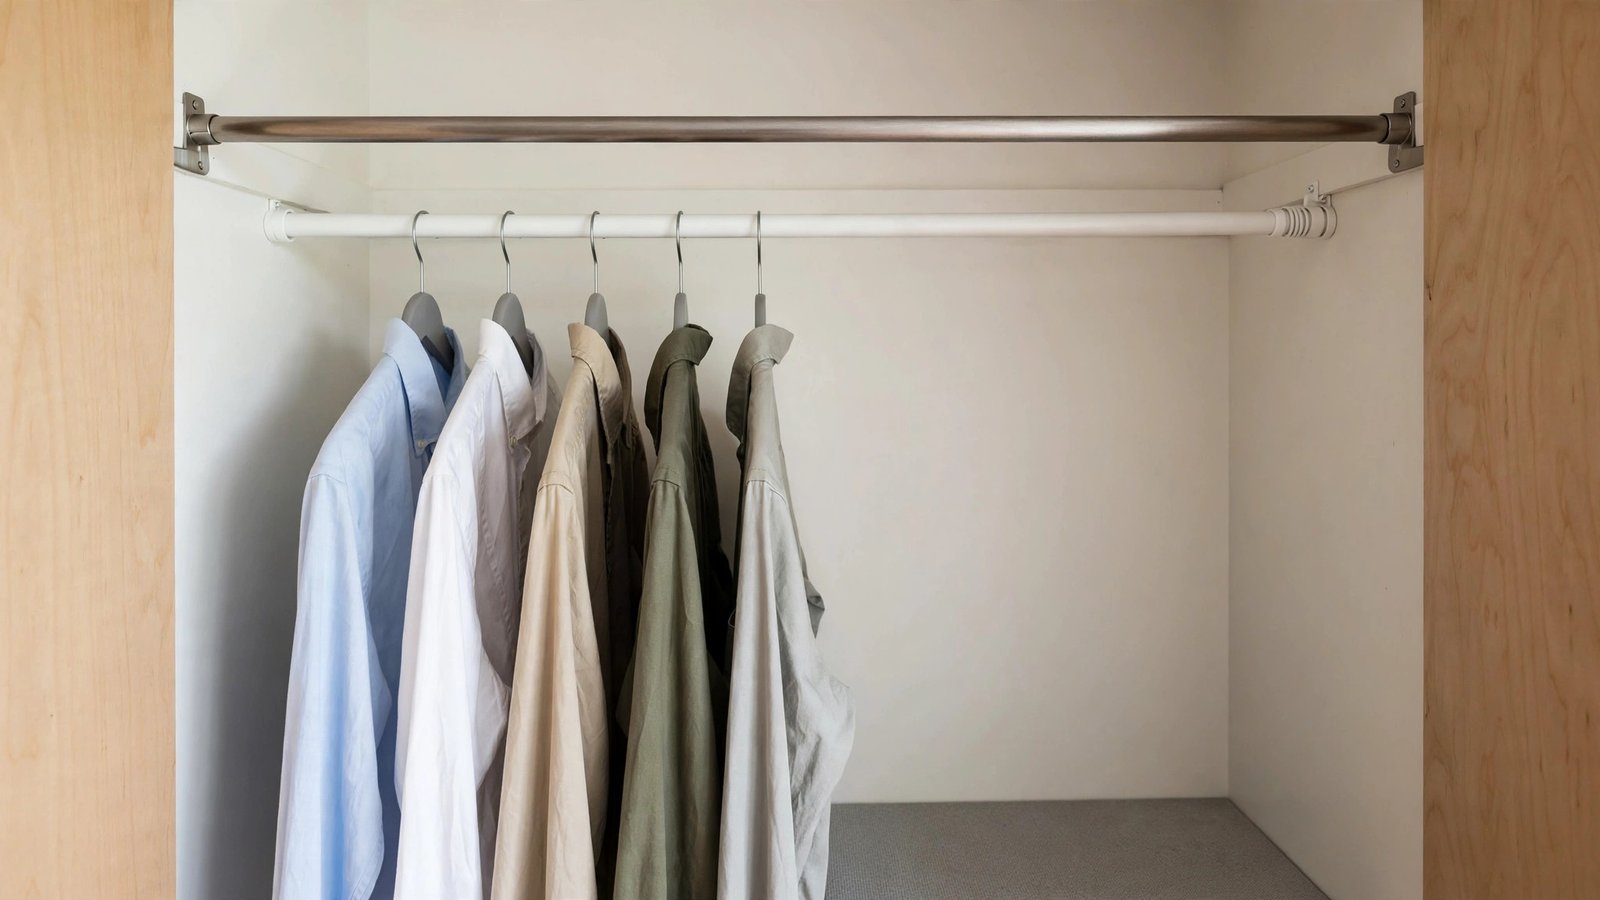
What it is: A second hanging rod — a simple tension rod — wedged between the closet walls about two feet below the landlord’s fixed rod, creating a lower tier of hanging space at comfortable seated reach.
Why it works for renters: Tension rods press outward against the walls instead of screwing in, so there’s zero damage and zero patchwork at move-out. It leaves the landlord’s original rod untouched. It’s also the single cheapest, highest-impact change on this list: one purchase fixes the entire “I can’t reach my clothes” problem in about ten minutes.
How to do it:
- Measure the inside width of your closet at the height where you want the lower rod — roughly 40 to 44 inches from the floor is a sweet spot for most seated users, but sit in front of your closet and find the height where your hand rests comfortably extended.
- Buy a tension rod rated for closet weight (look for “heavy duty” rods that hold 20+ pounds, roughly $15–$25) in a length that spans your measurement plus a few inches.
- Twist to extend until it presses firmly against both side walls, then hang a test row of clothes and leave it overnight — tension rods can settle, so re-tighten after 24 hours.
- Move your everyday hanging clothes — the 10 to 15 pieces you wear weekly — to the lower rod. Keep the original high rod for long coats, formal wear, or storage bags you rarely need.
Approximate cost: $15–$25 for the rod. Add $0 in repairs at move-out, because there are no holes.
2. Install a Pull-Down Closet Rod (Landlord Permission Required)
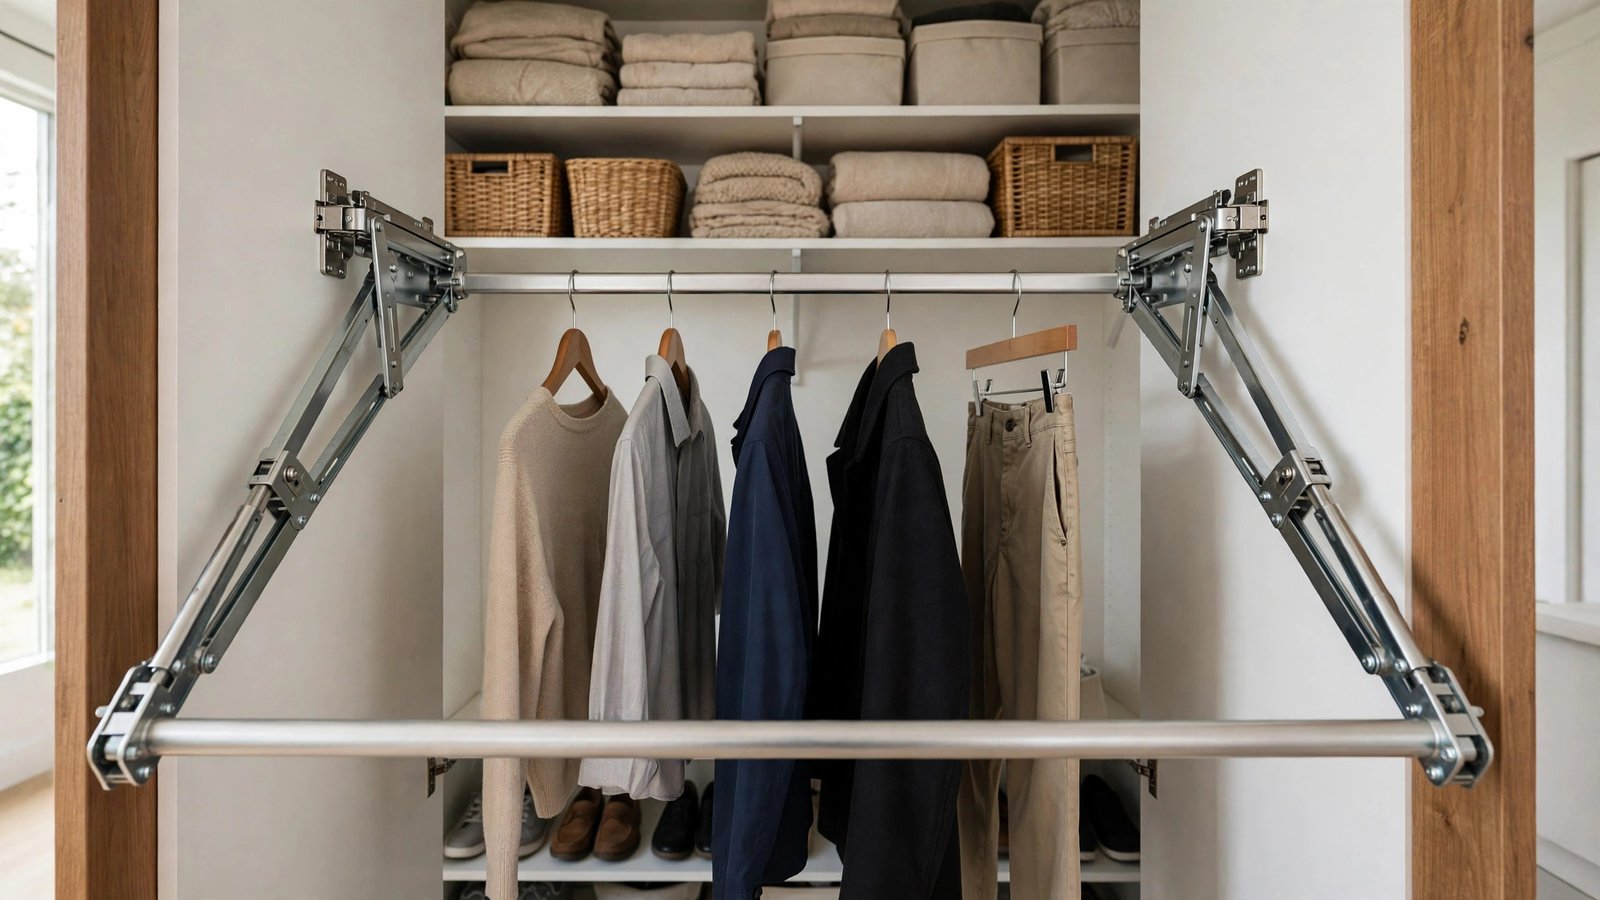
What it is: A hinged rod that sits at the closet’s standard high position but swings down toward you when you pull the handle — bringing the entire row of hanging clothes from over your head down to seated reach, then swinging back up and out of the way.
Why it works for renters — with a caveat: This is the closest thing to a perfect seated-reach solution, because it doubles your hanging space while putting every hanger within reach. But be honest about the catch: almost every pull-down rod needs to be screwed into the closet’s side walls or the wall studs to bear the weight safely. That’s real mounting, and in most leases that means you need written landlord permission first. I’ve seen renters get a yes for accessibility modifications more often than you’d expect — many landlords would rather approve one clean install than watch you jury-rig something.
How to do it:
- Ask your landlord in writing (email is fine) for permission to install a pull-down closet rod, describing it as a reversible accessibility modification. Keep the reply.
- Measure your closet width and choose a pull-down rod sized to it (most cover 24–48 inches). Read the weight rating carefully — cheaper models sag under a full wardrobe.
- Install into studs or solid wall blocking if possible, following the manufacturer’s template. If you’re not comfortable with a drill and a level, hire a handyman for the hour — it’s a simple job.
- Load it gradually and test the swing path from your chair to make sure the rod clears your lap and the closet door when lowered.
Approximate cost: $40–$90 for the rod, plus $50–$100 if you hire installation help. Keep the original rod hardware in a labeled bag so you can restore everything at move-out.
3. Put Front-Opening Bins on Open Shelving at Seated Reach Height
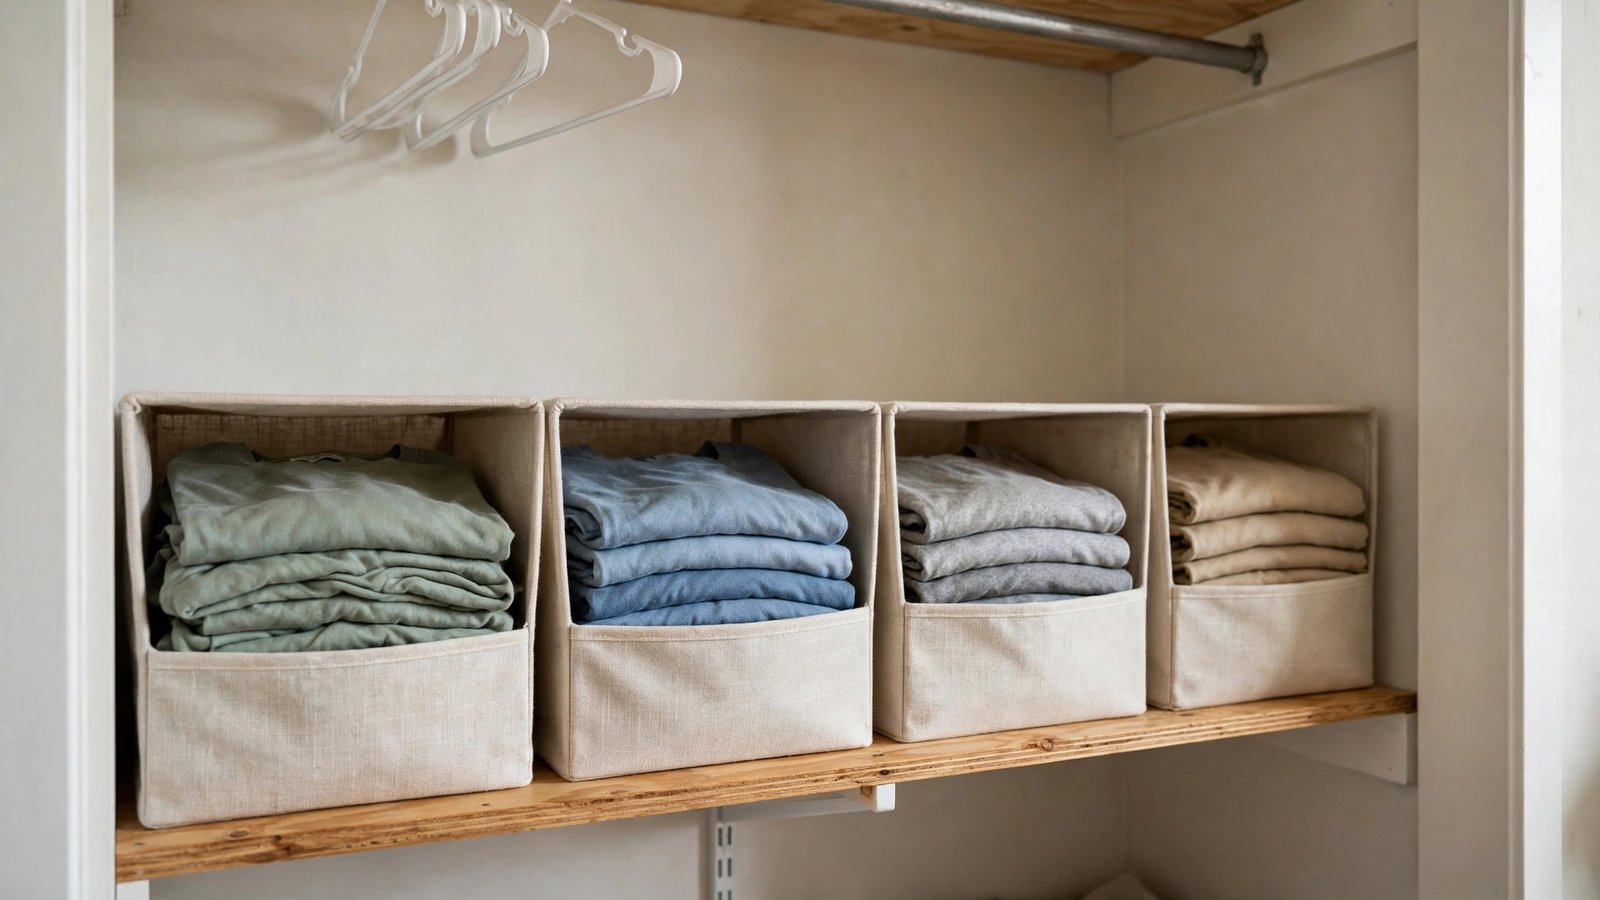
What it is: Replacing deep, top-heavy shelf piles with open-front bins (the kind that tilt or have a cutaway front) sitting on the closet’s lower shelves — roughly knee to chest height when seated — so you can see and grab folded items without lifting stacks.
Why it works for renters: This changes nothing about the closet itself. The bins are freestanding, so there’s no installation, no damage, and no permission needed. Front-opening design matters specifically from a chair: a deep drawer or a lidded box on a shelf forces you to reach up and over, but an open-front bin lets you slide things out toward you with one hand.
How to do it:
- Clear the bottom two shelves of your closet and wipe them down. Decide what lives there: t-shirts, workout clothes, pajamas, socks and underwear — the daily-grab categories.
- Measure each shelf’s depth and height, then buy open-front bins that fit with about an inch to spare on top (so you can tilt them out). Fabric bins with a reinforced open front run roughly $8–$15 each.
- Assign one category per bin — one bin, one thing. This is the whole system: t-shirts in one, gym clothes in another. Don’t mix.
- Label each bin at the front edge (see idea 10 for labeling that actually works from a chair), then put the bins you reach for most often at the shelf closest to your seated eye level.
Approximate cost: $8–$15 per bin; a six-bin setup runs about $50–$80 total.
4. Add Lazy Susans to Closet Shelves for 360° Access
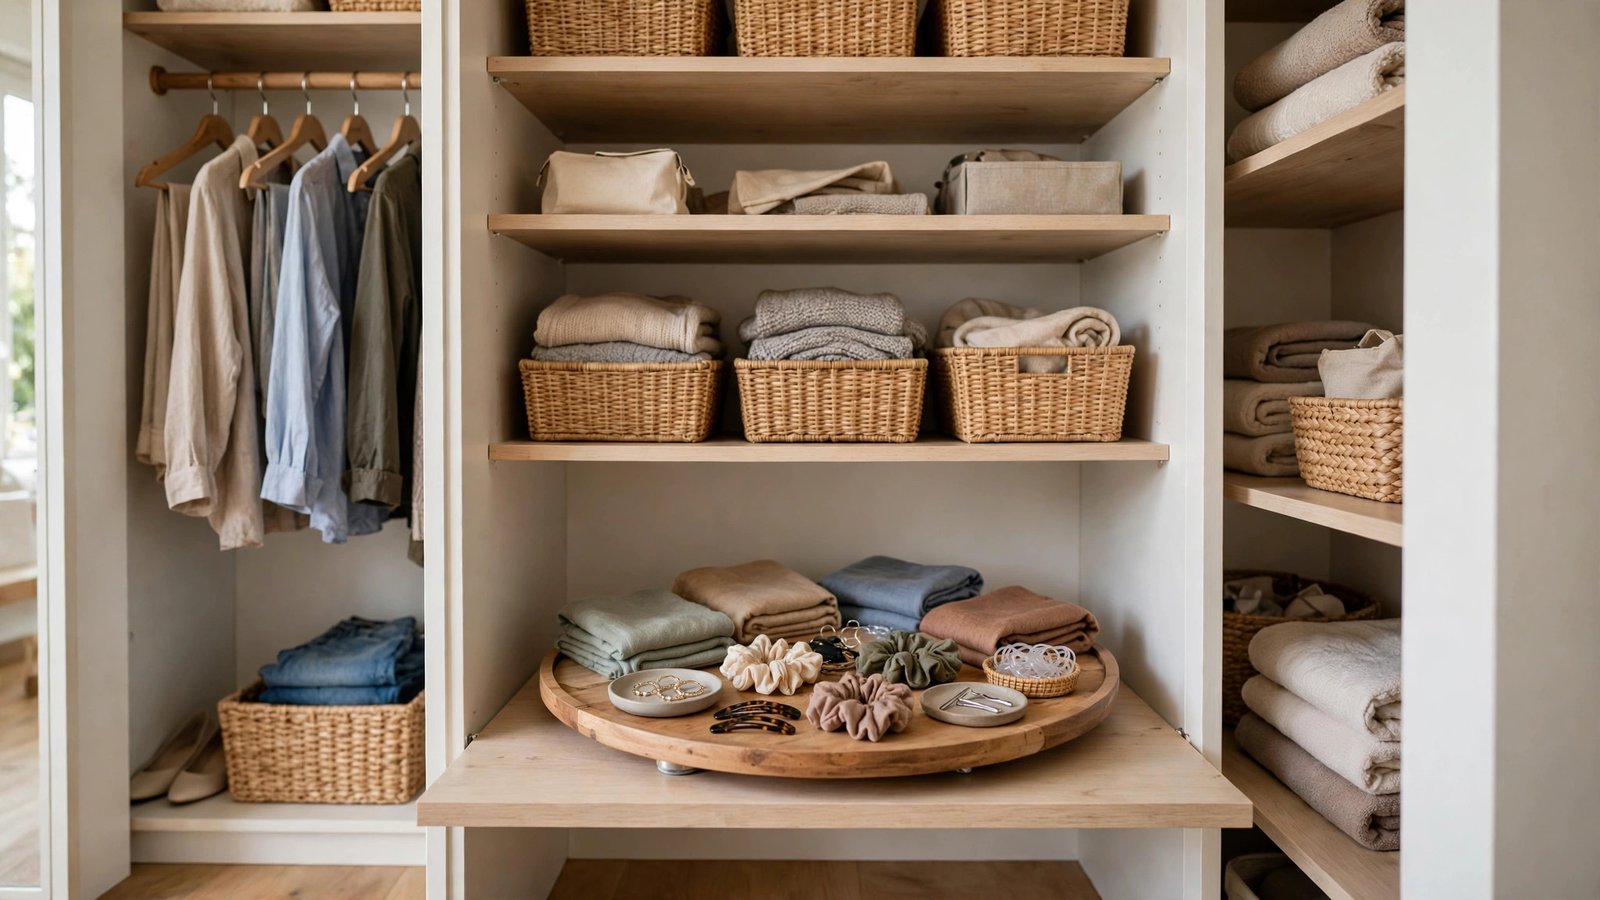
What it is: Turntable trays — the “lazy susan” you know from kitchen tables — set on closet shelves at seated reach height, holding accessories, folded items, or shoes so you can spin the whole tray toward you instead of reaching across the shelf.
Why it works for renters: A lazy susan is a freestanding object that sits on the existing shelf. Nothing to mount, nothing to damage. The seated-reach benefit is real: from a wheelchair, reaching across a 14-inch-deep shelf to the back corner is genuinely hard. Spinning the tray brings the back corner to you.
How to do it:
- Measure your closet shelves’ depth — most rental closets have 12- to 14-inch shelves, so choose turntables 10 to 12 inches in diameter with a low lip.
- Place one on each shelf at your comfortable reach height. Fill them by category: one for belts and small accessories, one for folded scarves or hats, one for daily medications-in-a-pouch or sunglasses — whatever you grab on the way out.
- Keep the center of the turntable slightly lighter than the edges so it spins smoothly, and avoid overloading past the tray’s weight rating.
- If a turntable wobbles, put a sheet of non-slip shelf liner underneath it — a $5 fix that rental closets benefit from anyway, since wire shelves especially love to rattle.
Approximate cost: $10–$20 per turntable. Two or three per closet is usually plenty.
5. Use Slide-Out Wire Baskets at Reach Height
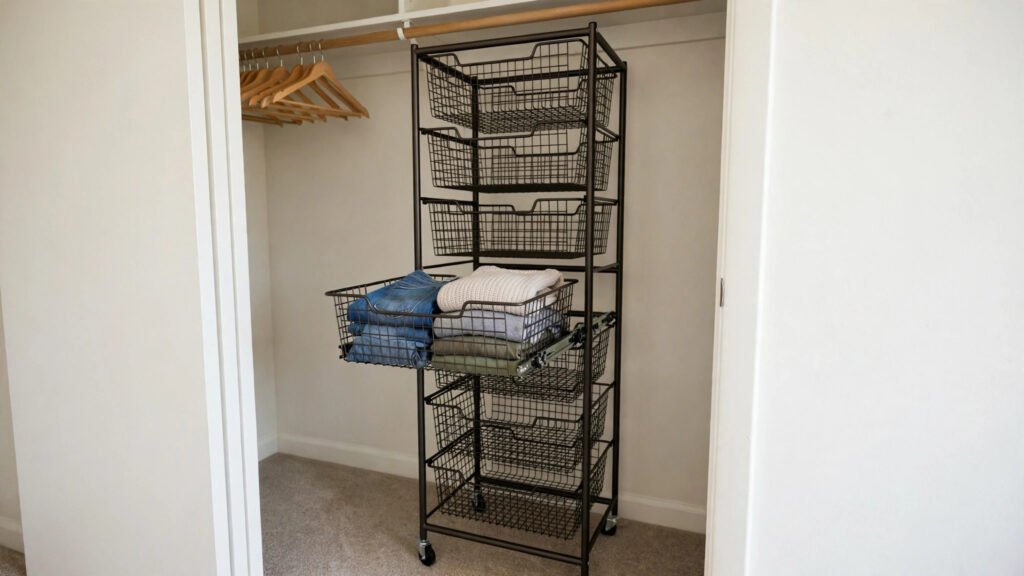
What it is: Wire baskets on runners that pull toward you like a drawer — but unlike a drawer, they’re open on top and the wire lets you see what’s inside. Positioned at seated reach height, they give you deep storage that actually comes to you.
Why it works for renters — with a caveat: Here’s where you need to be choosy. Traditional slide-out baskets screw into the closet’s side walls or a mounted frame — that needs landlord permission. But freestanding wire basket towers exist: narrow vertical units with 3 to 5 slide-out baskets that stand on the closet floor or on a low shelf with no mounting at all. For renters, the freestanding tower is the move.
How to do it:
- Choose a freestanding wire basket tower (no-mount, roughly $30–$60) sized to fit inside your closet’s open floor area or on a wide lower shelf.
- Position it where you can roll straight up to it — not tucked behind the door swing. From your chair, you should be able to reach the top basket without stretching.
- Assign baskets bottom-to-top by frequency: daily items (underwear, socks) at your easiest reach, less-used items higher.
- If you genuinely want wall-mounted slide-outs, ask your landlord in writing first — same approach as the pull-down rod in idea 2. Don’t drill and hope.
Approximate cost: $30–$60 for a freestanding tower. Wall-mounted systems run $50–$120 plus permission and patching.
6. Hang Hooks at Seated Reach Height for Tomorrow’s Outfit
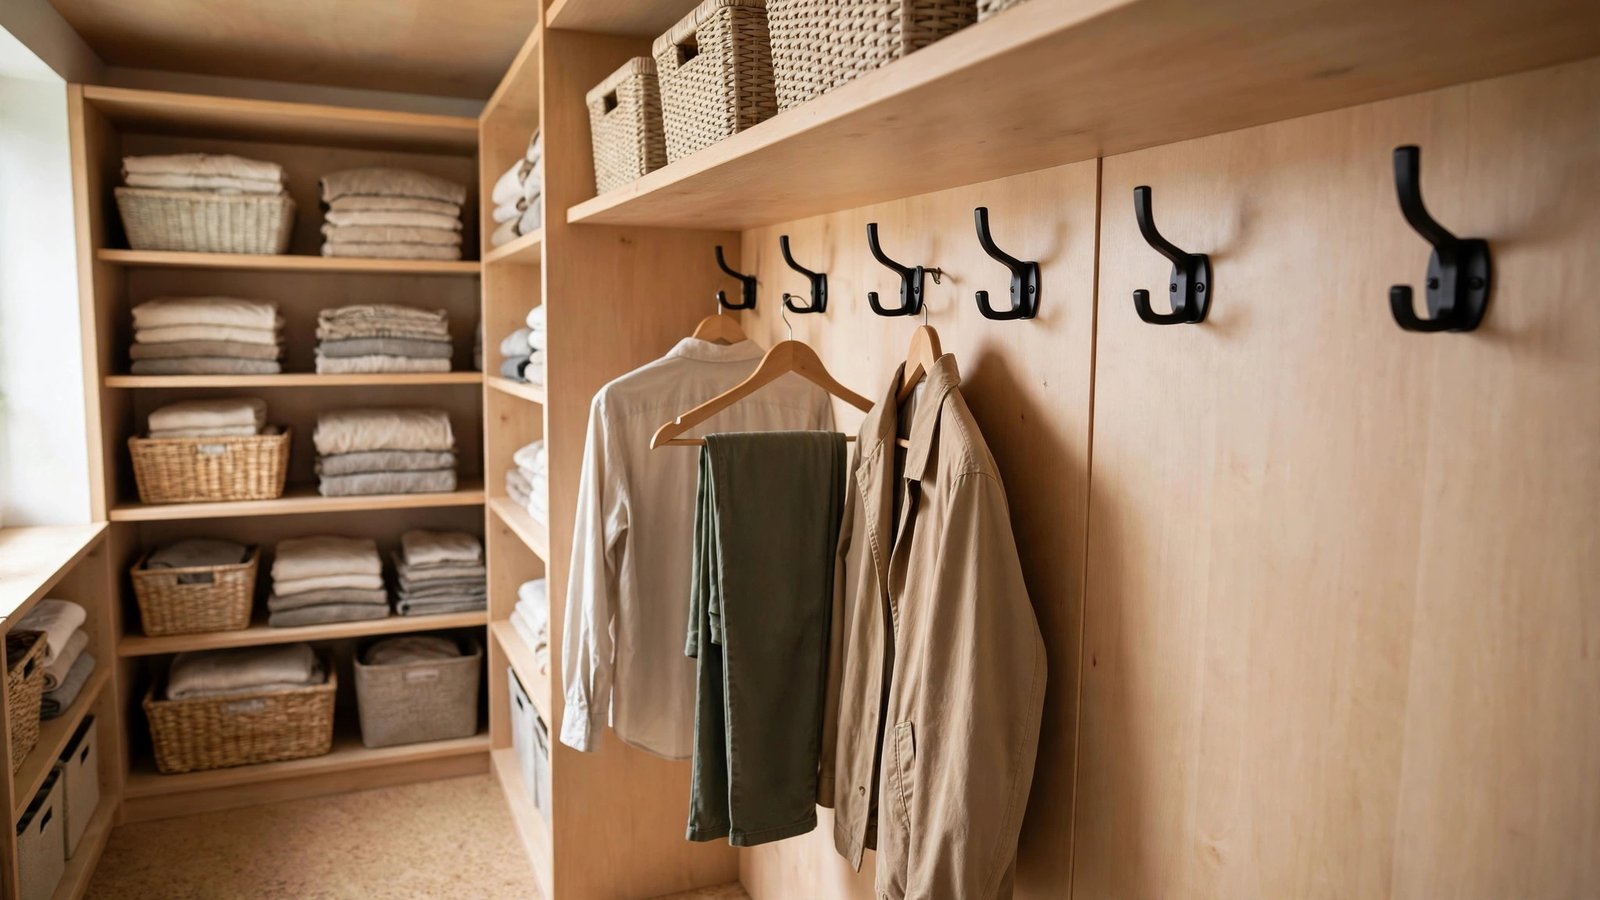
What it is: A row of sturdy hooks — adhesive, over-door, or a freestanding hook stand — mounted at the height your hand naturally falls when seated, used to stage the next day’s outfit where you can grab it in one motion.
Why it works for renters: Adhesive hooks (the removable kind) and over-door hook racks are fully deposit-safe: they peel off or lift off with zero damage. The habit this enables matters as much as the hardware: laying out tomorrow’s clothes at seated reach means your morning starts without a single reach, stretch, or ask-for-help.
How to do it:
- Sit in front of your closet or bedroom door and note where your hand rests comfortably extended — that’s your hook height, usually 40 to 48 inches from the floor for most seated users.
- Stick 3 to 5 removable adhesive hooks (the kind rated for several pounds each, roughly $1–$3 per hook) in a row on the closet’s side wall, or hang an over-door hook rack positioned so the usable hooks land at your height.
- Test each hook with the heaviest item you’ll hang — jeans and hoodies are heavier than you think. If a hook won’t hold, move it to a smoother, cleaner surface and re-stick.
- Build the nightly habit: before bed, hang tomorrow’s full outfit — top, bottom, and any layer — on the hooks. Keep one spare hook for a bag or tomorrow’s accessories.
Approximate cost: $5–$15 total. The nightly habit is free.
7. Mount Belt, Tie, and Scarf Racks at Reachable Height

What it is: Slim pull-out or fixed racks designed for belts, ties, and scarves, installed — or hung — at seated reach height inside the closet instead of at the standard high position where they usually live.
Why it works for renters: These accessories are the first things to become invisible clutter in an inaccessible closet, because they end up draped over whatever’s closest. A dedicated rack at your height keeps them visible and grabbable. Most versions either hook over the existing closet rod (zero installation) or mount with a single small screw — and the over-the-rod kind is the renter’s pick.
How to do it:
- Choose an over-the-rod belt/scarf rack (a hanger with multiple hooks or loops, roughly $8–$15) that hangs from your lowered tension rod from idea 1 — now it’s automatically at seated reach.
- If you prefer a fixed rack, pick a spot on the closet’s side wall at your comfortable reach height and use removable adhesive strips rated for the weight instead of screws.
- Sort by frequency: daily belts and the scarves you actually wear go on the front hooks; occasion pieces go toward the back.
- Once a season, clear the rack and return anything you haven’t touched — accessory racks only stay useful if they stay uncluttered.
Approximate cost: $8–$15. Zero repair costs if you stick to over-the-rod or adhesive versions.
8. Use a Rolling Garment Rack as a No-Install Open Wardrobe
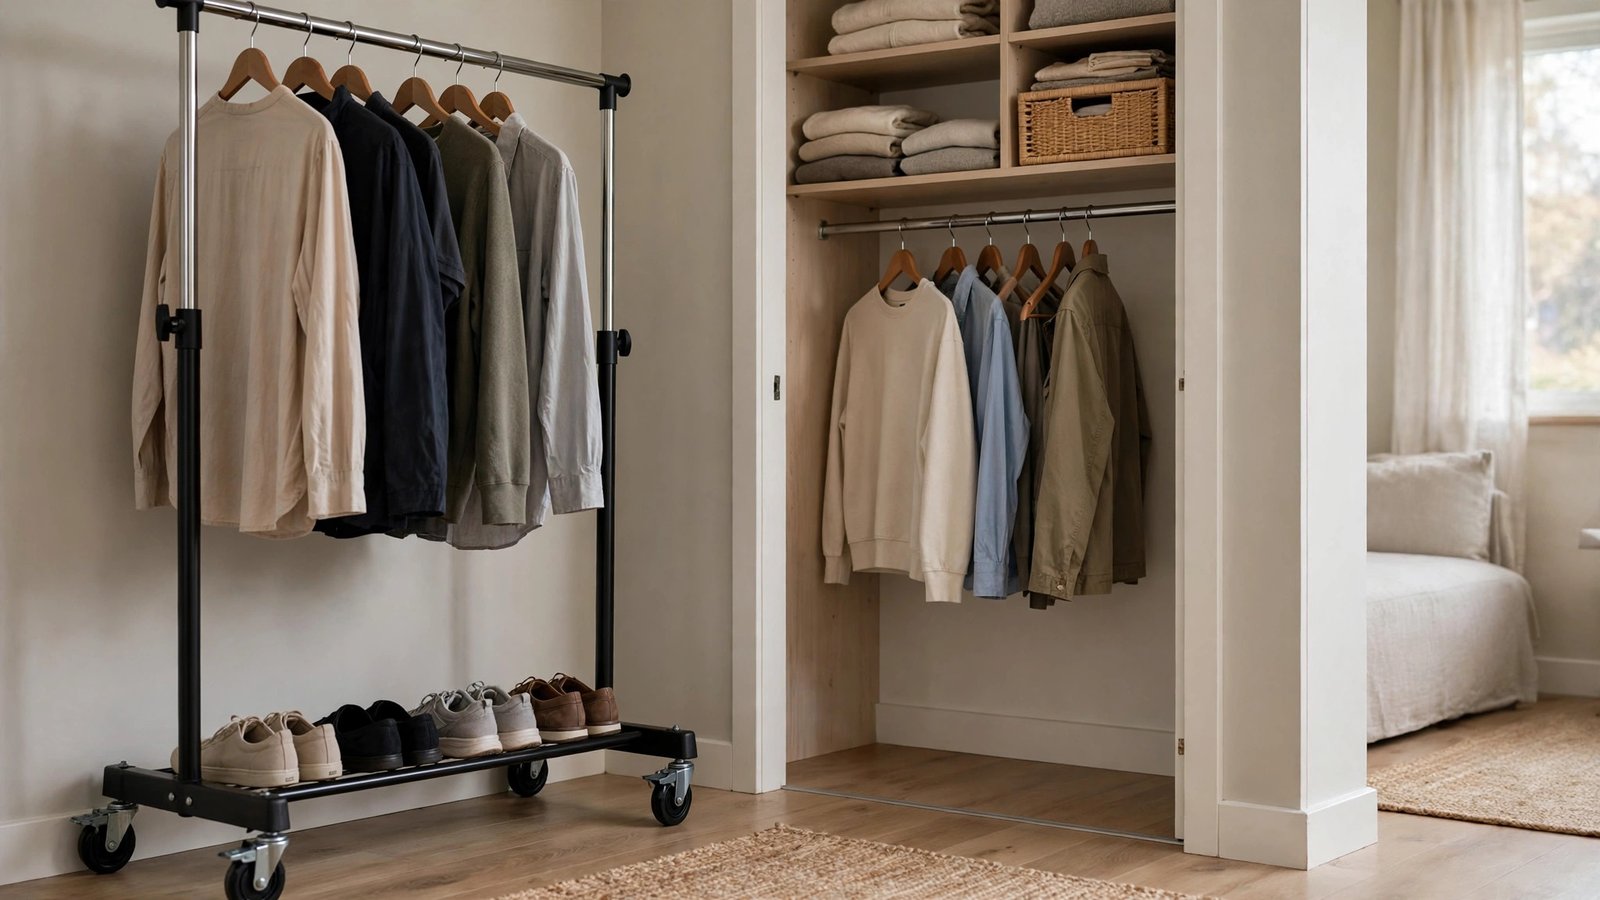
What it is: A freestanding rolling clothing rack — the kind boutiques use — placed beside or in front of your closet as your primary hanging space, at a height you choose.
Why it works for renters: This is the nuclear option for inaccessibility, and it’s beautiful in its simplicity: zero installation, zero permission, zero damage. You choose the rack height (many are adjustable down to about 40 inches at the top bar), you choose the position, and on moving day it rolls out the door with you. If your landlord’s closet is truly unworkable — high rod, narrow door, awkward corners — stop fighting it and build your wardrobe outside it.
How to do it:
- Measure the space where the rack will live — beside the closet, along a bedroom wall, or even in a corner. Leave room to roll your chair fully alongside it.
- Buy a sturdy single-rail rolling rack with locking casters (avoid the flimsy $20 ones that bow under weight; expect roughly $35–$70 for one that holds a real wardrobe).
- Set the top bar to your seated reach height and lock the casters once it’s positioned — a rolling rack that drifts while you’re pulling hangers is annoying and a tip risk.
- Treat it as your main closet: current-season clothes on the rack, off-season and formal wear in the landlord’s closet or in labeled bins. Add a small shelf or baskets on the rack’s lower bar for shoes or folded items.
Approximate cost: $35–$70 for a rack that won’t wobble. This one purchase can replace the entire closet for daily use.
9. Turn a Rolling Cart into a Mobile Outfit Station
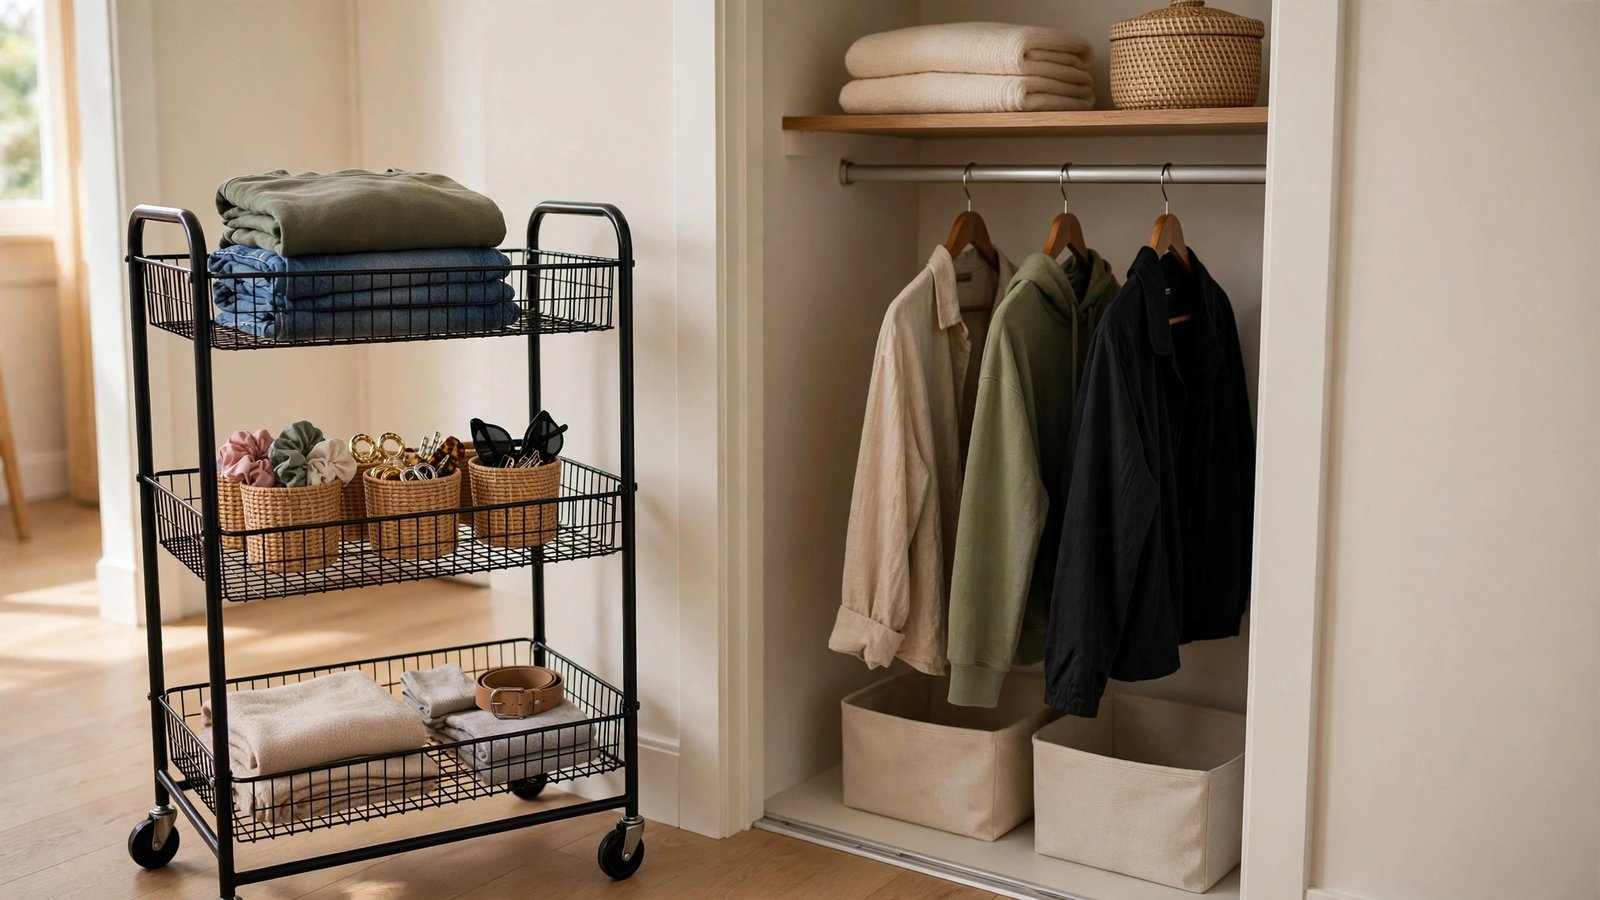
What it is: A three-tier rolling utility cart (the narrow kind that’s about 15 inches wide) loaded as a complete “getting dressed” station: today’s outfit on top, undergarments and accessories in the middle, tomorrow’s outfit or laundry staging on the bottom.
Why it works for renters: It’s furniture, not a modification — it goes wherever you are. Roll it next to your bed at night, next to the closet in the morning, into the bathroom while you get ready. For wheelchair users, this solves the real problem of shuttling back and forth: everything you need for one dressing session travels with you in a single trip.
How to do it:
- Get a three-tier rolling cart with a handle (roughly $25–$45). Choose one with a lip or rail on each tier so items don’t slide off while rolling.
- Load it top-down by dressing order: top tier holds today’s full outfit laid flat or draped; middle tier holds undergarments, socks, and accessories in small cups or pouches; bottom tier holds tomorrow’s staged outfit or a laundry bag for what comes off.
- Park it where you dress — beside the bed or in front of the mirror — and roll it back to the closet area when you’re done. Lock the casters when it’s parked.
- Restock it nightly as part of the outfit-staging habit from idea 6. The cart only works if it’s reloaded; an empty cart is just furniture.
Approximate cost: $25–$45 for the cart, plus a few dollars for small organizing cups if you want them.
10. Label Every Bin with Large-Print, High-Contrast Tags
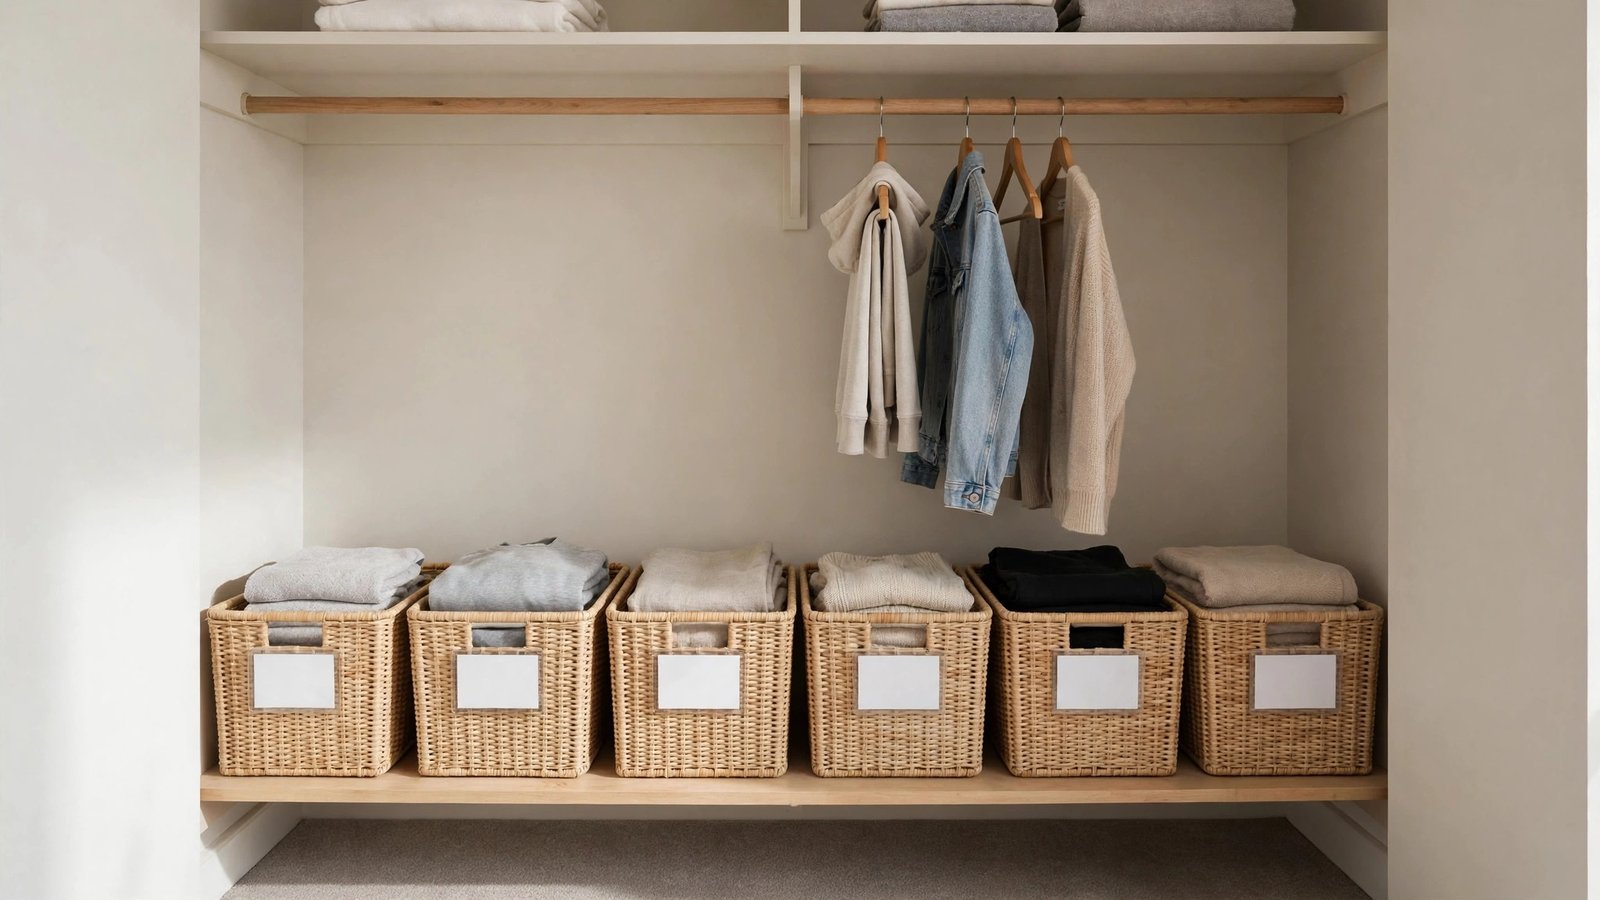
What it is: Big, bold labels — at least 1-inch tall letters, dark text on a light background or white text on black — on the front of every bin, basket, and box in your closet, positioned at seated eye level.
Why it works for renters: Labels cost almost nothing, change nothing about the apartment, and pay off every single day. From a seated position, you’re often reading labels at a downward or side angle, sometimes in a dim closet with one sad bulb — small, low-contrast, or cutesy script labels are functionally invisible. Large print and high contrast fix that.
How to do it:
- List every bin and basket in your closet and decide its one-word or two-word category: TEES, GYM, SOCKS, WINTER, and so on.
- Make labels with at least 1-inch letters. A label maker with large-print settings works (roughly $20–$30), or print bold 72-point type on cardstock and slip the cards into adhesive label holders on each bin front.
- Use high contrast only: black on white, white on black, or dark navy on yellow. Skip pastels, skip script fonts, skip decorative labels you have to squint at.
- Stick each label at the top front edge of its bin — the part your eyes land on first when you roll up. Replace any label the moment its category changes; an outdated label is worse than none.
Approximate cost: $5–$30 depending on whether you print at home or buy a label maker. This is the highest value-per-dollar idea on the list.
11. Swap Knobs for Magnetic Cabinet Pulls
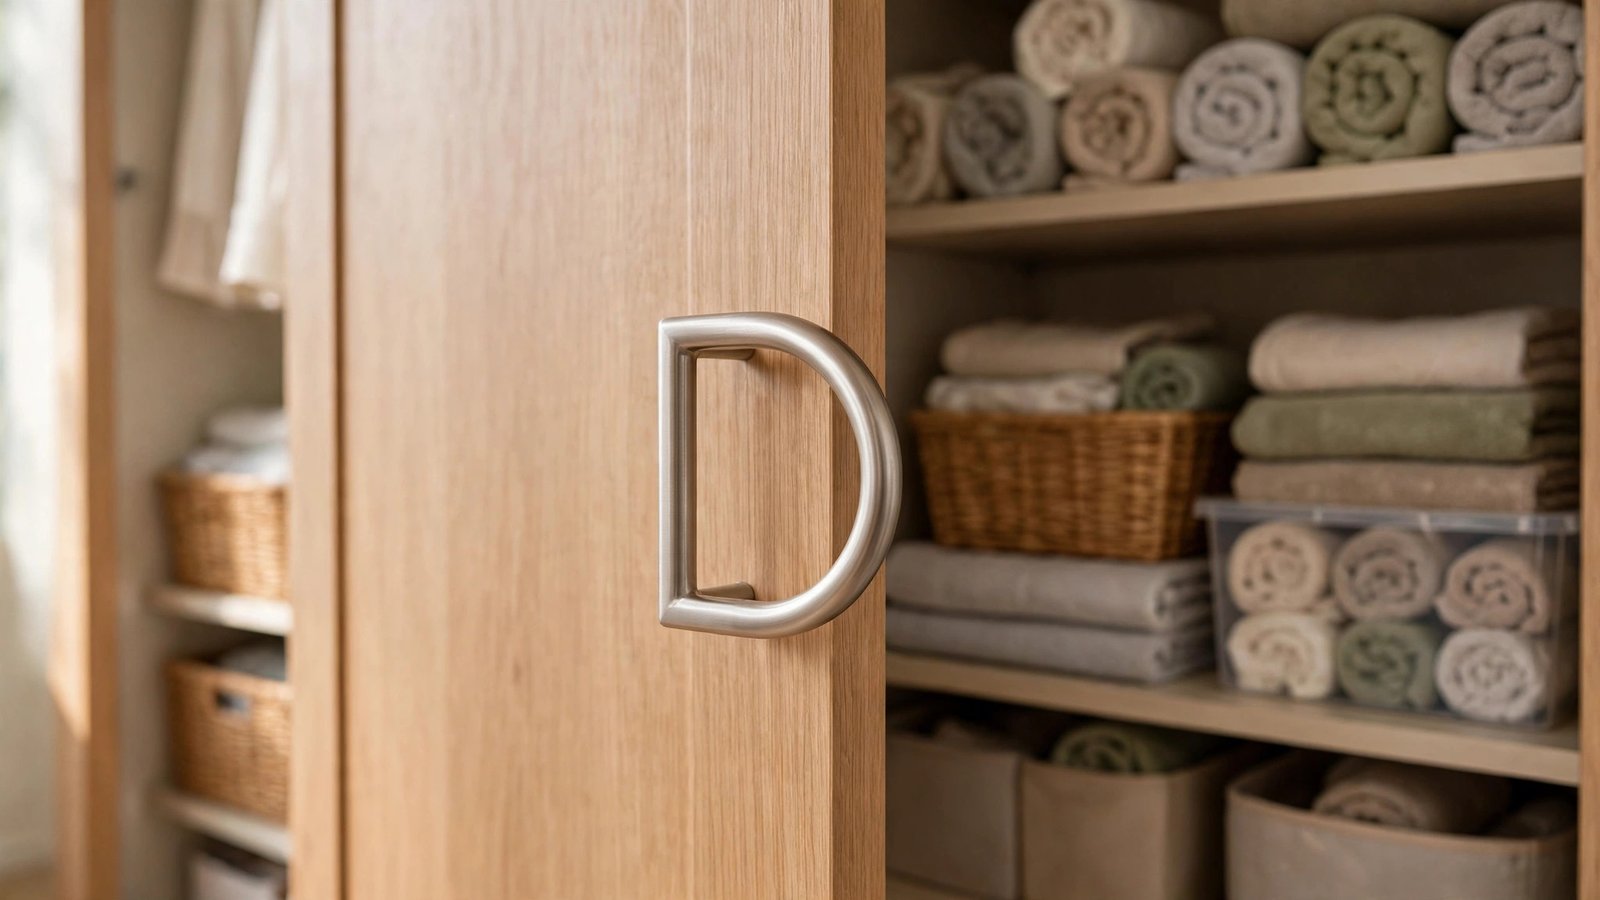
What it is: Replacing small round closet-door or cabinet knobs — which demand a pinch grip and a twist — with magnetic-touch pulls or simple D-shaped handles that you can open with a push, a hook of a finger, or the heel of your hand.
Why it works for renters — with a caveat: This one is genuinely about hand function as much as reach: many wheelchair users also deal with limited grip strength, and a knob you can’t turn makes an entire cabinet useless. The renter-friendly version is a magnetic touch latch or an adhesive-mounted pull that requires no drilling — but if your closet has built-in cabinets with screwed-in knobs, swapping them means unscrewing the originals. That’s reversible (keep the originals in a bag and put them back at move-out), but photograph everything first and check your lease’s stance on hardware changes.
How to do it:
- Identify the worst offenders: any knob on a closet door, cabinet, or built-in drawer that you currently avoid because it’s hard to grip.
- For a no-drill fix, try adhesive-mounted D-pulls or magnetic touch latches on cabinet doors (roughly $8–$15 for a multi-pack). Test the adhesive on an inconspicuous spot first.
- If you go the swap route: photograph each knob in place, unscrew and bag the originals with their screws, install simple bar pulls or D-handles, and store the originals where you’ll find them on move-out day.
- Test every new pull from your chair with the hand you’d actually use — including with lotion-fresh or damp hands, when grip is worst.
Approximate cost: $8–$20 for adhesive or magnetic options; $15–$30 for a set of screw-in replacement pulls (plus keeping the originals safe).
12. Make the Door and the Floor Work for You: Low Over-Door Organizer Plus a Low Rolling Shelf for Shoes
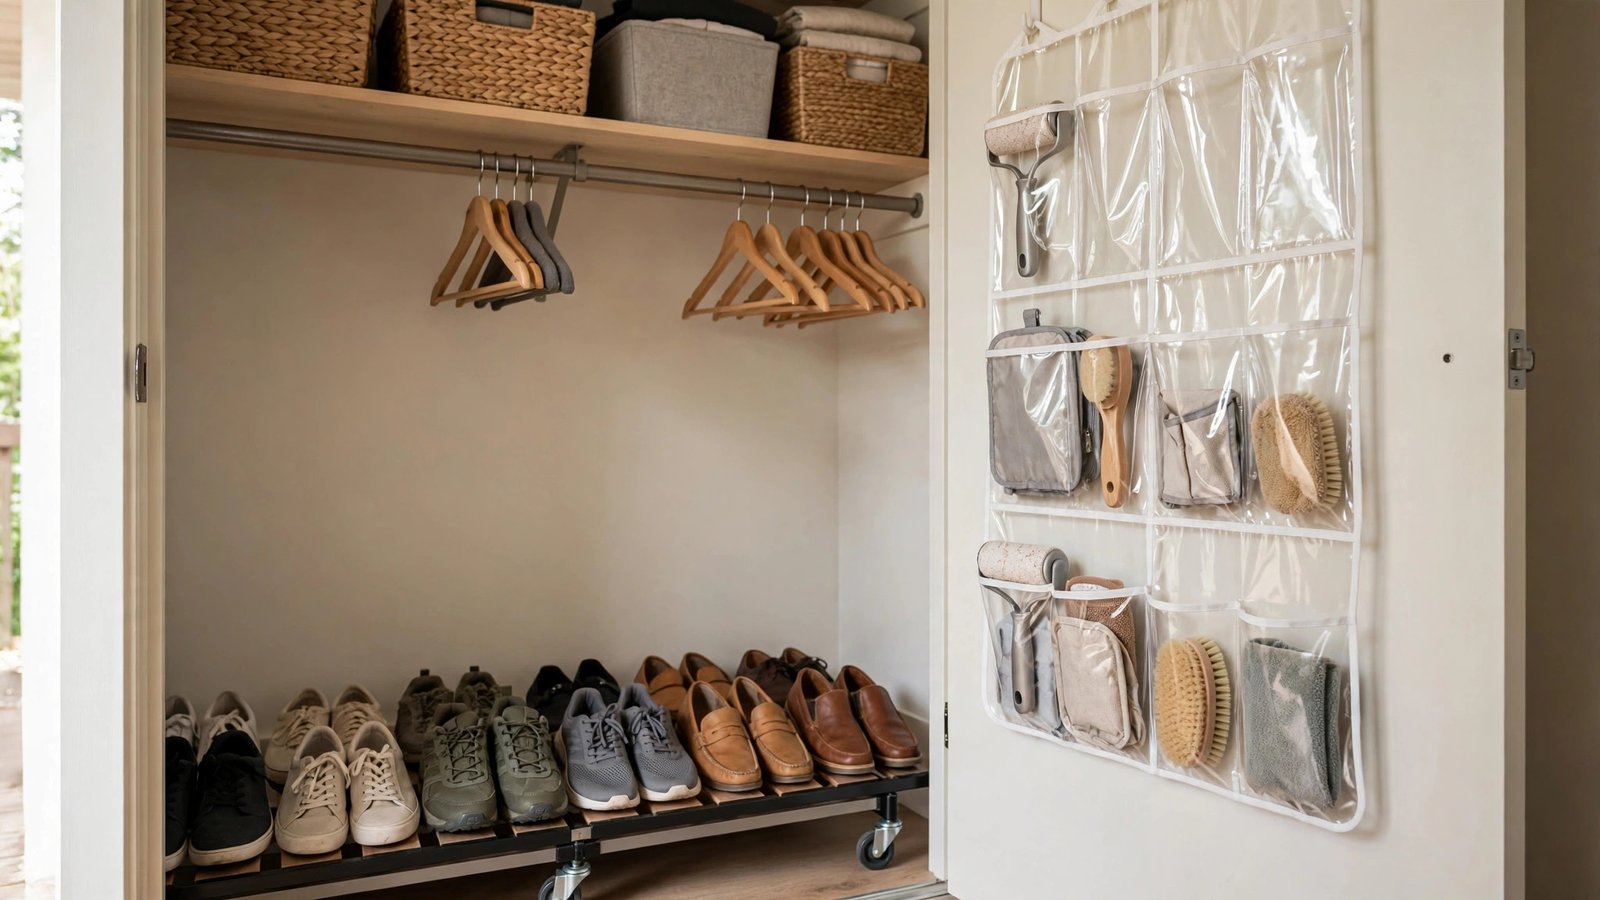
What it is: Two fixes for the two most awkward zones — an over-the-door pocket organizer hung low on the closet door for small items, and a low rolling shelf or shallow tray at the closet floor for shoes, instead of bending to floor level.
Why it works for renters: Both are zero-installation. The honest framing matters here: reaching all the way to the closet floor from a wheelchair is difficult or impossible for many people, so “shoe rack on the floor” advice fails silently. A low rolling shelf — roughly 6 to 10 inches tall — raises shoes just enough to reach without a deep bend, and because it rolls, you can pull the whole shelf toward you.
How to do it:
- Hang a clear-pocket over-the-door organizer on the inside of the closet door, but position it low: let it hang so the usable pockets start at about 30 inches from the floor and the bottom of the organizer sits a few inches above the floor. Trim or fold the top if it’s designed to hang higher — most have adjustable hooks.
- Fill the door pockets with small, light items: sunglasses, gloves, hats, spare chargers, lint roller. Keep heavy items out of door pockets — they swing and stress the hooks.
- For shoes: place a low rolling under-bed-style shelf or a shallow rolling tray (roughly $20–$35) at the closet floor. Line shoes up in pairs, toes facing out so you can identify them from above.
- Roll the shelf out toward you when choosing shoes, then roll it back. If even this height is a stretch, pair it with a long-handled shoehorn and a grabber tool — a $10–$15 grabber extends your reach by over two feet and belongs in every adapted closet.
Approximate cost: $10–$20 for the over-door organizer, $20–$35 for the rolling shelf, $10–$15 for a grabber tool.
A final honest note on dead zones: Even with all twelve ideas, the very top shelf of your rental closet will likely stay out of reach — and that’s fine. Claim it for true long-term storage: the suitcase you use twice a year, off-season bins you rotate in spring and fall (when a friend or family member can help), or nothing at all. An empty top shelf isn’t wasted space; it’s a closet that finally fits the person using it.
Conclusion
A wheelchair-accessible rental closet isn’t a renovation — it’s a reorganization. Lower the rod or pull the clothes down to you, move daily items into the zone between your lap and the top of your head, let rolling furniture do the traveling, and label everything big and bold. Most of the twelve ideas above need no landlord permission at all, and the two that do (the pull-down rod and any screwed-in hardware) are honest, reversible modifications worth asking about. The goal was never to make you reach higher; it was to bring the closet down to where you already are.
I’ve watched renters go from avoiding their closets entirely to getting dressed independently in a single weekend with changes like these. Start with the tension rod and the hooks — under $40 total, one afternoon — and you’ll feel the difference on the very first morning. Then build from there, one idea at a time, at whatever pace feels right.
Please save this visual guide on Pinterest and share it with anyone setting up an accessible rental closet — good closet design should work for every body, and every renter deserves a closet they can actually use.

Amelia leads HavenlyStyle’s editorial vision with a passion for elegant interiors and practical home living. With years of experience in home décor and lifestyle content, she ensures every article is accurate, inspiring, and easy to follow. From timeless decorating ideas to the latest interior design trends, Amelia is committed to helping readers create beautiful, functional spaces while maintaining HavenlyStyle’s trusted and welcoming voice.