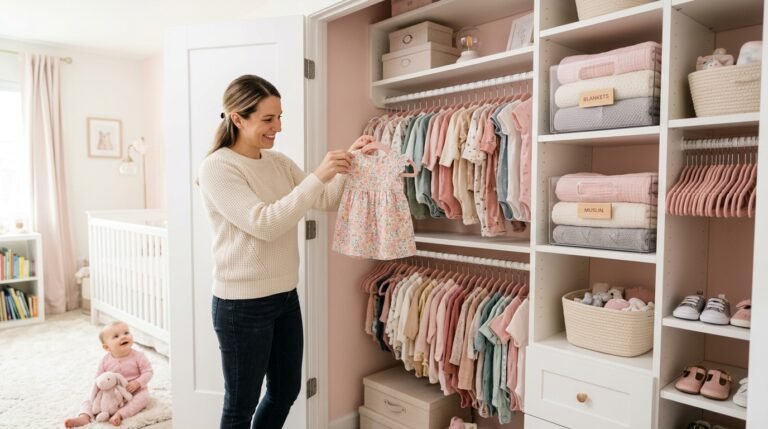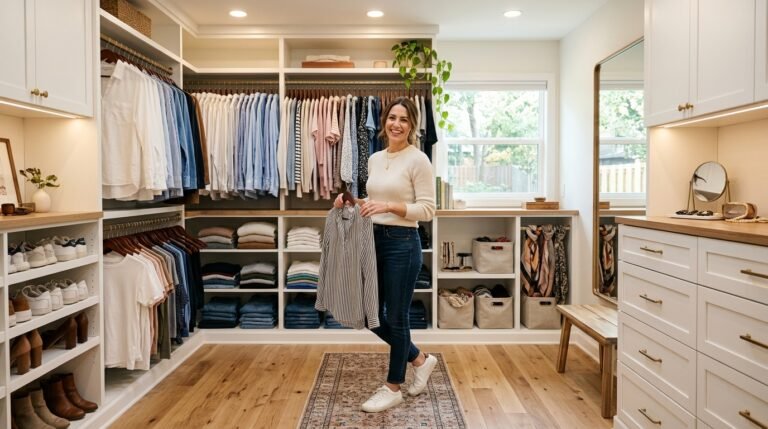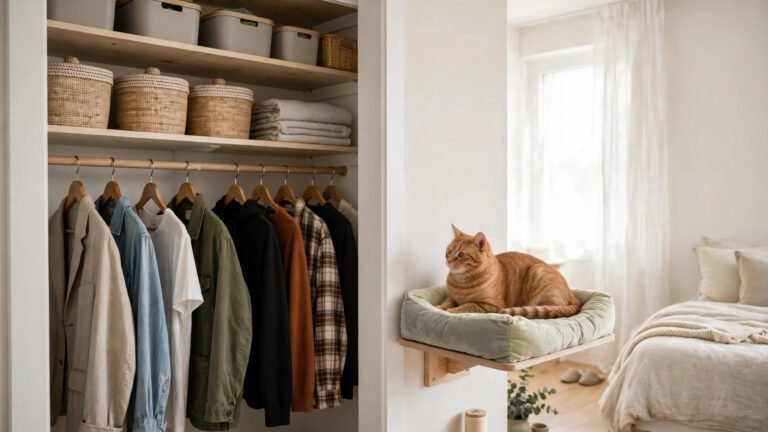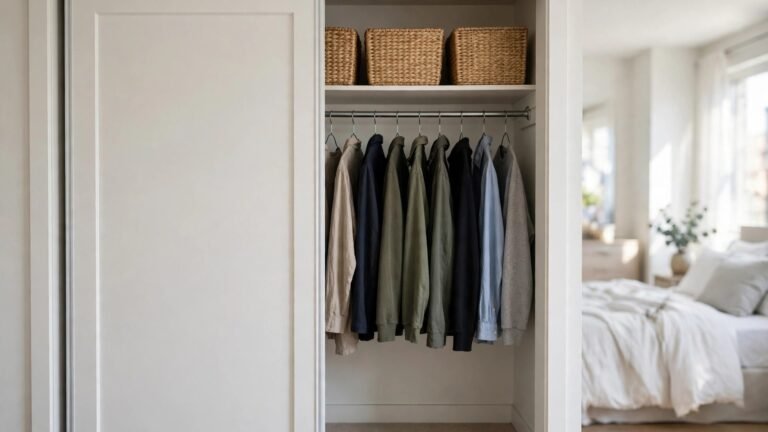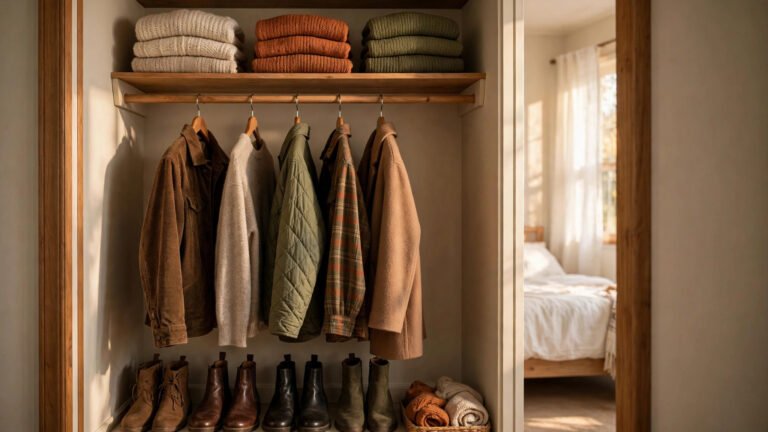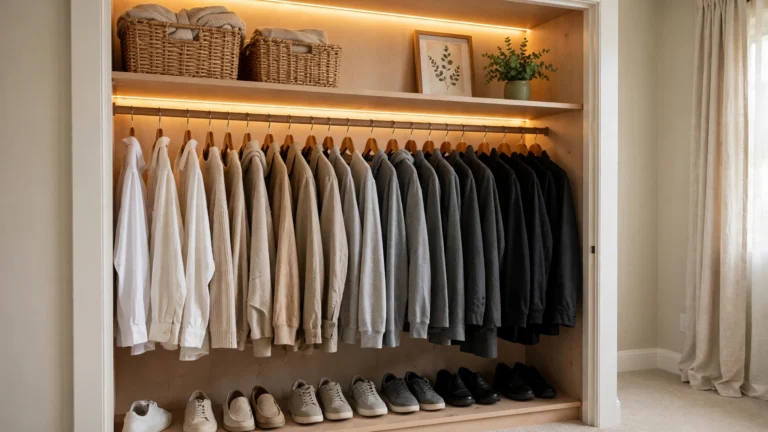
If you’ve ever stared into a rental closet and thought “there’s no way all my clothes fit in here,” you’re not alone — and you’re probably wrong. Most rental closets aren’t short on space. They’re short on rods. One lonely rod, mounted high, leaves a cavern of dead air underneath while your shirts and jackets fight for elbow room up top. I’ve helped dozens of renters in apartments, studios, and shared rentals double their hanging capacity without touching a drill, without losing a dollar of their deposit, and without installing anything their landlord would blink at.
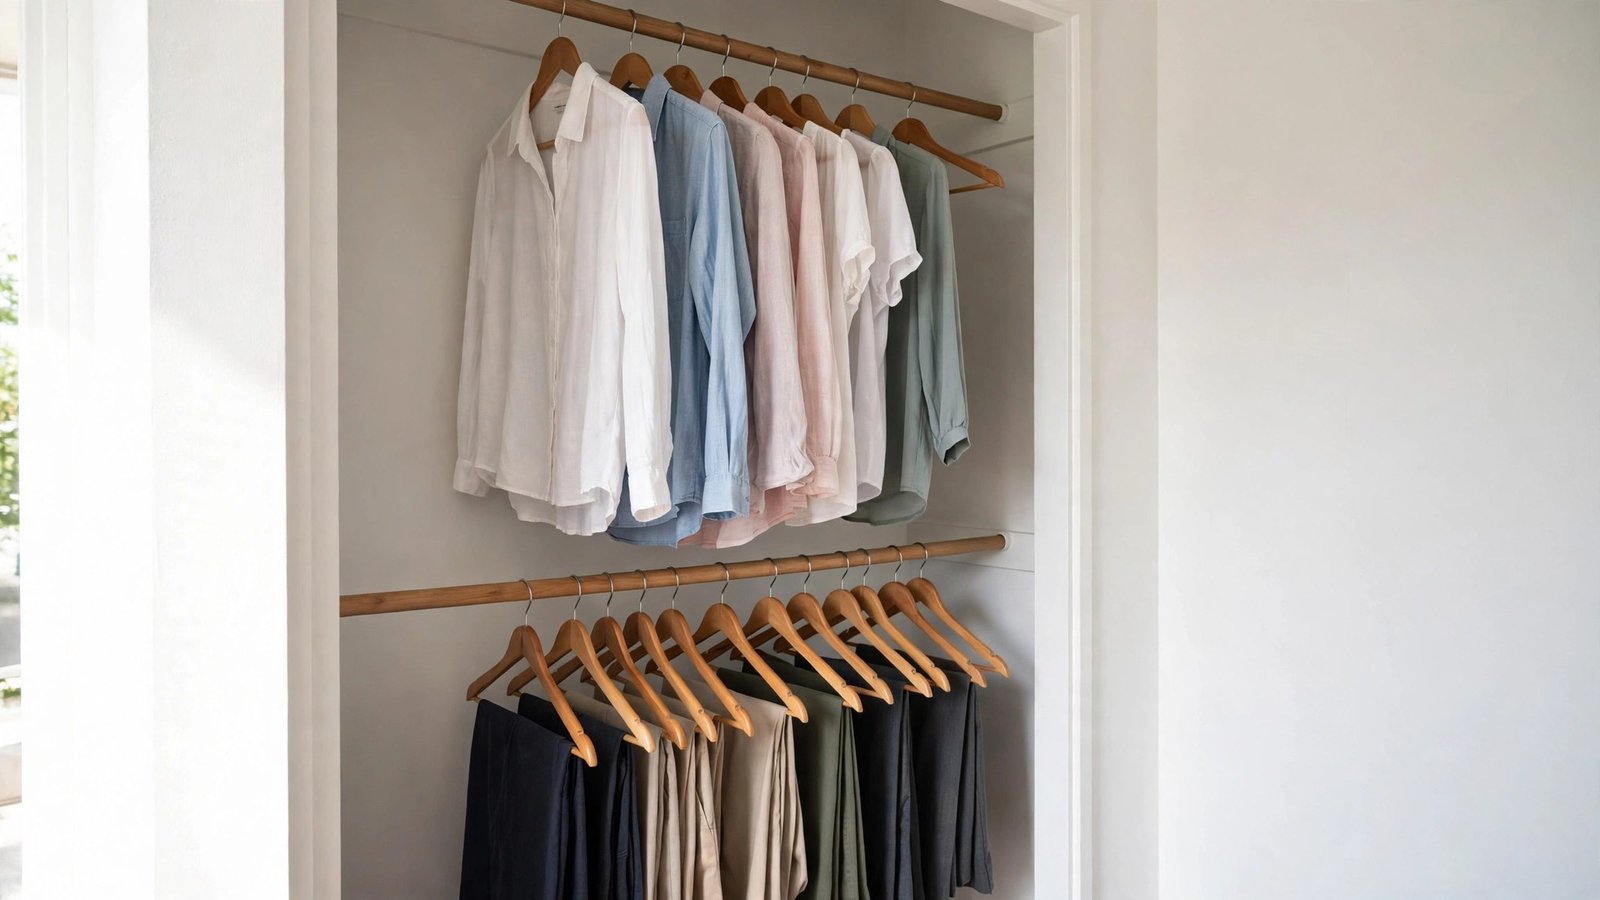
The trick is the double-hang: splitting one tall closet column into two tiers so shirts and tops live up high and pants or shorter pieces live down low. Most shirts and jackets are 28 to 34 inches long — which means a standard 60- to 70-inch closet has room for two of them, stacked. You just need the right second rod, placed at the right height, with the right weight support. Get those three things right and a cramped single-rod closet becomes a boutique-style double-tier wardrobe overnight. This guide walks you through ten distinct double-hang setups — from five-dollar tension rods to freestanding racks that sidestep the closet entirely. Every idea is renter-tested: no drilling into the landlord’s walls, no permanent damage, and I’ll flag anything that needs a quick landlord text before you try it.
Executive Summary
- **One rod wastes half your closet.** A standard single rod leaves 30+ inches of dead space underneath; two tiers at the right heights use every inch.
- **Measure first, buy second.** Closet width, rod height, and garment length decide which setup works — ten minutes with a tape measure prevents the #1 mistake (a lower rod so long or so low that clothes pool on the floor).
- **Tension rods are the renter’s best friend** for closets under 48 inches wide, but twist-lock doubler rods and hanging extenders handle heavier loads with zero installation.
- **Weight ratings are real.** A second tier loaded with denim can easily top 30 pounds — know your rod’s rating and add sag prevention before, not after, the rod bends.
- **Top tier for daily wear, bottom tier for pants and skirts** is the classic split; the guide includes exact height ranges for each garment type.
- **Every idea here is fully removable**, so your deposit stays safe and move-out takes minutes, not hours.
1. The Classic Tension-Rod Doubler
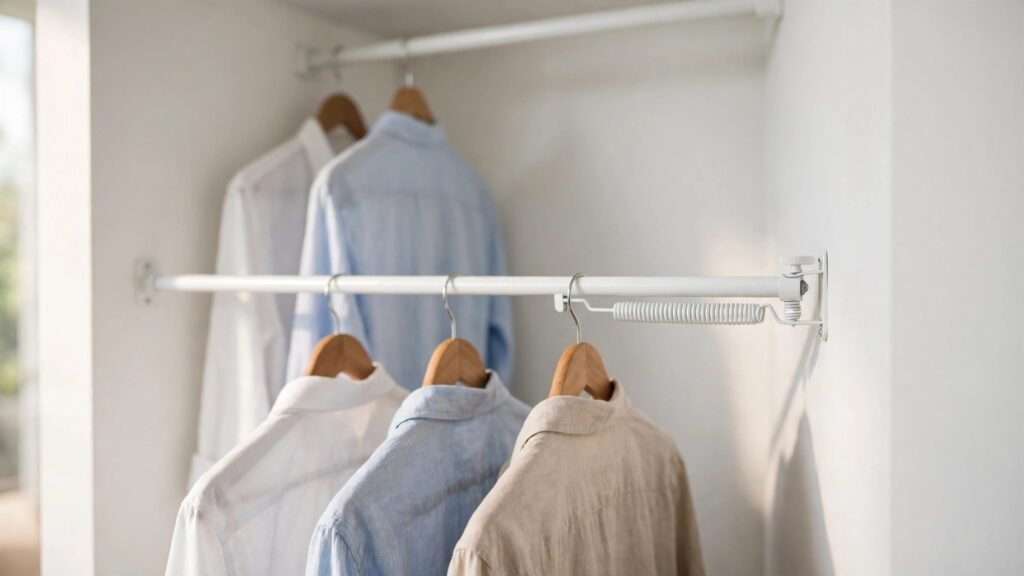
This is the simplest entry point into double-hanging and the one I recommend first to anyone with a narrow reach-in closet. A tension rod is a spring-loaded tube that wedges between two walls — no screws, no brackets, no marks. You measure the inside width of your closet at the height you want the second rod, extend the tension rod until it fits snugly, and it holds itself in place through friction alone.
Why it works so well for renters: the entire setup is reversible in seconds. If your landlord does a mid-lease inspection, nothing is mounted, nothing is marked, and the rod can be popped out with one hand. Tension rods also cost almost nothing — the approximate range is $5 to $20 depending on length and finish — so the risk is essentially zero if you misjudge your measurements.
How to do it in four steps. First, measure the inside width of your closet at both the current rod height and at your planned lower height (roughly 40 to 42 inches from the floor for pants and shorter tops). Second, buy a tension rod rated for at least the span you’re covering — look for models that list a maximum width at or above your measurement, and buy one with rubber end caps so the walls stay scuff-free. Third, extend the rod and twist it into place at the lower height, testing its hold by hanging three or four heavy hangers before you commit your whole wardrobe. Fourth, transfer your shorter garments — pants, skirts, folded tees on hangers — to the lower rod, keeping lighter shirts up top so the heavier items sit lower where the structure is strongest.
Approximate cost: $5–$20. Renter test: fully reversible, zero wall contact beyond friction.
2. Twist-Lock Doubler Rods That Hang From Your Existing Rod
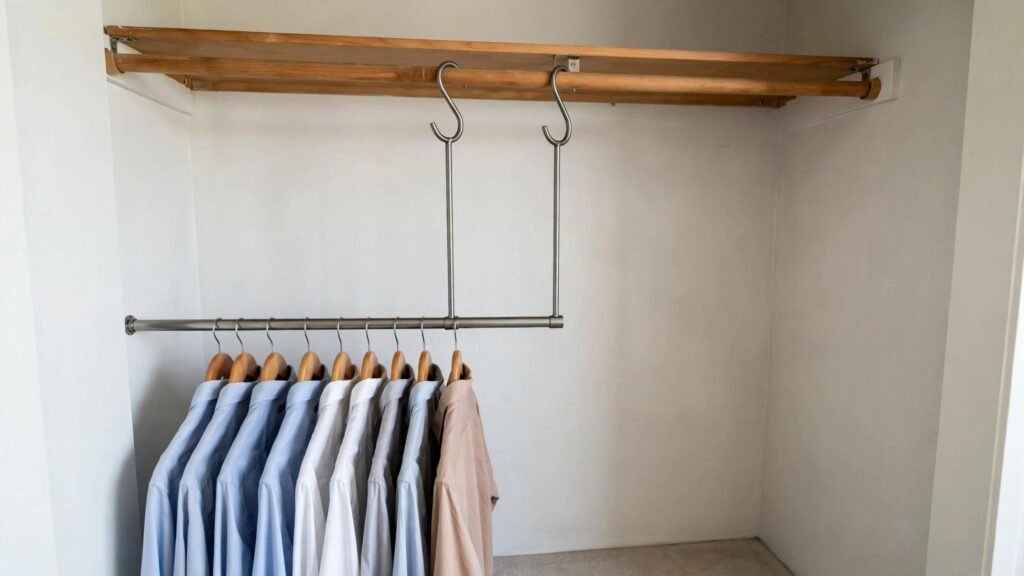
If you already have a sturdy existing rod, you don’t need to touch the walls at all. Twist-lock doubler rods are S-curved or J-hooked bars that grip your current closet rod and hang straight down from it, creating a second tier suspended underneath. You twist the hook to tighten it around the rod, and gravity plus a set screw holds it steady.
Renters love these because they add hanging space without a single new point of contact with the apartment itself. Nothing touches the walls, nothing touches the floor — the existing rod carries everything. That also means one thing to check: your current rod must be solid. If the existing rod wobbles, sags, or is itself a cheap tension rod near its weight limit, hanging a loaded second tier from it is asking for a 2 a.m. closet collapse. I always tell renters to test the main rod first — grab it and give it a firm pull. If it doesn’t move, you’re good.
The how-to is quick. First, confirm your existing rod is round and at least 1 inch in diameter, since most doubler hooks are sized for standard rods. Second, measure how low the doubler will hang — most models drop 24 to 28 inches below the main rod, so check that your lower garments won’t drag on the floor. Third, slide the hooks over the main rod at evenly spaced intervals (two hooks per rod for spans under 36 inches, three for wider). Fourth, tighten the twist-lock screws and load the lower rod gradually, heaviest items first, watching for any slide.
Approximate cost: $12–$30 per doubler rod. Renter test: nothing touches the apartment — pure addition.
3. Chain-Link Extenders for Adjustable Height
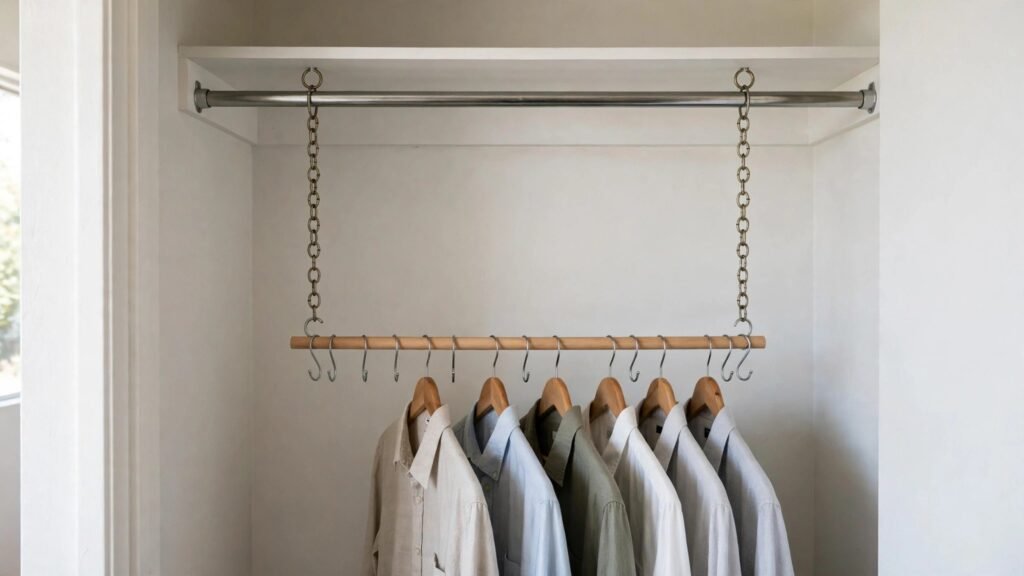
Here’s a trick I picked up from a renter in a studio with a weirdly low closet ceiling: instead of a rigid second rod, hang a chain between your existing rod and a dowel or spare rod. S-hooks at each end let you choose exactly which link the lower rod sits on, which means you can fine-tune the height in two-inch increments. Got long tunics that need 42 inches? Drop the chain. All cropped jackets? Raise it.
The renter advantage is adjustability without commitment. Seasonal wardrobes change — what you need for summer skirts versus winter coats is different — and a chain setup adapts in minutes with no re-installation. Decorative chain (white or chrome) even looks intentional rather than improvised, which matters if your closet is visible from your bedroom.
Set it up in five steps. First, get a length of sturdy decorative chain rated for hanging — not costume jewelry chain — plus two S-hooks and a dowel or spare rod cut to your closet’s inside width. Second, loop the chain over your existing rod in two or three places, spacing the loops evenly. Third, hook the lower dowel through the S-hooks at your chosen link height, then double-check the clearance between the dowel and the closet floor with your longest garment hung on it. Fourth, test with weight: hang your heaviest items and watch for an hour to make sure the links hold. Fifth, trim or tuck any excess chain so it doesn’t snag sleeves.
Approximate cost: $10–$25 for chain, hooks, and dowel. Renter test: hangs from existing hardware only — fully removable.
4. The Bracket-and-Dowel Split (With Command-Style Adhesives)
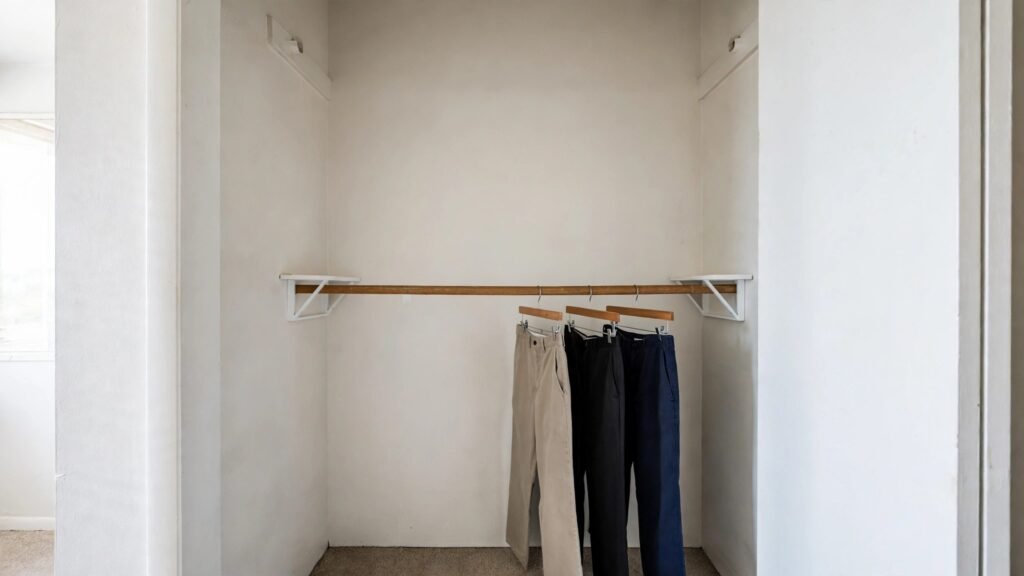
For closets with flat side walls and nothing to tension against — think wide walk-ins or alcoves — a pair of open-end shelf brackets paired with a wooden dowel creates a rock-solid lower rod. The renter-safe twist: mount the brackets with high-strength removable adhesive strips rated for the load instead of screws. The brackets never actually bear the full load on the adhesive alone; the dowel sits across two brackets and the weight distributes downward, so the strips mostly prevent shifting.
I want to be honest here: this one is the heaviest-lifting option in the guide, so weigh your closet contents realistically. If the bottom tier will hold 20+ pounds of jeans and jackets, use the highest-rated removable adhesive you can find and give it the full cure time (usually 24 hours) before loading. Test with a slow, staged load — a few hangers the first evening, more the next day.
Here’s the process. First, decide the lower rod height and mark level points on both side walls — a small level app on your phone works fine. Second, clean both wall spots with rubbing alcohol and let them dry completely; adhesive bonds fail on dust, not on weight. Third, apply the removable adhesive strips to the backs of the brackets, press each firmly for 30 seconds, and wait the full cure time the package specifies. Fourth, rest the dowel (cut to fit, about 1.25 inches diameter for spans under 48 inches) into the bracket cups and check that it sits level. Fifth, load gradually and re-check level after a week — if anything shifts, adjust before it becomes a problem.
Approximate cost: $15–$35 for brackets, dowel, and adhesive. Renter test: removable adhesive, no holes — just allow full cure time and stay honest about the weight.
5. Freestanding Double-Rail Garment Rack Beside (or Instead of) the Closet
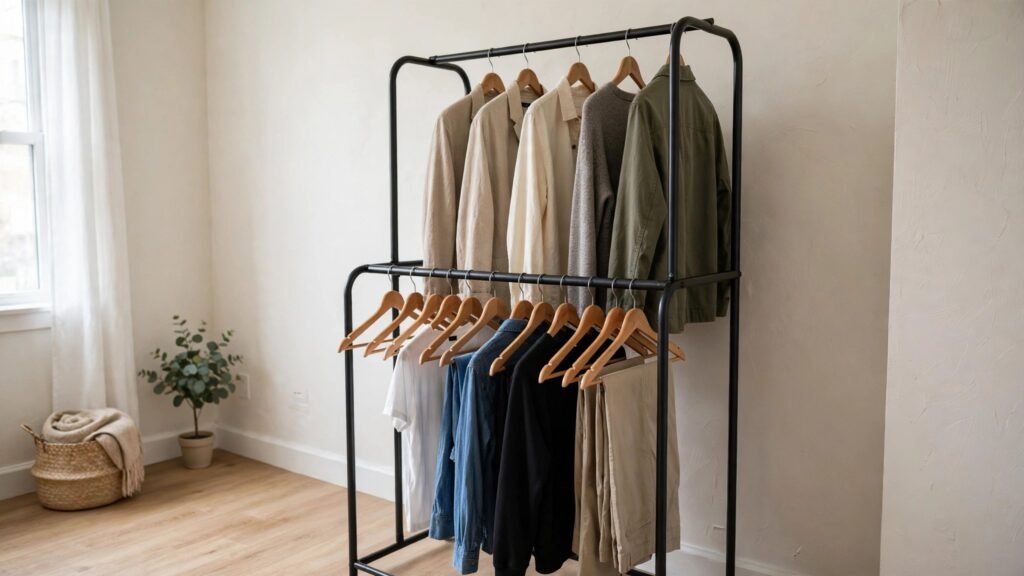
Sometimes the best double-hang doesn’t involve your built-in closet at all. A freestanding double-rail garment rack — the kind with two parallel horizontal bars at different heights — gives you an instant two-tier wardrobe you can place anywhere: beside a small closet, in a bedroom corner, even in a studio where the “closet” is more of a suggestion than a room. I’ve watched renters use one of these to turn dead corner space into their primary wardrobe while the actual closet handles overflow and shoes.
This is also the answer for closets with sloped ceilings, odd alcoves, or built-ins that are too shallow for hangers. The rack needs nothing from your apartment — no walls, no doors, no existing hardware. Assembly is tool-free on most models, and when you move, it folds flat and goes in the truck.
Four steps to get it right. First, measure your available floor footprint and pick a rack sized to it — most run 36 to 48 inches wide, and wider racks carry more without tipping. Second, assemble it in the room where it will live, because fully assembled racks rarely fit through doorways. Third, position it so the back rail sits a few inches from the wall for stability, and load the back/bottom rail first with your heaviest garments to lower the center of gravity. Fourth, if you have kids or pets, wedge a furniture strap or place the rack against a wall corner — free-standing means tip-able, so don’t skip this in a family apartment.
Approximate cost: $25–$80 depending on width and build. Renter test: 100% freestanding — the gold standard of deposit safety.
6. Tension Rod + Shelf: The Split-Level Combo
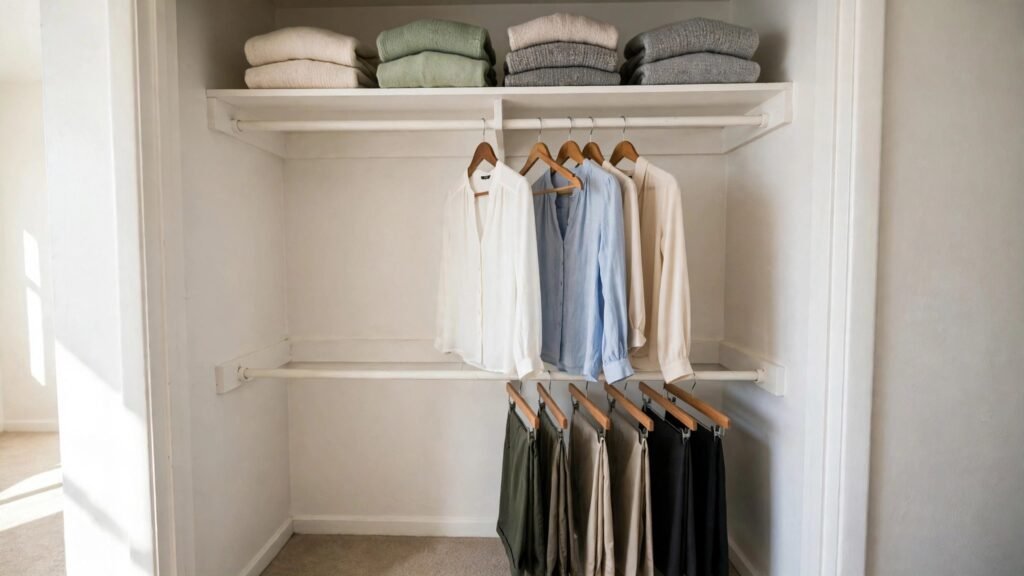
If your closet already has a shelf above the rod (most rental closets do), you’ve got a natural double-hang waiting to happen. Add a tension rod underneath the shelf, roughly 12 to 16 inches below it, and the shelf area becomes your top tier for folded items while the new rod handles hanging. Meanwhile your original lower rod stays right where it is. One closet, two hanging zones, plus the shelf working as a third storage level.
What makes this combination so effective for renters is that it uses structure the landlord already provided. You’re not fighting the closet’s layout; you’re completing it. The shelf bears no extra load from the tension rod — the rod tensions between the side walls — so you don’t risk cracking the shelf board. I recommend this most often for deep closets (24+ inches), where a single rod leaves an absurd amount of vertical space unused.
The setup takes about fifteen minutes. First, measure the width between the side walls just below the shelf and confirm at least 10 inches of clearance between the shelf bottom and where your new rod will sit. Second, choose a tension rod sized to that width with a bit of overlap in its adjustment range. Third, install the rod so it sits parallel to and directly beneath the shelf’s front edge — this keeps garments aligned and looks tidy. Fourth, move your shorter hanging items (blouses, folded tees, tank tops) to the new upper rod, keeping the original rod for longer pieces and the shelf for folded sweaters, bags, or storage boxes.
Approximate cost: $5–$20 for the tension rod. Renter test: fully reversible; the shelf is untouched.
7. Door-Mounted Over-the-Door Double Hooks With a Dowel
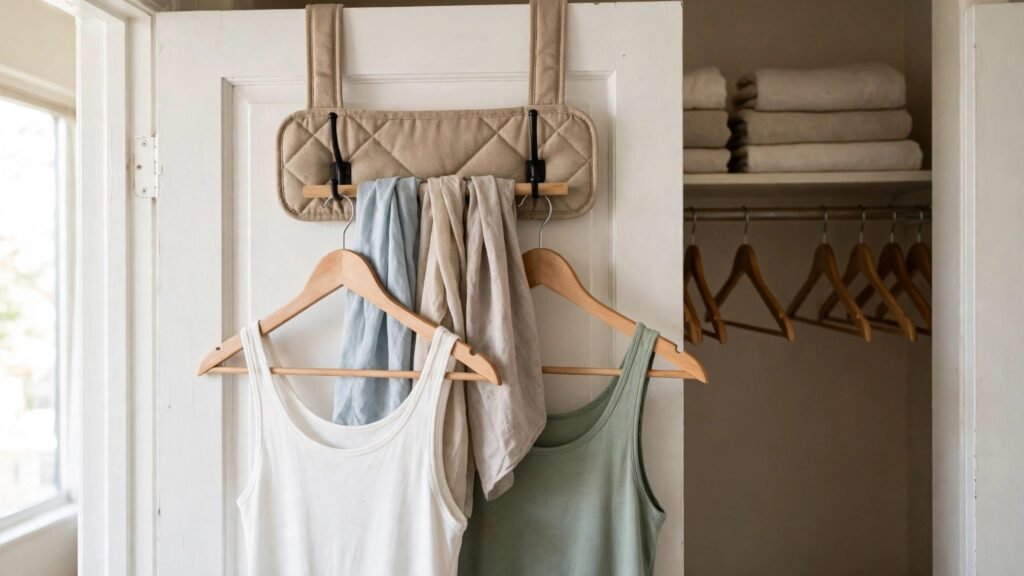
Closet doors are underused real estate. Over-the-door hook racks — the kind with padded brackets that slip over the top of the door — combined with a short dowel threaded through two of the hooks, create a slim double-hang zone for lightweight items: scarves, camisoles, workout tops, tomorrow’s outfit. It won’t hold your denim collection, but it absolutely handles the 10-to-15-pound category of daily essentials.
Renters should know the one caution here: the door must close and latch normally with the hooks on. Thick brackets can prevent the door from latching, which is both annoying and, in a fire-safety sense, not something to ignore — bedroom doors need to close. Test the latch before you load anything, and if the door won’t close, this setup isn’t for your door; skip to another idea.
Five quick steps. First, confirm your closet door is a standard interior door with at least a quarter inch of clearance above it when closed. Second, hang the over-the-door hook rack and close the door fully — check the latch clicks. Third, select two hooks at the same height and thread a dowel (cut to just under the door’s width) through them, letting the hooks’ upward curl cradle the rod. Fourth, start with the lightest items — scarves, belts, tank tops — and stay under the hook rack’s stated weight limit. Fifth, remove the dowel before slamming the door or during move-out inspection; the hooks alone draw zero attention.
Approximate cost: $10–$25 for the hook rack and dowel. Renter test: no contact with walls or door surfaces beyond the padded brackets — completely reversible.
8. Hanging Closet Extender Bars (The Horizontal Clamp Style)
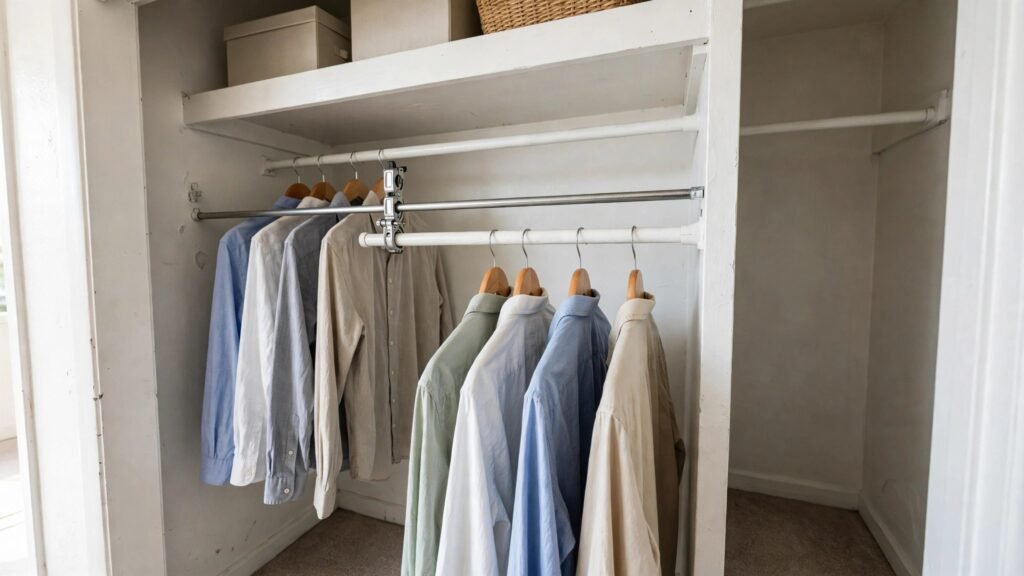
There’s a category of product designed specifically for this job: a horizontal bar with clamp-style ends that grip your existing closet rod and extend outward, giving you a second rod running parallel to the first — one at the back, one at the front. Because the two rods sit at the same height, this is technically a side-by-side double hang rather than an upper/lower one, but the effect is the same: twice the hanging space in the same closet, with zero installation.
Why renters should consider it: installation takes about thirty seconds per bar and involves no measurements beyond checking that your closet is deep enough. Standard closets are 24 inches deep; these extenders need roughly 20 inches of depth to work comfortably. In a shallow reach-in (some older apartments run 18 inches), hangers on the extender will jut past the door frame — measure depth first and skip this idea if you’re under 20 inches.
Setup in four steps. First, measure your closet depth and confirm 20+ inches of clearance. Second, clamp the extender bar onto your existing rod near one end, tightening the clamp screw firmly. Third, check that hangers slide freely on both the original rod and the extender without colliding — garments on the back rod need a little breathing room from garments on the front one. Fourth, distribute weight thoughtfully: keep the heavier pieces on the original rod (it’s anchored to the walls) and the lighter pieces on the extender (it’s clamped, not anchored).
Approximate cost: $15–$30 per extender bar; two bars cover a wide closet. Renter test: clamps onto existing hardware only — leaves no trace.
9. The Under-Shelf Rod With Sliding Brackets
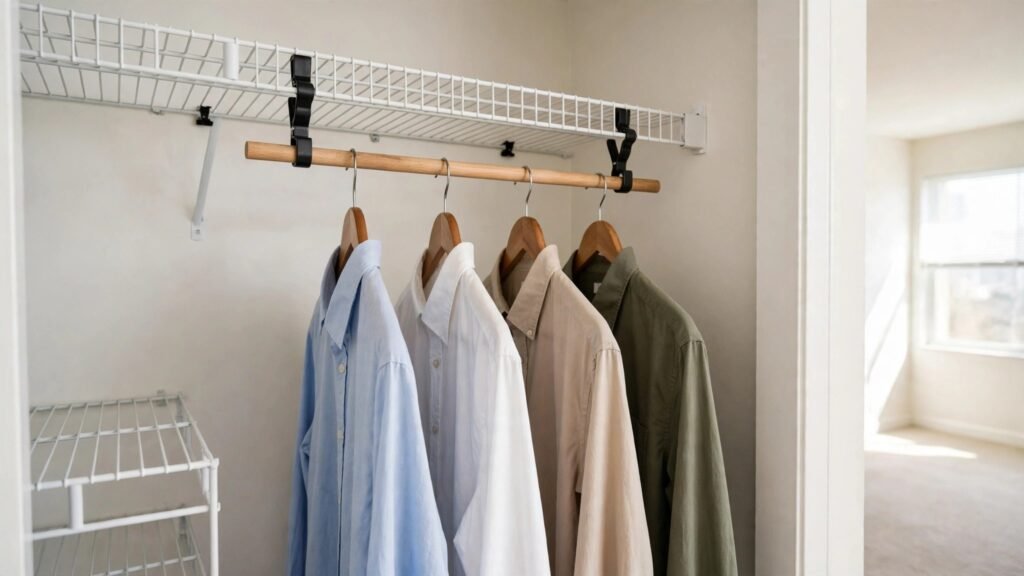
Many rental closets have a wire or wood shelf mounted high with the single rod beneath it. Under-shelf rod brackets — small hooks or clamps that grip the shelf itself — let you hang a second rod directly below that shelf, independent of the main rod. The result is a dedicated upper tier: great for blouses and shirts you grab daily, since the height keeps them visible and wrinkle-free.
This is one of my favorite setups for shared closets, because it creates zones. One person gets the main rod and the under-shelf tier, or you split the tiers by garment type rather than by person. It also shines in kids’ closets, where the main rod is mounted at adult height and the under-shelf rod brings daily clothes down to a reachable level.
Five steps. First, examine your shelf: wire shelves take clip-on brackets, solid wood shelves take screw-free clamp brackets — buy the type that matches. Second, position the brackets 12 to 16 inches apart near the front edge of the shelf so garments hang clear of the wall. Third, slot your dowel or rod (a 1-inch wooden dowel works perfectly and costs almost nothing) through the brackets. Fourth, verify the total height: the under-shelf rod should leave at least 40 inches above the floor for shirts, or drop the brackets to the shelf’s lower mounting point if your shelf is extra high. Fifth, load it with your daily-rotation tops — this tier earns its keep on visibility, so keep it to pieces you actually reach for.
Approximate cost: $8–$20 for brackets and dowel. Renter test: grips the existing shelf only — no new holes, no wall contact.
10. Measure Once, Hang Twice: The Full-Width Weighted Setup
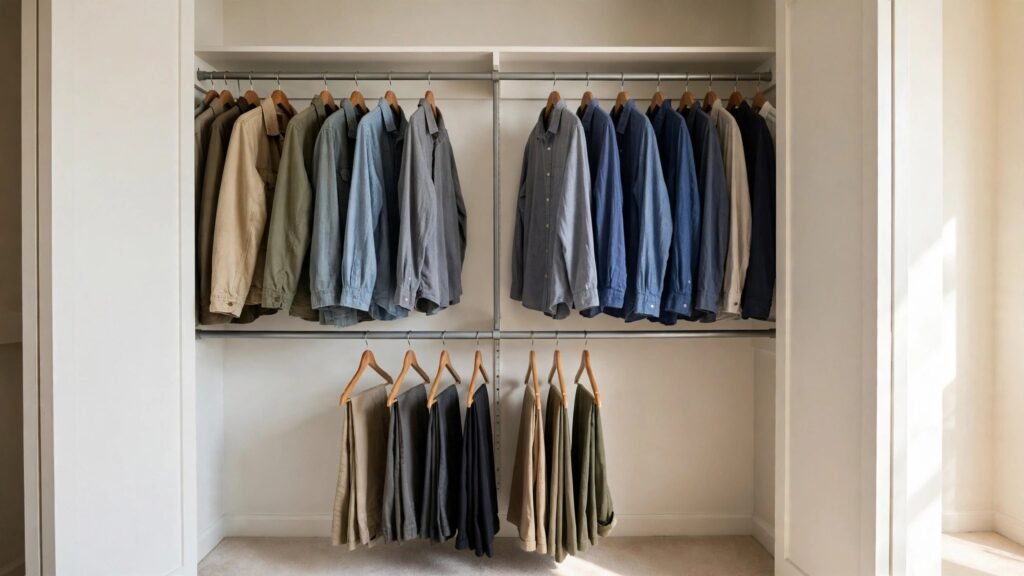
The final idea is less a product and more a system — the one I recommend to renters who are ready to do double-hanging properly from the start. You measure the full width of the closet, install a proper full-width second rod at the mathematically correct height, support it against sag with a center support, and assign every garment a tier based on its length. Done right, this is the closest a rental closet gets to custom built-ins, and it’s still 100% removable.
Here’s the logic. Measure your closet’s inside width and the height of the existing rod. Your upper tier garments need roughly 40 inches from rod to floor (shirts and blouses), and your lower tier needs roughly 42 inches (pants, skirts). If the existing rod sits at 66 inches — the most common rental height — a second rod at 40 inches from the floor leaves 26 inches of drop for the upper tier’s hangers… which is too short for shirts. So the real move is: lower the effective upper rod by swapping it to a tension rod at 60 inches and placing the second rod at 38 inches. Both tiers get real garment length, nothing touches the floor, and the math works.
The five steps. First, measure width, existing rod height, and the length of your longest garment for each tier. Second, buy two rods if needed: one full-width rod for the lower tier (a closet rod with socket-style ends that tension or rest in brackets), and decide whether your existing rod stays or gets swapped for a height you control. Third, install the lower rod at your calculated height using whichever mounting method fits your closet — tension for narrow spans, adhesive brackets for wide ones. Fourth, add sag prevention: for any span over 48 inches, place a center support — a vertical tension pole from the rod down to a shelf or floor-mounted base, or a third bracket at the midpoint. A loaded 60-inch rod without center support will bow; this is the most common double-hang failure I see. Fifth, assign tiers by garment length and stick to the system: tops and jackets up top, pants and skirts below, longest dresses and coats on the closet’s end where the single original rod can stay full-height if you kept it.
Weight reality check: a fully loaded double-hang closet can carry 60 to 80 pounds of clothing. Whatever mounting method you choose, respect its rating, add center support on wide spans, and re-check level monthly for the first season. This is the setup that makes renters text me photos.
Approximate cost: $20–$60 for two rods plus a center support. Renter test: built from removable components only — tension, adhesive, or freestanding parts — so move-out is an hour of unscrewing and peeling, not patching and painting.
Conclusion
A rental closet with a single rod isn’t a storage problem — it’s an unfinished setup. Every idea in this guide works from the same simple truth: your closet already has the vertical space for twice the clothes; it just needs a second rod at the right height, mounted in a way your landlord will never know about. Start with the cheapest test — a five-dollar tension rod in the lowest-commitment idea that fits your closet — and let the results convince you before you spend more.
The transformation is genuinely dramatic. I’ve watched renters go from clothes piled on the closet floor to a two-tier wardrobe that looks like it came with the apartment, all without a drill, a hole, or a single anxious thought about the security deposit. Measure twice, respect the weight ratings, and give your garments the tiers they deserve.
Please save this visual guide on Pinterest and share it with a renter friend who’s still fighting a single lonely closet rod — good closet karma is meant to be passed along.

Amelia leads HavenlyStyle’s editorial vision with a passion for elegant interiors and practical home living. With years of experience in home décor and lifestyle content, she ensures every article is accurate, inspiring, and easy to follow. From timeless decorating ideas to the latest interior design trends, Amelia is committed to helping readers create beautiful, functional spaces while maintaining HavenlyStyle’s trusted and welcoming voice.