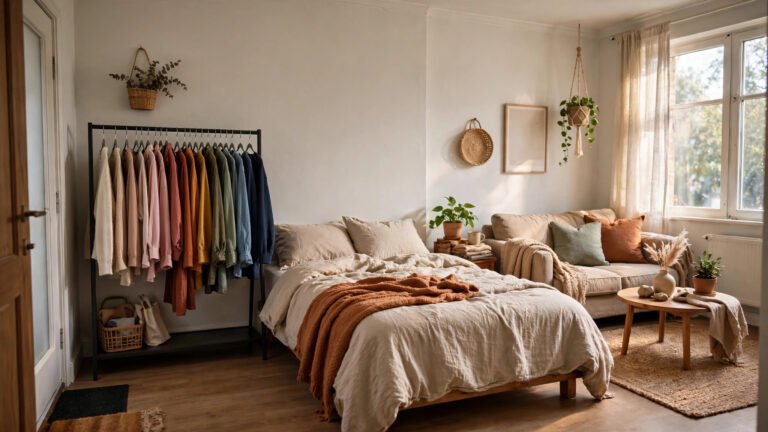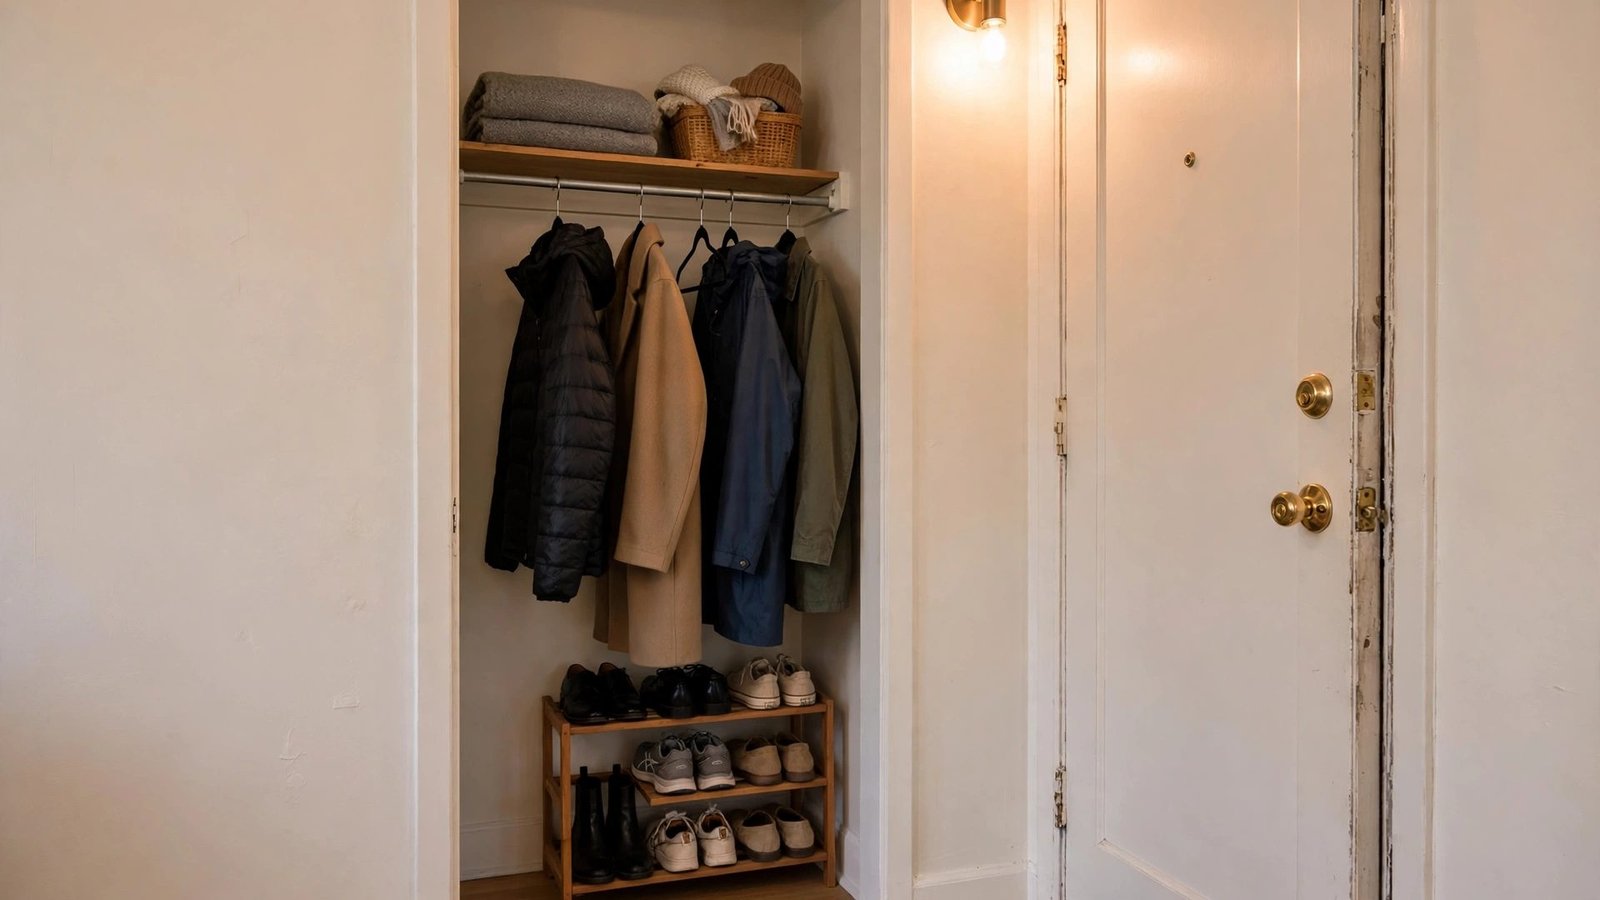
I've helped dozens of renters stand in their entryway and do the same helpless thing: stare at the small closet by the front door while coats slide off a crowded rod, shoes avalanche onto the mat, and keys vanish into the void. The entryway closet is the hardest-working closet in a rental — it has to handle coats, shoes, bags, umbrellas, keys, the dog leash, and whatever guests bring — and it's almost always the smallest one, usually a shallow box with a single rod, one high shelf, and a door that opens into your only walkway. And because it's a rental, the obvious fixes are off the table: no drilling into walls you don't own, no built-in mudroom systems, nothing that puts your deposit at risk.
Here's what I've learned after years of organizing rental entryways: the entryway closet doesn't need to be bigger. It needs to work like a *launchpad* — everything you need to leave the house in one grab, everything you carry home with a place to land. The twelve ideas below are built for the actual constraints of the small front-door closets in US apartments and rental houses: renter-safe, no-drill, fully removable, with honest approximate cost ranges. Every single one passes the move-out test — it comes down cleanly and travels with you.
Executive Summary
- Run it like a launchpad, not a storage closet. The entryway closet should hold what leaves the house with you daily — current coats, daily shoes, keys, bags — not everything you own. Zone by frequency of use.
- The door is free real estate. Over-the-door racks and removable adhesive hooks add serious capacity for bags, umbrellas, and keys without a single hole in any wall.
- Shoes belong low, contained, and counted. A narrow floor tower plus a boot tray with a lip ends the shoe avalanche and protects rental floors from wet-weather damage.
- Light the box before you organize it. Most entryway closets are dark caves; battery motion-sensor LEDs are renter-safe and make every other idea work better.
- The capsule rule keeps it working. One-in-one-out and a twice-yearly seasonal swap are what keep a small entryway closet functional long after the organizing weekend ends.
1. Reset the Coat Rod: Slim Hangers and Daily/Back Zoning
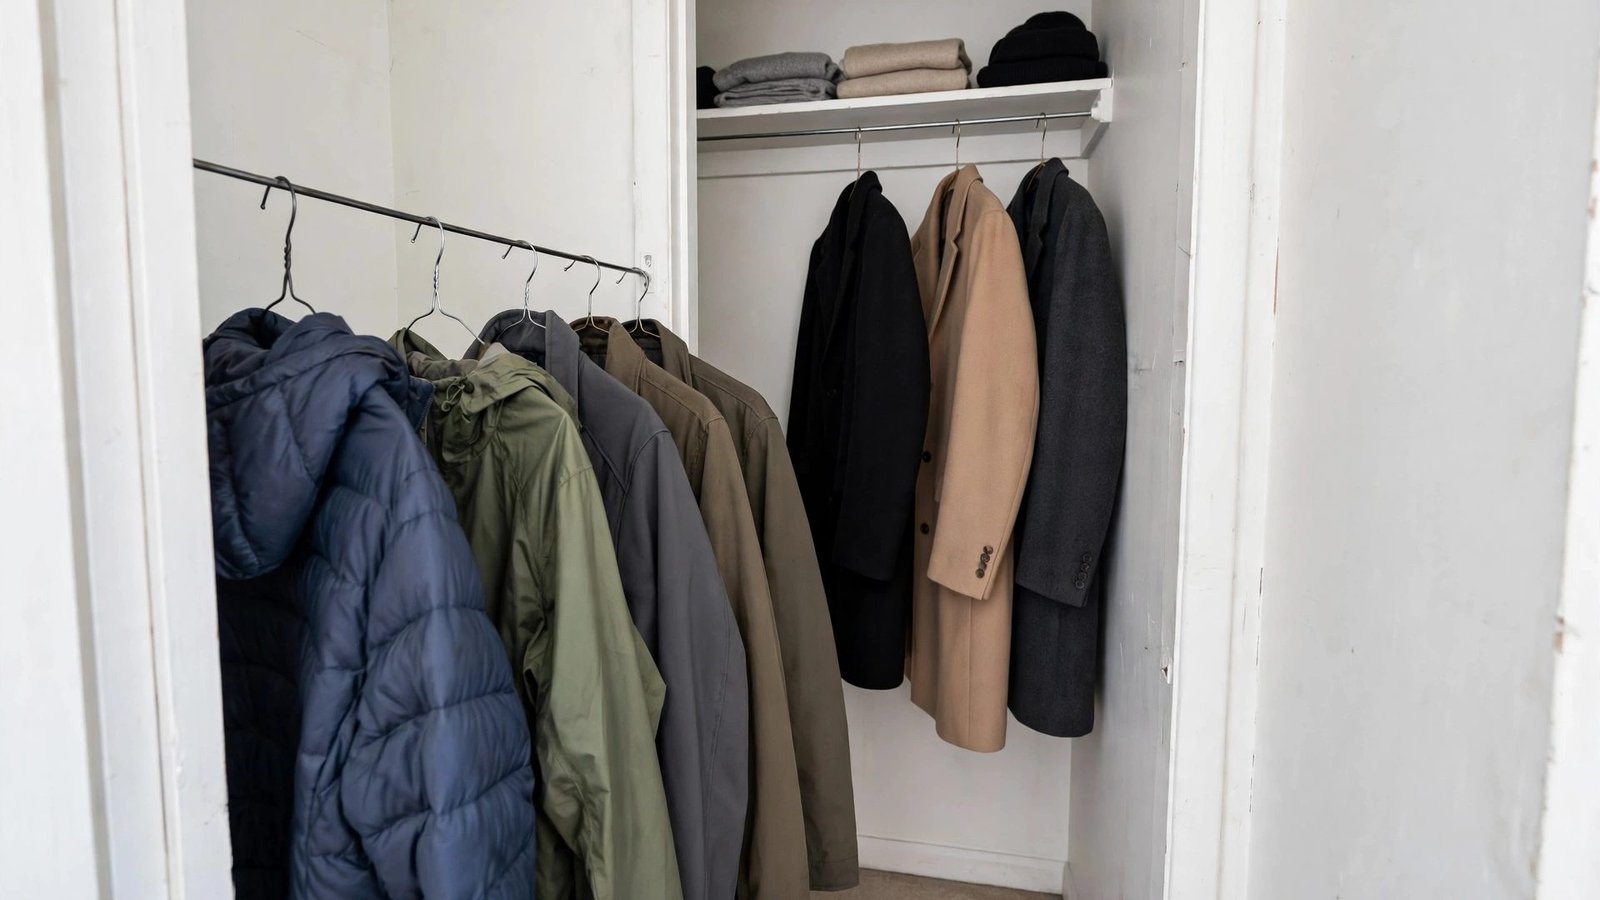
The entryway coat rod fails for the same reason every time: bulky hangers and no zones. Standard plastic and wooden hangers are nearly an inch thick each, so a four-foot rod loses over a foot of capacity to hanger plastic alone — and when every coat is crammed shoulder to shoulder, you can't find anything, so coats end up on the dining chair. The reset fixes both problems at once.
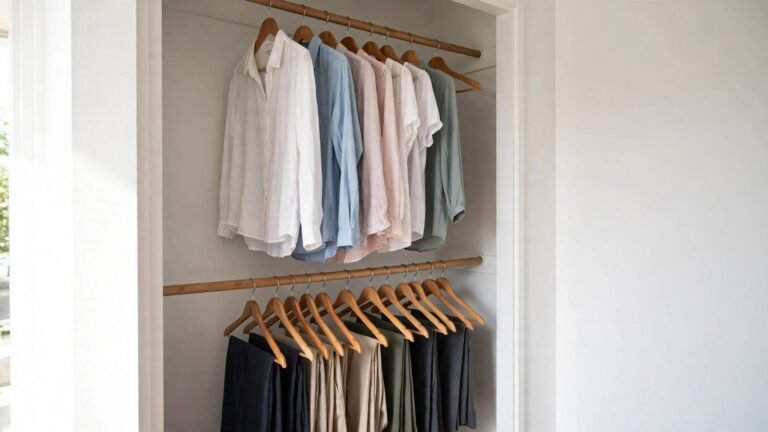
Start by pulling every coat, jacket, and hoodie off the rod and sorting into two piles: *daily* (what you actually wear this month) and *occasional* (the dress coat, the ski parka in April, the "just in case" windbreaker). Rehang on slim flocked hangers — they're about a fifth of an inch thick, so the same rod holds 20 to 30 percent more, and the flocked coating keeps silky linings from sliding off. Then zone the rod: daily coats on the front half nearest the door opening, occasional pieces on the back half. The front half becomes your grab-and-go zone; the back half is honest deep storage.
Why it works for renters: Hangers travel with you to the next apartment. Zero installation, zero wall contact, and it makes every other idea in this post work better because the rod isn't fighting you.
How to do it:
- Pull everything off the rod and sort into "daily this month" and "occasional" piles before anything goes back.
- Buy slim flocked hangers to match your daily pile plus a few extras, and swap in batches so you don't run out mid-project.
- Rehang daily coats on the front half of the rod (nearest the door opening) and occasional pieces on the back half.
- Set a coat limit that matches the rod: if hangers can't slide, something moves to a bedroom closet or gets donated.
- Approximate cost: $15–$30 for a multi-pack of slim flocked hangers.
2. Hang an Over-the-Door Hook Rack for Bags and Umbrellas
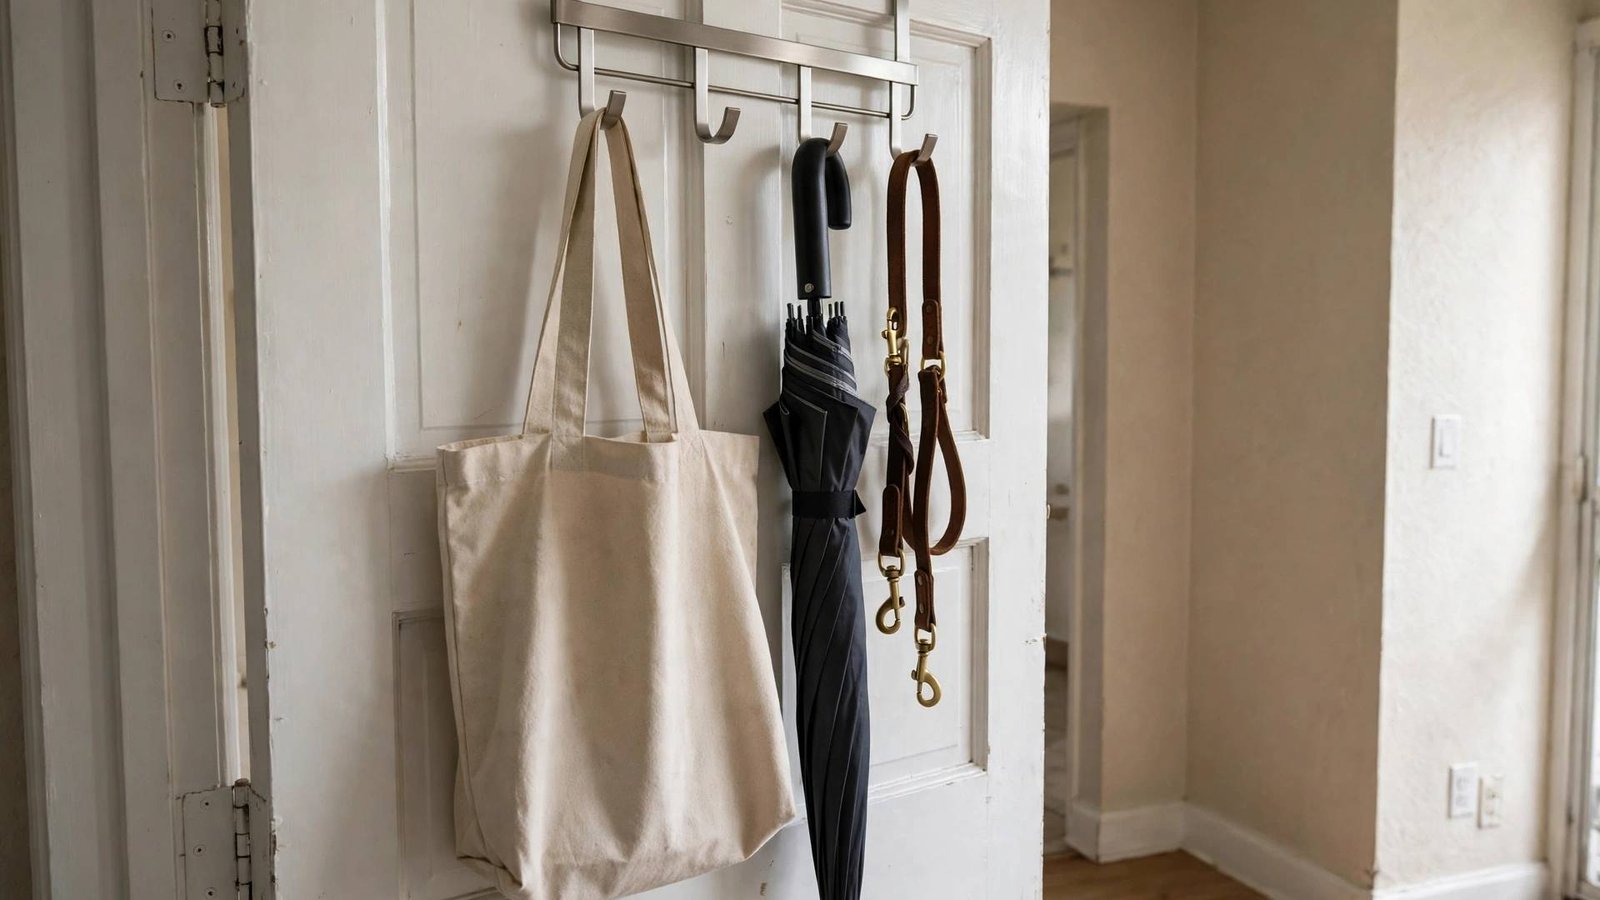
The inside face of the closet door is the most underused surface in the entryway — a full panel of vertical space that's doing absolutely nothing. An over-the-door hook rack turns it into storage for the things that never deserve rod space: tote bags, umbrellas, the dog leash, reusable shopping bags, and guest coats when people come over.
Choose a rack with padded or foam-lined hooks sized to your door's thickness (standard interior doors are about 11⁄3 inches) so it grips without scratching the door's top edge. Hang it on the *inside* face so the door still closes flush against its frame. The discipline here is weight: closet doors are light and ride on hinges that tolerate only modest loads. Bags, umbrellas, scarves, and leashes are perfect; a loaded backpack collection is not.
Why it works for renters: The rack lifts off with zero trace — no screws, no adhesive, no marks. It moves to the next apartment's entryway closet in thirty seconds, and the door works exactly as before.
How to do it:
- Measure your door's thickness and the clearance between the door top and the frame so the hooks seat properly.
- Choose a padded over-the-door rack with 4–6 hooks; foam-lined hooks protect the door finish.
- Hang it on the inside face and test that the door closes and latches fully before loading anything.
- Assign one hook per category: daily tote, umbrella, dog leash, reusable bags, one spare for guests.
- Keep loads light — if the door drags or won't latch, remove weight until it moves like it did before.
- Approximate cost: $12–$25 for a padded over-the-door hook rack.
3. Build a Key and Small-Gear Wall with Removable Adhesive Hooks
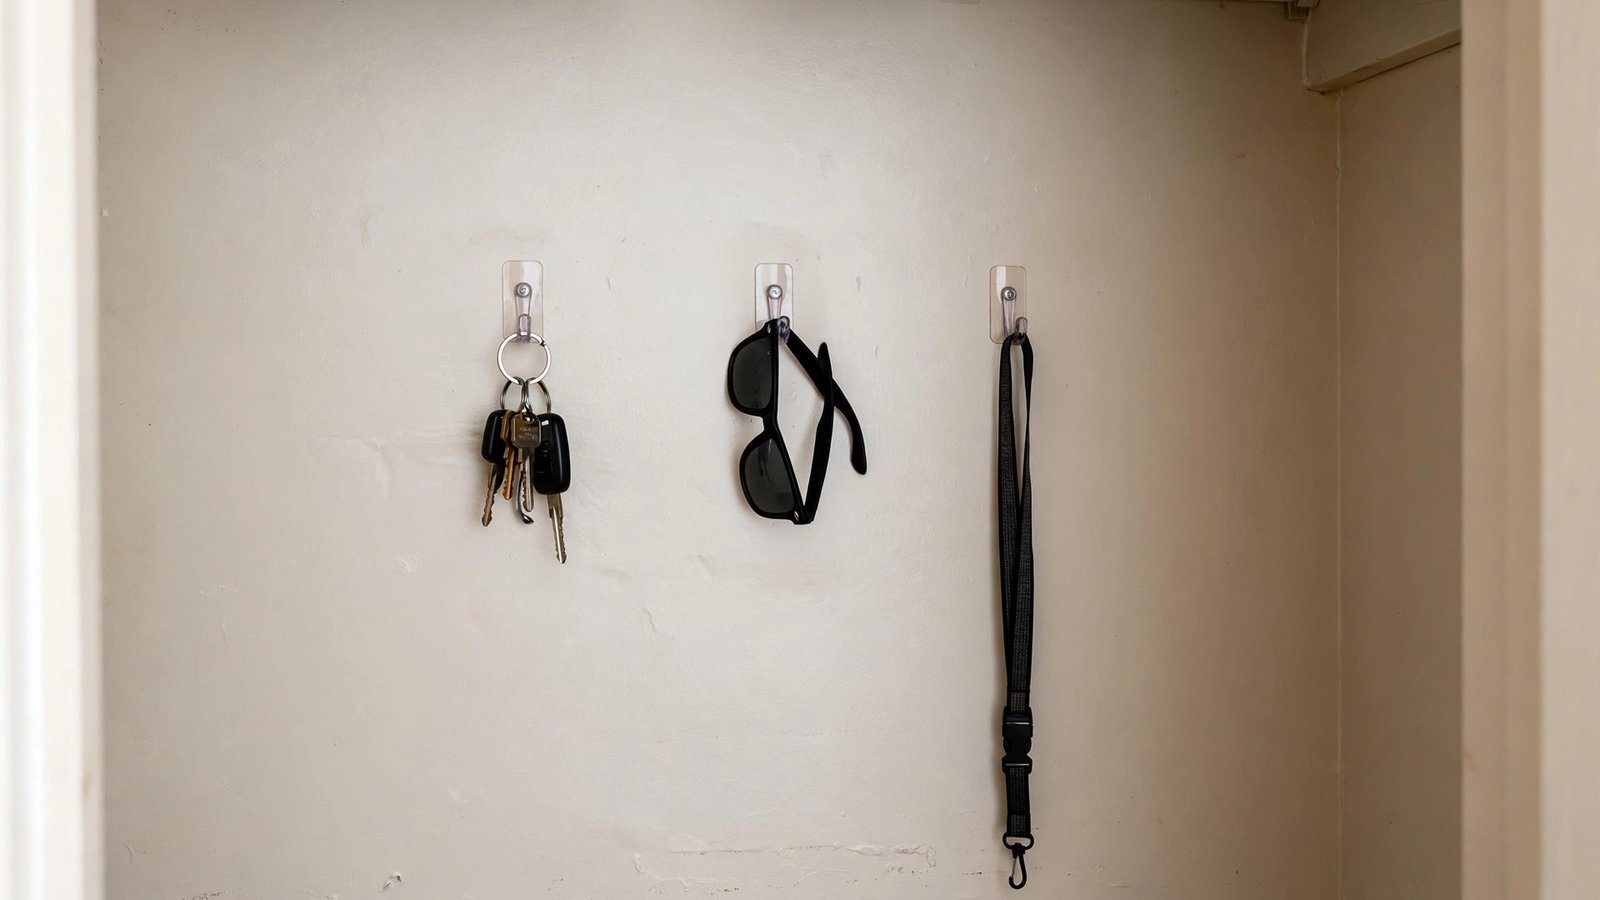
Lost keys are an entryway-closet problem in disguise: there's nowhere *designed* for them to live, so they land on whatever surface is closest. A dedicated key wall — a row of small removable adhesive hooks on the inside of the closet door or the closet's side wall — gives keys, sunglasses, lanyards, and dog-waste-bag holders a permanent, visible home at eye height.
Why it works for renters: Quality removable adhesive strips are engineered to release from painted drywall and door finishes cleanly when you follow the removal instructions (slow steady pull, never a yank). No holes, no patches, nothing to explain at move-out.
How to do it:
- Pick the spot: the inside face of the closet door (if it's flat) or the side wall just inside the closet at eye height.
- Clean the surface with rubbing alcohol and let it dry completely so the adhesive bonds at full strength.
- Place one small hook per item — keys, sunglasses, lanyard, dog bags — spaced so nothing tangles; label each hook if your household shares the closet.
- Add one slightly larger hook or a small adhesive shelf nearby for the wallet and phone to land during the nightly reset.
- Test each hook's hold for a day before trusting it with your only car key; re-seat any that feel loose.
- Approximate cost: $8–$18 for a set of small removable adhesive hooks.
4. Give Shoes a Narrow Floor Tower
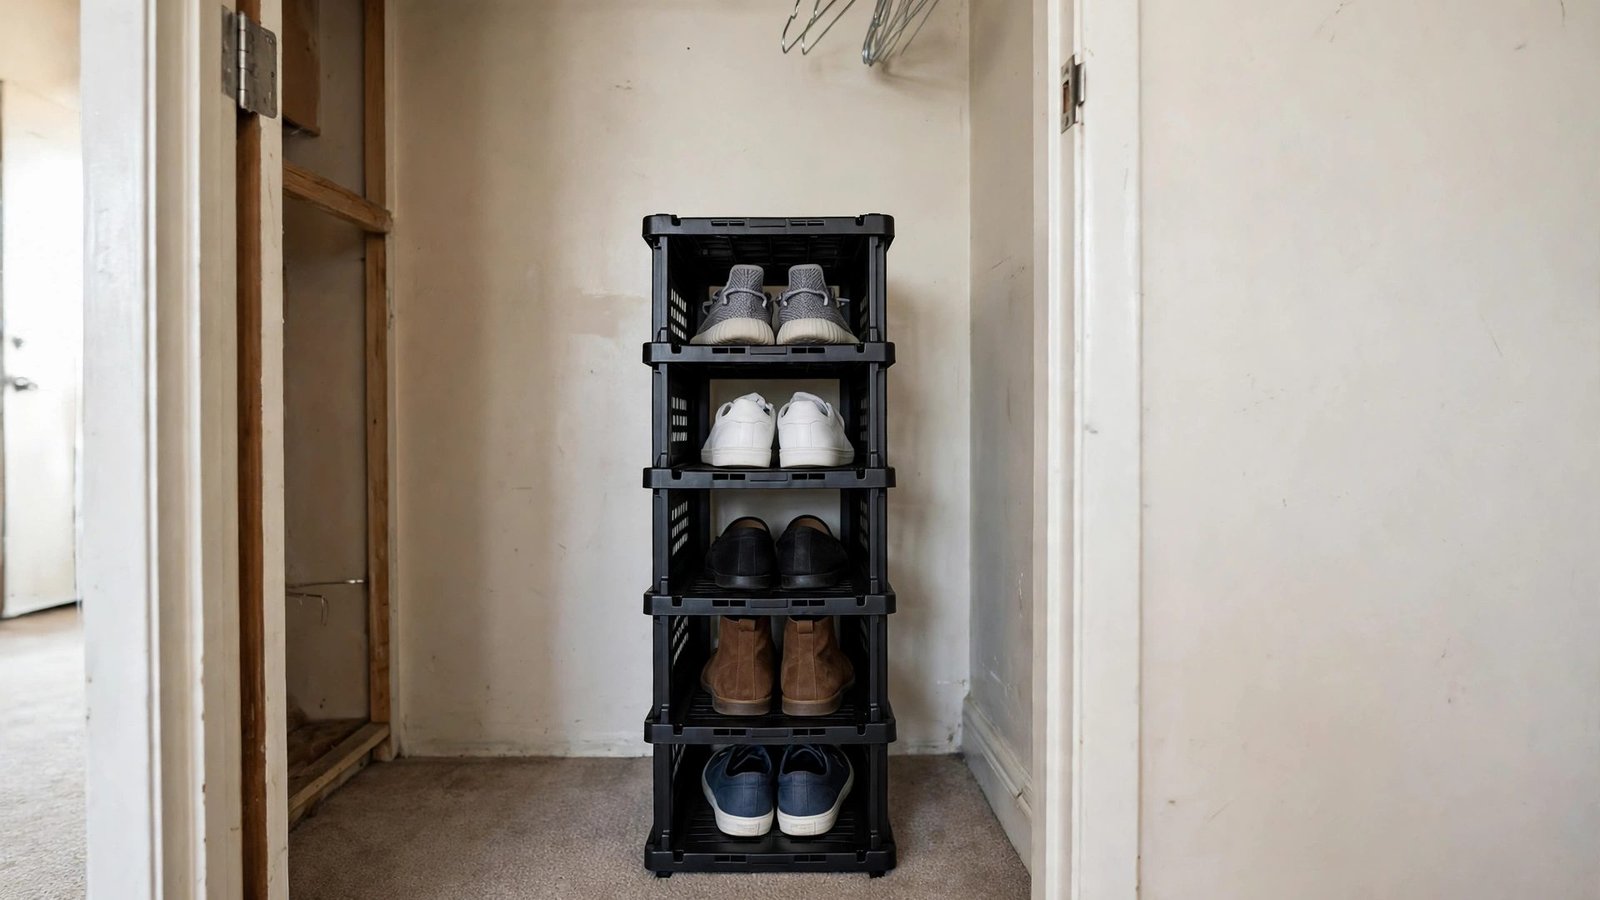
The shoe situation in most rental entryways is a drift: pairs migrate across the floor, singles get separated, and the closet floor becomes a tripping hazard. The fix is to give shoes a defined vertical home that fits the closet's shallow footprint — a narrow stackable shoe tower or a set of clear stackable shoe boxes sized to the clear floor depth.
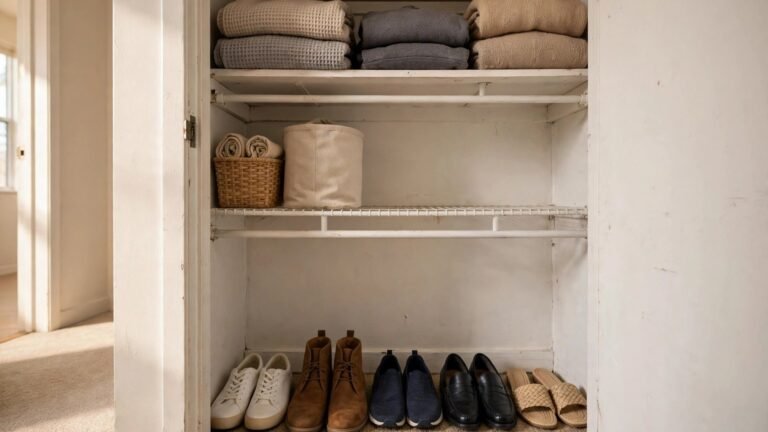
Measure first: the usable floor depth behind the door swing is usually 14 to 18 inches in a small entryway closet. Choose a tower shallower than that number so the door still closes. Stackable designs let you build exactly as tall as the space under the coats allows. Clear boxes have a bonus: you can see which pair is where without opening anything, which matters when you're running late.
Why it works for renters: A shoe tower is furniture — it sits on the floor, touches nothing permanently, and stacks into a moving box on moving day. Zero installation, zero risk, and it travels with you.
How to do it:
- Measure the clear floor depth behind the door's swing and the width available beside or beneath the hanging coats.
- Choose a stackable shoe tower or set of clear boxes shallower than your depth measurement.
- Place daily-worn pairs at the easiest height (middle shelves or the top of a low stack) and occasional pairs lower or higher.
- Enforce pairs-together: shoes go back in their slot as a pair, every time, no singles on the floor.
- Cap the tower's population — overflow pairs live in bedroom closets, not on the entryway floor.
- Approximate cost: $20–$45 for a stackable shoe tower or set of clear shoe boxes.
5. Corral Umbrellas in the Dead Corner
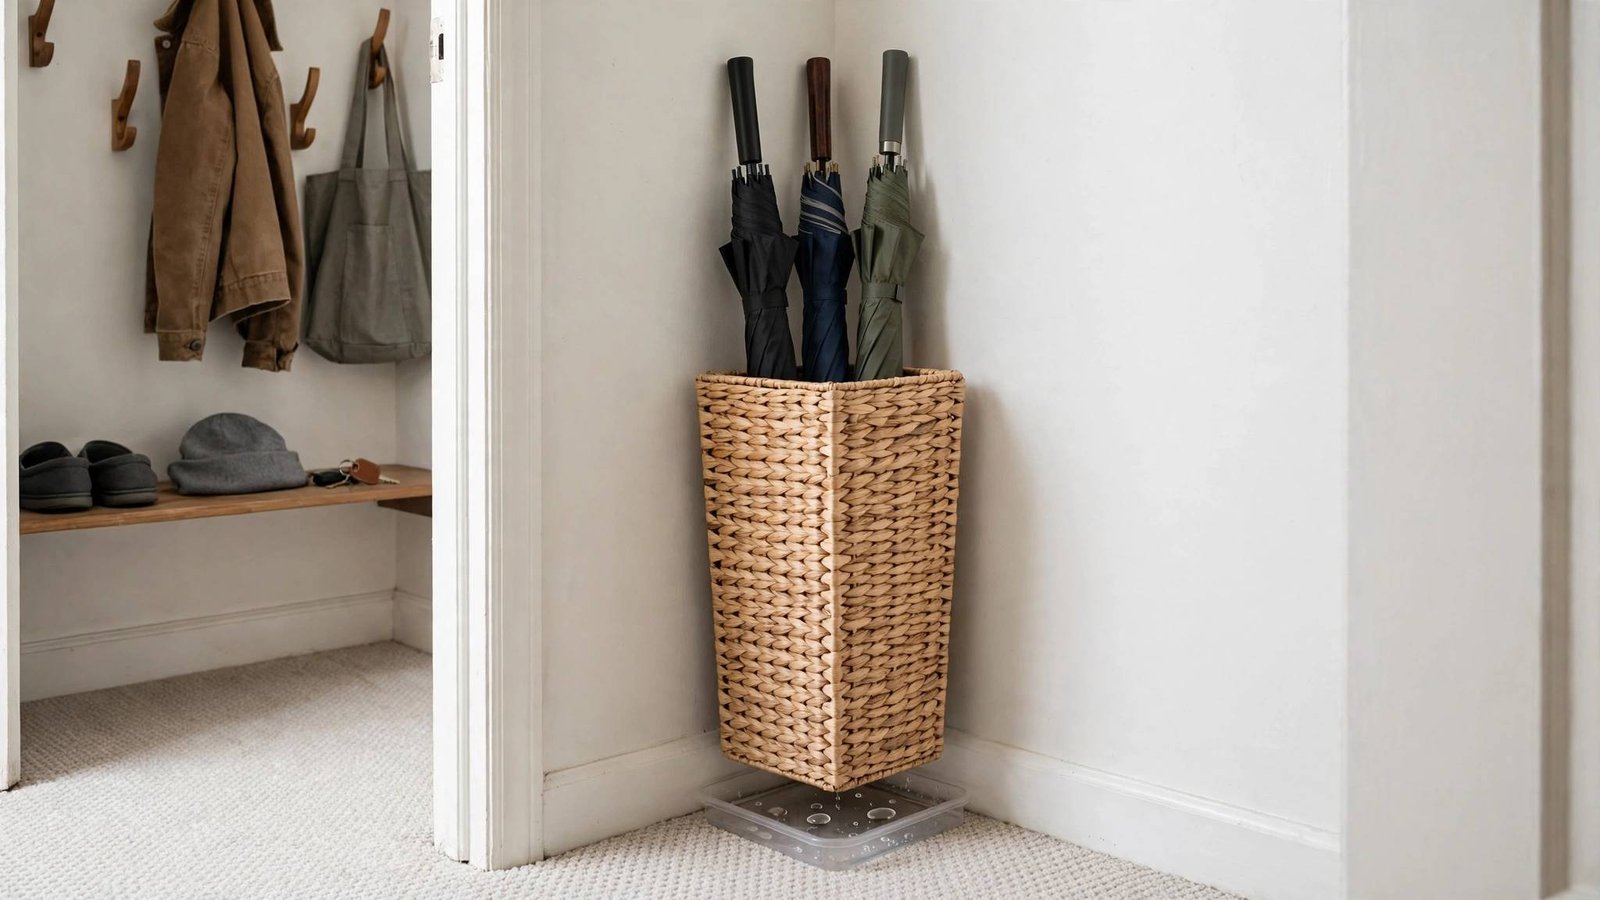
Every entryway closet has a dead corner — the few inches at one end where the door swing, the rod, and the wall conspire to make the space unusable for anything normal. Umbrellas are the perfect tenant for it: tall, slim, and needed exactly at the door. A tall narrow bin or umbrella stand parked in that corner keeps umbrellas upright, contained, and out of the walkway.
If your closet's dead corner is truly tiny, a tension rod wedged horizontally a few inches off the floor across the corner creates a simple divider that keeps a cluster of umbrellas from tipping into the shoes. Either way, add a small drip tray or absorbent mat underneath — wet umbrellas dripping onto rental flooring or carpet is exactly the kind of slow damage that eats deposits.
Why it works for renters: A bin or stand is portable furniture, and a tension rod grips with pressure, not screws. Both come out in seconds on move-out day with nothing to patch.
How to do it:
- Find your closet's dead corner — the end section blocked by the door swing or buried behind coats.
- Place a tall, narrow bin or umbrella stand there, with a drip tray or absorbent mat underneath for wet days.
- Set a one-per-person rule: each household member gets one umbrella slot; extras live in a bedroom closet.
- Stand umbrellas handle-down so wet tips drip into the tray, not onto the floor.
- Empty and wipe the drip tray weekly during rainy seasons so standing water never sits.
- Approximate cost: $10–$20 for a slim umbrella bin or stand with a drip tray.
6. Tame the Top Shelf with Labeled Seasonal Bins
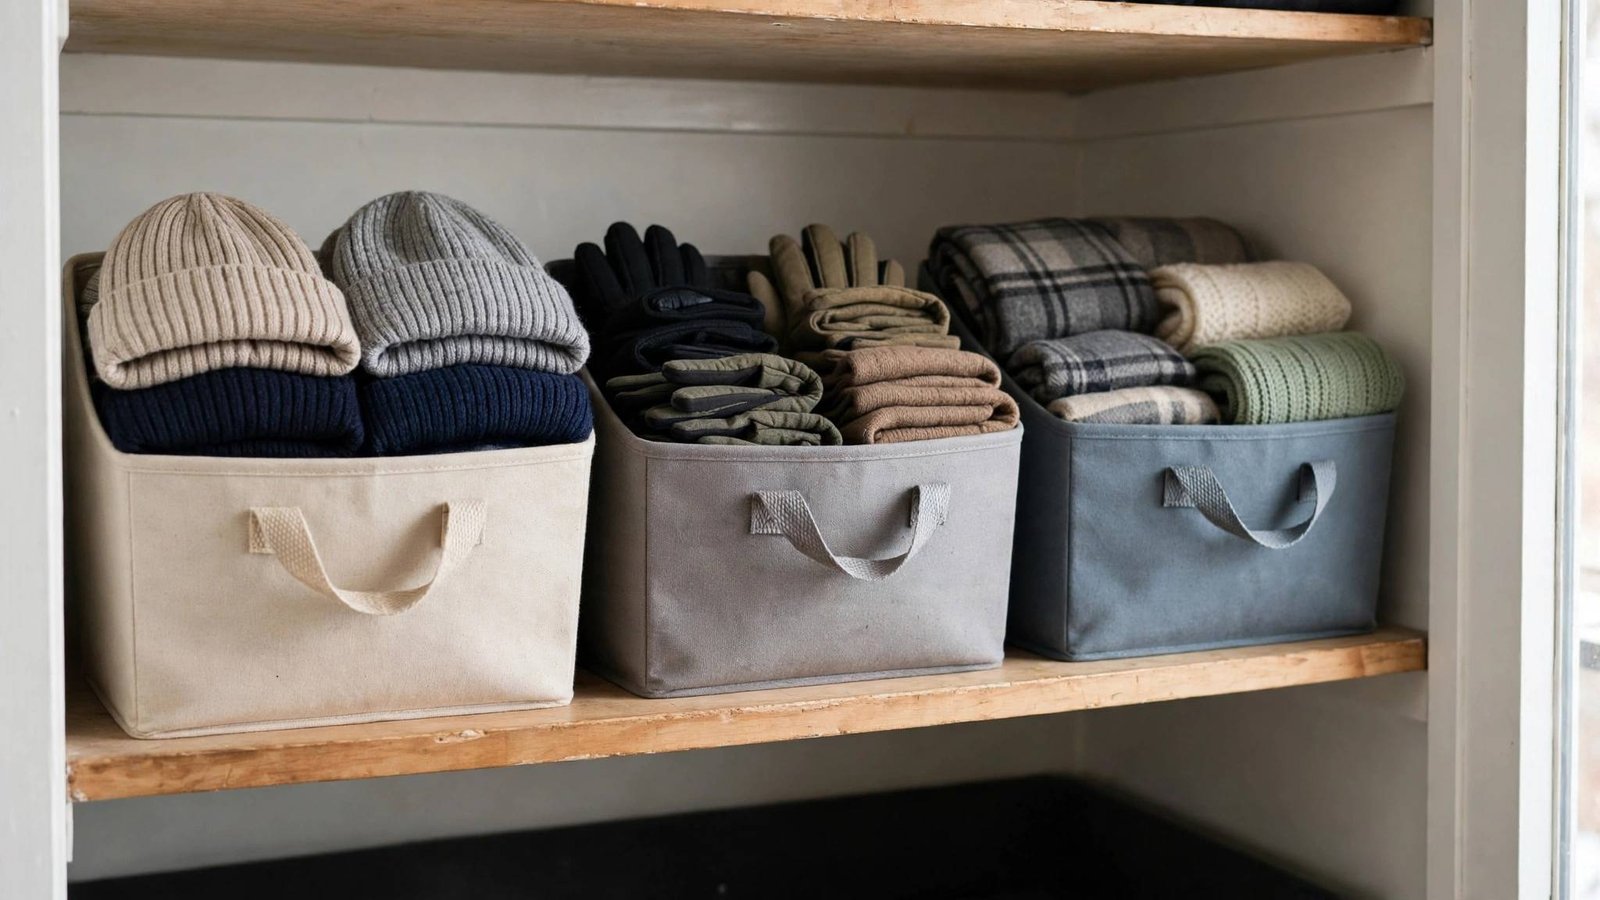
Nearly every entryway closet comes with one wide shelf above the rod, and nearly every renter turns it into a single teetering pile of gloves, hats, scarves, and "winter stuff." The shelf is prime real estate — full closet width, out of the daily traffic — but without structure it's a landslide zone where pulling one scarf brings down three hats.
The fix is labeled bins by category: one for gloves and mittens, one for hats and beanies, one for scarves, one for seasonal extras like rain covers or sun hats. Because the shelf sits above eye level, labels matter more here than anywhere — you need to *read* the shelf, not dig through it. Twice a year, at the season change, swap the bins' contents: winter gear goes to a bedroom closet or under-bed storage, warm-weather gear comes forward. The entryway closet only ever holds the current season.
Why it works for renters: Bins sit on the shelf by gravity — no mounting, no damage, nothing attached to the apartment. The whole system lifts off when you move, and the shelf looks better than you found it.
How to do it:
- Measure the shelf's depth and the clearance above it (usually 10–14 inches) so bins actually fit without wedging.
- Choose handled bins that fit the clearance, one per category: gloves, hats, scarves, seasonal extras.
- Label the front of every bin in large, readable text — you'll be reading these from below.
- Place current-season bins at the front edge for easy reach; off-season overflow goes elsewhere in the apartment.
- Do the seasonal swap twice a year (spring and fall) and donate anything that didn't get worn in its season.
- Approximate cost: $15–$35 for a set of handled bins with labels.
7. Hang a Fabric Shelf Unit for Bags and Kid Gear
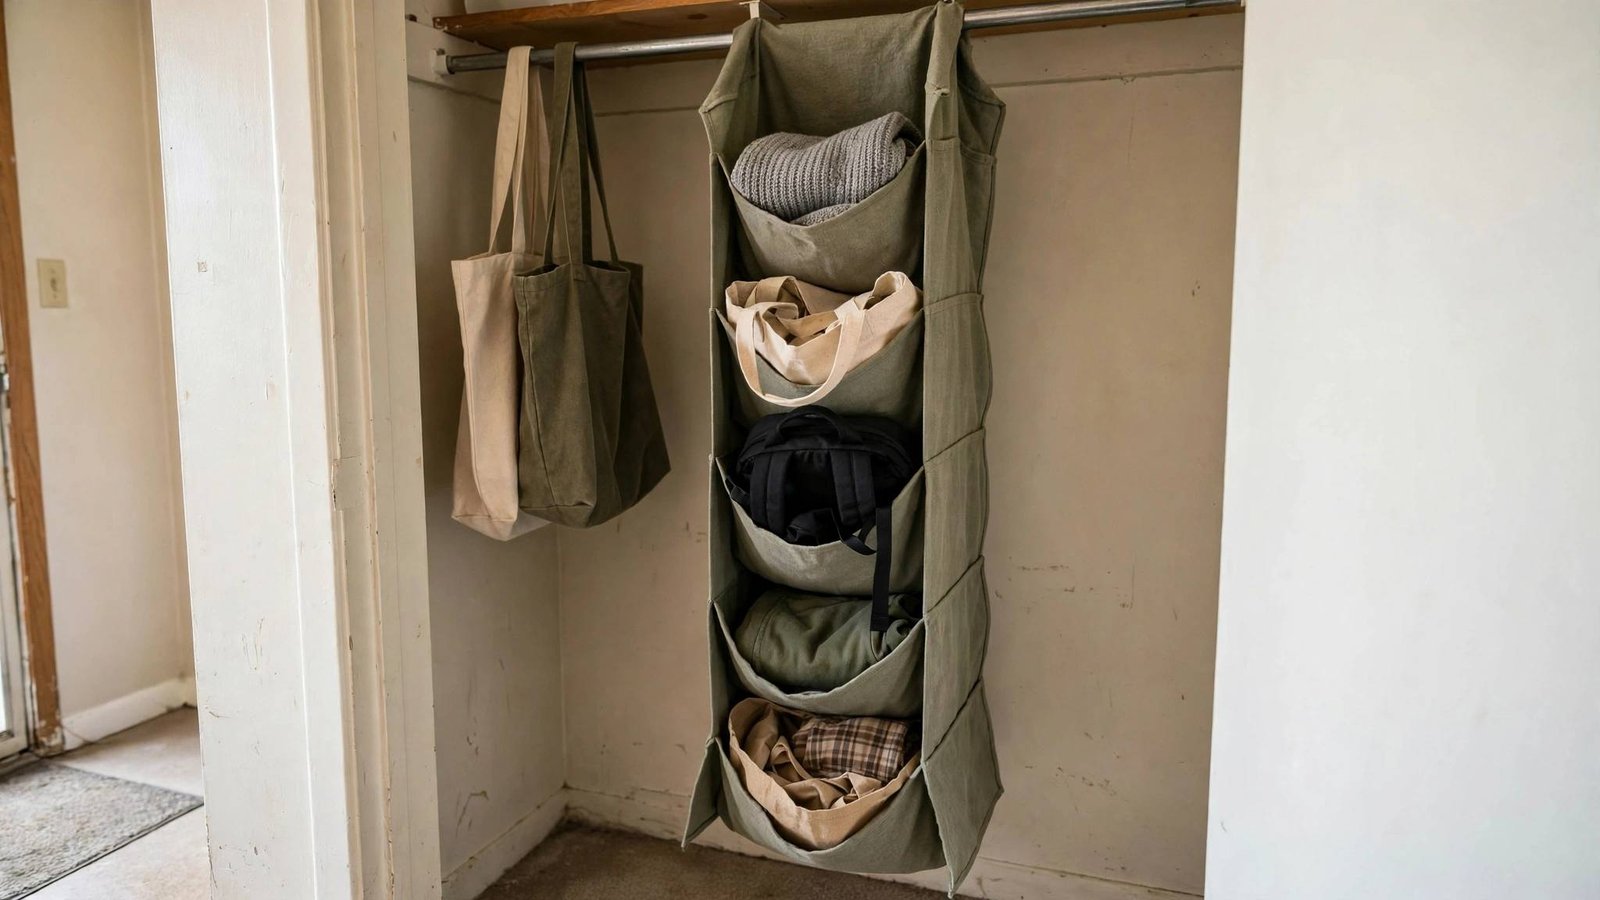
Tote bags, backpacks, diaper bags, and kids' gear are the awkward middle children of the entryway closet — too bulky for hooks, too shapeless for shelves, too daily-use for the back of a bedroom closet. A hanging fabric shelf unit that drapes over the closet rod solves it: soft cubbies that hang in the unused airspace beside or beneath the coats, with zero hardware.
Hang the unit at one end of the rod where it won't crowd the daily coats (see idea 1's zoning). Assign one cubby per category or per person: your work tote, the kids' backpacks, the reusable grocery bags, the "go bag" for the dog. Fabric units are forgiving — they conform to lumpy contents in a way rigid shelves never do. For households with kids, put the kids' cubbies at the lowest level so small arms can actually reach them.
Why it works for renters: The unit hangs from the existing rod and touches nothing else — no brackets, no screws, no wall contact at all. It folds flat into a moving box and works in any closet with a rod.
How to do it:
- Choose a hanging fabric unit with 5–6 cubbies, sized so it doesn't crowd the daily-coat zone on the rod.
- Hang it at the end of the rod and check that the closet door still closes with it loaded.
- Assign one cubby per person or per category, and put kids' daily gear in the lowest cubbies they can reach.
- Respect the weight limit on the packaging — fabric units are for soft goods, not for stacks of books or heavy purses.
- Fold and store the spare unit flat if you buy a two-pack; they're handy in bedroom closets too.
- Approximate cost: $12–$25 for a hanging fabric shelf unit.
8. Lay a Boot Tray Landing Pad
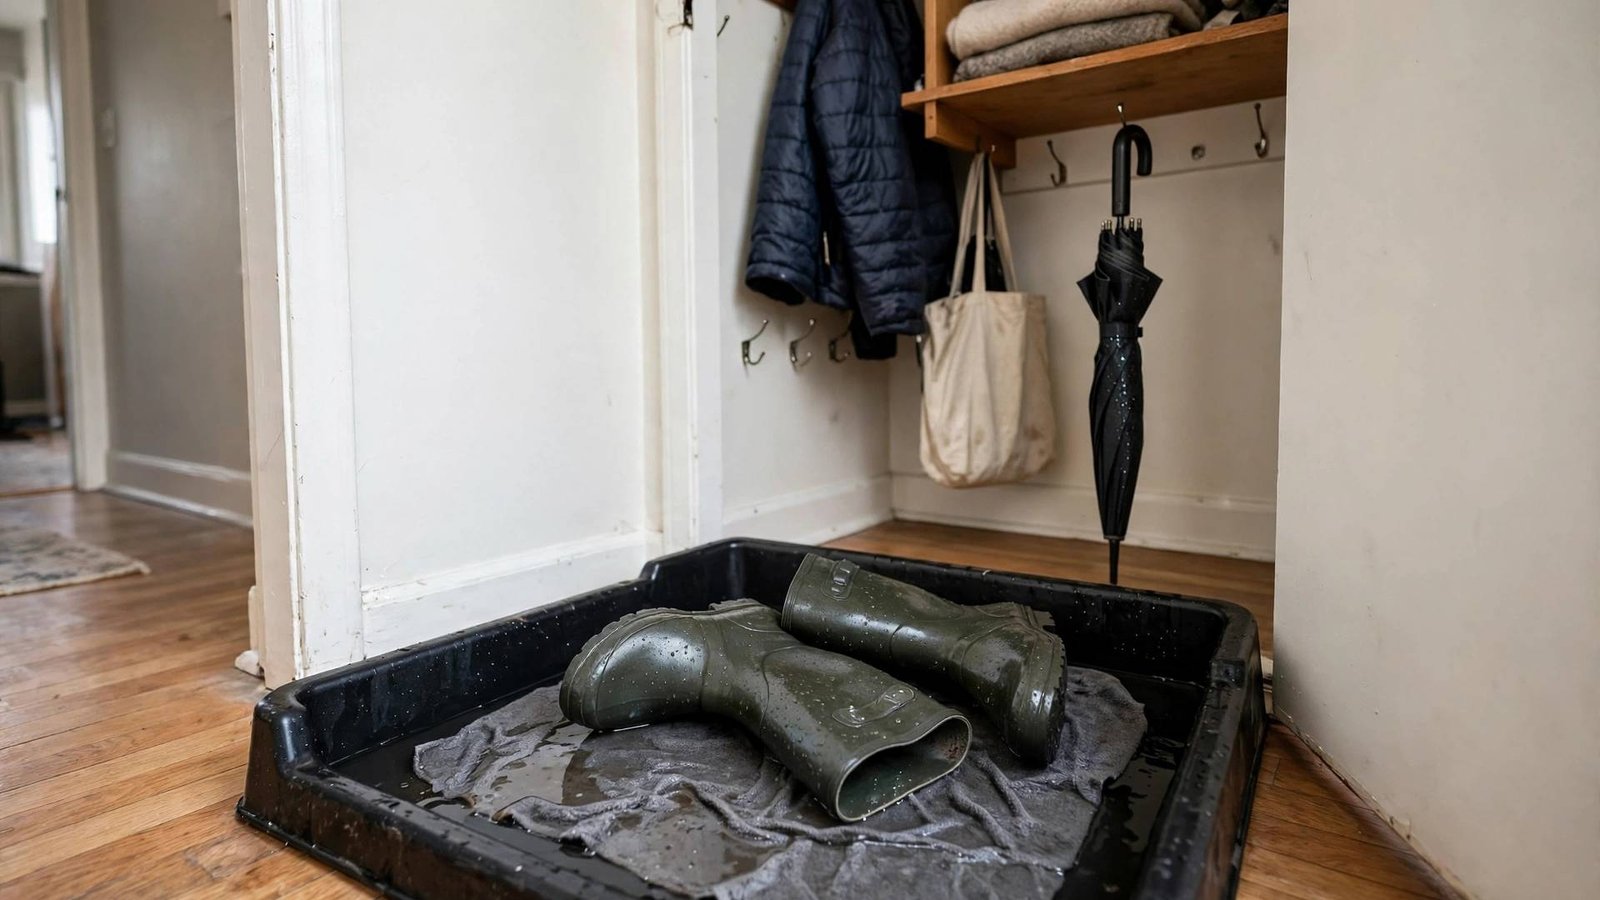
Wet shoes are a quiet deposit-killer. Every rainy day, snowy boot, and muddy sneaker that lands directly on rental flooring — hardwood, laminate, or carpet — leaves a little damage that adds up by move-out. A boot tray with a raised lip, paired with an absorbent mat, creates a defined landing pad inside or just outside the closet that catches water, mud, and salt before they reach the floor.
Place the tray where shoes actually get kicked off — for most entryways that's just inside the closet or immediately beside it. The lip is the key feature: flat mats wick water outward onto the floor, while a lipped tray contains it. Choose a tray sized to your household's daily shoes (two to four pairs), and treat it as a *landing pad*, not storage — shoes dry on the tray, then move to the tower (idea 4).
Why it works for renters: A tray sits on the floor and touches nothing permanently. It's also deposit insurance: containing water and salt is one of the cheapest ways to protect flooring you don't own.
How to do it:
- Measure the spot where shoes land and choose a lipped boot tray that fits without blocking the closet door.
- Set an absorbent mat under or beside the tray for the step-off zone where wet feet land first.
- Limit the tray to daily shoes only — two to four pairs — so it stays a drying station, not a pile.
- Move dry shoes to the shoe tower and wipe the tray clean weekly during wet seasons.
- In winter, rinse road salt off the tray regularly; salt is brutal on both trays and floors.
- Approximate cost: $15–$30 for a lipped boot tray and absorbent mat.
9. Create an Inside-Door Landing Strip
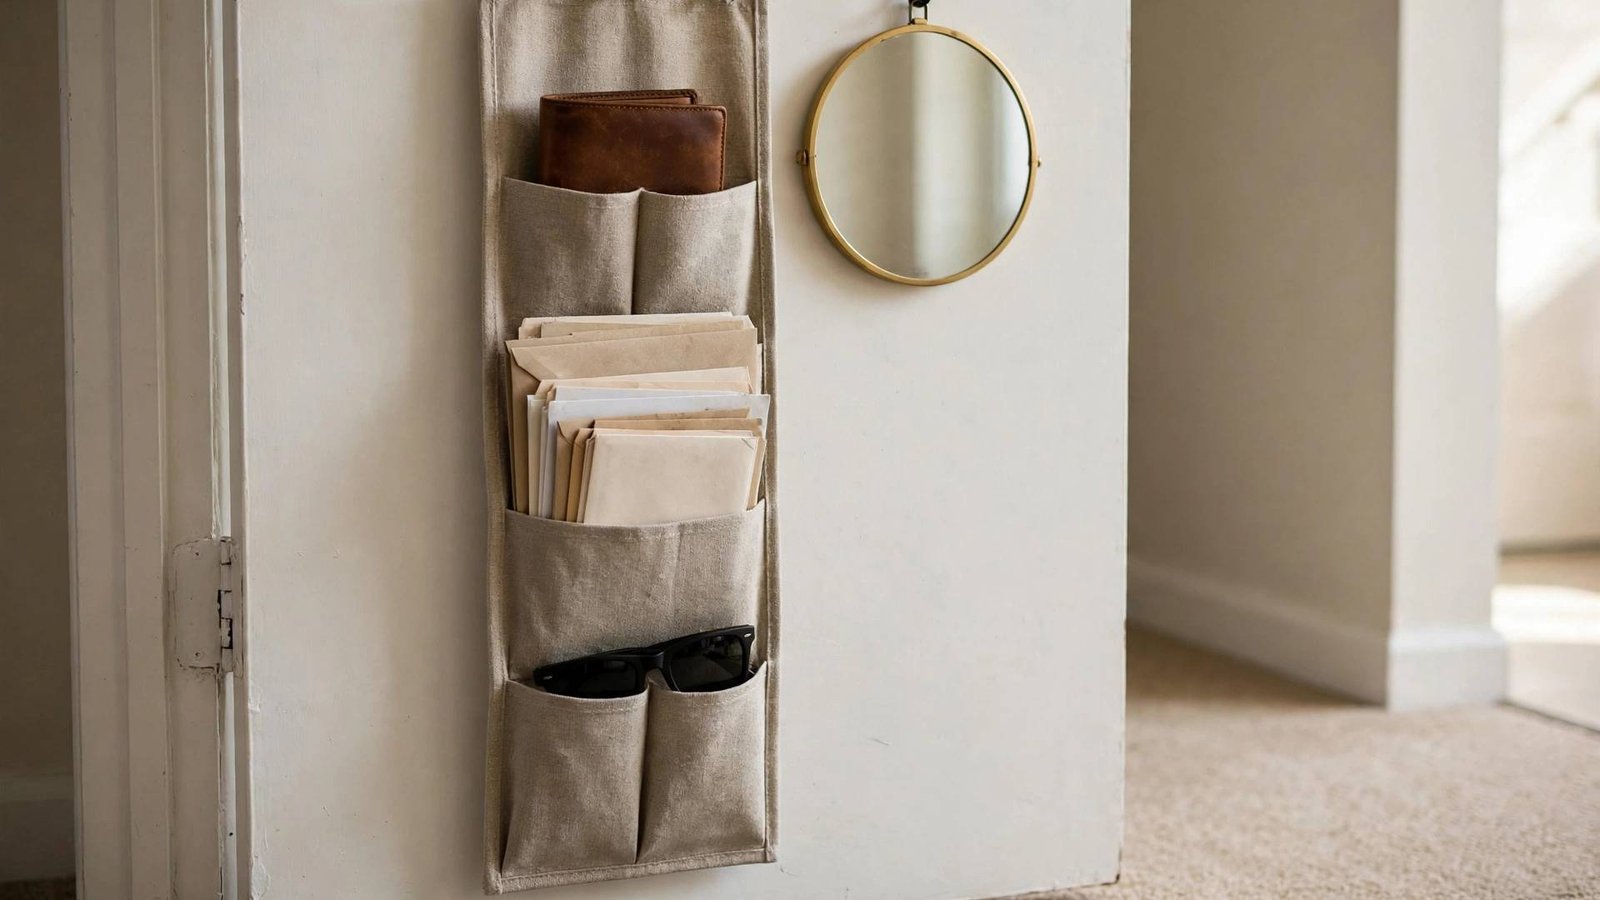
The most functional entryway closets I've seen all have one thing in common: a landing strip — a designated spot where the small things you carry daily (wallet, transit card, sunglasses, mail) land the second you walk in, and launch from the second you walk out. The inside face of the closet door is the ideal location: it's at hand height, it's hidden when the door is closed, and it's the last surface you touch on the way out.
A slim over-the-door pocket organizer or a row of small adhesive caddies holds the daily carry: one pocket for the wallet, one for keys (backup to idea 3's key wall), one for sunglasses, one for today's mail. Add a small removable adhesive mirror at eye height on the door's inside face and the landing strip doubles as your last-look station. Keep it ruthlessly slim — anything that sticks out more than two inches will jam against the door frame.
Why it works for renters: Over-the-door organizers lift off cleanly and adhesive caddies strip off without a mark. You're adding function to a door you don't own without changing it in any way. Flag: if your door has a delicate finish, prefer over-the-top hooks that touch only the panel edge over adhesive on the face.
How to do it:
- Choose a slim pocket organizer (under two inches deep loaded) or a set of small adhesive caddies for the door's inside face.
- Assign one pocket per daily item: wallet, transit card, sunglasses, today's mail — no "miscellaneous" pocket allowed.
- Mount a small removable adhesive mirror at eye height beside the organizer for the last-look check.
- Test the door's close and latch with everything loaded; if it catches the frame, slim the contents down.
- Run a 30-second nightly reset: mail gets sorted, wallet and keys return to their pockets, nothing else lives there.
- Approximate cost: $10–$25 for a slim pocket organizer or caddy set plus a small adhesive mirror.
10. Light the Cave with Battery LEDs
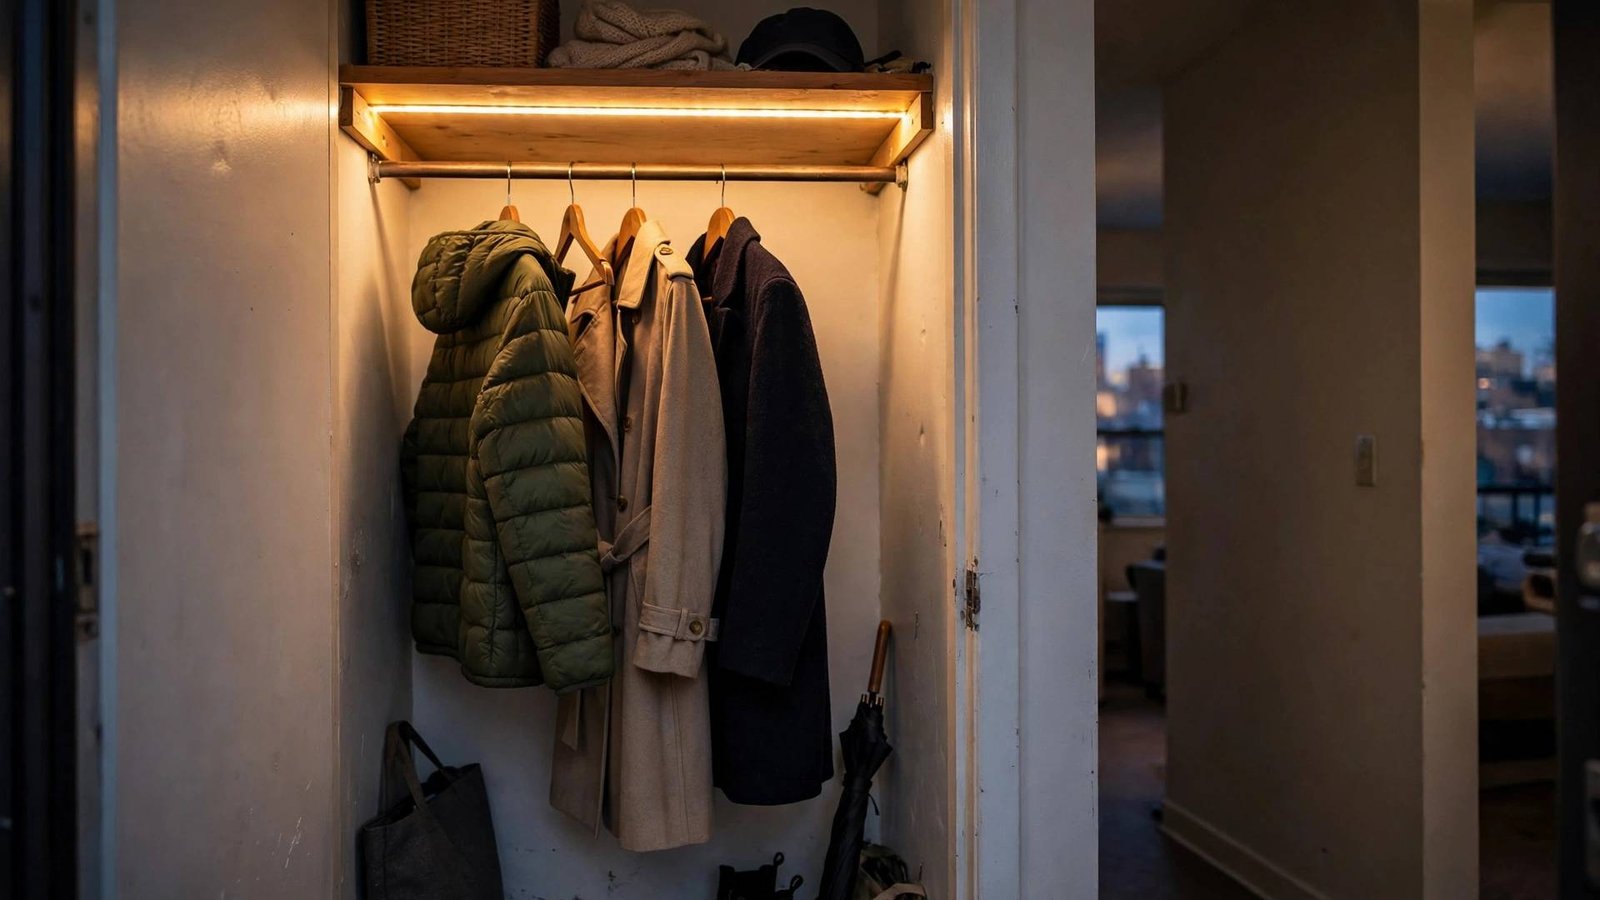
Entryway closets are dark by design: small, enclosed, and lit — if at all — by a hallway bulb your coats block. A dark closet is a disorganized closet, because you can't maintain zones, labels, and landing strips you can't see. In my experience this is the highest-impact, lowest-effort upgrade on this list, and most renters skip it entirely.
Battery-powered motion-sensor LED strips or puck lights mount to the closet ceiling or the underside of the top shelf with removable adhesive, switch on when the door opens, and switch themselves off. No wiring, no electrician, no landlord permission needed. One strip under the top shelf washes light down over the coats and the key wall; a puck light aimed at the floor zone ends the era of kicking shoes around in the dark.
Why it works for renters: Removable adhesive, battery power, zero wiring — this is the textbook deposit-safe upgrade. It peels off on move-out day and the next renter never knows it was there.
How to do it:
- Measure the underside of the top shelf and choose a battery LED strip or set of pucks that fits the length.
- Clean the mounting surface, attach with the included removable adhesive, and press firmly for 30 seconds.
- Position one light to wash down over the hanging rod and key wall, and one toward the floor/shoe zone.
- Test the motion sensor with the door opening and closing — adjust sensitivity so it triggers on the door, not on hallway traffic.
- Keep spare batteries with the seasonal bins (idea 6) so a dead light gets fixed the same day, not next month.
- Approximate cost: $12–$25 for battery motion-sensor LED strips or pucks.
11. Add a Kid-Height Second Rod
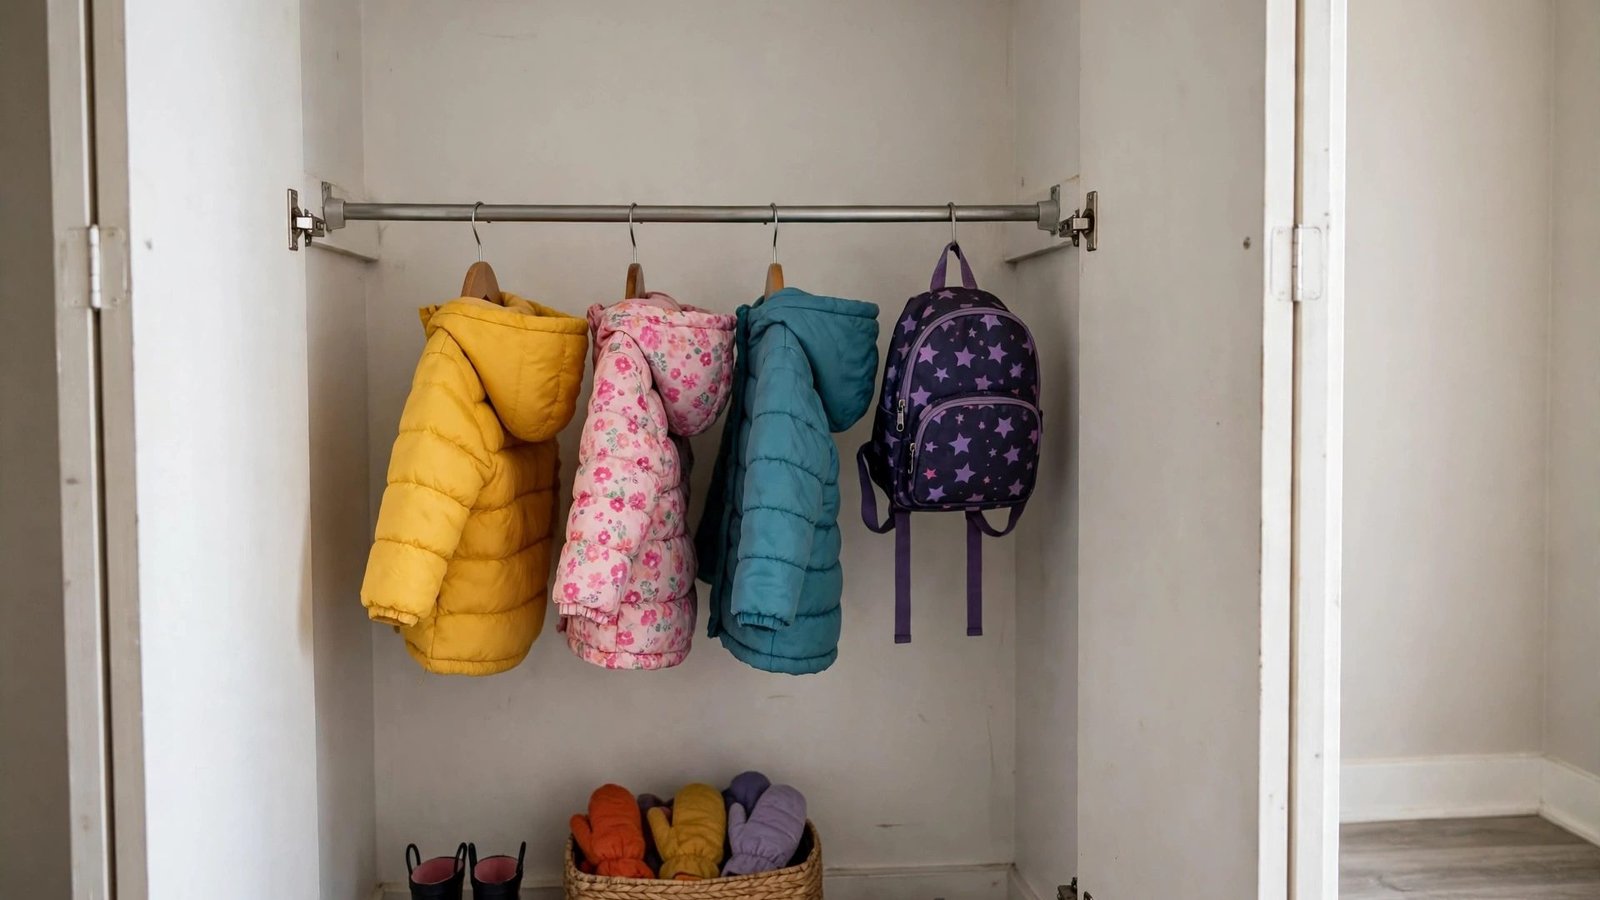
If kids share the entryway closet, their coats and backpacks live on the floor — because the adult-height rod might as well be on the moon. A tension rod mounted at kid height (about 30–36 inches off the floor, depending on ages) creates a lower tier just for them: their coats hang within reach, their backpacks have a hook, and the morning routine stops involving you as the coat-retrieval service.
Entryway closets are narrow, which is actually an advantage here: the short span means a tension rod barely flexes even loaded with kids' winter coats. Mount it on the side the kids use, keep it clear of the adult coats above, and give each child one hook on the rod's end for their backpack. The rule that makes it stick: kids hang their own coats up *every single time* — the rod only works if the habit does.
Why it works for renters: Tension rods grip the side walls with pressure, not screws — no holes, no patches, fully reversible. It twists out in seconds on move-out day, and it works in any narrow closet.
How to do it:
- Measure the inside width of the closet at kid height (30–36 inches off the floor) and choose a tension rod rated for that span.
- Twist the rod into place on the kids' side of the closet, clear of the adult coats hanging above.
- Load-test it with the heaviest kid winter coat before trusting it with the full set.
- Give each child one slim hanger zone plus one hook at the rod's end for their backpack or school bag.
- Teach the habit from day one: coats go on the kid rod the moment they come through the door, not on the floor "for now."
- Approximate cost: $10–$20 for a tension rod and a few kid-sized slim hangers.
12. Run the Entryway Capsule Rule
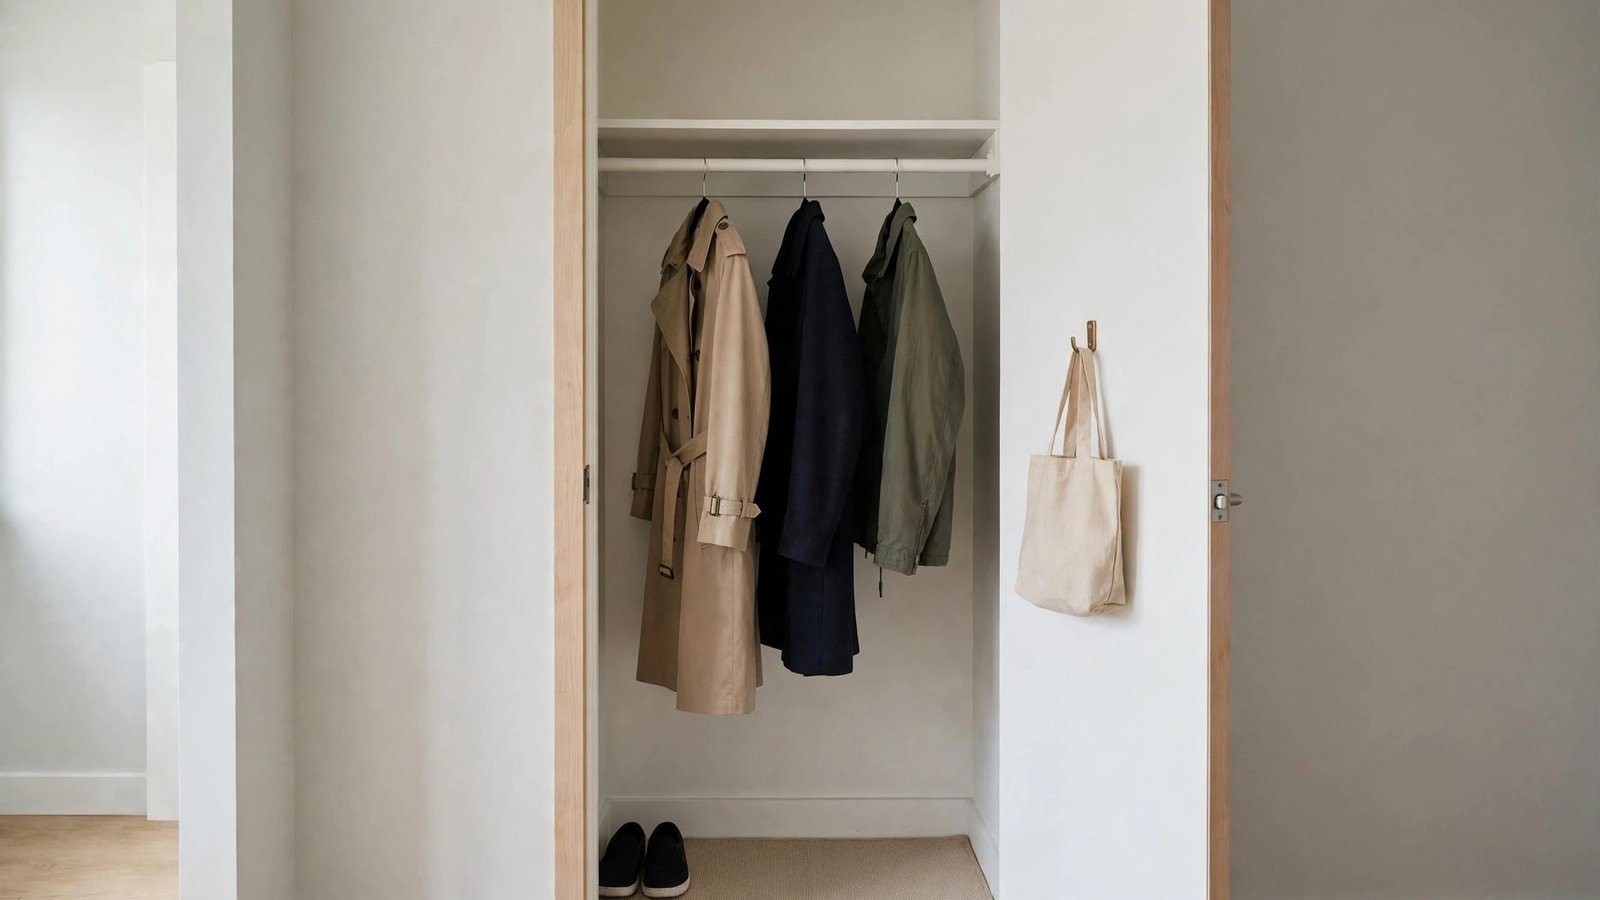
The final idea isn't a product — it's the system that keeps all eleven others working. An entryway closet is a small box; it only functions if what's *in* the box is limited to what's *in season and in daily use*. The moment out-of-season coats, occasion wear, and "maybe someday" jackets pile in, the zones collapse, the shoe tower overflows, and the landing strip buries itself.
The entryway capsule rule has two parts. First, one-in-one-out: a new coat, new pair of daily shoes, or new bag means something leaves — donated, relocated to a bedroom closet, or discarded. Second, a twice-yearly seasonal audit (spring and fall, paired with the bin swap from idea 6): pull everything out, keep only what the coming season needs, and move the rest elsewhere. The entryway closet holds the current season's daily launchpad — roughly the coats, shoes, and gear you actually use this month — and nothing else.
Why it works for renters: It's a system, not a purchase, and it travels with you to every rental forever. It also protects your deposit indirectly: a closet used within its capacity doesn't get overloaded rods, sagging shelves, or doors forced shut against piles.
How to do it:
- Do a full pull-out audit: everything comes out, and only current-season daily items go back in.
- Enforce one-in-one-out from today forward — new item in, something out, no exceptions for "deals."
- Pair the audit with the seasonal bin swap twice a year so it becomes one 30-minute routine, not a dreaded project.
- Keep a small donation bag hanging on the over-door rack (idea 2); when it's full, it leaves the house that week.
- Cap the rod: if hangers can't slide freely, the capsule is too big — something moves to a bedroom closet.
- Approximate cost: $0. This is discipline, not shopping.
Conclusion
The small closet by the front door doesn't need to be bigger — it needs a job description. Once you give it one — launchpad, not storage unit — every decision gets easier. Daily coats on slim hangers up front, occasional pieces in back. Bags and umbrellas on the door, keys on their own wall, shoes low and contained on a tower and a tray. Seasonal gear in labeled bins up top, light where there was darkness, a landing strip for the small daily things, a kid-height rod for small daily people, and the capsule rule keeping the whole system honest.
I've watched renters transform this exact closet in a single weekend with nothing but removable pieces and a ruthless sort — no drilling, no landlord negotiations, no deposit risk. The morning version of you, grabbing keys off their hook and a coat off the front of the rod without thinking, is the whole point. Start with the free wins: reset the rod, build the key wall, and run the capsule audit this weekend. Add the lights and the shoe tower next. Your entryway closet was built for exactly this. Please save this visual guide on Pinterest and pin the idea you're trying first — your future self, walking out the door on time with everything in hand, will thank you.

Amelia leads HavenlyStyle’s editorial vision with a passion for elegant interiors and practical home living. With years of experience in home décor and lifestyle content, she ensures every article is accurate, inspiring, and easy to follow. From timeless decorating ideas to the latest interior design trends, Amelia is committed to helping readers create beautiful, functional spaces while maintaining HavenlyStyle’s trusted and welcoming voice.