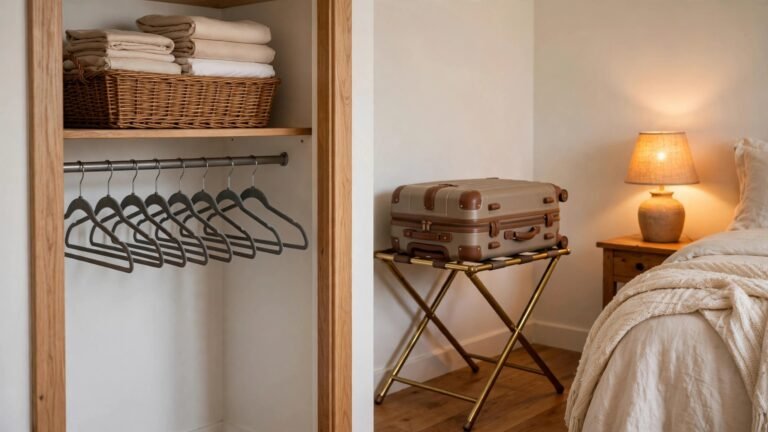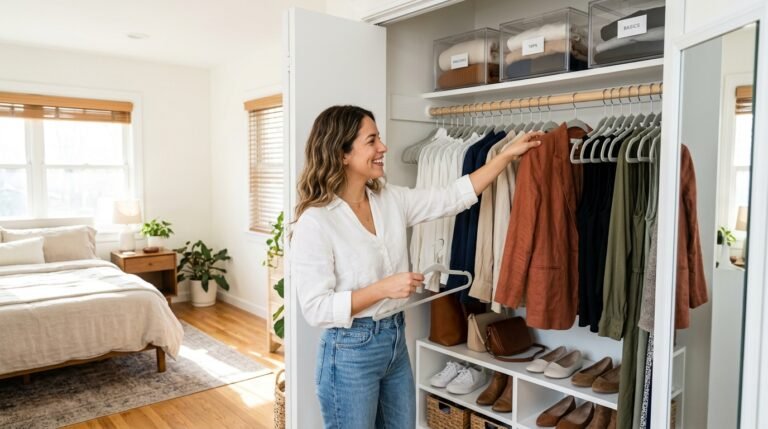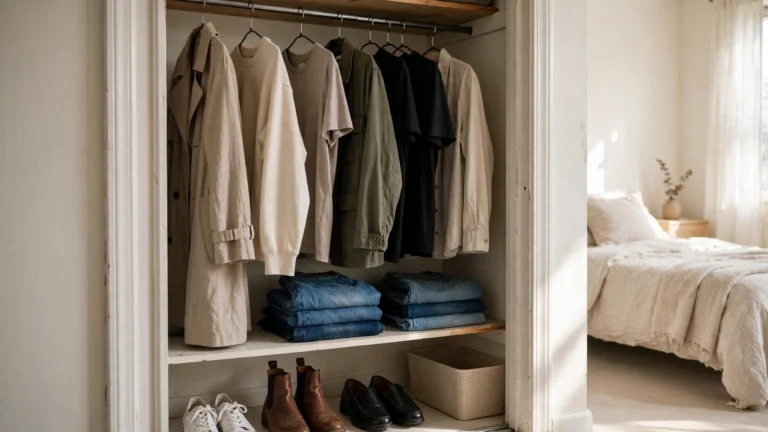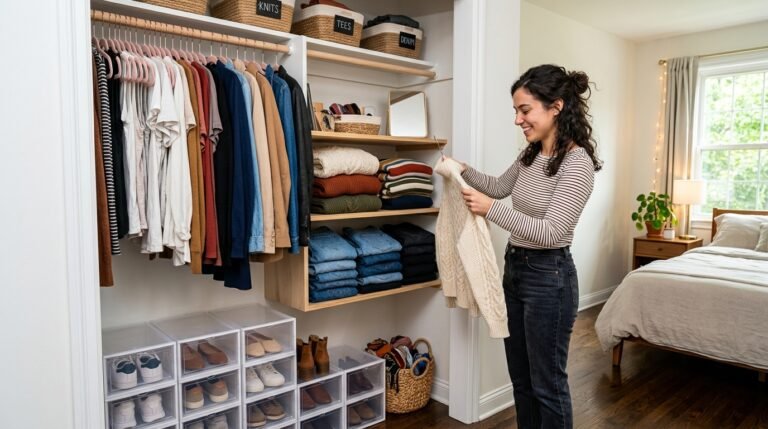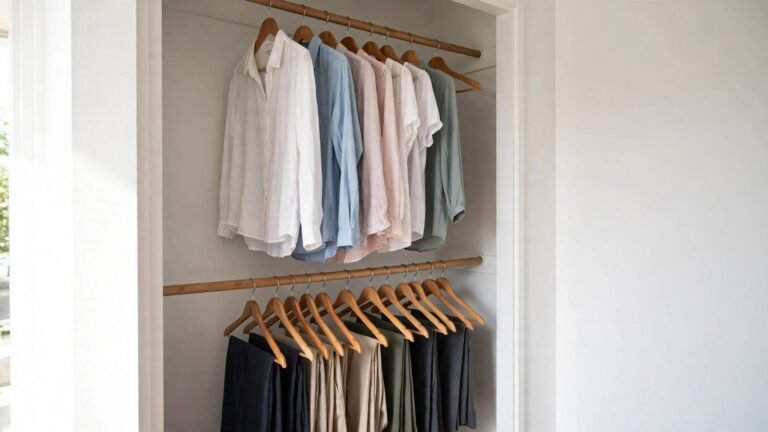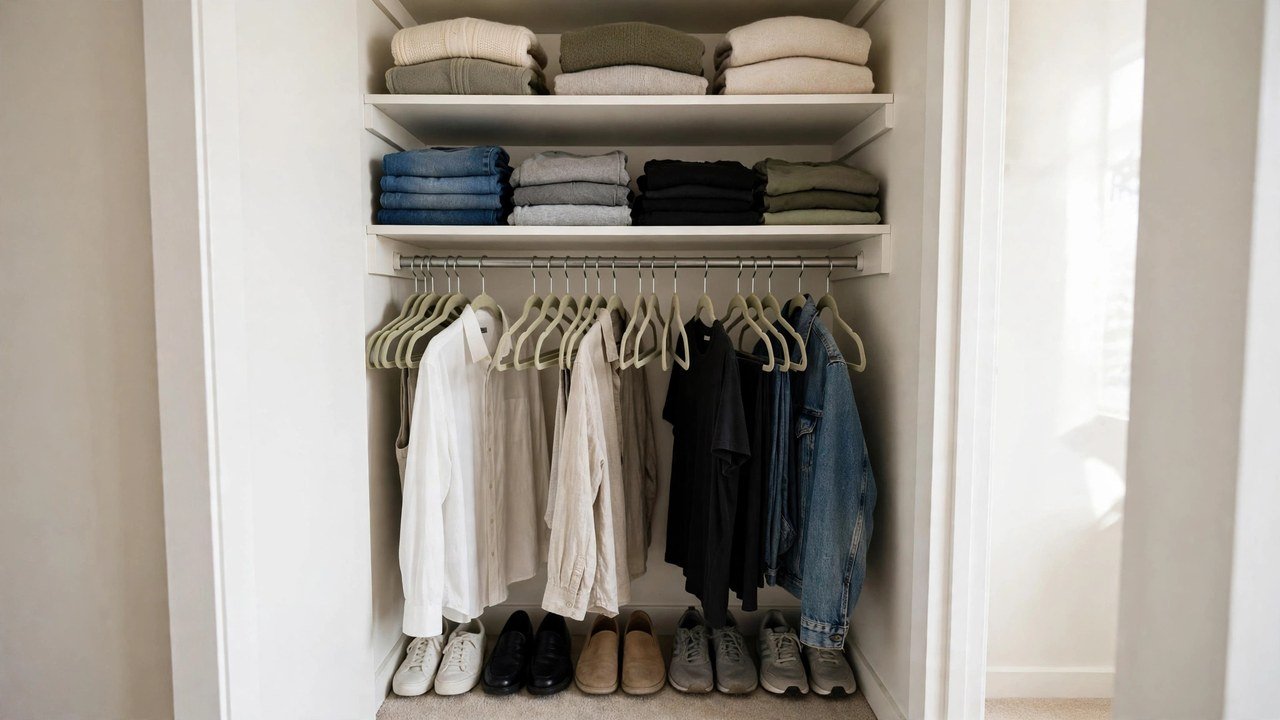
I’ve helped dozens of renters set up their very first closet, and I can tell you exactly how it usually goes. You move in with a suitcase, a few bags of clothes, and a completely empty closet: one lonely rod, maybe a single shelf, and a floor that swallows shoes whole. Within a week, clean clothes are draped over a chair, the good shirt you need for work is wrinkled at the bottom of a pile, and you are already telling yourself you just don’t have enough space. You do. What you are missing is a system, and a system is something you can buy in the right order, on a first-apartment budget, without putting a single hole in your landlord’s walls.
That is the whole point of this guide. It is a starter kit, not a shopping spree. Every essential below is no-drill, removable, and deposit-safe, which matters more in a first apartment than anywhere else, because this is the deposit you are most likely to lose to a careless fix. I have ordered these twelve essentials the way I would order them if I were standing in your empty closet with you: the things that change daily life first come first, and the nice finishing touches come last. Buy them in this order, one or two at a time if money is tight, and stop whenever your closet starts working for you. You do not need all twelve on move-in day. You need the first three, and then you need a plan.
Executive Summary
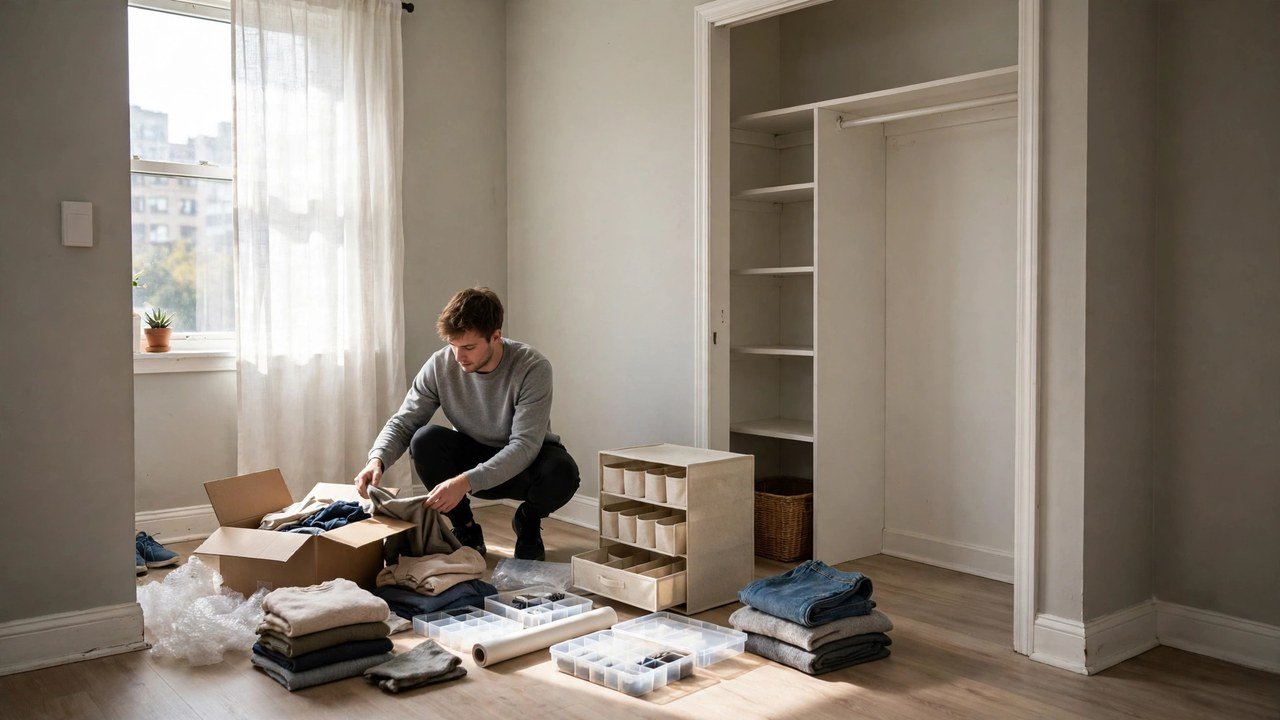
- Start with the foundation: matching slim hangers and a second hanging rod double your usable closet before you buy anything decorative.
- Hanging shelves, bins, and dividers turn one tall empty space into zones you can actually keep tidy.
- Every essential here is no-drill and removable, so your deposit stays protected from day one.
- Buy in this guide’s order: hanging first, then shelves and shoes, then accessories, then finishing touches like light and a mirror.
- Approximate starter-kit cost ranges are given for each idea, so you can build the whole setup gradually without guessing.
- A small closet works fine once every category of clothing has one assigned home.
1. Matching Slim Velvet Hangers
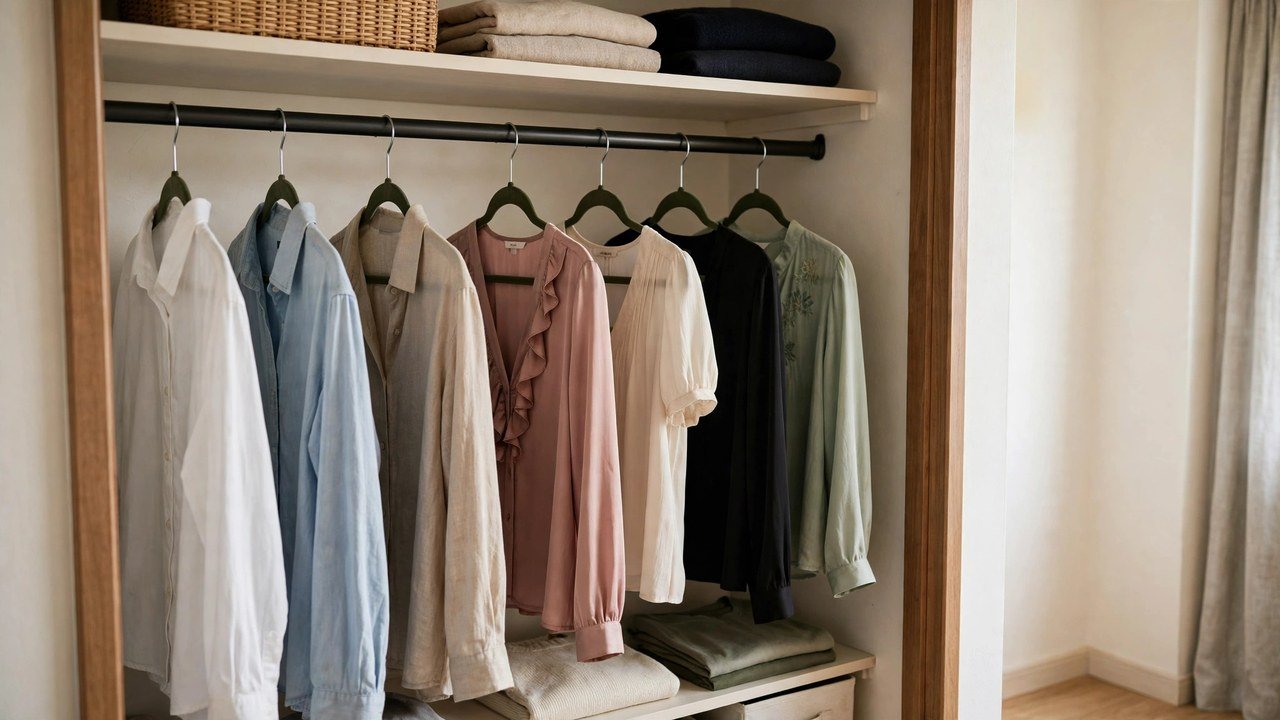
This is the least glamorous item on the list and the one I would never skip. A set of matching slim velvet hangers replaces the random mix of wire, plastic, and dry-cleaner hangers most first apartments start with, and it instantly gives you back inches of rod space because each hanger is a fraction of the width of a bulky plastic one. The velvet surface grips fabric, so shirts stop sliding off onto the closet floor, which is the quiet cause of half the wrinkles in a first apartment.
For renters, hangers are the perfect first purchase: they cost little, they move with you to every future apartment, and they require no permission from anyone. They also force a useful decision, because you will naturally count what you own as you transfer it, and most people discover they own fewer everyday clothes than they thought. One more small habit makes the whole rod work harder: keep the hangers identical in color and style, because a uniform row lets your eye find a garment instantly instead of scanning past a jumble of shapes and thicknesses. If a hanger breaks, replace it with the same kind rather than letting a stray wire hanger creep back in, since consistency is what keeps a small closet feeling calm rather than crowded.
- Take everything off the rod and sort it into keep, donate, and store piles before you hang a single thing.
- Count your hanging clothes and buy roughly that many hangers, plus ten extra for laundry day.
- Transfer clothes in groups: work clothes together, everyday clothes together, outerwear at one end.
- Hang every hanger facing the same direction, hook opening toward you, so the rod looks calm and clothes slide easily.
- Keep the old mismatched hangers in a bag for donations or for drying clothes, not mixed back in.
Approximate cost: $10-$25 for a pack of 30-50 slim hangers.
2. A No-Drill Second Hanging Rod
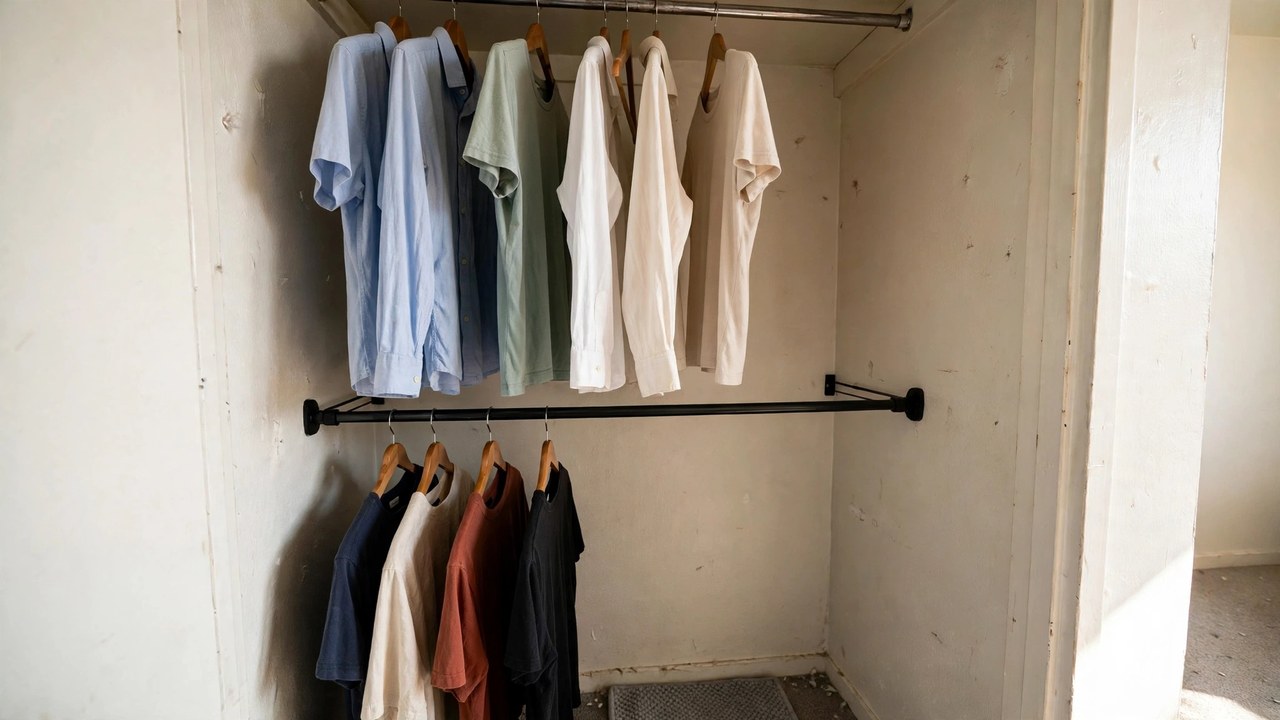
If your closet has one rod with a big empty gap underneath it, you are using about half your closet. A tension-style second rod, or a hanging rod that hooks over the existing rod, creates a second tier of hanging space instantly, and it comes down the day you move out without leaving a mark. This is the single biggest space gain in this entire guide, and it is why it sits at number two.
For renters, the no-drill part is the whole point. A screwed-in rod means patching and repainting later, and a first-apartment deposit is too precious to spend on a rod you could have hung without tools. The lower tier is ideal for shirts, folded pants, and shorter items, while longer coats and dresses stay on the upper rod.
- Measure the width of your closet and the height from the floor to the existing rod before you buy.
- Choose a tension rod that fits your width range, or a hang-from-rod extender if your closet is narrow.
- Set the lower rod high enough that shirts clear the floor by several inches, usually around waist height.
- Twist or lock it firmly into place and test it with a few heavy items before loading it fully.
- Put your most-worn shirts and pants on the lower tier, where you can reach them without thinking.
Approximate cost: $12-$25 for a tension or hanging second rod.
3. A Hanging Fabric Shelf Organizer
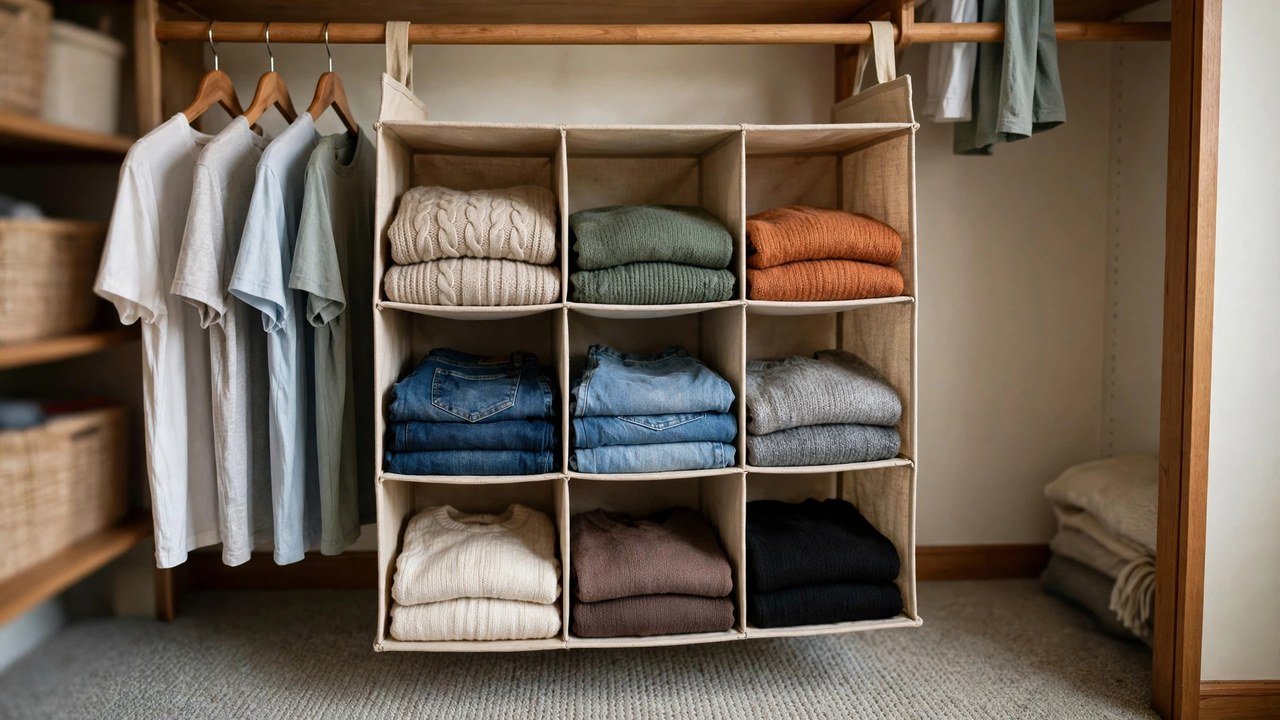
A hanging shelf organizer is a set of soft fabric shelves that hooks over your existing closet rod, and it is the answer to the classic first-apartment problem: one high shelf and nothing between it and the floor. Suddenly you have four to six cubbies for folded sweaters, jeans, T-shirts, and bags, using space that was previously just air.
I recommend this so early in the order because folded clothes are what destroy a small closet. Without shelves, sweaters become a pile, and a pile is a place clothes go to be forgotten. With cubbies, each category has a visible home, and putting laundry away takes minutes instead of becoming a weekend project. Because the organizer simply hooks over the rod, it is also one of the easiest things to take with you when your lease ends: unhook it, fold it flat, and hang it in the next closet exactly the same way, with the same categories, so your new place feels organized from the first night rather than the first month.
- Hang the organizer at one end of the rod, leaving the main hanging space free.
- Assign one cubby per category: sweaters, jeans, T-shirts, workout clothes, bags.
- Fold clothes to the width of the cubby so stacks sit straight instead of toppling.
- Put the heaviest items, like jeans, in the lowest cubbies so the organizer hangs evenly.
- Leave the top cubby for things you grab daily, like a favorite hoodie or gym bag.
Approximate cost: $12-$30 for a 4-6 shelf hanging organizer.
4. A Low Shoe Rack or Stackable Shoe Organizer
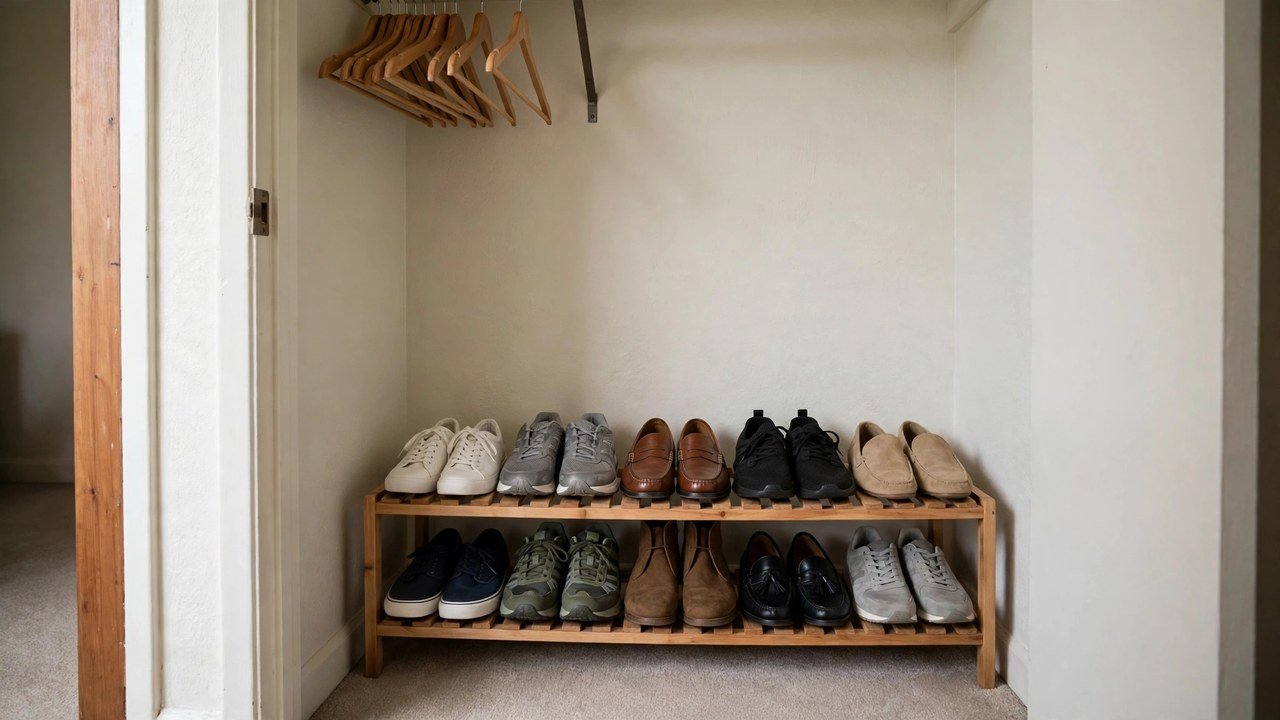
Shoes on a closet floor become a drift line: pairs migrate, one shoe goes missing, and the floor fills up until there is nowhere to stand while you get dressed. A low, freestanding shoe rack or a set of stackable shoe boxes gives every pair a place and keeps the floor clear, which matters enormously in a small first apartment where the closet floor is also where the laundry basket wants to live.
Because it stands on the floor and is not attached to anything, a shoe rack is fully deposit-safe and moves with you. I prefer a low two-tier rack for a first closet, because it fits under hanging clothes without blocking them, and you can see every pair at a glance instead of digging through a pile.
- Count your everyday pairs and choose a rack that holds that many, plus two spare spots.
- Place the rack under the shorter hanging section so shoes sit beneath shirts, not coats.
- Put your most-worn pairs on the top tier, where you can grab them half asleep.
- Keep out-of-season or rarely worn pairs in boxes on the top shelf instead of on the rack.
- Wipe the rack down when you do laundry, so dust and dirt never build into a layer.
Approximate cost: $15-$35 for a low rack, or $20-$40 for a set of stackable clear shoe boxes.
5. Labeled Fabric Bins for the Shelves

Open shelves look tidy on day one and messy by week three, unless each shelf has a bin. Fabric storage bins slide onto closet shelves and hide the visual clutter of socks, accessories, underwear, and all the small things that have no hanger, while labels tell you what lives where without opening anything. I have personally seen renters go from dreading their closet to actually enjoying opening it, just from adding bins.
For a first apartment, bins are also a budget hero: a set of matching bins costs less than almost any other organizer here, and they fold flat when you move. Choose bins that fit your shelf depth so they do not stick out and block the door. The other reason I love bins for first-time renters is that they forgive a messy week. When life gets busy, you can toss things into the right bin instead of onto the floor, and the closet still looks tidy from the doorway, which means you never have to face a full reorganization just because you had a hectic few days.
- Measure your shelf depth and height, then buy bins slightly smaller than both measurements.
- Label each bin by category, not by person or season, so the system survives a routine change.
- Put small, fiddly categories in bins first: socks, belts, scarves, chargers, and accessories.
- Keep one bin empty on purpose as an overflow spot for laundry-day strays.
- Once a month, pull each bin out, shake it out, and return anything that wandered into the wrong one.
Approximate cost: $15-$30 for a set of 4-6 fabric bins, plus a few dollars for labels.
6. Shelf Dividers for Folded Stacks
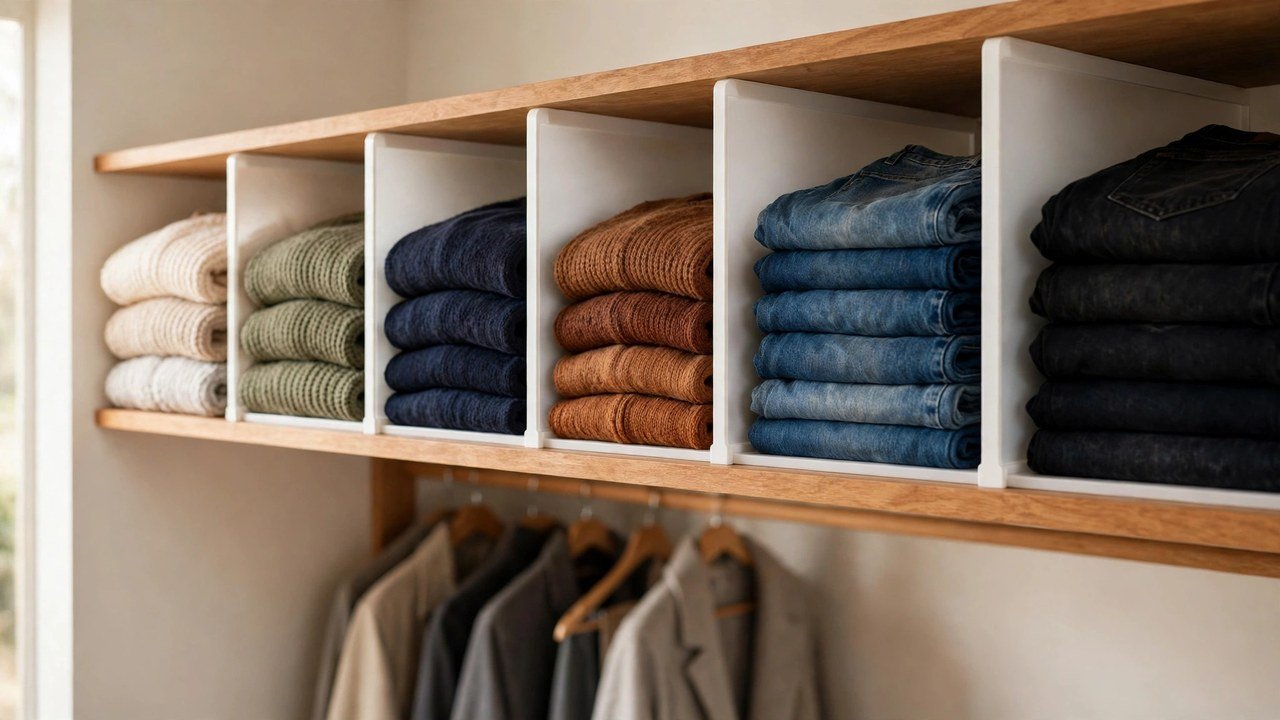
Shelf dividers are slim upright panels that slide onto a closet shelf and act like bookends for folded clothes. Without them, a stack of sweaters slowly leans, slides, and collapses into its neighbor, and by Friday you are back to a pile. With them, each stack stands on its own, and you can pull one sweater from the middle without the whole shelf falling over.
They are especially useful in first apartments because rental closet shelves are often long, deep, and completely undivided, which is the worst shape for folded storage. Dividers cost very little, install in seconds, need no tools, and come with you when you move.
- Measure the thickness of your shelf so the divider’s grip fits snugly.
- Place dividers to create sections roughly the width of one folded stack each.
- Sort stacks by category and weight, with heavier knits at the bottom of each section.
- Leave a finger-width of breathing room between the divider and the stack so clothes slide out easily.
- If a section keeps collapsing, it is too wide; move a divider closer and split it in two.
Approximate cost: $10-$20 for a set of 4-6 dividers.
7. An Over-the-Door Hook Rail
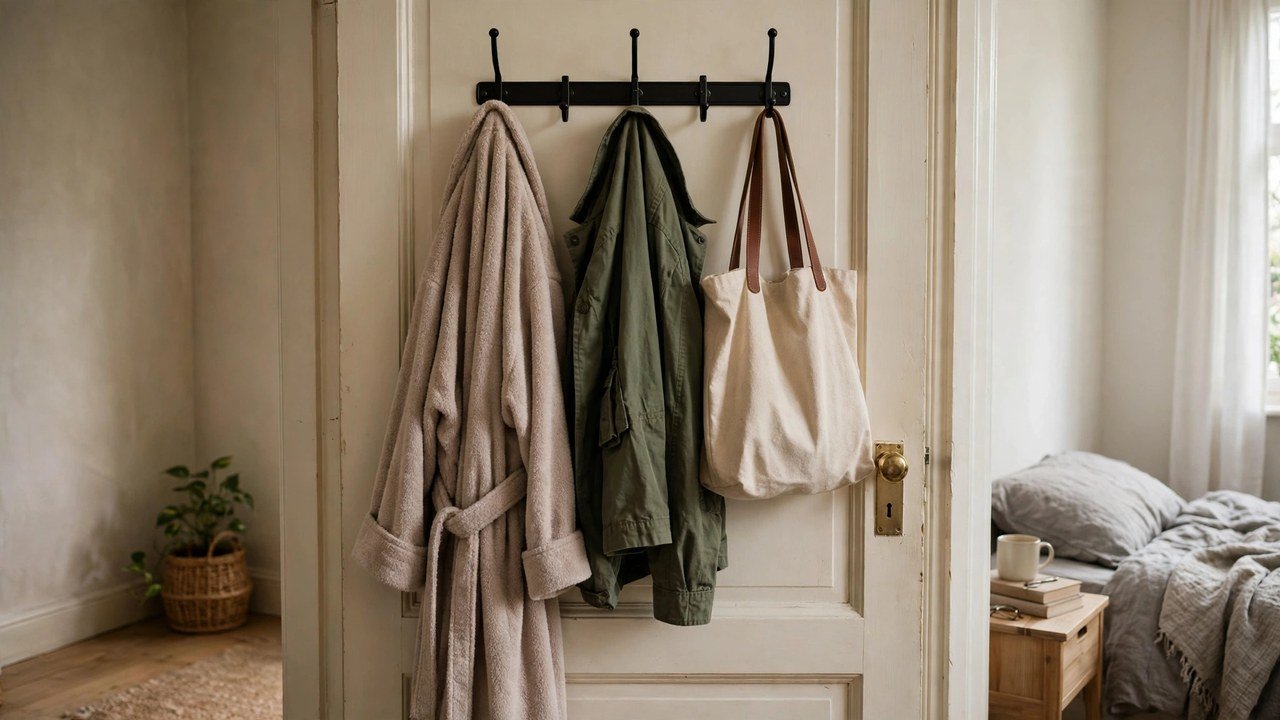
The back of a closet door, or the bedroom door if your closet has no door, is free storage space that most first apartments waste completely. An over-the-door hook rail hangs over the top of the door with no screws and no holes, and it instantly holds tomorrow’s outfit, a bathrobe, a bag, or a jacket you reach for every day.
I put this at number seven rather than higher because it works best once your main storage is sorted; otherwise it becomes a dumping ground for clothes that have no other home. Used properly, it is the single best cure for the chair pile, because tomorrow’s outfit has a designated hook instead of a chair back. It also saves you real time on busy mornings: laying out an outfit the night before means one less decision before coffee, and first apartments rarely have spare time in the morning routine, so a small habit like this pays for itself within the first week.
- Check that your door closes fully with the hooks in place before you load them.
- Hang the rail on the inside of the closet or bedroom door, where it stays out of sight.
- Reserve one hook for tomorrow’s outfit, laid out the night before.
- Use the remaining hooks for a robe, a frequently worn jacket, and a bag.
- Once a week, clear anything that has lived on a hook for more than a few days back to its real home.
Approximate cost: $10-$20 for a sturdy over-the-door hook rail.
8. Cascading and Accessory Hangers
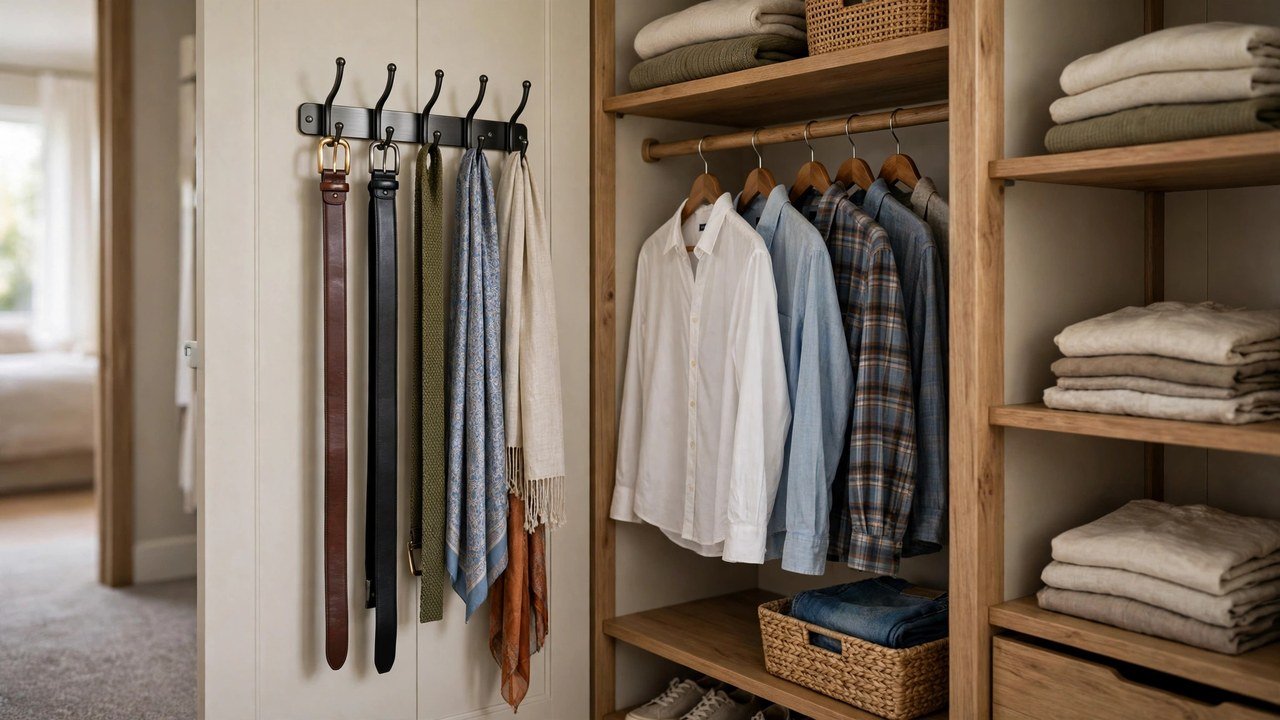
Belts, scarves, and ties are the items that quietly ruin a tidy closet, because they have no natural hanger and end up knotted in a drawer or draped over a rod where they slide off. Cascading hooks and accessory hangers solve this: a multi-hook hanger holds several belts or scarves vertically in the space of one hanger, and a cascading set lets you hang multiple garments vertically from a single rod hook.
For renters, these are pure space savers that use your existing rod, so they need no permission and no installation. They also protect accessories: belts hung straight do not curl, and scarves hung rather than folded do not crease.
- Gather every belt, scarf, and tie you own and count them before buying.
- Choose a multi-hook accessory hanger for belts and scarves, and cascading hooks for extra garments.
- Hang accessories by color or frequency of use so you can find one without emptying the hanger.
- Keep everyday accessories at eye level and formal ones toward the back of the row.
- When the accessory hanger is full, that is your signal to let one go, not to buy a second one immediately.
Approximate cost: $8-$20 for accessory and cascading hanger sets.
9. A Freestanding Rolling Garment Rack
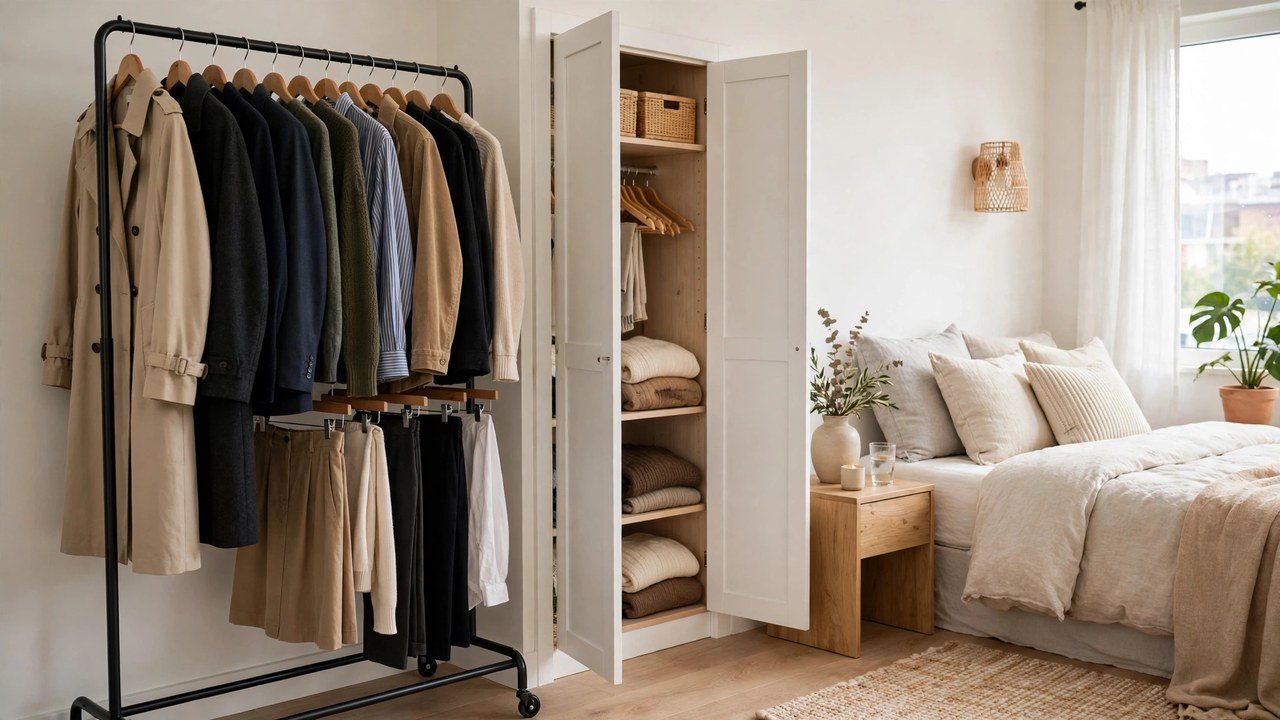
Some first apartments have closets that are barely closets: a tiny nook, a wardrobe rail, or nothing at all in a studio. A freestanding rolling garment rack is the safety net for that situation, and it is also useful in a normal closet as overflow for coats, outfits planned for the week, or clothes that are airing out after laundry. It stands on the floor, assembles without tools in most cases, and rolls out of the way when guests come over.
I have seen renters treat a rolling rack as a failure, as if needing one means their closet is not good enough. It is the opposite: it is a flexible, moveable closet that you own outright, and it follows you to the next apartment where the closet might be even smaller. A rolling rack is also the kindest option for a studio apartment, where a closet door may not exist at all, because it creates a visible, defined dressing zone in an open room instead of leaving clothes draped over furniture. Choose a rack with a lower shelf if you can, since that shelf doubles as shoe storage and keeps the whole unit grounded and stable.
- Measure a spot near your closet where the rack can stand without blocking a door or walkway.
- Assemble it on a rug or towel so you do not scratch the floor, and lock the wheels once it is placed.
- Use it for one clear job: weekly outfits, coats, or overflow, not all three at once.
- Keep it to one rack; a second rack usually means it is time to edit your wardrobe, not expand storage.
- Wipe the rail monthly, since dust collects fastest on open, exposed clothing.
Approximate cost: $25-$50 for a sturdy rolling garment rack.
10. Off-Season Storage for the Top Shelf
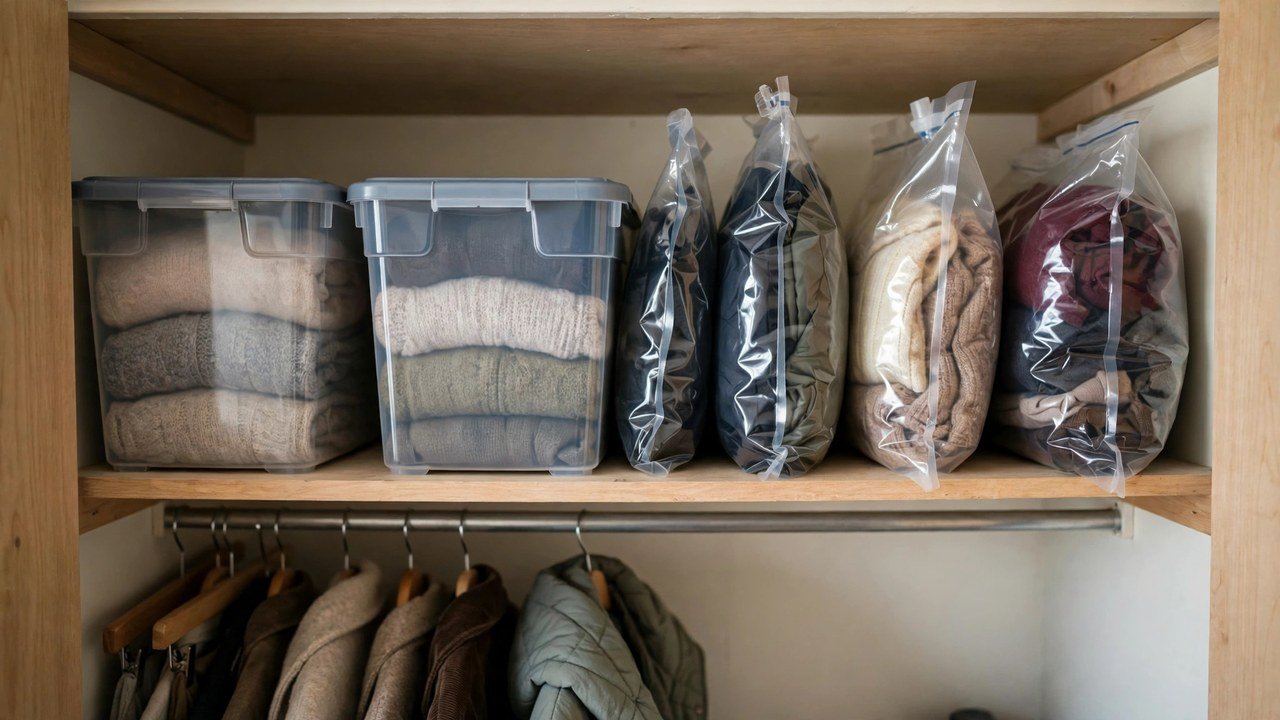
The top shelf of a rental closet is usually the most wasted space in the apartment: too high to reach easily, too deep to see into, and home to a few lonely boxes. Turn it into your off-season department with vacuum storage bags or lidded bins for the clothes you will not wear for months, and your everyday closet instantly breathes easier. Coats in summer and shorts in winter do not need prime real estate.
This belongs near the end of the buying order because it only works after you know what your everyday wardrobe actually is. The rule I give renters is simple: if you have not worn it in the current season and will not wear it in the next month, it goes up top, labeled, where it cannot crowd your daily choices.
- Sort out off-season clothes and wash or air them before storing, so they come back fresh.
- Pack them in vacuum bags to save space, or in labeled lidded bins if you prefer rigid storage.
- Label every bag or bin with the season and contents, in writing you can read from the floor.
- Place the lightest bins at the front of the top shelf and heavier ones behind, so nothing falls on you.
- Set a calendar reminder for the seasonal swap, and use that day to check for anything to donate.
Approximate cost: $12-$25 for vacuum bags, or $20-$40 for lidded bins.
11. A Battery-Powered Closet Light

Most rental closets have no light, or a single bare bulb that leaves the lower half in shadow, and you cannot rewire a rental to fix it. A battery-powered, adhesive LED light, often motion-activated, sticks to the wall or shelf with a removable strip, turns on when you open the door, and comes off cleanly when you move. It is a small purchase that changes how your closet feels every single morning.
This is a finishing touch rather than a foundation, which is why it sits at number eleven, but do not underestimate it. When you can actually see your clothes, you stop buying duplicates of things you already own, and getting dressed gets faster because you are choosing, not hunting. Good light also protects your clothes, in a quiet way: you notice a stain, a loose button, or a fraying hem before you leave the house, instead of discovering it hours later, and that kind of early catch keeps a small first-apartment wardrobe lasting much longer than it otherwise would.
- Choose a motion-sensor LED bar or puck light with adhesive mounting, not a screw-in fixture.
- Clean the mounting surface first so the adhesive strip grips properly.
- Mount the light under the top shelf or on the side wall, aimed at your hanging clothes.
- Test that it turns on when the door opens and does not stay on when the door closes.
- Keep spare batteries with your laundry supplies, and replace them before the light starts dimming.
Approximate cost: $10-$25 for a motion-sensor LED light set. Note: adhesive strips are removable, but test a small hidden spot first if your walls are freshly painted, and never screw into a wall without landlord permission.
12. An Over-the-Door Full-Length Mirror
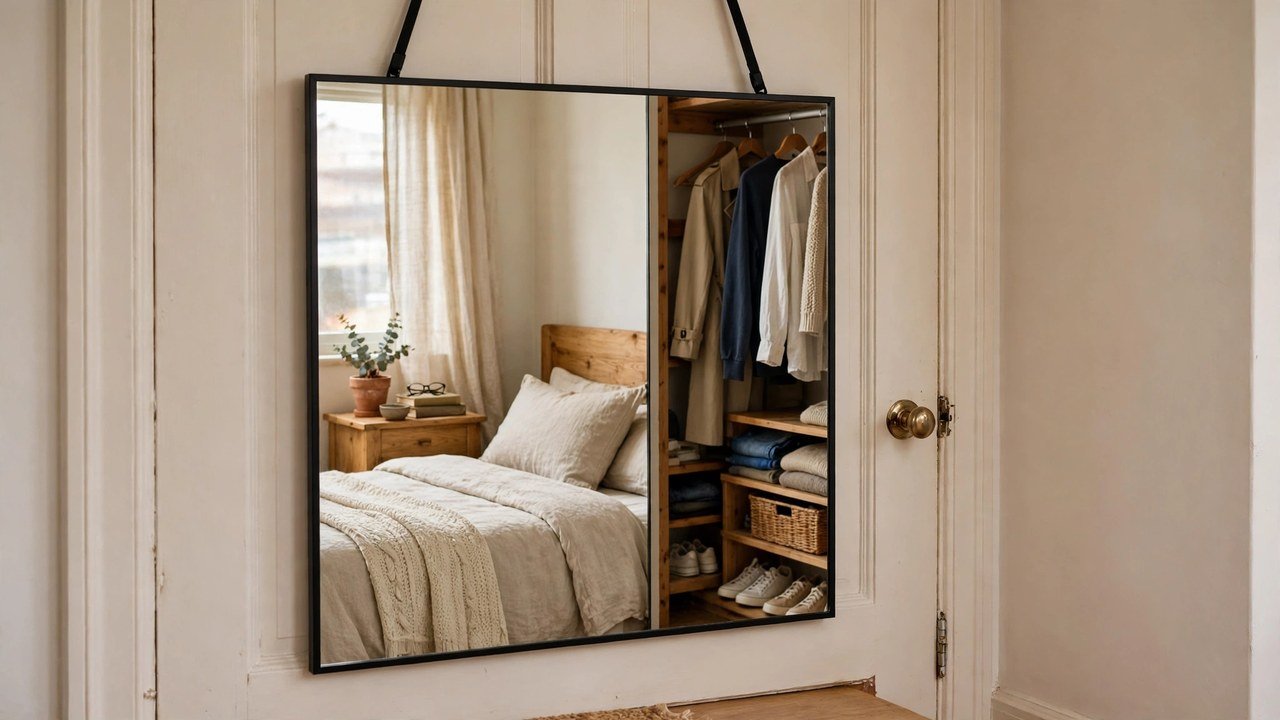
The final essential is not storage at all, and that is deliberate: a full-length mirror over the closet or bedroom door completes the getting-ready routine in a first apartment, where wall space is scarce and drilling a heavy mirror into the wall is exactly the kind of deposit risk to avoid. An over-the-door mirror hangs on the same kind of hook as idea seven, needs no tools, and lets you check your whole outfit before you leave.
It also makes a small room feel bigger, because it reflects light and doubles the visual space, which is a welcome trick in a first apartment. If your door already carries the hook rail from idea seven, use the bedroom door for the mirror and the closet door for hooks, so neither door carries too much weight.
- Check the door’s weight limit and the mirror’s weight before hanging, and never overload one door.
- Hang the mirror on the inside of the door at a height where you can see from head to toe.
- Make sure the door still closes and latches fully with the mirror in place.
- Clean it with a simple glass cloth weekly, since fingerprints show fast on a mirror you use daily.
- When you move out, lift it off the door, and the door is exactly as you found it.
Approximate cost: $20-$40 for an over-the-door full-length mirror.
Conclusion
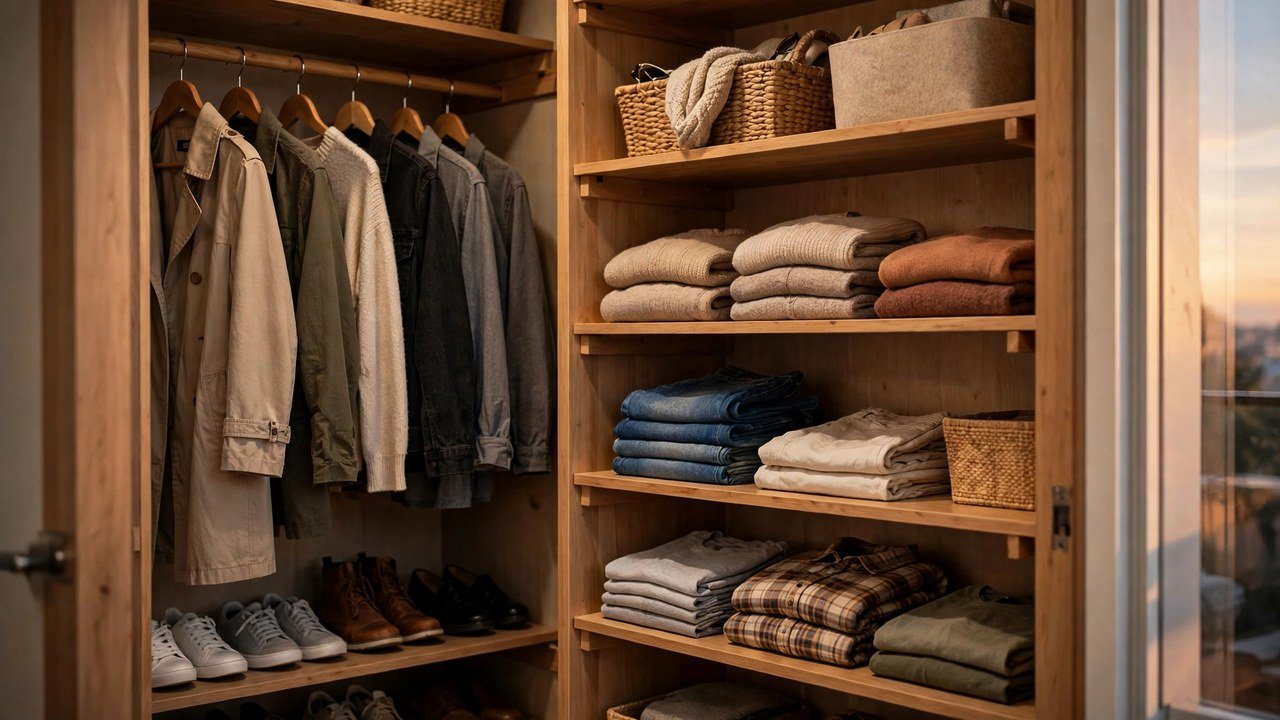
A first-apartment closet does not need to be big, and it does not need to be expensive. It needs a foundation of matching hangers, a second rod, and hanging shelves, then a few quiet systems for shoes, bins, and accessories, and finally the small comforts of light and a mirror that make getting dressed feel good instead of frantic. Buy these twelve essentials in order, one or two at a time, and give each one a week to earn its place before you buy the next. If something does not suit your closet, return it or pass it on, and keep the system that does. That is how a renter builds a closet that survives not just this apartment, but the next one too, with the deposit intact and the mornings a little easier. Please save this visual guide on Pinterest and share it with any first-time renter who is staring at an empty closet tonight, so they can start with the essentials that matter most.

Amelia leads HavenlyStyle’s editorial vision with a passion for elegant interiors and practical home living. With years of experience in home décor and lifestyle content, she ensures every article is accurate, inspiring, and easy to follow. From timeless decorating ideas to the latest interior design trends, Amelia is committed to helping readers create beautiful, functional spaces while maintaining HavenlyStyle’s trusted and welcoming voice.