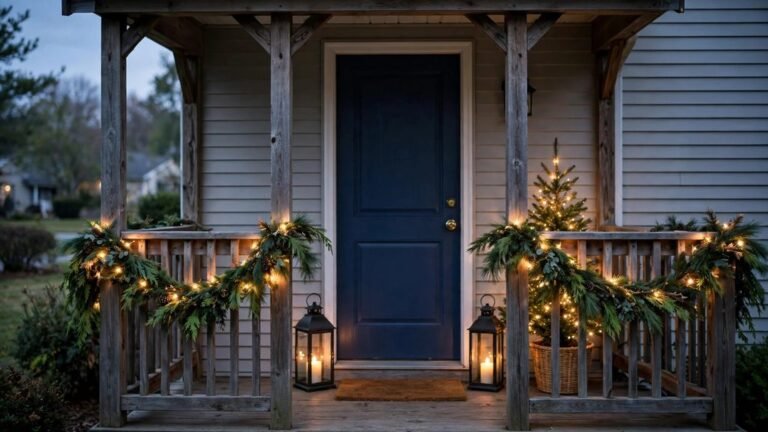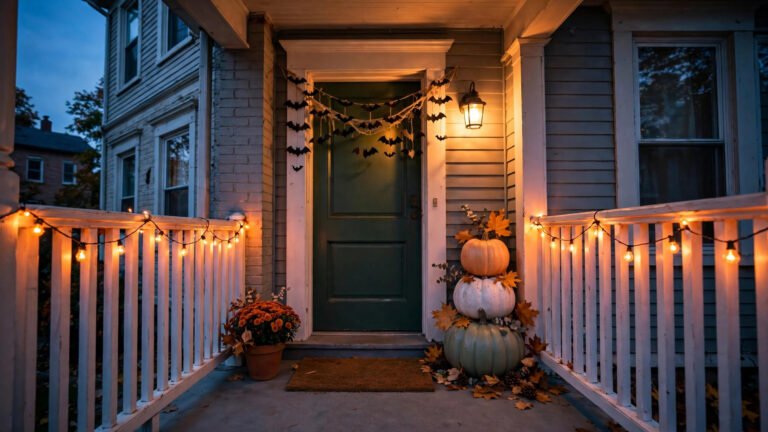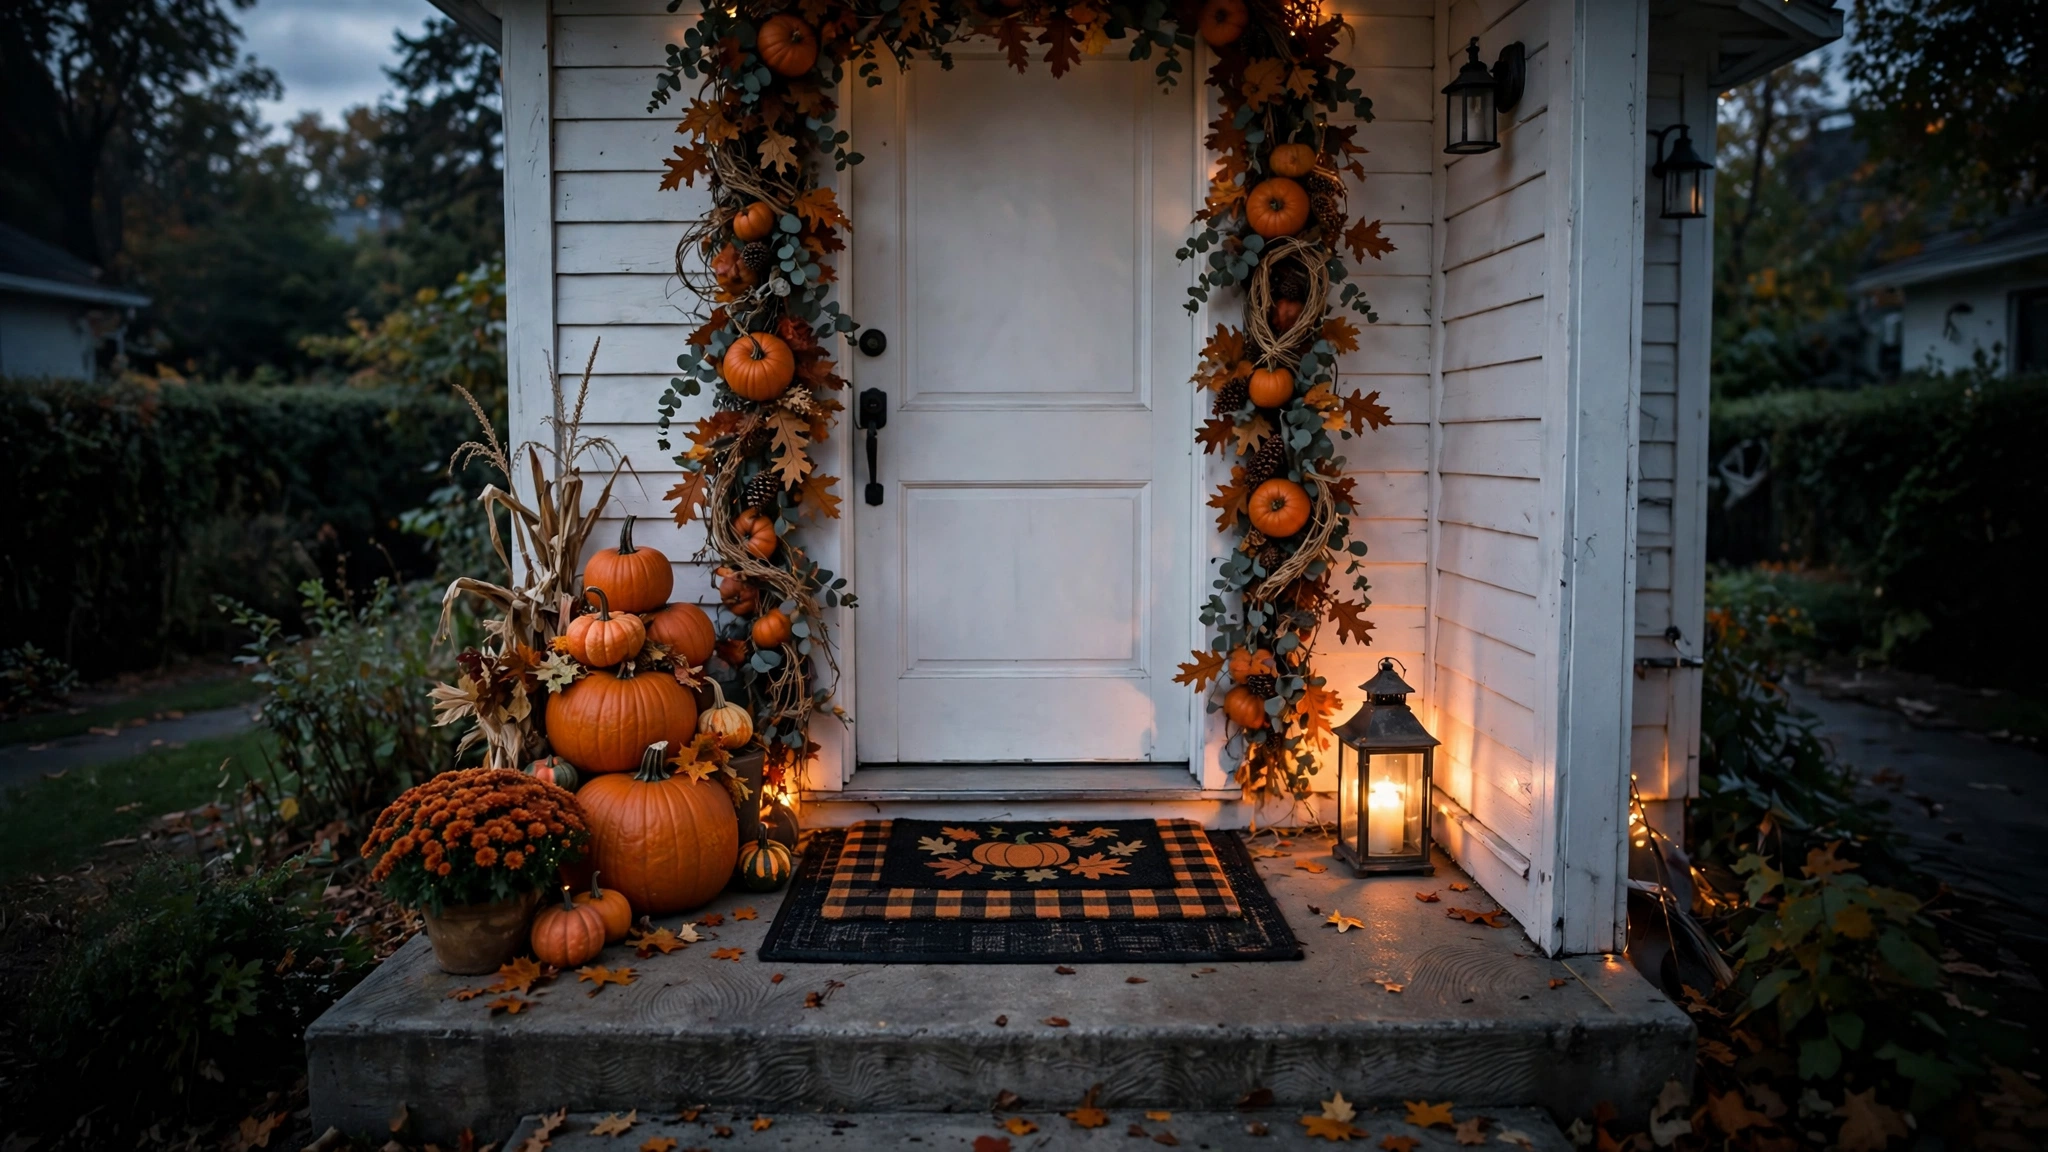
Halloween on a rental front porch has a special kind of pressure. You want the curb appeal — the trick-or-treaters stopping, the neighbors slowing down to look — but you’re working with maybe six feet of concrete, a strict landlord, and a lease clause that says no holes in the exterior. No screwing garlands into the siding. No drilling a bracket for a projector. And definitely nothing that peels paint off the door frame when November rolls around.
I’ve helped dozens of renters decorate porches exactly like this: the tiny stoop apartment porches, the narrow rental-house porches, the townhouse entryways where the “porch” is basically a welcome mat and a hope. What I’ve noticed over the years is that small porches don’t need less decor — they need smarter decor. A compact porch actually photographs better and reads spookier from the sidewalk, because everything is concentrated in one small, high-impact frame. You’re not fighting a sprawling yard; you’re styling a vignette.
Every idea below is landlord-safe by design. Nothing gets drilled, nailed, or stapled into the house. Adhesive hooks, over-the-door brackets, tension rods, and gravity do all the heavy lifting, and everything comes down clean in November with your deposit intact. Most of these cost under $30 per idea, many under $10, and several reuse the same pieces year after year.
Executive Summary
- Small porches are an advantage: concentrated vignettes read spookier and photograph better from the sidewalk than sprawling displays.
- Go vertical: door-frame garland wraps and hanging ghosts use zero floor space — critical when your porch is six feet wide.
- Everything is removable: adhesive hooks, over-the-door brackets, painter’s tape, and gravity; no drilling, no stapling, no nail holes.
- One color story per porch: pick two or three colors (orange + black, or purple + white + gray) and repeat them so ten small pieces read as one big display.
- Budget reality: most ideas below run $8–$30 per idea; a fully decorated small porch lands around $60–$120 total, with reusable pieces amortizing over years.
- The five-minute wins: a layered welcome mat, a stacked pumpkin trio, and window silhouette clings transform a plain stoop in under 30 minutes.
1. The Vertical Door-Frame Garland Wrap
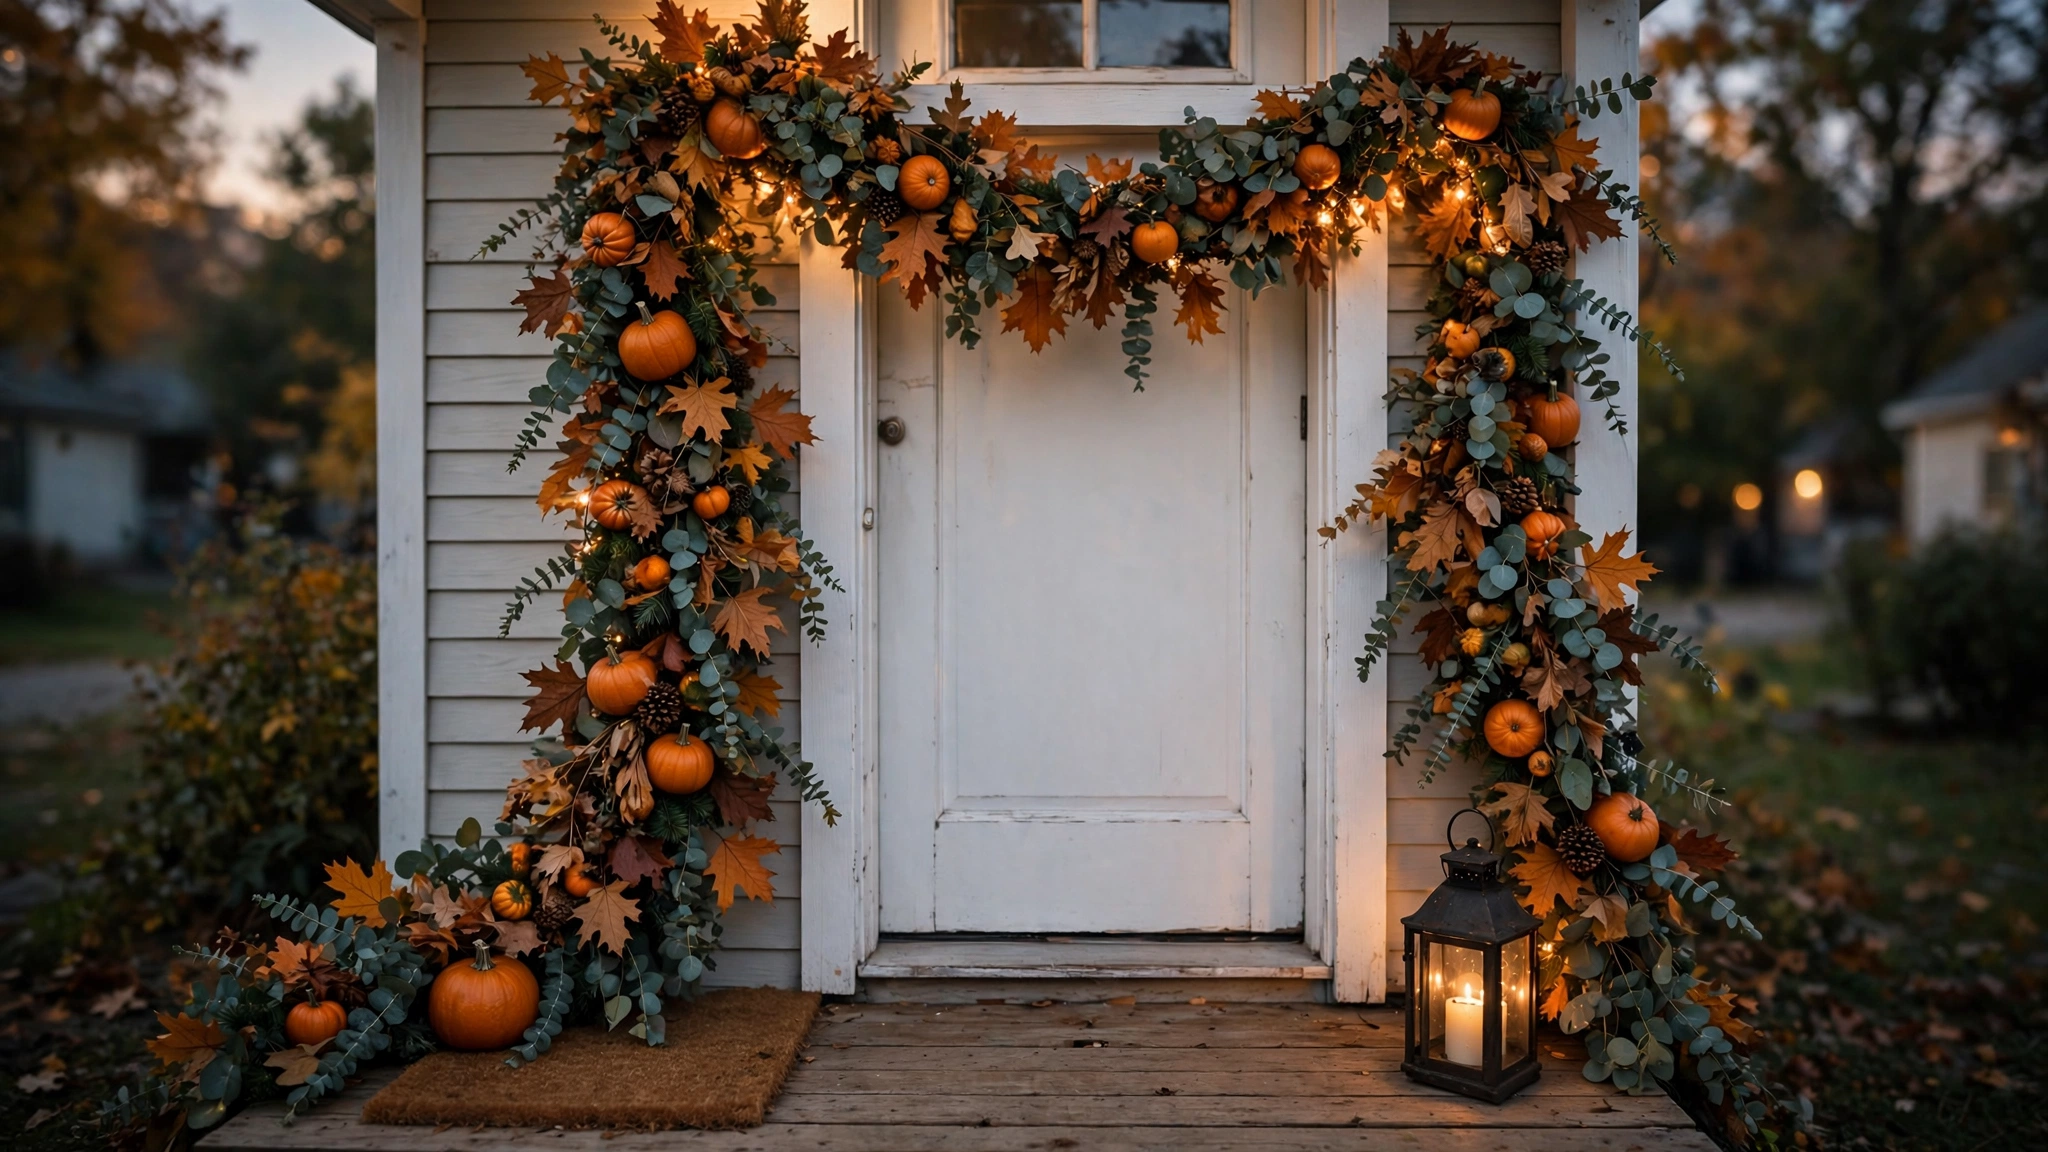
This is the single highest-impact move on a small porch, and it uses zero floor space. Instead of spreading decor across the porch you don’t have, you wrap a full Halloween garland up one side of the door frame, across the top, and down the other side — framing your front door like a movie poster. From the street, it reads as one enormous decoration; from your doorbell cam, it photographs like you hired someone.
Why it works for renters: the garland never touches the house itself. You hang it on removable adhesive hooks rated for outdoor use — the kind with the pull-strip removal that leaves no residue on painted wood or vinyl. I’ve personally seen renters pull these off in November with zero paint damage, even on older rental trim. If your landlord is strict about exterior alterations, this is still fine: the hooks attach to the door frame molding or the brick around the door, not the siding, and they’re designed to be temporary.
How to do it:
- Map your frame. Measure up one side, across the top, and down the other side of the door frame. Buy a garland that matches that length plus a foot of slack — fall-and-Halloween garlands with pumpkins, leaves, and berries work beautifully.
- Place 5–7 outdoor adhesive hooks along the frame: two on each side, two or three across the top. Press them on a clean, dry surface and let them set for the time the package recommends (usually an hour).
- Drape the garland and hook it over each clip, letting it hang slightly deeper on the sides for a lush look. Twist-tie any loose ends to a hook with a piece of florist wire.
- Fill the gaps. Poke 3–4 small black bat cutouts or mini ghost picks into the garland at intervals, securing with the same wire.
- Step back to the sidewalk. The #1 mistake I see is decorating from two feet away; the garland is for the street, so check it from the curb and shift things until the silhouette reads full.
Approximate cost: $18–$30 (one 6-foot garland $12–$20, adhesive hooks $4–$6, bat picks $2–$4).
Material options
- Foam pumpkin garlands are lightest and kindest to adhesive hooks in wind.
- Eucalyptus-and-bat garlands give a more “grown-up spooky” look that photographs beautifully against a white door frame.
- If your porch is very windy, choose a garland with a wire backbone so you can shape it tight to the frame instead of it flapping.
2. The Compact Stacked Pumpkin Trio

Every porch needs pumpkins — it’s non-negotiable for Halloween — but on a small porch, a sprawling pumpkin patch eats the whole stoop. The fix is the stacked trio: three pumpkins of decreasing size stacked vertically like a topiary, occupying about one square foot of floor. It’s the highest pumpkin-to-square-foot ratio you can get, and it looks intentional and styled rather than random.
Why it works for renters: use craft pumpkins (foam or plastic) instead of real ones and the whole thing weighs almost nothing, can’t rot or stain the concrete, and stores flat-ish in a tote for next year. Real pumpkins are wonderful, but on a rental stoop they leave ring stains on concrete that some landlords notice at move-out. The craft versions read perfectly fine from the street — I’ve had neighbors ask which farm stand mine came from.
How to do it:
- Buy three craft pumpkins in descending sizes — large (about 12 inches), medium (about 9 inches), small (about 6 inches). Mixing textures (one ribbed, one smooth, one glittered) keeps it from looking like a product photo.
- Anchor the bottom. Set the largest pumpkin on a small folded doormat or a square of outdoor rug — this stops it wobbling on uneven concrete and protects the stoop surface.
- Stack the medium on top, then the small, slightly off-center for a natural look. For wind insurance, run a thin wooden dowel down through all three (most craft pumpkins have hollow cores or soft bottoms you can push a dowel into).
- Add a topper: a small black crow, a witch hat, or a bow made from Halloween ribbon, pinned to the smallest pumpkin.
- Tuck a battery-operated tea light into the front of the middle pumpkin if it’s the carve-look style with cutouts — it glows without any real flame, which most leases and all fire codes prefer on porches.
Approximate cost: $20–$35 (three craft pumpkins $15–$25, dowel and topper $5–$10).
3. Layered Welcome Mat Stacking
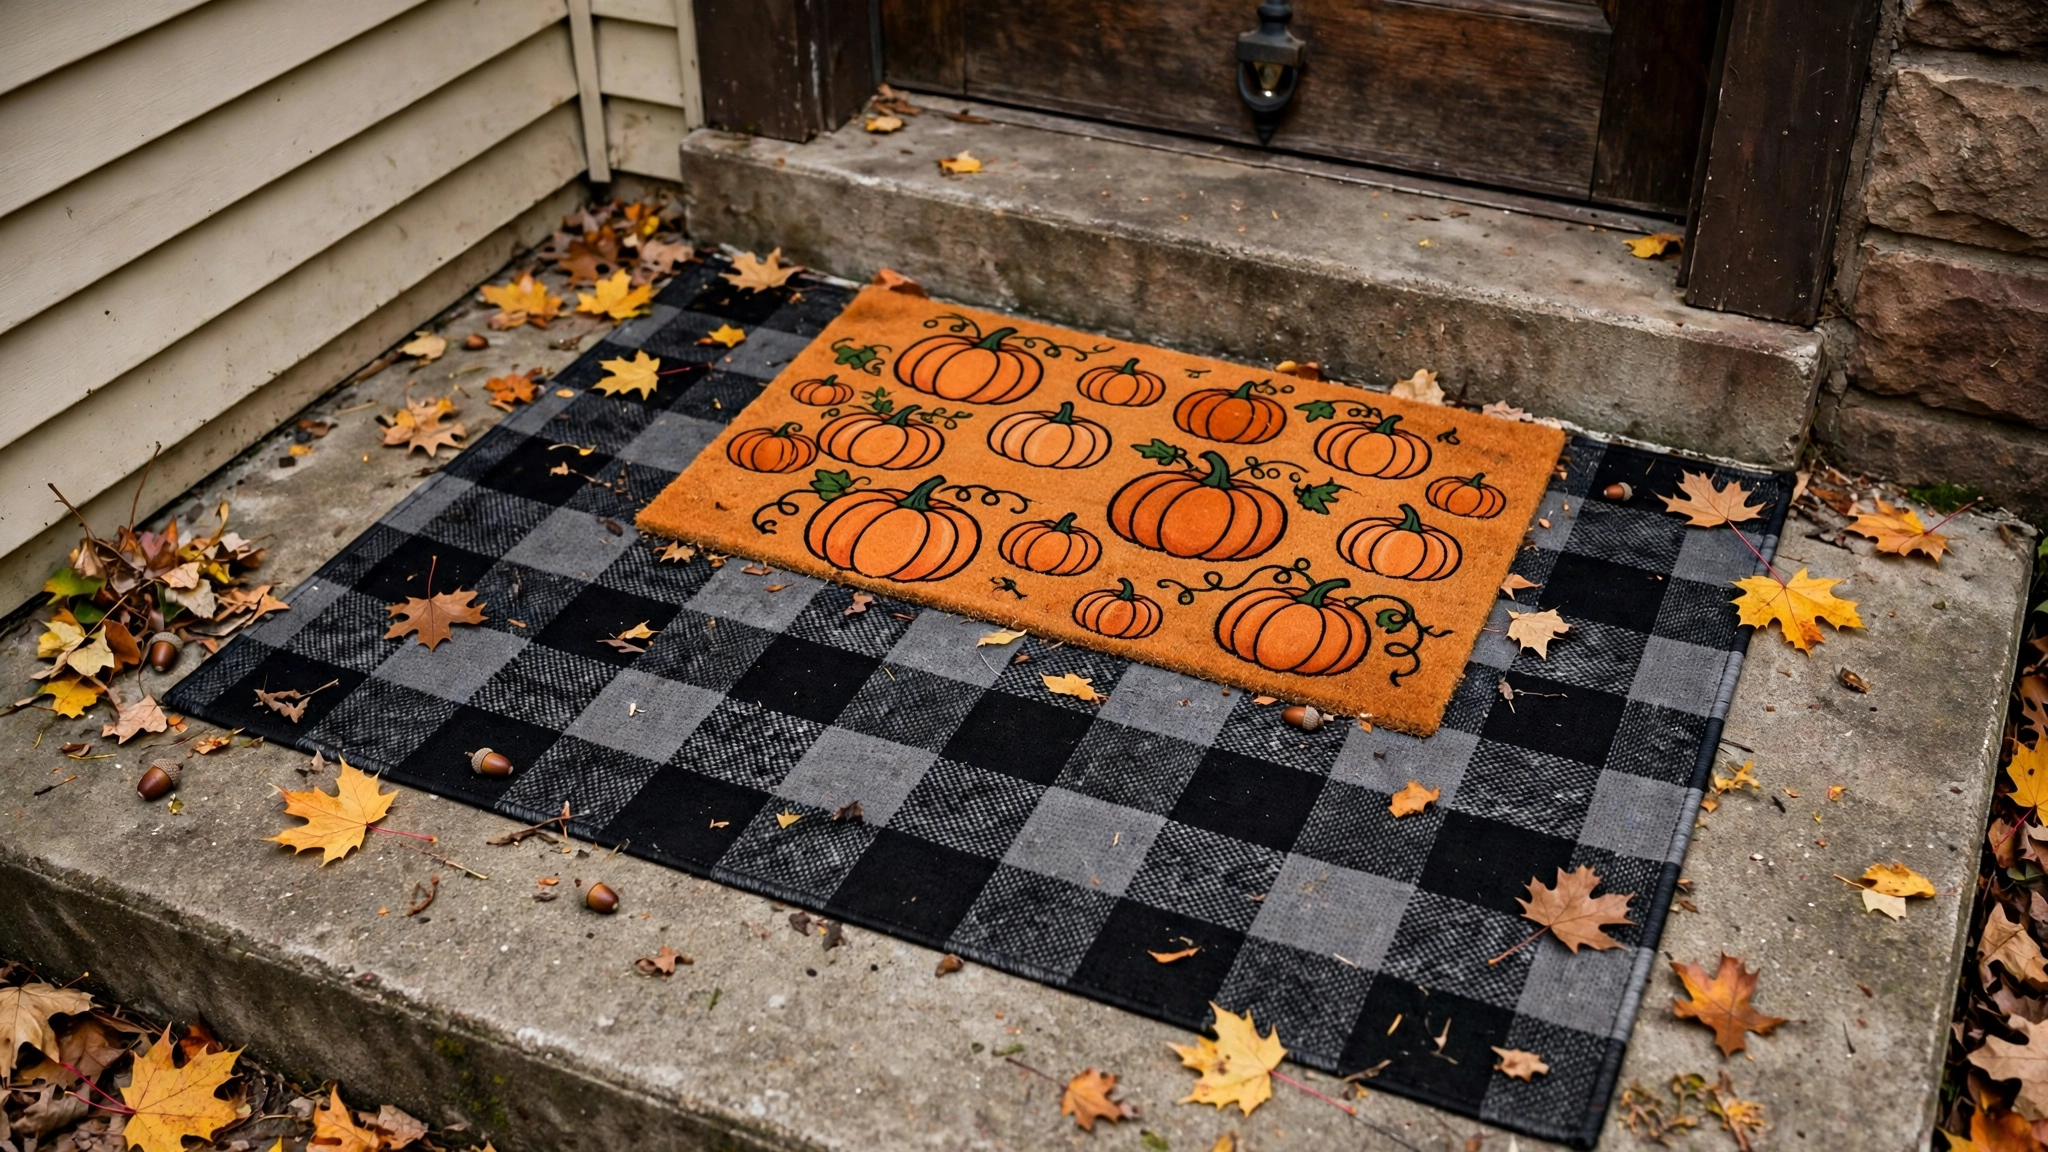
This is the fastest transformation on the list — under five minutes — and it works on even the tiniest stoop because a doormat fits anywhere. The trick is the layer: a larger patterned or textured rug underneath (a flat-weave outdoor rug, a buffalo-check layer, or even a piece of faux grass), with a smaller Halloween doormat on top, slightly angled. The layering makes a 24-inch doormat read like a designed entryway instead of a bare necessity.
Why it works for renters: nothing is attached to anything. The rugs sit on the concrete, get picked up in November, and leave the stoop exactly as found. The bottom layer also catches leaves, dirt, and pumpkin residue that would otherwise sit directly on the concrete — which, on a rental, is quiet deposit protection. I’ve noticed that landlords doing move-out inspections always look at the front stoop; a protected stoop photographs clean.
How to do it:
- Lay down the base layer first — a 2×3-foot flat outdoor rug or a piece of coir. Center it on the stoop with a few inches of concrete showing on each side so it looks deliberate.
- Place the Halloween mat on top, rotated about 10 degrees off-axis. The slight angle is the whole trick — parallel mats look flat; the angled top mat looks styled.
- Choose your Halloween message wisely. “Hey Boo,” “Witch Way to the Candy,” or a simple pumpkin pattern all work; avoid anything that reads as political or edgy — Halloween decor should be fun for every trick-or-treater who shows up.
- Anchor the corners with two small pumpkins or a pair of battery lanterns so the top mat doesn’t slide in wind.
- Shake out and refresh weekly — Halloween season means leaves, and a dusty mat kills the effect faster than anything else.
Approximate cost: $12–$25 (base layer rug $8–$15, Halloween mat $4–$10).
4. Hanging Ghost and Bat Swirl
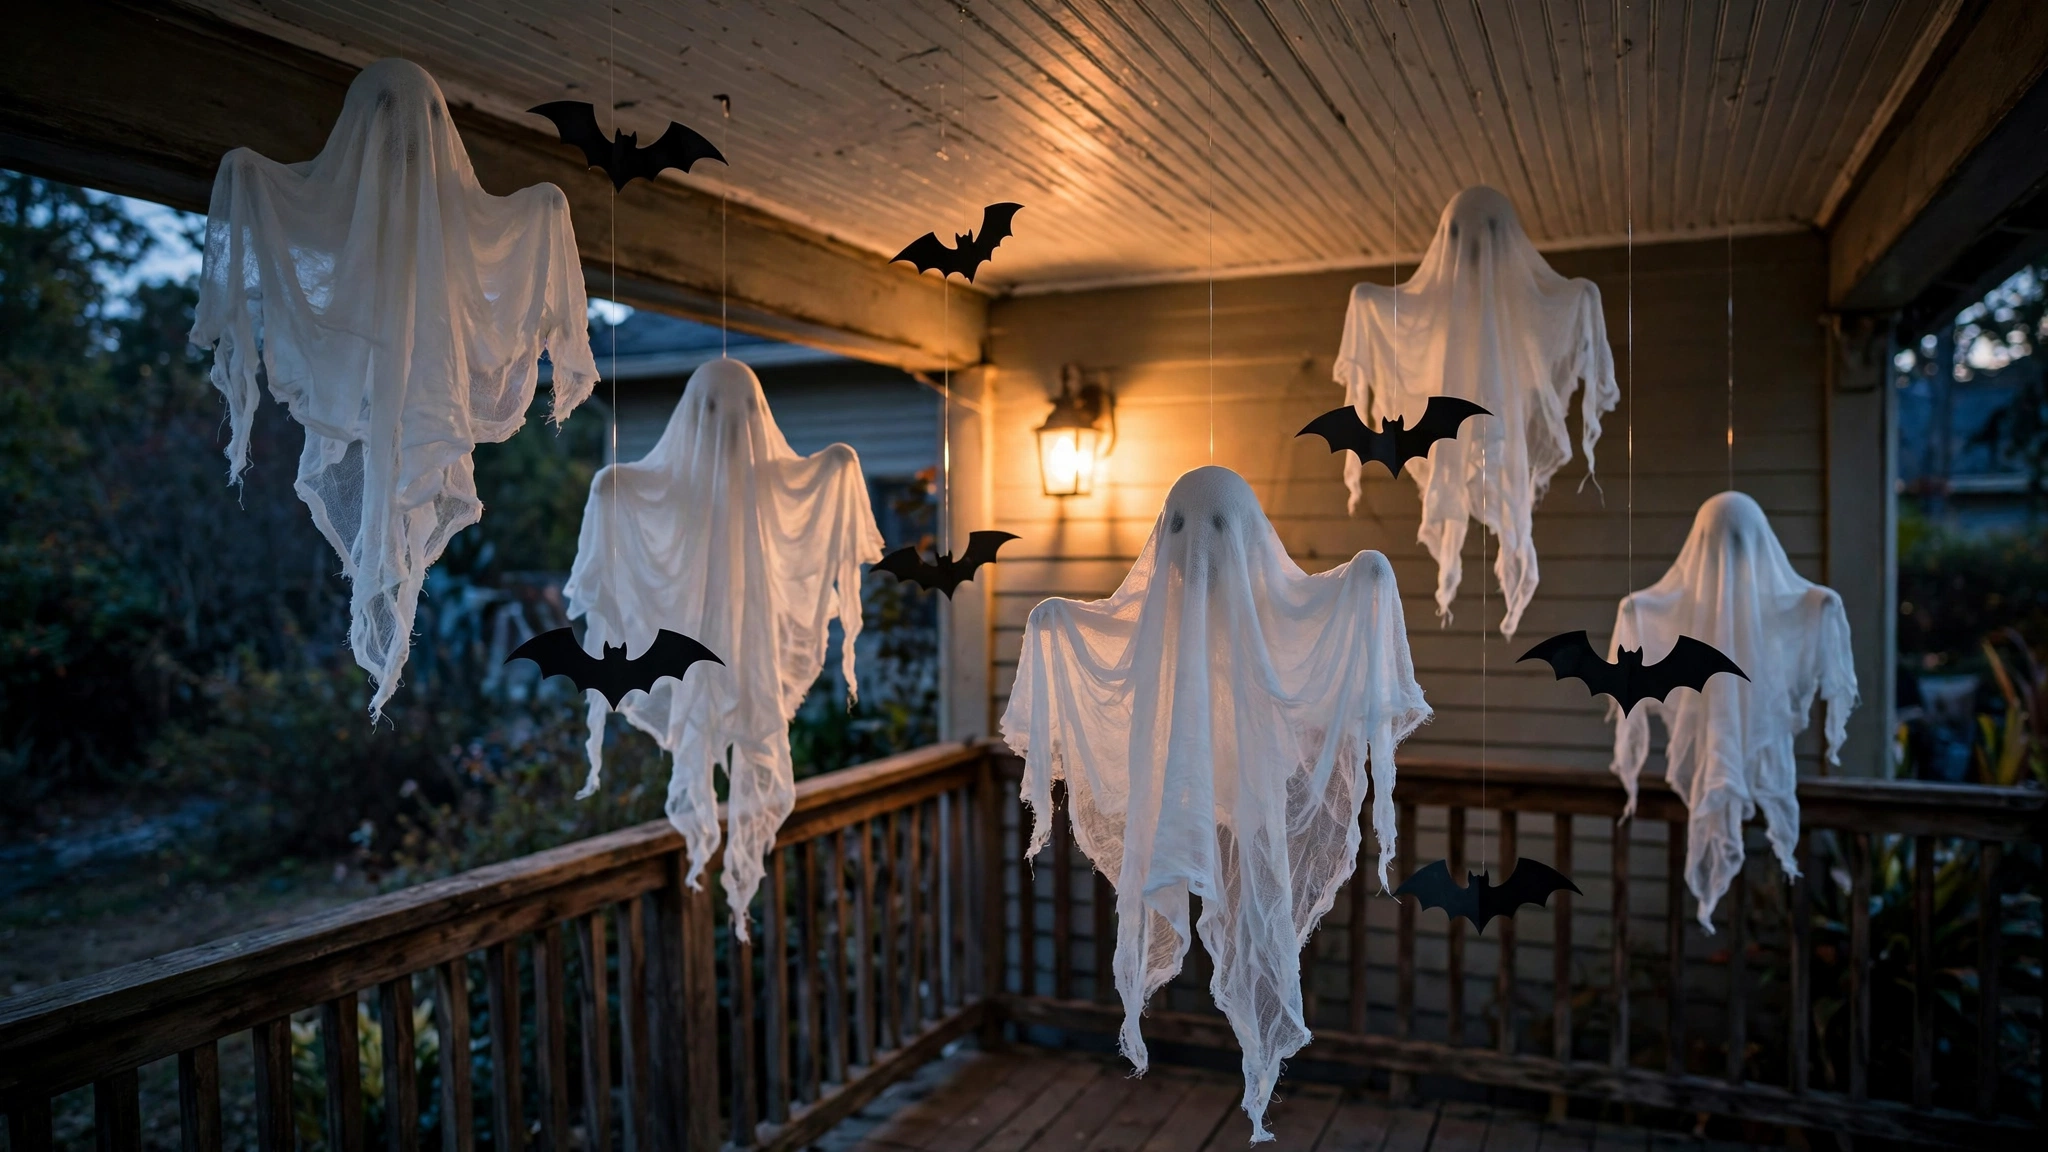
If your porch has any kind of ceiling or overhang — even a shallow one — the air above your stoop is free decorating real estate. A swirl of hanging ghosts, bats, and paper lanterns suspended at different heights creates motion and depth, and it photographs like a haunted canopy. This is especially effective at night when backlit by your porch light.
Why it works for renters: everything hangs from removable adhesive ceiling hooks or — my favorite renter trick — from a tension rod wedged across the porch opening if you have two posts or walls to span. No screws in the ceiling, no holes in the soffit. Each ghost hangs on clear fishing line, which is invisible at night and nearly invisible by day, so the ghosts appear to float. When the season ends, you cut the lines and pull the hooks; nothing remains.
How to do it:
- Install 4–6 outdoor-rated adhesive hooks on the porch ceiling or overhang, spaced in a loose arc above the stoop. Let them cure per the package directions before hanging anything.
- Cut fishing line to staggered lengths — 12, 18, and 24 inches — so the ghosts hang at different heights. Tie one end to the hook, one to the ghost’s top.
- Make the ghosts from white fabric squares (cheesecloth works beautifully and moves in the breeze) draped over small foam balls, with the “head” cinched by a rubber band. Draw simple eyes with a marker, or leave them blank for a more elegant look.
- Alternate ghosts with black cardstock bats on shorter lines and one or two orange paper lanterns with battery tea lights inside.
- Test at night with your porch light on before Halloween — adjust the heights so nothing blocks the doorbell camera or hits visitors in the face.
Approximate cost: $8–$15 (adhesive hooks $4–$6, cheesecloth, foam balls, fishing line, cardstock $4–$9).
5. Railing Drape and Spider-Web Garland
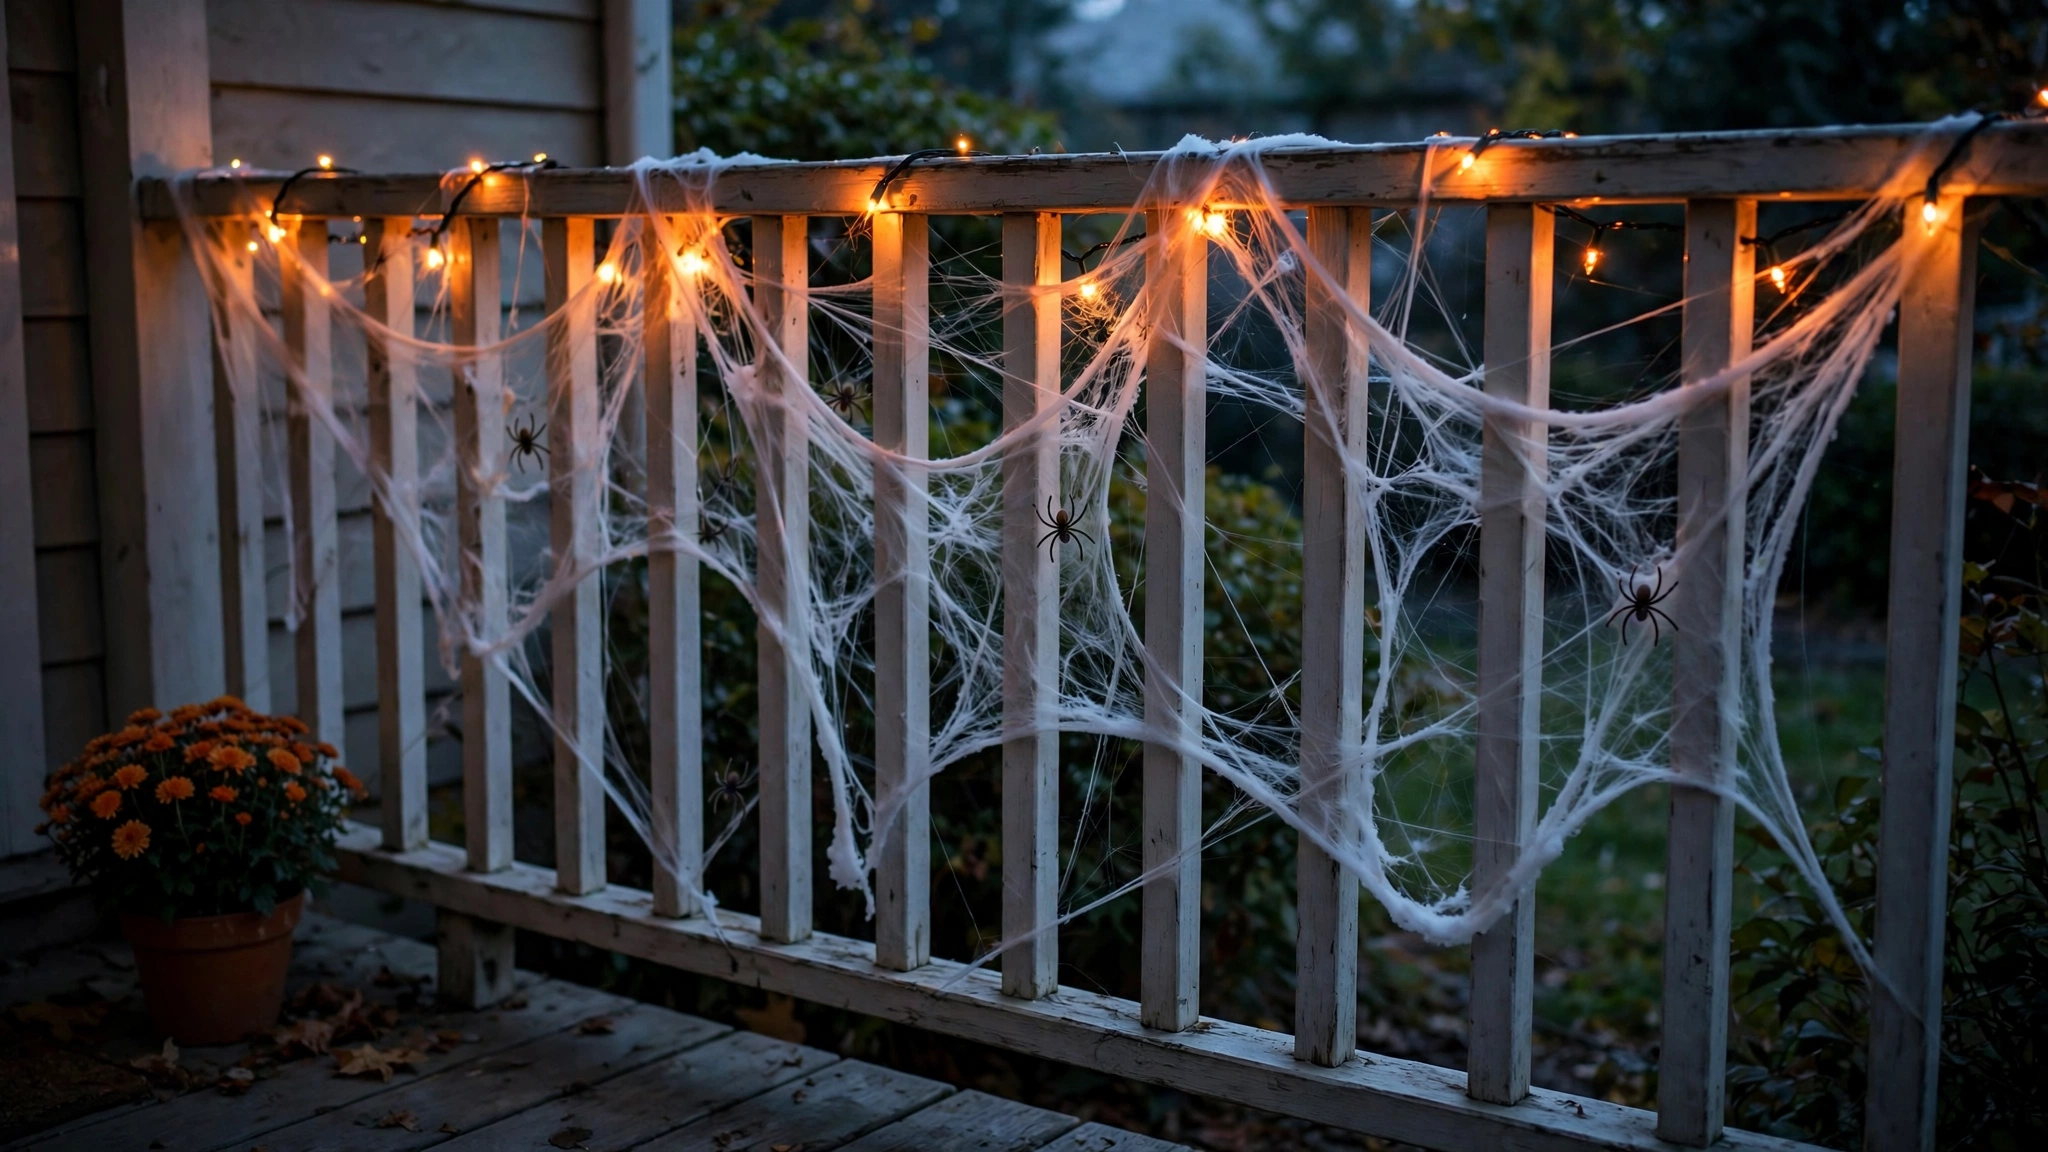
Porch railings are long, flat, and boring — which makes them perfect for a dramatic drape. Stretch a spider-web fabric or gauzy black fabric along the railing like a swag, and it instantly gives your porch the “abandoned mansion” read from the sidewalk. Add a few plastic spiders and it goes from pretty to properly spooky.
Why it works for renters: the drape is held on with removable means only — twist ties looped around the balusters, small adhesive clips on the top rail, or simply tucked and draped so gravity does the work. Nothing is stapled or nailed into the railing, which is exactly what lease clauses prohibit. Web fabric (the stretchy kind sold for Halloween) is ideal because it clings to itself and needs almost no fastening.
How to do it:
- Measure your railing length and buy stretchy spider-web fabric to match — it comes in bags that cover surprising distances.
- Start at one end post and loosely stretch the web along the top rail, draping it in swags that dip between balusters. Twist-tie it to a baluster every 18–24 inches with black ties.
- Pull a few strands outward to make the web look torn and organic — perfect webs look store-bought; slightly ragged webs look haunted.
- Clip 4–6 plastic spiders of varying sizes onto the web at different heights. One big spider near the middle, smaller ones scattered — the asymmetry reads more natural.
- For a finishing touch, weave a string of purple or orange battery fairy lights through the top rail swag. The lights catch the web at night and make the whole railing glow.
Approximate cost: $10–$20 (web fabric $5–$8, spiders $3–$5, fairy lights $4–$7).
6. Porch Column Mummy Wraps
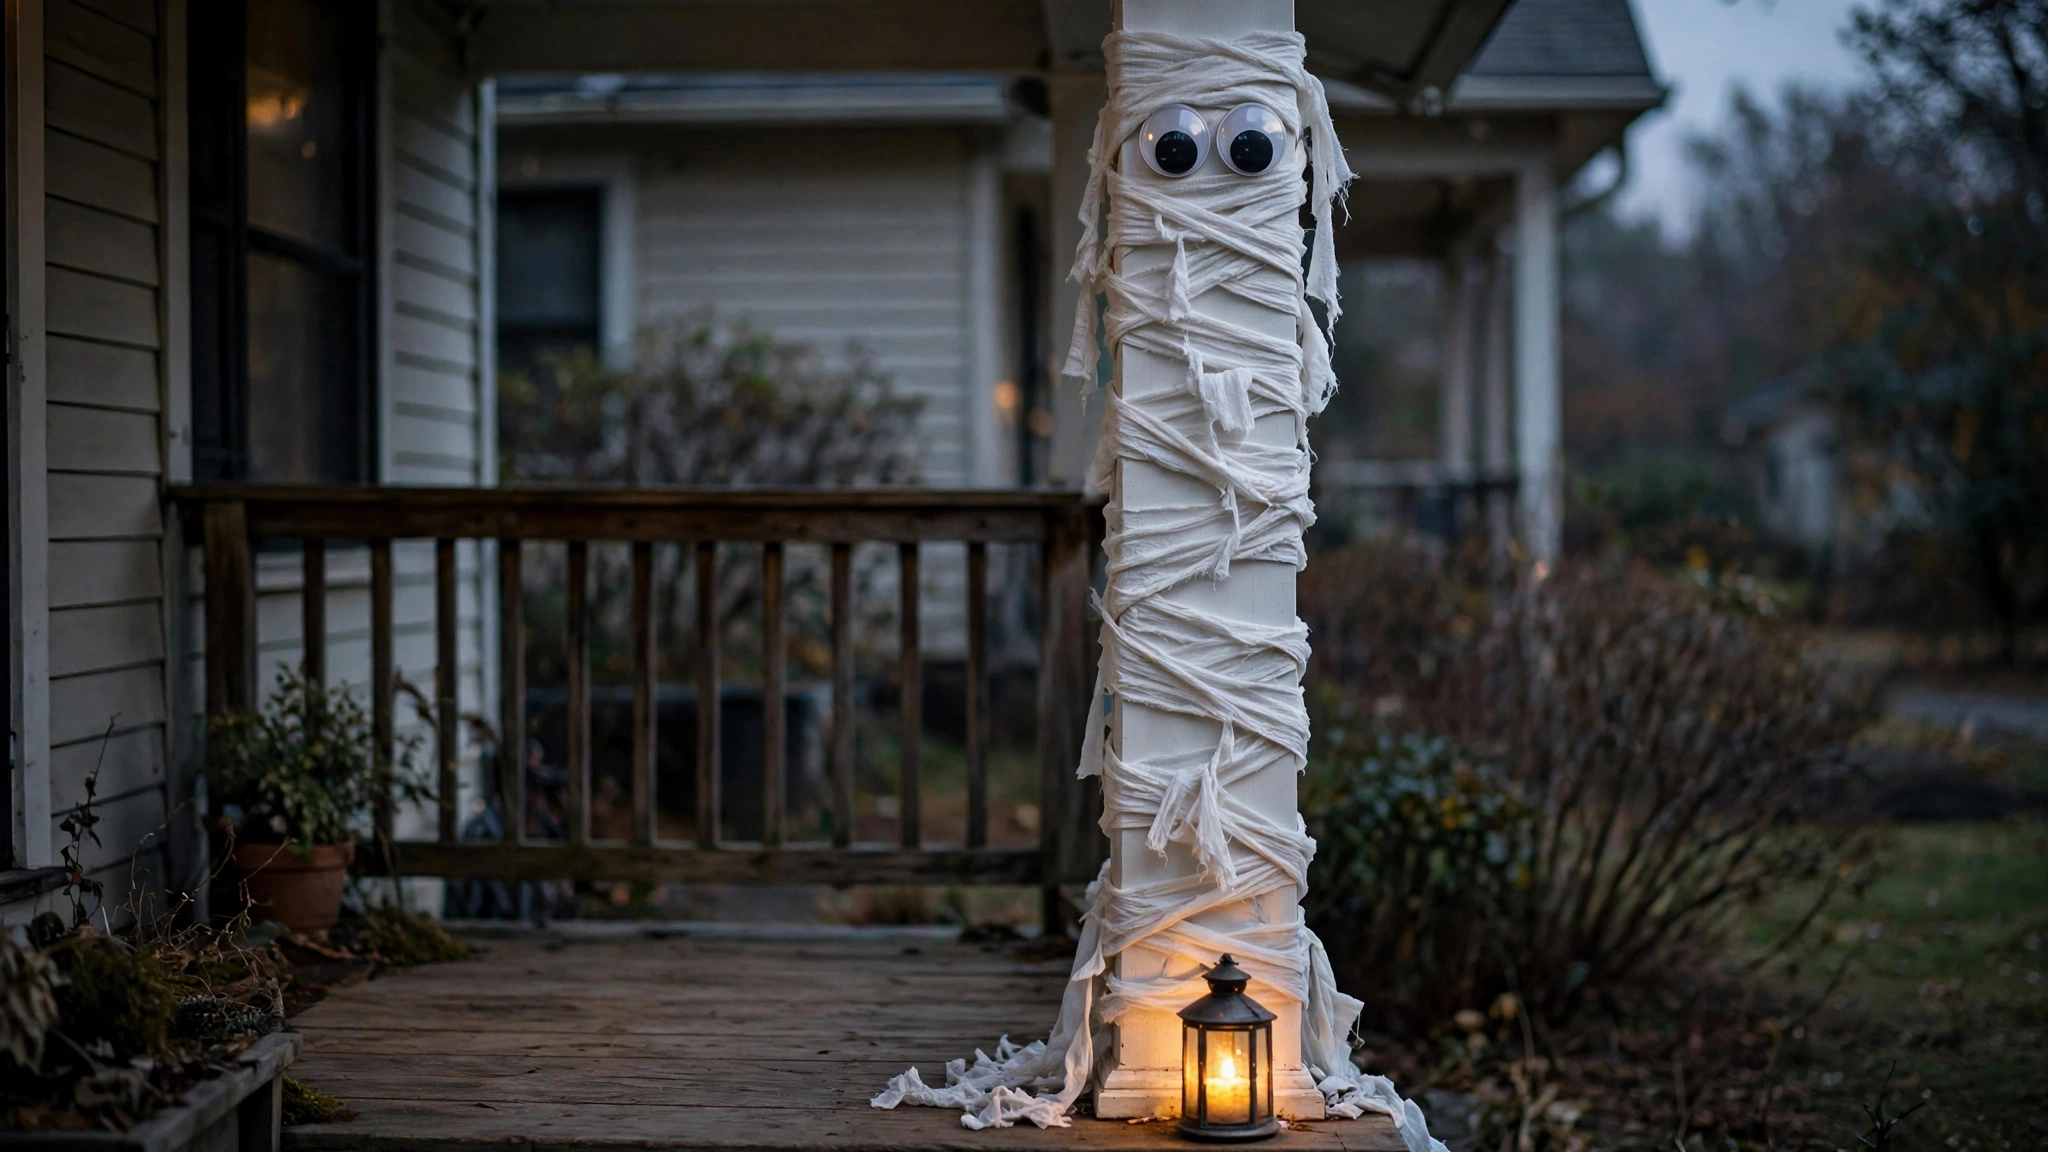
If your porch has columns or posts — even short ones — wrapping them like mummies is one of the most charming Halloween looks, and it’s absurdly easy. Gauze or crepe paper wound around the column, with two big googly eyes stuck near the top, turns a plain rental porch post into a character. Kids love it, and it’s the kind of decor that gets photographed.
Why it works for renters: the wrap never touches the column directly. You put down a base layer of painter’s tape (which is designed to release cleanly from painted surfaces) at the top and bottom, then wrap the gauze over the tape — the gauze grips the tape, the tape grips the column, and in November the tape peels off without taking paint with it. I’ve personally seen this done on freshly painted rental columns with zero damage. Never use packing tape or duct tape directly on a column; that’s how deposits die.
How to do it:
- Clean the column with a damp cloth so the painter’s tape adheres well, and let it dry.
- Run two bands of wide painter’s tape around the column — one near the top, one near the bottom. These are your anchor bands.
- Wrap white gauze (medical gauze rolls or Halloween mummy wrap) around the column in a slightly diagonal spiral, overlapping each pass by half. Tuck the starting end under the first wrap; tuck the finishing end under the last wrap or secure it with a small piece of painter’s tape.
- Leave a few loose gauze tails hanging for a tattered effect — neatness is the enemy of a good mummy.
- Stick two large googly eyes (the self-adhesive kind) onto the gauze near the top of the column. For night impact, place a battery tea light on the porch floor at the column’s base so the mummy is uplight.
Approximate cost: $8–$14 (gauze rolls $4–$6, painter’s tape $3–$4, googly eyes $1–$4).
7. Slim Scarecrow Planter

Every porch has one dead corner — the spot where the railing meets the wall, or the narrow strip beside the door. A slim planter styled as a mini scarecrow scene fills that corner with zero wasted space. A tall, narrow planter (or even a galvanized bucket) holds dried corn stalks, a small scarecrow figure, mini pumpkins, and fall leaves — it’s Halloween-adjacent, harvest-warm, and it stays up through Thanksgiving.
Why it works for renters: planters are the ultimate renter decor — they sit on the ground, they move with you, and landlords love them because they signal a tenant who cares for the property. A tall narrow planter has a footprint of about one square foot, so it fits corners that nothing else can use. Everything in it is removable and reusable; the corn stalks compost or store flat.
How to do it:
- Choose a tall, narrow container — a 10–12 inch diameter planter, a metal bucket, or a wooden crate stood on end. Weight the bottom with a brick or a bag of sand so it can’t tip in wind.
- Arrange 5–7 dried corn stalks (or tall dried grasses) in the back of the planter, fanning them outward. Secure the bundle with twine at the base.
- Nestle a small scarecrow figure (12–18 inches) in front of the stalks, leaning it against them so it stands upright.
- Fill the front with 3–4 mini pumpkins and gourds in mixed colors, tucking dried fall leaves around them to hide the soil or filler.
- Tie a small black-and-orange ribbon bow around the planter’s rim. If the corner is dark, tuck one solar stake light behind the planter — it charges by day and spotlights your scarecrow by night.
Approximate cost: $18–$30 (planter $8–$12, corn stalks $5–$8, scarecrow figure $5–$8, mini pumpkins $2–$4).
8. The Doorstep Vignette Tray
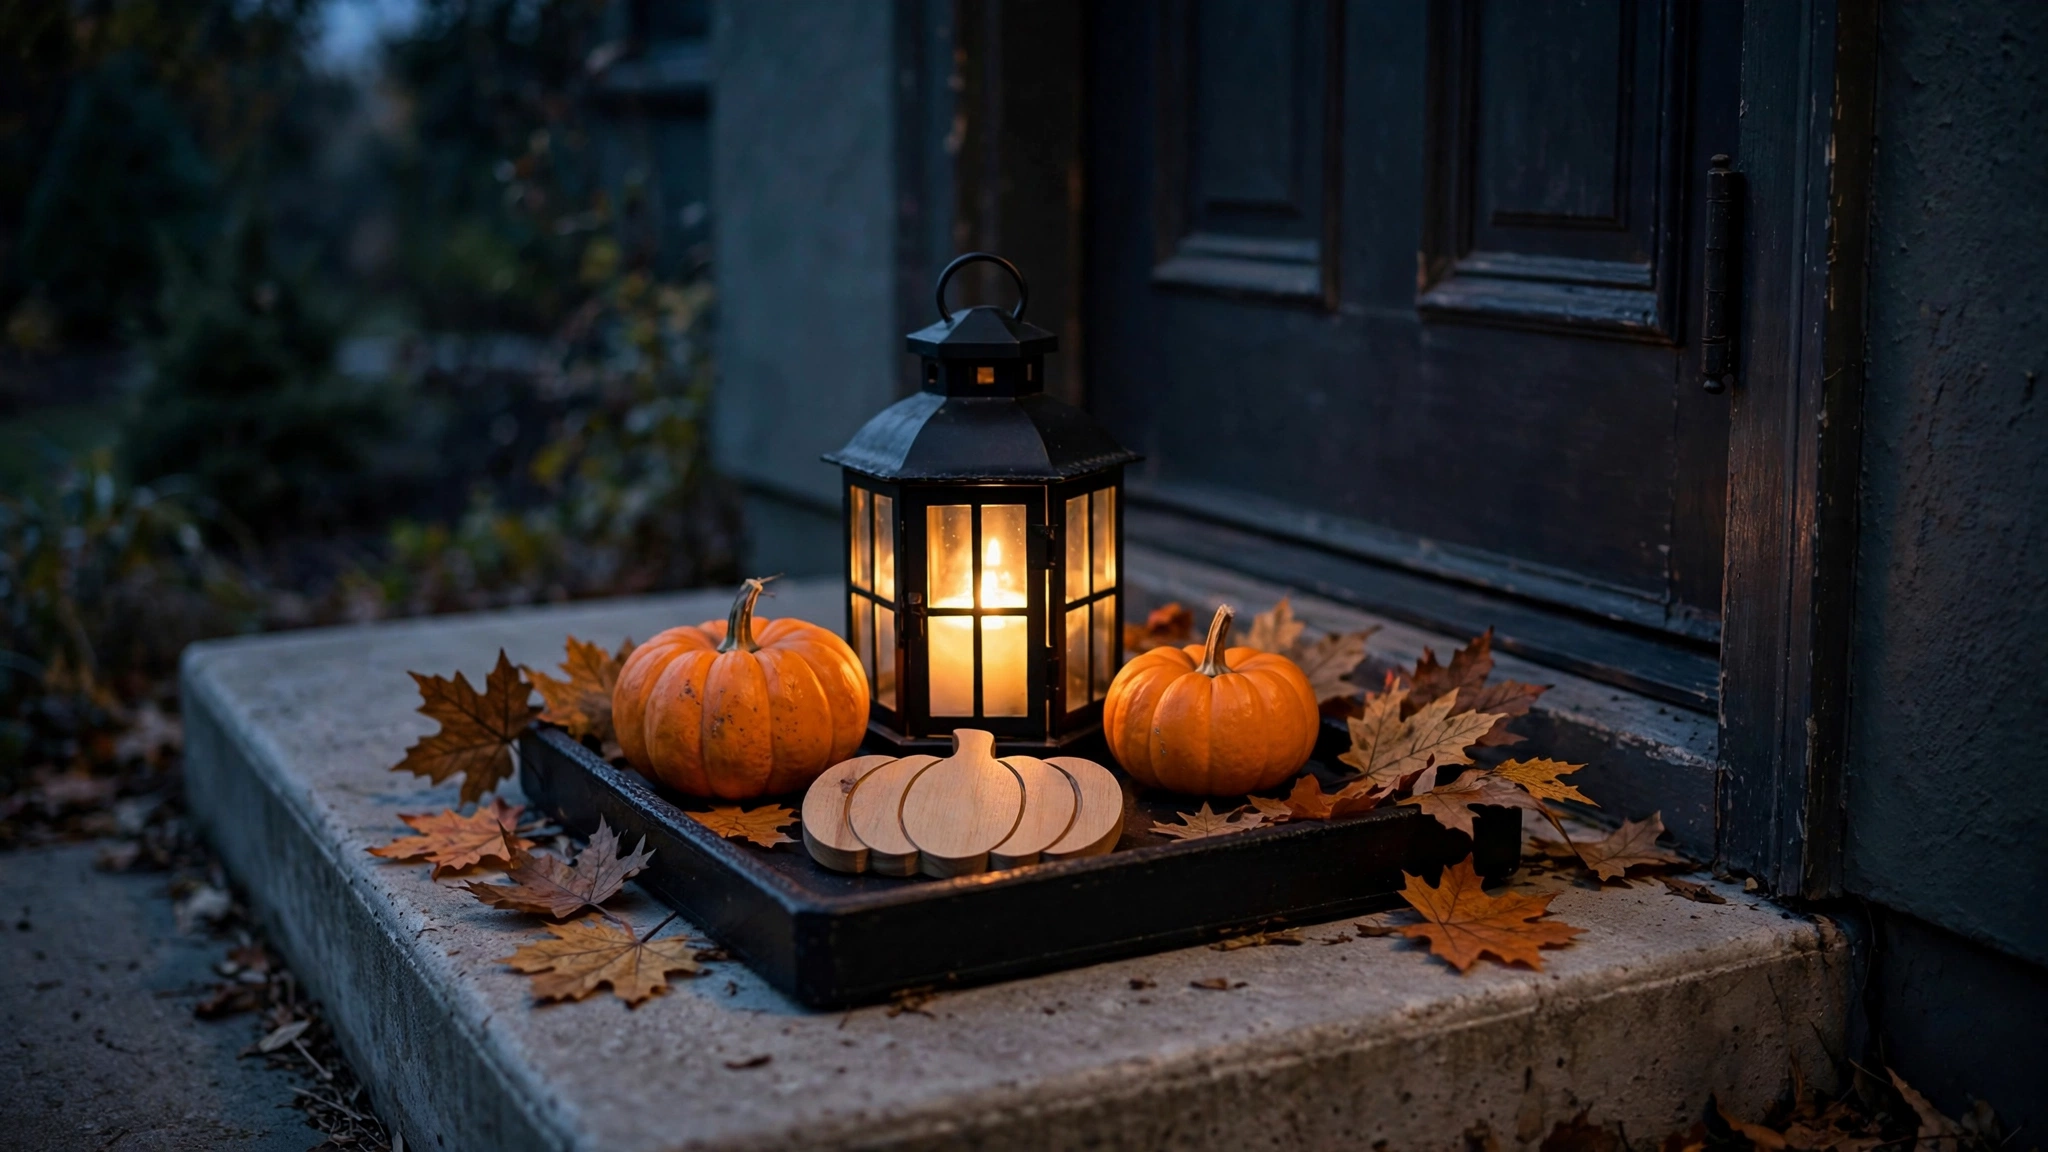
A vignette tray is a designer’s trick that works beautifully on small porches: instead of scattering small items across the stoop where they look cluttered, you corral them onto one tray, crate, or shallow basket. Suddenly five small things read as one intentional display. A black tray holding a lantern, two mini pumpkins, a small “Boo” sign, and a sprig of faux fall leaves is a complete Halloween moment in 18 inches.
Why it works for renters: the tray contains everything, so nothing scratches or stains the stoop — and when it rains, you pick up one tray and carry the whole display inside in ten seconds. That matters on a rental where you’re responsible for the condition of the entry. It’s also the easiest display to refresh: swap the sign, change the pumpkins, and it looks new without buying anything.
How to do it:
- Start with a tray, low crate, or shallow basket about 16–20 inches wide — black, dark wood, or galvanized metal all work with Halloween palettes.
- Place the tallest item at the back: a lantern (battery candle inside, never real flame on a rental porch) or a tall pillar-style LED candle.
- Arrange two mini pumpkins or gourds at the front corners, and a small wooden or metal “Boo” or pumpkin sign leaning against the lantern.
- Tuck faux fall leaves or a small sprig of dried wheat into the gaps so nothing looks sparse — the eye reads fullness as abundance.
- Set the tray to one side of the door (not centered — centered blocks traffic on a small stoop) and make sure it’s stable enough that a gust won’t slide it. A non-slip shelf liner cut under the tray solves wobble on slick concrete.
Approximate cost: $15–$28 (tray $8–$12, lantern or LED candle $5–$10, sign and minis $4–$8).
9. String-Light Clusters in Jars and Branches
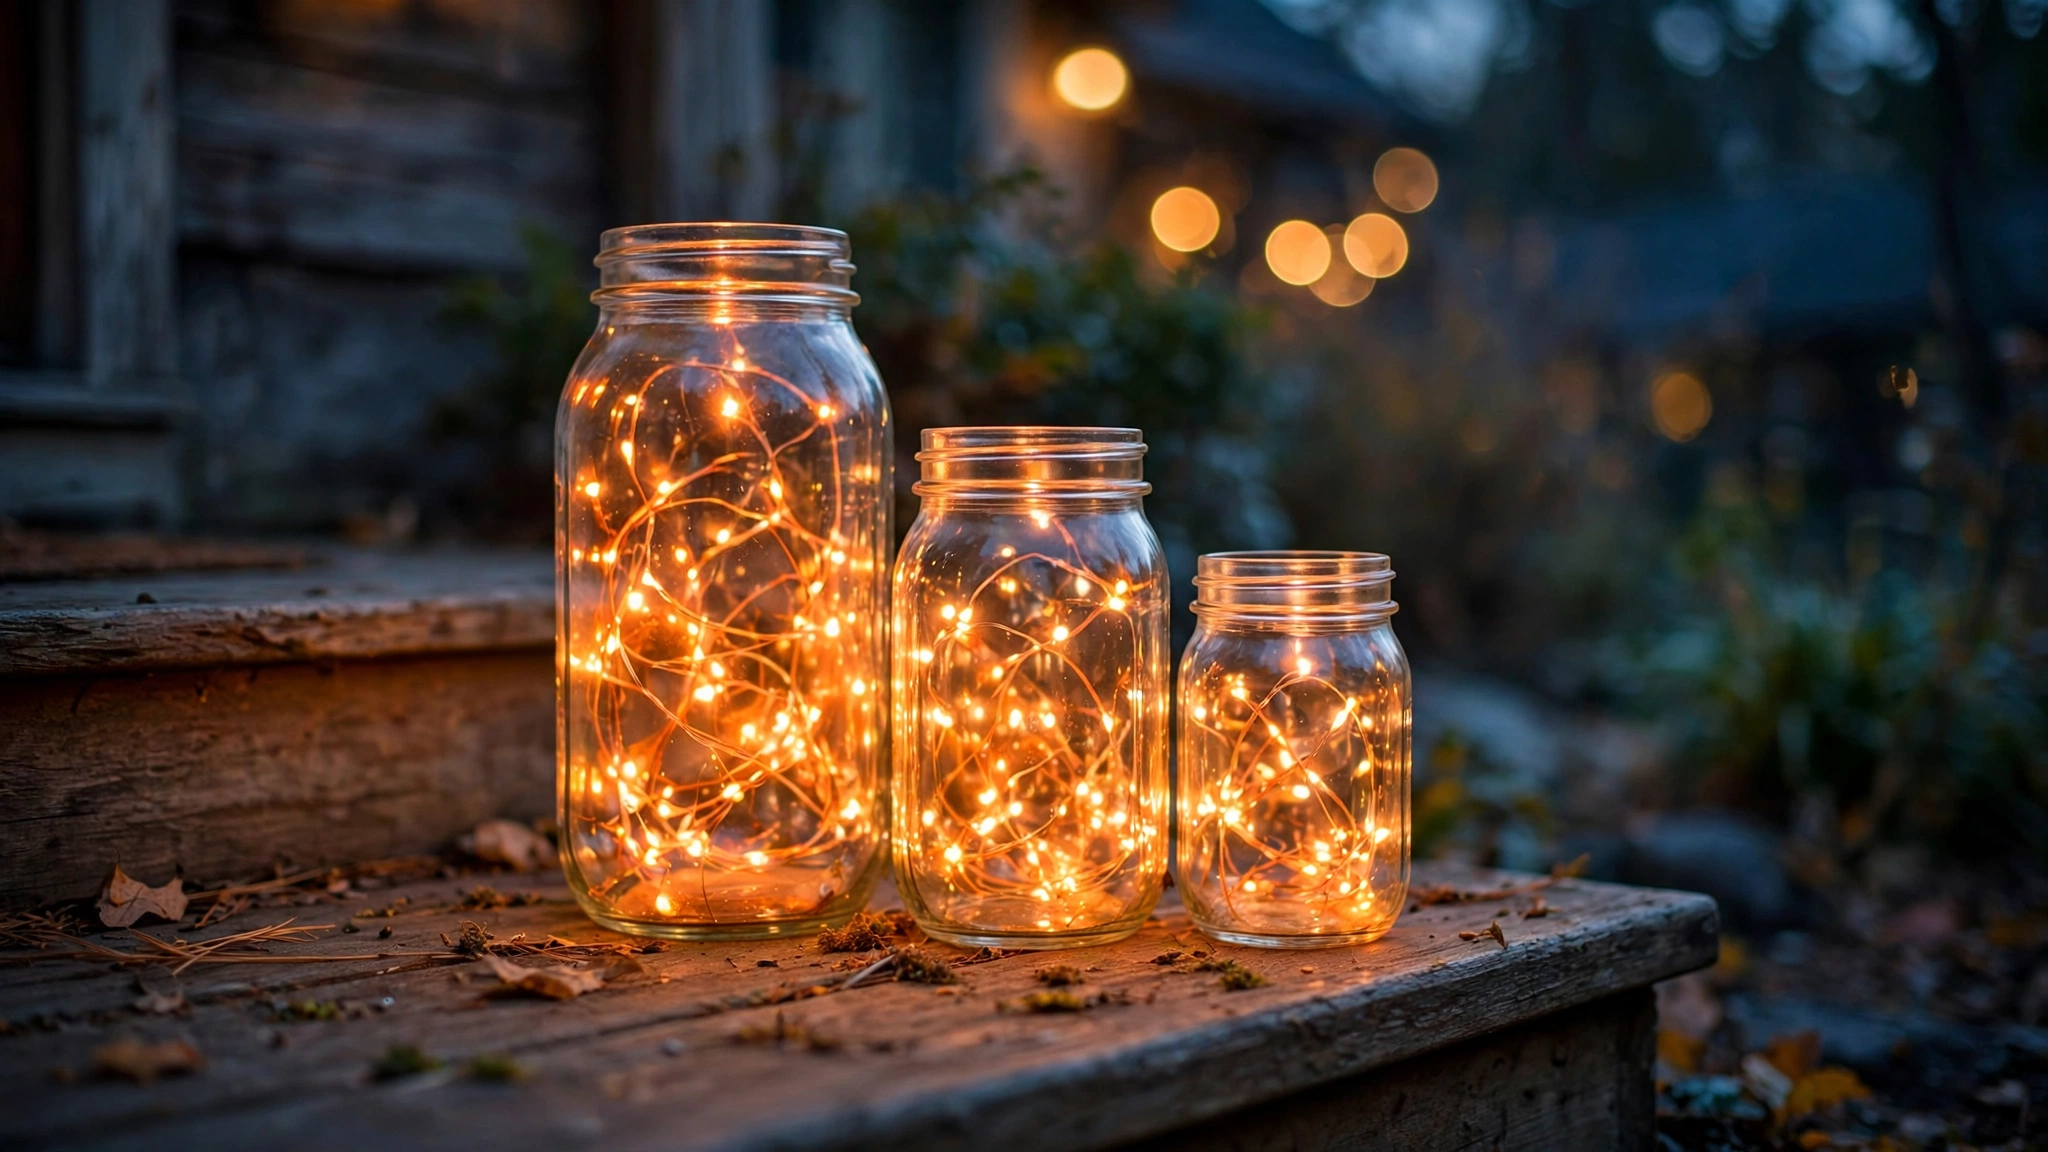
String lights are the cheapest atmosphere money can buy, but on a small porch, draping them everywhere looks tangled. The cluster approach is better: gather battery-operated fairy lights into glass jars, wrap them around bare branches in a tall vase, or coil them inside a wire pumpkin frame. You get pools of warm or colored light that make every other decoration look twice as good — and light is what trick-or-treaters actually navigate by.
Why it works for renters: battery-operated lights need no outlet, no extension cord snaking across the stoop, and no landlord permission. They hang or sit anywhere — inside jars on the steps, wrapped around the railing from idea #5, coiled in a planter. When the batteries die, you replace them; when the season ends, the jars go back to being jars. Choose warm white for classic, orange or purple for Halloween-specific — or mix: warm white jars plus one purple cluster for accent.
How to do it:
- Collect 2–4 glass jars (mason jars, old candle jars, thrifted vases) — varying heights look best.
- Coil one 10–20 LED battery fairy light string into each jar, letting the battery pack tuck behind or under the jar. Orange or purple lights read Halloween; warm white reads harvest-elegant.
- For a branch cluster: place 3–4 bare branches (craft store or your own yard) in a tall narrow vase and wrap one light string loosely around the branches.
- Place the jars in a cluster on the top step or beside the door — grouping is the key; scattered single jars look accidental, a cluster looks designed.
- Set them on a timer if your light strings have one (many do) — on at dusk, off at midnight saves batteries and keeps you from forgetting.
Approximate cost: $10–$22 (fairy light strings $6–$12 for a multi-pack, jars free to $10 if thrifted).
10. Window and Sidelight Silhouette Clings
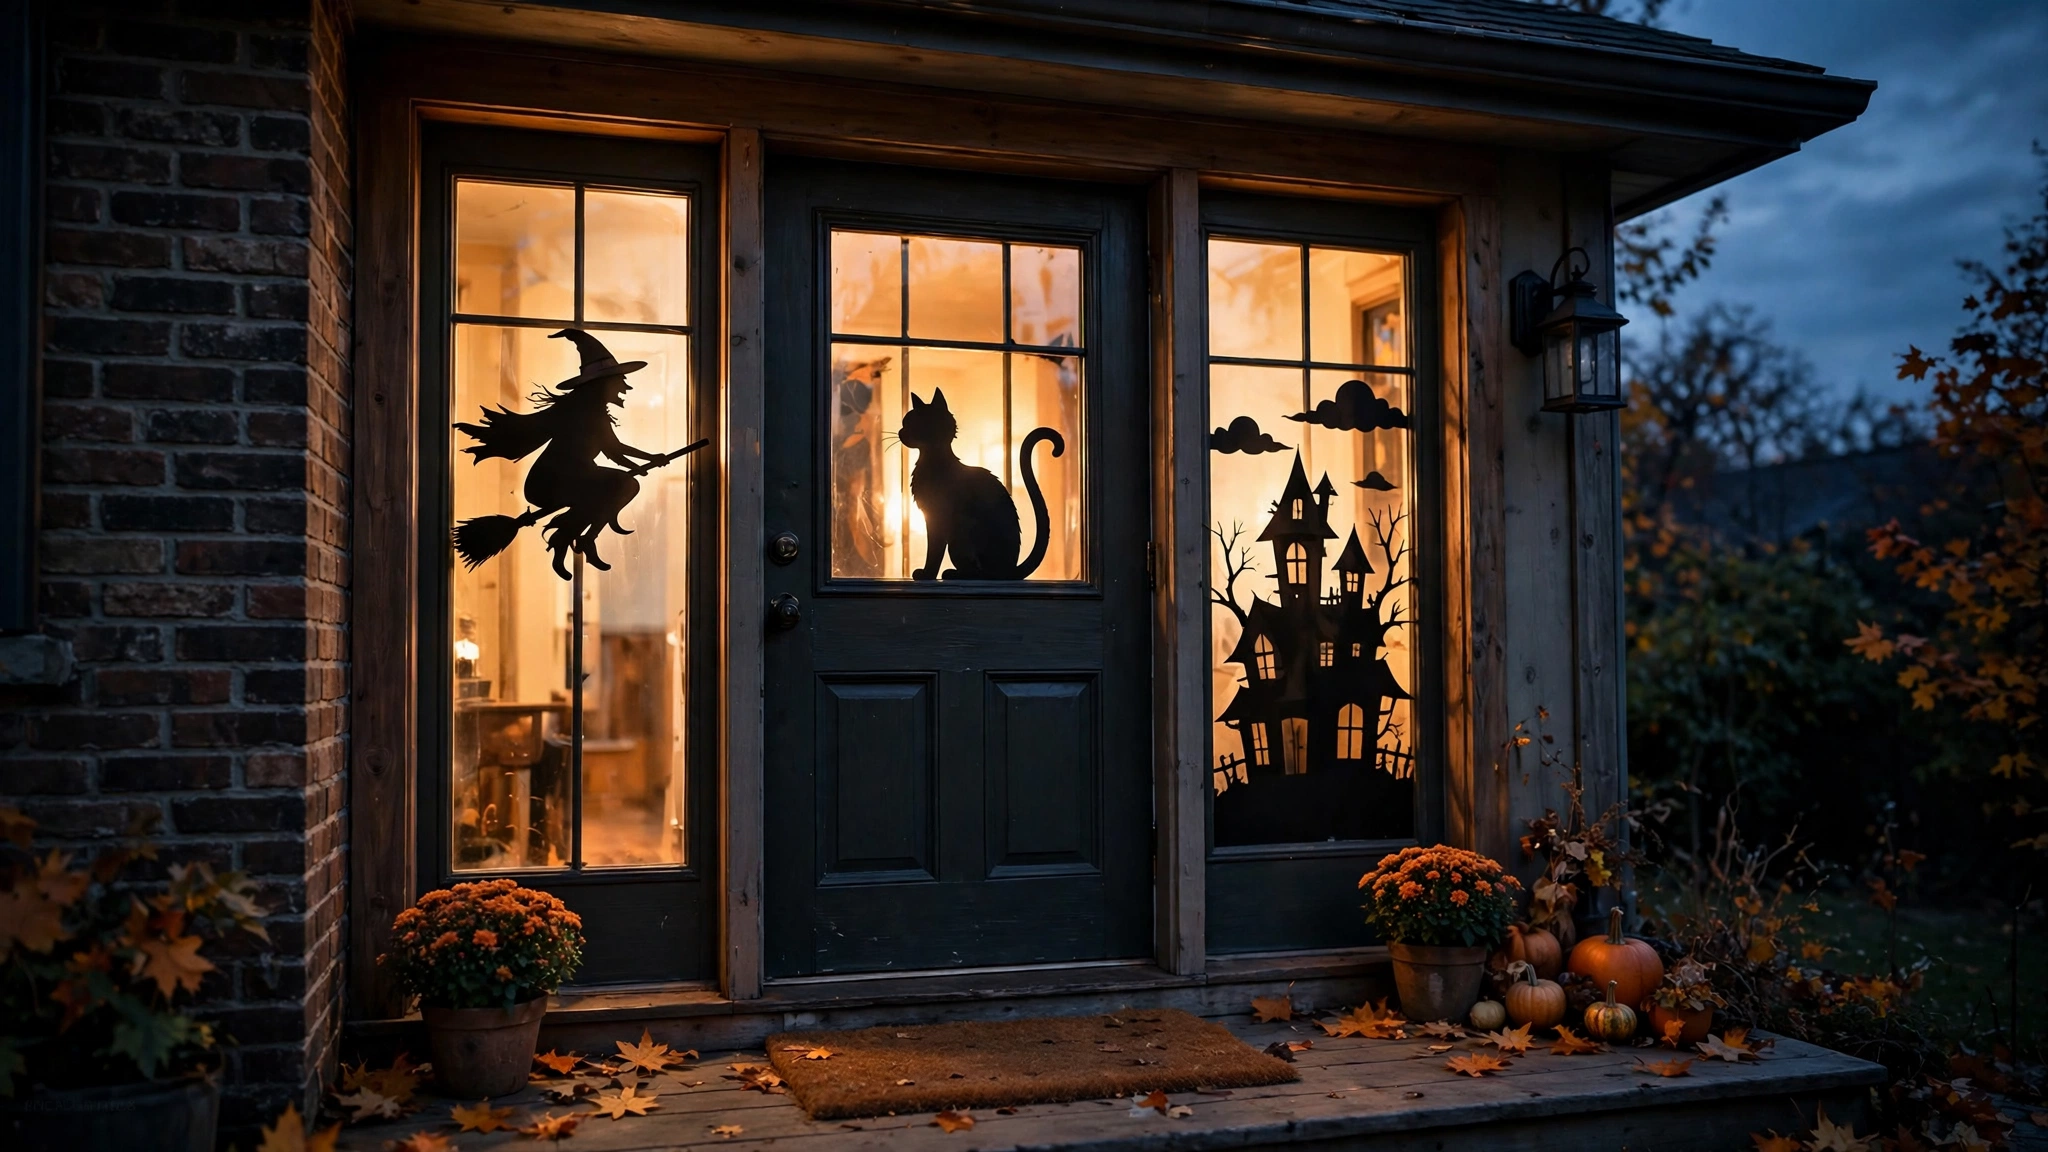
Here’s the secret weapon for renters whose porch is barely a porch at all: decorate the windows and sidelights around the door instead of the floor. Static-cling Halloween silhouettes — black cats, witches on brooms, haunted houses, bare trees — stick to the inside of the glass with nothing but static and water. From the street, they read as dramatic black cutouts glowing against your interior light. From your landlord’s perspective, nothing happened at all.
Why it works for renters: static clings are the most renter-friendly decor ever invented. No adhesive, no residue, no holes — they peel off with a fingernail and the glass is pristine. They go on the inside of the window, so weather never touches them and they can’t blow away. I’ve recommended these to renters in strict buildings where even adhesive hooks are questioned, and they’ve never once caused a problem.
How to do it:
- Clean the inside of your door sidelights, transom window, or the front window nearest the door — clings need clean glass to hold.
- Mist the glass lightly with water from a spray bottle and smooth each cling on, pushing out air bubbles with a credit card wrapped in a soft cloth.
- Compose a scene: a haunted house silhouette on the sidelight, a witch flying across the transom, bare tree branches on the front window. Scenes read better than scattered single clings.
- Backlight them. Leave your entryway light on in the evening, or place a battery tea light on the windowsill behind the cling — the silhouette effect depends entirely on light behind the cutout.
- Layer in one or two orange paper lantern clings or a “Happy Halloween” script cling for contrast against the black silhouettes — the mix of shapes keeps it from looking flat.
Approximate cost: $6–$12 (one or two packs of static clings).
Wrapping It Up
A small rental porch is not a limitation — it’s a frame. Ten ideas, all removable, all under about thirty dollars each, and together they turn six feet of concrete into the porch the whole block photographs. The vertical garland wrap gives you street presence, the stacked pumpkins and layered mat ground the entry, the hanging ghosts and railing drape add motion and drama, and the lights and window silhouettes carry the whole thing after dark.
Start with the three fastest wins — the layered mat, the pumpkin trio, and the window clings — and you’ll have a transformed porch in under an hour. Then add one layer a weekend: the garland one week, the mummy columns the next. By Halloween night, your little porch will be doing the heavy lifting of a full yard display, and in November every bit of it comes down clean with your deposit untouched.
That’s the renter’s Halloween secret: the best-decorated porches aren’t the biggest ones. They’re the ones where every single inch was intentional. Please save this visual guide on Pinterest and pin your favorite idea to your Halloween board — then tag me when your porch is done, because I want to see what you did with your six feet of spooky.

Amelia leads HavenlyStyle’s editorial vision with a passion for elegant interiors and practical home living. With years of experience in home décor and lifestyle content, she ensures every article is accurate, inspiring, and easy to follow. From timeless decorating ideas to the latest interior design trends, Amelia is committed to helping readers create beautiful, functional spaces while maintaining HavenlyStyle’s trusted and welcoming voice.