Halloween decorating hits different when you rent. You want the kind of yard that makes trick-or-treaters cross the street to see it — but your lease says no digging, no permanent fixtures, and definitely no damage to the lawn, siding, or fence. And then there’s the yard itself: a townhouse patch barely wider than your front door, a duplex front strip you share with your neighbor, or a side yard you mostly use for taking out the trash.
I’ve helped dozens of renters wrestle with exactly this problem, and here’s what I’ve learned: a small rental yard is not a decorating disadvantage. It’s actually an advantage. A tiny space reads as one complete scene, which means you need fewer decorations, less money, and less effort to make it look intentional and impressive. Ten feet of walkway with a strong idea beats an acre with scattered props every time.
The trick is building everything for reversibility. Every idea in this post is one I’ve personally seen renters set up and take down without a single deduction from their deposit: nothing goes into the ground, nothing attaches permanently to the house, and everything breaks down flat enough to store in a closet or under a bed. You’ll find glow-based ideas for after dark (when Halloween actually happens), daytime builds for curb appeal, and a few pieces that work double duty for both. Grab a weekend afternoon, a glue gun, and about the cost of a pizza night — and let’s turn your little patch of rented grass into the best-looking Halloween yard on the block.
Executive Summary
- Zero-damage builds only: every decoration here sits on the ground, hangs with removable ties, or is weighted with sandbags — nothing is dug, drilled, driven into the soil, or glued to the house.
- Small yards are a feature, not a flaw: a compact space reads as one finished scene, so 3–4 strong ideas beat a sprawling display.
- Dusk lighting does the heavy lifting: battery-powered LEDs, string lights, and candles in glass make small yards glow bigger than they are — and they hide every budget shortcut.
- Budget stays friendly: each build costs roughly $5 to $25 (approximate), and most reuse supplies across multiple ideas.
- Setup in an afternoon, teardown in an hour: everything here assembles in under 60 minutes and stores flat in an apartment closet.
- Read your lease first: exterior decor rules vary — confirm before wrapping a mailbox or anything visible from the street that isn’t yours alone.
1. Stretch-Spiderweb Over Your Bushes
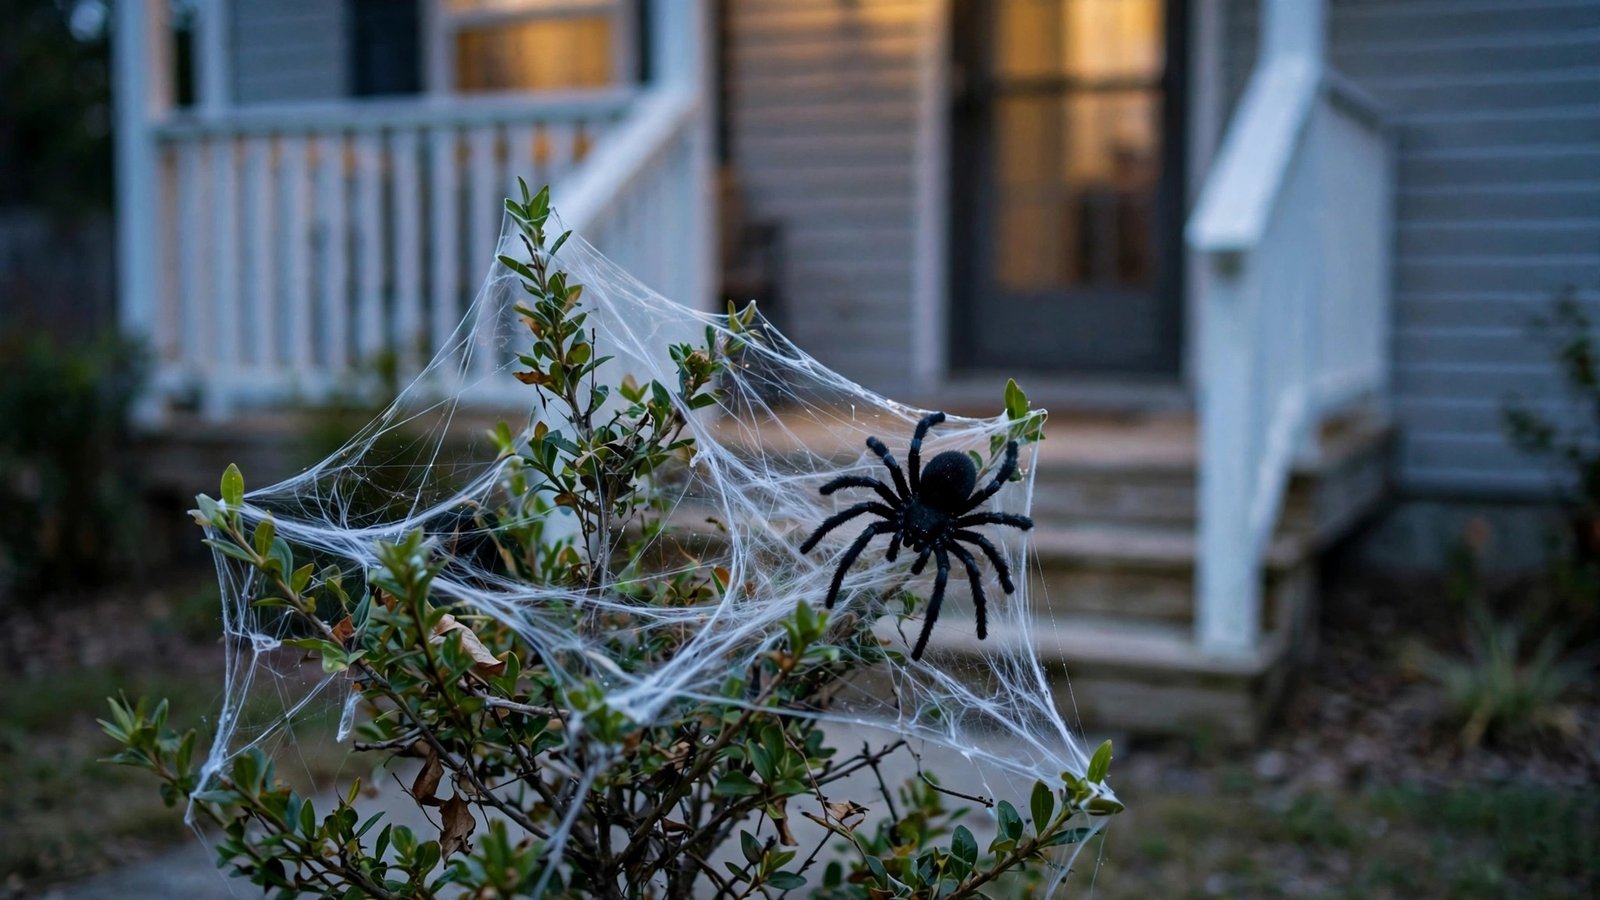
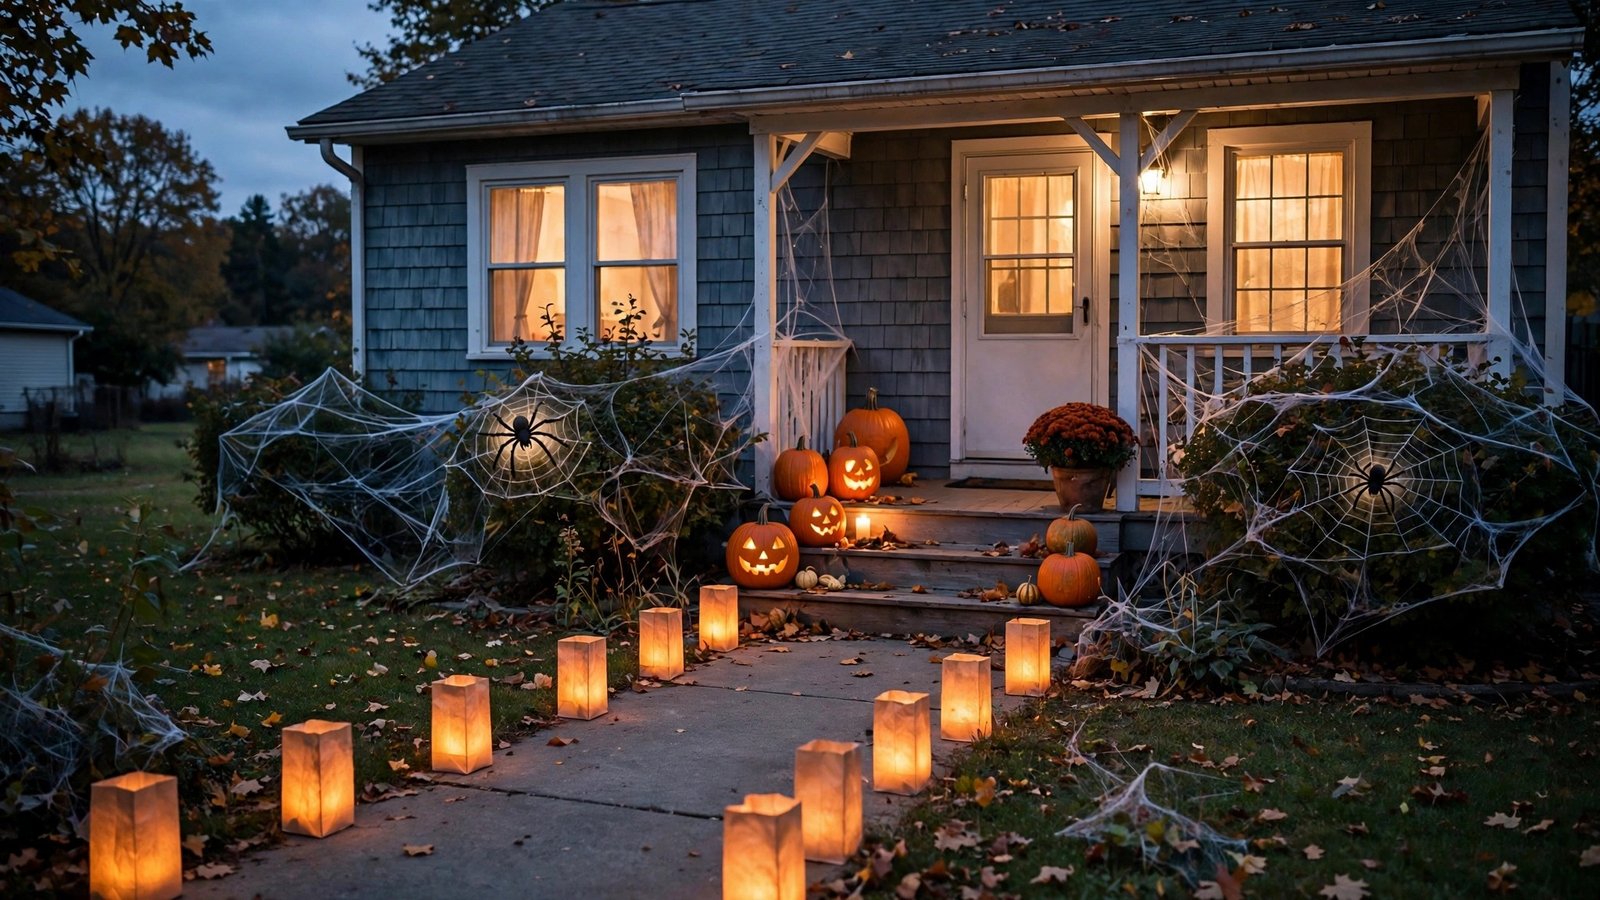
What it is: That classic oversized spiderweb look — thin white webbing stretched across the front of a shrub, with a handmade spider perched on it. It takes up zero ground space because it lives on foliage you already have, and it’s the single fastest way to make a small yard read “Halloween” from the sidewalk.
Why it works for renters: Stretch spiderweb kits are designed to catch on branches — you drape them, you don’t attach them. When November comes, you lift the webbing off the bush in one pull and throw it away. Nothing touches the house, the soil stays untouched, and there’s nothing for a landlord to object to because there’s nothing left behind. I’ve watched renters transform a plain two-foot hedge into the yard’s centerpiece in ten minutes with one bag of webbing.
How to do it:
- Buy a large bag of stretch spiderweb (the cottony kind sold every October) and a bag of plastic spider rings or one large foam spider.
- Starting at the top of the bush, fluff a clump of webbing and drape it across the front, letting it catch naturally on twigs and leaves. Work from one side to the other in one long piece so it reads as a single web.
- Thin it out with your fingers — beginners always use too much. You want to see the bush through the web; sparse reads spookier than a solid white blob.
- Perch the big spider near the center or upper corner of the web, nestling it into the branches so it stays put in wind.
- After Halloween, peel the whole web off in one motion and discard it. The bush is exactly as you found it.
Approximate cost: $3–$8 for the webbing and spiders.
2. Glowing Eyes Watching from the Shrubs
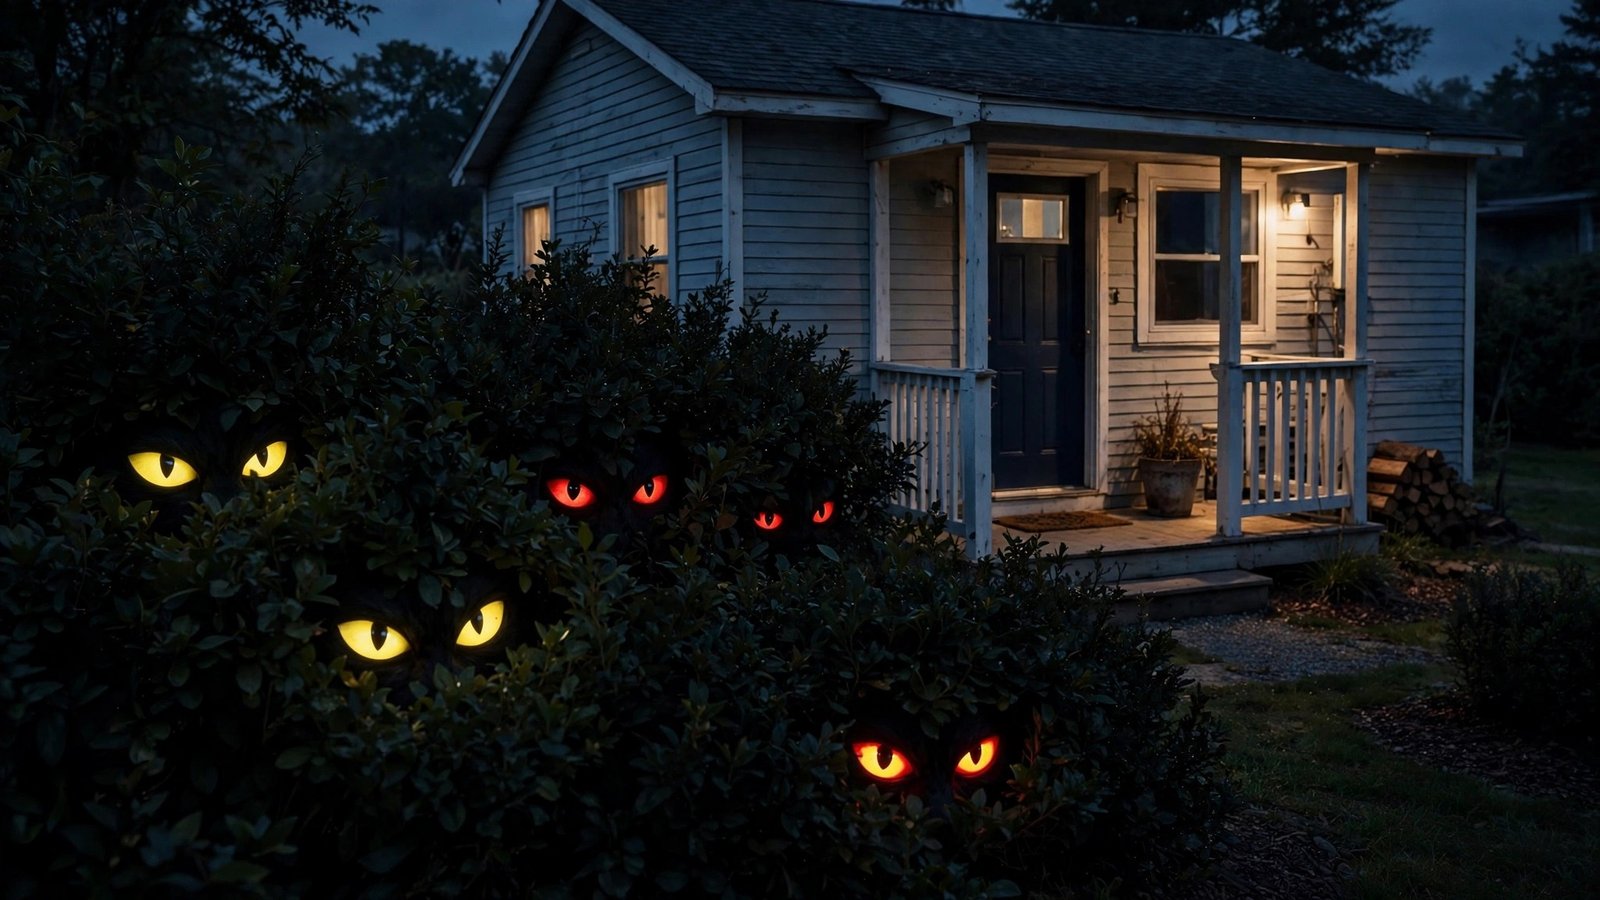
What it is: Pairs of glowing yellow, red, or green eyes that stare out from the dark gaps inside your shrubs and bushes after sunset. You cut them from cardboard or craft foam, poke a tea light or LED behind them, and tuck them into the foliage. In daylight they vanish; at night they’re genuinely unsettling — and trick-or-treaters remember your house.
Why it works for renters: There’s nothing to mount and nothing to power. The eyes rest inside your existing landscaping, held by the branches themselves, and the LEDs are battery-operated so there’s no extension cord snaking across the yard. Because the effect is invisible in daylight, it won’t bother your landlord, your neighbors, or the daytime curb appeal your lease cares about.
How to do it:
- Cut eye shapes from black cardboard or black craft foam — almond-shaped ovals about 2 inches wide work best. Cut the eye holes out completely.
- Make 4–6 pairs; variety in sizes looks more like “something is watching” than uniform pairs.
- Place a battery-operated tea light or a single amber LED fairy-light bulb behind each pair, and wrap the pair around the light with a small piece of tape so the glow shines through the cutouts.
- Push each pair into the dark interior of a bush or shrub, about 2–4 feet off the ground, tucking it between branches where it wedges in on its own.
- Turn the lights on at dusk. Collect them in a bag after Halloween — the bushes never know they were there.
Approximate cost: $5–$12 for foam, tea lights, and batteries.
3. No-Dig Foam Tombstones (Weighted with Sandbags)
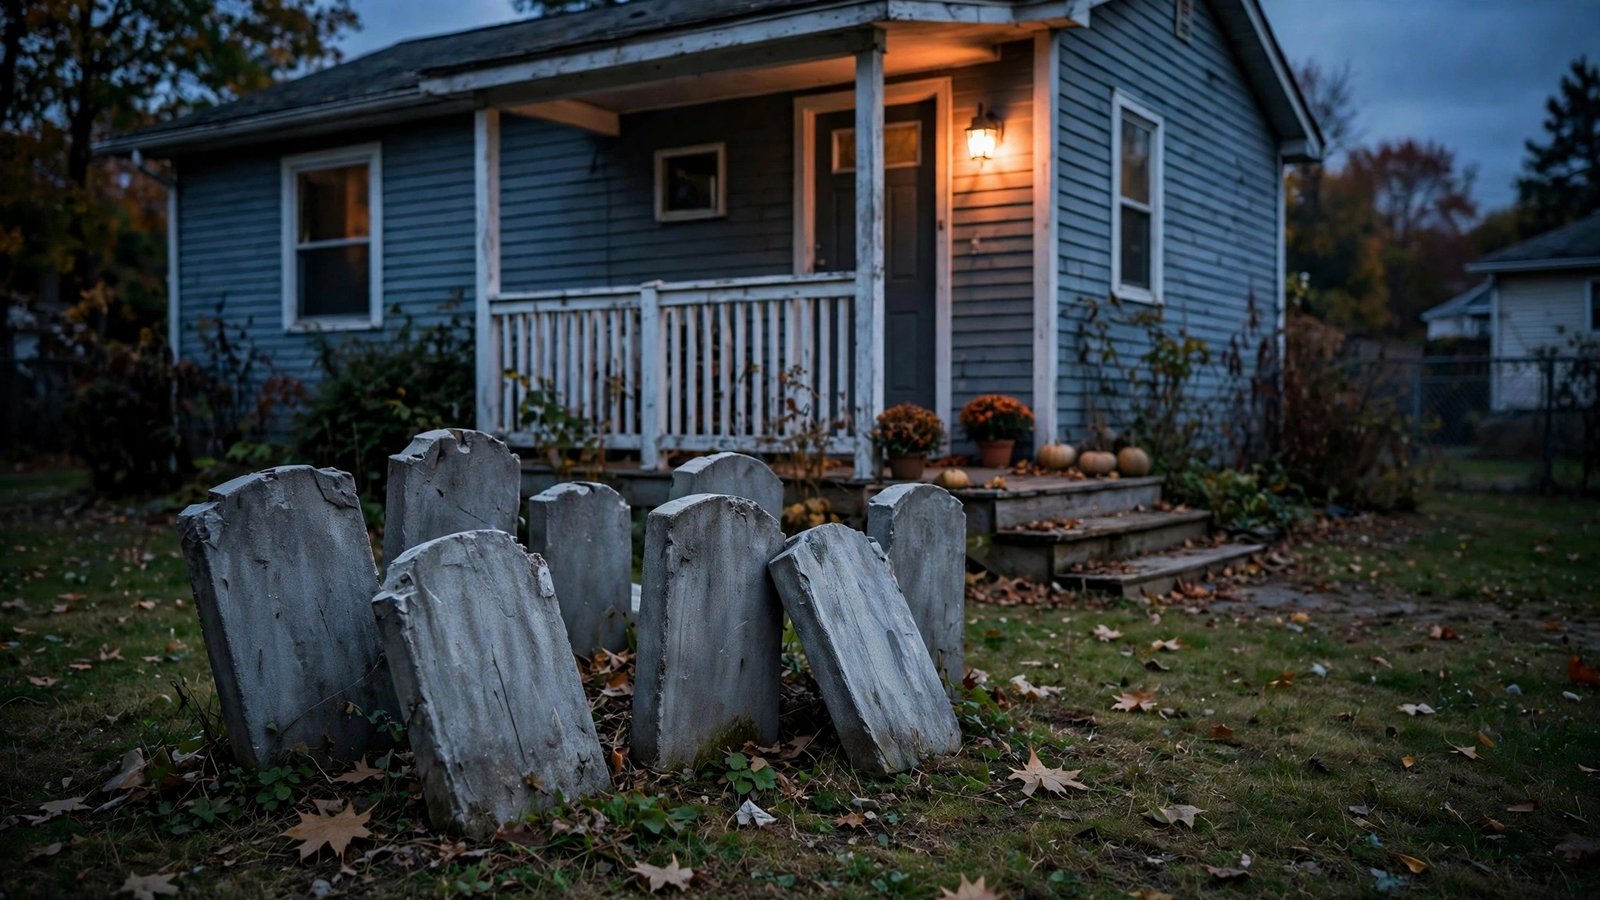
What it is: The graveyard look — a cluster of crooked foam tombstones with hand-painted epitaphs — built without putting a single stake in the ground. Instead of the plastic stakes tombstones normally ship with (which renters shouldn’t drive into rented soil), each stone is lashed to a small sandbag or a flat landscaping stone hidden behind it.
Why it works for renters: This is the idea that unlocks the classic Halloween yard for people whose lease explicitly forbids digging or staking. The stones sit on the grass surface, weighted from behind, and lift away cleanly on November 1st. I’ve helped renters build whole graveyard rows along a four-foot strip of lawn — from the sidewalk, nobody can tell the stakes aren’t in the ground.
How to do it:
- Get 3–5 foam tombstones (the lightweight styrofoam kind) and weather them: dry-brush gray craft paint over them, then dab darker paint into the lettering grooves so the epitaphs read clearly.
- Paint your epitaphs with a free hand and a little humor — “RIP BARRY M. DEEP,” “HERE LIES PATIENT ZERO,” that sort of thing. Let them dry fully.
- Fill small canvas sandbags or zip-top bags of sand (about 2–3 pounds each) and set one behind each tombstone.
- Lean each tombstone back slightly against its sandbag at a crooked angle — crooked reads spookier and hides the weight behind it.
- Cluster them tightly rather than spreading them out; a tight group of five in a small bed looks like a real graveyard plot, while five scattered stones look sparse. Lift everything away after Halloween and store the stones stacked flat.
Approximate cost: $10–$25 for tombstones, paint, and sand.
4. Paper-Bag Luminarias Lining the Walkway

What it is: The warm, glowing walkway — rows of paper bags with light inside, folded at the top, weighted with sand, lined up along your path. In the Southwest they’re a Christmas tradition, but in October they become the cheapest high-impact Halloween lighting you can make: a glowing runway that pulls every trick-or-treater right to your door.
Why it works for renters: Luminarias sit on the ground. There’s no wiring, no mounting, no anything attached to anything — they’re freestanding bags with battery candles inside. They define your walkway, light the path safely for kids, and take up zero permanent space. When the night is over, you fold the bags flat and pour the sand back into a bucket. I recommend these to every renter with a front path, because nothing else delivers this much atmosphere for this little money.
How to do it:
- Get plain brown paper lunch bags (the standard grocery-bag size) — one per luminaria, plus a few spares. Cut simple Halloween shapes (bats, moons, jack-o’-lantern faces) out of the front of each bag with scissors; the light will shine through the cutouts.
- Fold the top rim of each bag down about 2 inches for stiffness, then pour 2–3 inches of sand or clean cat litter into the bottom.
- Nestle a battery-operated LED tea light into the sand in each bag. Real flames and paper bags are a fire risk — never use real candles in these, especially near dry leaves.
- Line the bags along both sides of your walkway, spacing them 2–3 feet apart, and set them back a foot from the edge so they’re not kicked by passing feet.
- Switch them on at dusk. After the last trick-or-treater, collect the tea lights, flatten the bags for storage or recycling, and reclaim the sand.
Approximate cost: $5–$10 for bags, sand, and LED tea lights.
5. Cheesecloth Ghosts on Removable Bases
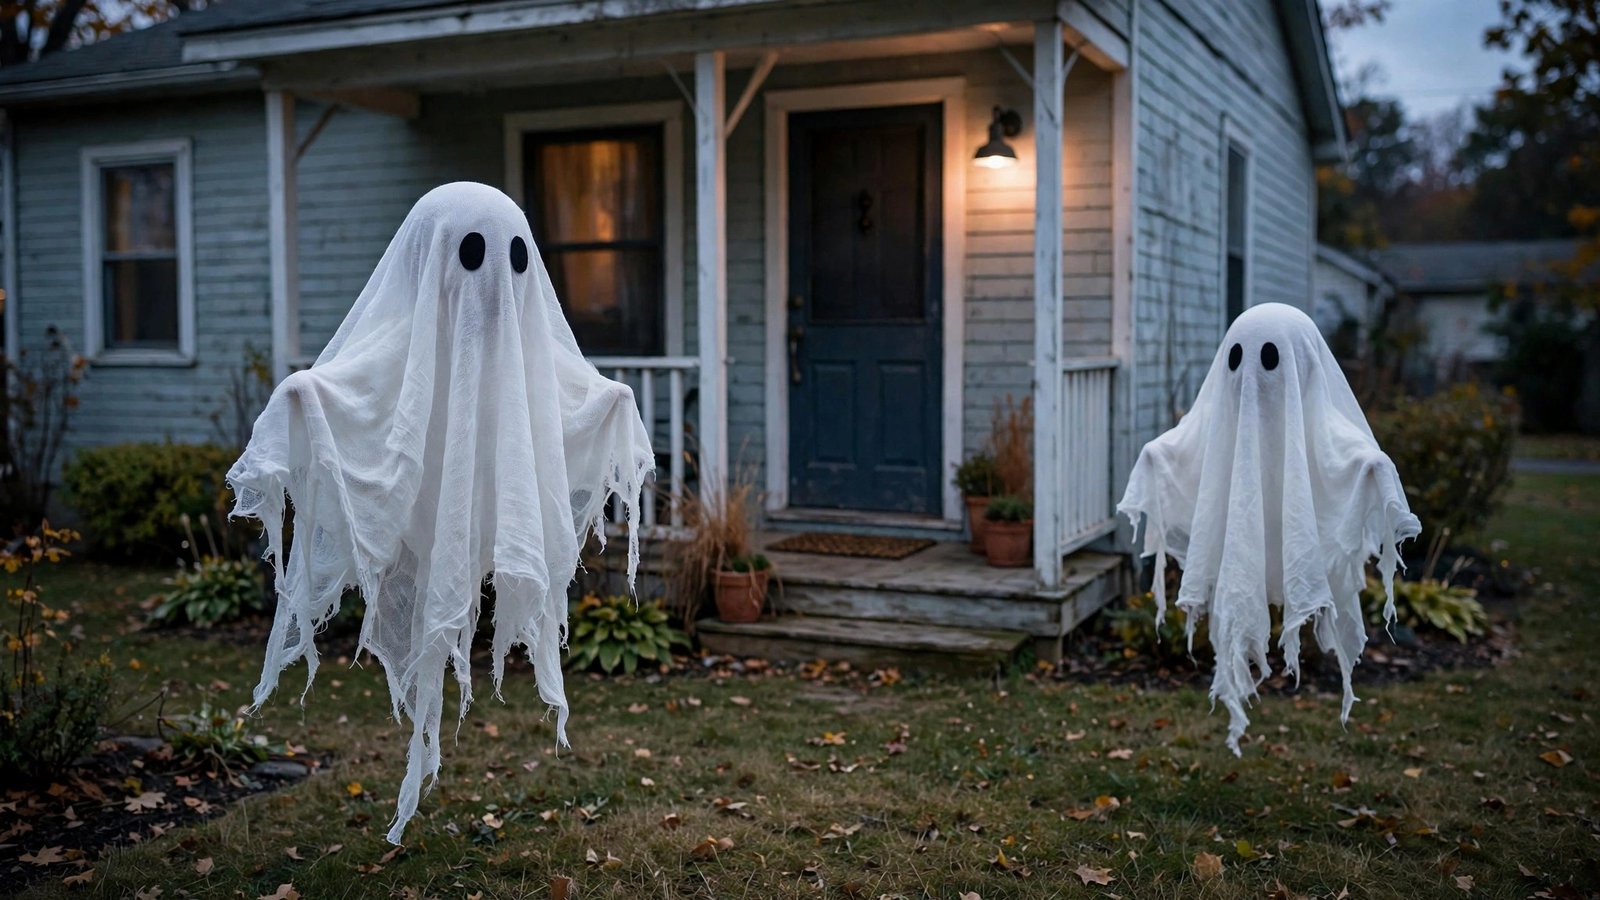
What it is: Floating, ethereal ghosts — draped cheesecloth figures that hover a foot or two off the ground with no visible support. The trick is a base you build yourself: an overturned tomato cage or a tomato cage-free alternative like a small weighted umbrella stand wrapped in white fabric, with the cheesecloth draped over a balloon or foam head.
Why it works for renters: The “floating” effect comes from a freestanding base that sits on the grass, not from stakes or hanging hardware. Cheesecloth is dirt cheap, nearly weightless, and survives light rain, so you can leave the ghosts out for two weeks. Because the whole thing breaks down into a bag of fabric and a folded cage, storage in an apartment is genuinely painless — I’ve seen a family of four ghosts live in a grocery bag under a bed for eleven months.
How to do it:
- For each ghost, take an inexpensive wire tomato cage, flip it upside down, and set the narrow end on the ground. Drape a white sheet or white fabric scrap over the cage to form the body, or skip fabric and go straight to cheesecloth.
- Drape 2–3 layers of white cheesecloth over the top, letting it fall naturally to just above the ground — the ragged, uneven hem is what makes it look ghostly, so don’t trim it straight.
- Cut simple black felt eyes and an oval mouth, and attach them with fabric glue or double-sided tape at face height.
- If wind is a concern, set a brick or a bag of sand inside the base of the cage where it won’t show.
- Arrange 2–3 ghosts at different heights by using cages of different sizes or setting one on a sturdy low crate hidden under the fabric. After Halloween, the cages stack inside each other and the cheesecloth folds into a bag.
Approximate cost: $8–$15 per ghost (cages, cheesecloth, felt).
6. Mummy-Wrapped Planters by the Door
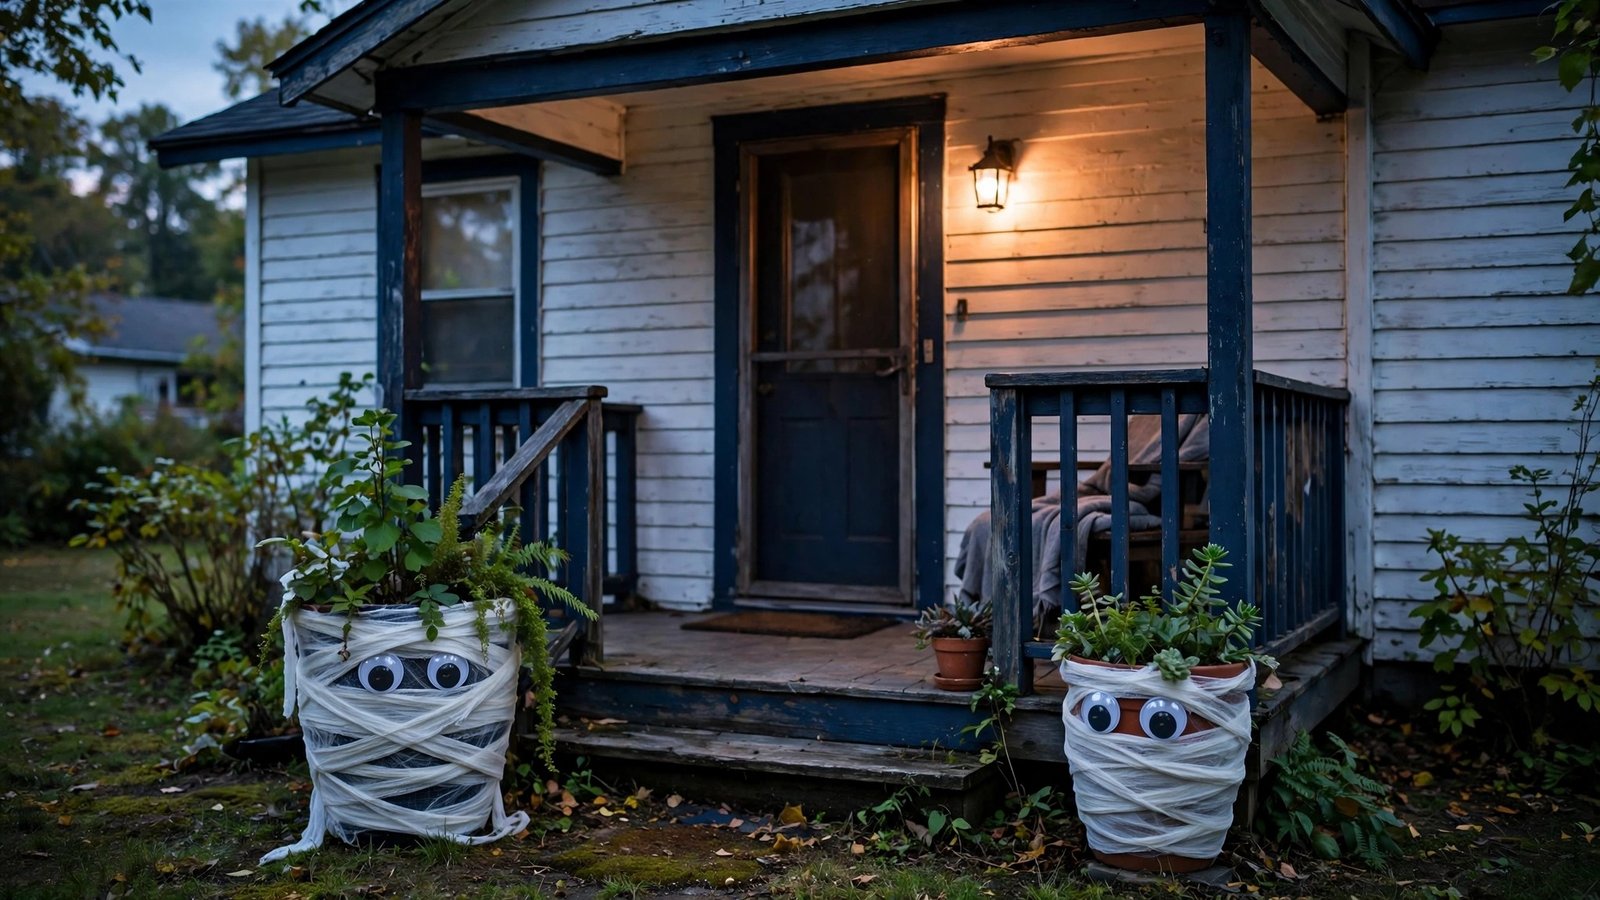
What it is: Your existing porch planters, mummified. You wrap the pot (and optionally the plant) in strips of gauze, muslin, or torn white bedsheets, add a pair of googly eyes, and suddenly your ordinary ferns are Egyptian-undead guardians flanking your front door. It’s daytime curb appeal and nighttime spookiness in one five-minute project.
Why it works for renters: You’re decorating containers you already own, on a porch you already have, with materials that unwrap in seconds. Nothing is painted, nothing is glued permanently, and your plants stay alive underneath — use loose wraps around the pot and let the foliage poke through the top like the mummy’s “hair.” Your landlord sees the same planters; everyone else sees Halloween.
How to do it:
- Gather your materials: white gauze rolls, torn strips of an old white sheet or pillowcase, and a pair of large self-adhesive googly eyes per planter.
- Wrap the planter pot in diagonal, slightly uneven strips, overlapping as you go and tucking the ends under. Leave gaps so it reads as wrapped bandages rather than a solid white pot.
- If the plant is sturdy (ferns, boxwood, ornamental grass), loosely drape a few strips over the foliage too, leaving plenty of green showing through.
- Stick the googly eyes on the front of the pot at “face” height, slightly uneven — asymmetry is funnier and spookier.
- After Halloween, unwrap everything and toss the fabric in the wash. The planters return to normal in under five minutes, with zero residue.
Approximate cost: $5–$10 for gauze, strips, and googly eyes.
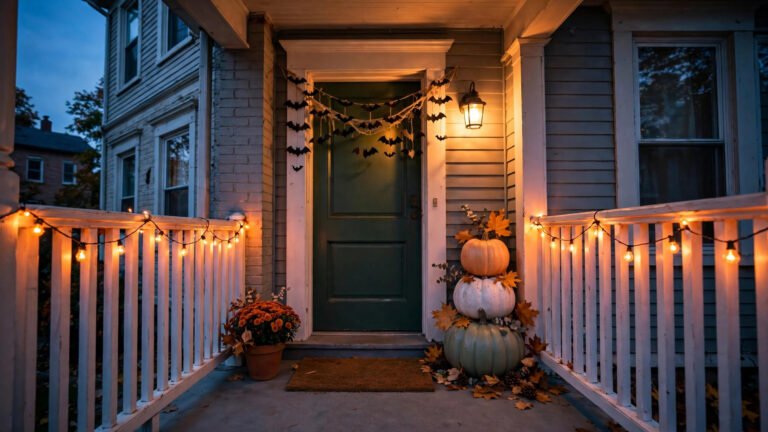
7. Jack-o’-Lantern Pumpkin Topiary

What it is: A vertical stack of pumpkins — large on the bottom, medium in the middle, small on top — that turns a single square foot of porch into a totem-pole jack-o’-lantern display. You can carve them all, paint faces on all of them, or mix: carve the big one, paint the smaller ones, which gives you the layered look with half the carving mess.
Why it works for renters: It takes up almost no floor space, which is everything when your “yard” is a three-foot porch. No ground contact to worry about, no mounting, no mess on rented surfaces if you put a tray or a trash bag under the stack. And when the holiday is over, real pumpkins go to compost or the trash — nothing to store at all. Foam craft pumpkins are the reusable alternative if you’d rather buy once and reuse for years.
How to do it:
- Choose three pumpkins in descending sizes — real ones for a one-season display, foam craft pumpkins for a reusable set. Test-stack them at the store to make sure the bottom one is stable and flat-topped enough to hold the rest.
- Carve or paint faces on each pumpkin. Pro tip for renters short on time: carve only the largest pumpkin (the one everyone sees), and paint simple triangle-eye faces on the smaller ones with black acrylic paint.
- Set the stack on a boot tray or a folded trash bag to protect the porch floor from pumpkin juice and paint drips.
- Drop a battery-operated LED candle inside the carved pumpkin (and inside any hollow foam ones). Real candles are a burn and fire risk on a porch with dry leaves and fabric decor nearby — stick with LEDs.
- Anchor the stack by threading a wooden dowel or a piece of rebar-free garden stake through the centers — it rests inside the pumpkins, not in the ground. Disassemble after Halloween; compost real pumpkins or wipe and store foam ones.
Approximate cost: $10–$25 for pumpkins (real) or $20–$40 for a reusable foam set (approximate).
8. Witch-Hat Path Lanterns
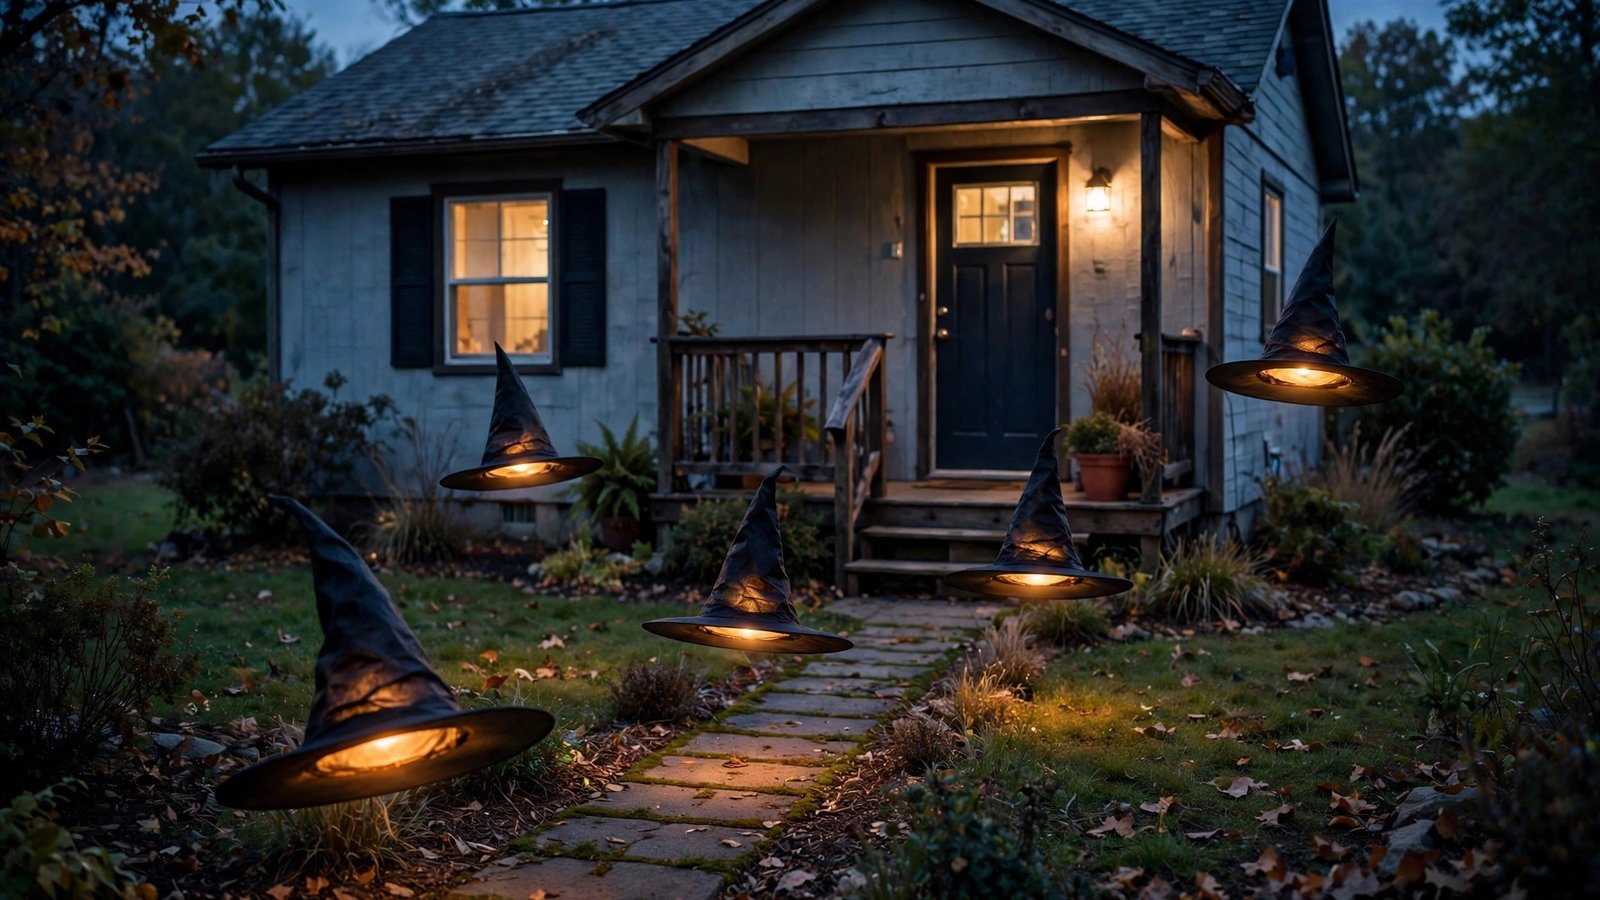
What it is: Glowing witch hats — the tall, pointed kind — that appear to hover along your walkway at dusk, each lit from inside by a string-light bulb or an LED. Strung fishing line holds them at floating height between two points, and in the dark all you see is a row of lit, hovering hats. It’s whimsical rather than scary, which makes it perfect for renters with young kids on the street.
Why it works for renters: The whole display hangs from removable anchor points — porch railings, a fence, a shepherd’s-hook-free freestanding pole, even a tree branch — using fishing line and command-style outdoor hooks that remove cleanly. Nothing goes in the ground, nothing is permanent, and the hats fold flat for storage. I’ve seen this done on a twelve-foot walkway with four hats and one string of lights, and neighbors stopped to photograph it.
How to do it:
- Get 4–6 inexpensive witch hats (the floppy fabric kind) and a string of warm-white outdoor LED fairy lights.
- Poke a small hole in the tip of each hat and thread one fairy-light bulb up inside it, so the hat glows from within. Secure the light strand to the hat’s inner brim with a small piece of tape.
- Run a length of clear fishing line between two anchor points along your walkway — porch railing to fence post, for example — pulling it taut.
- Hang each hat from the line with a short loop of fishing line tied through the hat’s inner band, spacing them a few feet apart at slightly varied heights.
- Plug the lights in at dusk (battery-operated strands avoid extension cords entirely). After Halloween, the hats fold flat and the lights coil into a bag.
Approximate cost: $10–$20 for hats and a strand of LED fairy lights.
9. Bat Swarm on the Fence with Removable Ties
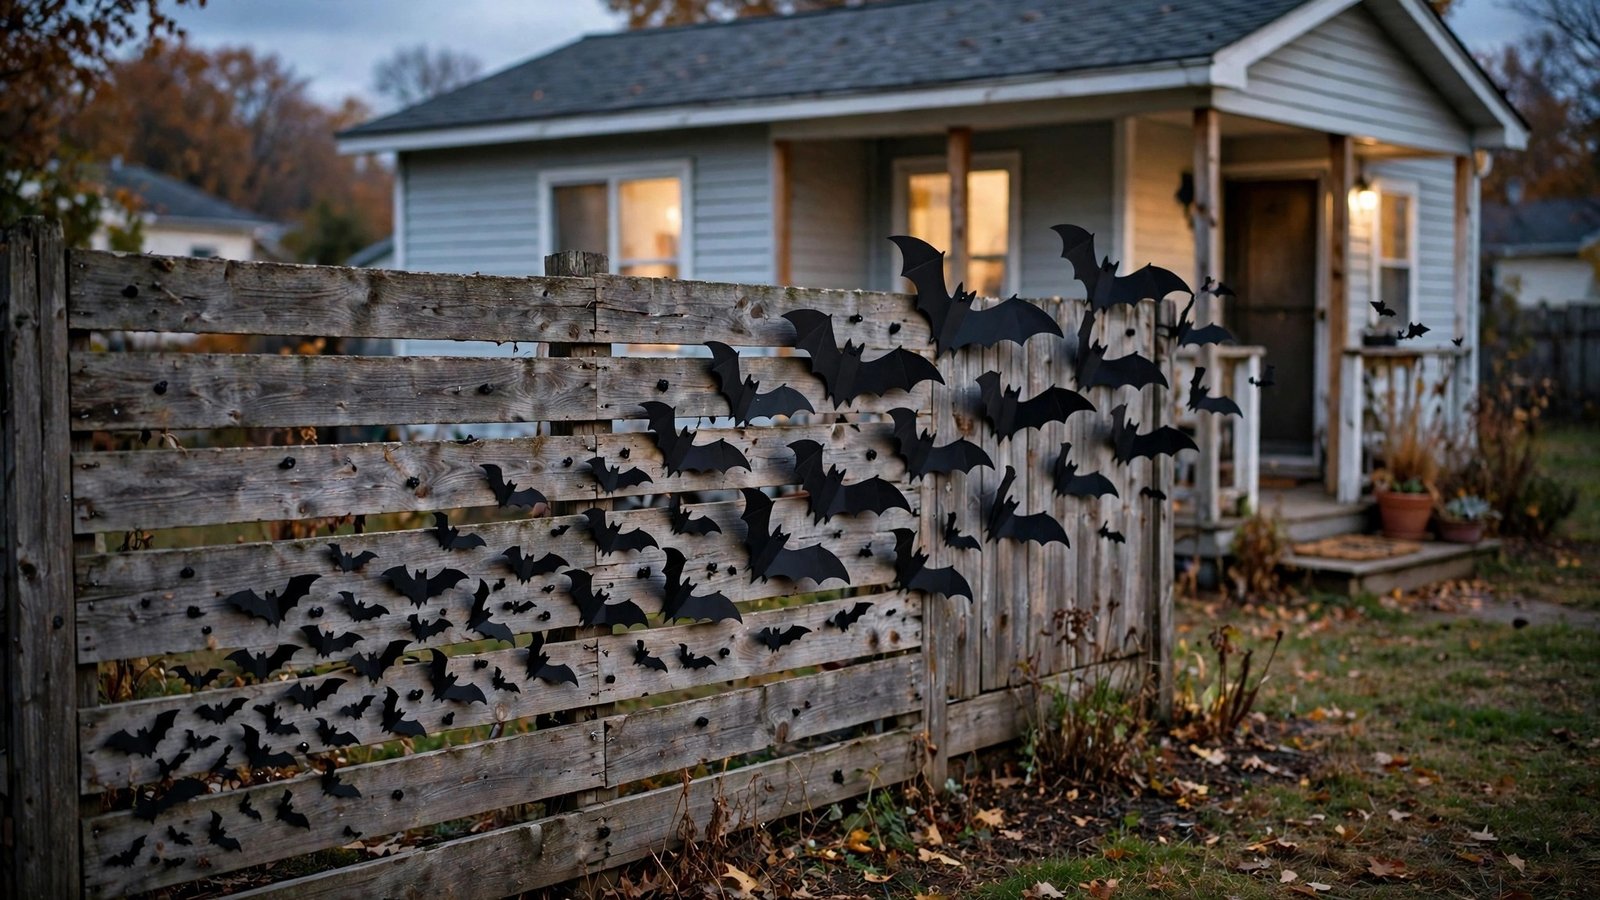
What it is: A swarm of black bats that looks like it’s erupting across your fence or the side of your house — dozens of foam or cardboard bats in different sizes, swooping in one direction. From the street it reads as motion, and it turns the most boring surface a renter has (a plain fence) into the yard’s biggest moment.
Why it works for renters: Every bat attaches with a removable fastener — outdoor-rated removable hooks, zip ties looped through fence slats (snipped off afterward), or painter’s tape on siding. There’s no drilling, no nailing, and no adhesive that damages paint. You can scale it to your space: twelve bats on a six-foot fence section looks intentional; forty across a whole fence looks spectacular. Removal takes ten minutes with scissors.
How to do it:
- Cut bat shapes from black craft foam or black poster board — make three sizes (small, medium, large) using a free printable bat template or a hand-drawn pattern. You’ll want 15–30 bats depending on your fence length.
- Fold each bat slightly down the middle so the wings angle forward; this gives them dimension instead of looking like flat stickers.
- Starting at one end of the fence, attach the largest bats first with removable outdoor hooks or zip ties through the slats, clustering them as the “source” of the swarm.
- Scatter medium and small bats outward and upward from the cluster, angling them in the same flight direction so they read as a moving flock.
- Step back to the sidewalk to check the composition — adjust any bats that break the flow. After Halloween, snip the ties and peel the hooks; the fence is untouched.
Approximate cost: $5–$12 for foam sheets or poster board and fasteners.
10. Black-Curtain Haunted Doorway for Porches
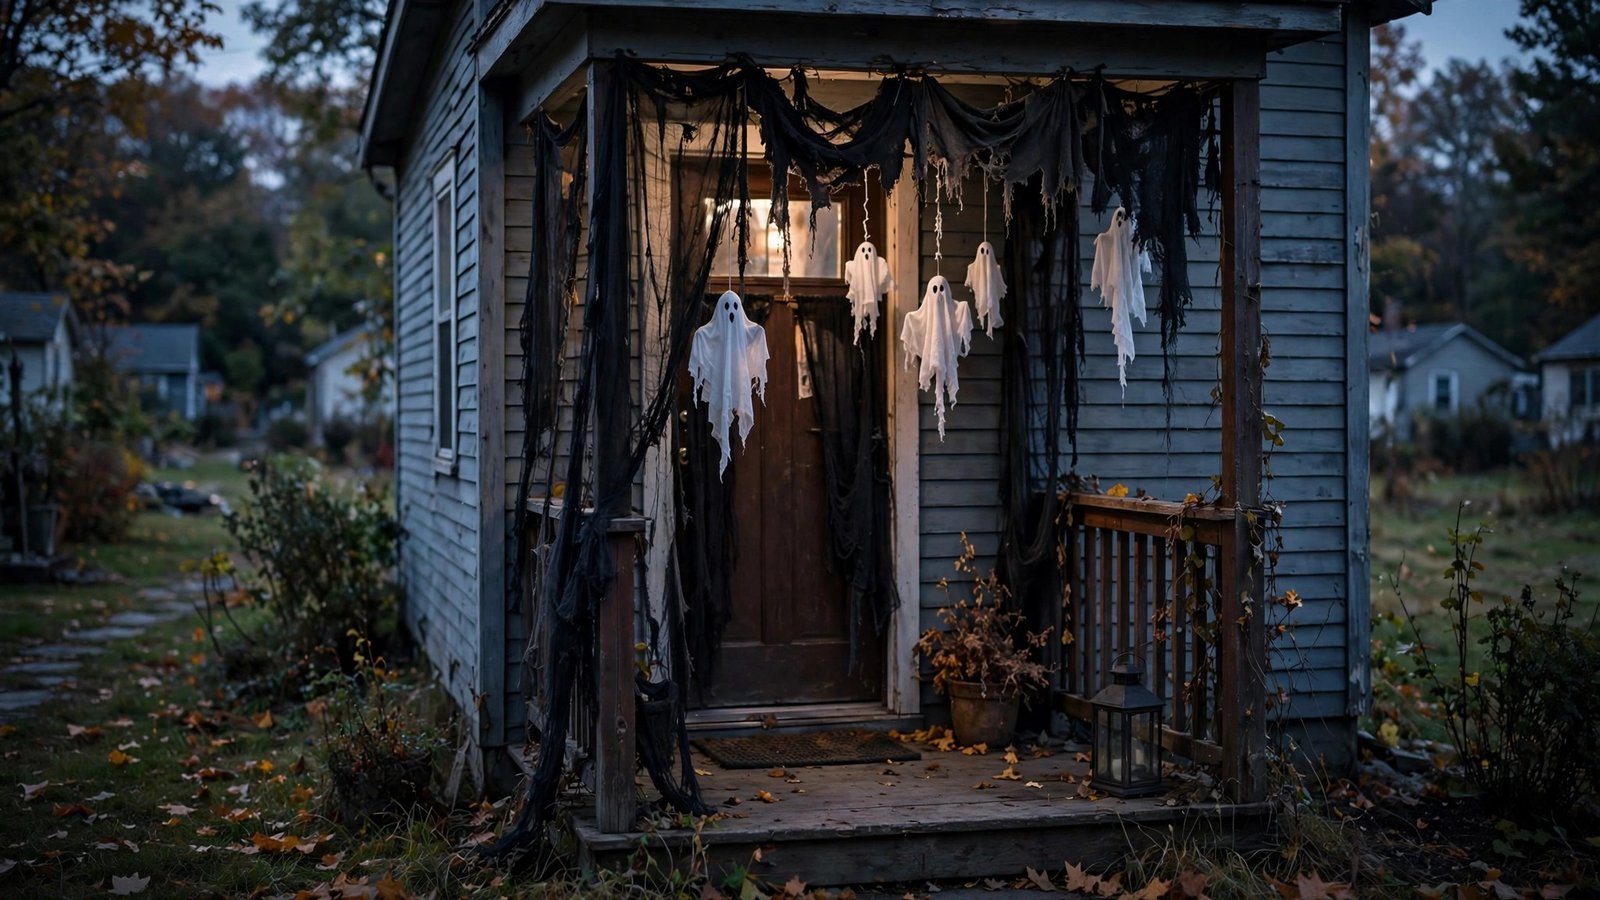
What it is: Your front door, framed as a haunted entrance — black fabric curtains hung on either side of the doorway with a tattered valance across the top, plus a few hanging ghosts or bats in the opening. It turns the single most visible square feet of a rental (the front door) into a photo-worthy focal point without touching the door itself.
Why it works for renters: The curtains hang from a tension rod inside the doorframe or from removable outdoor hooks on the porch posts — no screws, no holes, no damage to trim or siding. The fabric is cheap black gauze or torn tablecloths, and the whole thing comes down in minutes. For renters in apartments where the front door is the only exterior they control, this is the highest-impact idea on this list.
How to do it:
- Measure your doorway and get a tension rod (for inside the frame) or removable outdoor adhesive hooks rated for the curtain weight (for porch posts or siding).
- Hang two panels of black gauze, cheesecloth, or torn black tablecloths on either side of the door, letting them puddle slightly on the porch floor for a dramatic look.
- Drape a shorter, tattered piece across the top of the frame as a valance — cut the bottom edge into jagged points for a haunted-mansion feel.
- Hang 2–3 small ghosts, bats, or paper lanterns in the opening at varying heights with fishing line, so visitors walk through a little gauntlet to reach your door.
- Keep the walkway and doorbell fully clear and well-lit — atmosphere is great, but trick-or-treaters (and your landlord) need safe access. Take it all down after Halloween; tension rods and hooks leave no trace.
Approximate cost: $10–$20 for fabric, a tension rod or hooks, and hanging accents.
11. Hay-Bale Stack Styling
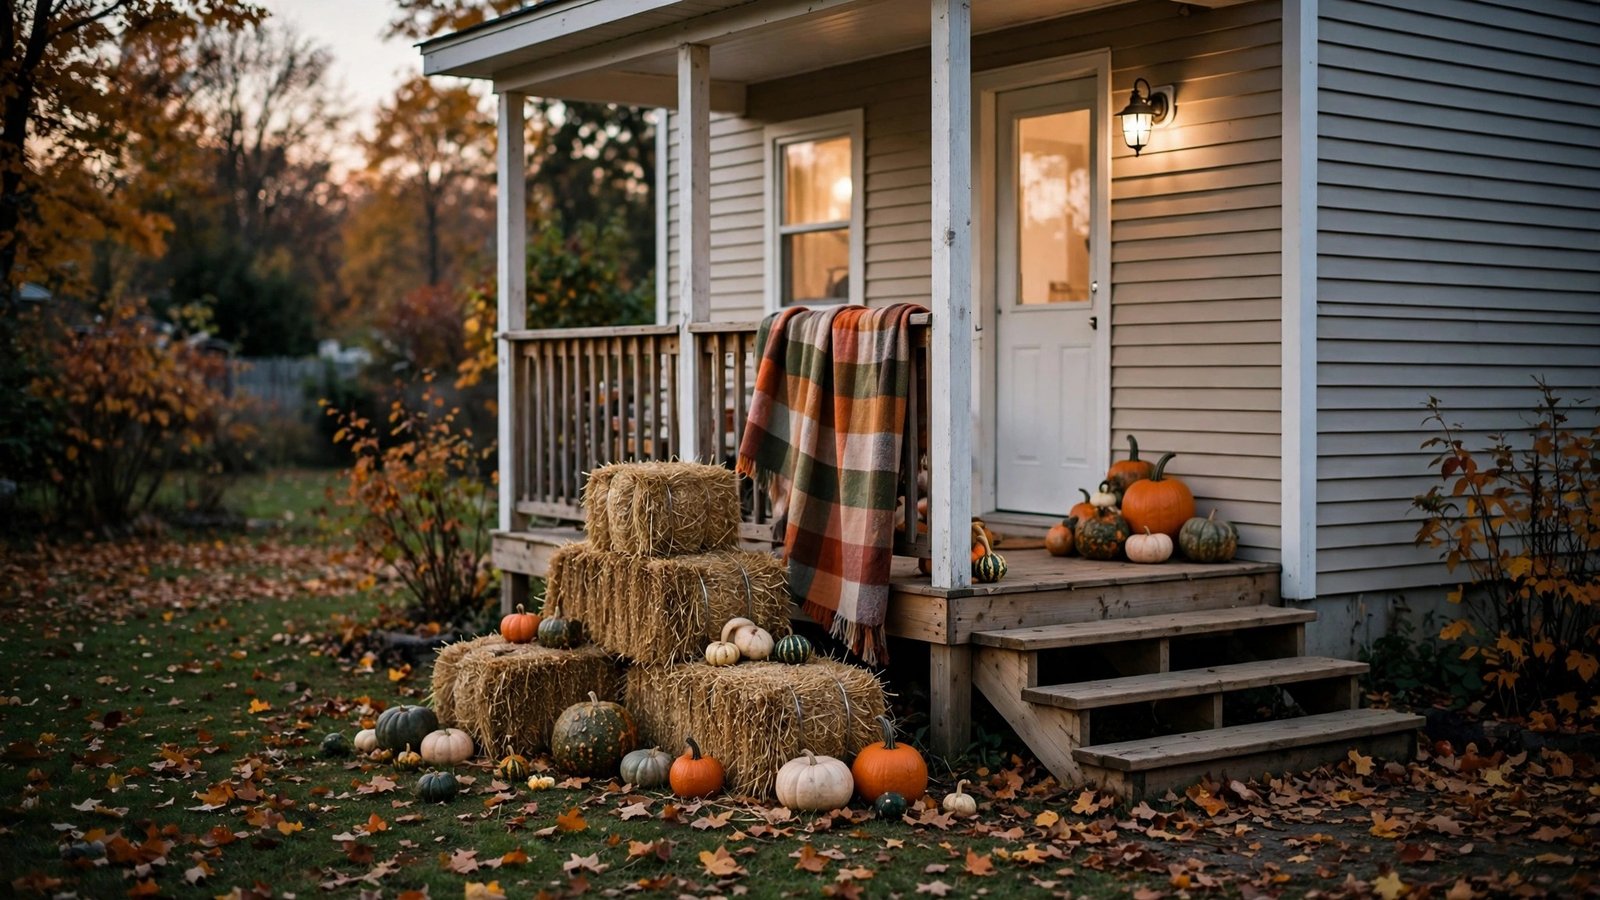
What it is: The farmhouse-fall anchor — one or two small decorative hay bales stacked by the porch or at the yard’s edge, dressed with pumpkins, gourds, a plaid throw, and maybe a lantern. It’s not spooky; it’s the warm autumn base layer that makes all your spooky pieces look intentional instead of random.
Why it works for renters: Hay bales sit on the ground. They need no assembly, no anchoring, and no permission — they’re essentially temporary furniture. Small decorative bales are light enough for one person to carry and fit in a car trunk, and at the end of the season they go to yard waste or a community garden’s compost pile. For a renter, they solve the “empty yard” problem in one purchase: suddenly your patch has structure and height.
How to do it: They need no assembly, no anchoring, and no permission — they’re essentially temporary furniture. Small decorative bales are light enough for one person to carry and fit in a car trunk, and at the end of the season they go to yard waste or a community garden’s compost pile.
- Buy 1–2 small decorative hay or straw bales (the ones sold at craft and garden stores in fall, roughly 2 feet long) rather than full farm bales, which are far too heavy and bulky for a rental.
- Set them where they’ll frame your entrance — flanking the porch steps, or stacked two-high at the yard’s corner as an anchor piece. Put a tarp or trash bag underneath if your porch floor stains easily.
- Arrange pumpkins and gourds of different sizes on and around the bales, mixing real and foam for longevity.
- Drape a plaid throw or burlap runner over the top bale and set a battery lantern or a cluster of LED candles on it for evening glow.
- After the season, donate or compost the bales (many community gardens take them), and store the pumpkins and fabric with your other decor.
Approximate cost: $15–$25 for bales, plus pumpkins and fabric you may already own.
12. DIY Scarecrow on a Freestanding Stand

What it is: A proper full-size scarecrow — flannel shirt, stuffed jeans, straw hands, pumpkin or burlap head — built on a freestanding base instead of the traditional stake driven into the earth. It stands in your yard like a person, which is exactly why it works: nothing is creepier (or more charming) at dusk than a silhouette that could almost be real.
Why it works for renters: The classic scarecrow needs a post in the ground; the renter’s version needs a freestanding stand. A cheap garment rack, a coat rack, or a simple cross-frame of PVC pipe set into a weighted bucket gives you the same human shape with zero ground penetration. When the season ends, the whole figure disassembles into a bag of clothes and a folded frame that fits in a closet.
How to do it:
- Build the stand: set a 5-foot length of PVC pipe or a wooden dowel upright in a 5-gallon bucket, and fill the bucket with sand or gravel so it can’t tip. This is your scarecrow’s spine — it never touches the soil.
- Add a horizontal arm piece (a shorter pipe or dowel) through the top of the upright, secured with tape or a T-fitting, to form the shoulders.
- Dress it: stuff old jeans with newspaper or straw, pull them onto the upright, add an old flannel shirt over the arms, and stuff the sleeves and gloves with straw.
- Make the head from a foam pumpkin, a burlap sack stuffed with newspaper, or a paper bag — draw or paint a face, top it with a straw hat, and set it on the upright.
- Position your scarecrow near the walkway or in the yard’s corner where its silhouette shows against the evening sky, and weight-check it on a windy day. After Halloween, strip the clothes for donation or storage, fold the stand, and empty the sand.
Approximate cost: $10–$20 for PVC or dowel, a bucket, sand, and thrifted clothes.
Your Small Yard Is Ready for Its Halloween Moment
Here’s what I want you to take away from all twelve of these builds: your small rental yard was never the problem. The problem was the assumption that Halloween decorating requires a big lawn, a deep wallet, and the freedom to dig holes wherever you please. You need none of those things. You need a strong focal point or two, some well-placed light for after dark, and the confidence to treat your ten feet of rented grass like the complete little stage it is.
Start with one idea this weekend — the luminarias if you have a walkway, the haunted doorway if your porch is your whole exterior, the glowing eyes if you want maximum effect for minimum effort. See how it feels. Then add a second build next weekend if you’re having fun. Every single project here comes down cleanly, stores flat, and leaves your deposit exactly where it belongs: in your pocket.
And remember to check your lease before you decorate anything shared or visible beyond your own patch — a two-minute read now saves an awkward conversation later. You’ve got this, and your trick-or-treaters are going to love it. Please save this visual guide on Pinterest and follow along for more renter-friendly seasonal ideas you can actually use.

Amelia leads HavenlyStyle’s editorial vision with a passion for elegant interiors and practical home living. With years of experience in home décor and lifestyle content, she ensures every article is accurate, inspiring, and easy to follow. From timeless decorating ideas to the latest interior design trends, Amelia is committed to helping readers create beautiful, functional spaces while maintaining HavenlyStyle’s trusted and welcoming voice.