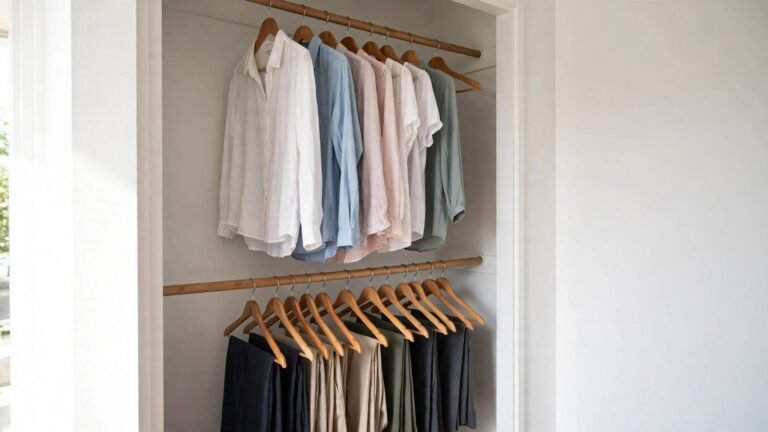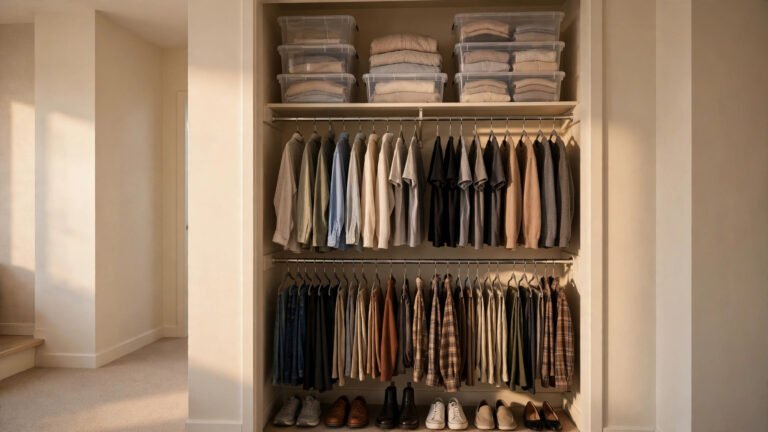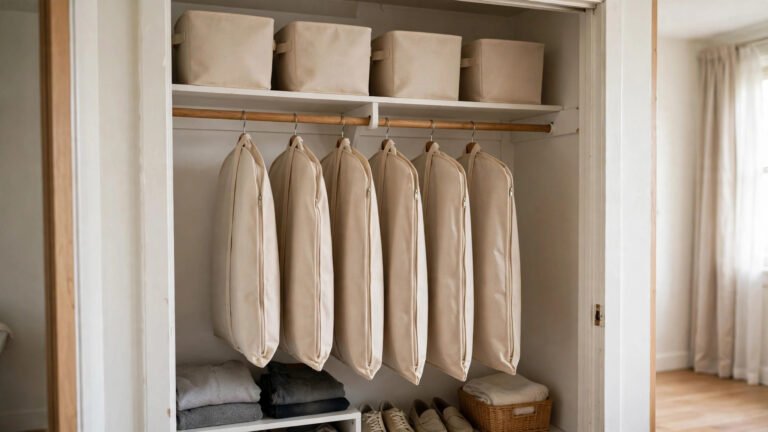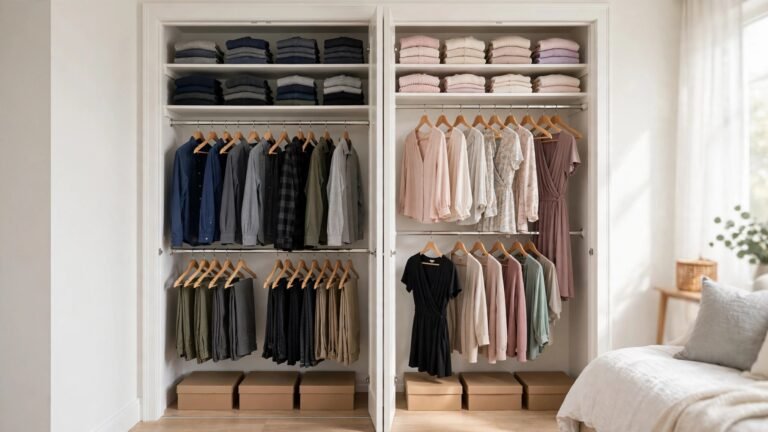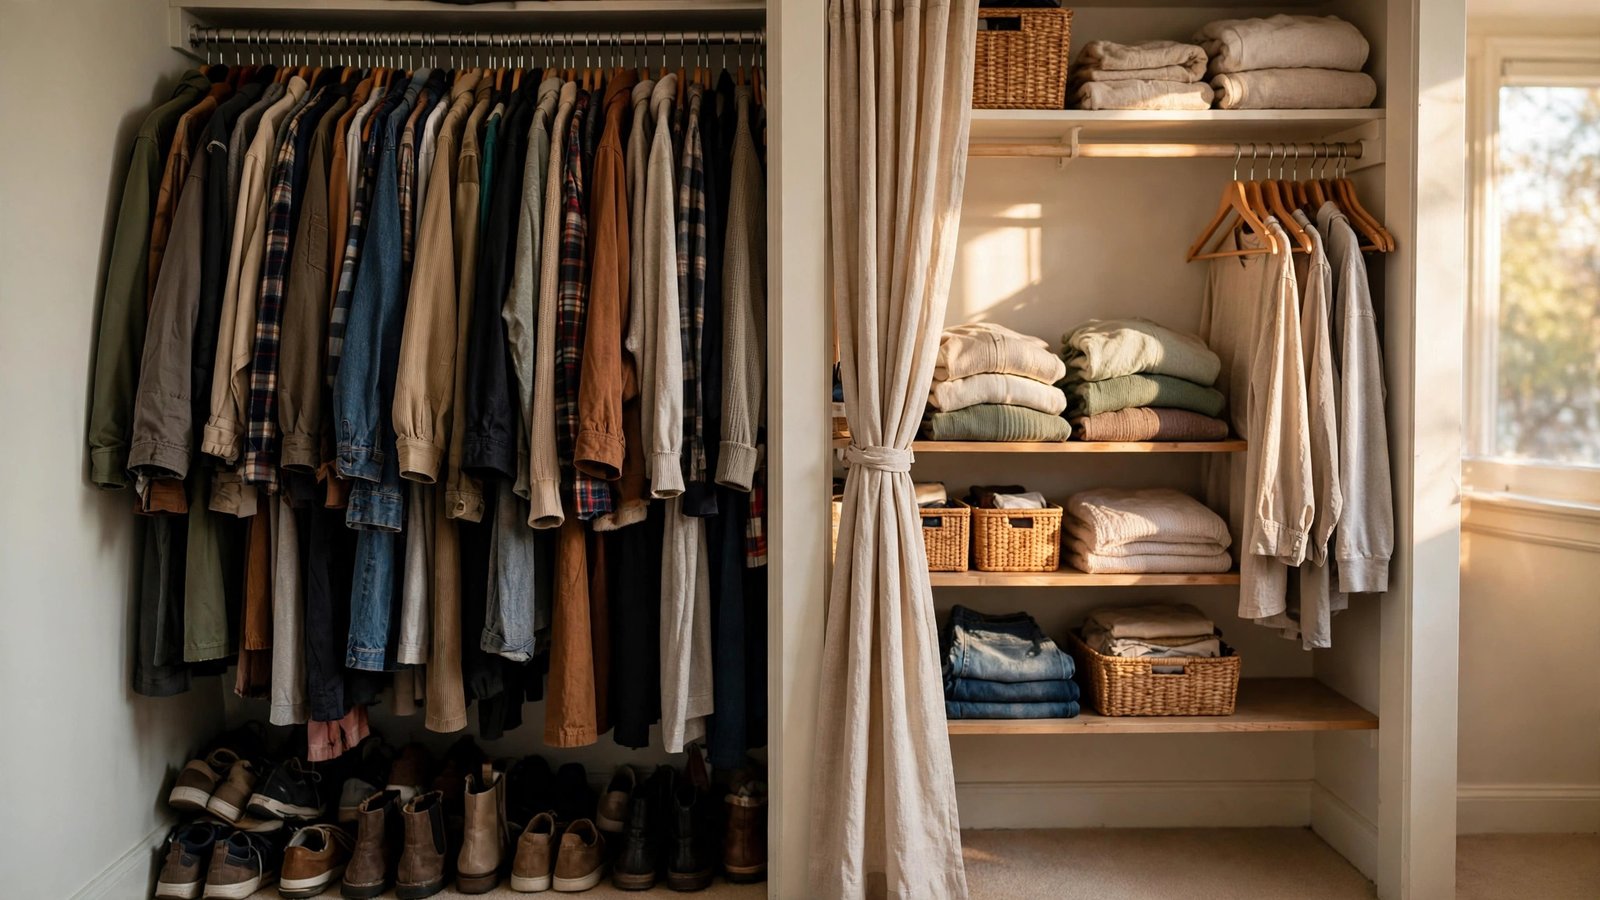
I’ve helped dozens of renters set up shared closets, and the lopsided ones are the ones that cause the most friction — not because anyone is unreasonable, but because the usual advice assumes a 50/50 wardrobe split that almost nobody actually has. One partner owns a hundred pieces; the other owns thirty. Draw a line down the middle and the partner with the bigger wardrobe is cramming three jackets onto one hanger while the other half of the closet sits empty. Nobody is happy, and the closet looks like a fight.
Here’s the good news: an asymmetric wardrobe doesn’t have to mean an unfair closet. In every apartment I’ve worked in, the fix has never been “buy more bins.” It has been changing the math — splitting space by what each person actually owns instead of an imaginary half-and-half, protecting a guaranteed zone for the smaller wardrobe, and giving the larger wardrobe stylish overflow that doesn’t look like a consolation prize. All of it is renter-safe: tension rods, freestanding racks, and removable dividers that leave zero marks on the walls.
This guide walks you through twelve ideas, ordered by impact, built specifically for couples where one closet does the work of two very unequal wardrobes. No drilling, no damage, no landlord permission needed — and no partner getting squeezed out of their own closet.
Executive Summary
- Split the closet by wardrobe math, not by half: allocate rail and shelf space in proportion to what each person owns, then write the agreement down before buying anything.
- Protect a guaranteed zone for the smaller wardrobe: one full rail section plus eye-level shelf space that never gets absorbed by the larger wardrobe.
- Give the larger wardrobe attractive overflow: a freestanding garment rack, under-bed seasonal storage, and a second-room zone keep the dominant wardrobe out of the shared closet without feeling like exile.
- Use tension rods for no-drill double-hanging that both partners can rebalance in minutes — the most renter-friendly way to add hanging space fast.
- Set visible boundaries and seasonal rules: rail dividers, a seasonal swap, and an item-in/item-out rule keep the peace long after setup day.
1. Ditch the 50/50 Split: Size the Space to the Wardrobes
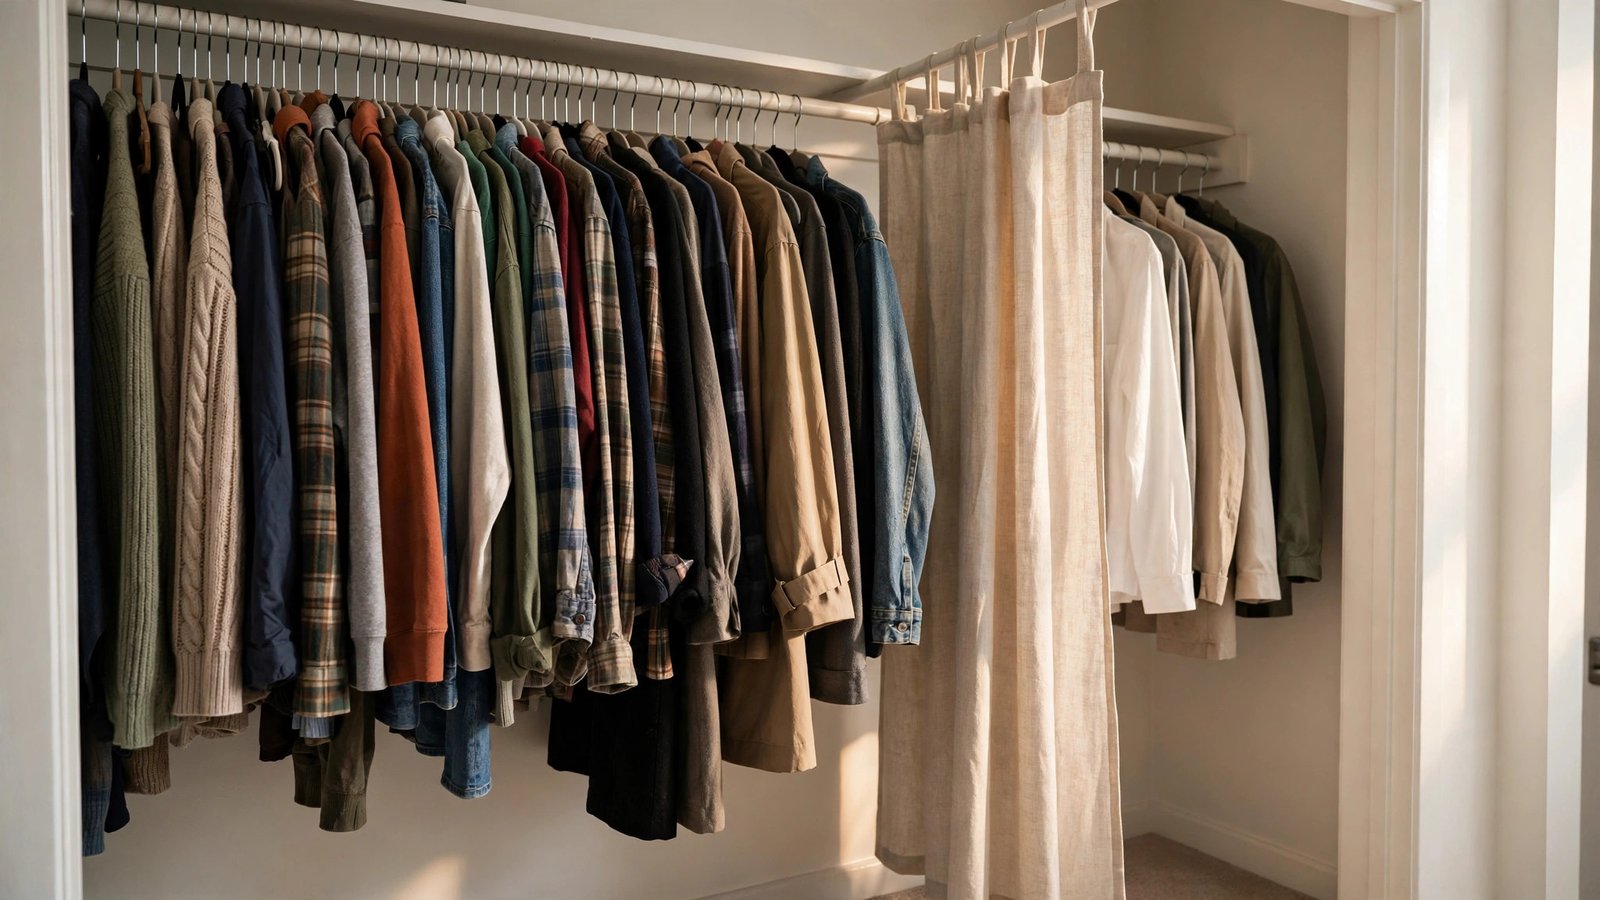
What it is: Instead of dividing the closet down the middle, you allocate hanging rail and shelf inches in rough proportion to what each person actually owns — the wardrobe math approach.
Why it works for renters: Every tension rod, divider, and rack you buy after this works harder, because you’re building around reality instead of fighting it. And because nothing gets screwed into walls, re-allocating is free if the ratio changes. I’ve personally seen couples re-argue the closet three times in a year because they set up for a 50/50 split and one partner’s wardrobe kept “mysteriously” expanding into the other half. The math settles it before it starts.
How to do it:
- Count each person’s hanging clothes roughly — shirts, pants, dresses, jackets. A rough count is fine; the point is the ratio, not the inventory.
- Measure your closet’s usable hanging inches (the rail minus the corners you can’t reach).
- Divide the inches by the ratio. If Partner A has 90 hanging items and Partner B has 30, that’s a 3:1 split — roughly 75 inches for A, 25 inches for B in a 100-inch closet.
- Do the same for shelves: count folded items and shoes, then split shelf space by that ratio. Shelves are where the asymmetry often flips — the partner with fewer hanging clothes sometimes has more shoes.
- Write the numbers on paper and tape it inside the closet door for the first month. It sounds silly. It prevents arguments.
Approximate cost: $0 — this is a conversation and a tape measure you already own.
2. Write a Closet Agreement Before You Buy a Single Bin

What it is: A short, spoken (or written) agreement about who gets what, made before any organizing products enter the picture. Think roommate agreement, but for two people and one closet.
Why it works for renters: In my experience, closet fights are never actually about the closet. They’re about one partner feeling squeezed and the other feeling policed. Renters can’t solve this by renovating or knocking down a wall — the space is fixed, so the agreement IS the renovation. Making it first means every product you buy later serves a plan instead of becoming ammunition.
How to do it:
- Sit down away from the closet — kitchen table, coffee shop, anywhere the closet isn’t staring at you — and each say what you need to feel comfortable, not what you want the other person to give up.
- Agree on the math from idea #1, then add the protections: the smaller wardrobe’s zone can’t be borrowed “just for now,” and the larger wardrobe gets specific overflow homes (ideas #6–#8) instead of vague promises.
- Build in one review date — “we check back in three months and adjust.” The asymmetry will shift; wardrobes grow and shrink. The review makes it fair instead of permanent.
- Put the three most important lines in your phone’s notes app. Not a contract — a reference for the morning you’re both late and someone’s stuff is in someone else’s zone.
- Pair the agreement with one shared rule from idea #11 so the larger wardrobe has a self-regulating system, not a partner regulating it.
Approximate cost: $0 — free, and it saves the cost of organizing products bought for the wrong plan.
3. Carve a Protected Minimum for the Smaller Wardrobe
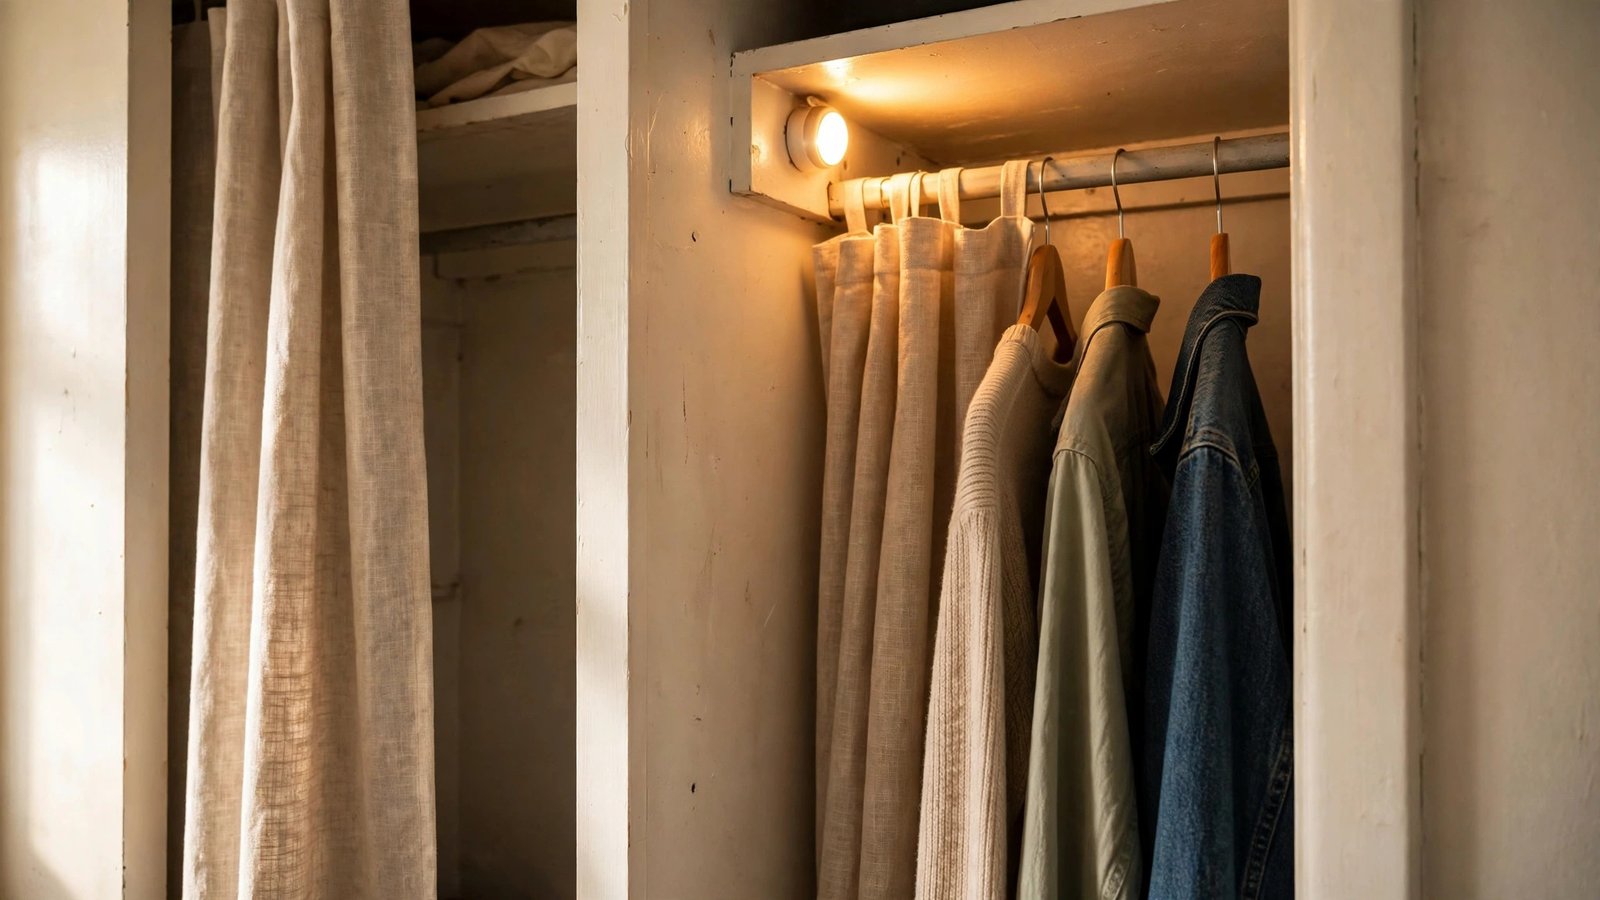
What it is: A clearly marked, non-negotiable zone inside the shared closet reserved for the partner with fewer clothes — typically one full rail section plus a slice of shelf, sized from the wardrobe math but marked as protected territory.
Why it works for renters: Without a visible, agreed boundary, the larger wardrobe behaves like a gas: it expands to fill whatever space isn’t actively defended. In small rental closets I’ve worked with, the squeezed partner’s section quietly shrank by half within weeks. A protected zone isn’t about being precious — it’s the only thing that keeps the asymmetry from becoming a squeeze. Tension rods and clip-on rail dividers create the boundary with zero damage to the closet.
How to do it:
- From the wardrobe math in idea #1, identify the smaller partner’s full share — rail inches, shelf inches, and at least one drawer.
- Put the smaller wardrobe on the side of the closet that’s easiest to reach (usually nearest the bedroom door), because the dominant wardrobe will spread if given the convenient real estate.
- Install a clip-on rail divider or a fabric closet divider at the exact boundary point — a visible line you can point to, not a line you’re imagining.
- Give the protected zone its own light source, even just a battery-operated LED push light (about $5–$10), so the smaller wardrobe never feels like the dim corner of someone else’s closet.
- Agree that overflow into the protected zone requires the other partner’s explicit okay each time — no standing permission, ever.
Approximate cost: $5–$20 for dividers and a push light; tension rod (if needed) $8–$15.
4. Give the Squeezed Partner the Eye-Level Shelves
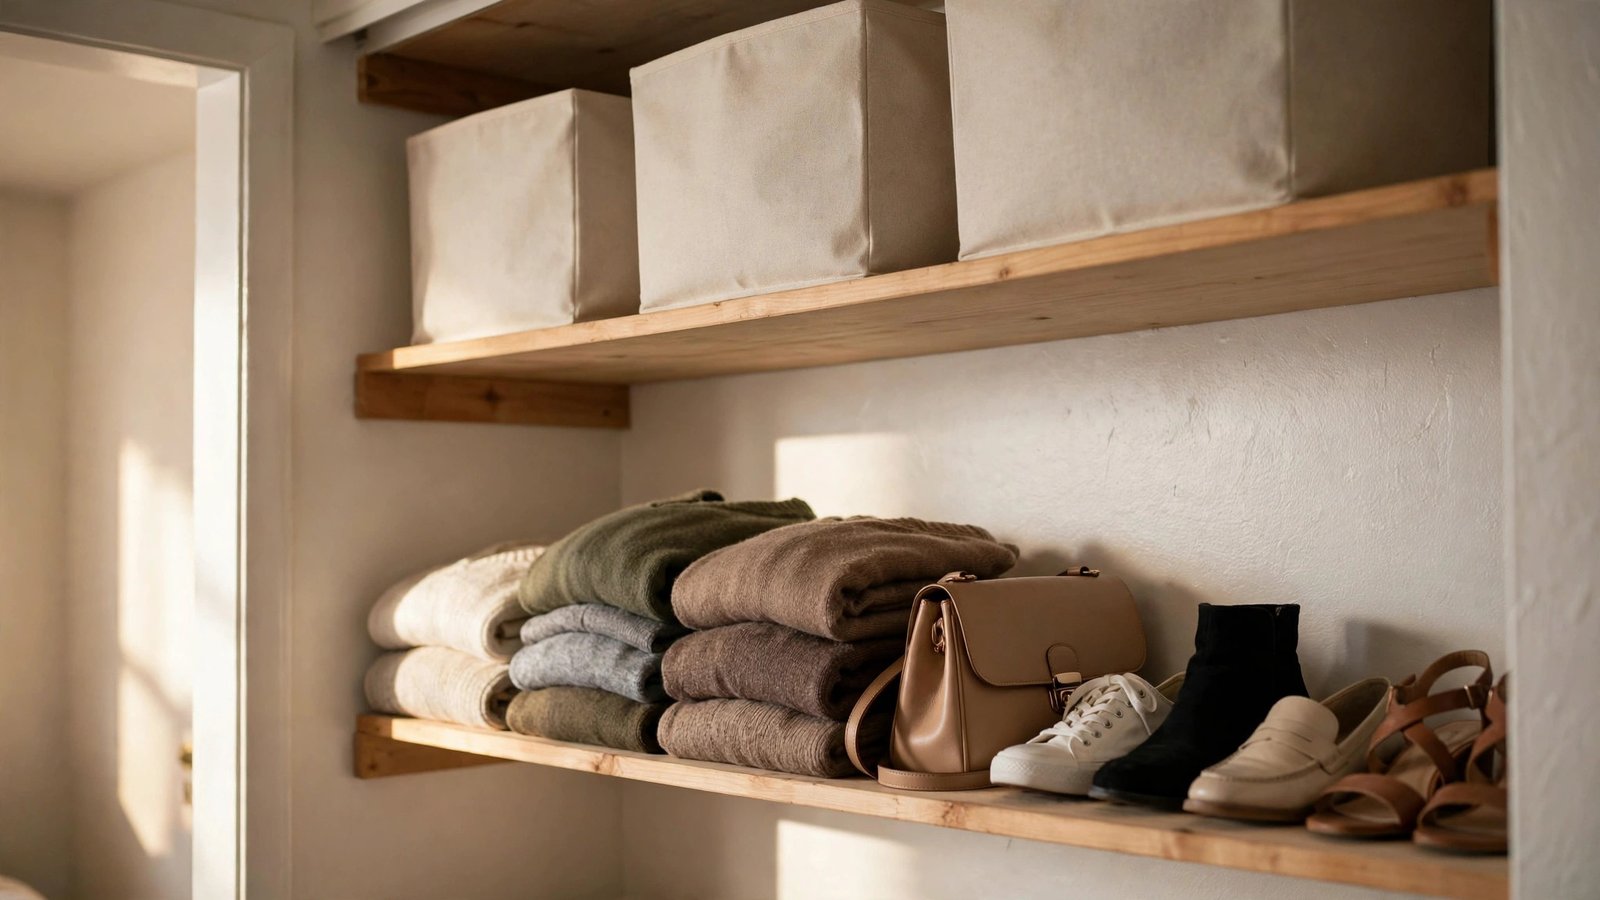
What it is: Reserve the prime, eye-level shelf space — the easiest to see, reach, and use daily — for the partner with the smaller wardrobe, while the larger wardrobe’s bulk storage goes higher up.
Why it works for renters: Most rental closets have one shelf above the rail that becomes a black hole of forgotten boxes. I’ve noticed that in shared closets, whoever has more clothes tends to claim eye level by sheer volume, and the smaller wardrobe gets buried where it’s hardest to use. Flipping that on purpose — the smaller wardrobe gets the best shelves — is a deliberate rebalancing act that costs nothing and changes how the whole closet feels. Shelves require no hardware at all.
How to do it:
- Look at your closet’s shelf as two zones: the eye-level stretch (roughly chest to forehead height) and the overhead stretch (everything above that).
- Assign the eye-level zone to the smaller wardrobe for daily-use items: handbags, folded sweaters, the shoe row they actually wear each week.
- Move the larger wardrobe’s everyday overflow to the eye-level zone on their own side only if room remains — otherwise their bulk storage goes overhead in labeled fabric bins.
- Use low-profile shelf dividers (acrylic or wire, $10–$20 for a set) to keep the boundary crisp, since folded stacks of different wardrobes blur together fast.
- Leave one eye-level shelf section empty on purpose for a week to see what each partner actually reaches for — then finalize the split based on real use, not guesses.
Approximate cost: $10–$25 for shelf dividers; $0 if you use small boxes you already have.
5. Double-Hang the Big Side with Tension Rods (Rebalance in Minutes)
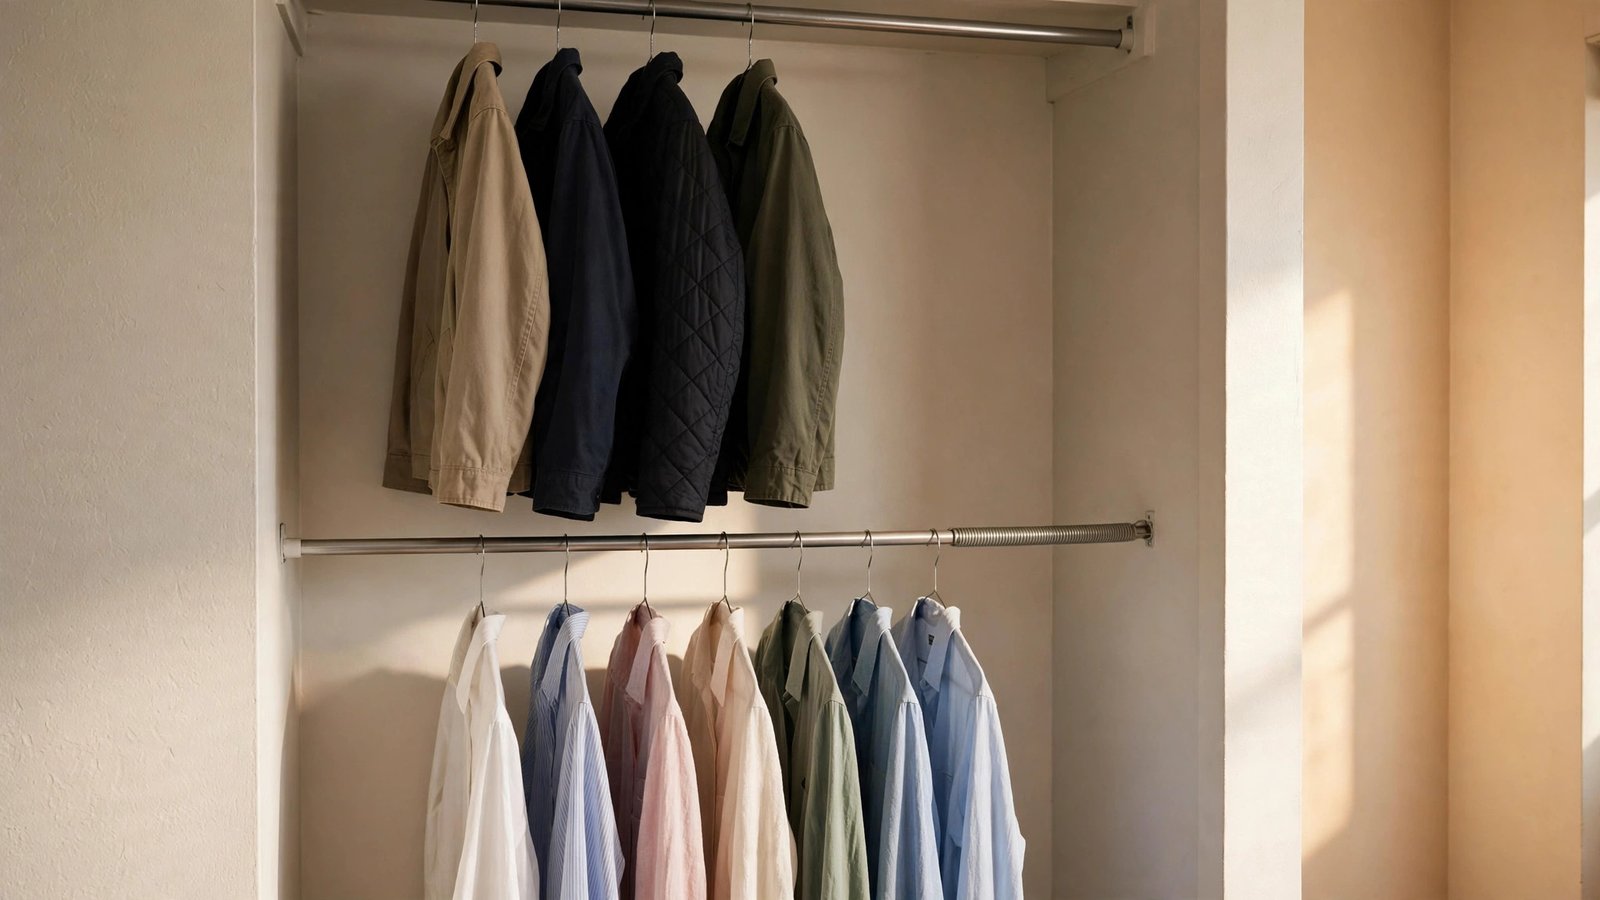
What it is: Adding a second, lower hanging rail using spring-tension rods — no drilling, no brackets — so the dominant wardrobe’s shirts and pants stack in two tiers instead of one.
Why it works for renters: This is the single fastest way to fit an unequal wardrobe into a rental closet. Tension rods leave zero marks, install in about ten minutes, and — here’s the part that matters for asymmetric couples — they move. When the wardrobe ratio shifts, you slide the rod to a new position or relocate it to the other side without patching a single hole. I’ve watched couples treat fixed double-hang bars as permanent territory; tension rods are territory that can be renegotiated.
How to do it:
- Measure the inside width of the closet side the larger wardrobe occupies, wall to wall, at the height where a second rail would sit (usually 40–42 inches off the floor for shirts, 30 inches for pants).
- Buy tension rods rated for at least the width you measured — look for heavy-duty rods, which hold more weight than standard shower rods (approximately $10–$20 each).
- Twist-lock the rod into place, then load it gradually: shirts first, checking that the rod holds before adding heavier jackets. Keep jackets on the original fixed rail.
- Cap the lower rod’s load at shirts, blouses, and light pants — tension rods have real weight limits, and a collapsed rod at 6 a.m. is a relationship incident.
- Mark the rod’s position with a small piece of painter’s tape on the wall so both partners can see where the agreed zone ends if the rod ever needs to move.
Approximate cost: $10–$20 per rod; most closets need one or two.
6. Set Up a Freestanding Overflow Rack for the Larger Wardrobe
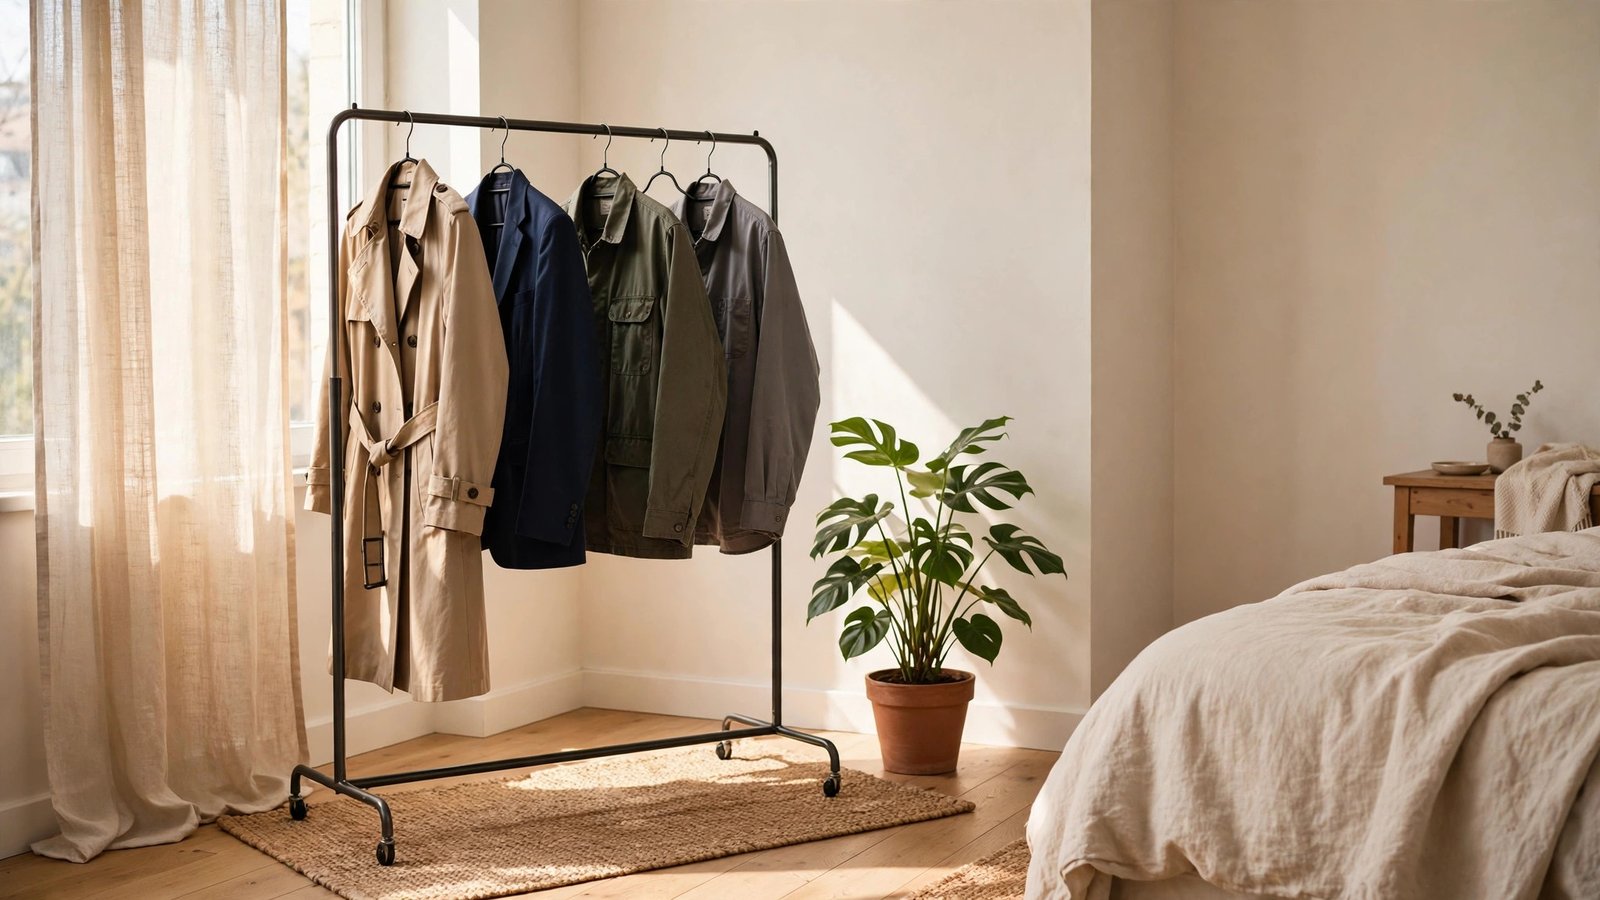
What it is: A freestanding garment rack — placed in the bedroom, a hallway corner, or a spare room — that gives the dominant wardrobe a legitimate second home instead of creeping into the smaller wardrobe’s zone.
Why it works for renters: Overflow only works if it doesn’t feel like exile. A garment rack in a style you actually like, placed where the clothes get worn, turns the bigger wardrobe’s excess into a feature — a little boutique corner — rather than the junky rack of shame. Freestanding means zero wall damage, and it moves with you to the next apartment. I’ve seen this single addition end more closet arguments than any organizer product.
How to do it:
- Choose the rack for the room it’ll live in: a simple metal or wood rack ($25–$60) works in a bedroom corner; a sturdier double-rail rack ($50–$100) suits a spare room.
- Assign the rack a category, not a castoff — for example, “work outfits for the week” or “jackets and outerwear.” Categories keep it from becoming a random overflow pile.
- Match the rack’s hangers to the ones in the main closet (all slim velvet or all wood) so the two spaces read as one system, not two people’s competing closets.
- Keep the rack’s footprint under about 4 feet wide so it doesn’t eat the room; a crowded bedroom breeds resentment about the closet all over again.
- Revisit monthly: if the rack is chronically overstuffed, that’s a wardrobe-size conversation (see idea #11), not a rack-size problem.
Approximate cost: $25–$100 depending on style and sturdiness; slim hangers $10–$20 for a multipack.
7. Turn Under-Bed Space Into the Big Wardrobe’s Seasonal Vault
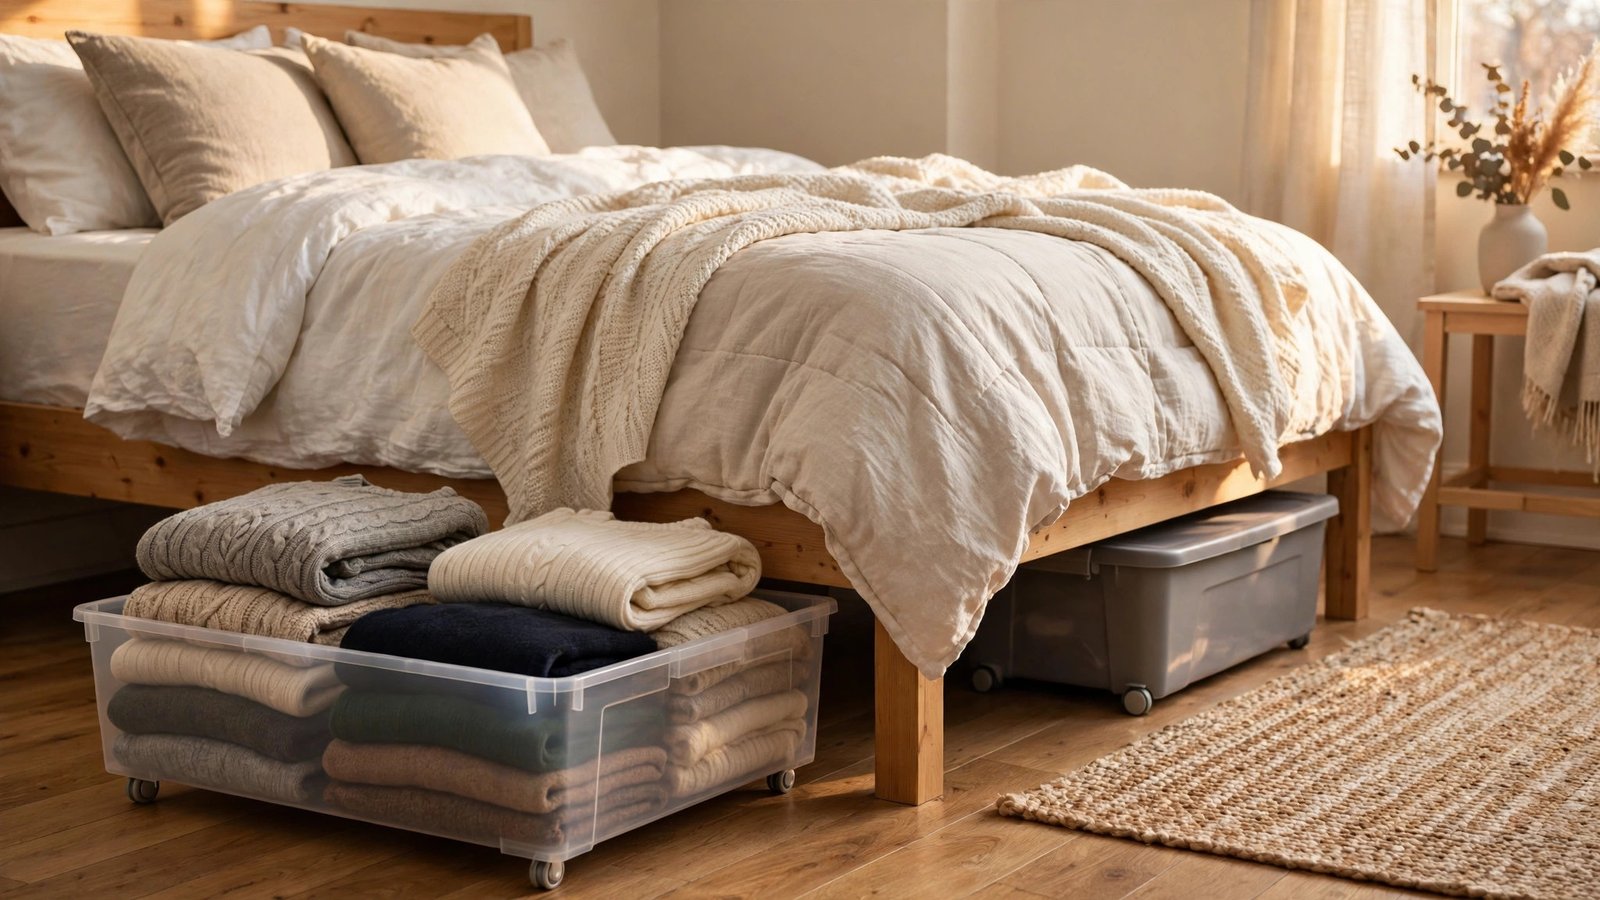
What it is: Low, wheeled storage containers under the bed dedicated to the larger wardrobe’s off-season clothes — winter coats in summer, swim and linen in winter.
Why it works for renters: Off-season clothes are dead weight in a shared closet: they take premium rail space and get touched twice a year. Moving the dominant wardrobe’s out-of-season half under the bed can free up a third of the closet overnight. Under-bed bins are invisible, dust-proof, completely renter-safe, and — critically for asymmetric couples — they’re the larger wardrobe’s contribution to fairness made visible. Everyone can see the effort.
How to do it:
- Each season, pull everything the larger wardrobe won’t wear for the next three months — this is a ruthless pass, not a sentimental one.
- Choose low-profile bins or zippered fabric bags sized to your bed clearance (measure first — under-bed heights vary from 4 to 10 inches). Two to four bins typically run $15–$40 total.
- Fold, don’t stuff: a folded sweater stack holds twice as much and doesn’t come out looking like laundry. Add a cedar sachet or two for wool items.
- Label each bin on the short end facing out — “Winter / Partner A” — so the seasonal swap takes twenty minutes instead of a full Saturday.
- When the season turns, swap in a single session and immediately re-home the outgoing season’s clothes in the same bins. Never let two seasons live in the closet at once.
Approximate cost: $15–$40 for bins; cedar sachets $5–$10.
8. Claim a Second-Room Zone for the Overflow
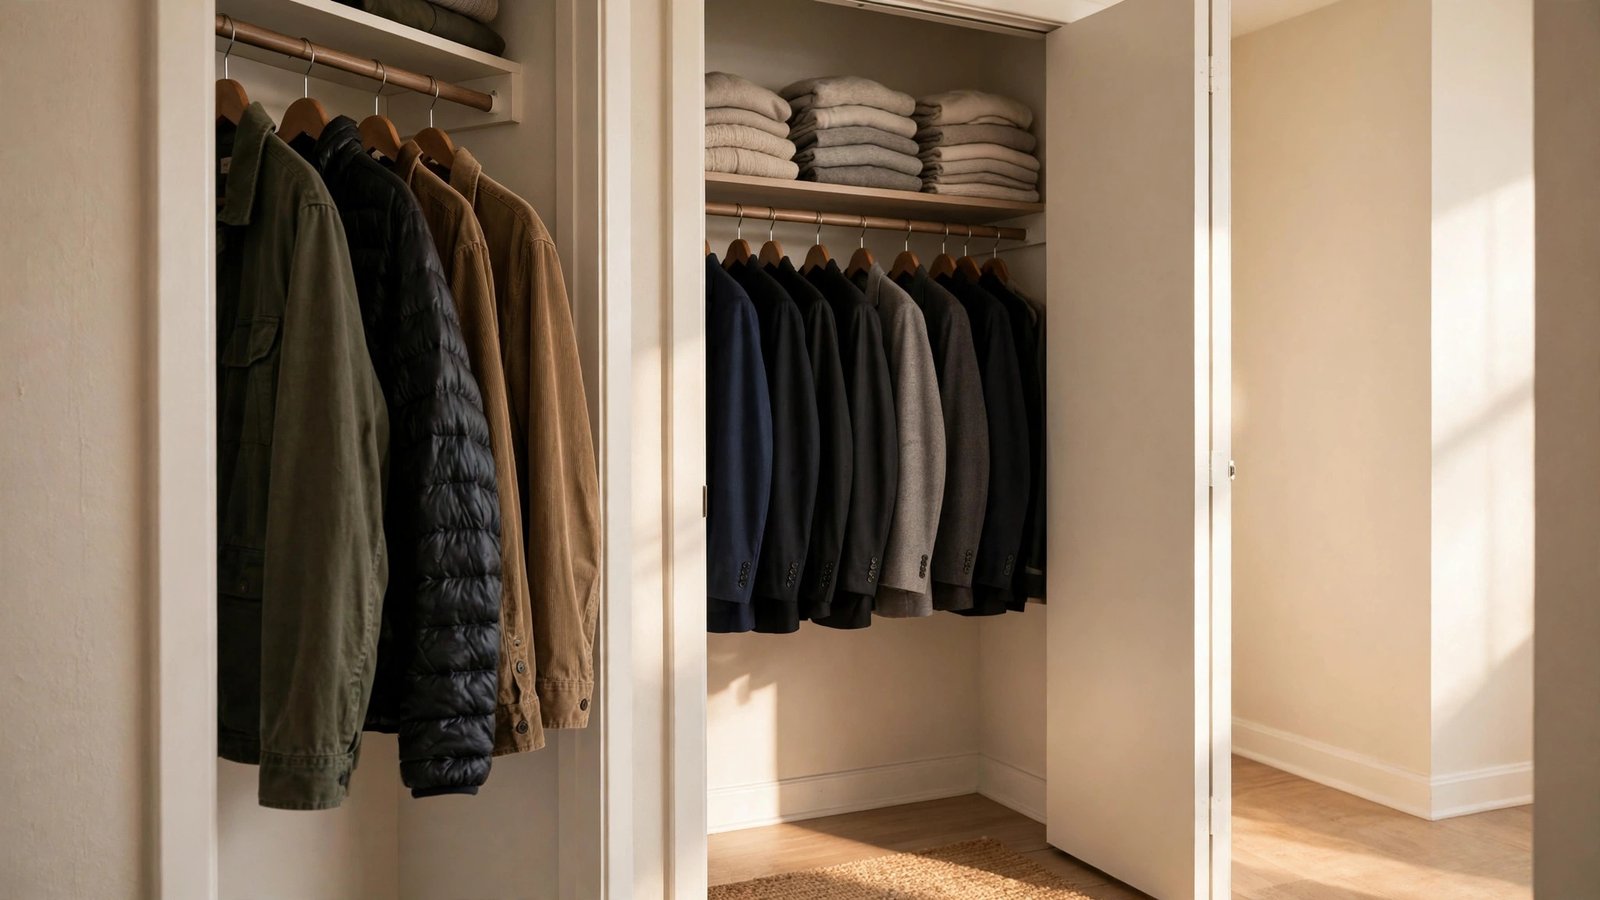
What it is: A designated overflow area outside the bedroom closet — a hall closet section, a guest-room corner, or even a laundry-room rail — assigned to the larger wardrobe’s specialty categories like formalwear, gym gear, or outerwear.
Why it works for renters: Rental apartments are full of half-used storage: the hall closet that’s mostly empty, the guest room closet collecting dust, the laundry nook nobody organizes. For the dominant wardrobe, a second-room zone works when it’s a real, permanent home for a category — not an exile zone for the clothes someone’s partner is tired of seeing. Categories make it feel intentional; “put your extra stuff somewhere else” makes it feel punitive. No drilling or permanent changes required — you’re organizing space that already exists.
How to do it:
- Walk your apartment and list every closet, nook, and rail that isn’t fully used — hall closets, entryway hooks, the guest room closet, even a sturdy laundry-room wall for a tension rod.
- Match categories to zones by use, not by whose clothes they are: outerwear near the door, gym gear near the bathroom or laundry, formalwear in the guest room closet.
- Set up each zone with the same system as the main closet (matching hangers, one bin style) so it reads as an extension of the shared system.
- Give the smaller-wardrobe partner veto-free access to one hook or shelf in each shared zone — like a spare key to the house. It keeps the second zone from becoming “your room.”
- Cap it: two overflow zones maximum. If the big wardrobe needs a third zone, that’s the signal to revisit the item rule in idea #11.
Approximate cost: $0–$30 — mostly hooks, one tension rod, or a couple of bins.
9. Mark the Boundary with Visible Dividers
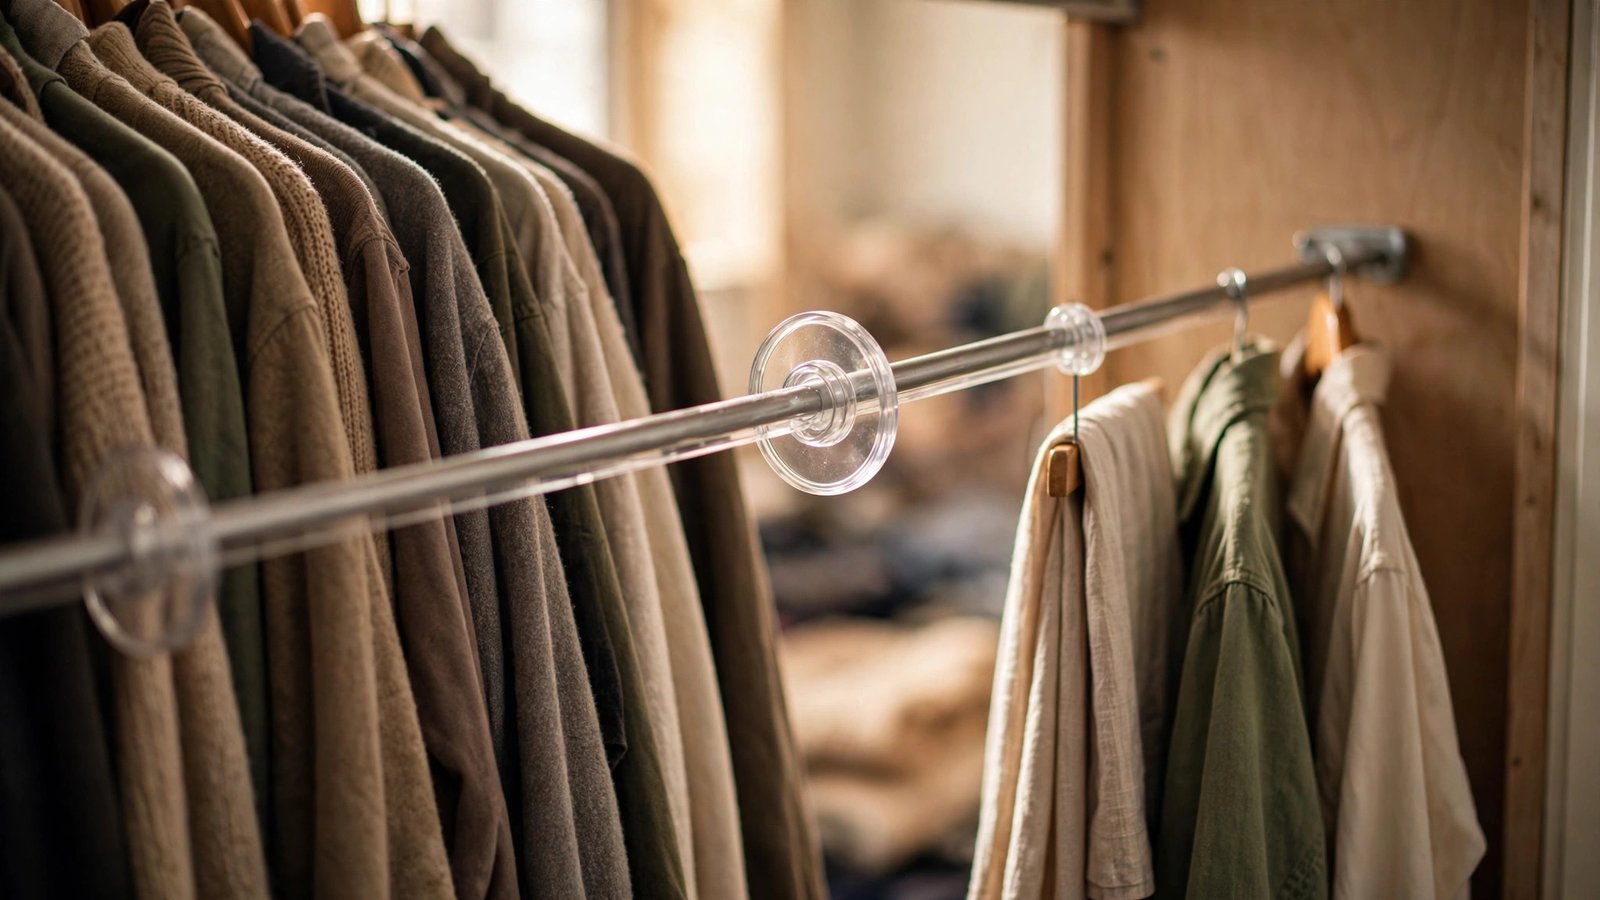
What it is: Physical markers on the shared rail and shelves — clip-on rail dividers, fabric closet dividers, or even a row of matching bookend-style shelf dividers — that make the protected zone visible at a glance.
Why it works for renters: Boundaries you can see get respected; boundaries you imagine get crossed by accident. I’ve helped couples who swore they’d “just know” where the split was, and within a month hangers had migrated across the invisible line. A $10 set of dividers does what willpower can’t: it makes the agreement part of the furniture. Everything here clips on or sits in place — nothing damages the closet.
How to do it:
- Install one divider at the exact rail boundary from your wardrobe math — clip-on plastic dividers slide onto the rail, fabric ones hang like clothes ($8–$15 for a set).
- Add matching dividers on the shelves at the same boundary line, so the split reads as one continuous zone, not a rail-only suggestion.
- Choose dividers in a color both partners like — this is shared furniture, and ugly dividers get “accidentally” removed.
- Give the protected zone a small visual anchor: a different hanger color for the smaller wardrobe’s clothes, so even a quick glance shows whether the boundary held.
- Check the dividers when you do the seasonal swap (idea #10) — if hangers have migrated past them, that’s data for the three-month review, not a fight.
Approximate cost: $8–$20 for rail and shelf dividers combined.
10. Run a Seasonal Swap So the Asymmetry Shrinks Half the Year
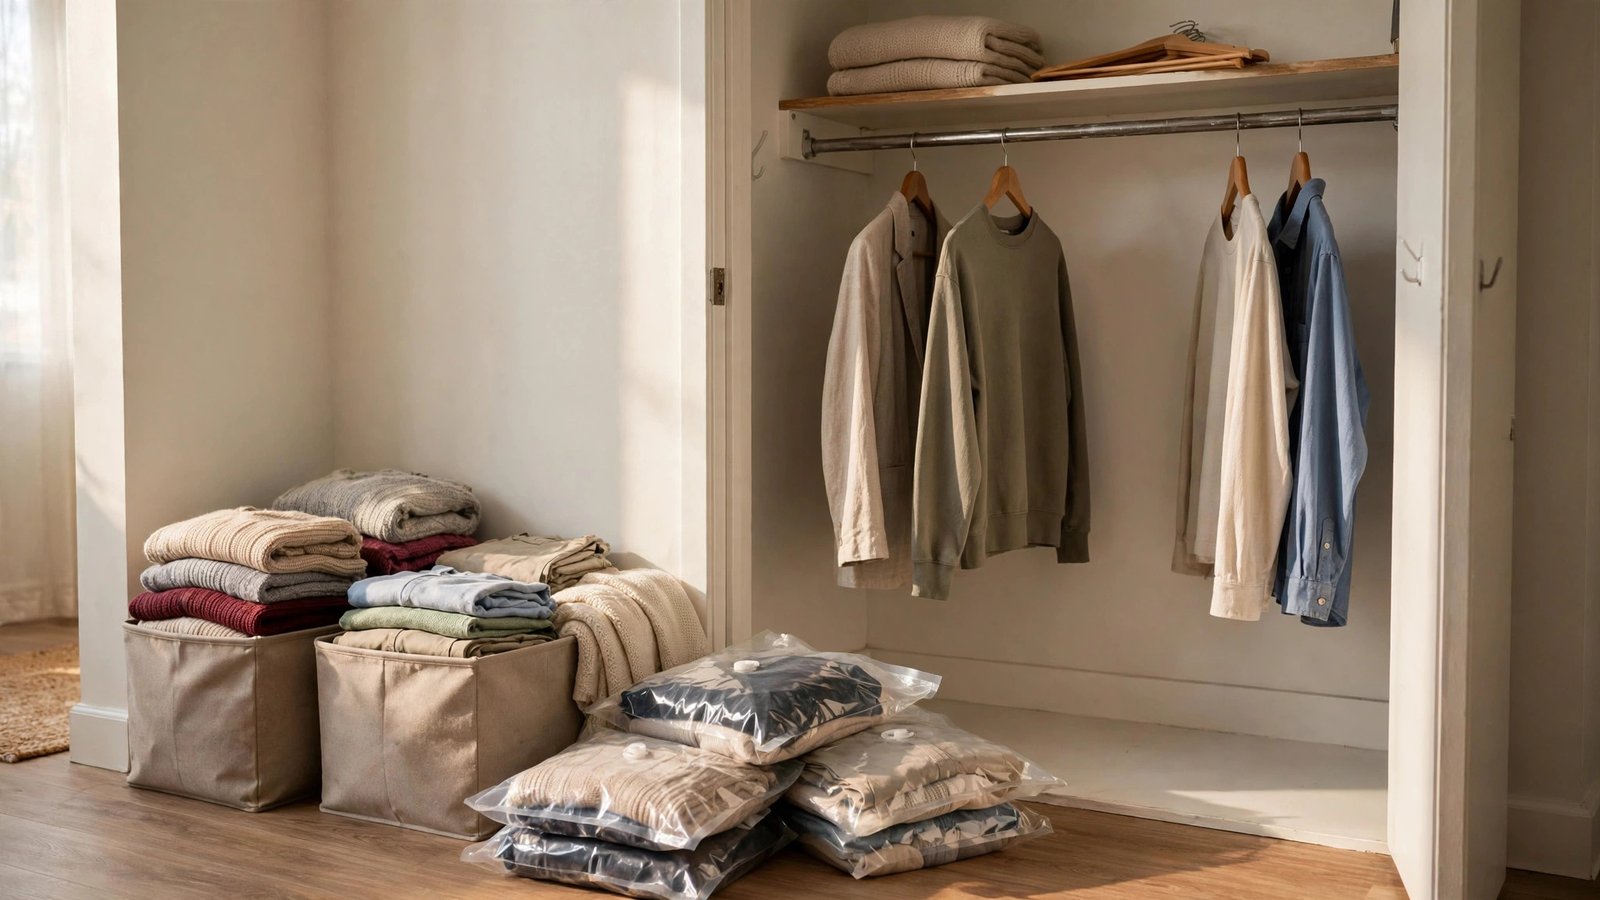
What it is: Twice a year, both wardrobes cycle their out-of-season clothes into storage — so for half the year, the dominant wardrobe is physically smaller and the closet breathes.
Why it works for renters: The asymmetry is worst when everything both people own is in the closet at once. A disciplined seasonal swap means the larger wardrobe voluntarily shrinks by a third or more for half the year — which the smaller-wardrobe partner experiences as breathing room and good faith. Both partners participate, so it never feels like one person’s clothes are being “managed.” Storage bins and vacuum bags are fully renter-safe and move with you.
How to do it:
- Pick two fixed swap weekends — one when the heat turns on, one when it turns off. Put them on the calendar now.
- Each partner pulls their own out-of-season clothes (ownership of the task matters — don’t purge someone else’s wardrobe).
- Pack the larger wardrobe’s off-season into the under-bed bins from idea #7; the smaller wardrobe’s off-season can usually fit in one bin or a high shelf.
- Before anything goes into storage, do a ten-minute honesty pass: anything not worn last season gets donated or listed for resale. This is where the asymmetry slowly corrects itself.
- End each swap by re-checking the rail dividers (idea #9) and confirming the protected zone is intact — make it a ritual, not an inspection.
Approximate cost: $10–$30 for a few vacuum storage bags if you don’t already own bins.
11. Give the Dominant Partner a Self-Regulating “One-In, Two-Out” Rule
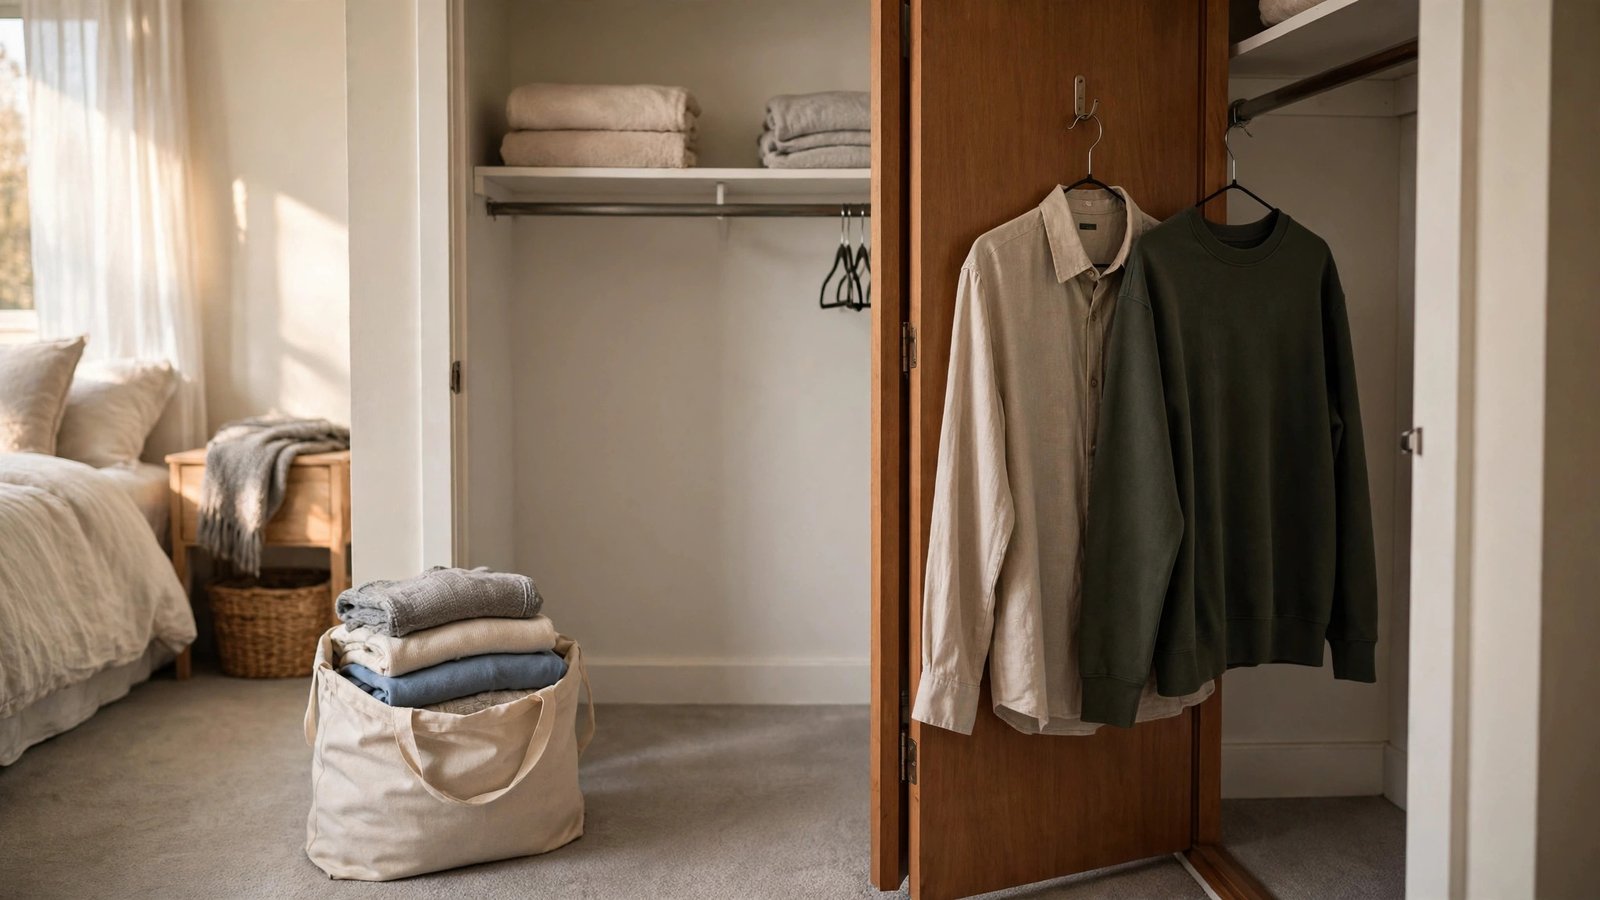
What it is: A simple acquisition rule that applies to the larger wardrobe only: for every new item that comes in, two go out (donated, sold, or stored elsewhere) — a gentle, self-enforced brake on wardrobe growth.
Why it works for renters: The asymmetry usually didn’t start in this apartment — it started years ago. Without a brake, the dominant wardrobe keeps growing into whatever space you freed up, and you redo this whole project annually. The rule works because it’s self-regulating: no partner is policing the other’s shopping, which is where these systems usually die. One-in-two-out is aggressive enough to actually shrink the gap over time without demanding a dramatic purge nobody will sustain.
How to do it:
- Frame it as protecting the system, not restricting the person: “This keeps our setup working” lands very differently than “you have too many clothes.”
- Apply it to hanging clothes only at first — that’s where the space pressure lives. Folded basics and shoes can join later.
- Keep one donation bag permanently in the bedroom or laundry room so the “two out” part is frictionless. Full bag? Drop it off that weekend.
- Track it loosely, not obsessively — a note in your phone for new purchases is enough. This is a habit, not an audit.
- Celebrate the shrink: when the dominant wardrobe drops enough that a tension rod section opens up, hand that space back visibly. The reward for the rule should be visible.
Approximate cost: $0 — a donation bag you already own and a notes app.
12. Split Drawers by Item Count, Not Drawer Count
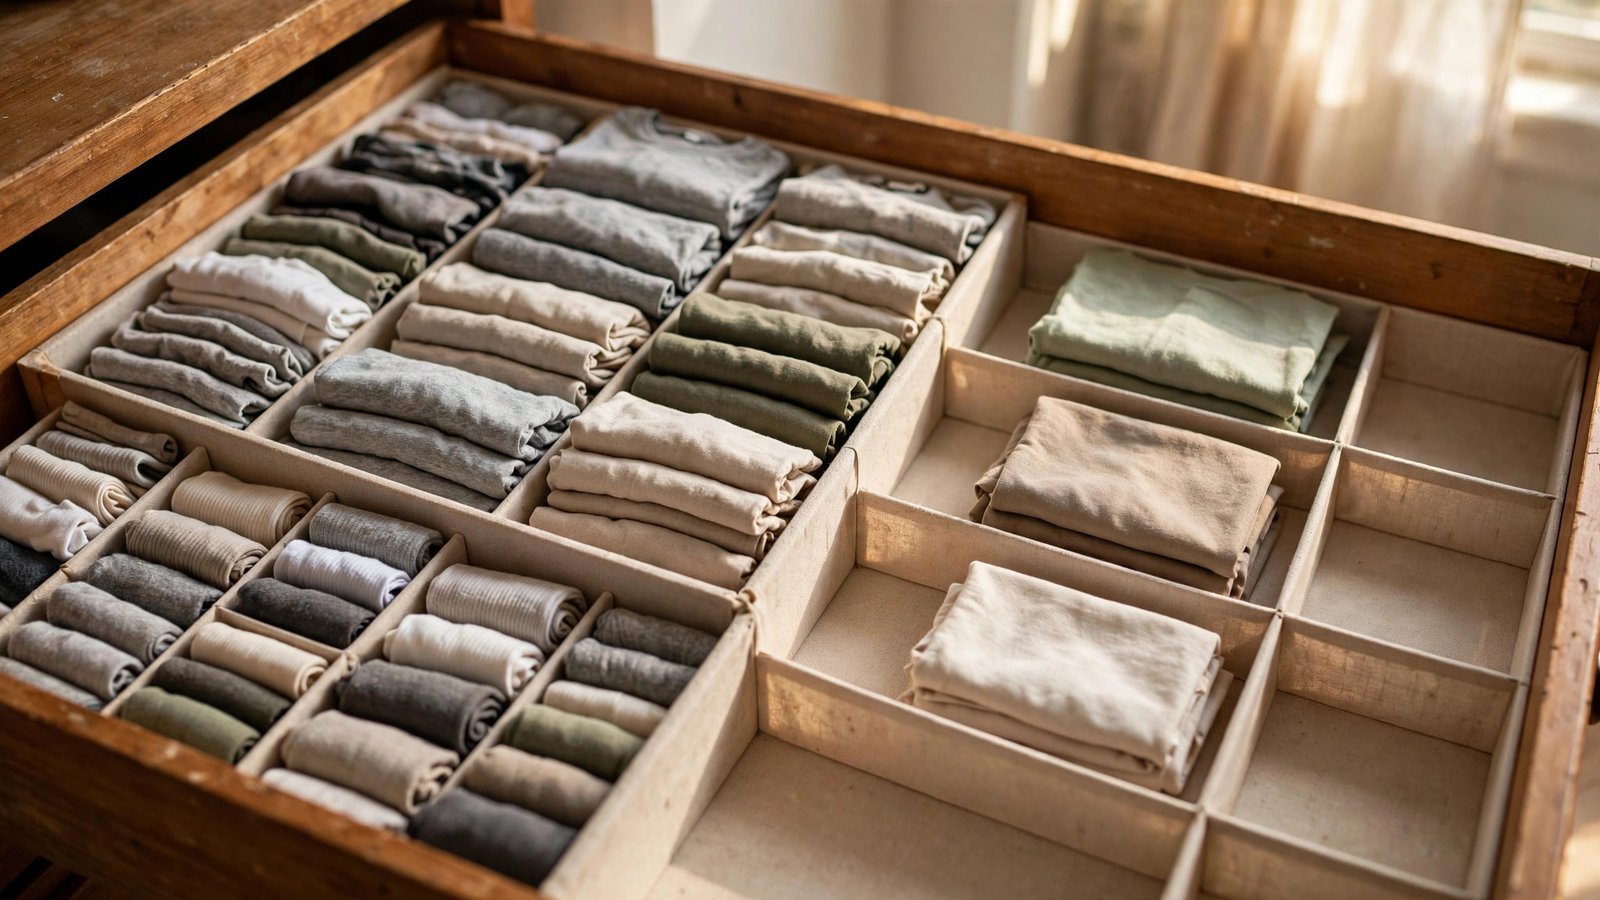
What it is: Allocating drawer and folded space by the number of items each person stores, not by an even drawer-per-person split — the wardrobe math applied to the dresser.
Why it works for renters: Drawers are where 50/50 splits fail most comically: one partner gets a full drawer for twelve t-shirts while the other stuffs forty pairs of socks, underwear, and workout clothes into a single drawer because “we each got two.” Rental dressers and closet drawers are fixed — you can’t add a drawer — so the only fair split is by item volume. Drawer organizers make different item counts fit neatly in one shared drawer when needed.
How to do it:
- Empty every drawer and sort by person, then by category — count roughly, don’t catalog.
- Assign drawer space by item volume: the partner with 60 folded items and the partner with 20 folded items do not split two drawers down the middle.
- Use low-cost drawer organizers or small boxes ($10–$25 for a set) so two people’s categories can share one drawer cleanly when the math works out that way — the organizers ARE the boundary.
- Give the smaller wardrobe’s categories the top drawers (easiest to reach daily), mirroring the eye-level shelf principle from idea #4.
- Leave one drawer or half-drawer intentionally empty for the first two weeks, then assign it based on what actually overflowed. Real use beats planning.
Approximate cost: $10–$25 for a set of drawer organizers; $0 if you reuse small boxes and trays.
Conclusion
An asymmetric wardrobe only becomes an unfair closet when nobody names the asymmetry. Once you do — once the space follows the wardrobe math instead of an imaginary half — the whole dynamic changes. The smaller wardrobe gets a protected, dignified zone instead of leftover inches. The larger wardrobe gets overflow that looks intentional: a styled garment rack, a seasonal under-bed vault, a second-room zone that feels like part of the plan. And the dividers, the seasonal swap, and the one-in-two-out rule keep the system honest long after setup weekend.
The couples I’ve seen struggle most weren’t the ones with the biggest wardrobes — they were the ones avoiding the conversation. Have it, write it down, buy the tension rods, and reclaim a closet that works for both people who share it. Please save this visual guide on Pinterest and share it with anyone splitting a closet with someone whose wardrobe dwarfs theirs — fair closets make for calmer mornings.

Amelia leads HavenlyStyle’s editorial vision with a passion for elegant interiors and practical home living. With years of experience in home décor and lifestyle content, she ensures every article is accurate, inspiring, and easy to follow. From timeless decorating ideas to the latest interior design trends, Amelia is committed to helping readers create beautiful, functional spaces while maintaining HavenlyStyle’s trusted and welcoming voice.