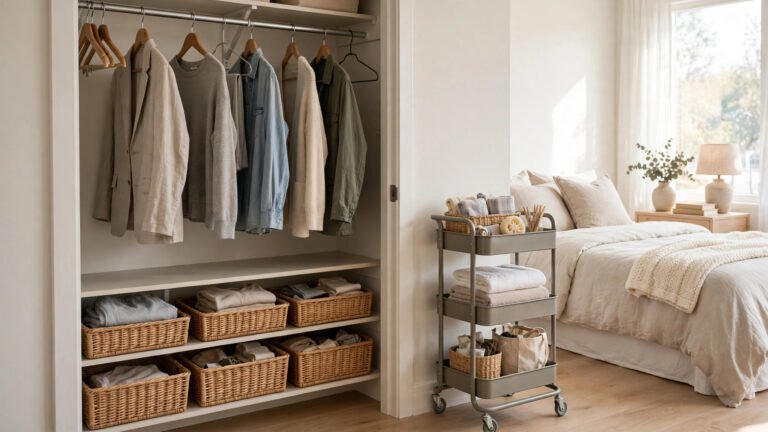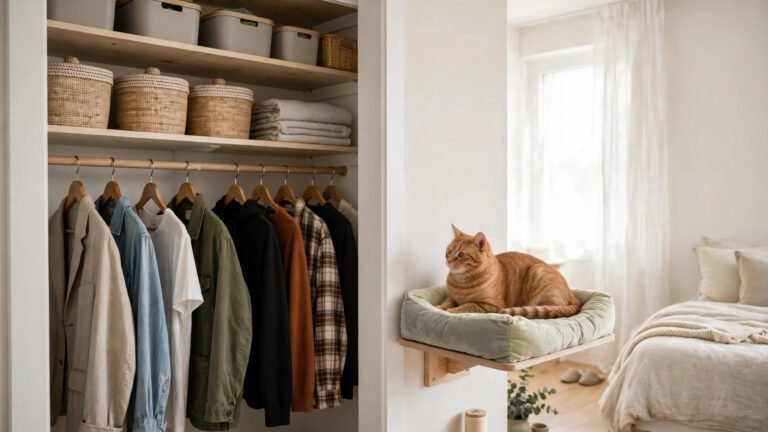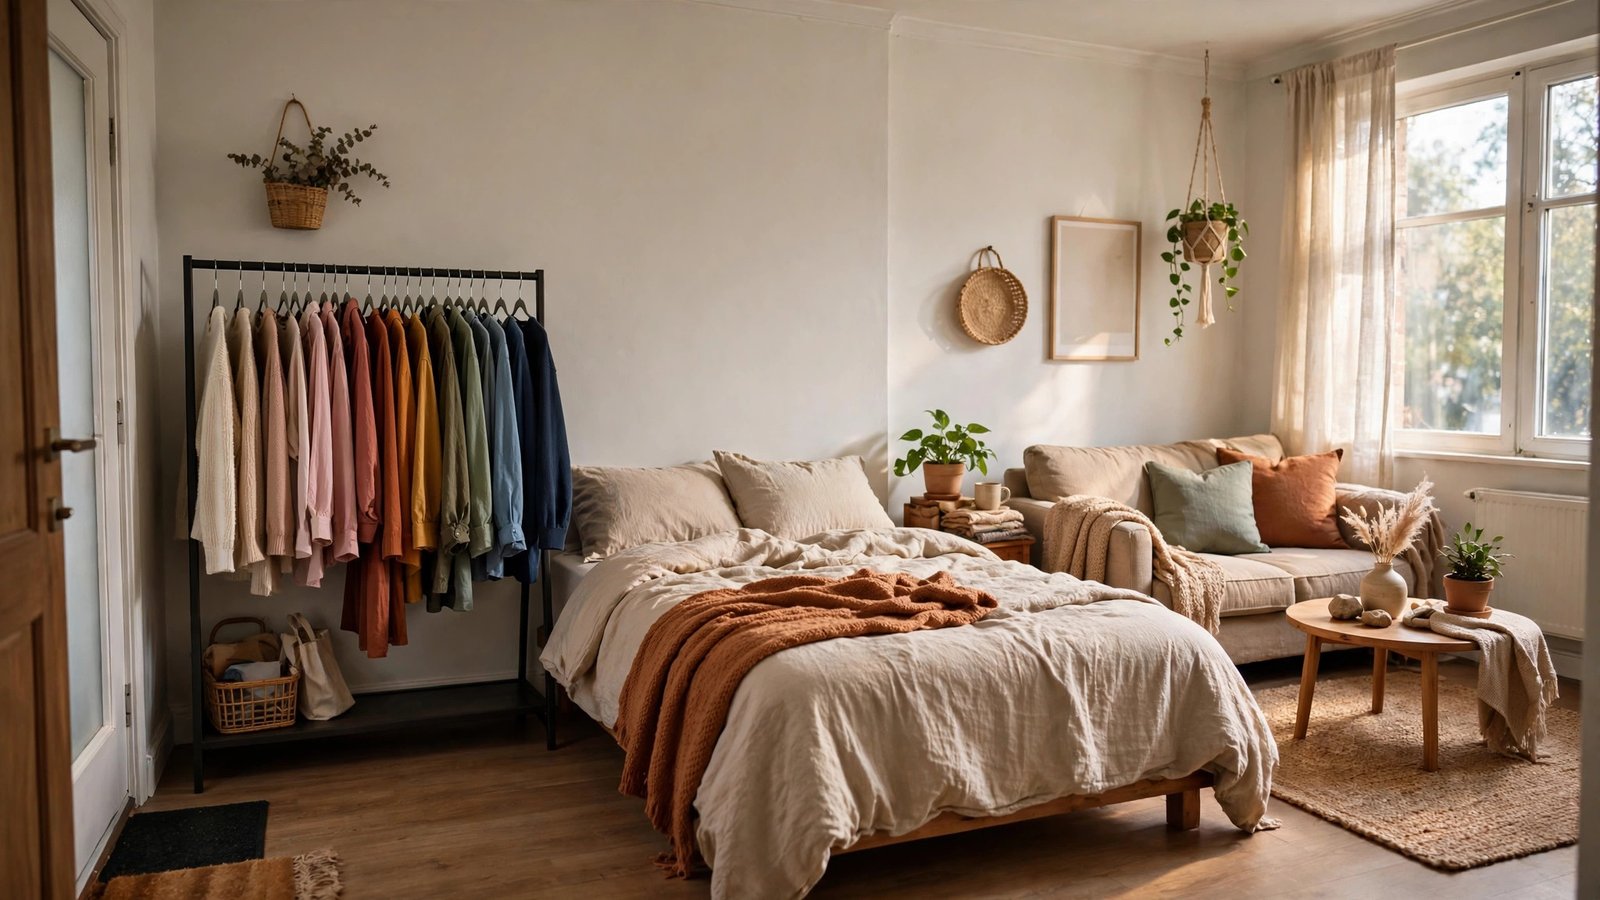
If you’ve ever lived in a studio, you know the particular sting of standing in your kitchen and seeing your entire wardrobe. Not a peek of it through an open closet door — the whole thing. Your sweaters, your yesterday’s jeans, the bra you forgot to put away. In a studio, your wardrobe doesn’t just live with you; it performs with you, 24 hours a day, in front of every guest, every Zoom call, and every restless night when the sight of tomorrow’s laundry pile stares back at you from across the room.
I’ve helped dozens of renters in studios turn that visible wardrobe from an eyesore into the best-looking piece of furniture they own. The trick isn’t hiding it — in a one-room apartment, there is nowhere to hide it. The trick is zoning it, styling it, and treating it like decor, so the rack reads as intentional design and not as evidence of a life with no closets.
This is different from general open-wardrobe styling. A studio is one room that has to be your bedroom, your living room, and your dressing room at the same time. Every idea below is built for that reality: one room, one tiny closet (if you’re lucky), concrete or plaster walls you can’t drill into, and the need to sleep, relax, and host within sight of your clothes. Every idea passes the renter test — removable and reversible — and every cost range below is approximate.
Executive Summary
- Zone first, style second: Use rugs and furniture placement to separate your wardrobe from your bed and living area — the single biggest visual upgrade in a studio.
- Screen it, don’t fight it: Tension-rod curtains, freestanding screens, or a bookcase divider hide the wardrobe from the bed zone without a single screw.
- Make it read as decor: Matching hangers, an edited color palette, and battery-powered lights turn a clothing rack into a styled feature.
- Fight dust and odors on schedule: Open clothes in a living space collect dust and hold smells — cover bags, airflow, and a weekly 15-minute routine solve it.
- Think like a boutique, edit like a minimalist: With limited space, a lean, seasonal capsule wardrobe on the rack beats an overloaded one every time.
1. Zone the Wardrobe Away from Your Bed with a Rug and Furniture Layout
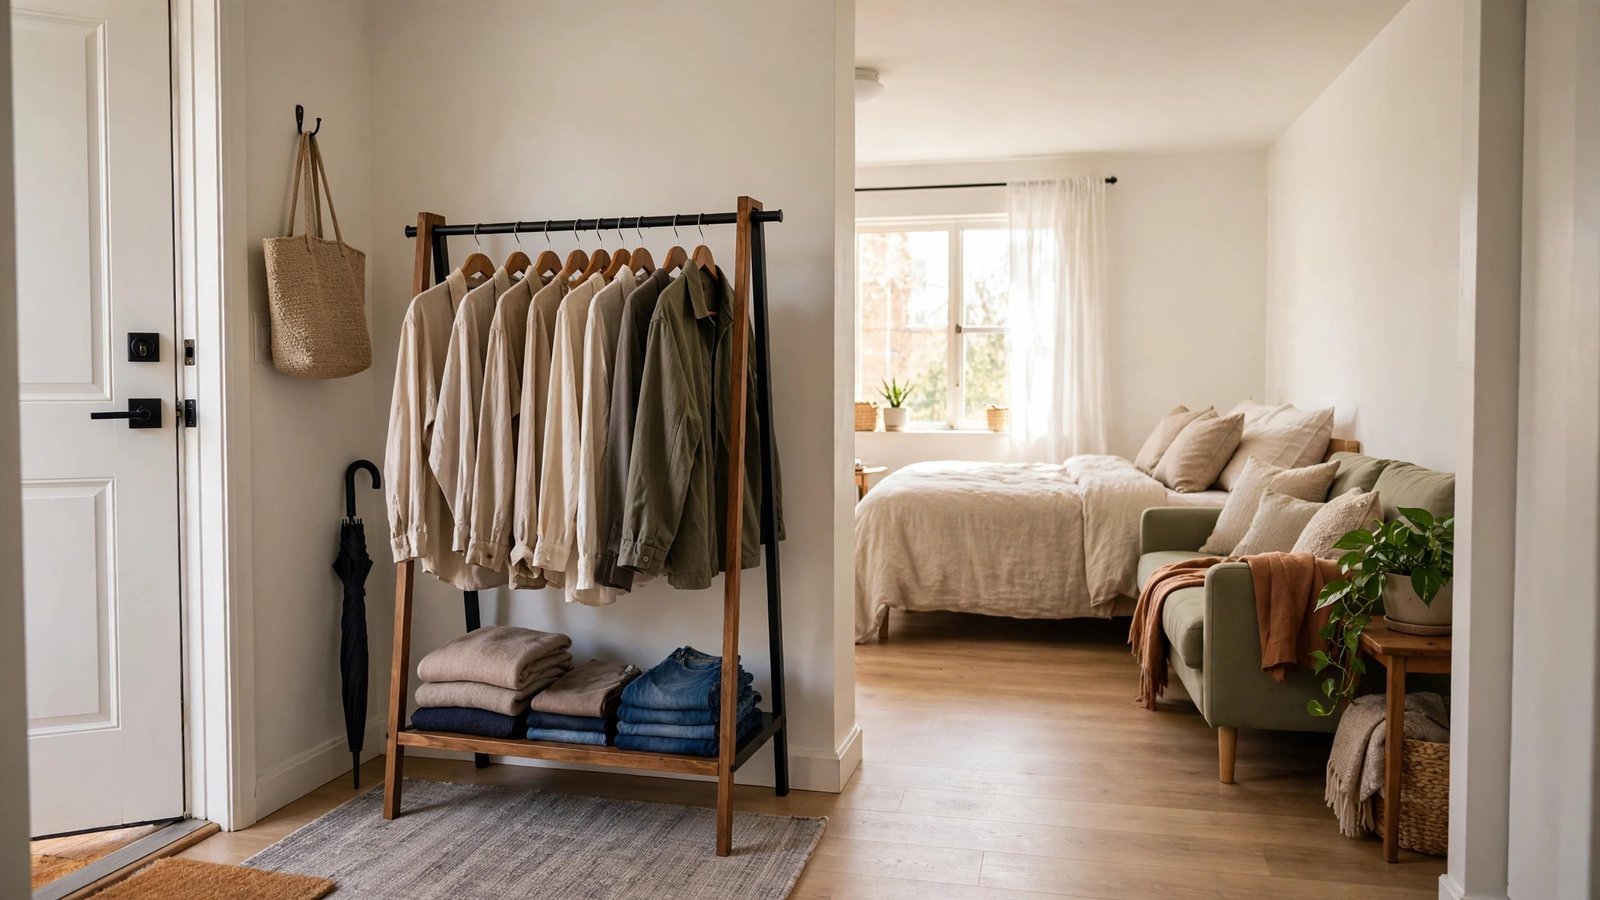
Before you buy a single hanger, walk your studio and decide where the “dressing zone” lives. In a studio with no walls, zones are made of furniture and rugs, not partitions. The single biggest transformation I’ve seen in client studios came from one change: moving the wardrobe to the far end of the room, away from the bed, and grounding it with its own rug.
Why it works for renters: layout costs nothing, needs no permission, and reverses instantly. A wardrobe that sits on its own rug, clearly separated from the bed area, reads as a designed corner. The same rack shoved against the wall next to your pillow reads as chaos.
How to do it:
- Map three zones on paper: Sketch your studio as a rough rectangle. Mark where you sleep, where you sit, and where you dress. Put the wardrobe in the dressing zone — ideally the area farthest from your bed, closest to your front door.
- Float the wardrobe, don’t hug the wall: Pull it 6–12 inches off the wall so it reads as furniture, not clutter against drywall. In many studios, the alcove by the entry — dead space otherwise — is the perfect spot.
- Ground it with a rug: A small flatweave rug (roughly 3×5 feet) under or in front of the rack visually declares “this is a zone.” If the rack has casters, the rug needs a low pile so wheels roll.
- Angle your bed away: If possible, position the bed so you don’t face the wardrobe from your pillow. Waking up facing styled clothing feels calm; waking up facing cluttered clothing feels like a to-do list.
Approximate cost: $0 for the layout change; $25–$60 for a low-pile flatweave rug.
2. Use a Tension-Rod Curtain to Close the Wardrobe When Guests Come Over
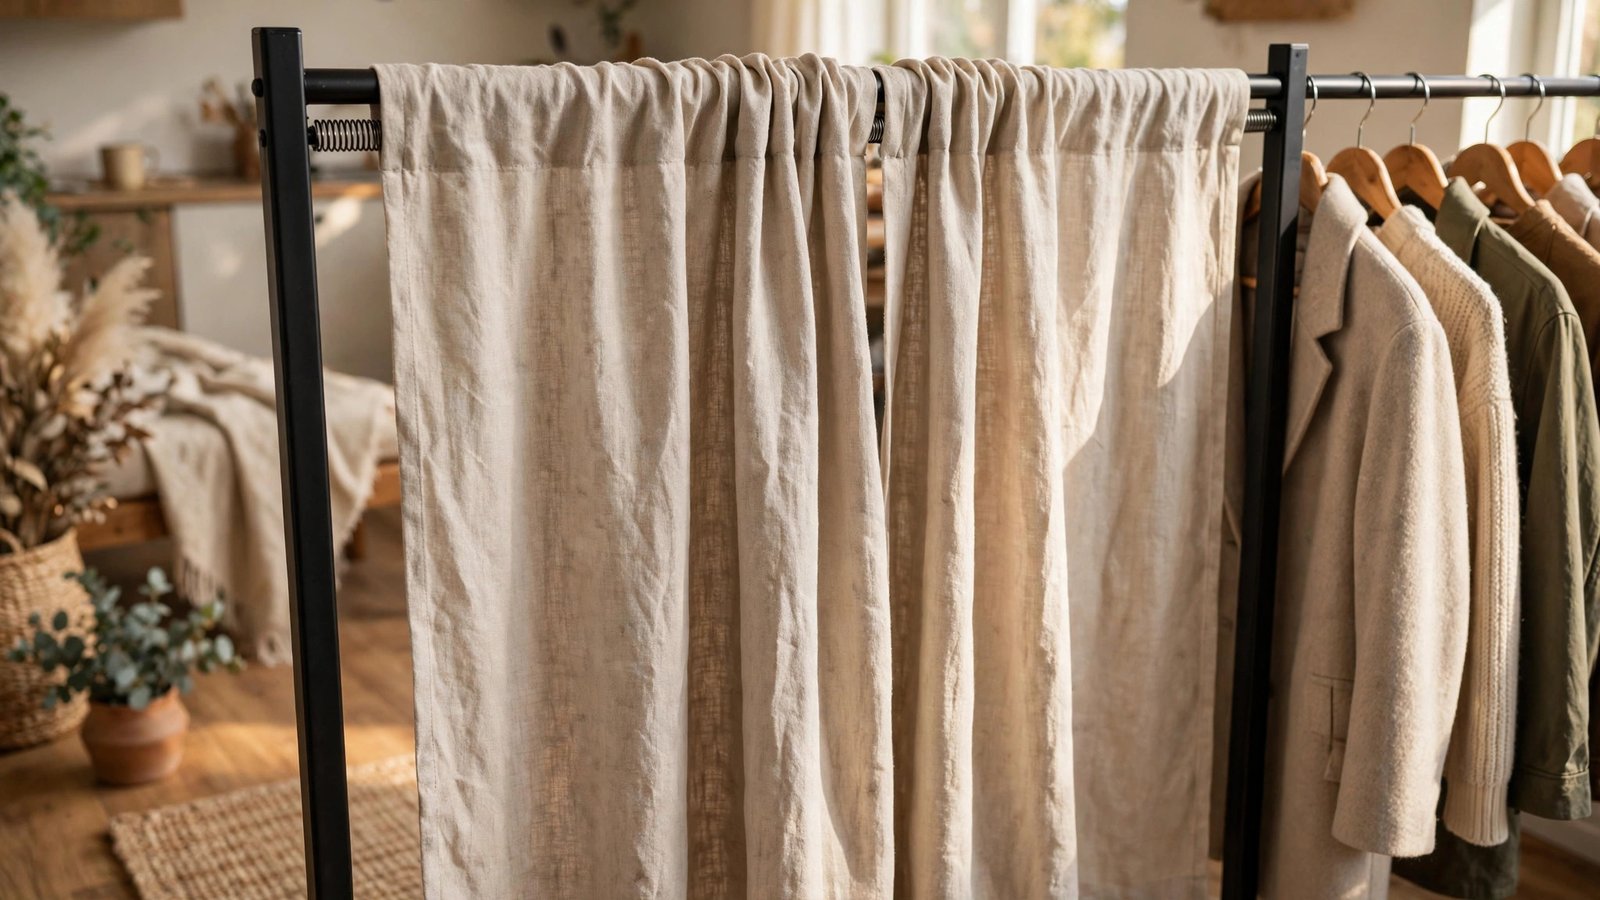
A floor-to-ceiling clothing rack looks great in photos and overwhelming in person. The studio solution is a soft close: two curtain panels on a spring-loaded tension rod mounted inside the rack’s own frame — no walls, no drilling, nothing the landlord can object to.
Why it works for renters: the rod tensions between the rack’s uprights (or between two opposing wall-adjacent furniture pieces), so it installs in minutes and removes without a trace. When guests arrive or you need mental calm, slide the curtains shut. When you’re getting dressed, slide them open.
How to do it:
- Measure the rack’s interior span: Most garment racks are 3–5 feet wide. Buy a tension rod that fits snugly between the two upright posts at the height you want the curtain to hang from (usually just below the hanging bar).
- Pick full-length, washable panels: Choose two linen-look or cotton panels long enough to reach the floor or just above it. Neutral tones — warm white, oatmeal, light gray — keep the rack visually quiet.
- Thread and tension: Slide the panels onto the rod, extend the rod until it’s firmly wedged between the uprights, and center the panels. They should overlap in the middle by at least an inch.
- Add a daily habit: Open them in the morning while dressing, close them at night. The two seconds of effort make the difference between “styled wardrobe” and “storage unit.”
Approximate cost: $15–$40 total (tension rod plus two panels; check discount home stores first).
3. Hide the Rack Behind a Freestanding Room Divider Screen
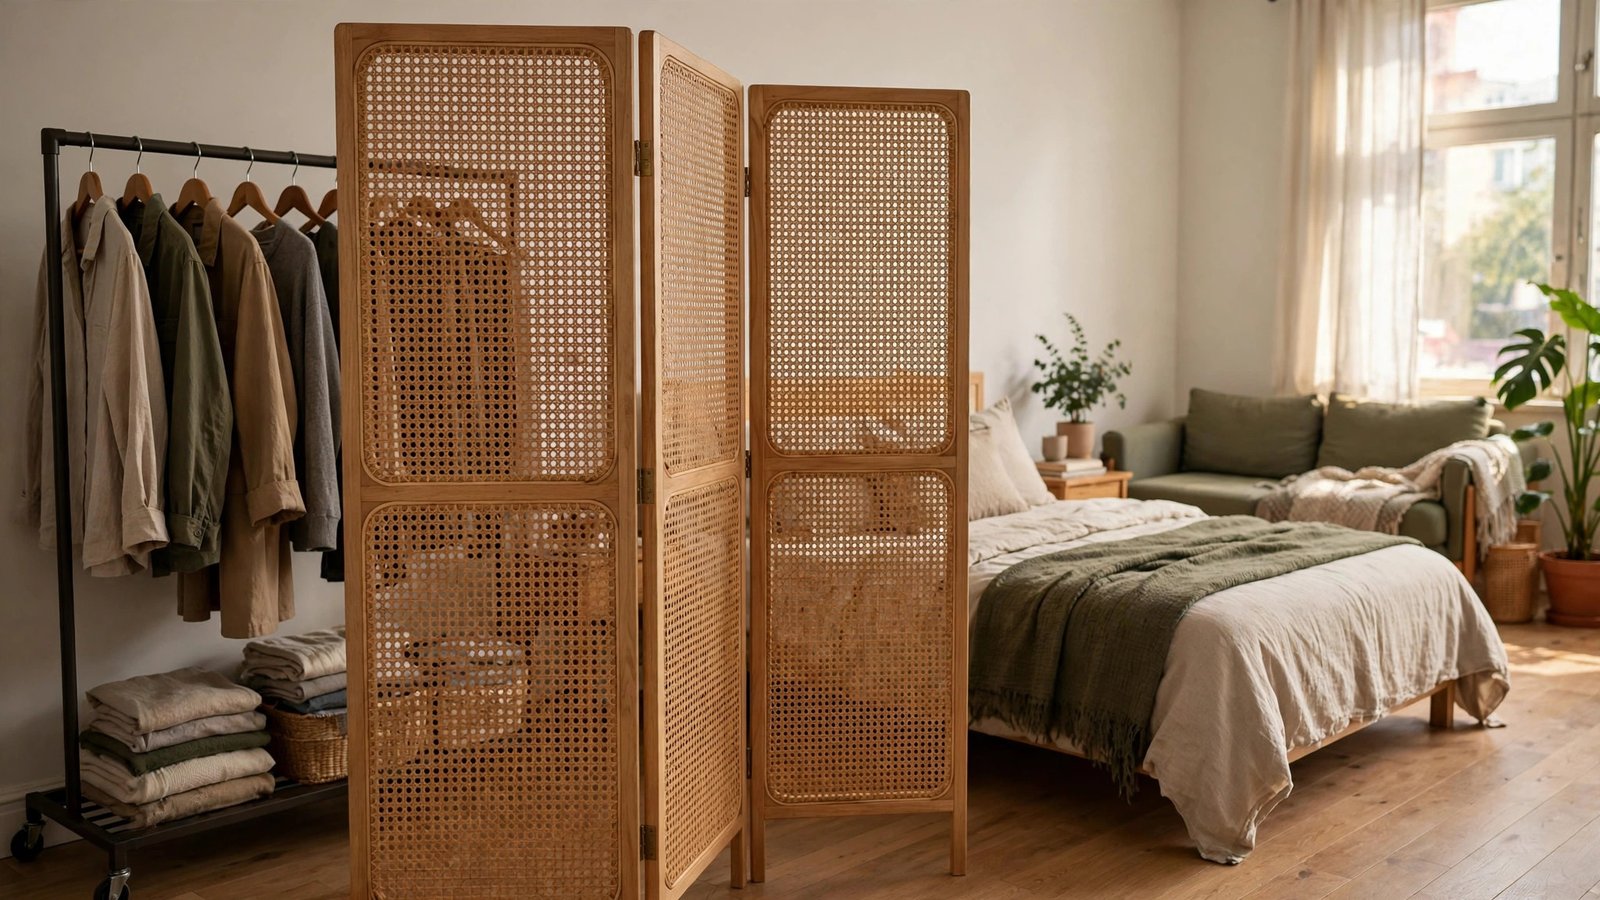
If your studio layout puts the wardrobe in your line of sight from the couch or bed, a freestanding folding screen gives you a wall you can put up and take down at will. I’ve seen three-panel wood-and-cane screens turn a visible rack into a cozy dressing corner that looks straight out of a boutique hotel.
Why it works for renters: a folding screen needs no mounting, weighs little, and folds flat for moving day. It doubles as a changing screen — genuine privacy in a studio is a luxury, and this delivers it.
How to do it:
- Choose a breathable material: Cane, rattan, fabric, or rice-paper-style screens let light and air pass so the corner doesn’t feel like a cave. Solid wood screens look heavy in a small studio.
- Position with intention: Place the screen at a slight angle, not flush against the rack — a 6-inch gap lets air circulate (important for odor control, covered in idea 8) and looks more natural.
- Anchor the arrangement: Put the screen’s feet on the same zone rug as the wardrobe so the whole corner reads as one designed unit.
- Style the visible side: The screen’s outward face becomes decor. Lean a tall mirror against it (freestanding, no mounting) or let a trailing plant drape over one panel for softness.
Approximate cost: $40–$120 for a three-panel screen; thrift stores often have them for under $40.
4. Use a Bookcase as a Divider Between the Wardrobe and the Sleep Zone
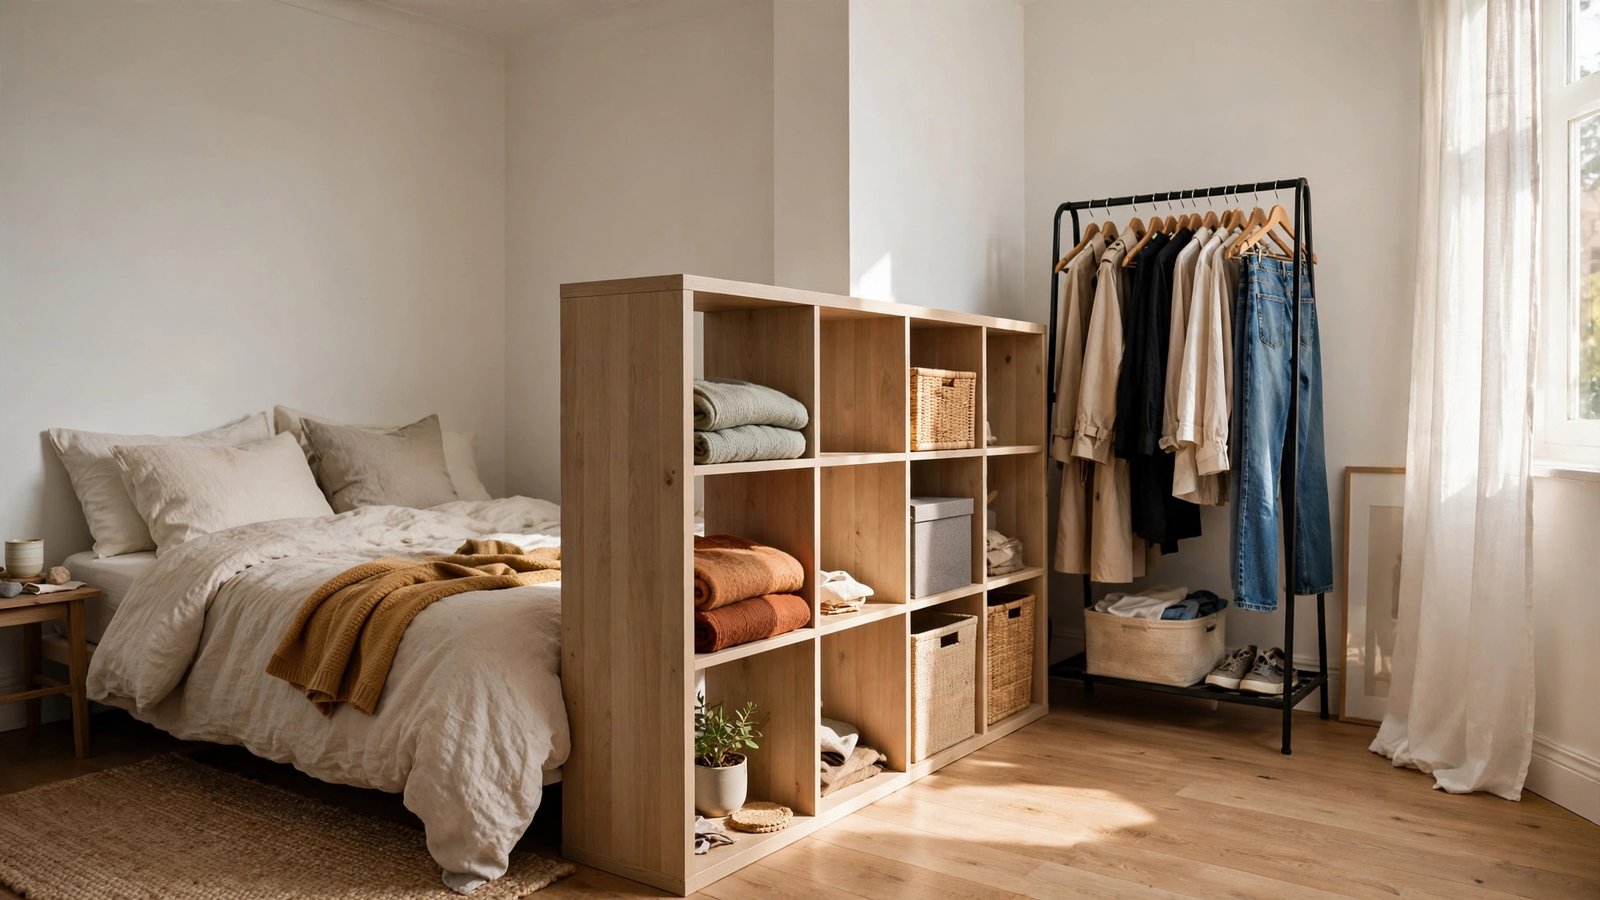
Your wardrobe doesn’t have to stand alone. A low, open bookcase turned perpendicular to the wall creates a half-divider that separates the dressing zone from the bed zone while staying airy. This is my favorite studio trick because it solves two problems: it screens the rack and it adds storage you actually need.
Why it works for renters: no mounting required, fully reversible, and the bookcase does double duty — folded clothes, shoes, and storage boxes on one side; a styled shelf face toward the bed.
How to do it:
- Pick a low, open unit: A 2×4 cube-style shelf laid horizontally (about 2 feet tall) divides space without blocking light. Keep it open-backed or semi-open so the room doesn’t feel chopped in half.
- Place it perpendicular: Set one short end against the wall and let it jut into the room between the bed and the wardrobe, creating an L-shaped dressing nook.
- Face the pretty side out: The side toward the bed gets styled — folded throws, a small plant, framed photos. The side toward the wardrobe gets storage boxes for underwear, socks, and accessories.
- Anchor it safely: If your lease requires anti-tip measures, use a freestanding anti-tip strap that hooks over the top and wedges behind furniture, or simply keep the heaviest items on the bottom shelf. Never drill into the wall without written permission.
Approximate cost: $50–$130 for a cube shelf unit; $20–$40 for matching fabric storage boxes.
5. Switch to Matching Hangers and Edit by Color
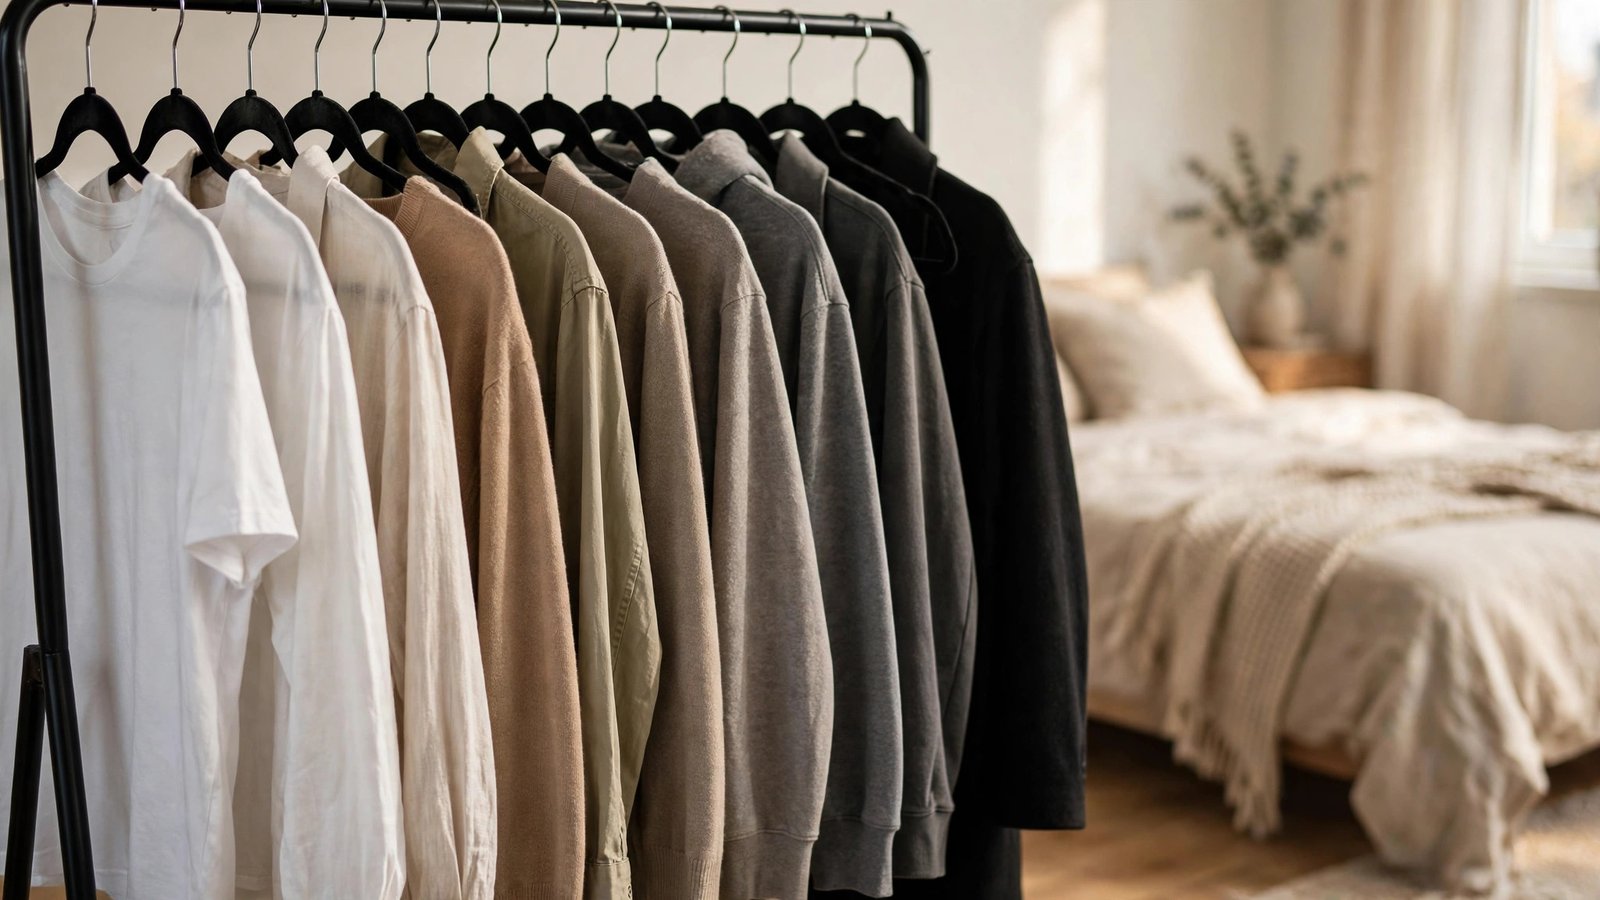
This is the cheapest idea on the list and arguably the most powerful. A rack of clothes on mismatched plastic, wire, and chunky wood hangers looks like a donation pile. The same clothes on matching slim hangers, arranged in a light-to-dark gradient, look like a curated boutique display.
Why it works for renters: hangers move with you, cost little, and no landlord in the world cares about them. They also slim the rack’s profile — thin velvet or slim-profile hangers take up noticeably less bar space, which matters when your wardrobe is your decor.
How to do it:
- Buy one uniform hanger type: Slim velvet non-slip hangers are the studio classic — thin, grippy, and they keep shoulders in shape. Count your hanging clothes first and buy in bulk packs (typically sold in 30s or 50s).
- Purge before you rehang: If a garment doesn’t fit, is stained, or hasn’t been worn in a year, it doesn’t earn a premium hanger. Donate or store it off-site — a sparse rack looks styled; a crammed one looks stressed.
- Arrange light to dark: Whites and creams on the left, through color, to blacks on the right. Within each color family, arrange sleeveless to long-sleeve. The gradient is what creates the “designed” effect.
- Leave breathing room: Aim for a finger’s width between garments. If the bar is packed, you’re over capacity — move off-season items under the bed (idea 10) rather than cramming.
Approximate cost: $15–$30 for a 30-pack of slim velvet hangers.
6. Add Battery-Powered LED Lights to the Rack for a Boutique Feel
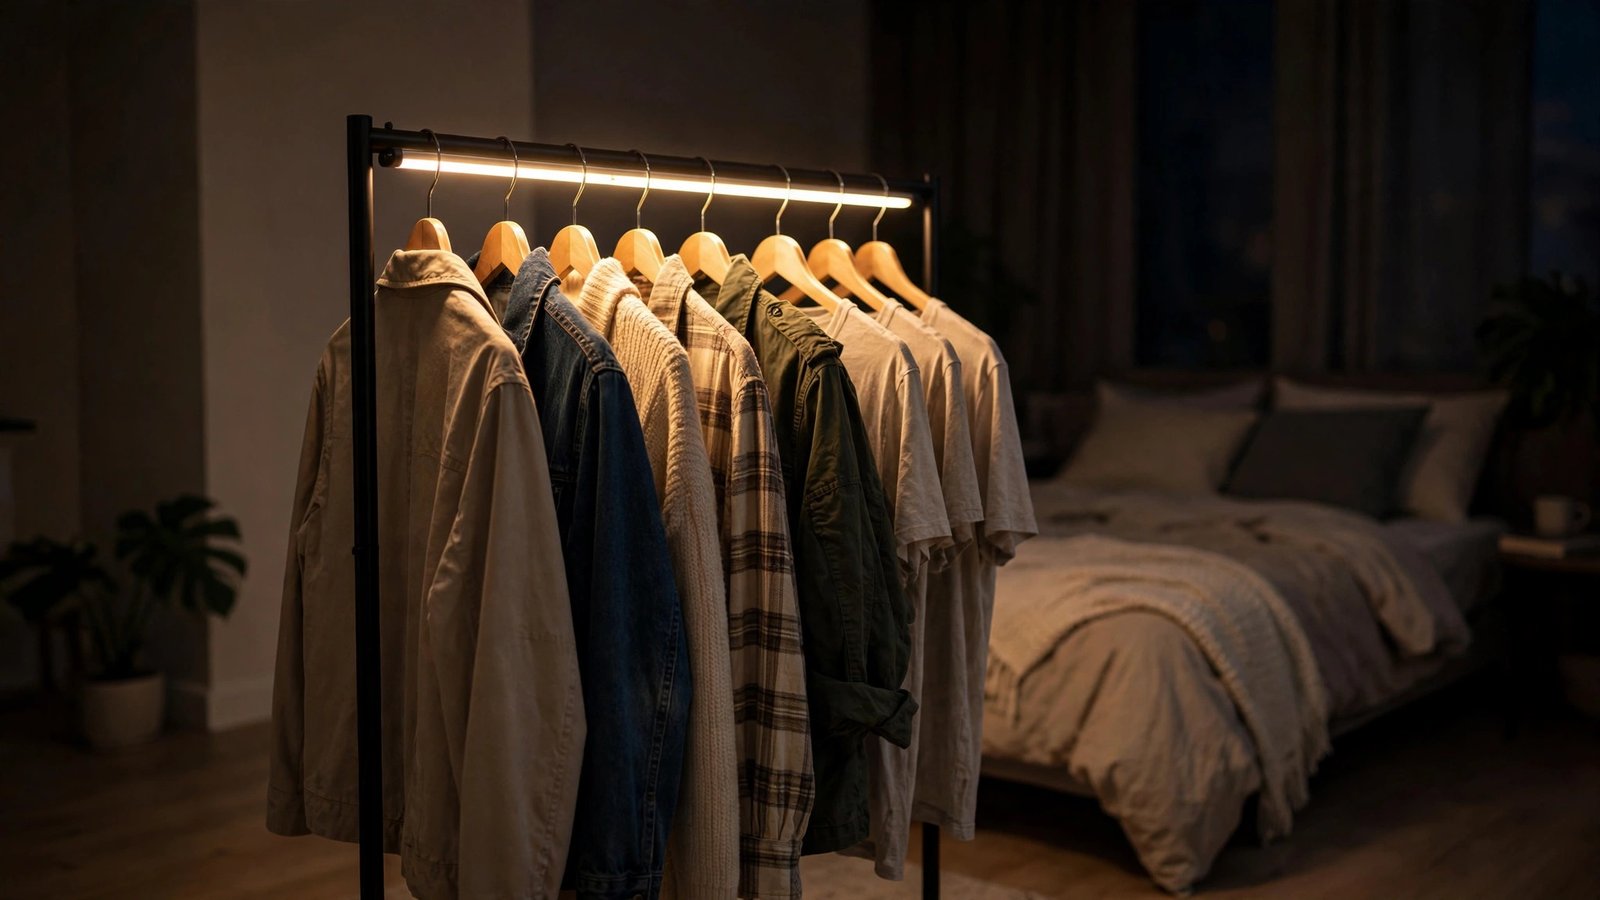
Retailers light their clothing displays because light makes fabric look expensive. Your studio wardrobe can borrow the trick with a $15 set of battery-powered LED strip or puck lights. At night, when your studio is lit by one overhead bulb, a softly glowing wardrobe corner looks like an intentional feature instead of a storage problem.
Why it works for renters: battery lights need no wiring, no electrician, and no holes. They attach with adhesive or magnetic strips that peel off cleanly, and you take them when you move.
How to do it:
- Choose warm white (2700–3000K): Cool blue light makes skin and fabric look clinical. Warm light flatters everything and matches typical apartment bulbs.
- Mount under the top bar or along the back uprights: Run a motion-sensor LED strip along the inside of the rack’s top bar so light washes down over the clothes. Puck lights on the uprights work for narrower racks.
- Use motion or remote control: Motion-sensor lights turn on when you approach — perfect for dark mornings — and turn themselves off, which saves batteries. Remote-controlled strips are better if the sensor would trigger from bed movement.
- Keep batteries on rotation: Use rechargeable AA batteries and charge them monthly. A dead light strip looks worse than none, so build a quick monthly check into your routine.
Approximate cost: $12–$30 for motion-sensor LED strips or a set of puck lights.
7. Style the Top of the Rack Like a Shelf

The top rail of a garment rack is prime visual real estate, and most renters waste it on a dust-collecting pile. Treat it as a display shelf: a couple of matching storage baskets, one trailing plant, and nothing else. In a studio where the wardrobe is visible from the couch, the top of the rack is often the first thing your eye lands on.
Why it works for renters: nothing here touches the walls or the landlord’s property. It’s pure styling — and when you move, it packs into one box.
How to do it:
- Clear it completely first: Everything comes off. Assess what you actually want to see every day from across the room.
- Add two matching lidded baskets: Woven or fabric baskets hide the ugly-necessary items (spare hangers, lint roller, garment bags) and add texture. Match them to your room’s palette.
- Add one living thing: A small trailing pothos or a dried-grass arrangement in a simple vase softens the rack’s hard lines. Live plants also help with the room’s air quality; dried arrangements need no care.
- Stop at three items: Baskets, plant, done. A crowded top rail defeats the purpose — negative space is what makes it look styled.
Approximate cost: $20–$50 for baskets; $5–$15 for a plant or dried arrangement.
8. Control Odors with Airflow, Baking Soda, and a “Worn Once” System
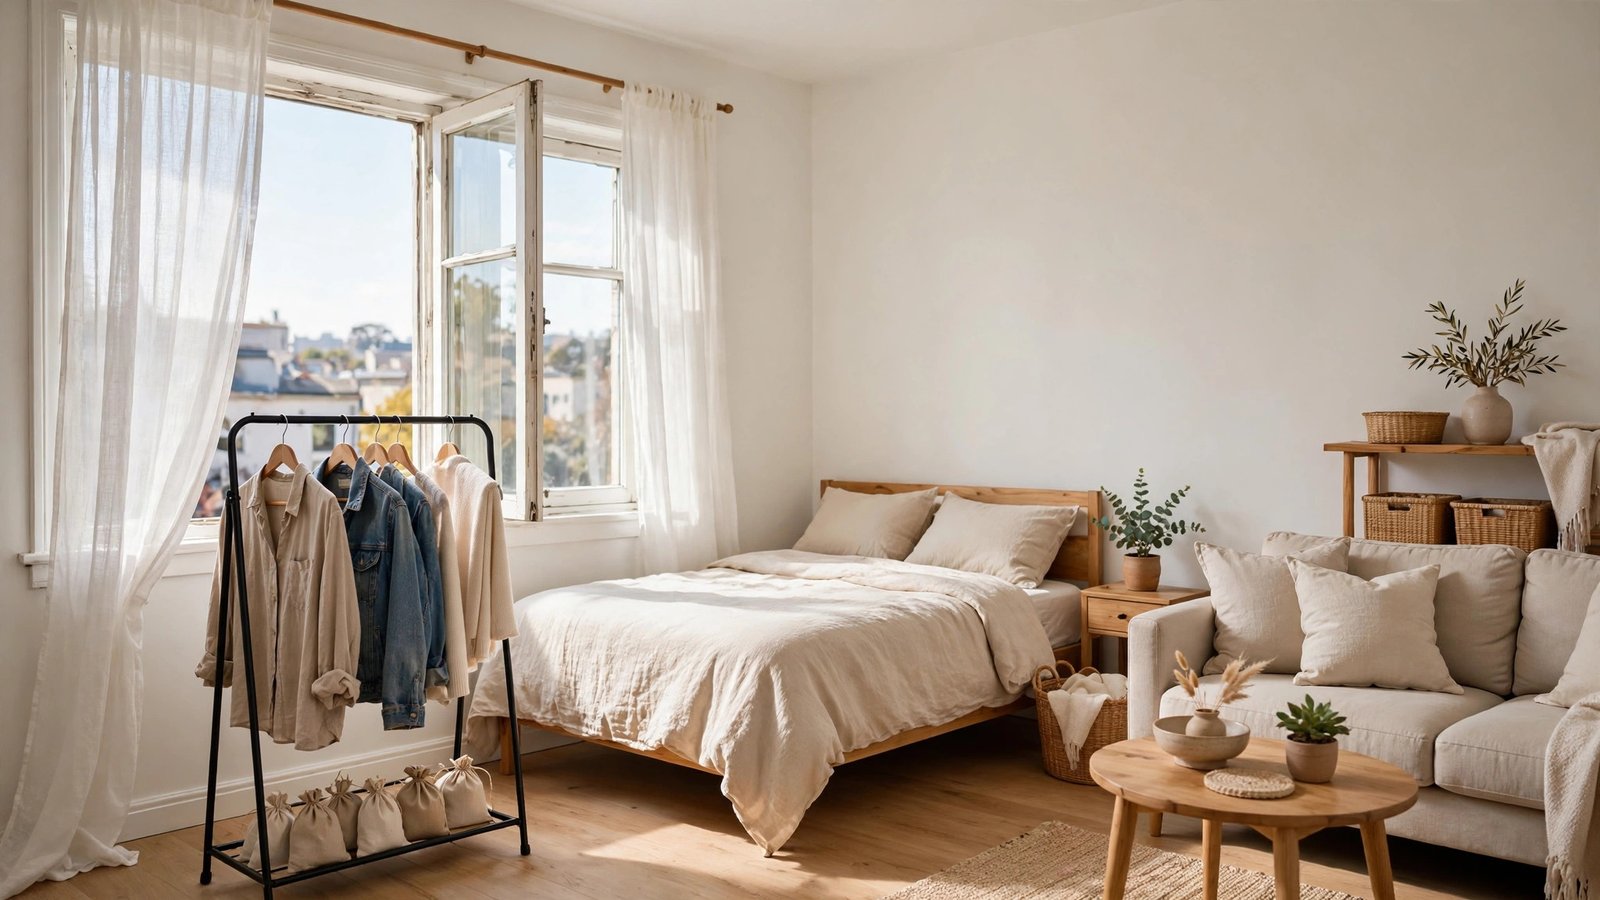
Here’s the studio reality nobody posts about: clothes stored openly in your living space absorb cooking smells, and worn-once jeans draped over a chair make the whole room smell like a locker room by Friday. An open wardrobe in a one-room apartment needs an odor strategy, not just a styling one.
Why it works for renters: everything below is non-chemical, lease-safe, and costs almost nothing. Landlords notice smoke and pet damage; a proactive freshness routine keeps your deposit-relevant fabrics (and the apartment itself) in better shape.
How to do it:
- Never put worn clothes back with clean ones: Designate a separate hook row or a small side basket for “worn once, still fine.” Keeping them apart prevents odor migration across the whole rack.
- Create daily airflow: Open your studio window for 10–15 minutes each morning while the heat or fan runs, even in winter. Moving air is the single best odor fighter — still air lets smells settle into fabric.
- Use baking soda sachets: Fill small cloth bags or even socks with baking soda, tie them off, and tuck two or three along the bottom of the rack. Replace monthly. They absorb odors silently without fragrance overload.
- Wash the heavy absorbers regularly: Curtains (idea 2), the zone rug (idea 1), and the screen fabric (idea 3) all trap smells. Launder the washable ones monthly and vacuum the rug weekly.
Approximate cost: $5–$15 for baking soda and sachets; airflow is free.
9. Keep Dust Off Open Clothes with Covers and a 15-Minute Weekly Routine
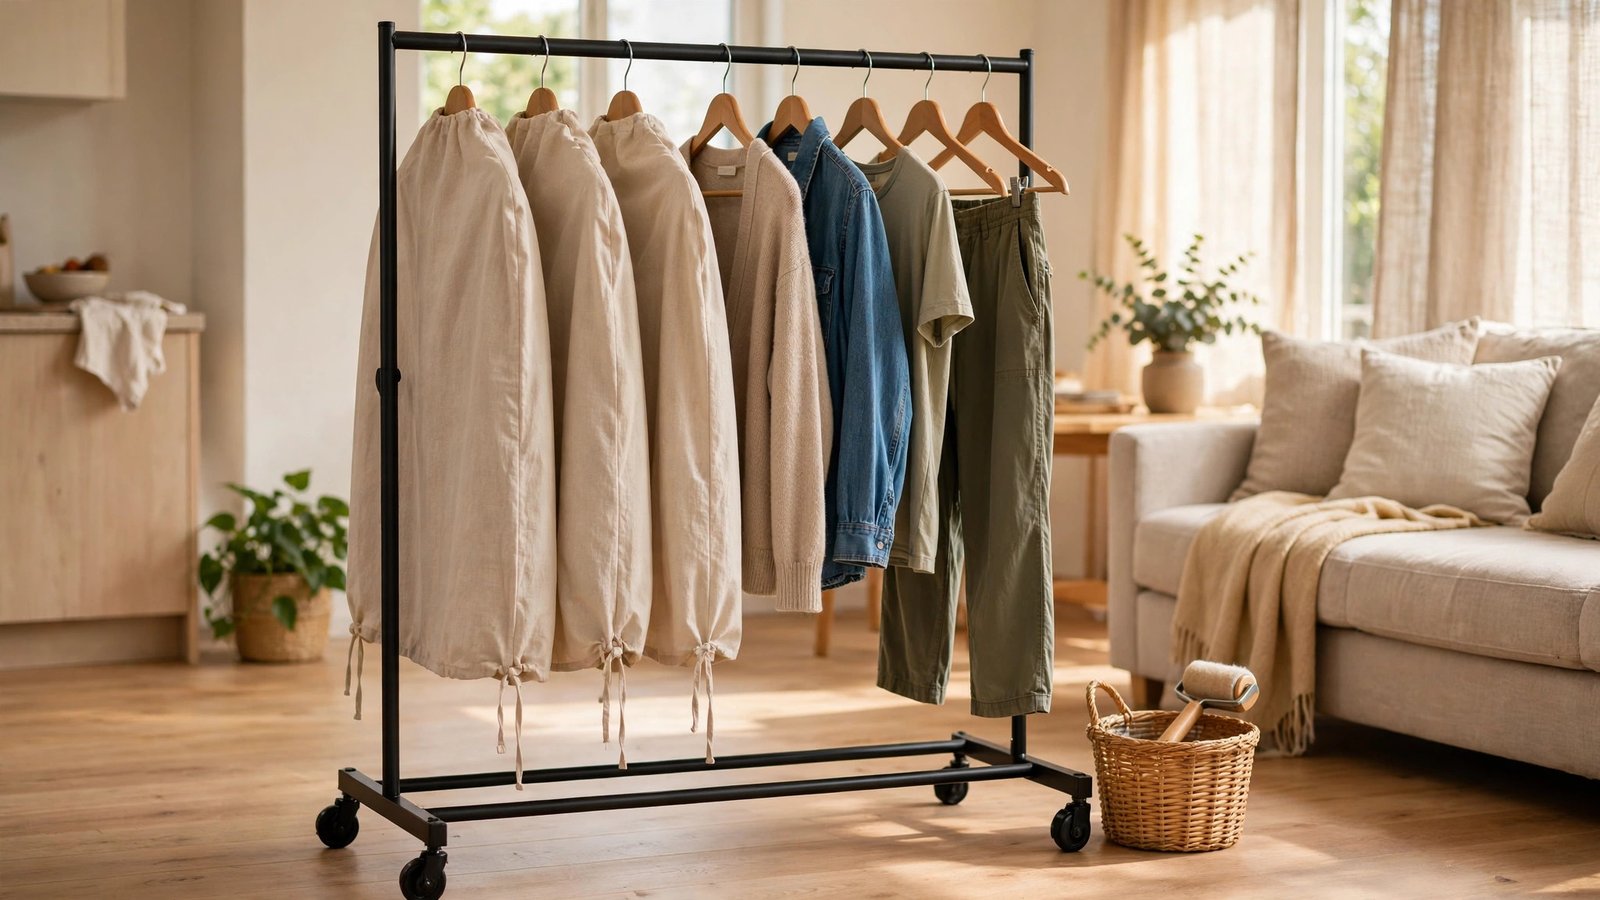
Open storage in a living space collects dust — that’s physics, not a personal failing. In a studio, your wardrobe sits in the same air as your cooking, your bedding, and the dust your front door drags in. Without a routine, dark clothes develop a gray film and everything feels faintly grimy.
Why it works for renters: the fix is maintenance, not money. Breathable garment covers protect the pieces you wear least, and a short weekly routine keeps the rest fresh. No drilling, no equipment, no permission needed.
How to do it:
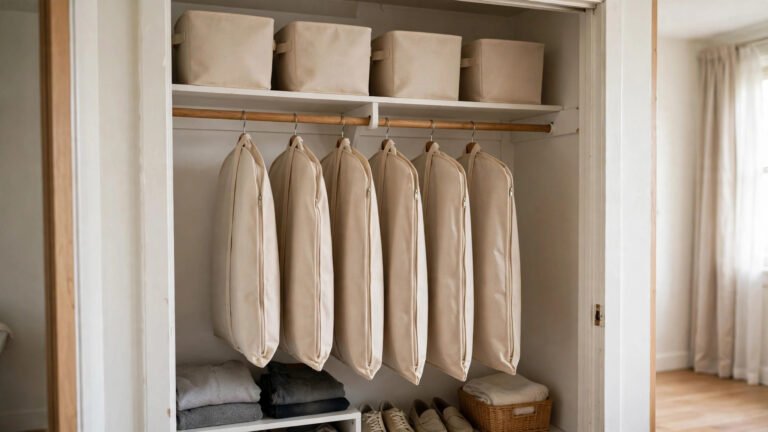
- Cover the rarely worn: Use breathable (not plastic) garment bags for suits, coats, and occasion wear — anything worn less than twice a month. Plastic traps moisture; breathable fabric covers block dust while letting air move.
- Lint-roll on a schedule: Keep a lint roller on the rack’s top shelf or in a side basket. Run it over your most-worn dark pieces every Sunday — two minutes, and your clothes always look fresh.
- Vacuum the dressing zone weekly: Dust settles on the floor and rises onto clothes. A quick weekly vacuum of the zone rug and the floor under the rack breaks the cycle. If you have hard floors, damp-mop instead of sweeping to trap dust rather than scattering it.
- Keep the rack away from the window: UV fades fabric and open windows blow dust straight onto hanging clothes. If the rack must sit near a window, the curtain panels from idea 2 double as dust shields — close them during the day.
Approximate cost: $15–$35 for a set of breathable garment bags; $5–$10 for lint rollers.
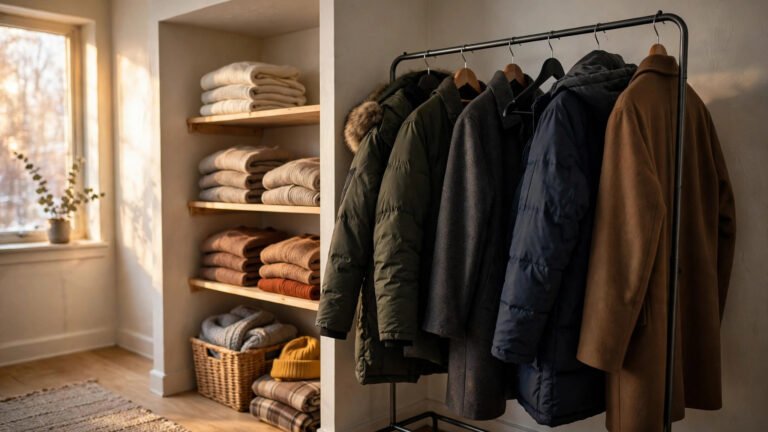
10. Run a Seasonal Capsule: Store Off-Season Clothes Under the Bed
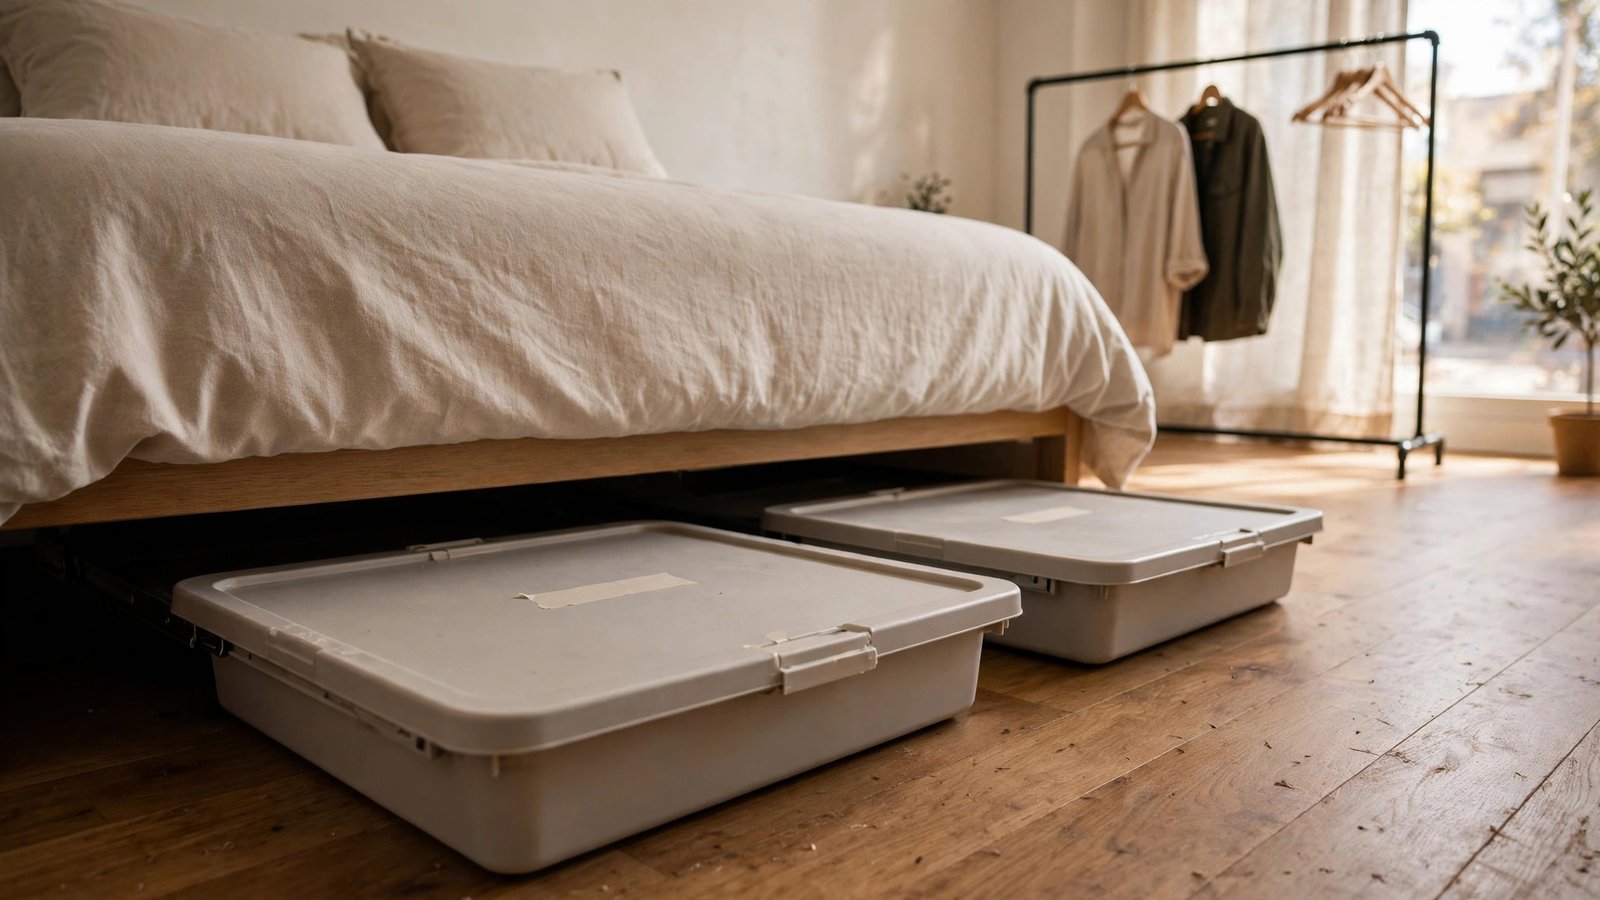
A studio wardrobe only looks good when it’s not overloaded. The math is simple: one rack cannot hold four seasons of clothes and still look styled. The solution is a seasonal capsule — only the current season’s clothes live on the rack; everything else goes under the bed in flat storage containers.
Why it works for renters: under-bed space is the studio’s hidden closet. Flat containers slide in and out without tools, protect clothes from dust, and the twice-yearly swap is a natural excuse to declutter.
How to do it:
- Define the capsule: Pull everything off the rack. Keep only what you’ll wear in the next 3–4 months — for most renters that’s 25–40 pieces including shoes. Be honest; “maybe” means storage.
- Pack off-season properly: Wash or dry-clean everything before storing (stains set over months). Use flat under-bed containers with lids; add a cedar block or lavender sachet per container to deter moths.
- Label each container: A strip of painter’s tape and a marker — “Winter coats,” “Summer dresses.” In six months you’ll thank yourself.
- Schedule the swap: Put a reminder in your phone for the seasonal changeover (late March and late October work for most US climates). Each swap takes about an hour and keeps the rack permanently at its best.
Approximate cost: $30–$70 for two to four flat under-bed containers.
11. Go Freestanding Everything: Leaning Racks and No-Drill Mounting for Concrete Walls
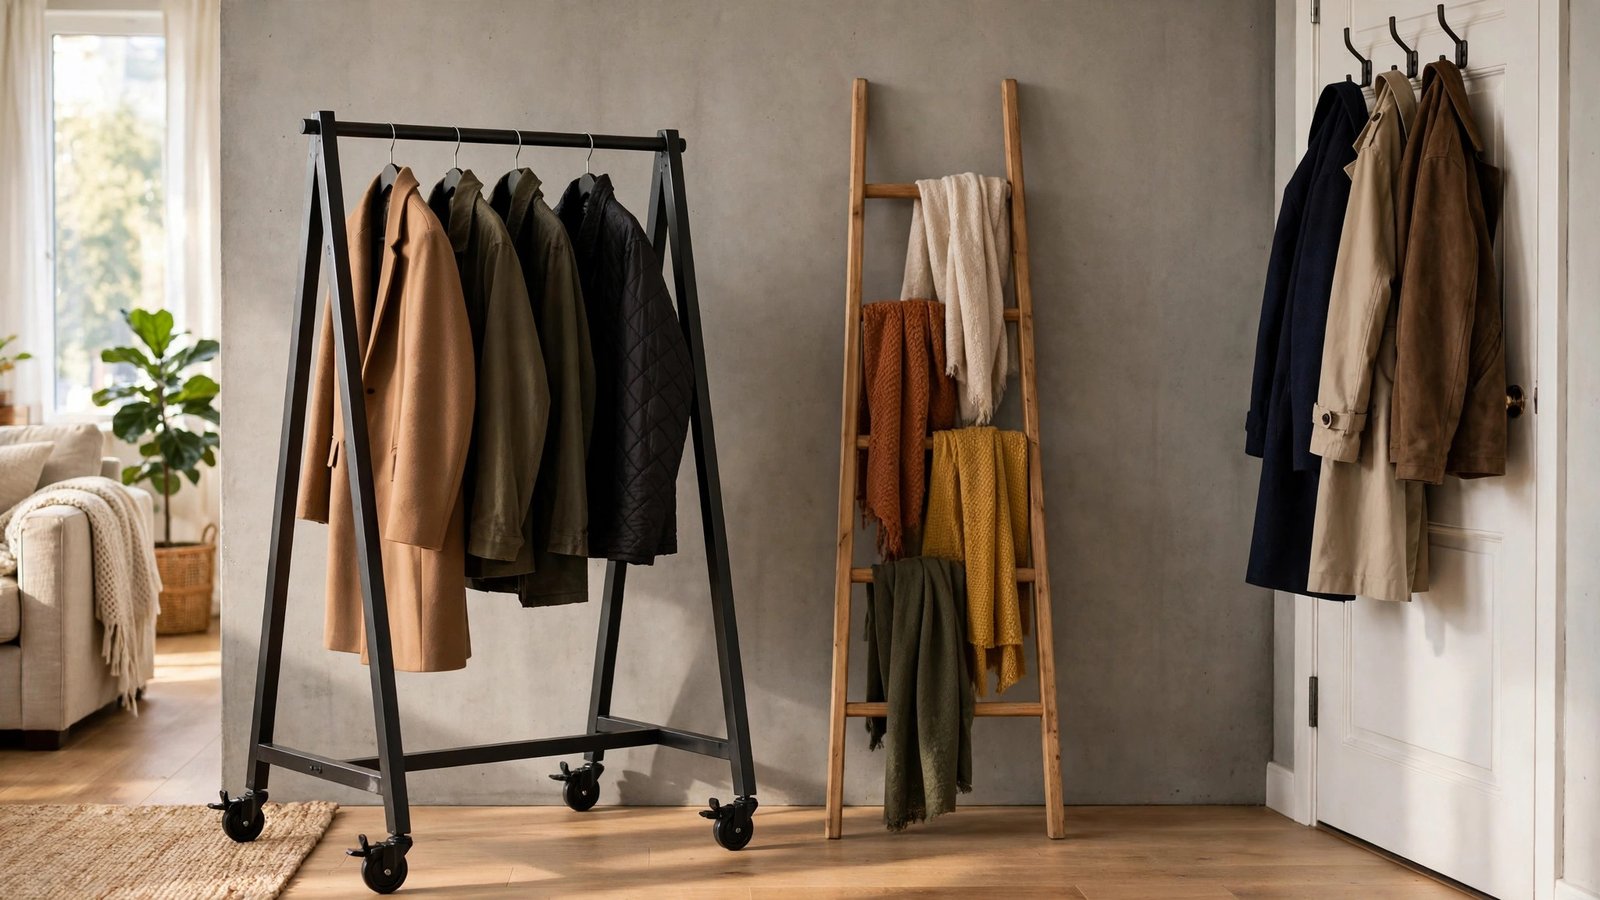
Many studios — especially in older buildings and concrete high-rises — have plaster or concrete walls where drilling is either banned by the lease or physically impractical. Wall-mounted hooks, floating shelves, and bracket rods are off the table. The answer is to go fully freestanding: nothing in your dressing zone should need a wall.
Why it works for renters: freestanding furniture can’t damage walls, so it can never cost you deposit money. It also moves with you — critical when studios turn over yearly.
How to do it:
- Choose racks with wide, stable bases: A-frame or T-base garment racks with casters that lock are studio workhorses. Avoid narrow single-pole racks; they tip when loaded and look flimsy in a one-room space.
- Use lean-to solutions: A leaning ladder shelf or leaning mirror needs only gravity and a wall to lean on — no screws. Lean accessories against the wall beside the rack for extra hanging space for scarves, hats, and bags.
- Replace wall hooks with over-door and adhesive options: The back of the entry door takes over-door hooks for coats and bags. For small items on smooth surfaces, removable adhesive hooks rated for the weight work — but always test one in a hidden spot first, since some paints peel.
- Check your lease language: If the lease says “no holes,” read the fine print on adhesive products too — some leases restrict anything that can damage paint. When in doubt, freestanding beats adhesive every time.
Approximate cost: $40–$100 for a sturdy freestanding garment rack; $10–$25 for over-door hooks.
12. Use a Mirror and Vertical Storage to Double Light and Floor Space
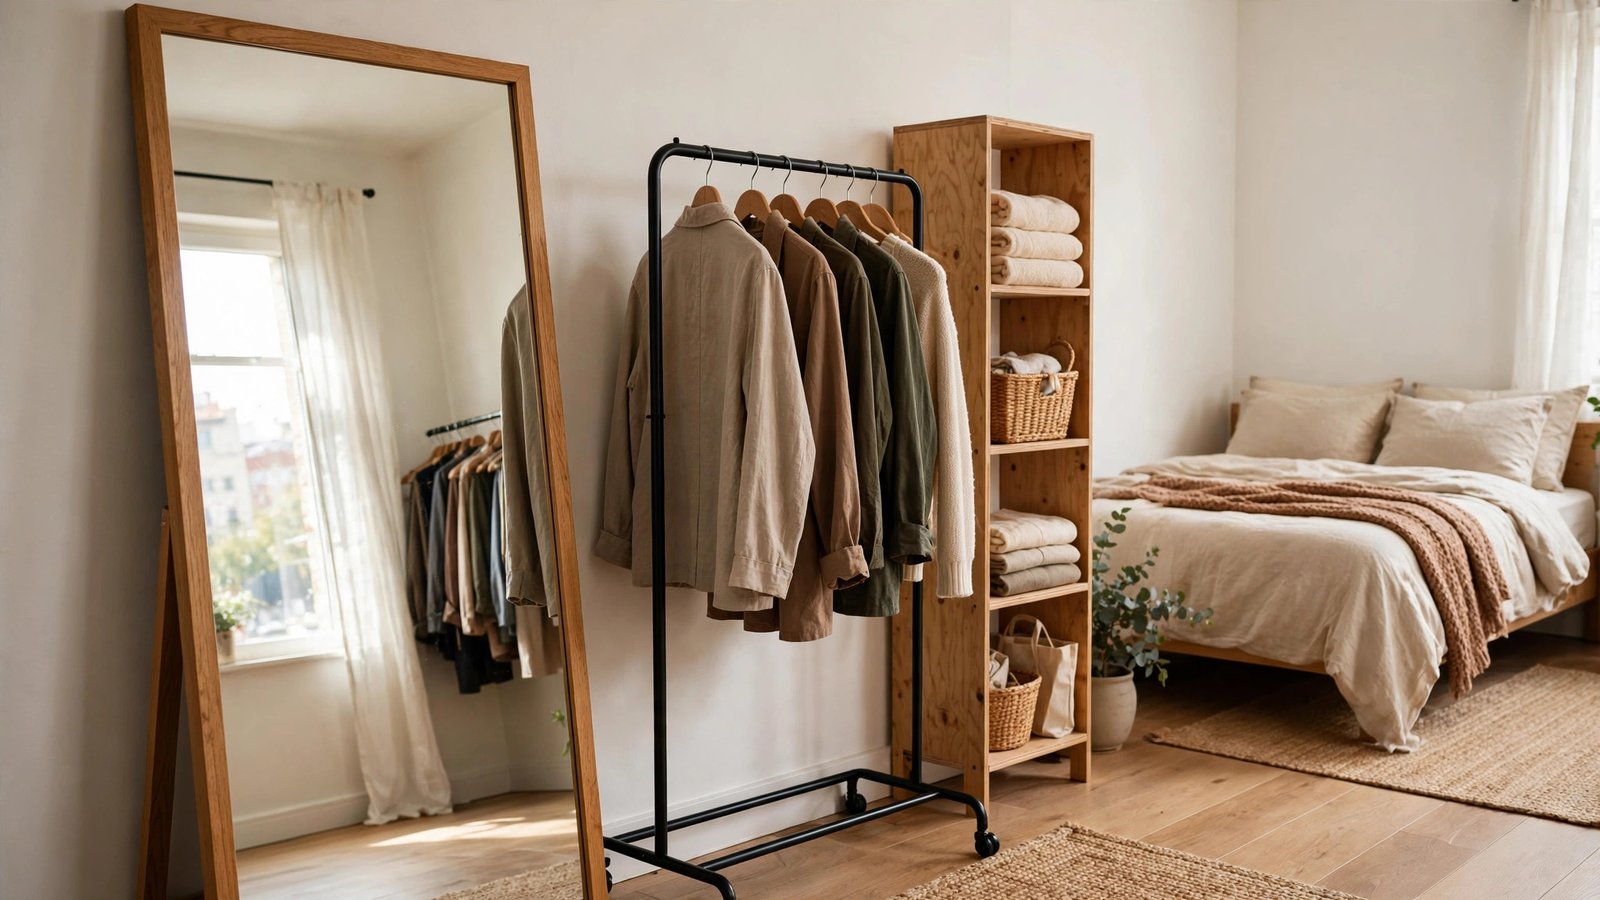
The final studio trick is about perception. A full-length mirror leaning near the dressing zone bounces light around a small room, makes the wardrobe corner feel twice as big, and — practically — gives you a place to check your outfit without mounting anything. Pair it with tall, narrow storage, and your one room holds more while looking larger.
Why it works for renters: leaning mirrors and slim vertical shelves need no installation and visually expand small spaces. In a studio where the wardrobe is always visible, anything that adds light and order pays double.
How to do it:
- Lean, don’t hang: Place a full-length mirror leaning against the wall at a slight angle near the wardrobe, ideally opposite a window so it reflects daylight into the room. Put felt pads behind the top edge to protect the wall.
- Go tall and narrow: A slim 5-tier corner shelf or a narrow shoe tower uses vertical space the rack can’t. Keep its color close to your rack’s finish so they read as a set.
- Keep the mirror’s reflection styled: The mirror will reflect whatever faces it — so make sure it’s your styled wardrobe and zone rug, not the unmade bed. Angle it deliberately.
- Add one warm light source nearby: A small plug-in table lamp on the vertical shelf or a battery candle on the top rail (ideas 6 and 7) turns the dressing corner into the coziest spot in the studio after dark.
Approximate cost: $25–$60 for a slim vertical shelf; $30–$80 for a leaning full-length mirror.
Conclusion
Living in a studio doesn’t mean living in a storage unit — it means your wardrobe earns its place as furniture. Zone it away from the bed so each part of your one room has a job. Screen it with a tension-rod curtain or a folding divider when you need calm. Dress it with matching hangers, warm light, and a styled top rail so it reads as a boutique corner. And protect it with the unglamorous routines — airflow, dust covers, a seasonal capsule — that keep open clothes fresh in a living space.
I’ve watched renters go from embarrassed to proud of their studio wardrobes in a single weekend, using nothing their landlord could object to. Start with the layout change — it’s free — then add the hangers, then the light. Each layer builds on the last, and none of it needs a drill, a paint can, or a permission slip.
Please save this visual guide on Pinterest and share it with a friend who’s making a studio apartment work — because the best small-space ideas are the ones worth passing on.

Amelia leads HavenlyStyle’s editorial vision with a passion for elegant interiors and practical home living. With years of experience in home décor and lifestyle content, she ensures every article is accurate, inspiring, and easy to follow. From timeless decorating ideas to the latest interior design trends, Amelia is committed to helping readers create beautiful, functional spaces while maintaining HavenlyStyle’s trusted and welcoming voice.