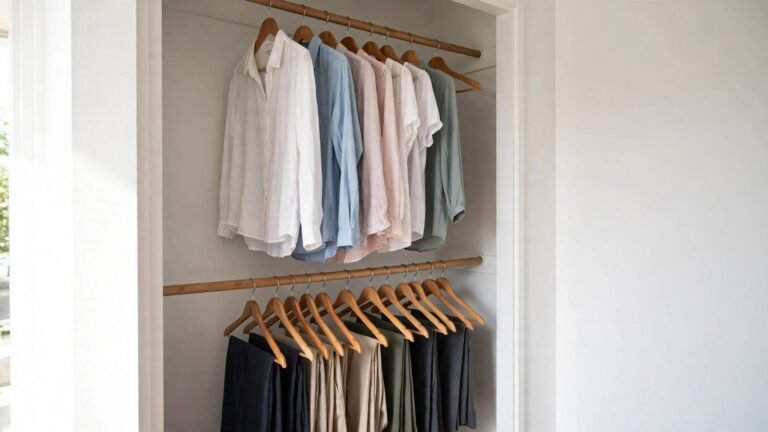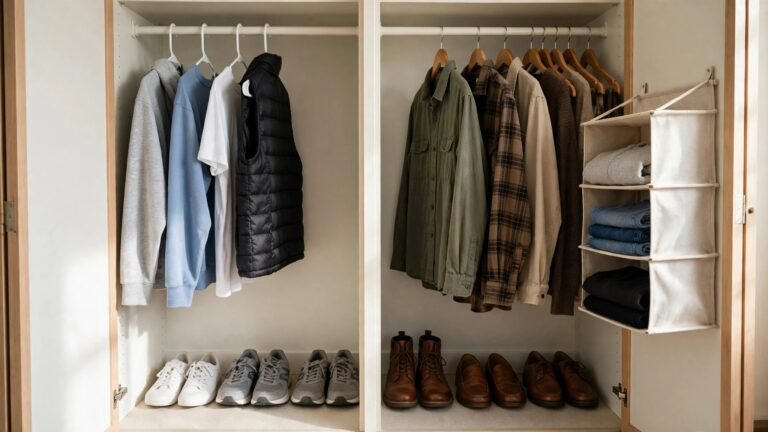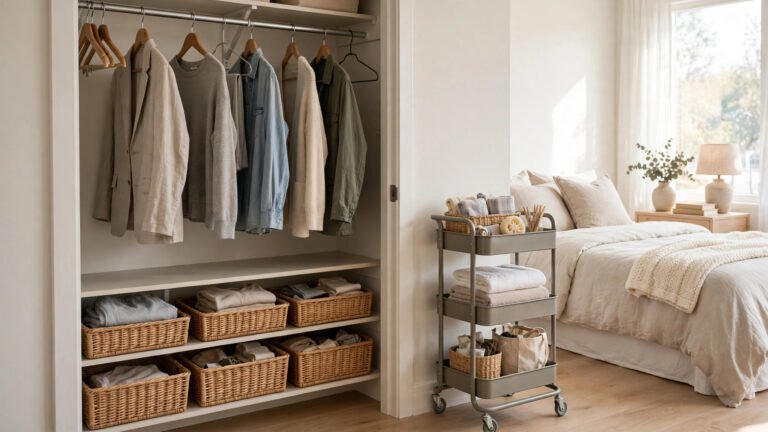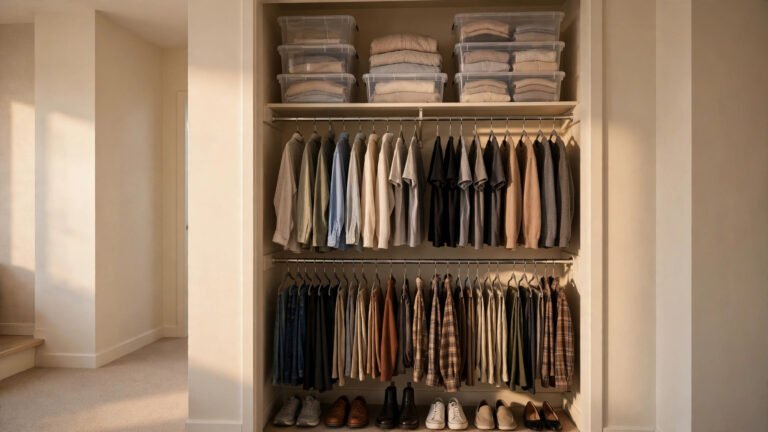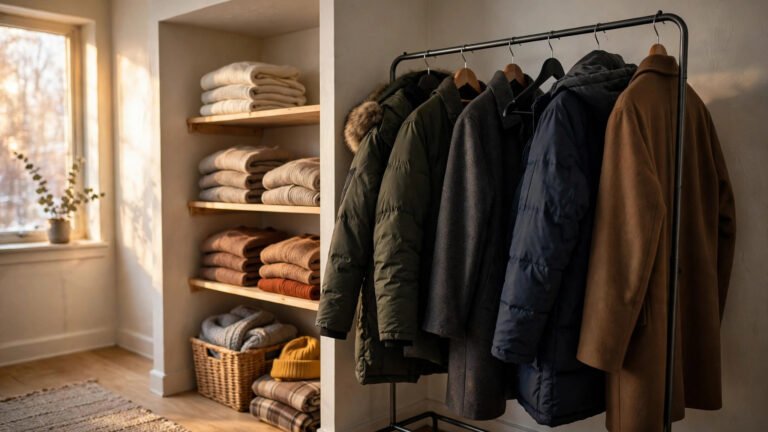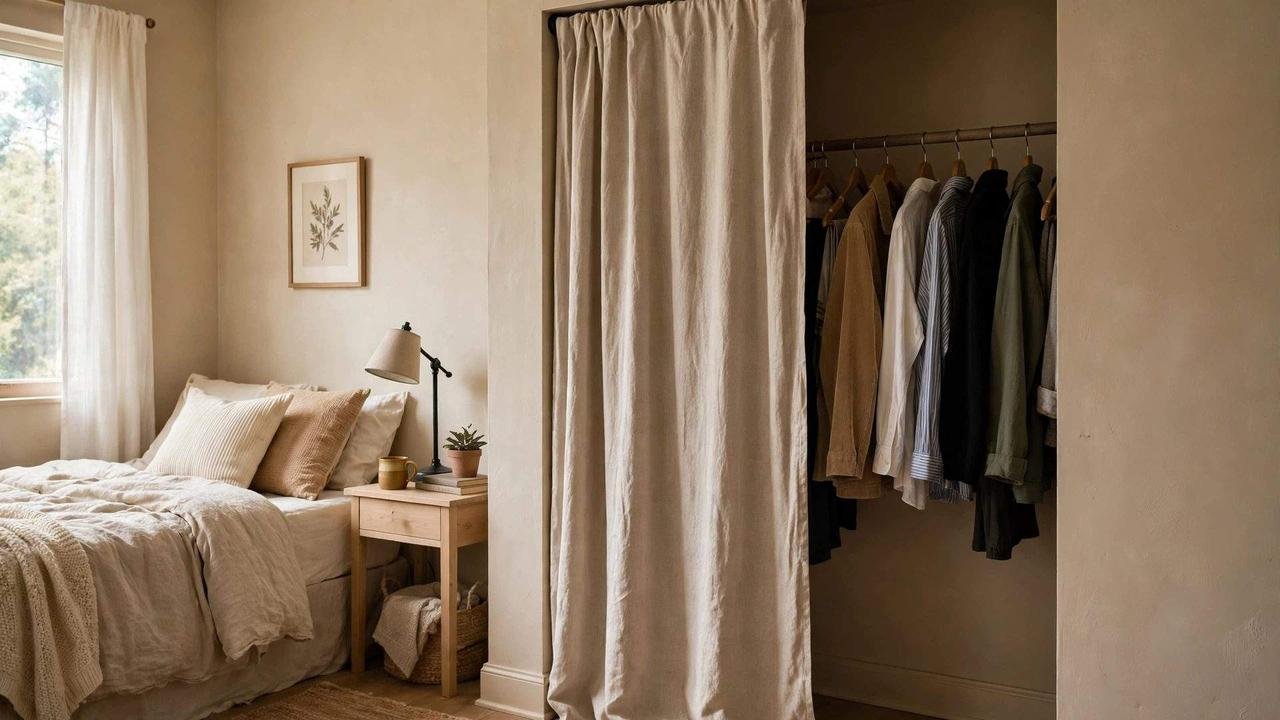
I've helped dozens of renters fall in love with their closets, and the single biggest transformation almost never involves what goes inside the closet. It involves the doors. The mirrored sliders that show every wrinkle of your bedding. The flimsy bi-folds that pop off their tracks if you look at them wrong. The hollow-core slabs that slam and stick and make a bedroom feel like a hallway. In most rentals, the doors are the ugliest, loudest, least functional part of the closet — and here's the part most renters never realize: in the vast majority of apartments, those doors are not permanent. Sliding closet doors lift up and off their tracks. Bi-folds unpin at the pivots in seconds. Hinged slabs come off with the hinge pins removed. No sawing, no patching, no landlord negotiation — just reversible removal.
This is the piece of the puzzle I see renters miss most often. I've already covered how to style the open closet once the doors are gone, so this post is about the door swap itself: ten ways to replace or cover rental closet doors with something better-looking, quieter, and easier to live with — every one removable, reversible, and deposit-safe. Each idea covers what it is, why it survives landlord scrutiny, how to install it in concrete steps, and what it costs approximately. The standing rule: whatever was there when you moved in goes back when you move out, stored carefully and photographed before removal. Let's take those doors off.
Executive Summary
- Most rental closet doors are removable by design. Sliding doors lift off their tracks and bi-folds unpin at the pivots with no tools beyond a flathead screwdriver — store them flat with the hardware bagged and labeled, and reinstallation takes minutes.
- The tension rod inside the door frame is the number-one renter swap. Pressure holds it, no holes are drilled, a curtain panel goes up in twenty minutes for roughly $25–$60, and it works on nearly every standard closet opening.
- Match the alternative to the opening's width and depth. Wide double-door closets need curtain pairs or wide panels; shallow reach-ins need slim-profile covers that clear the hanging rod; deep walk-ins can carry a freestanding screen.
- Heavier looks need renter-safe mounting, not real hardware. A barn-door style panel works on a tension-mounted wire or rod — never screw a track into a rental door frame, no matter how many inspiration photos show it.
- Photograph the original setup before you touch anything. One photo of the track, brackets, and hinge pins saves you a frantic move-out-weekend puzzle when the doors go back on.
1. The Tension-Rod Curtain Panel Inside the Frame
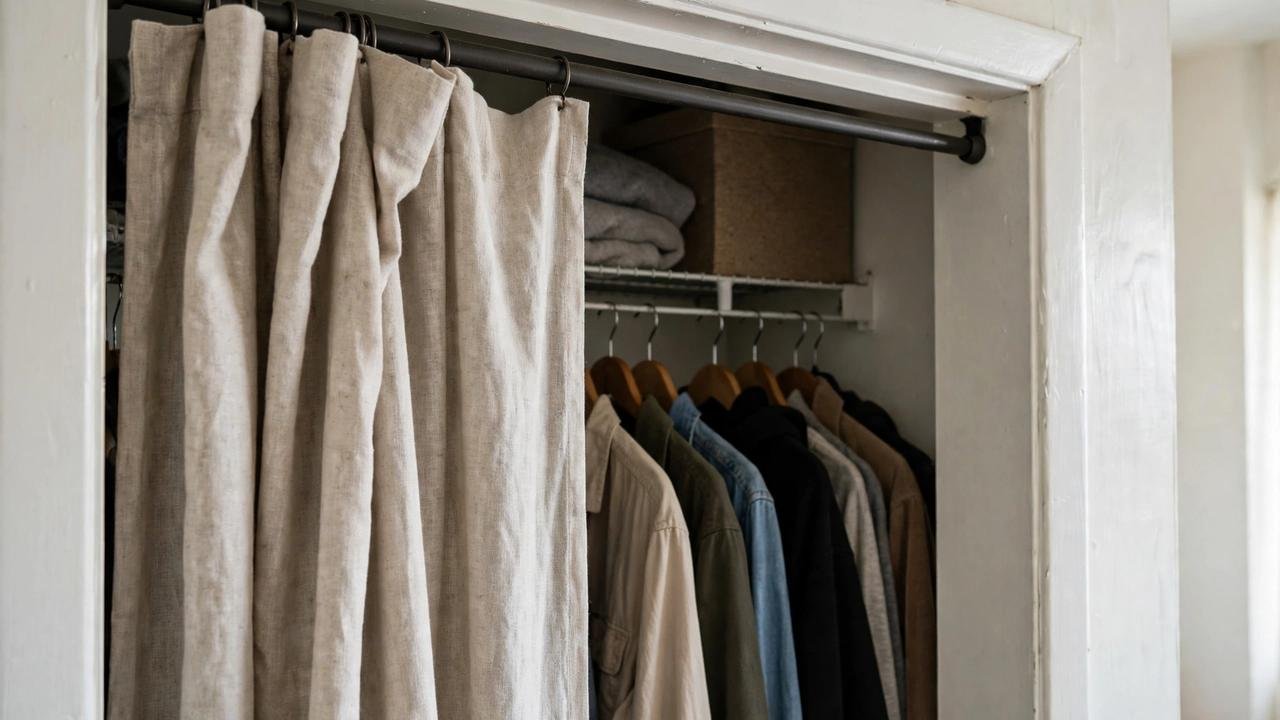
This is the classic for a reason, and it's the swap I recommend first to almost every renter who asks. You mount a tension rod inside the closet door frame — near the top of the opening, a couple of inches behind the front edge — and hang a single full-length curtain panel on it. The panel covers the opening completely, softens the whole wall, and opens with one hand by sliding the fabric to the side. It reads as intentional design, not as a cover-up, and it costs less than a pizza night for two.
It also solves problems the original doors created. Fabric doesn't rattle in the track when the dryer runs. There's no panel permanently hiding half your clothes the way sliding doors do. And unlike bi-folds, nothing swings into your bedroom — the fabric gathers to one side and stays there.
Why it works for renters: A tension rod holds by pressure alone — rubber ends pressed against the inside of the frame. No screws, no brackets, no holes, nothing to patch. When you move, the rod twists loose in seconds and the frame looks exactly as it did. It works on drywall, wood trim, and tile-adjacent frames alike, as long as you measure the span at three heights and buy a rod rated for the widest measurement.
How to do it:
- Measure the inside width of the door frame at the top, middle, and bottom of where the rod will sit (frames are rarely perfectly square) and buy a tension rod rated for the widest number.
- Choose a curtain panel about one and a half times the frame's width so it hangs with soft folds rather than stretched flat, in a fabric heavy enough not to look limp — cotton duck, linen-look polyester, or a lined panel.
- Mount the rod roughly two inches behind the front edge of the frame so the fabric clears the trim, and about four inches below the top of the opening so the track area stays hidden behind the panel.
- Hang the panel on rings or a rod pocket, then slide it fully to one side and confirm your hanging rod and clothes clear the fabric without catching.
- Approximate cost: $25–$60 for a tension rod and one ready-made curtain panel.
2. Curtain Pairs for Wide Double-Door Closets
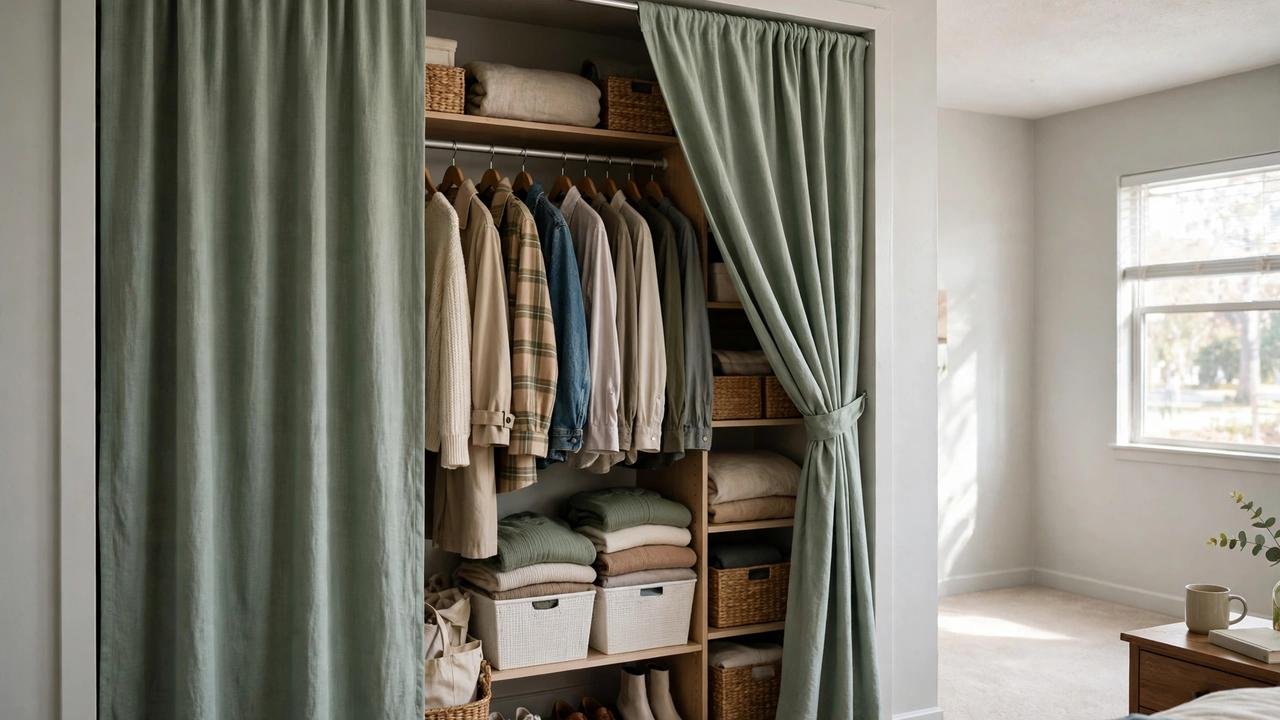
A single panel works beautifully on a standard three- or four-foot opening, but many rentals have six-foot-wide double-slider closets — the ones with two big mirrored panels. Hang one panel across six feet and it stretches taut like a bedsheet, slides open awkwardly, and looks under-dressed. The answer is a pair: two panels on one tension rod that meet in the middle, exactly the way curtains frame a wide window.
A pair also gives you flexibility the single panel doesn't. Tie both panels back and the whole closet is open for outfit-planning or a deep clean. Close just one side and you get an asymmetrical, styled look. And when one panel wears out or you want a seasonal change, you replace half the setup, not the whole thing.
Why it works for renters: Same no-hole mounting as idea one — one longer tension rod, pressure-mounted inside the frame. The only added consideration is rod strength: a six-foot span under two fabric panels needs a heavy-duty tension rod rated for the load, not the cheapest telescoping shower rod on the shelf. Check the rod's weight rating before you buy.
How to do it:
- Measure the full inside width of the frame and buy a heavy-duty tension rod rated for that span plus the combined weight of two panels.
- Choose two identical panels, each roughly three-quarters of the total frame width, so the pair together measures about one and a half times the opening.
- Mount the rod and hang both panels, then adjust so they meet at the center with a slight overlap — an inch of overlap keeps the meeting point from gaping.
- Add two tie-backs (adhesive wall hooks beside the frame work, or simple fabric sashes) so you can hold the panels open symmetrically.
- Approximate cost: $40–$80 for a heavy-duty tension rod and two curtain panels.
3. Beaded Curtains for Privacy with Airflow
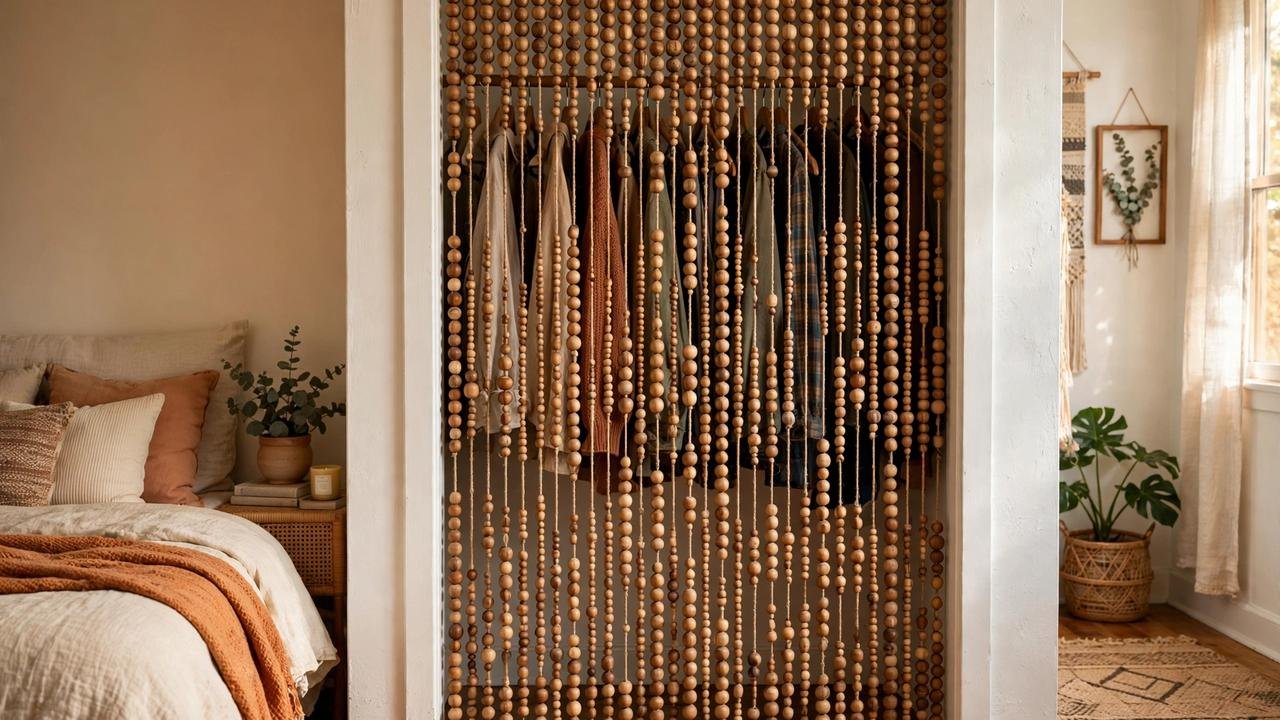
If your rental closet has no ventilation and smells faintly of whatever was stored in it in 2019, fabric panels can make that worse by sealing the opening. A beaded curtain solves the same visual problem — it hides the closet's contents — while letting air (and a little light) move freely. Wooden beads give a warm, bohemian feel; acrylic or glass-look beads read more modern; either way, the strands part with a push of the hand and fall back into place, so accessing the closet is genuinely effortless.
Beads also have a practical edge over fabric in tight reach-in closets: they don't snag on hanger hooks, and they don't collect dust the way a static-y polyester panel does. I've seen them work especially well in kids' rooms and in closets that double as laundry nooks, where constant in-and-out access makes fabric curtains annoying.
Why it works for renters: A beaded curtain hangs from a standard curtain rod or a tension rod with hooks — same pressure-mounted, hole-free setup. Most beaded curtains ship at a standard 78-inch length and the strands trim to fit with scissors, so one product adapts to nearly any opening. When you move, the whole thing rolls up into a bundle and goes with you.
How to do it:
- Measure the frame's inside width and the drop from your planned rod position to the floor, and buy a beaded curtain at least as wide as the frame.
- Mount a tension rod inside the frame (or use the rod's included hooks on an existing rod) and hang the beaded curtain so the strands fall just above the floor — about an inch of clearance keeps them from dragging.
- Trim individual strands to length if the curtain is too long, working from the back so the front face stays even.
- Walk through it a few times with an armful of clothes to confirm the strands part easily and don't catch on the closet rod hardware.
- Approximate cost: $20–$50 for a ready-made beaded curtain and a tension rod if you don't already own one.
4. A Roll-Up Bamboo or Woven Blind as the Door
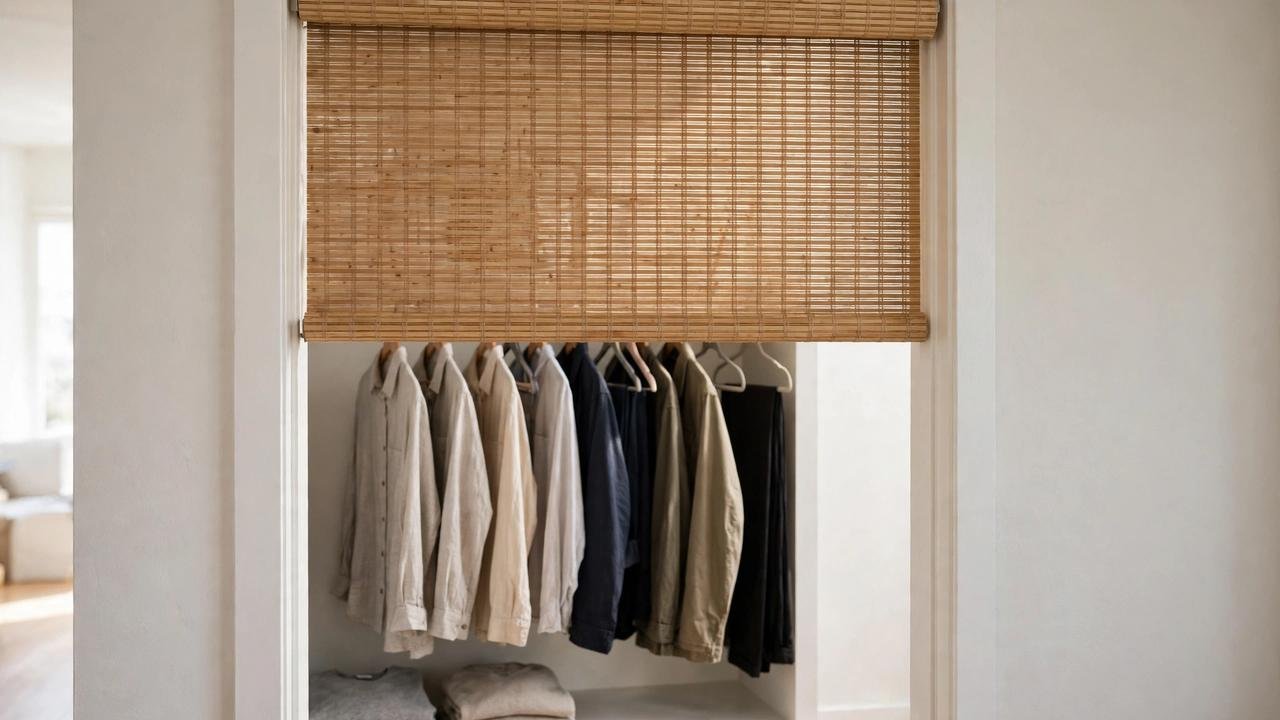
For renters who want their closet cover to look structured rather than soft — no flowing fabric, no boho beads — a roll-up bamboo or woven-wood blind is the answer. Mounted inside the frame, it reads like a proper window treatment: clean horizontal lines, natural texture, and a tidy rolled header when it's open. Lowered, it covers the full opening; rolled up and secured with its ties, it disappears to the top and the closet is completely open.
The key detail is mounting a blind without drilling. A lightweight bamboo blind can hang from two or three sturdy tension rods — or a single heavy-duty tension rod run through the blind's top sleeve — placed inside the frame. Because the blind rolls from the bottom up, it never needs the clearance a swinging or sliding door does, which makes it ideal for closets in tight hallways where every inch of floor space matters.
Why it works for renters: Tension-rod mounting means zero holes in the frame, and a bamboo blind is light enough (usually three to five pounds) that a quality tension rod holds it without slipping. The blind itself is one solid piece, so installation is a single step, and at move-out it rolls up and packs flat.
How to do it:
- Measure the inside width and height of the frame and buy a bamboo or woven blind sized to fit inside the opening (inside-mount sizing), cordless if available for a cleaner look.
- Run a heavy-duty tension rod through the blind's top sleeve, or mount two shorter tension rods and rest the blind's header brackets on them — whichever the blind's design supports.
- Position the mounted blind flush with the front of the frame, then test the roll-up mechanism fully three times to confirm it rolls evenly and the ties hold.
- Trim or secure the pull cord out of reach if the blind is corded, keeping it clear of the closet's hanging clothes.
- Approximate cost: $30–$70 for a bamboo roll-up blind and a heavy-duty tension rod.
5. The Renter-Safe "Barn Door": Sliding Fabric Panels on a Tension Wire
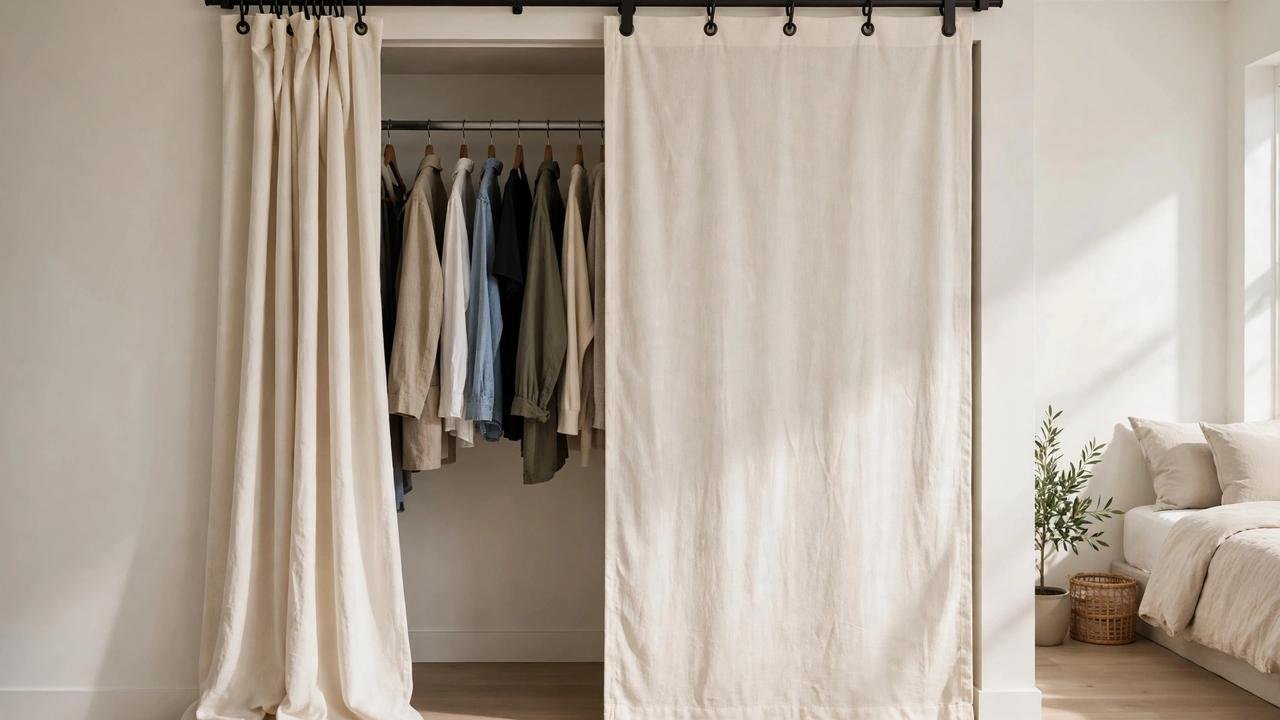
The sliding barn door is one of the most requested closet looks I hear about — and one of the least renter-compatible in its real form, because a genuine barn-door track screws into the wall or frame with lag bolts. But you can get ninety percent of the look with zero percent of the damage: hang a fabric or lightweight faux-wood panel from sliding rings on a tension-mounted wire or rod, and it glides sideways just like the inspiration photos.
The trick is keeping the panel light. A real wood slab is out of the question on tension hardware, but a stretched-canvas panel, a lightweight hollow-core decorative panel, or even a rigid fabric-covered foam board gives you the flat, modern face of a barn door at a fraction of the weight. Two panels that overlap and slide past each other cover wide openings beautifully.
Why it works for renters: Everything hangs from tension hardware — a wire strung between two heavy-duty adhesive hooks rated for the load, or a tension rod — so nothing is screwed into the frame or wall. The panels lift off their rings in seconds. Flag: keep each panel under about eight pounds; if a panel is heavy enough to need real lag bolts, it's heavy enough to damage a rental and belongs in an owned home instead.
How to do it:
- Decide on one wide panel or two overlapping narrower panels, and build or buy panels that stay under eight pounds each — stretched canvas over a light frame is the easiest DIY version.
- Mount a tension wire kit or heavy-duty tension rod across the top of the frame, positioned about three inches above the opening so the panels hang over it like a real barn door.
- Thread sliding rings or clip rings onto the wire, then attach the panels, spacing the rings evenly so the panel hangs straight.
- Slide each panel fully open and closed to confirm smooth travel and that the panels clear the floor and any baseboard.
- Approximate cost: $30–$75 for a tension wire kit, rings, and one or two lightweight panels (DIY canvas version lands at the low end).
6. A Freestanding Folding Screen in Front of the Opening
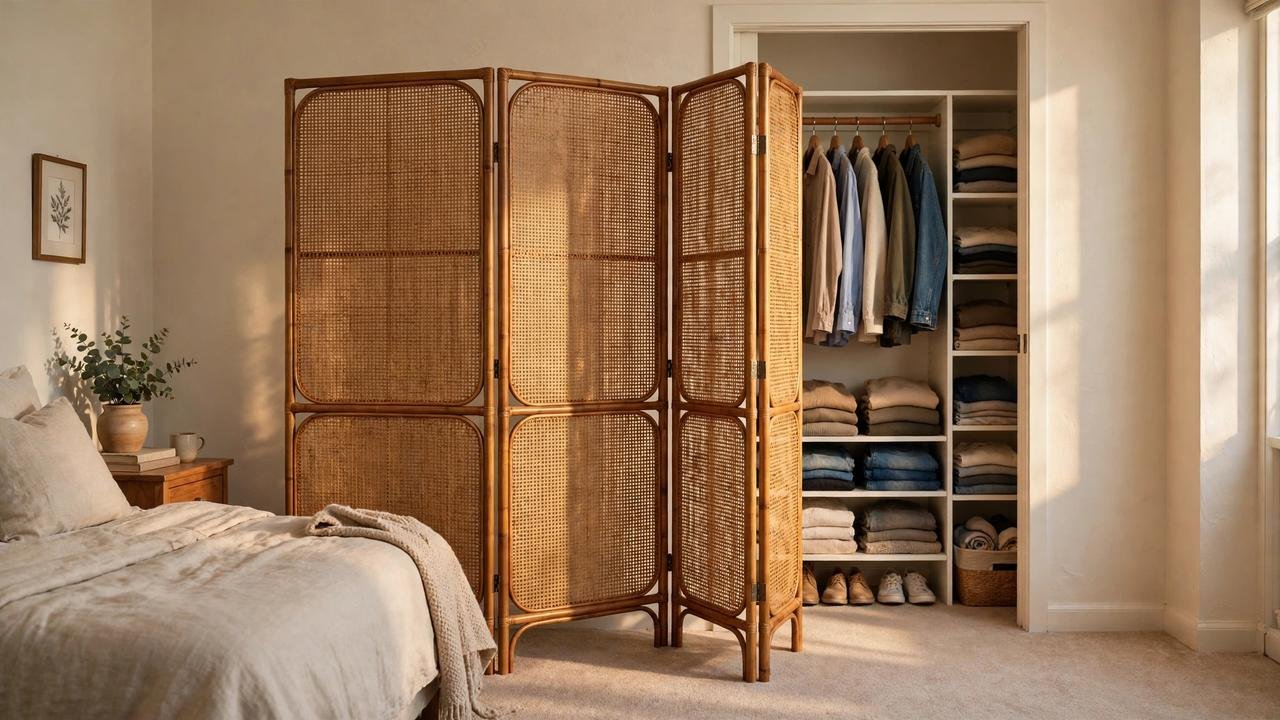
Some renters don't want to mount anything at all — not even a tension rod. Maybe the frame is damaged, the opening is an odd width, or the lease is strict enough that even pressure marks feel risky. For those situations, the answer is furniture, not a fixture: a freestanding folding screen placed in front of the doorless opening. Three or four hinged panels in wood, rattan, fabric, or rice-paper style stand on their own, hide the closet completely, and fold flat for moving day.
A screen also does something no mounted cover can: it adds architecture to the room. In a studio or a bedroom where the closet opening dominates the wall, a beautiful screen turns a storage hole into a design feature. And because it stands a few inches in front of the opening rather than inside it, accessing the closet is as simple as folding one panel back — full, unobstructed access to the entire opening.
Why it works for renters: A screen touches nothing permanently. It's furniture — it stands on the floor, it's fully portable, and it works in every future apartment regardless of closet dimensions. There's no mounting to fail, no adhesive to remove, and no frame to measure within a quarter inch.
How to do it:
- Measure the closet opening's width and height, and choose a screen at least four to six inches wider than the opening and tall enough to cover it to the top of the frame.
- Remove the original doors, store them flat (see idea ten), and position the screen two to three inches in front of the opening, angled slightly so the end panels brace against the wall for stability.
- Test the stability by nudging the screen firmly — if it wobbles, choose a heavier screen or add small adhesive furniture pads under the feet, never wall anchors.
- Fold one panel inward to create your daily access point, leaving the rest of the screen in place as the cover.
- Approximate cost: $40–$100 for a three- or four-panel folding screen.
7. Sheer Voile Panels for the Airy Display Closet

Not every closet needs to be hidden. If your closet is reasonably organized — the kind of closet you'd be fine with a guest glimpsing — sheer voile panels give you the softest possible door alternative: a filtered, glowing cover that suggests the contents without displaying them. Light passes through, the room feels larger, and the closet reads as a styled vignette rather than a storage cavity.
This is the lowest-visual-weight option on the list, which makes it perfect for small bedrooms where a heavy curtain would eat the light and for closets near windows where you want the daylight to keep flowing. White or ivory voile is the classic choice, but a soft champagne or pale gray can tie into the room's palette.
Why it works for renters: Voile panels are among the cheapest curtains sold, they weigh almost nothing (so even a basic tension rod holds them effortlessly), and they come down for machine washing — try that with a mirrored slider. The mounting is the same hole-free tension rod inside the frame, and the whole setup packs into a grocery bag on moving day.
How to do it:
- Measure the frame and buy voile panels totaling about twice the frame's width — sheers need generous gathering to look intentional rather than stretched thin.
- Mount a tension rod inside the frame and hang the panels on small rings or a rod pocket, letting them fall to just above the floor.
- Layer two panels per side if the closet behind them is busy — doubled sheers filter more while still glowing.
- Step back and check in daylight: if you can read clothing labels through the fabric, add a third panel or switch to a slightly denser voile.
- Approximate cost: $15–$40 for a set of voile panels and a tension rod.
8. The No-Sew Drop-Cloth Curtain
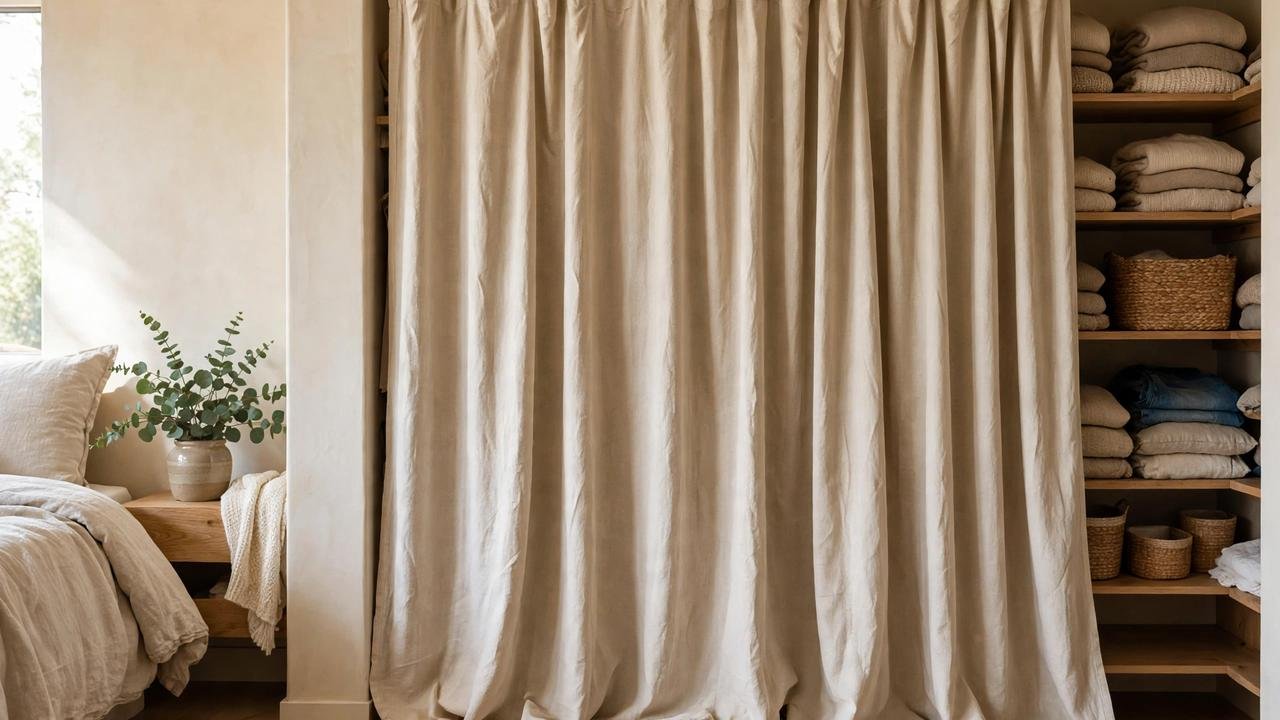
Here's the budget move I share most often, because it looks far more expensive than it is. A cotton canvas painter's drop cloth — the kind sold in the paint aisle — is essentially a large, neutral, linen-look fabric panel for a fraction of curtain prices. With the edges finished using iron-on hemming tape (no sewing machine, no skills required), a drop cloth becomes a substantial, textured closet curtain with a relaxed, modern-organic feel that suits almost any decor.
Drop cloths come generously wide — a six-by-nine-foot cloth covers even a wide double closet in one piece — and the natural oatmeal color works with warm and cool palettes alike. The fabric is heavier than standard curtain panels, so it hangs in beautiful folds and doesn't billow every time the HVAC kicks on.
Why it works for renters: Everything about this is removable: the curtain hangs on clip rings from a tension rod, the hemming tape is permanent only to the fabric (not to anything in the apartment), and the whole project costs less than most single ready-made panels. If you hate the result, you're out twenty dollars and the drop cloth becomes actual drop cloth again.
How to do it:
- Buy a cotton canvas drop cloth sized to your opening plus extra for hemming — a six-by-nine-foot cloth suits most standard and wide closets.
- Wash and dry the drop cloth once (it shrinks and softens), then finish the raw edges with iron-on hemming tape following the package directions.
- Clip the finished panel onto clip rings, spacing the clips evenly, and hang the rings on a heavy-duty tension rod mounted inside the frame.
- Adjust the folds so the fabric falls evenly, and trim or hem the bottom so it clears the floor by about an inch.
- Approximate cost: $20–$45 for a drop cloth, hemming tape, clip rings, and a tension rod if needed.
9. A Macramé or Woven Hanging as a Statement Door
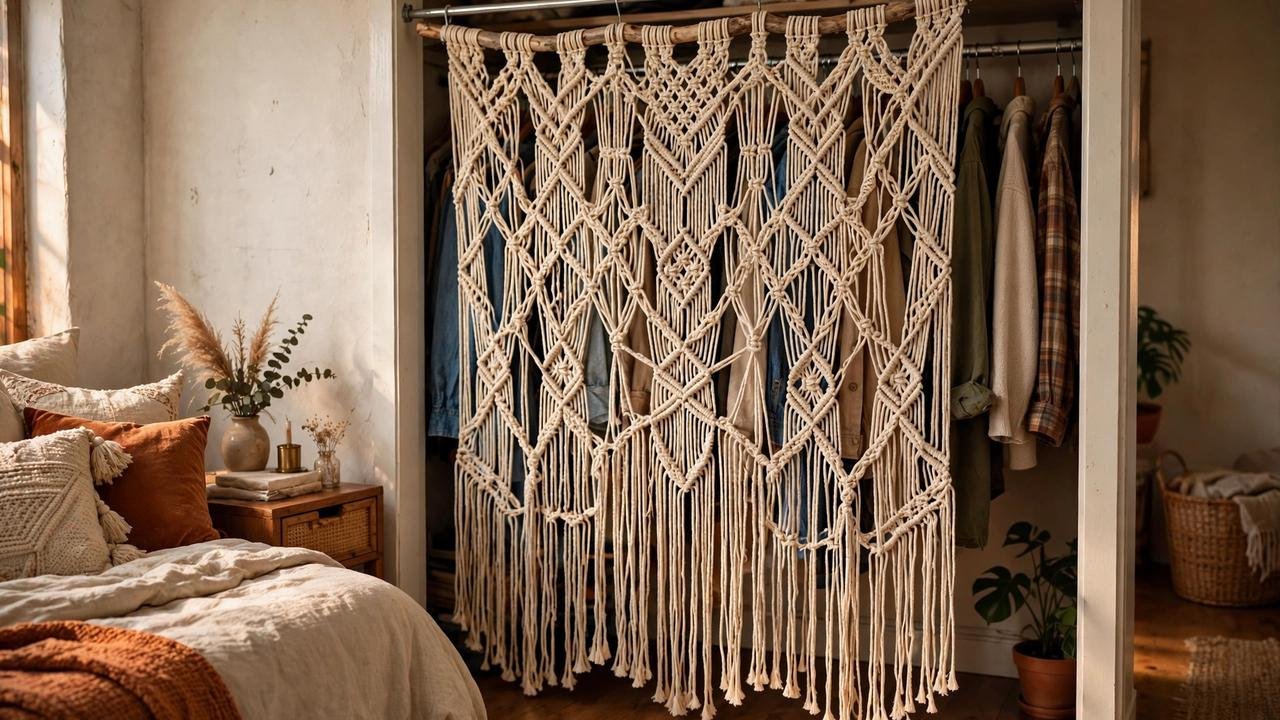
For the renter whose style leans bohemian, eclectic, or handmade, a closet cover can be the room's art piece instead of just a cover. A large macramé wall hanging or woven textile — the kind sold as statement wall decor — hung from a tension rod across the closet opening gives you a textured, sculptural door alternative that no sliding panel could ever match. It partially reveals and partially conceals, which is exactly the point: it's atmosphere first, coverage second.
This works best on closets that are already fairly tidy, or on closets in rooms where a little visual softness is welcome — bedrooms, creative studios, nurseries. Because the hanging is openwork by nature, it won't hide clutter, so pair it with an organized interior (your future self will thank you).
Why it works for renters: Macramé and woven hangings are lightweight — usually two to four pounds — so a standard tension rod holds them easily, and they hang from a single dowel or loops that slip right onto the rod. No mounting hardware beyond the rod, no damage, and the piece moves to your next apartment as wall art if the next closet has doors worth keeping.
How to do it:
- Measure your opening and choose a hanging at least as wide as the frame — oversized reads intentional, undersized reads like a gap.
- Mount a tension rod inside the frame near the top of the opening and slip the hanging's dowel or loops directly onto the rod.
- Center the piece and let it fall naturally; adjust the rod position forward or back in the frame so the textile clears the closet rod and hangers.
- If the bottom swings when you walk past, add a small adhesive hook low on each side of the frame interior and loosely tether the bottom corners with twine.
- Approximate cost: $25–$70 for a ready-made large macramé or woven hanging and a tension rod.
10. Go Nearly Doorless: Store the Doors, Top with a Valance
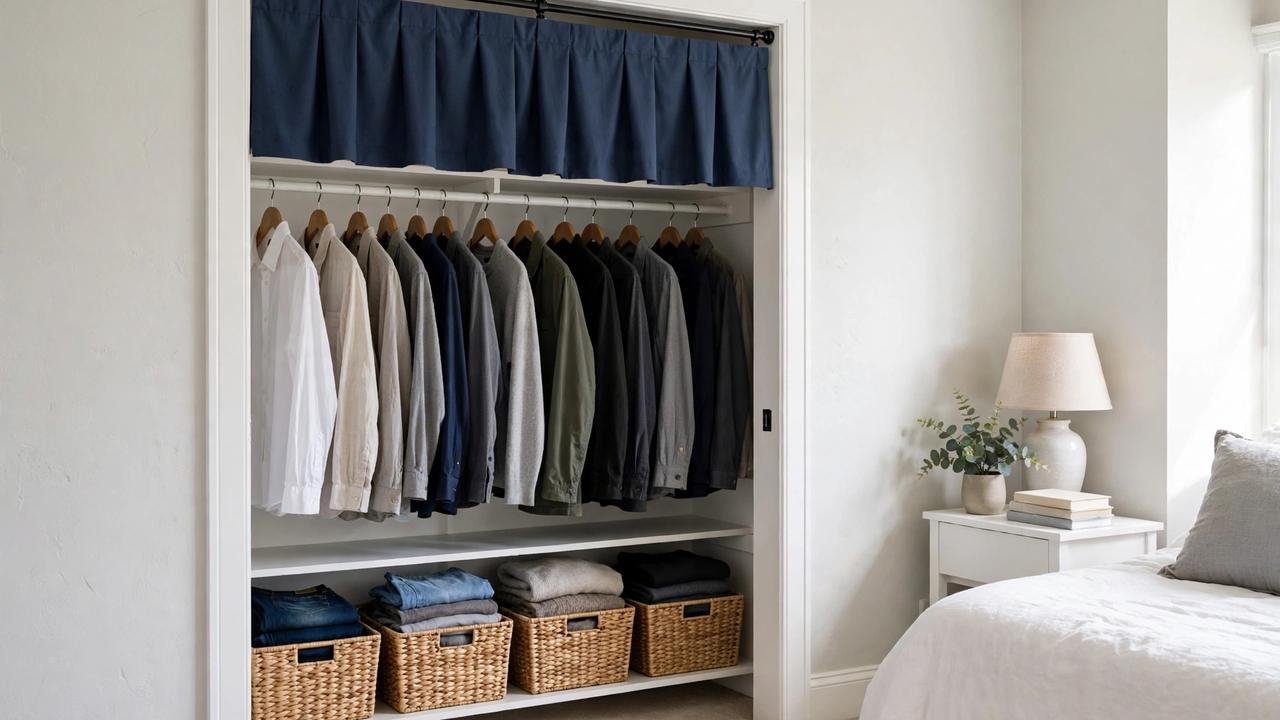
The boldest option is also the simplest: take the doors off entirely and don't replace them with a full cover — just finish the top of the opening with a short valance or pelmet on a tension rod. The valance hides the empty track or hinge hardware, gives the opening a tailored, intentional edge, and leaves you with completely unobstructed access to the entire closet. No sliding, no parting beads, no folding anything aside. You just reach in.
This is the right choice when access matters more than concealment — a closet you use ten times a day, a reach-in where any cover would snag, or a closet you've organized well enough to show off. The valance does the visual work of saying "this is finished" while the open below says "this is easy."
Why it works for renters: Removing the doors is fully reversible as long as you store them correctly, and a valance on a tension rod is the same hole-free mounting as every other idea here. Flag: this option puts your closet on display, so it pairs best with an organized interior — and double-check that your lease doesn't require closet doors to remain installed; a small minority of leases do, and a two-minute email to the landlord settles it.
How to do it:
- Photograph the doors, tracks, and all hardware from multiple angles before touching anything — these photos are your reinstallation manual.
- Remove the doors: lift sliding panels up and out of the track from the bottom; unpin bi-fold pivots top and bottom; tap out hinge pins on hinged slabs. Bag and label every screw, bracket, and pin in a zip bag taped to one of the doors.
- Store the doors flat and off the floor — under a bed, behind a wardrobe, or flat against a wall with soft cloth between them — never leaning long-term, which warps hollow-core doors.
- Mount a tension rod inside the frame near the top and hang a twelve- to fifteen-inch valance or tailored pelmet to conceal the empty track and finish the opening.
- Approximate cost: $10–$30 for a ready-made valance and a tension rod.
Conclusion
The closet door is the most replaceable part of a rental bedroom, and most renters never touch it — they live for a year or three with mirrored sliders they hate or bi-folds that fight them every morning, assuming the doors are as permanent as the walls. They aren't. Nearly every rental closet door lifts off, unpins, or unhinges with basic tools and zero damage, and every alternative in this post goes up without a single hole and comes down just as cleanly. The through-line is simple: treat the doors as hardware, not architecture. Store the originals flat with their hardware bagged and labeled, photograph everything before removal, and hang your replacement on pressure, rings, or gravity — never screws.
Start with the swap that fits your situation: a tension-rod curtain panel for the classic upgrade, a beaded curtain where airflow matters, a folding screen when you won't mount a thing, or the nearly-doorless valance when you want maximum access. Whichever you choose, your closet gets quieter, better-looking, and easier to use — and your deposit stays exactly where it belongs. Please save this visual guide on Pinterest and pin the door alternative you're trying first — your future self, gliding a curtain aside instead of wrestling a stuck slider, will thank you.

Amelia leads HavenlyStyle’s editorial vision with a passion for elegant interiors and practical home living. With years of experience in home décor and lifestyle content, she ensures every article is accurate, inspiring, and easy to follow. From timeless decorating ideas to the latest interior design trends, Amelia is committed to helping readers create beautiful, functional spaces while maintaining HavenlyStyle’s trusted and welcoming voice.