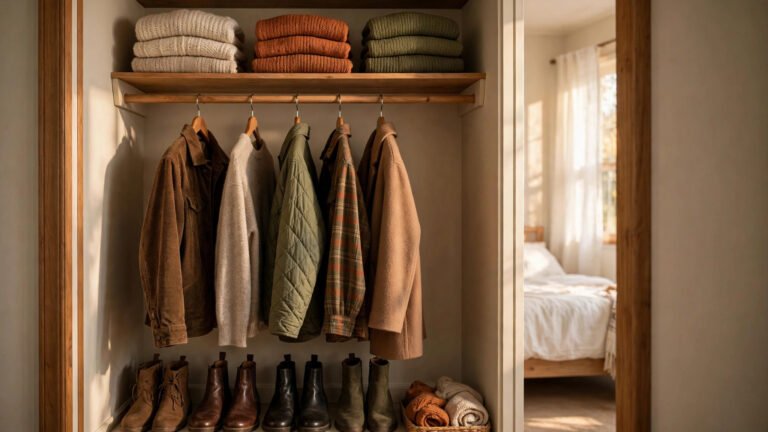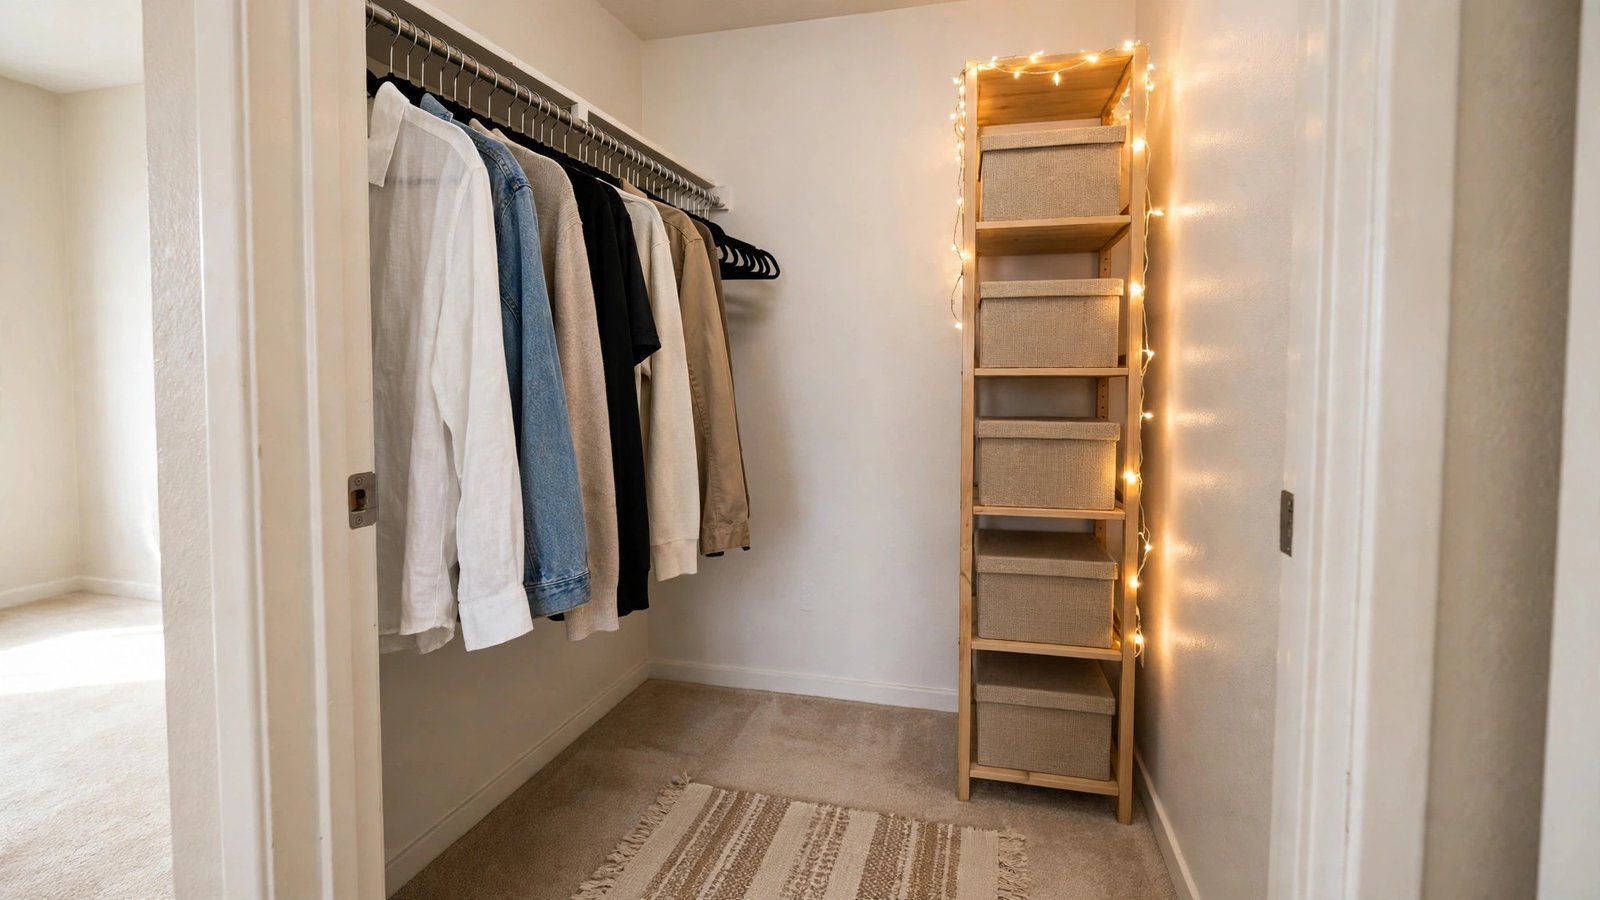
Walk into a tiny rental walk-in closet and you’ll usually find the same thing: one lonely wire shelf, a creaky builder-grade rod, beige walls you can’t paint, and a floor that’s become the default home for everything that doesn’t fit anywhere else. It’s the smallest room in your apartment, and somehow it makes the messiest first impression — usually only on you, at 7 a.m., when you’re already running late.
I’ve helped dozens of renters turn these sad little boxes into spaces that actually feel good to use. Here’s the honest truth I’ve noticed over the years: a walk-in closet makeover has almost nothing to do with renovation and everything to do with systems. You don’t need to drill a single hole, move a single wall, or spend more than a couple hundred dollars. What you need is zoning that respects a tight footprint, freestanding storage that earns its floor space, light where there isn’t any, and enough visual calm that getting dressed stops feeling like a chore.
This post walks you through the exact playbook I recommend for a small walk-in in a rental — all twelve ideas are no-drill, fully removable, and cost anywhere from zero dollars to about fifty-five. And because every renter asks me the same question — “can I actually do this for $200?” — I’ve threaded a running budget through the whole thing so you can watch the math work. One makeover, twelve ideas, not a single drill bit involved.
Executive Summary
- A rental walk-in makeover is about systems, not construction — zoning, freestanding no-drill pieces, and light do the heavy lifting.
- Every idea here is renter-safe: removable, reversible, zero drilling, and your deposit stays untouched.
- The full twelve-idea transformation fits under $200 if you follow the running budget — you’ll see the running total at each idea.
- Small walk-ins need vertical thinking: tension-based and freestanding systems beat wall-mounted ones every time in a rental.
- Battery-operated motion-sensor lighting is the single highest-impact low-cost upgrade (I’ve seen it change how a closet feels more than anything else).
- Uniform hangers and a single color story for bins and boxes make a tiny closet look twice as expensive for under $60 combined.
1. Start With a Ruthless Edit (Your Free $0 Foundation)
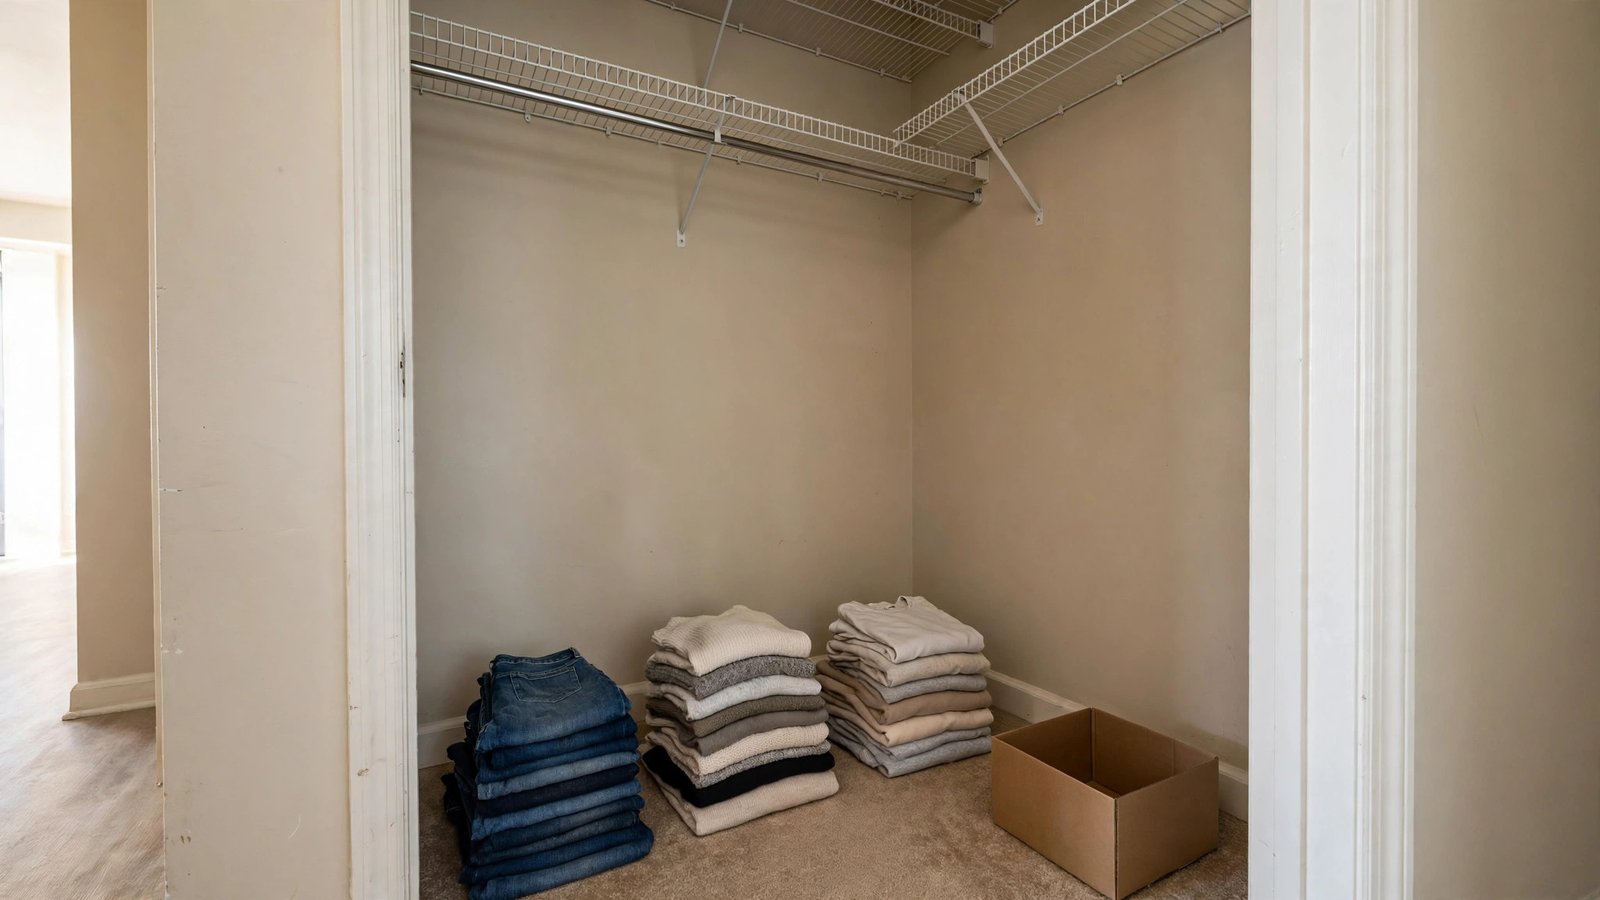
What it is: Before you spend a single dollar, you have to do the uncomfortable part: the edit. I’ve personally seen renters spend $150 on storage systems and then try to fit the same 300 items into them. The math never works. A makeover in a small walk-in only succeeds if the volume going back in is smaller than the volume that came out.
Why it works for renters: It costs nothing, requires no tools, and every inch you reclaim is free storage you don’t have to buy. In a rental where you can’t expand the closet itself, this is the only way to create more space.
How to do it:
- 1. Pull everything out of the closet — every hanger, every box, every mystery bag on the floor. You need the empty room visible to see what you’re working with.
- 2. Make three piles: keep (you wore it in the last year and it fits), maybe (undecided), and out (stains, broken, wrong size, guilt pieces you’ve kept since 2019).
- 3. Box the “out” pile immediately for donation or resale. Don’t let it sit in the corner of the bedroom for three weeks.
- 4. Put the “maybe” pile in a bin and date it. If you haven’t opened it in three months, it’s out.
- 5. Only plan storage for what remains. Count hangers and folded items — those numbers decide what you buy next.
Approximate cost: $0. Running budget: $0 of $200.
2. Switch to One Slim Hanger Family
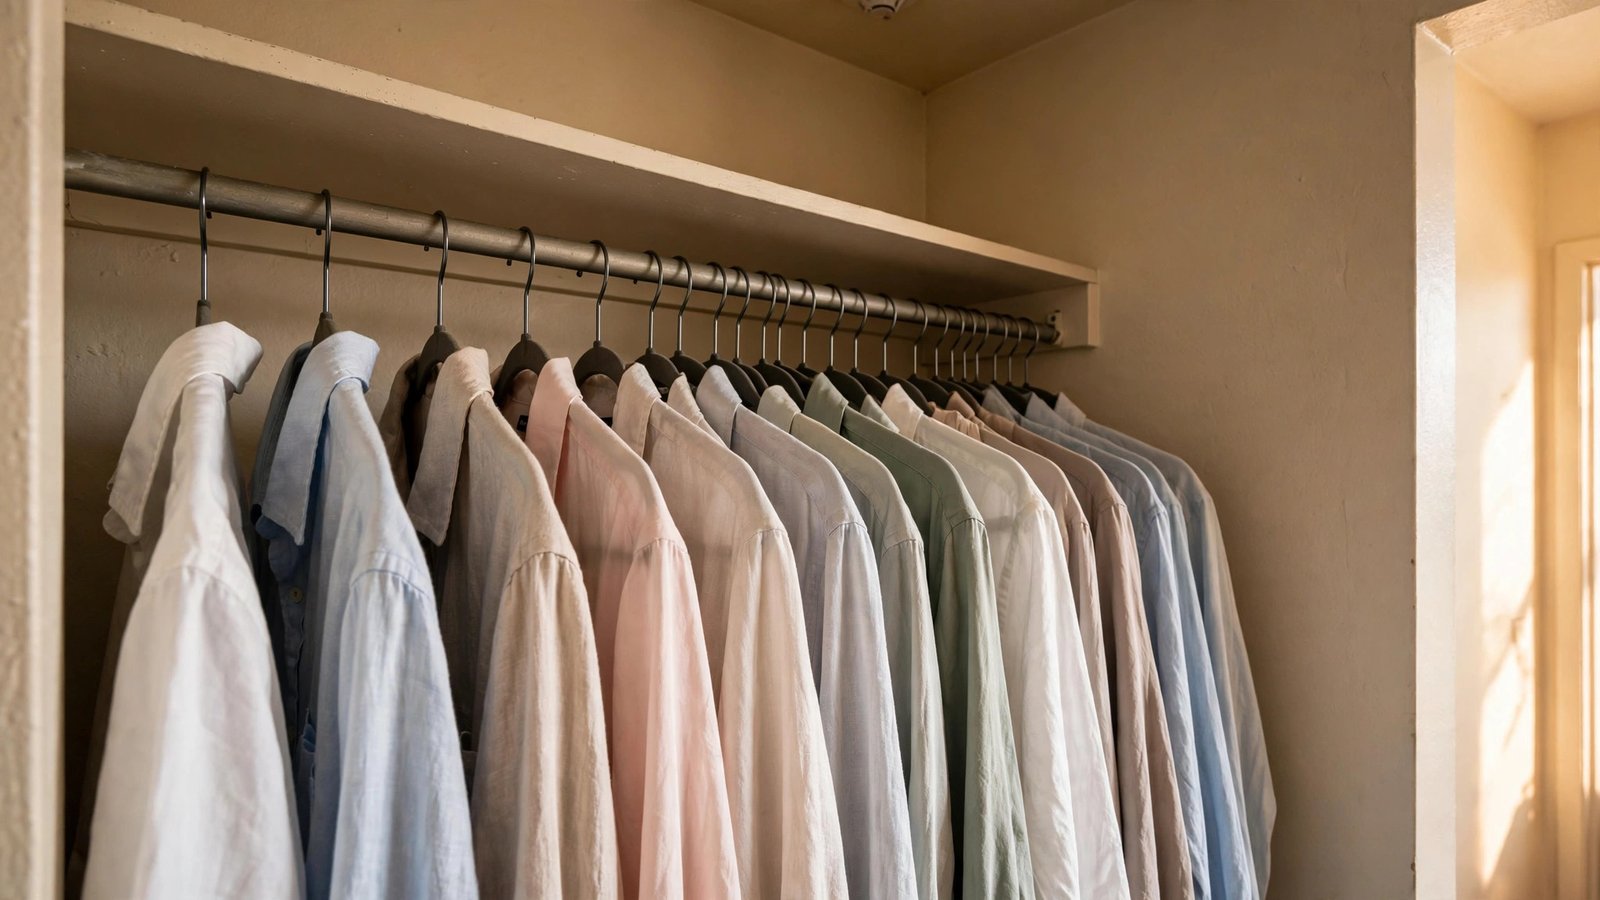
What it is: Here’s something I’ve noticed in almost every before photo a renter sends me: twelve kinds of hangers — chunky wood ones, tangled wire, that neon plastic set from a dorm move-in — all competing for rod space. Slim velvet-textured hangers in a single color are the cheapest visual upgrade in all of closet organizing, and in a small walk-in, the space savings are real. They take up roughly a third less rod width per garment than plastic ones.
Why it works for renters: Zero installation, totally portable to your next apartment, and they make a $10 closet look curated. Shoulder bumps disappear, clothes stop sliding off, and everything hangs at the same height, which reads as tidy even before you’ve organized anything else.
How to do it:
- 1. Count your hanging clothes from the edit in Idea 1 — buy only that many hangers, plus ten spares.
- 2. Transfer everything in one session. If you do it piecemeal, the old hangers creep back in.
- 3. Toss or donate the mismatched set the same day. Keeping them “just in case” defeats the purpose.
- 4. Face every hook the same direction and turn all hanging clothes the same way. It sounds fussy; in a closet with no door drama, uniformity is half the makeover.
Approximate cost: $25–$40 for a set of 50–100. Running budget: ~$25–$40 of $200.
3. Add a Freestanding Rolling Garment Rack for Overflow
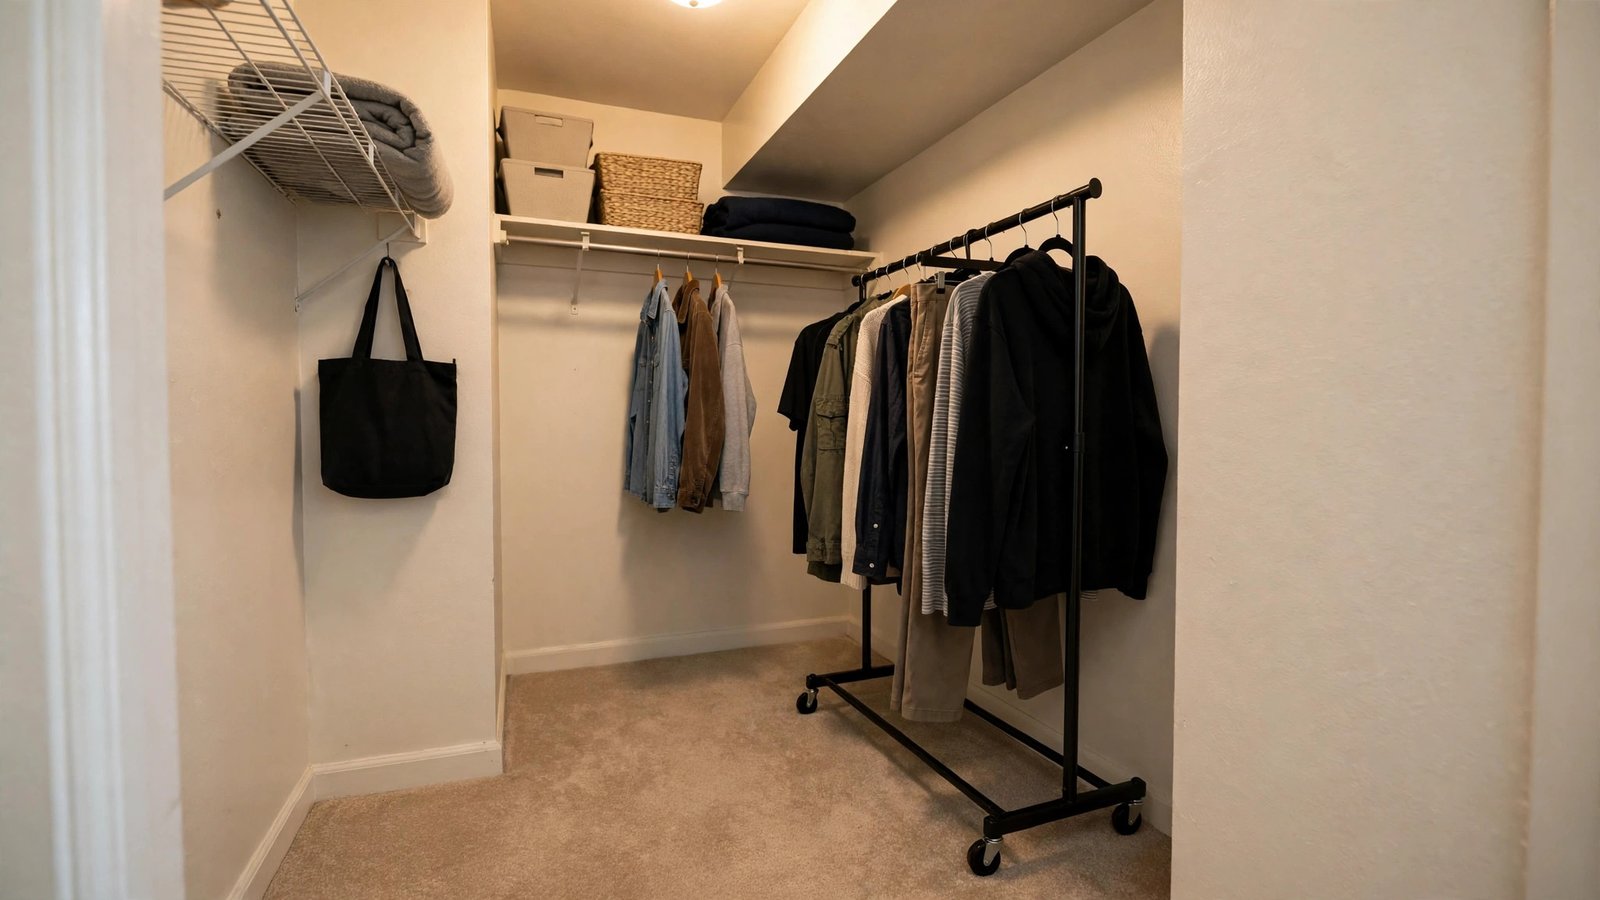
What it is: Small walk-ins lie. They call it a “walk-in,” but once you’re inside, the existing rod is full and your clothes are doubled on hangers. A freestanding rolling garment rack — the kind that holds itself up on two feet and locks its wheels — gives you a second rod without touching the landlord’s walls. I’ve personally seen this one piece solve more “I have no closet space” complaints than any other single purchase.
Why it works for renters: Nothing attaches to anything. It assembles with hand-tightened screws, stands on its own, and rolls out the day you move. Place it on the empty wall of the walk-in, or tuck it into the deepest corner where the builder rod doesn’t reach.
How to do it:
- 1. Measure your walk-in’s depth before buying — most small walk-ins fit a rack that’s about 3–4 feet wide if you position it along the back wall.
- 2. Hang your most-worn week’s rotation on it, not your full wardrobe. This is overflow, not a second closet.
- 3. Put the heaviest garments toward the center uprights so the rack stays balanced.
- 4. Keep the wheels locked. An unlocked rack in a tight walk-in will slowly drift into the doorway.
- 5. When you move, it breaks down flat in about ten minutes. Take it with you; it costs as much as a pizza delivery and lasts years.
Approximate cost: $35–$55. Running budget: ~$60–$95 of $200.
4. Stand a Freestanding Shelf Tower in the Dead Zone
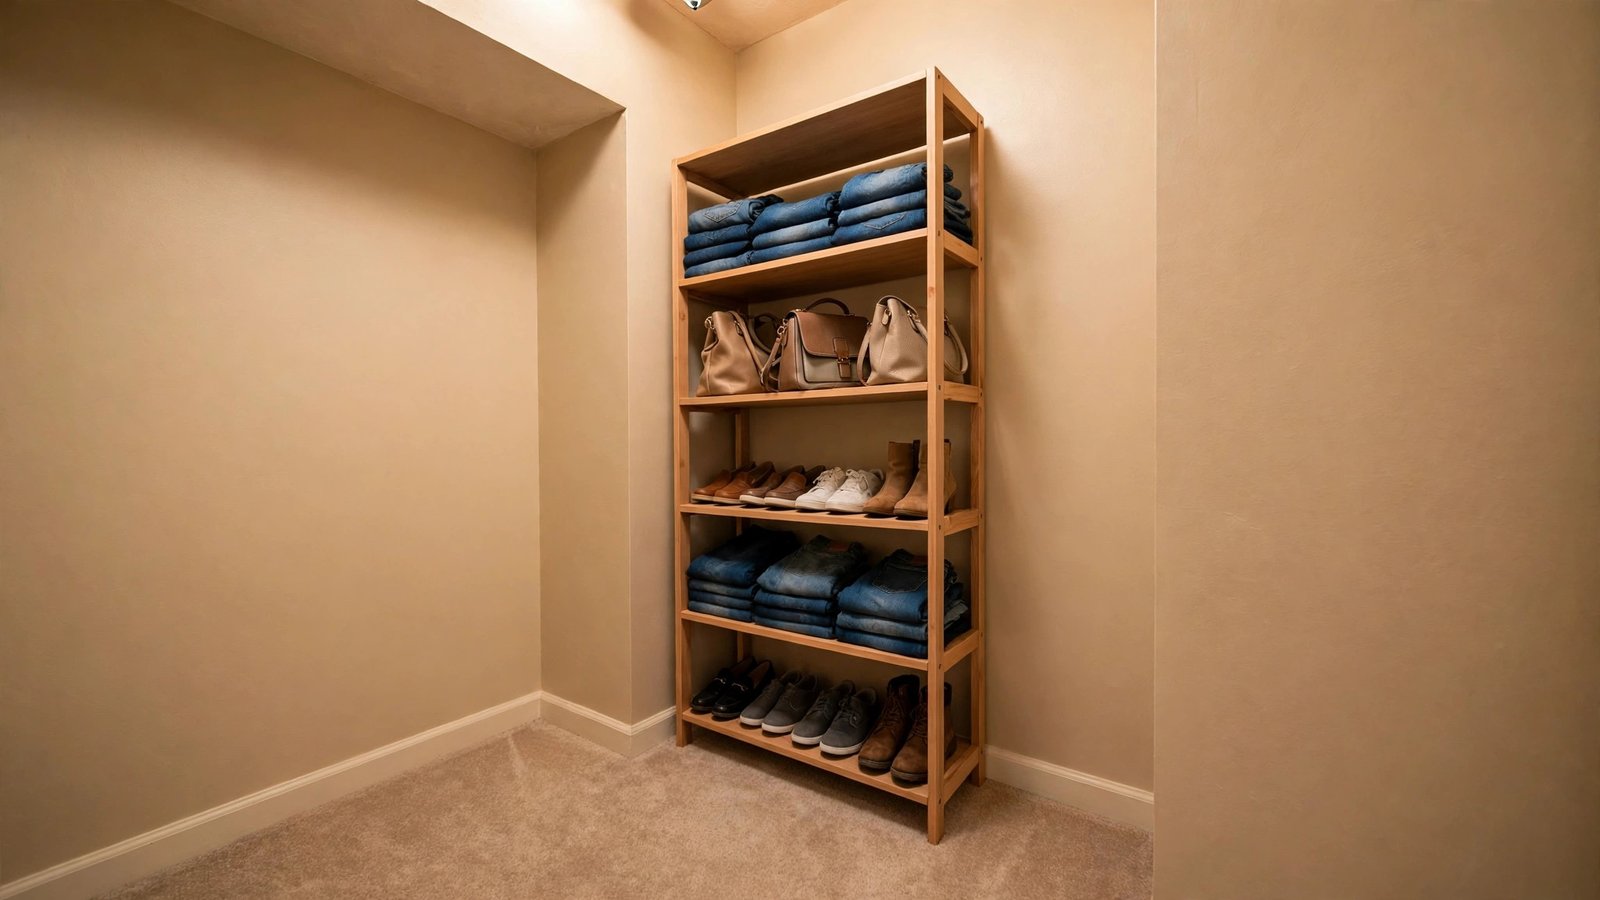
What it is: Every small walk-in has a dead zone — that awkward stretch of wall beside the door or the corner past the rod where clothes can’t reach. A tall, freestanding shelf tower turns that wasted strip into the workhorse of the closet: folded denim, bags, shoe rows, and bins all live here. Look for towers with a narrow footprint (under 16 inches deep) so they don’t eat your walkway.
Why it works for renters: It’s furniture, not a fixture. No drilling, no anchors, no wall contact required. If your walk-in is carpeted, a tower with a solid base distributes weight fine without rocking.
How to do it:
- 1. Measure the dead zone’s width and the tower’s depth — leave at least 20 inches of walking clearance in front of it.
- 2. Put daily-use items (folded tops, bags) at chest height, heavy or seasonal stuff low.
- 3. Use the top shelf for out-of-season storage bins so the visible middle shelves stay clean.
- 4. If the tower has open sides, line the back-facing shelves with storage boxes from Idea 10 so it reads as furniture, not exposed clutter.
Approximate cost: $30–$50. Running budget: ~$90–$145 of $200.
5. Double Your Folding Space With Stackable Cubes
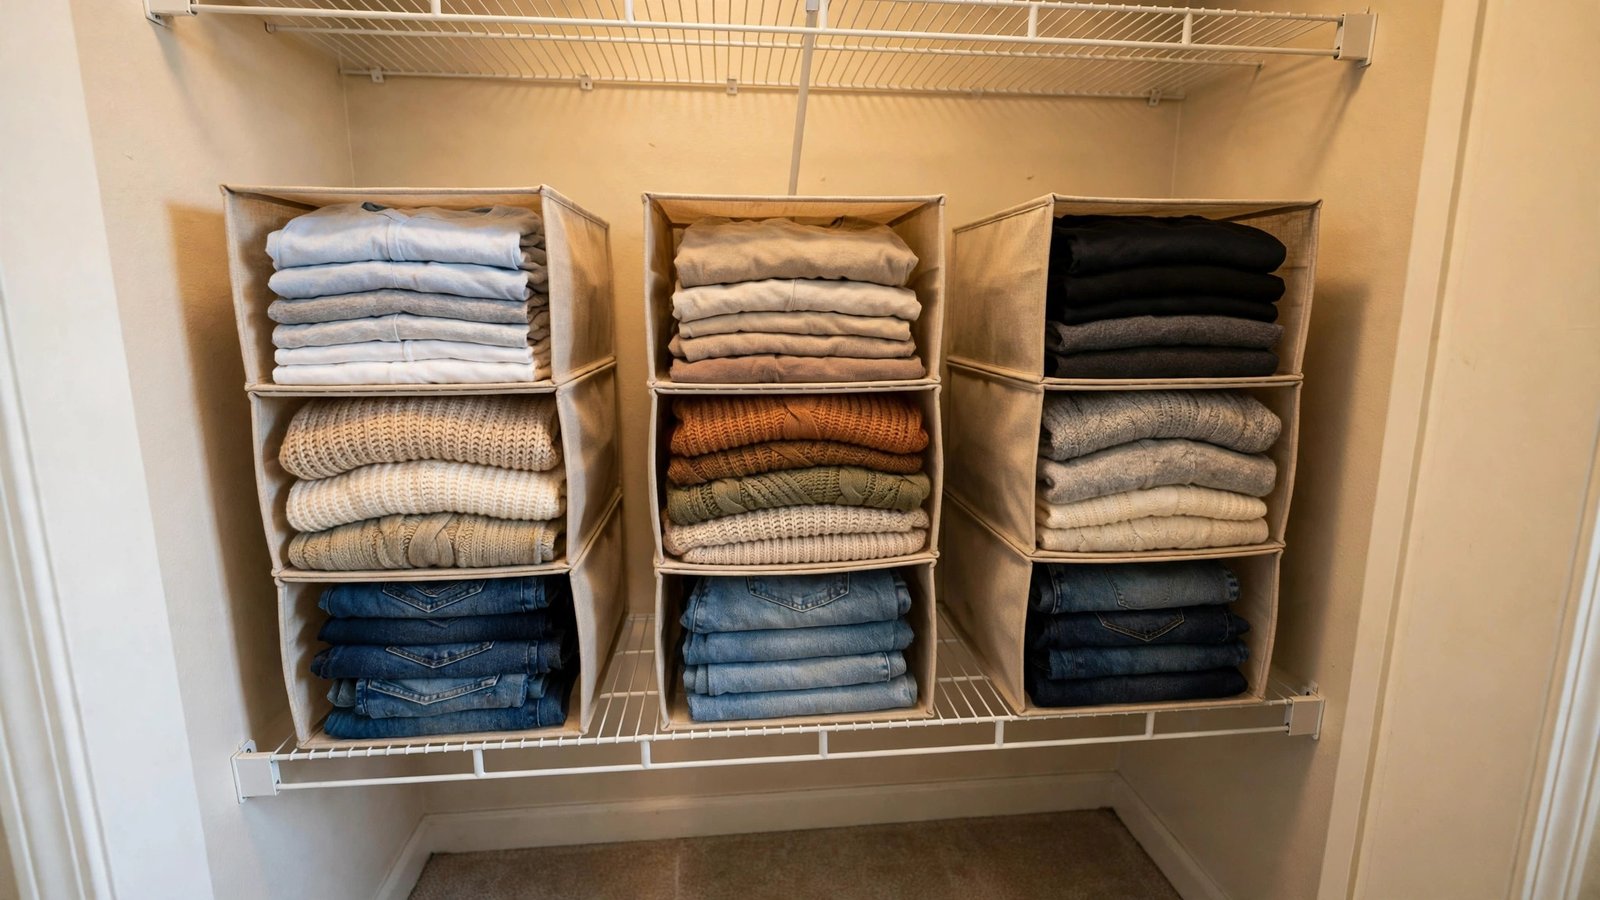
What it is: If you fold more than you hang — sweaters, denim, tees, activewear — the shelves are where your closet wins or loses. Stackable fabric-covered cubes or modular plastic cubbies let you divide one long shelf into tidy vertical columns without installing anything. They slide onto an existing wire shelf or sit on the floor of the dead zone, and they travel with you at move-out.
Why it works for renters: Completely modular. Buy four now, add four later, rearrange at will. When the next apartment has different dimensions, the cubes still work — they’re agnostic about shelf size in a way built-ins never are.
How to do it:
- 1. Sort your folded items by type — one cube per type (tees, sweaters, denim, activewear).
- 2. Fold to the cube’s footprint, not the other way around. Match the fold width to the opening.
- 3. Label the front of each cube with a removable chalk or clip label so housemates or future-you can keep the system.
- 4. Keep the top of the stack clear — don’t let cubes become a surface for “temporary” piles.
- 5. Stack no higher than four cubes if they’re freestanding; anything taller needs a wall, and we’re not drilling.
Approximate cost: $15–$25 for a set of 4–6. Running budget: ~$105–$170 of $200.
6. Install Battery-Operated Motion-Sensor Lights
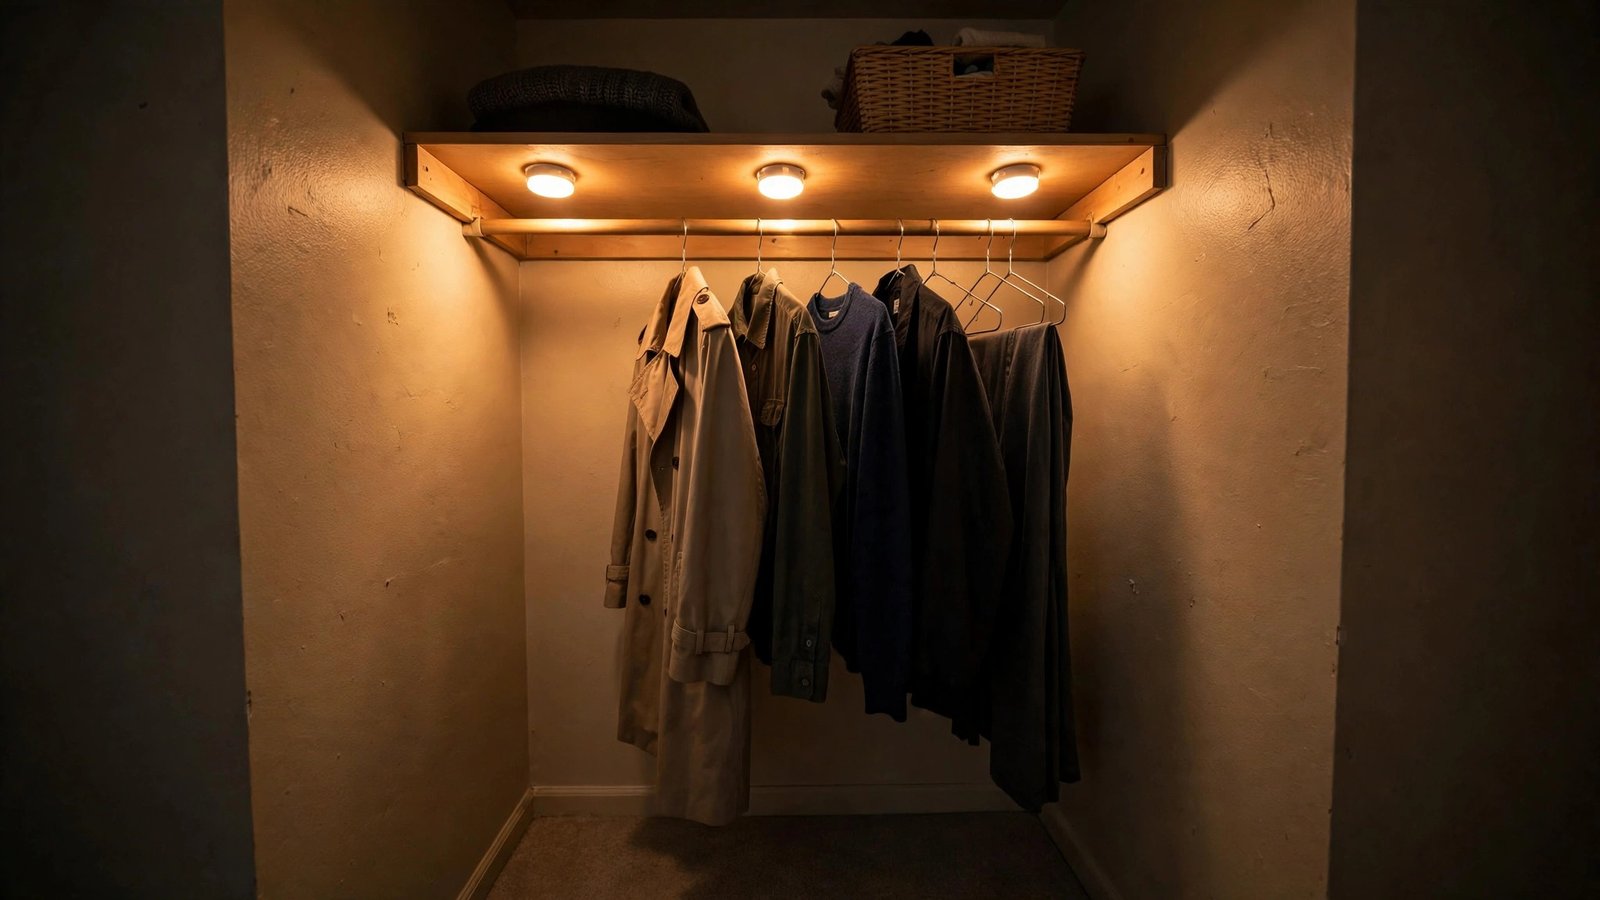
What it is: I have a confession: if a renter could only afford one idea on this list, I’d tell them to pick this one. Most rental walk-ins have one dim overhead bulb — if they have any light at all — and the back corners are permanently shadowed. Stick-on battery lights with motion sensors turn on when you walk in and turn off after you leave. No electrician, no wiring, no landlord conversation. The first time you walk into your closet and it lights itself up, you will feel unreasonably fancy.
Why it works for renters: They attach with adhesive strips or tiny magnets, peel off cleanly at move-out, and the batteries last months. You get the look and function of built-in lighting with zero permanent change.
How to do it:
- 1. Buy 2–3 lights — one for the main area, one aimed at the rod, one in the darkest corner.
- 2. Mount them high, just under the top shelf, so they wash light downward over your clothes instead of blinding you at eye level.
- 3. Use the motion-sensor mode rather than “always on” — batteries last far longer.
- 4. Keep a small stash of spare batteries in the top shelf bin so a dead light doesn’t stay dead.
- 5. If the adhesive worries you, rest the lights on top of shelves and lean them against the wall — no sticking required.
Approximate cost: $15–$30 for a set of 2–3. Running budget: ~$120–$200 of $200.
7. Lean a Full-Length Mirror Against the Wall
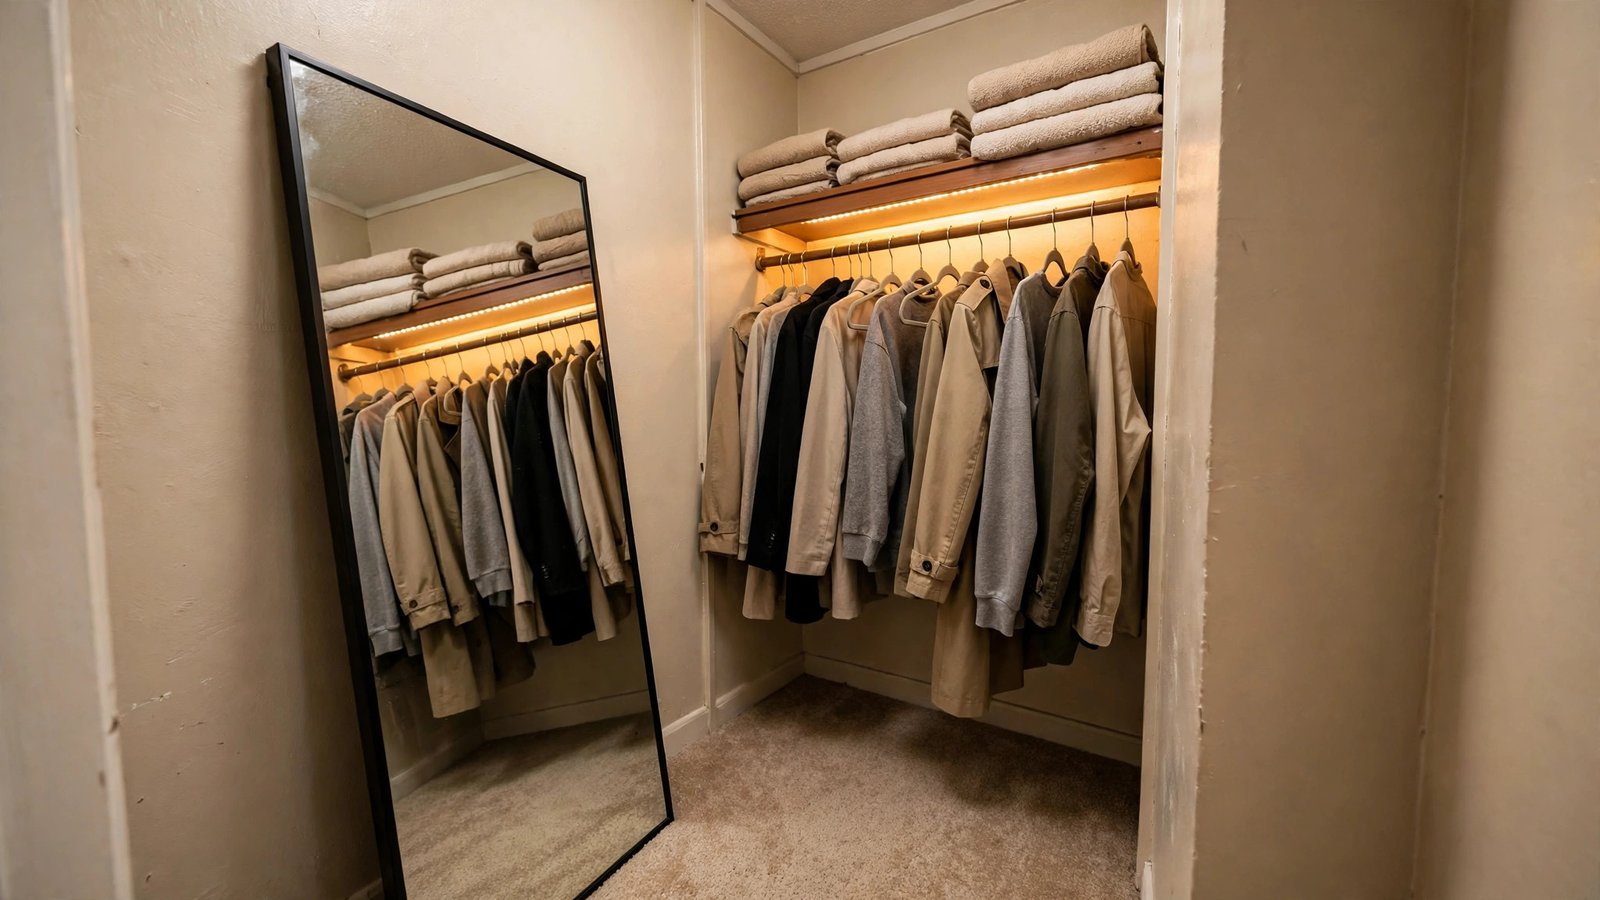
What it is: A small walk-in without a mirror means you’re dragging outfits to the bathroom every morning. A lightweight full-length mirror leaning against the wall solves it — no mounting hardware, no landlord permission. And in a tight, windowless closet, a mirror genuinely makes the space feel bigger by bouncing your new lighting around.
Why it works for renters: Leaning is the most renter-friendly install that exists. Rubber bumper pads on the frame’s back keep the wall scuff-free, and it walks out with you at move-out. Pick a mirror light enough to move one-handed for cleaning days.
How to do it:
- 1. Choose the wall opposite your light source so the mirror doubles the brightness.
- 2. Lean it at a slight angle — about 5 degrees — and test that it stands solid before you walk away.
- 3. Stick small felt or rubber pads on the frame where it touches the wall and floor.
- 4. Angle it so you can check your whole outfit with the door open — you need three feet of stand-back space.
- 5. If your walk-in is truly tiny, try the back of the door’s interior side instead — leaning works there too if the door opens flat against a wall.
One more renter trick I’ve seen work well: if a full-length mirror feels too dominant in a very narrow walk-in, a tall narrow mirror (about a foot wide) leaned in a corner still gives you the outfit check without blocking the walkway. You lose a little reflected light, but you gain back six inches of floor, and in a closet this size, six inches matters.
Approximate cost: $25–$40. Running budget: still ~$120–$200 of $200 if you swapped out another idea — see the budget note below.
8. Anchor the Floor With a Small Washable Rug
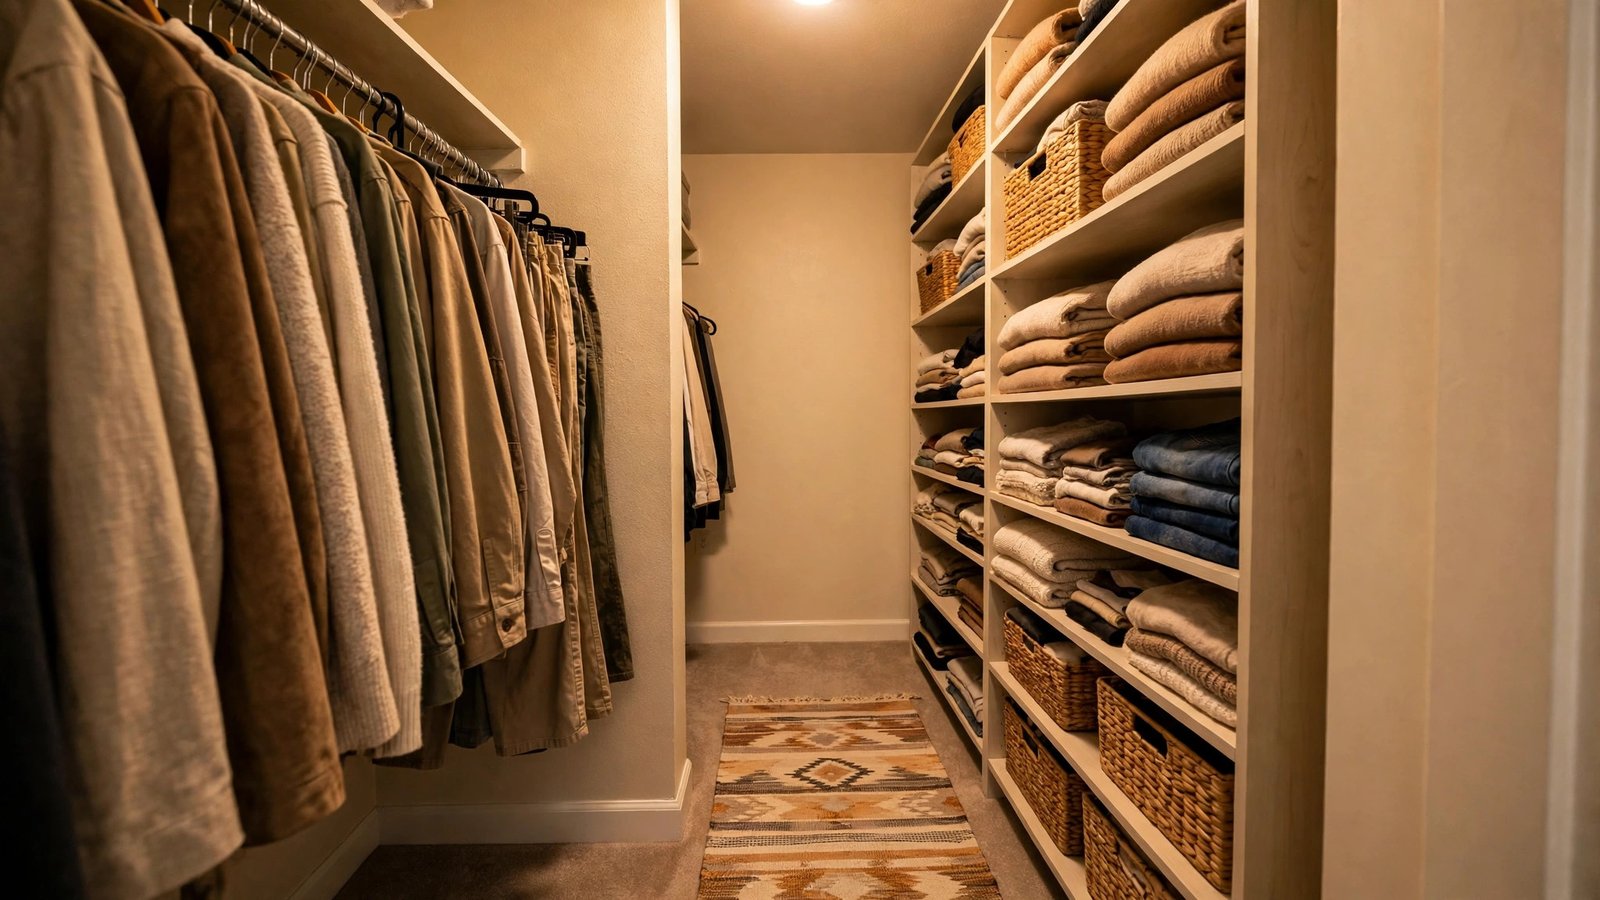
What it is: Rental walk-ins usually have sad carpet or cold builder-grade tile. A small flat-weave rug — a 2×3 or a runner, depending on your walkway — instantly makes the closet feel like a real room instead of a storage cavity. Pick one that’s machine-washable, because closet floors collect shoe dust faster than anywhere else in the apartment.
Why it works for renters: A rug is the ultimate commitment-free floor upgrade. It lays down, it rolls up, your deposit never hears about it. It also gives your feet something soft on rushed mornings, which is a quality-of-life upgrade nobody talks about.
How to do it:
- 1. Measure the walkway — the rug should sit where you stand to get dressed, not where doors swing.
- 2. Choose a flat weave or low pile so hangers and rack wheels don’t snag on it.
- 3. Pick a color that plays well with your bin color story from Idea 10 — cohesion is the whole game.
- 4. Use rug tape or a thin non-slip pad underneath so it doesn’t bunch when you walk in.
- 5. Throw it in the wash quarterly. A clean rug is the difference between “styled” and “stale.”
Approximate cost: $15–$30. Running budget: see the $200 path below — this is where the budget gets real.
9. Command-Strip the Back of the Door

What it is: The back of the closet door is free real estate most renters ignore completely. Removable adhesive hooks and slim over-the-door organizers (the kind that hang on the door top, not screwed in) turn it into your accessories wall: tomorrow’s outfit, scarves, belts, jewelry, the bag you grab daily. In a small walk-in, moving daily items to the door keeps the shelves and rods from overflowing.
Why it works for renters: Removable adhesive hooks peel off cleanly, and over-the-door hooks leave zero marks at all. When you move, the door looks exactly as the landlord left it.
How to do it:
- 1. Plan the door’s layout first — hooks at the top for tomorrow’s outfit, mid-door pockets for accessories, low hooks for belts or scarves.
- 2. Clean the door surface with rubbing alcohol before sticking anything — adhesive bonds far better to a clean surface.
- 3. Respect weight limits. One hook per heavy bag, not three.
- 4. Use an over-the-door hook strip if the adhesive makes you nervous — zero stick, zero risk.
- 5. Keep a small trash bag hook at the bottom for tags, lint-roller sheets, and dryer-ball replacements — the little things that create floor clutter.
This is also the best spot for a “tomorrow’s outfit” hook. Laying out clothes the night before sounds like something organized people do, but I’ve found it’s the single habit that makes the door station earn its keep — you reach for one hook instead of rifling the rod at 7 a.m.
Approximate cost: $10–$15. Running budget: on track — see below.
10. Unify Everything With a Matching Bin and Box Family
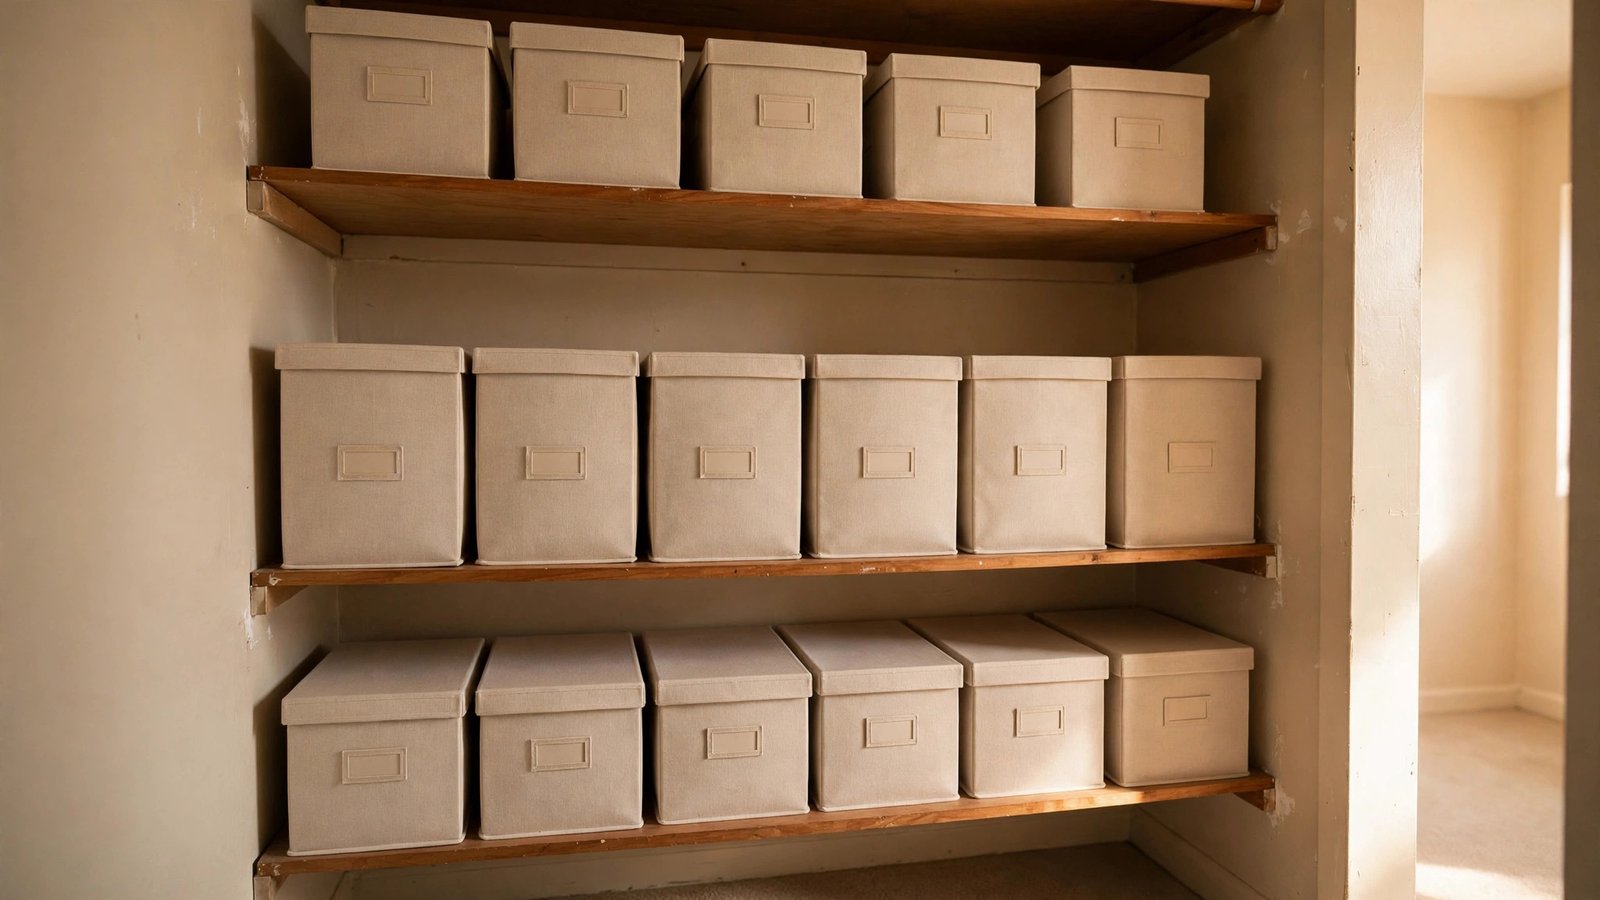
What it is: Here’s the design secret I’ve seen transform more closets than anything except lighting: visual uniformity. Mismatched boxes in ten colors and three fonts scream “storage unit.” A set of storage boxes and bins in one neutral family — same color, similar size — turns shelves into something that looks designed. Your closet will read as bigger and calmer, because your eye stops on the uniformity instead of bouncing between labels.
Why it works for renters: Boxes are fully portable, instantly removable, and they hide the chaos that closets naturally collect. They’re also the easiest thing to move to the next apartment — just carry them out full.
How to do it:
- 1. Count how many boxes you actually need from the edit — shelves, dead zone, top shelf — then buy exactly that many plus two.
- 2. Stick to one color family (warm beige, soft gray, natural fiber tones all work) so everything visually merges.
- 3. Add removable clip-on or adhesive labels to the front of each box — “winter accessories,” “gift wrap,” “camera gear” — so the system survives real life.
- 4. Put the prettiest boxes at eye level and the plain ones up top. Design your own sightlines.
- 5. Leave one empty box labeled “incoming.” Every closet needs a landing zone, or clutter invents one.
Approximate cost: $15–$25 for a set of 6–10. Running budget: nearly there.
11. Fold Sweaters and Denim the Retail Way
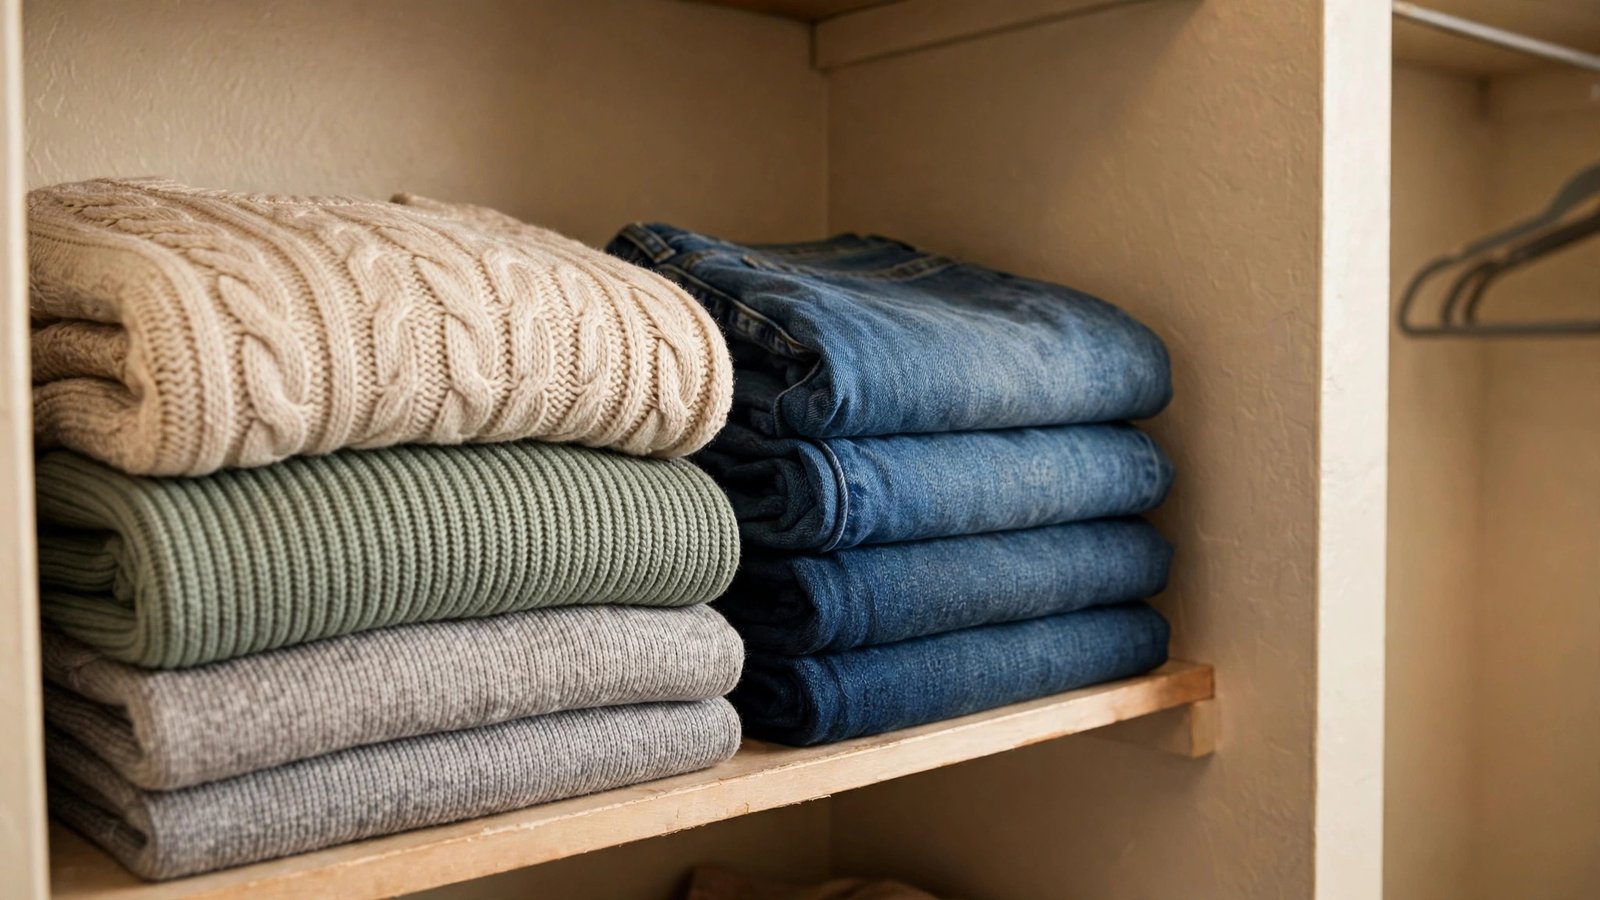
What it is: The fold matters more than renters think. Sloppy folds double the footprint of every sweater and make shelves look messy within a week. The retail fold — sleeves in, folded into a uniform rectangle about the width of a magazine — packs sweaters and denim into tight, stable stacks that actually stay put. It costs nothing and it compounds every other idea on this list.
Why it works for renters: Zero cost, zero equipment, and it makes the cubes from Idea 5 and the shelf tower from Idea 4 hold twice as much. This is the skill that makes a $200 makeover look like a $600 one.
How to do it:
- 1. Lay the garment face down and fold each side in so the sleeves tuck flat.
- 2. Fold the body into thirds so the final rectangle is roughly 10 by 12 inches — the width of most shelf cubes.
- 3. Stack heaviest items (denim, heavy knits) on the bottom, lightest on top.
- 4. Refold the top five most-worn items monthly — they take the most abuse.
- 5. Keep a “fold check” in your routine: when a stack leans, it gets refolded that week, not “eventually.”
Approximate cost: $0. Running budget: unchanged — free upgrades are the best upgrades.
12. Finish With Scent and a Living Touch
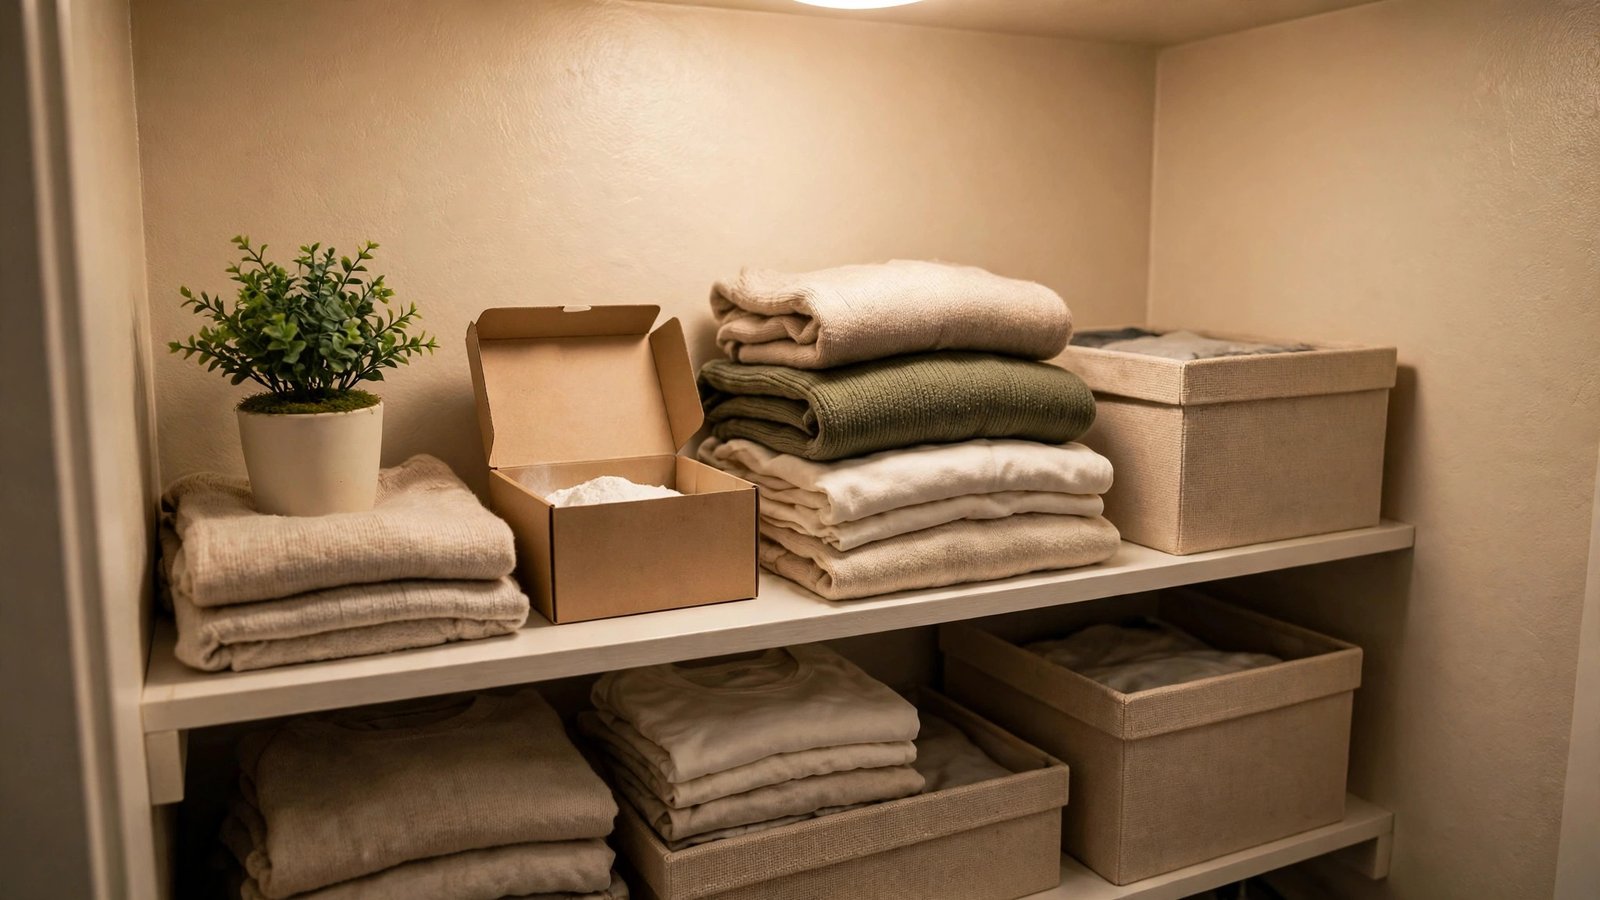
What it is: Closets smell like whatever’s been sitting in them, and most rental walk-ins smell faintly of nothing good. A small open box of baking soda on the top shelf absorbs odors for months, and a tiny faux plant or a framed print leaned on the shelf turns the room from storage into space. I know it sounds decorative-fluffy, but I’ve watched renters stand in their finished closet and smile — the finishing touches are what make it feel done.
Why it works for renters: Everything here is freestanding, removable, and costs almost nothing. A scented sachet or baking soda box needs no install; a small faux plant just sits on a shelf.
How to do it:
- 1. Place an open box of baking soda or a charcoal odor absorber on the top shelf, refreshed every few months.
- 2. Add one faux plant or a small framed art print leaned against the wall — just one, this isn’t a gallery.
- 3. Tuck a scented sachet into the shoe area if shoes live in the closet.
- 4. Step back and take a photo. Compare it to your before photo. Save that comparison — it’s your proof the systems work.
- 5. Walk out, close the door, and leave the “after” photo as your phone background for a week. You earned it.
Approximate cost: $5–$15. Running budget: complete.
The $200 Budget Path — How It All Adds Up
By now you’re doing the math, so let me do it with you. If you take every paid idea at the low end of its range — hangers ($25), rolling rack ($35), shelf tower ($30), stackable cubes ($15), battery lights ($15), leaning mirror ($25), washable rug ($15), door hooks ($10), matching bins ($15), and the scent-and-finishing kit ($5) — you land right around $190. That’s all twelve ideas, no drill, deposit intact, with $10 to spare for the inevitable extra pack of adhesive hooks.
Realistically, most renters won’t need all twelve at once. If your walk-in already has decent shelving, skip the tower and the cubes and you’re closer to $140. If the rod situation is hopeless, the rolling rack earns its $35 faster than anything else. The point of the running budget isn’t to spend exactly $200 — it’s to show you that a genuine whole-room transformation lives inside a number most renters assumed was impossible. Shop secondhand for the tower, rack, and mirror, and you can often shave another $30–$40 off, but even buying everything new, the math holds.
Conclusion
A small rental walk-in closet doesn’t need a renovation — it needs a system, some light, and about $200 worth of intention. Start with the free edit, unify your hangers, give the overflow somewhere freestanding to live, light it up with battery motion sensors, lean a mirror, anchor the floor with a rug, and let matching bins do the visual heavy lifting. Every single idea in this post comes out the day you move, and every single one passes the renter test: removable, reversible, and deposit-safe.
I’ve watched this exact sequence turn beige, builder-grade boxes into closets renters actually enjoy walking into — and the running budget proves you don’t need a big paycheck to do it. Pick the ideas that fit your space, follow the budget path or build your own, and give yourself one weekend to do it. You spend the first five minutes of every day in this room; it should feel like yours.
Please save this visual guide on Pinterest and pin your favorite idea so you can find it when your closet makeover weekend arrives — and if you complete the transformation, I’d love for you to tag your before-and-after so other renters can see what’s possible under $200.

Amelia leads HavenlyStyle’s editorial vision with a passion for elegant interiors and practical home living. With years of experience in home décor and lifestyle content, she ensures every article is accurate, inspiring, and easy to follow. From timeless decorating ideas to the latest interior design trends, Amelia is committed to helping readers create beautiful, functional spaces while maintaining HavenlyStyle’s trusted and welcoming voice.