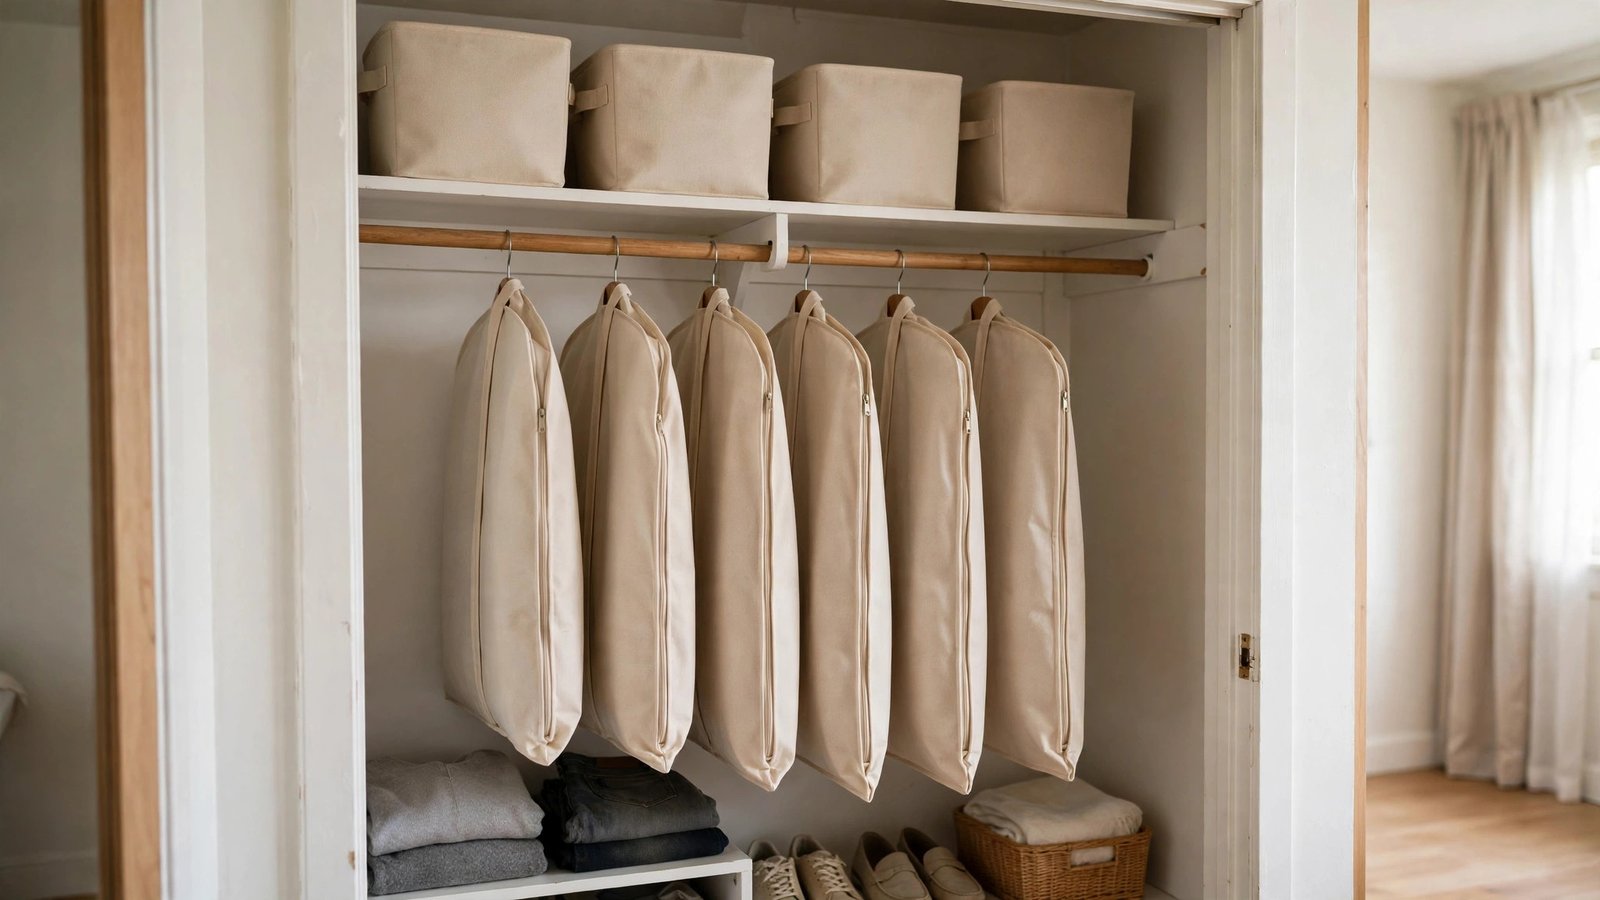
Every November, the same scene plays out in my clients’ apartments: the costume that looked incredible at the party becomes a lumpy problem shoved into a garbage bag on the closet floor. By next October, the sequins are stuck to the plastic, the latex mask has fused to itself, somebody’s wig is a matted disaster, and the little accessories — the belt, the crown, the fake fangs — have vanished into the void. As a renter, you don’t have a spare guest-room closet, a dry finished basement, or a garage loft to absorb the chaos. You’ve got one small closet, an under-bed gap that barely fits a shoebox, and a landlord who will absolutely notice a moldy stain on the carpet if you store something damp.
I’ve helped dozens of renters wrestle seasonal wardrobes into small spaces over the years, and Halloween costumes are the trickiest category of all: they’re bulky, oddly shaped, often delicate, and they only get used once a year, so they’re easy to store badly and forget. The good news is that with the right materials and a little weekend effort, your costumes can come out next October looking as good as the night you wore them — without drilling a single hole, without buying a storage unit, and without losing a dollar of your deposit. Here are the twelve methods I reach for again and again.
Executive Summary
- Breathable beats airtight for almost everything: canvas garment bags and acid-free tissue protect costumes far better than plastic garment bags, which trap moisture and grow mold in rental apartments.
- Renters have more storage space than they think: the under-bed gap, the back of the closet door, and the top of the closet rod are all deposit-safe costume territory once you use the right flat boxes and over-door hooks.
- Dry everything completely before it goes into storage — the single most important habit in this list, and the one that prevents ninety percent of mildew disasters.
- Small parts need small compartments: masks, wigs, prosthetics, and accessories each have their own best container, and loose-ending them into one big bin is how things break.
- Never vacuum-seal latex or foam prosthetics, and always photograph your packed bins so next year’s setup takes minutes, not an afternoon.
1. Switch Plastic Garment Bags for Breathable Canvas Ones
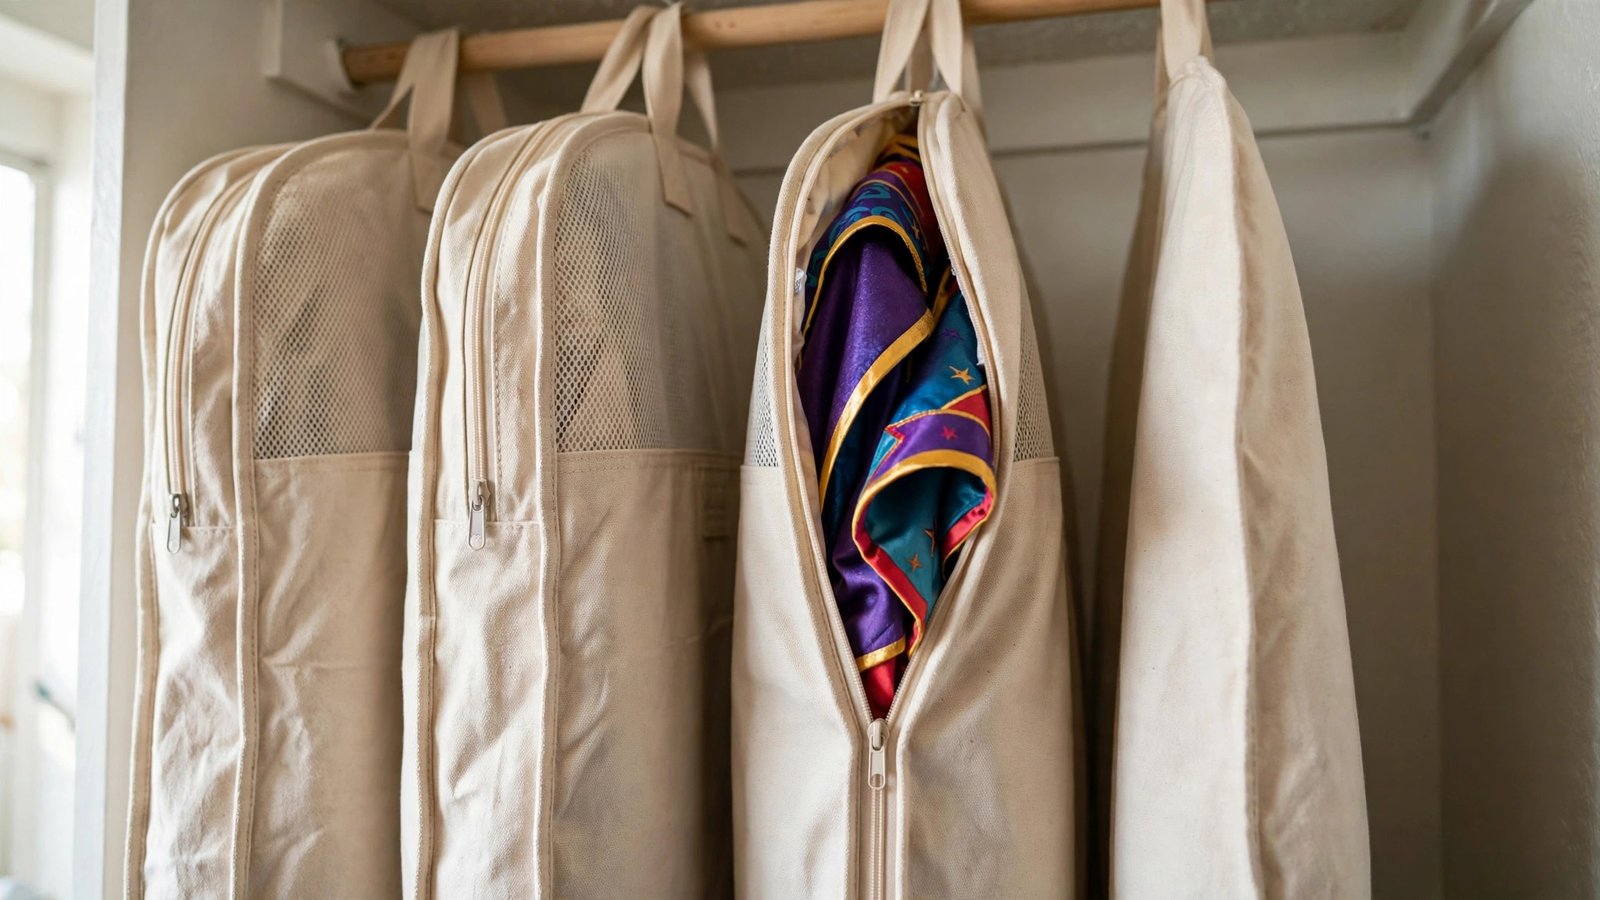
What it is: Replacing the thin plastic garment bags that dry cleaners hand out — or the plastic zip bags costumes often ship in — with breathable canvas or non-woven fabric garment bags for anything that hangs: capes, gowns, suits, long coats, and layered pieces.
Why it works for renters: Rental apartments are notorious for humidity swings. Closets on exterior walls collect condensation in winter, window units pump moisture into bedrooms in summer, and bathrooms that share a wall with your closet vent steam straight through it. Plastic bags trap all of that against your costume, and I have personally opened plastic-bagged costumes in March to find a full bloom of mildew across the lining. Canvas bags breathe, so moisture passes through instead of condensing. They also hang on the rod you already have — no hardware, no drilling, no landlord conversation.
How to do it:
- Pull every costume out of its plastic bag and inspect for stains or spots. Spot-clean now, because a year in storage will set almost anything.
- Let each piece air out for 24 hours on a hanger in a ventilated room before it goes into a bag. This step does more work than anything else on this list.
- Choose bag lengths that match the costume — knee-length for shorter pieces, full-length for gowns and long coats, so hems aren’t crushed against the bottom.
- Add a cedar ring or a lavender sachet inside each bag (more on those in idea 7), zip it closed, and hang it on your existing rod with a little breathing room between bags.
- Skip scented plastic bags entirely — the fragrance chemicals can discolor light fabrics over a year.
Cost: Approximately $8–15 per breathable garment bag. Most renters need two to four.
2. Give Every Costume the “Dry Before It Dies” Treatment

What it is: A deliberate 24- to 48-hour drying ritual after every wear: airing out, desweating, and fully drying each costume before it goes anywhere near storage.
Why it works for renters: This is the unglamorous step that prevents the most expensive damage. A costume worn for five hours holds body moisture, hairspray, makeup, spilled drinks, and — in many rental apartments — the ambient humidity of a building with radiators or a damp first-floor unit. Sealed away while even slightly damp, that cocktail becomes mildew within weeks and can stain the carpet or closet floor it sits on, which is exactly how deposit deductions happen. Drying is free, requires no equipment, and protects both the costume and your lease.
How to do it:
- The night of the party (or the morning after), hang every piece separately on hangers on a freestanding garment rack or over the tops of doors. Don’t pile anything.
- Turn pieces inside out if you can — linings and glued seams hold the most moisture.
- Point a regular fan at the rack for a few hours if the fabric feels cool or clammy. Cool-to-the-touch means still damp.
- Sniff-test foam and latex pieces (masks, prosthetics, shoe covers): they hold sweat far longer than fabric and may need a full 48 hours.
- Only once everything smells like nothing and feels like room temperature does it earn a place in a bag or bin.
Cost: Free. A fan you already own is the only tool involved.
3. Claim the Under-Bed Gap With Flat, Labeled Storage Boxes
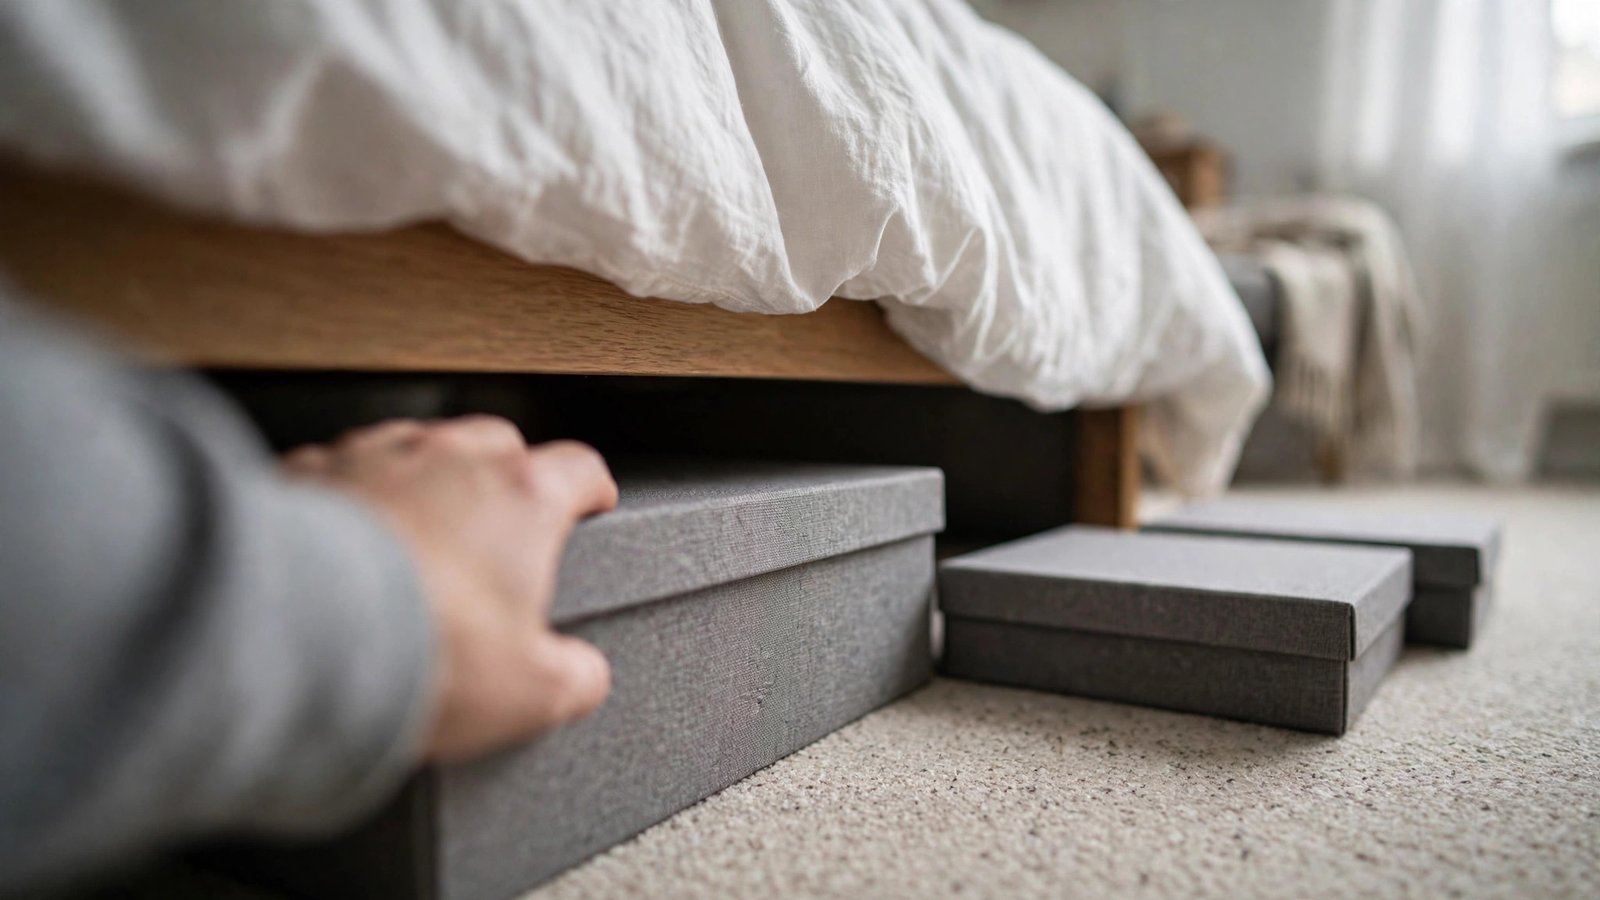
What it is: Using low-profile, flat storage boxes (the kind that slide under a standard bed frame) as your main costume archive, with contents labeled on both short ends so you can identify them without pulling the box out.
Why it works for renters: In a studio or one-bedroom, the closet is spoken for by your actual clothes. The under-bed gap, though, is usually the largest empty horizontal surface in the apartment — and it’s wasted on a random shoe pile. Flat boxes turn it into a shallow costume drawer. Because they slide out like a drawer, you never have to stack and unstack, which is how delicate pieces get crushed. Nothing attaches to the apartment, nothing shows during a move-out inspection, and the boxes themselves move with you.
How to do it:
- Measure your under-bed clearance first — most standard frames give you 7–8 inches, and boxes that are too tall are the number-one buying mistake I see.
- Line each box with a sheet of acid-free tissue (see idea 4) before anything goes in, so costume fabric never sits directly on the plastic.
- Pack heaviest items (boots, helmets) on the bottom, folded fabric in the middle, and small compartment boxes (idea 6) on top like a bento layout.
- Label BOTH short ends with a photo label (idea 9) so the box is identifiable from either side of the bed.
- Slide boxes in with the long side facing out, and keep a half-inch gap between them so they don’t jam when the frame shifts.
Cost: Approximately $12–25 per flat under-bed box. Two to three boxes cover most households.
4. Layer Acid-Free Tissue Between Every Fold

What it is: Slipping sheets of acid-free tissue paper between folds of stored costume fabric — inside sleeves, between layered skirts, around sequined or beaded areas — instead of folding fabric directly against itself.
Why it works for renters: You can’t control your apartment’s storage conditions the way a homeowner with a climate-controlled spare room can. Rental closets run warm, attics and storage nooks in rentals run hot, and temperature swings make fabric stick to itself, sequins imprint on neighboring layers, and dark dyes bleed. Acid-free tissue is the museum-standard fix: it cushions folds so creases don’t set, absorbs minor moisture fluctuations, and keeps embellished surfaces from grinding against each other. It’s cheap, it’s light, and it makes unpacking next October feel like opening a gift instead of excavating a wad.
How to do it:
- Buy plain, unbuffered acid-free tissue — not colored tissue, which can bleed dye, and not newspaper, which is acidic and will yellow light fabrics.
- Stuff sleeves, bodices, and any hollow parts (hats, shoes, gloves) loosely with tissue so they hold their shape instead of collapsing.
- Lay a sheet of tissue over every sequined, beaded, or painted area before folding, so no two embellished surfaces touch.
- Wrap wigs in tissue too — it prevents the fibers from tangling against themselves in storage.
- Tuck a fresh sheet on top of each packed layer before adding the next one, like lasagna. Reuse the sheets next year if they’re still clean.
Cost: Approximately $8–12 for a large pack of acid-free tissue, enough for several costumes.
5. Give Masks, Helmets, and Wigs Their Own Foam Heads

What it is: Storing shaped headpieces — masks, helmets, masquerade headpieces, structured wigs — on inexpensive foam wig heads (the plain white mannequin heads) inside your closet or on a shelf, instead of tossing them loose into bins.
Why it works for renters: A mask crammed into a bin gets crushed flat in about three months, and a crushed mask never really springs back. Foam heads solve this elegantly: they keep the shape, they let air circulate around latex and foam pieces so they don’t mildew, and they’re small enough to sit on a closet shelf, the top of a wardrobe, or inside a wide garment bag. They’re featherweight, cost almost nothing, and need no installation. For renters with one small closet, a shelf of foam heads doubles as oddly charming decor in the off-season — or tuck them into the back of the closet behind the garment bags if you’d rather not look at them.
How to do it:
- Let each mask or wig dry fully first (idea 2’s ritual applies here too — latex holds sweat for days).
- Slide the headpiece onto the foam head and adjust the fit so nothing is stretched or pinched.
- Drape a light cotton pillowcase over each head to keep dust off — don’t use plastic, which traps humidity against latex.
- Place them upright on a shelf or inside a wide box; if they must lie down, nest them so no two touch.
- For wigs specifically, give the hair a quick finger-comb before storing and let it hang naturally down the back of the foam head.
Cost: Approximately $3–6 per foam head. Pillowcases you already own work fine as covers.
6. Corral the Small Stuff in Compartment Boxes

What it is: Sorting every small costume accessory — jewelry, buttons, buckles, fangs, fake nails, elf ears, makeup pencils, shoe covers’ clips — into a compartmented box (the kind sold for beads, fishing tackle, or hardware) with one section per accessory type.
Why it works for renters: Accessories are the first things to vanish and the first things to break. A tiara tossed loose in a bin snaps within a season; a box of vampire fangs scattered across a drawer gets thrown out by mistake. One compartment box per costume (or one divided box per household, with a section per costume) ends the annual treasure hunt. The boxes sit neatly inside the under-bed flat boxes from idea 3 or on a closet shelf, they keep sharp bits from snagging fabric, and they make the October unpacking a five-minute job instead of a scavenger hunt.
How to do it:
- Gather every accessory for one costume in a pile and sort by type — nothing shares a compartment with something that could scratch or snag it.
- Line each compartment with a small square of tissue if the contents are delicate (painted jewelry, prosthetics).
- Photograph the open box with your phone and tape the printout to the lid (see idea 9) so you can see at a glance what’s inside.
- Label the outside with the costume name and the year, using painter’s tape and a marker — removable, no residue.
- Store the box upright on top of the folded fabric in your under-bed box so it’s the first thing you see when you open it.
Cost: Approximately $6–12 per compartment box. Most households need one to three.
7. Use Cedar and Lavender for Pest Protection — Skip the Mothballs
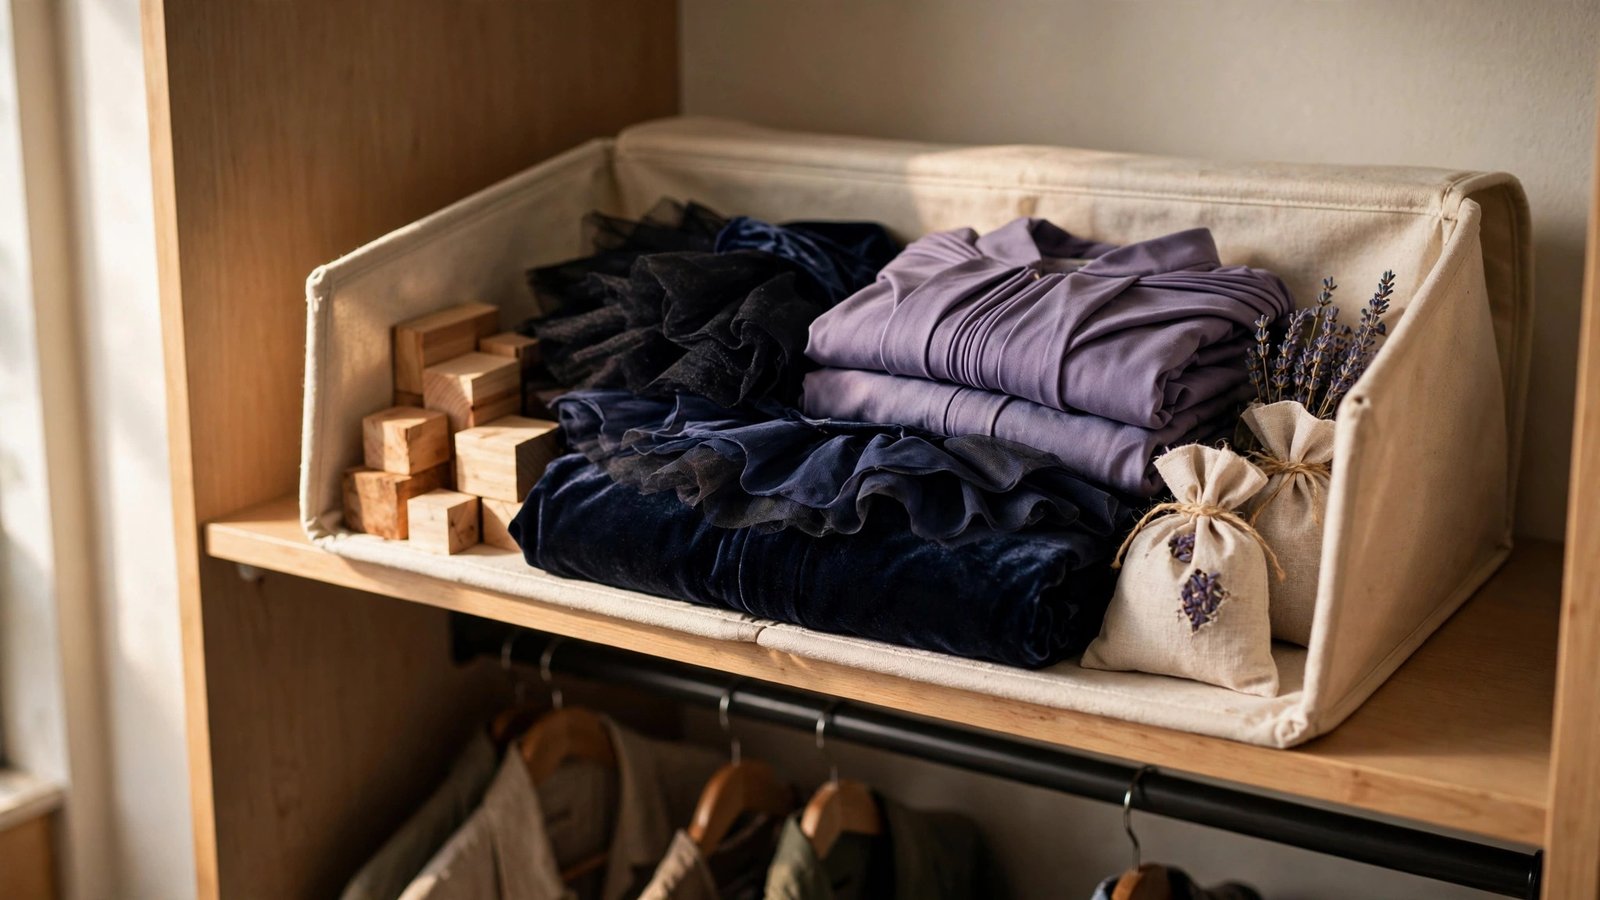
What it is: Tucking cedar blocks, cedar rings, or dried lavender sachets into garment bags, bins, and boxes as a pest deterrent instead of chemical mothballs.
Why it works for renters: Moths and carpet beetles love stored wool, feathers, and natural fibers — all common in costumes — and a rental apartment gives them plenty of hiding places. Chemical mothballs technically work, but the smell permeates fabric for months (ask anyone who has worn a mothballed costume to a party), they’re toxic to pets and kids, and many leases restrict strong-smelling chemicals because of shared ventilation. Cedar and lavender are the renter-friendly alternative: they deter pests without chemicals, they smell like a spa instead of a hardware store, and they tuck invisibly into every storage method in this list.
How to do it:
- Drop one cedar ring on the hanger hook inside each garment bag, or hang a cedar block from the rod with a ribbon.
- Tuck one cedar block and one lavender sachet into each under-bed box, at opposite ends so the scent distributes.
- Replace sachets yearly — lavender loses its potency after about twelve months, and cedar can be sanded lightly to refresh it.
- Keep cedar and lavender AWAY from direct contact with light-colored silks and satins, which can stain from the oils; the tissue layers from idea 4 make good barriers.
- Check for actual moth activity when you unpack (tiny holes, webbing, a dusty smell) — deterrents prevent, but they don’t cure an existing infestation, and that needs a different fix.
Cost: Approximately $10–18 for a multi-pack of cedar blocks; lavender sachets run about $8–12 for a bundle.
8. Hang Capes, Robes, and Fabric Lengths on No-Drill Over-Door Hooks

What it is: Using sturdy over-the-door hooks (the kind that hang over the top of a door without screws) to store long hanging pieces — capes, robes, cloaks, vampire collars, fabric bolts — on the back of a closet or bedroom door.
Why it works for renters: A floor-length cape eats an entire section of closet rod, and in a small renter’s closet, rod space is prime real estate your everyday clothes already claim. The back of a door is dead space — invisible when the door is open, fully usable when it’s closed. Over-door hooks add hanging capacity without a single hole, they come off in seconds at move-out, and most landlords never even register them as a modification because they aren’t one. I’ve outfitted entire costume wardrobes for theater-kid families using nothing but two doors and a set of hooks.
How to do it:
- Choose hooks rated for at least 10–15 pounds each — cheap thin hooks bend under a heavy velvet cape. Wider, padded hooks protect door paint.
- Hang the hook over the TOP of the door and close the door once to check it doesn’t scrape the frame or prevent latching.
- Drape capes and robes over the hooks by their shoulders or hangers — don’t fold them over thin hooks, which creates a permanent crease line.
- Cover each piece with a pillowcase draped over the top to keep dust off (same breathable-cotton logic as idea 5).
- Keep heavy pieces on the hinge side of the door so the weight doesn’t warp the door over months of hanging.
Cost: Approximately $10–20 for a set of three to five sturdy over-door hooks.
9. Photograph Every Packed Bin and Tape the Photo to the Lid
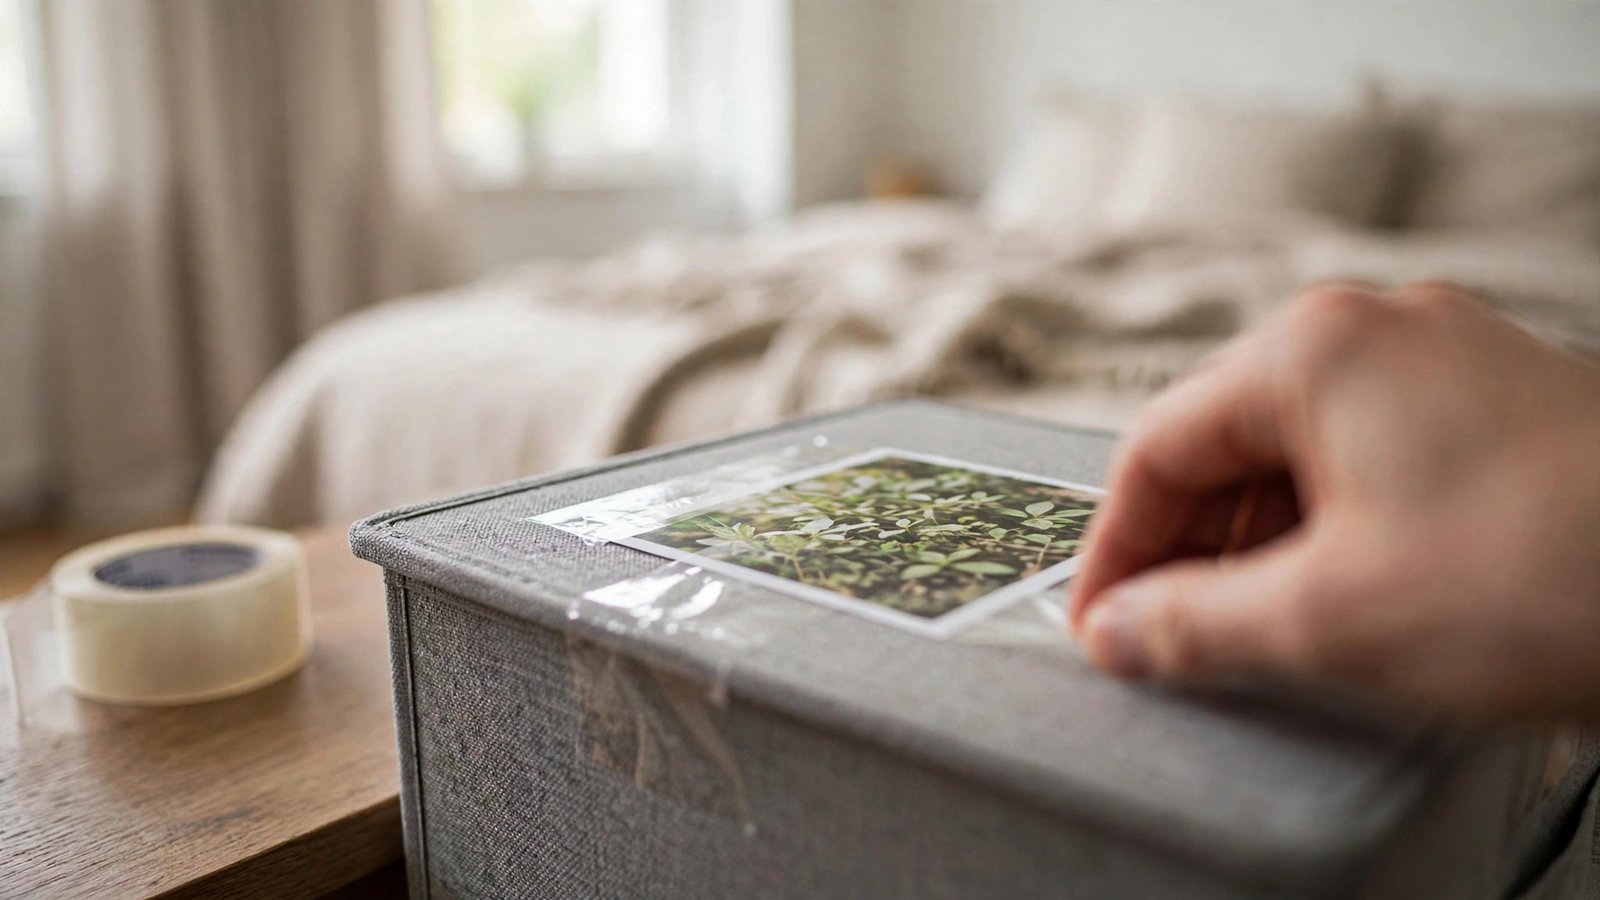
What it is: Taking a phone photo of each storage container’s contents before you close it, printing the photo (even on regular paper), and taping it to the outside of the box or bag.
Why it works for renters: Small apartments punish vague labeling. “Halloween stuff” on four identical bins means you’re opening all four every October — and reopening them is how delicate pieces get crushed, how the carefully folded layers from idea 4 get disturbed, and how you end up re-buying the crown you already owned. A photo label shows you exactly which bin holds the pirate costume versus the witch costume at a glance, from across the room, without opening anything. It costs almost nothing, takes ninety seconds per bin, and it survives years of stacking.
How to do it:
- Lay out each costume’s contents neatly and photograph the OPEN box or bag from above, in good light, so everything is identifiable.
- Print the photo at roughly 4×6 inches — a home printer on regular paper is fine; no need for photo paper.
- Tape it to the lid or the short end of the box with clear packing tape, sealing all four edges so it doesn’t peel in humidity.
- Add the costume name, the year packed, and a one-line contents note in marker across the bottom (“Pirate: coat, boots, hat, sword, belt”).
- Keep a copy of all the photos in a phone album called “Costume Storage” — when you’re costume-shopping next October, you’ll know exactly what you already own before you buy anything.
Cost: Nearly free — regular paper and tape you already own, or about $3–5 for prints at a drugstore.
10. Never Vacuum-Seal Latex or Foam — Use Shallow Padded Boxes Instead

What it is: A deliberate exception to the “vacuum bags save space” advice: latex masks, foam prosthetics, padded muscle suits, and foam armor pieces go into shallow, padded boxes with tissue — never into vacuum-seal bags.
Why it works for renters: Vacuum bags are wonderful for puffy winter coats, which is why every renter owns some. But latex and foam are not winter coats. Sustained compression warps latex permanently, crushes foam cell structure so padding never springs back, and — worst of all — traps any residual moisture against the material, which is how prosthetics grow mildew from the inside out. I’ve seen renters pull a vacuum-sealed orc mask out in October to find it permanently flattened with a musty smell that never washes out. A shallow box takes a bit more room but keeps a $60 mask wearable for years.
How to do it:
- Dry latex and foam pieces for a full 48 hours (they hold moisture longest — see idea 2).
- Dust the inside of latex pieces lightly with cornstarch or talc-free body powder so the surfaces can’t stick to themselves, then shake off the excess.
- Line a shallow box (2–4 inches deep) with tissue and lay each piece flat with tissue between pieces — one layer only, never stacked.
- If a box must hold two pieces, use a cardboard divider or a folded towel as a wall between them so nothing presses on anything else.
- Store these boxes on a shelf or the top of your under-bed boxes — never at the bottom of a stack, where weight compresses them.
Cost: Approximately $5–10 per shallow box. Cornstarch is a dollar or two.
11. Give Each Person Their Own “Grab Bag” Tote
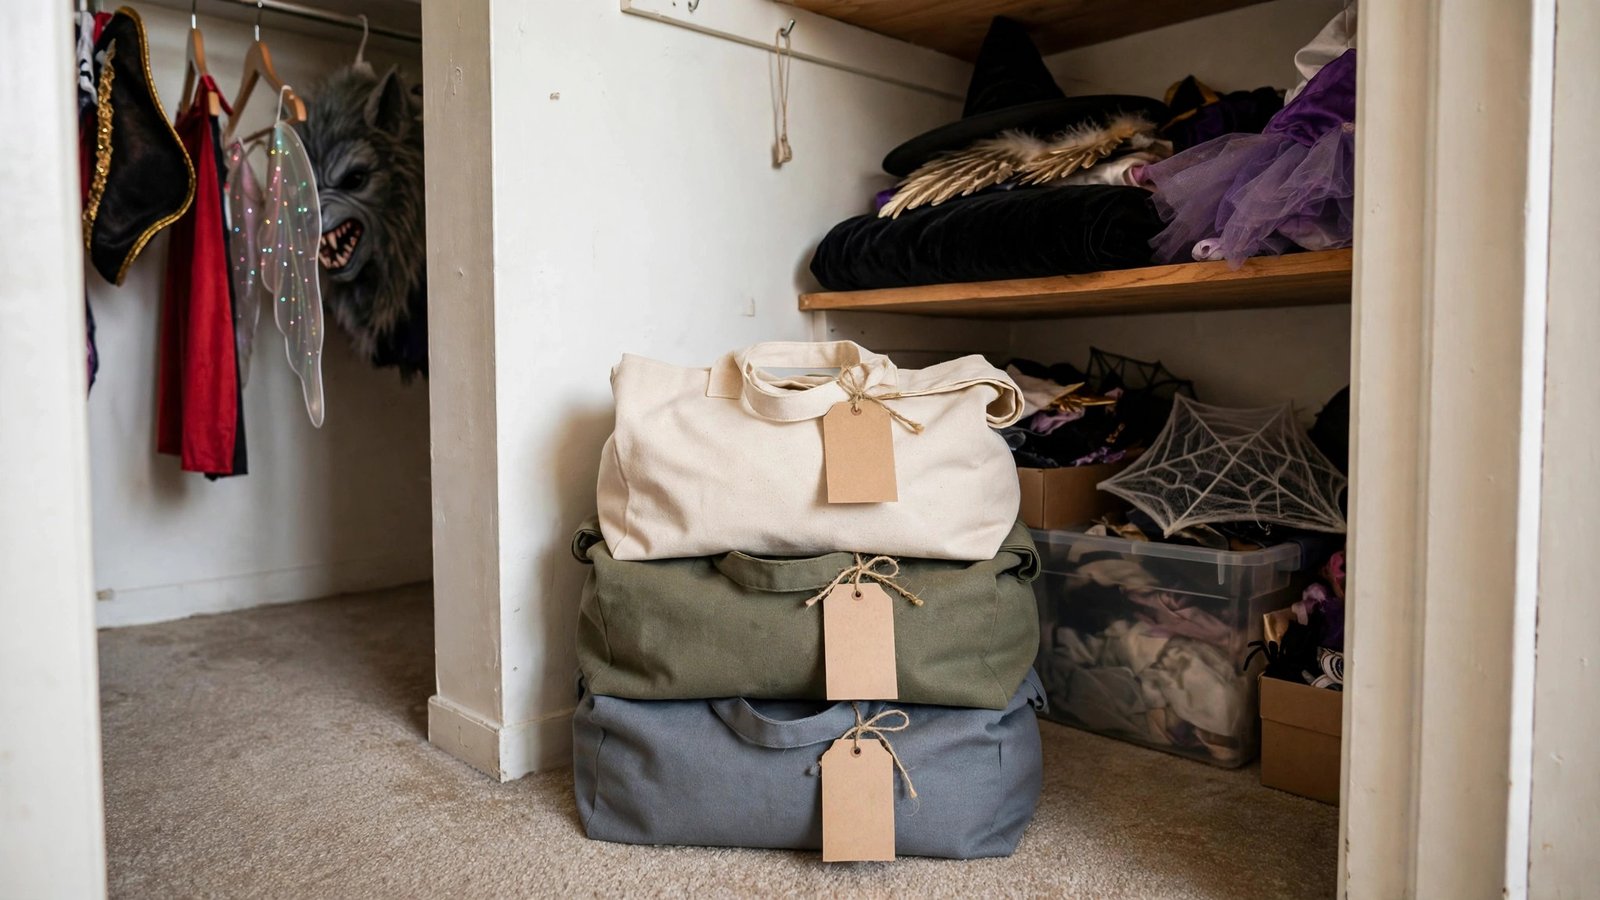
What it is: Packing each household member’s complete costume — main pieces, accessories box, and all — into one labeled tote or duffle per person, so next October everyone grabs exactly one bag.
Why it works for renters: When costumes are sorted by TYPE (all masks together, all capes together), getting one person dressed means opening every container in the apartment. In a 600-square-foot rental, that’s the whole living room floor covered in costume parts while a kid melts down because it’s almost time to leave. Sorting by PERSON means each costume is a self-contained kit: the pirate bag has the pirate’s everything, the witch bag has the witch’s everything. It’s the system that actually survives contact with a busy family, and the totes stack neatly in a closet corner or slide under beds.
How to do it:
- Choose one tote or duffle per person, sized to their costume — kids’ costumes fit in a standard tote; adult gowns may need a garment bag plus a tote for accessories.
- Pack using the methods from ideas 1–10: tissue between folds, accessories in their compartment box inside the tote, masks on tissue (not foam heads — those stay home).
- Add a photo label (idea 9) to the outside: the person’s name, the costume, and the year.
- Include a small zip bag with that person’s costume-specific extras — safety pins, double-sided tape, the spare button — so nothing migrates between bags.
- Store all the totes together in one spot: the top shelf of the closet, the back of the under-bed row, or one stacked column in a corner.
Cost: Approximately $8–18 per tote or duffle if you don’t already own them; many households can reuse bags they have.
12. Make It a Ritual: The Annual Costume Refresh and Pack-Away Weekend
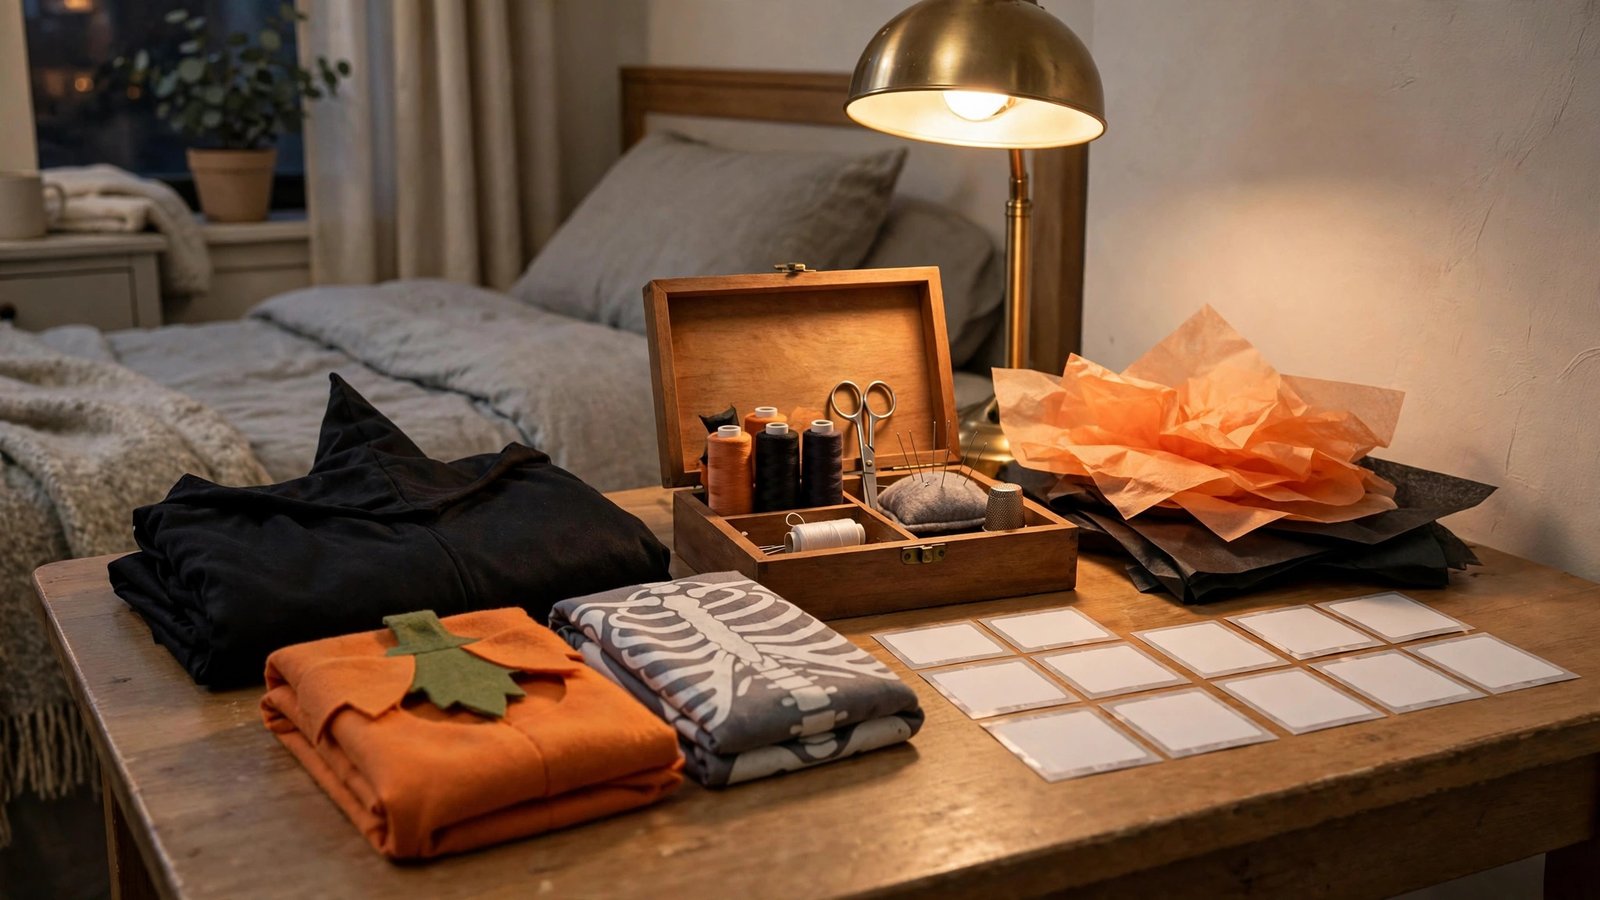
What it is: Blocking one weekend afternoon, ideally the first weekend of November, for a deliberate pack-away session: inspect, repair, launder or spot-clean, photograph, and pack every costume using the methods above — plus a quick donation pass on costumes you’ll never wear again.
Why it works for renters: The reason most renters’ costumes die in storage is not bad materials — it’s the absence of any process. Costumes get shoved away exhausted on November 1st and discovered ruined the following October. A once-a-year ritual turns storage into a system: small repairs (a loose hem, a popped snap) get fixed while they’re cheap, stains get treated before they set, and the donation pass keeps your one small closet from accumulating five years of costumes you’ll never wear. Renters who do this tell me the whole thing takes about two hours — and next October’s unpacking takes twenty minutes.
How to do it:
- Set the date now — the first weekend of November, before the holiday decor comes out and competes for your attention.
- Lay out every costume and do a triage pass: keep, repair, donate, or retire. Be honest; a costume you haven’t worn in three years is clutter, not an heirloom.
- Do the repairs on the spot — a $5 mini sewing kit handles hems, buttons, and loose trim. Wipe down masks and helmets, spot-clean fabric, and run the full drying ritual (idea 2) on anything that was laundered.
- Photograph, pack, and label everything using ideas 1–11, working costume by costume so nothing gets half-packed.
- Bag up the donations immediately and put them by the door — costumes donated in November actually get used, since thrift stores stock up for next year’s season.
Cost: Free beyond the materials in the other ideas, plus about $5 for a mini sewing kit if you don’t own one.
The Takeaway
Halloween costumes don’t have to be a once-a-year casualty. With breathable garment bags on the rod you already have, flat boxes in the under-bed gap you’re probably wasting, foam heads for the shaped pieces, tissue between the folds, and a simple drying ritual before anything goes away, a renter’s small closet can protect costumes as well as any homeowner’s spare room — and none of it costs a hole in the wall or a dollar of your deposit. The real secret isn’t any single product on this list; it’s treating pack-away as a system instead of a shove. Do the two-hour ritual this November, photograph your bins, and next October you’ll open a box that smells like cedar instead of regret. I’ve watched renters go from annual costume funerals to five-year costume collections with exactly these methods, and there’s no reason your closet can’t be next. Please save this visual guide on Pinterest and share it with every renter you know who deserves a costume that survives the year.

Amelia leads HavenlyStyle’s editorial vision with a passion for elegant interiors and practical home living. With years of experience in home décor and lifestyle content, she ensures every article is accurate, inspiring, and easy to follow. From timeless decorating ideas to the latest interior design trends, Amelia is committed to helping readers create beautiful, functional spaces while maintaining HavenlyStyle’s trusted and welcoming voice.