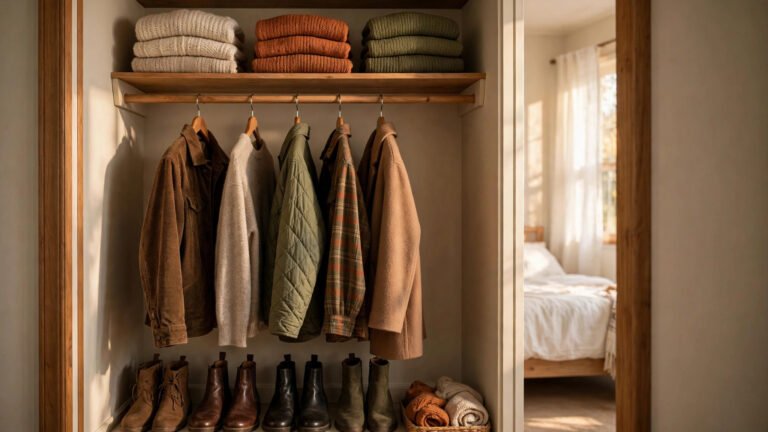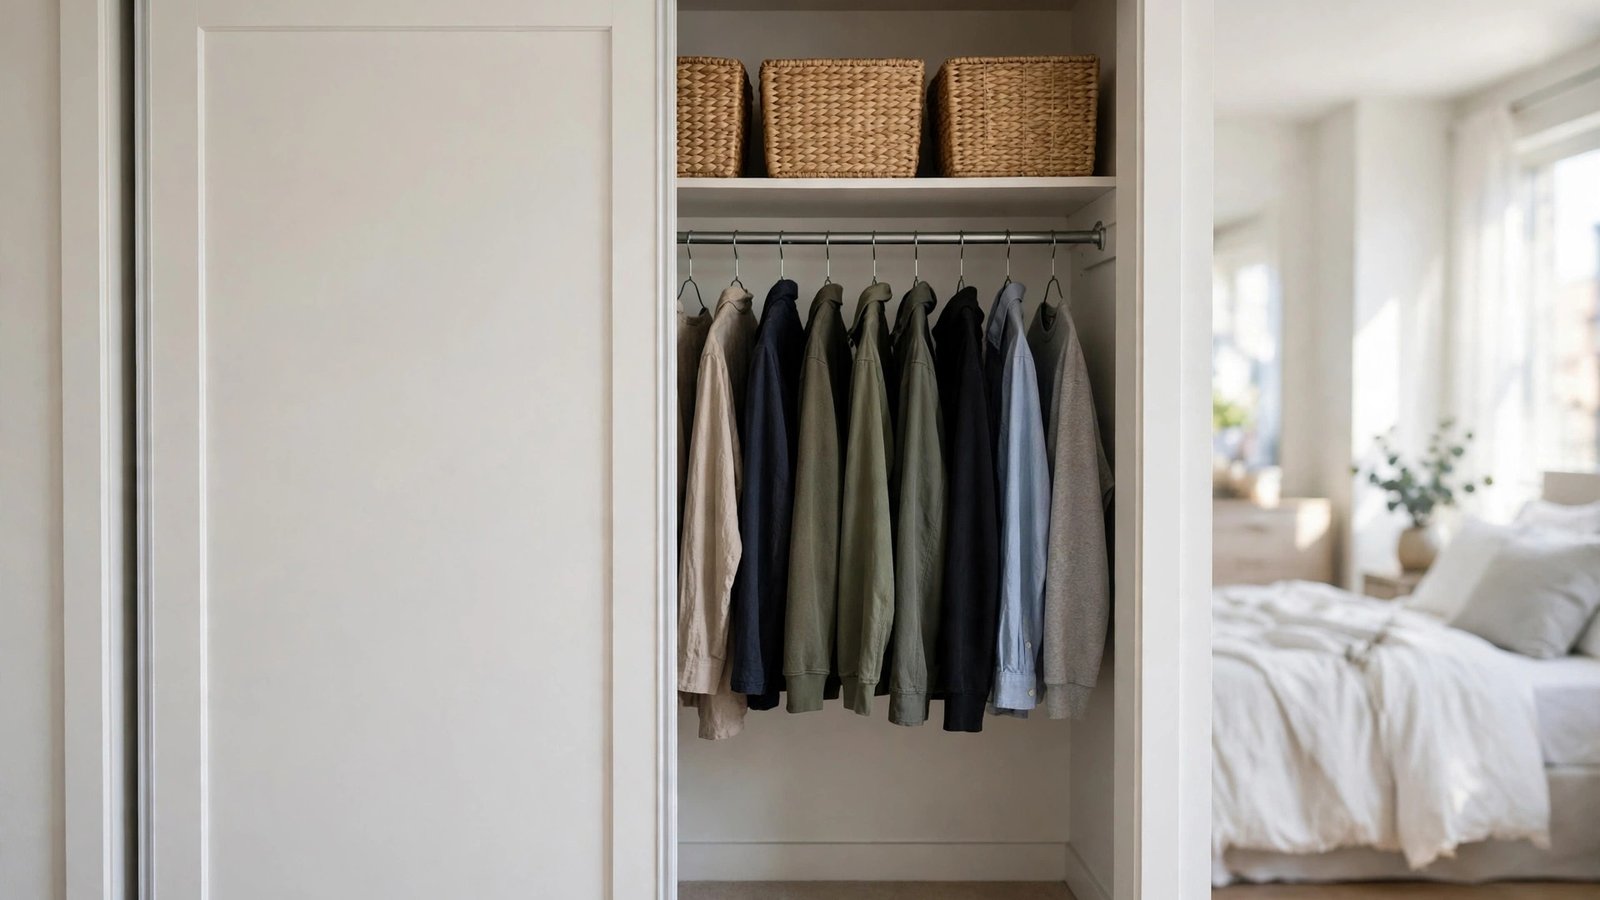
I've helped dozens of renters stare into the same awkward rectangle and sigh: the reach-in closet. You know the one. Roughly two feet deep, just wide enough to hang clothes shoulder to shoulder, with a single shelf riding high above the rod and a light bulb that may or may not exist. Half the time the door makes it worse — a sliding panel that permanently hides one side of your clothes, or bi-fold doors that swing inward and eat the only usable floor space. And because it's a rental, the usual fixes are off the table: no drilling into walls you don't own, no built-in systems, nothing that puts your deposit at risk.
Here's the thing I've learned after years of organizing rental closets: the reach-in isn't a bad closet. It's just a specific closet, and it needs specific strategies. Generic closet advice assumes depth you don't have and doors that don't fight you. The ideas below are built for the actual constraints of the shallow, sliding-door and bi-fold reach-in closets that dominate US apartments — depth-based zoning, narrow systems that fit a 24-inch box, and door workarounds that turn the worst features of these closets into workable ones.
Every idea here is renter-tested: removable, reversible, and deposit-safe, with honest approximate cost ranges. No built-ins, no damage, no landlord negotiations required. Let's open that door and make it work.
Executive Summary
- Think in two zones, not one closet. In a 24-inch-deep reach-in, the front 12 inches are your daily-access zone and the back 12 inches are deep storage. Organize each zone differently and the shallow box suddenly makes sense.
- The doors are half the problem — design around them. Sliding doors hide half your closet; bi-folds steal swing space. Assign the hidden or blocked half to low-touch storage and the problem disappears.
- Narrow systems beat wide ones. Only organizer pieces built for 24-inch-deep closets will fit; measure depth before you buy anything.
- Slim hangers are the cheapest square footage you'll ever buy. Switching hanger types can reclaim six to eight inches of rod width in a narrow reach-in.
- Light it before you organize it. A dark reach-in hides its own clutter. Battery motion-sensor LEDs are renter-safe and change everything.
1. Zone by Depth: The Front-12 / Back-12 Rule
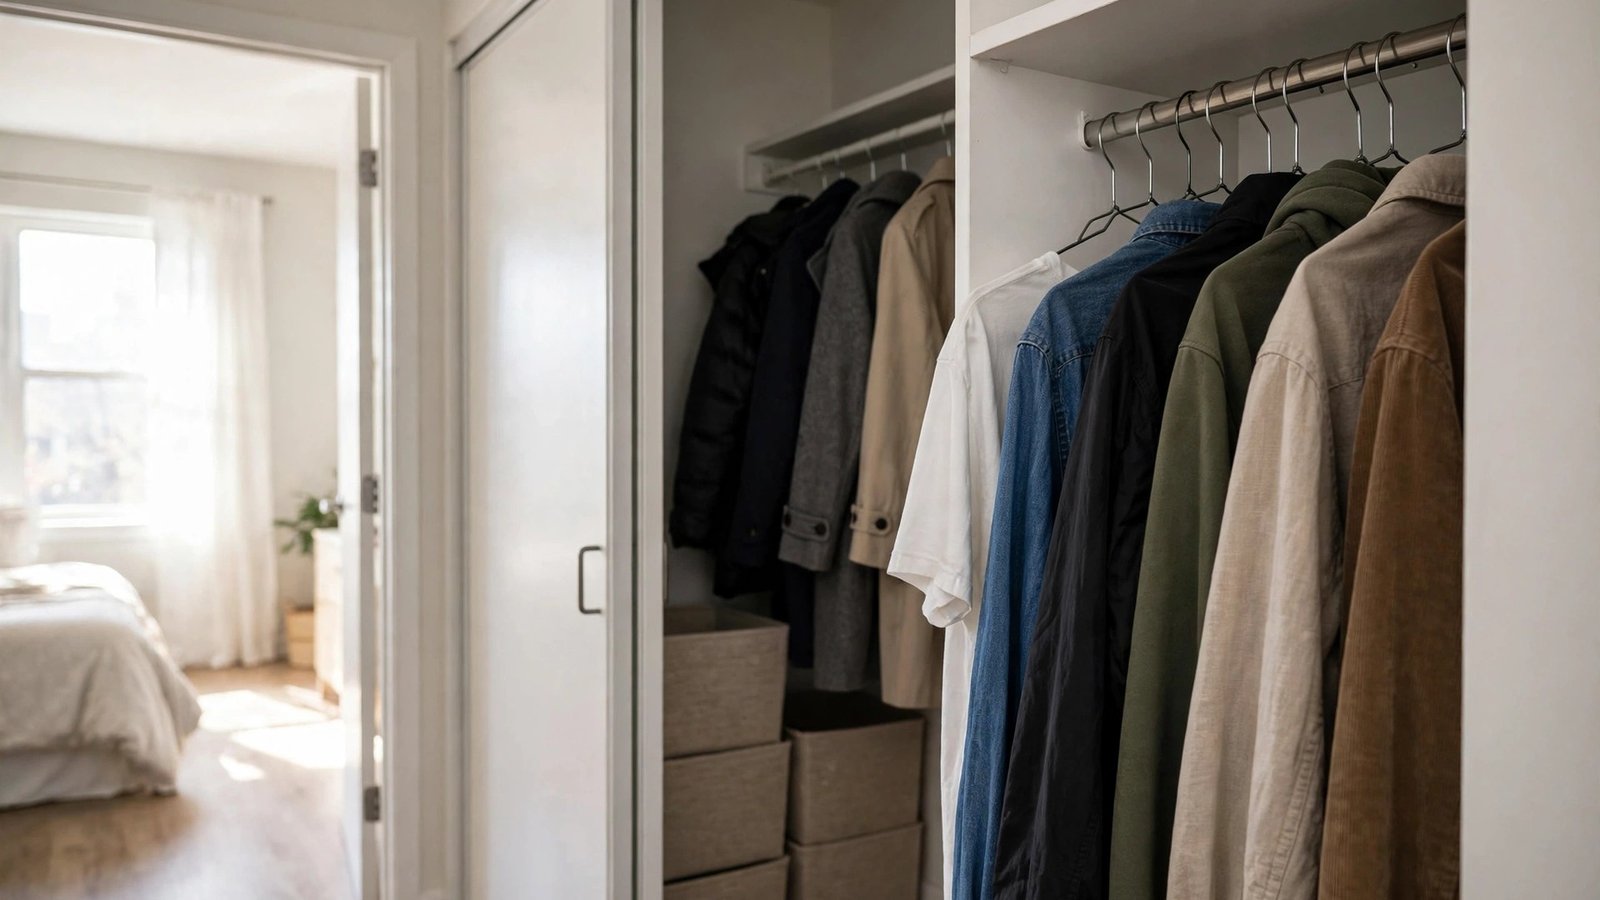
Most reach-in closets are about 24 inches deep — just enough for a hanger to clear the back wall. The mistake I see constantly is treating the whole rod as equal space. It's not. In practice, the front half of your hangers is easy to reach and the back half is where clothes go to be forgotten. So stop fighting that reality and organize around it.
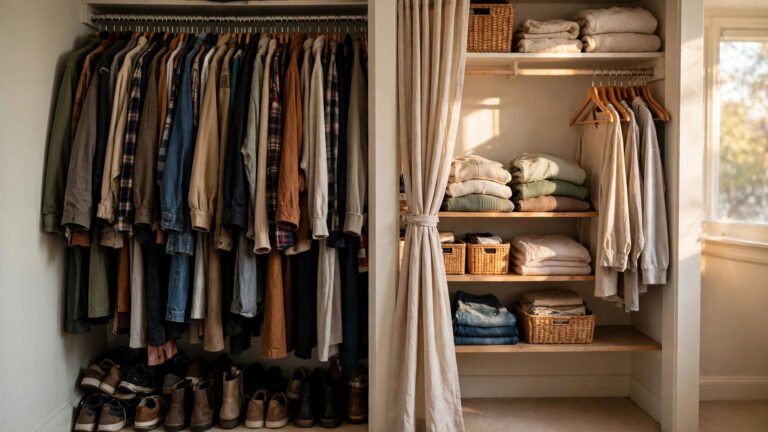
Depth-based zoning means dividing your closet into two functional bands. The front zone (roughly the front 12 inches, nearest the door opening) holds everything you touch daily: work clothes, current-season outfits, the bag you grab on the way out. The back zone (the rear 12 inches, against the back wall) holds low-touch items: off-season coats, occasion wear, backup supplies. You're not wasting space — you're assigning it honestly.
Why it works for renters: This is pure strategy, not hardware. It costs nothing, requires zero installation, and moves with you to the next apartment's reach-in closet because the geometry is the same everywhere.
How to do it:
- Pull everything out of the closet and sort into "daily," "weekly," and "rarely" piles before a single hanger goes back in.
- Rehang daily-wear items on the front half of the rod (the half nearest the door opening) and rarely-worn items on the back half, grouped by category.
- Put a slim labeled bin or two on the floor in the back zone for the lowest-touch items, so the back half stays intentional instead of becoming a void.
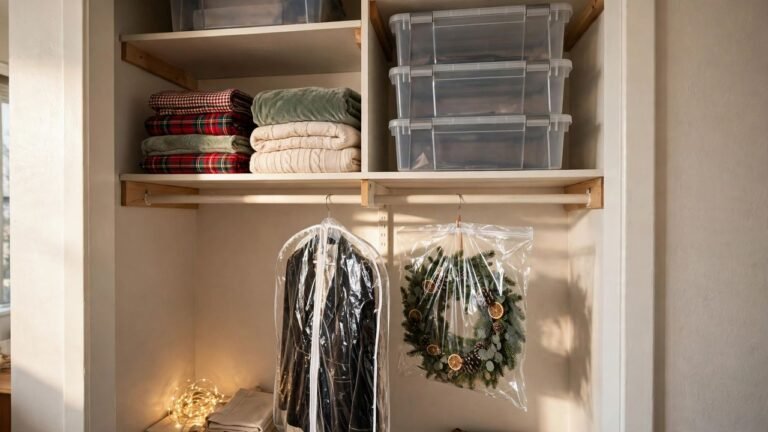
- Reserve the top shelf directly above the back zone for off-season storage bins, and the shelf above the front zone for things you grab often.
- Approximate cost: $0. This is a reorganization, not a purchase.
2. Beat the Sliding-Door Blind Spot
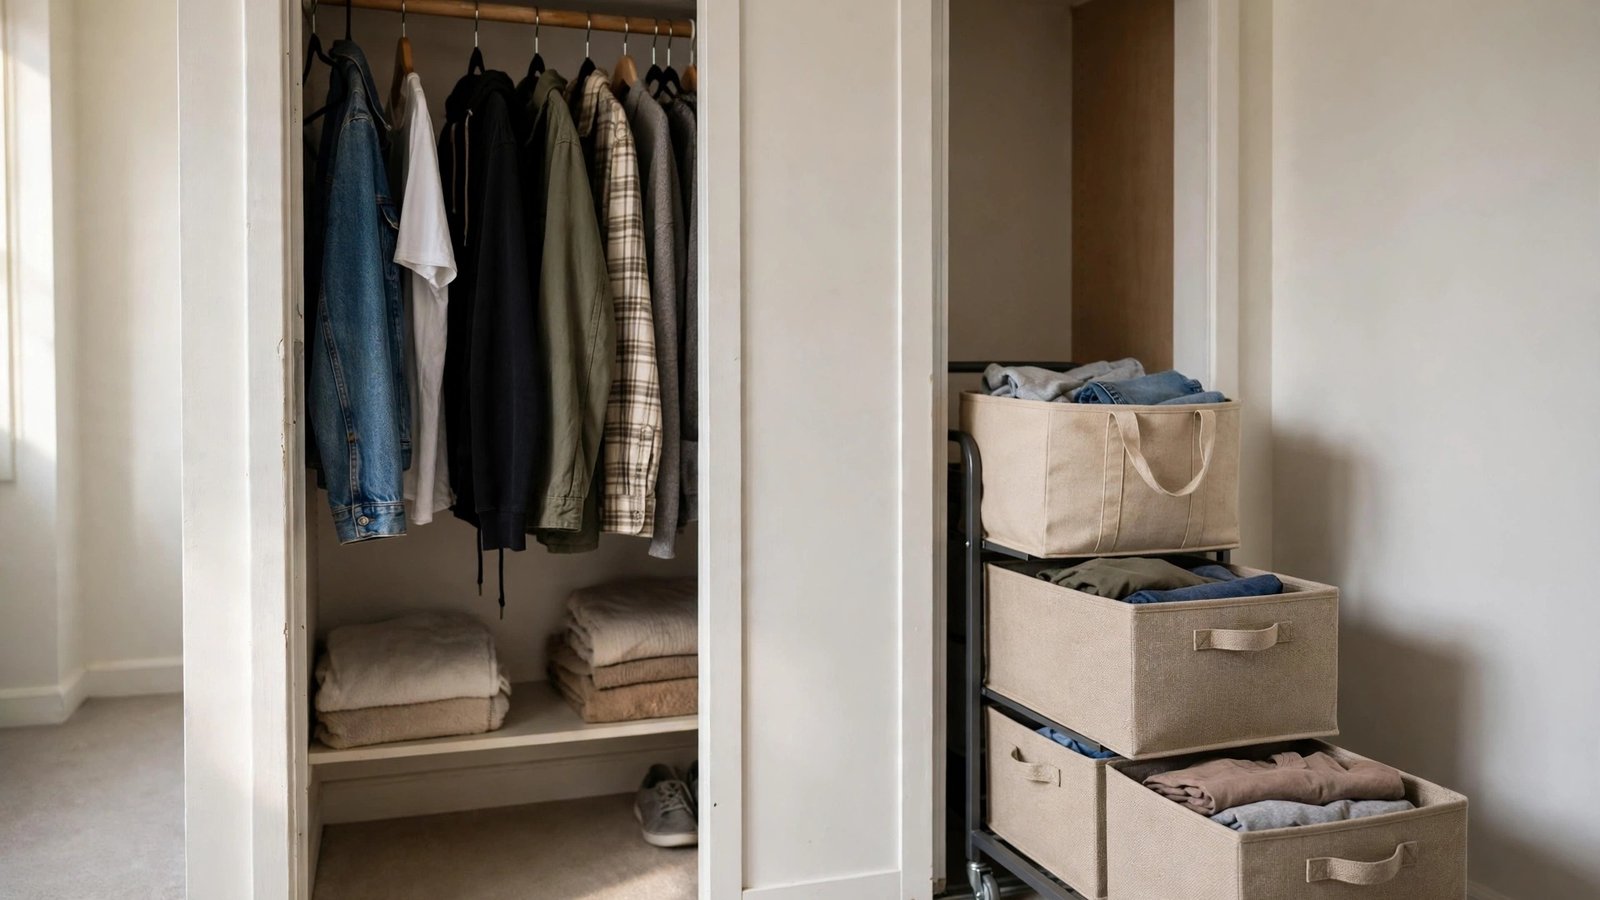
The sliding door is the reach-in closet's cruelest feature. One panel always covers half your closet, which means half your clothes are behind a door you have to physically shift to reach. Most renters cope by cramming everything toward the visible half — and then the hidden half becomes dead space where single socks and good intentions accumulate.
The fix is to give the hidden half a job it can do well *without* constant access. Assign the door-blocked side to categories you touch once a week or less: luggage, gift wrap, the vacuum attachments, your one formal outfit. Then make the blocked half retrievable on purpose by using pull-out storage — narrow rolling carts, handled bins, or under-rod crates that slide toward you when you do open that panel. When the panel shifts, everything on that side comes to you in one motion.
Why it works for renters: No installation, no door modification. You're just assigning the awkward half to storage that tolerates being awkward, and using portable, take-with-you containers for it.
How to do it:
- Open each sliding panel fully and mark which side of the closet it covers; that's your low-touch half.
- Move daily items entirely to the always-accessible half and relocate rarely-used items behind the parked panel.
- Place a narrow rolling cart or handled bins in the blocked half so items slide out toward you instead of requiring a reach into the dark.
- Put a small battery LED puck light on the inside of the blocked half so it's lit when you do open it.
- Approximate cost: $15–$40 for a slim rolling cart or a set of handled bins.
3. Switch to Slim Flocked Hangers
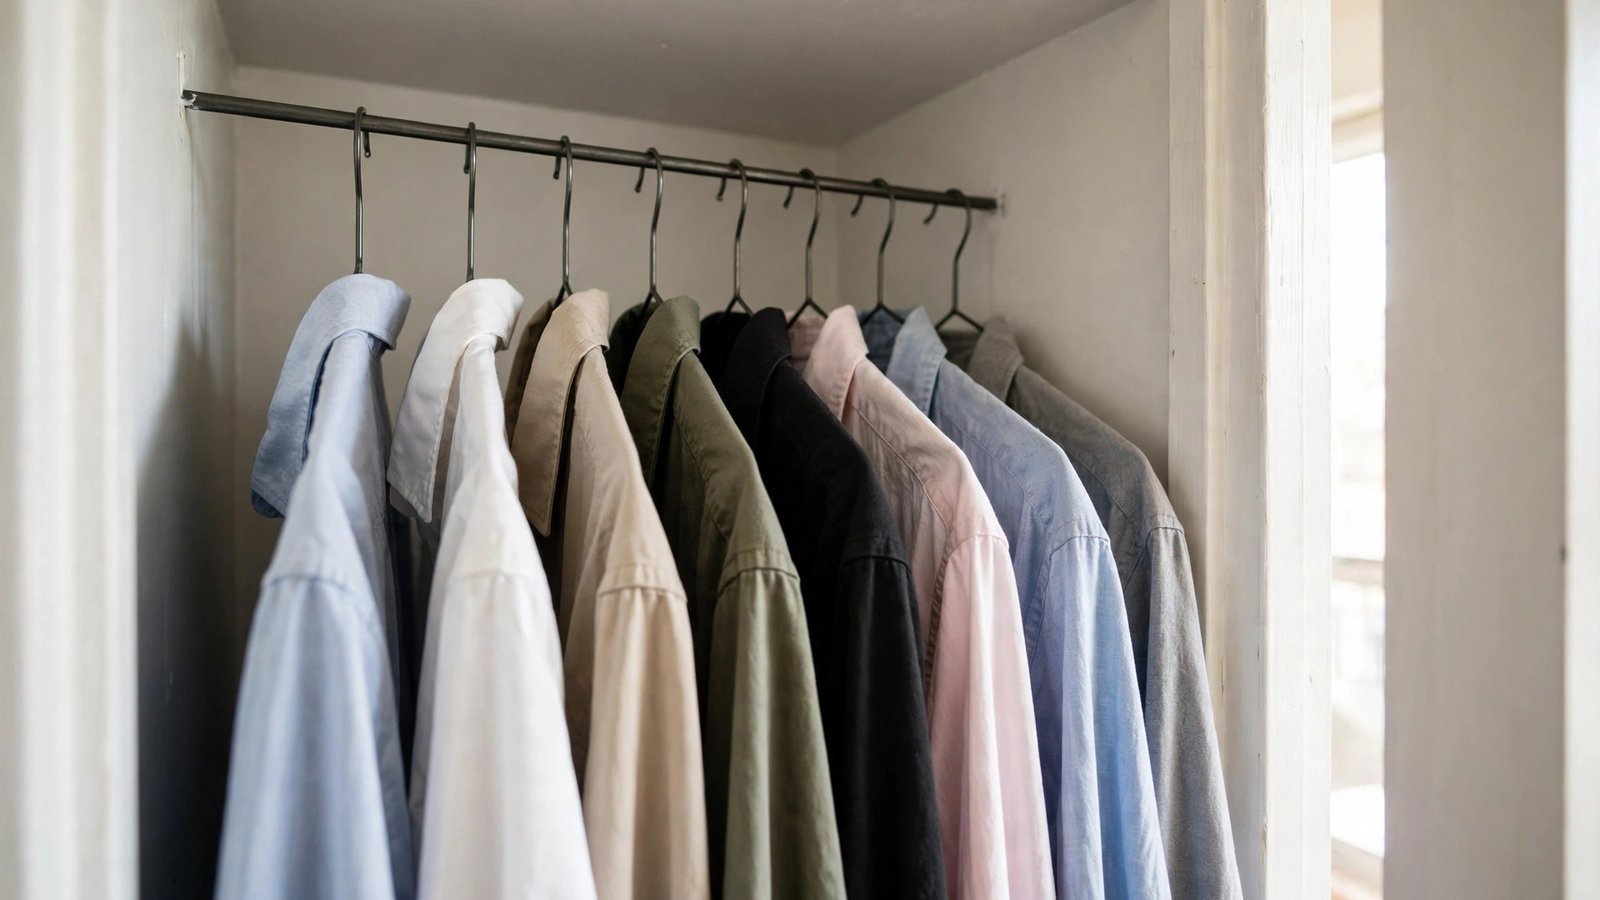
In a wide walk-in closet, hanger choice is a style preference. In a narrow reach-in, it's a capacity decision. Standard plastic tube hangers and wooden hangers are nearly an inch thick each; across a five-foot rod, that's over a foot of rod consumed by hanger plastic alone. Slim flocked (velvet-style) hangers are about a fifth of an inch thick, so the same rod suddenly holds 20 to 30 percent more garments — and the flocked coating keeps silky shirts from sliding off, which matters when clothes are packed tight.
Why it works for renters: Hangers travel with you. They're the single cheapest capacity upgrade in a rental closet, they change nothing about the apartment, and they make every other idea in this post work better because the rod isn't fighting you.
How to do it:
- Count what you actually hang (not what you own — what lives on the rod) and buy that many slim flocked hangers plus a few extra.
- Swap in batches of ten so you don't end up mid-project with a mountain of clothes and no hangers left.
- Donate or stash the old bulky hangers; mixing types wastes the width you just reclaimed.
- Keep two or three sturdy wide hangers for heavy coats so shoulder fabric doesn't stretch.
- Approximate cost: $15–$30 for a 50-pack of slim flocked hangers.
4. Respect the Bi-Fold Swing Path
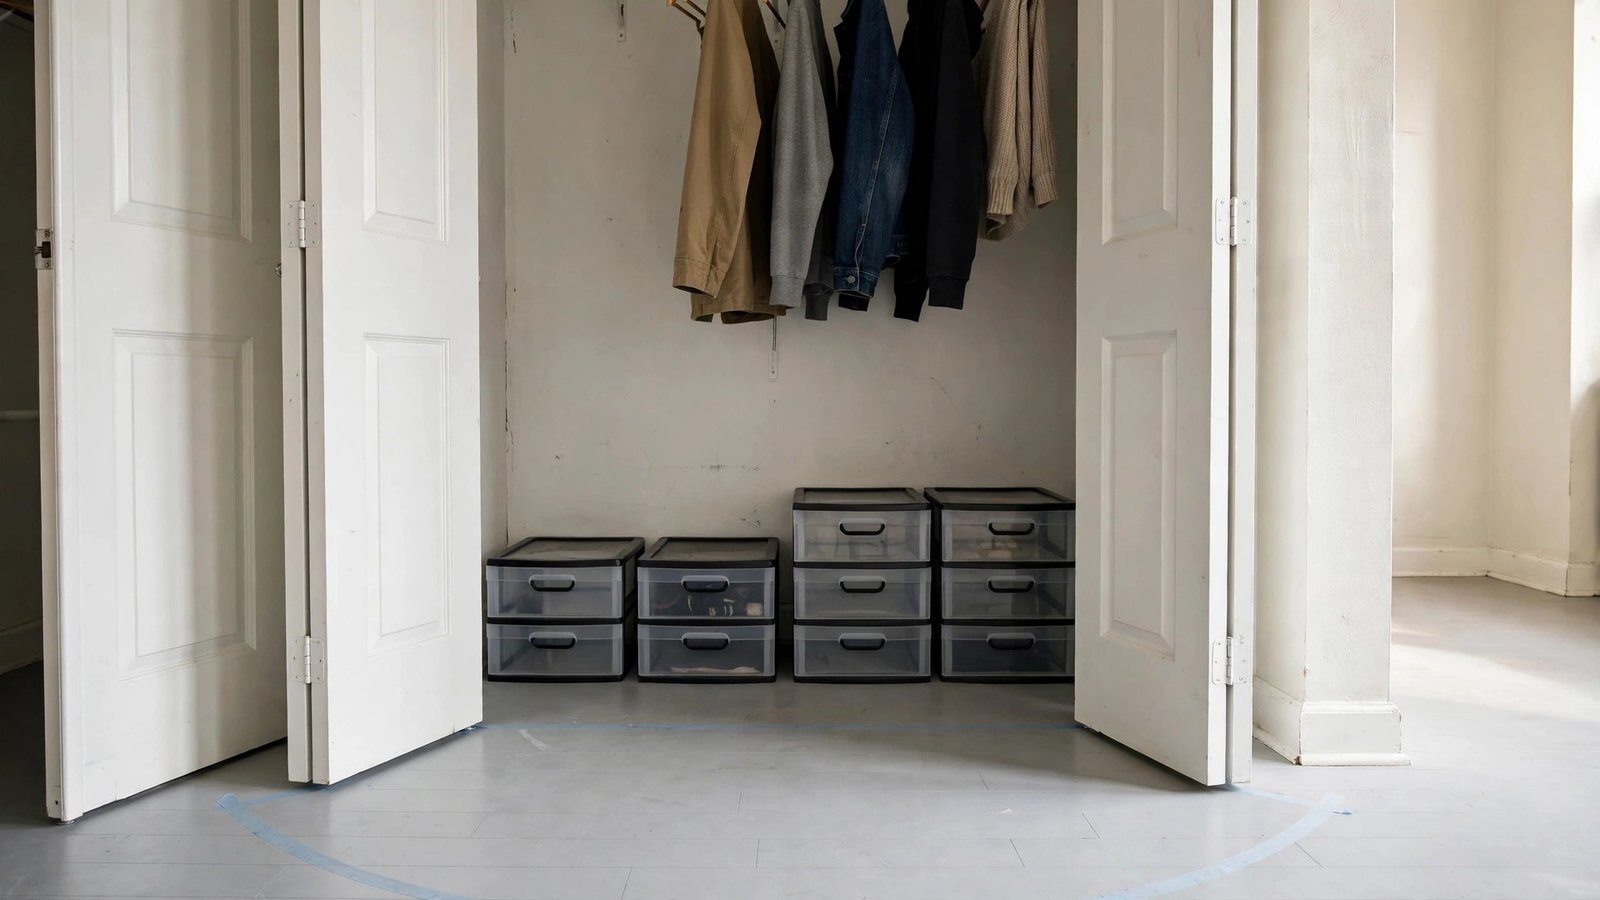
Bi-fold doors look better than sliders, but they swing *inward* — right into the closet's shallowest, most useful floor space. I've watched renters buy a lovely set of stacking drawers, slide them into a bi-fold reach-in, and then discover the doors smack into them every morning. The swing path is invisible real estate you must leave empty, and most people learn that the hard way.
Before you place anything in a bi-fold reach-in, map the swing. Open both door panels fully and mark the arc they sweep on the floor with painter's tape. That taped-off zone is a no-build area: no tall drawers, no hampers, no shoe racks. Keep it clear and the doors glide; fill it and you'll hate the closet forever.
Why it works for renters: Painter's tape is removable and free-adjacent, and this is planning, not purchasing. It prevents the single most common (and most annoying) reach-in organizing mistake.
How to do it:
- Open the bi-fold doors fully and mark their floor arc with painter's tape on both sides.
- Measure the clear depth *behind* the tape line — that's your true usable depth for floor storage, usually 14 to 18 inches.
- Choose floor pieces (drawers, bins, racks) shallower than that measurement.
- Keep the tape down for the first week as a visual reminder, then remove it once placement feels automatic.
- Approximate cost: $0–$5 for painter's tape.
What to avoid
Don't store anything tall directly behind bi-fold doors — even if it "just fits" when the doors are closed, the inward swing will batter it daily.
5. Add a Narrow Tower That Fits 24 Inches
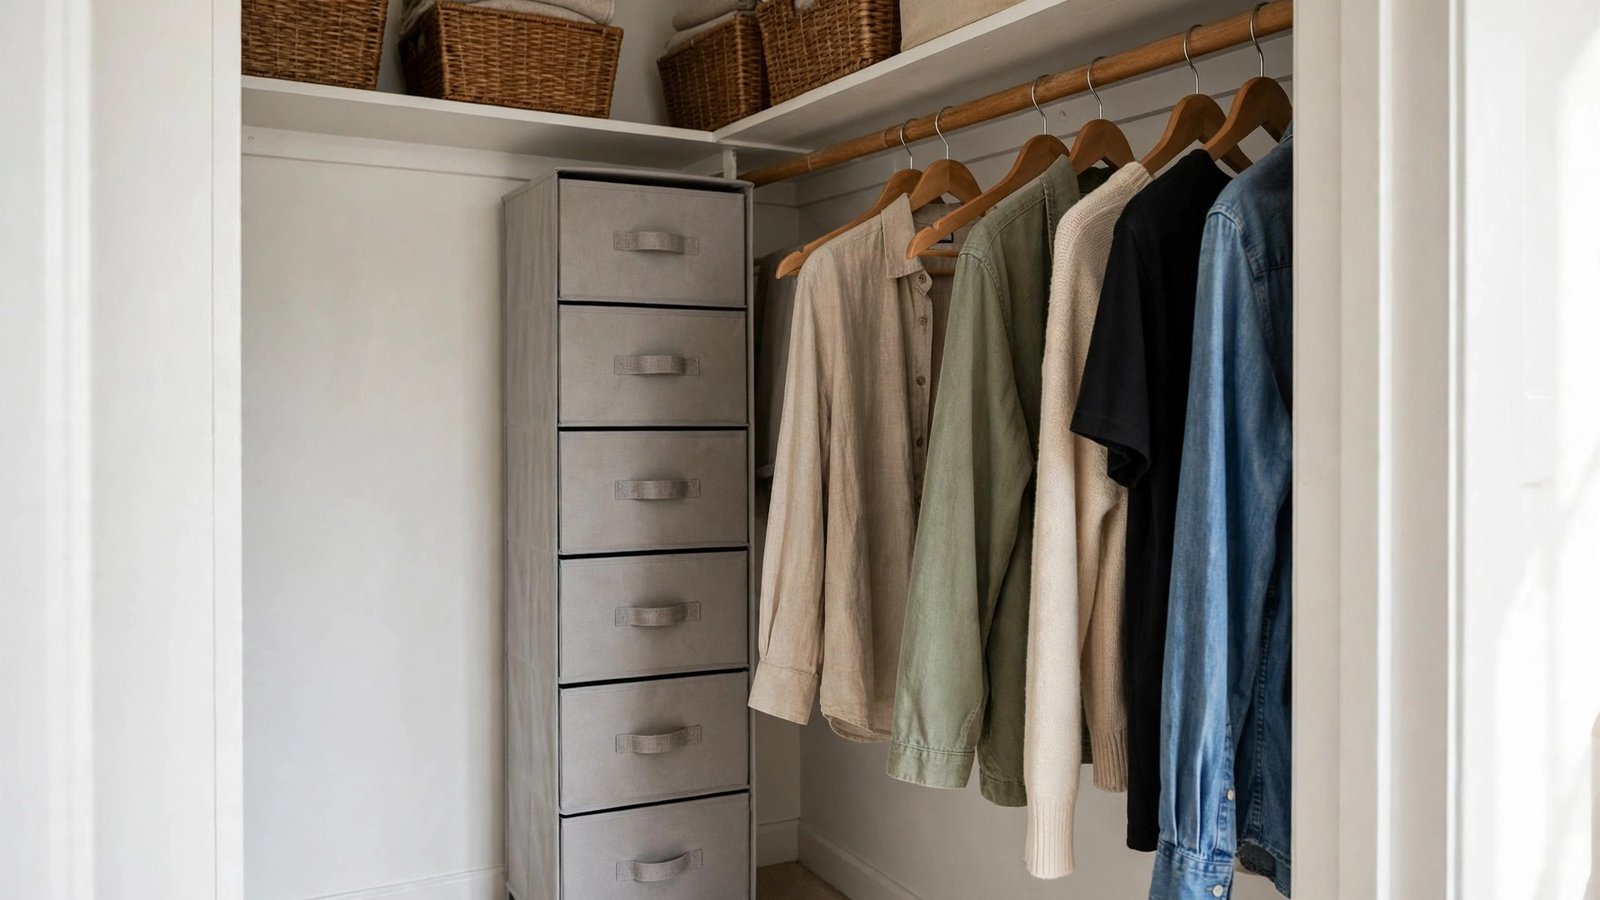
The reach-in's floor and vertical space are usually wasted because standard shelving units are 12 to 16 inches deep and awkwardly shallow for this job, while wide units won't fit beside hanging clothes. The piece that actually works is a narrow freestanding tower — a vertical shelving unit or set of stacking drawers designed around a 24-inch depth so it sits flush inside the closet without blocking the rod or the doors.
Place the tower at one end of the closet, in the low-touch zone (idea 2's territory). It becomes the home for folded clothes, accessories, bags, and everything that doesn't hang. Because it's freestanding, it needs no brackets, no screws, and no landlord's blessing.
Why it works for renters: Freestanding means zero wall contact and zero damage. When you move, the tower walks out the door with you and works in the next reach-in, because apartment reach-ins are all roughly the same depth.
How to do it:
- Measure your closet's interior depth and the clear width at one end, accounting for the door swing (see idea 4).
- Choose a tower or stack of drawers no deeper than your clear depth, with a footprint that fits the end section.
- Anchor tall towers with furniture straps only if they feel tippy — adhesive-backed straps hold to the wall without drilling and remove cleanly.
- Assign each shelf or drawer a category (folded tees, workout gear, accessories, bags) and label the fronts.
- Approximate cost: $30–$80 for a freestanding narrow tower or set of stacking drawers.
6. Double-Hang at Reach-In Height
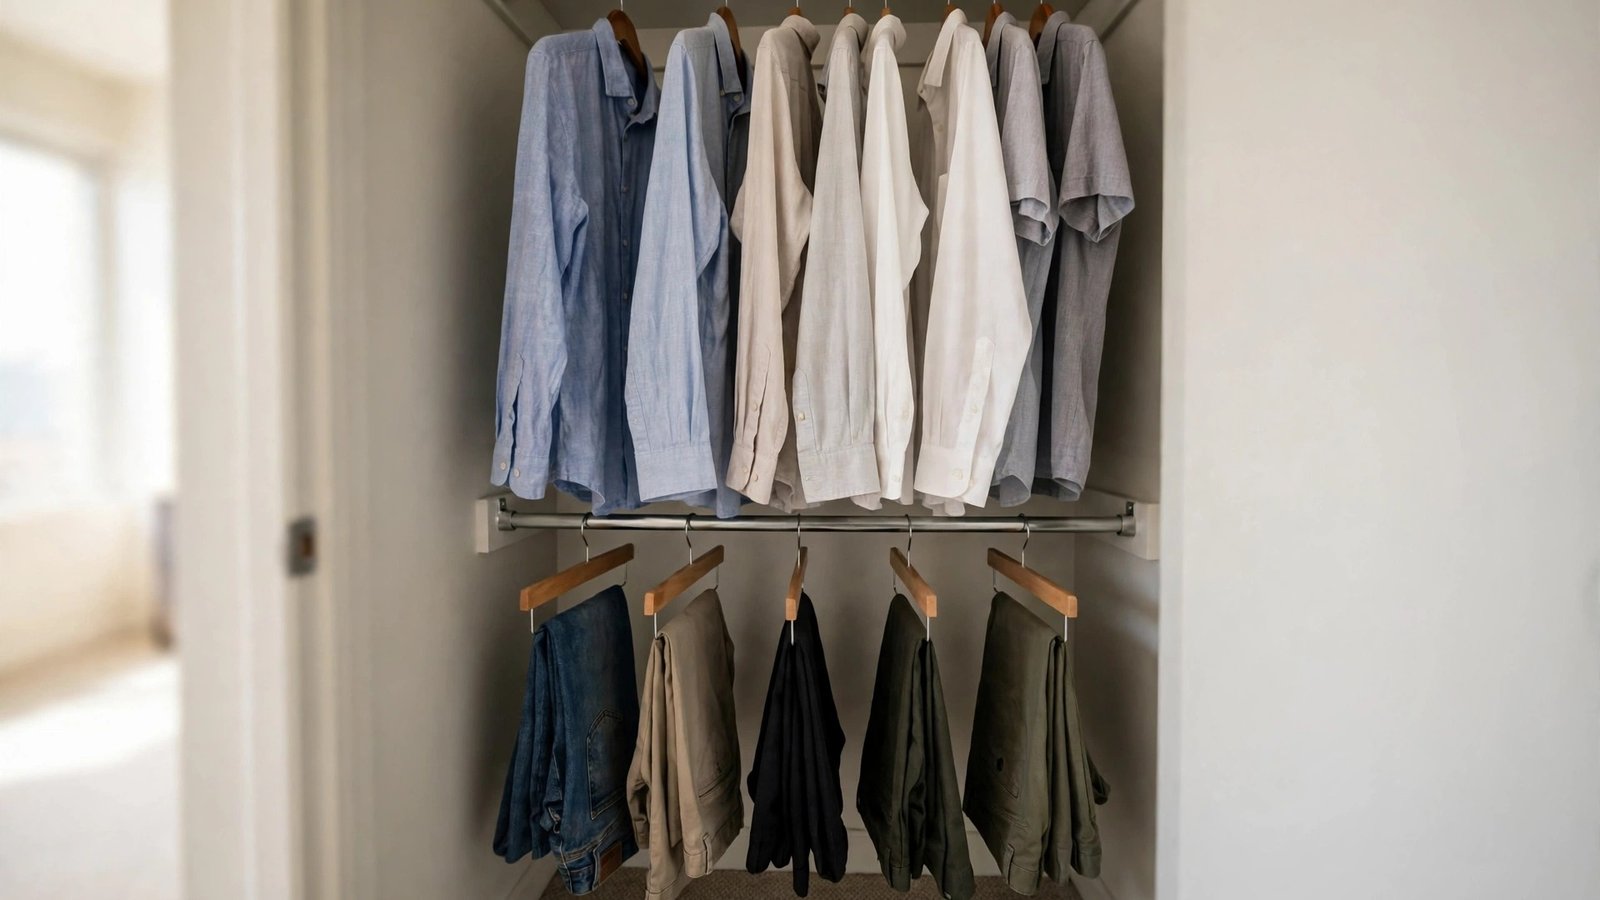
Reach-in closets are short — typically a single rod around 60 inches off the floor with a shelf above it. That leaves a dead column of air between the bottom of your hanging shirts and the closet floor, usually 30-plus inches of wasted vertical space. A second, lower rod turns that dead air into a full second tier of hanging space, effectively doubling what the closet holds.
The renter-safe way to add it is an adjustable second rod: a tension rod wedged between the closet's side walls, or a hanging rod extender that suspends from the existing rod. Tension rods work brilliantly here because reach-in closets are narrow — the short span means the rod barely flexes, even loaded with shirts. Hang tops on the upper rod and pants or skirts on the lower one.
Why it works for renters: Tension rods grip the walls with pressure, not screws — no holes, no patches, fully reversible. A rod extender hangs from the existing rod and touches nothing else. Both come down in seconds on move-out day.
How to do it:
- Measure the inside width of the closet at the height where the second rod will sit (about 38–40 inches off the floor for shirts above and pants below).
- Choose a tension rod rated for the span, or a hanging double-rod extender if you'd rather not use wall pressure at all.
- Install the lower rod and test it with your heaviest hanging pants before loading it fully.
- Assign categories: short items (shirts, blouses) up top, shorter items (folded-over pants, skirts) below, long dresses and coats at one end of the single-rod section.
- Approximate cost: $12–$30 for a tension rod or hanging rod extender.
7. Claim the Back Wall
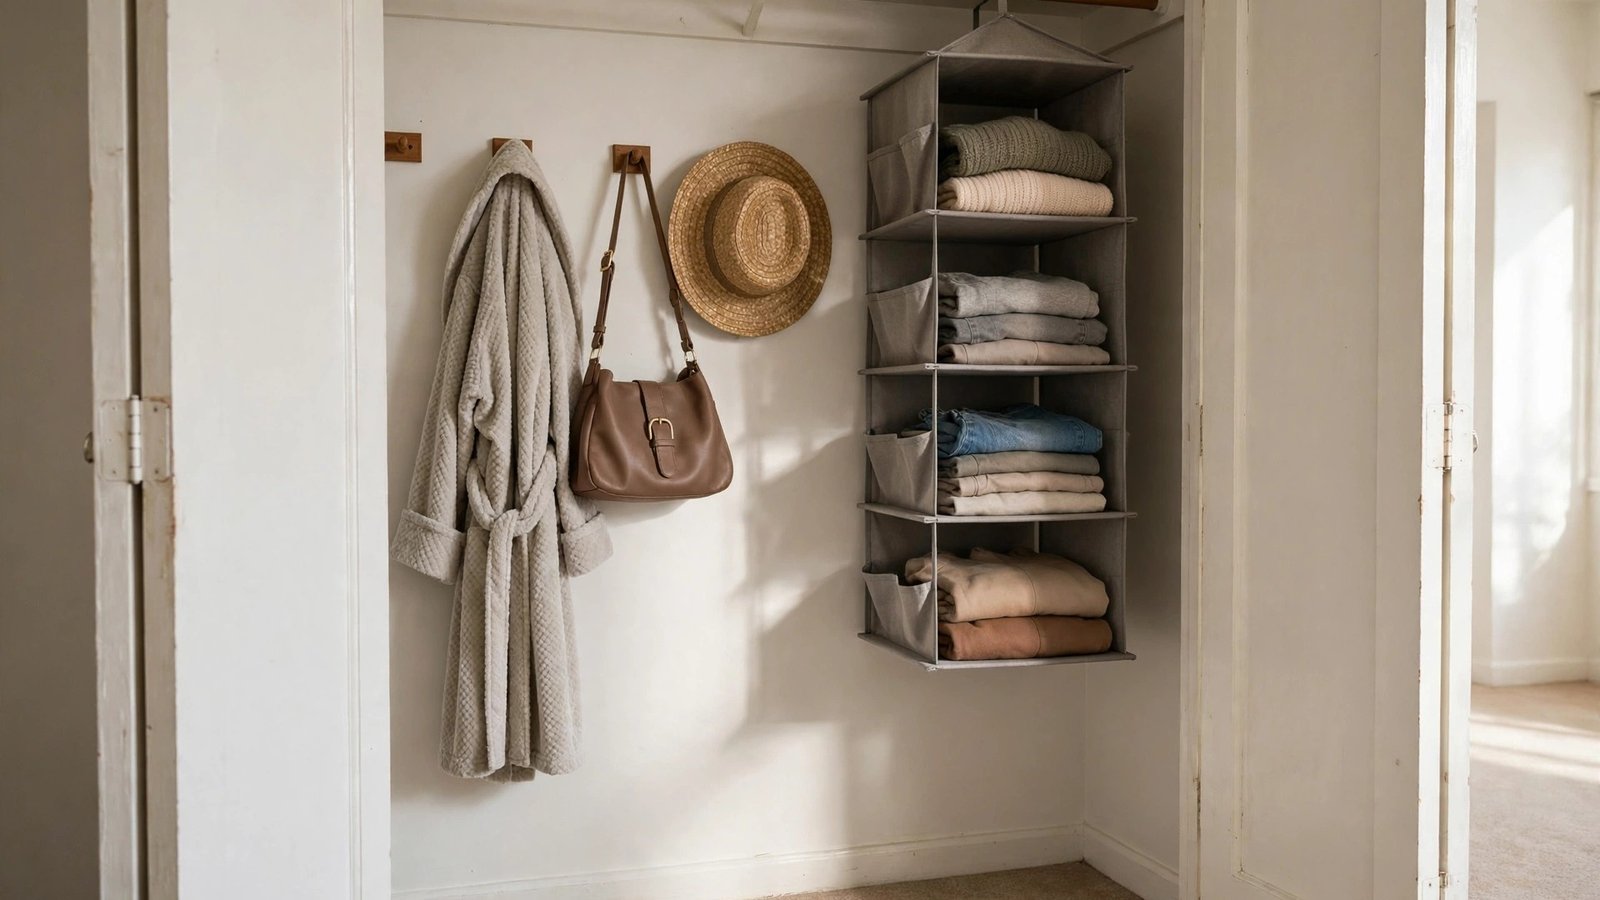
In a reach-in closet, the back wall is the one surface that's fully visible and reachable the moment the doors open. It's also the most ignored: a blank wall behind the clothes where nothing hangs and nothing stores. That wall can carry a surprising amount of organization if you treat it as usable surface.
Removable adhesive hooks (the kind that strip off cleanly) turn the back wall into vertical storage for tomorrow's outfit, robes, belts, hats, and bags. A hanging fabric shelf unit clipped over the rod adds cubbies in front of the back wall. Because the wall is shallow-depth territory (idea 1), it's the natural home for things you grab without stepping in.
Why it works for renters: Quality removable adhesive strips are engineered to come off painted drywall cleanly — follow the removal instructions exactly (slow pull, not a yank) and there's nothing to patch. Hanging shelf units touch only the rod. Everything is reversible.
How to do it:
- Clean the back wall with rubbing alcohol and let it dry so adhesive strips bond properly.
- Place 4–6 large removable hooks on the back wall: one for tomorrow's outfit, one for a robe or jacket, the rest for bags, hats, and belts.
- Hang a fabric shelf unit from the rod in front of the back wall for folded items or accessories.
- Keep the back-wall hooks in the front zone's line of sight (see idea 1) so they're grab-and-go, not buried.
- Approximate cost: $10–$25 for removable hooks and a hanging fabric shelf.
8. Tame the Top Shelf with Dividers and Bins
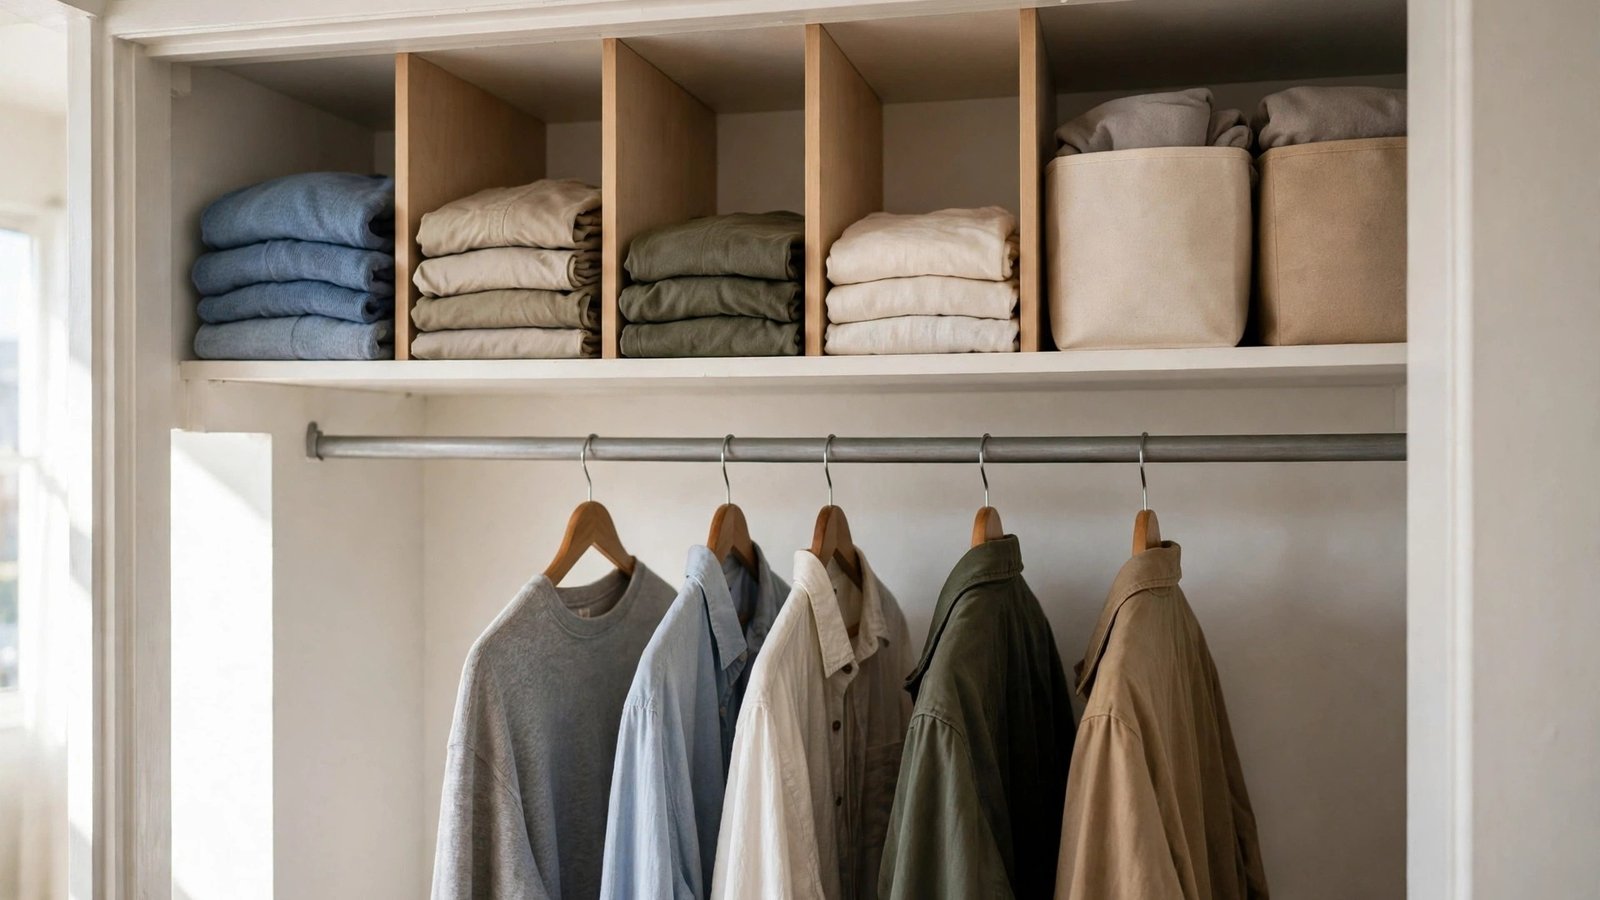
Nearly every reach-in closet comes with one wide shelf above the rod — and nearly every renter turns it into a single teetering pile of "stuff that lives up there." The shelf is prime real estate (full closet width, out of the way), but without structure it's a landslide zone where one pulled item brings down three others.
The fix is structure: shelf dividers that clamp onto the shelf to create upright sections for folded clothes or linens, and labeled bins for everything else. Divide the shelf into 12-to-18-inch sections — each section gets one category. Bins handle the loose stuff (spare sheets, off-season accessories, gift supplies). Labels matter more here than anywhere because the shelf is above eye level; you need to read it, not dig through it.
Why it works for renters: Shelf dividers clamp on with no tools and no damage. Bins sit on the shelf by gravity. The whole system lifts off when you move, and the shelf looks better than you found it.
How to do it:
- Measure the shelf's depth and the clearance above it (usually 10–14 inches) so bins actually fit underneath the ceiling.
- Add clamp-on shelf dividers every 12–18 inches to create upright sections for folded stacks.
- Fill the sections with one category each, and use handled bins with front-facing labels for loose items.
- Put a small folding step stool nearby if the shelf is high — an organized shelf you can't reach is still a junk shelf.
- Approximate cost: $20–$45 for dividers and a set of labeled bins.
9. Own the Floor Zone with Shallow Drawers
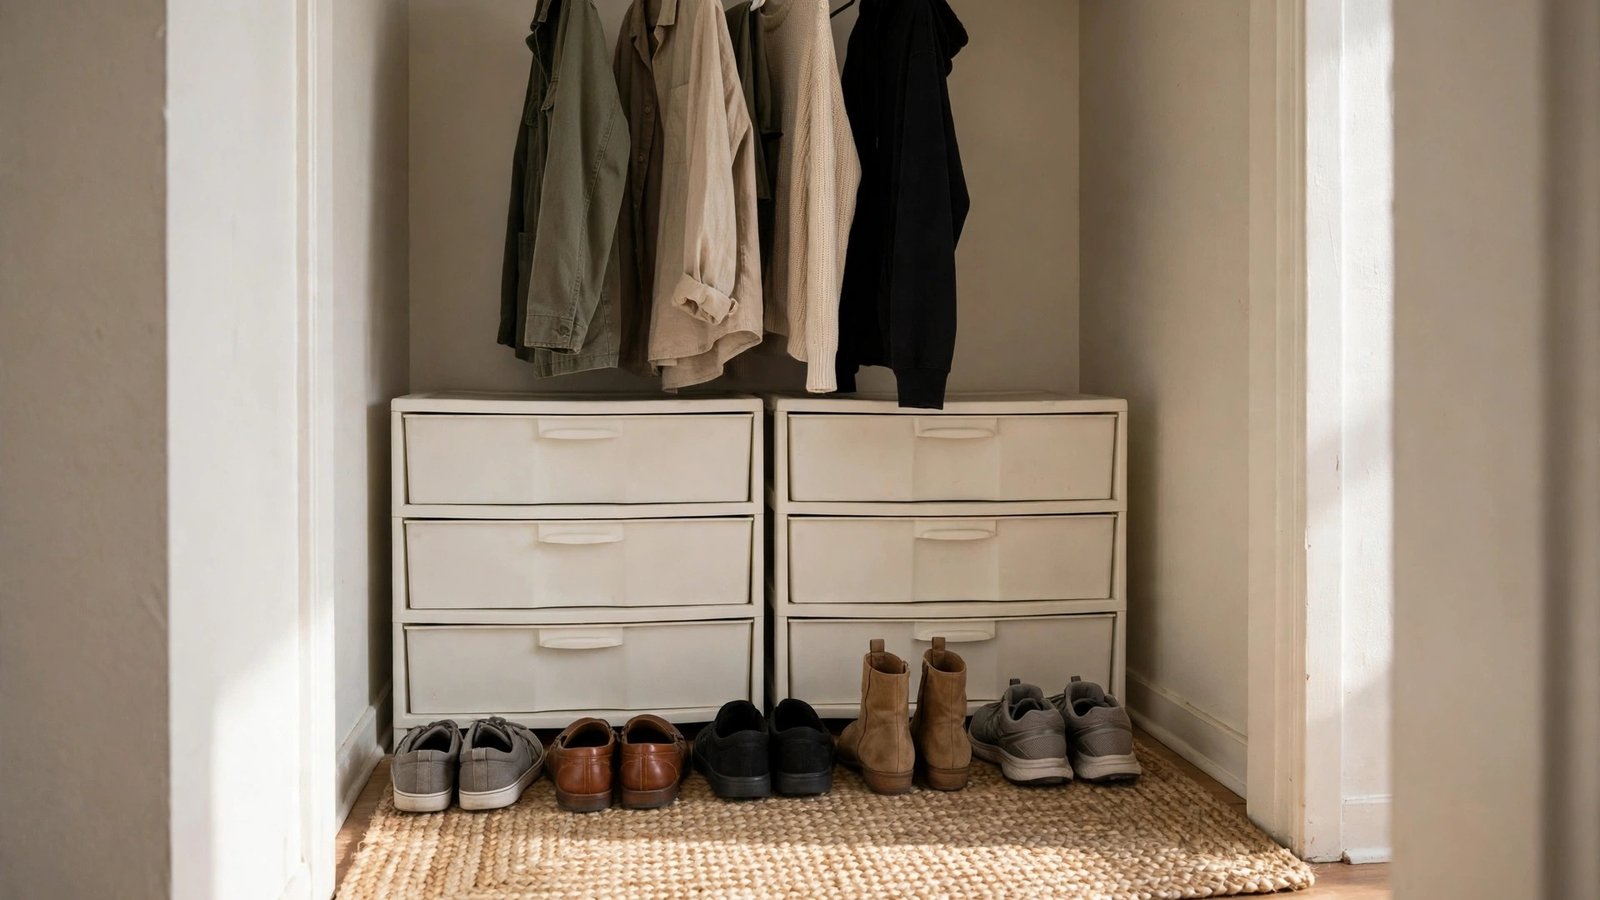
The floor of a reach-in is deceptively tricky: it's shallow, partly blocked by doors, and it collects clutter by default. Piles form here — the shoe drift, the bag avalanche, the "I'll deal with it" laundry. The reach-in answer is shallow stackable drawers or low bins that fit the clear depth behind the door swing (see idea 4) and turn the floor into real storage instead of a pile zone.
Two or three stackable drawer units along the back of the floor hold underwear, socks, accessories, and everything small that never deserved a hanger. A low handled bin corrals shoes in pairs instead of singles. Because each unit is shallow, the doors still close and glide.
Why it works for renters: Stackable drawers and bins are furniture — they sit on the floor, touch nothing permanently, and stack into a moving box on moving day. Zero installation, zero risk.
How to do it:
- Measure the clear floor depth behind the door swing and buy drawer units shallower than that number.
- Stack two or three units at the back of the floor zone, leaving the front clear for shoes or a hamper.
- Assign one drawer per category and label the fronts — small items disappear fastest in unlabeled drawers.
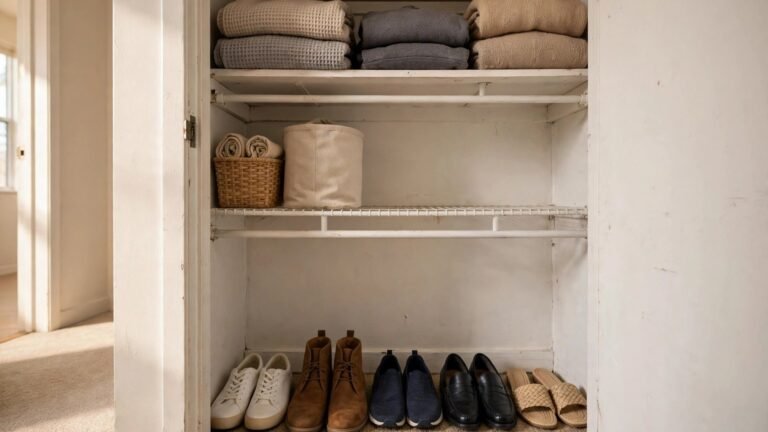
- Corral shoes in a low bin or on a slim mat in front of the drawers, pairs together.
- Approximate cost: $25–$60 for stackable drawer units and a shoe bin.
10. Use the Door Panels — Carefully
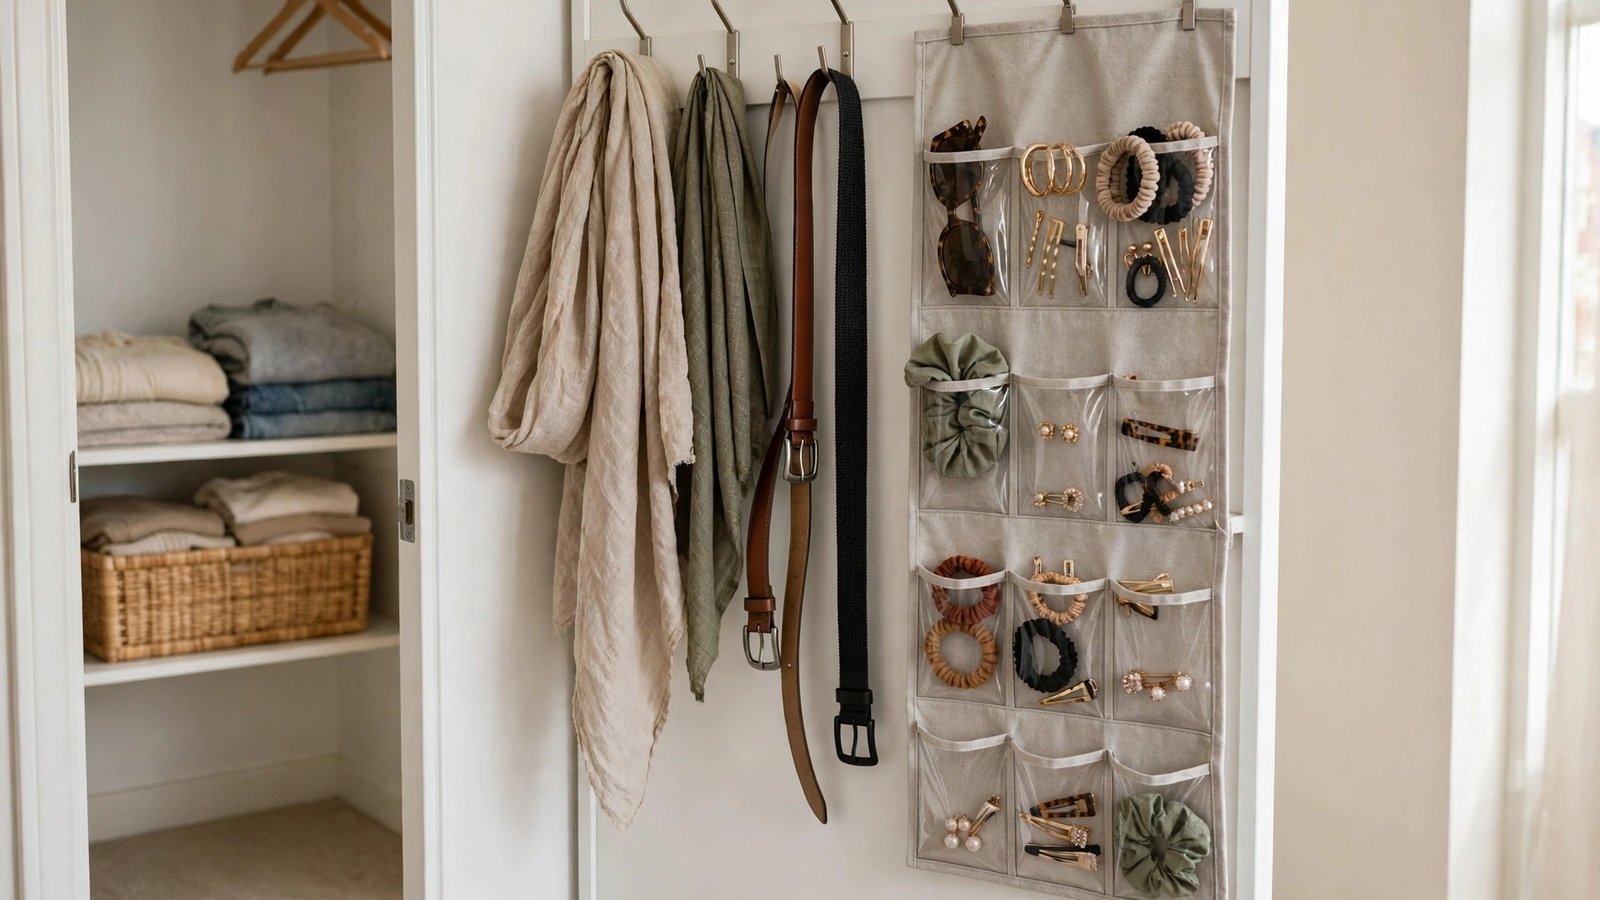
The inside of the closet doors is free real estate hiding in plain sight — but on sliding and bi-fold doors, it comes with rules. These doors are lighter than standard doors and ride on tracks or hinges that tolerate only modest weight. So the playbook is lightweight, slim, over-the-panel storage: flat hooks and slim caddies on the inside faces, nothing that adds real weight or sticks out far enough to jam the track or block the fold.
A slim over-the-panel hook rail holds scarves, belts, and necklaces. A flat pocket organizer holds accessories and small essentials. The key discipline: if a loaded door drags, sticks, or won't glide smoothly, you've overloaded it — strip it back until the door moves like it did before.
Why it works for renters: Over-the-panel hooks lift off with no trace. Adhesive options strip off cleanly. You're modifying nothing — the door looks and works exactly as before when you move out. Flag: check your lease or ask the landlord before using adhesive on door faces if the finish is delicate; when in doubt, use over-the-top hooks that touch only the panel edge.
How to do it:
- Check how your door panels are finished and choose over-the-top hooks or gentle removable adhesive accordingly.
- Hang a slim pocket organizer or hook rail on the inside face of the least-used panel.
- Load it only with light items (scarves, belts, jewelry, sunglasses) — never bags or heavy coats.
- Test the door's glide and fold after loading; if it drags, remove weight until it moves freely.
- Approximate cost: $8–$20 for over-the-panel hooks or a slim pocket organizer.
11. Light the Cave with Battery LEDs
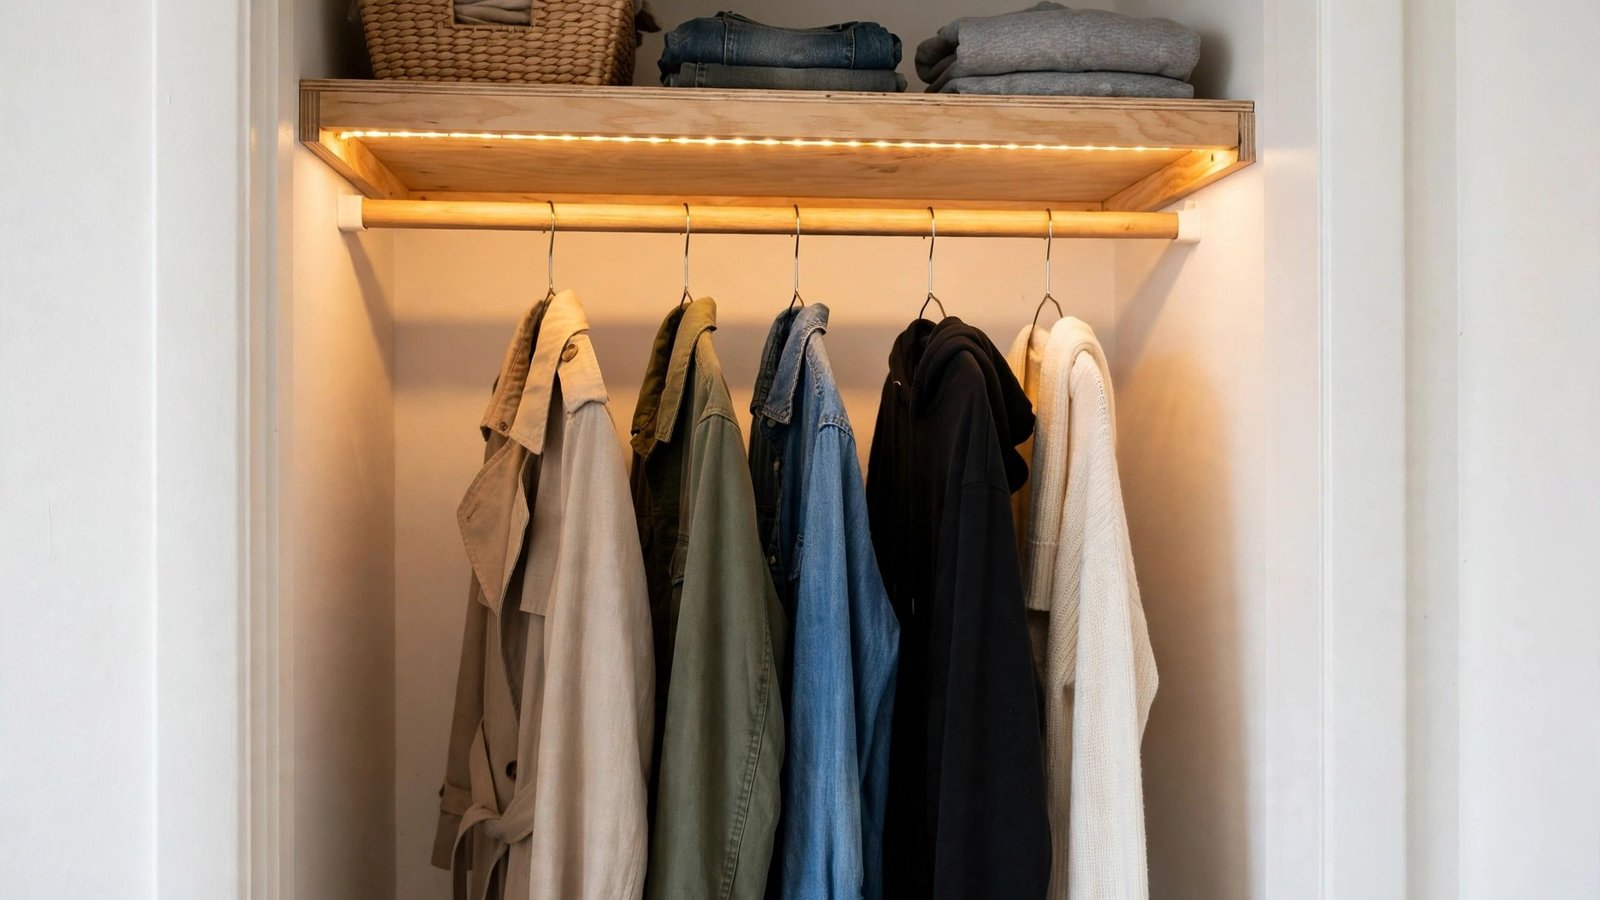
Reach-in closets are dark by design: shallow, enclosed, and lit (if at all) by a single bare bulb that your clothes block. A dark closet is a disorganized closet, because you can't maintain zones and labels you can't see. This is the highest-impact, lowest-effort upgrade on this list.
Battery-powered motion-sensor LED strips or puck lights stick to the closet ceiling or the underside of the shelf with removable adhesive, turn on when the door opens, and turn themselves off. No wiring, no electrician, no landlord permission. Mount one strip along the underside of the top shelf and the whole rod is lit; add a puck in the back zone and the deep-storage area stops being a black hole.
Why it works for renters: Removable adhesive, battery power, zero wiring — this is the textbook deposit-safe upgrade. It peels off on move-out day and the next renter never knows it was there.
How to do it:
- Measure the underside of the top shelf and choose a battery LED strip or set of pucks that fits the length.
- Clean the mounting surface, attach with the included removable adhesive, and press firmly for 30 seconds.
- Position one light to wash down over the hanging rod and one toward the back zone if the closet is deep enough to need it.
- Test the motion sensor with the doors closed and open — adjust sensitivity so it triggers on the door, not on bedroom movement.
- Approximate cost: $12–$25 for battery motion-sensor LED strips or pucks.
12. Run a Capsule Rotation
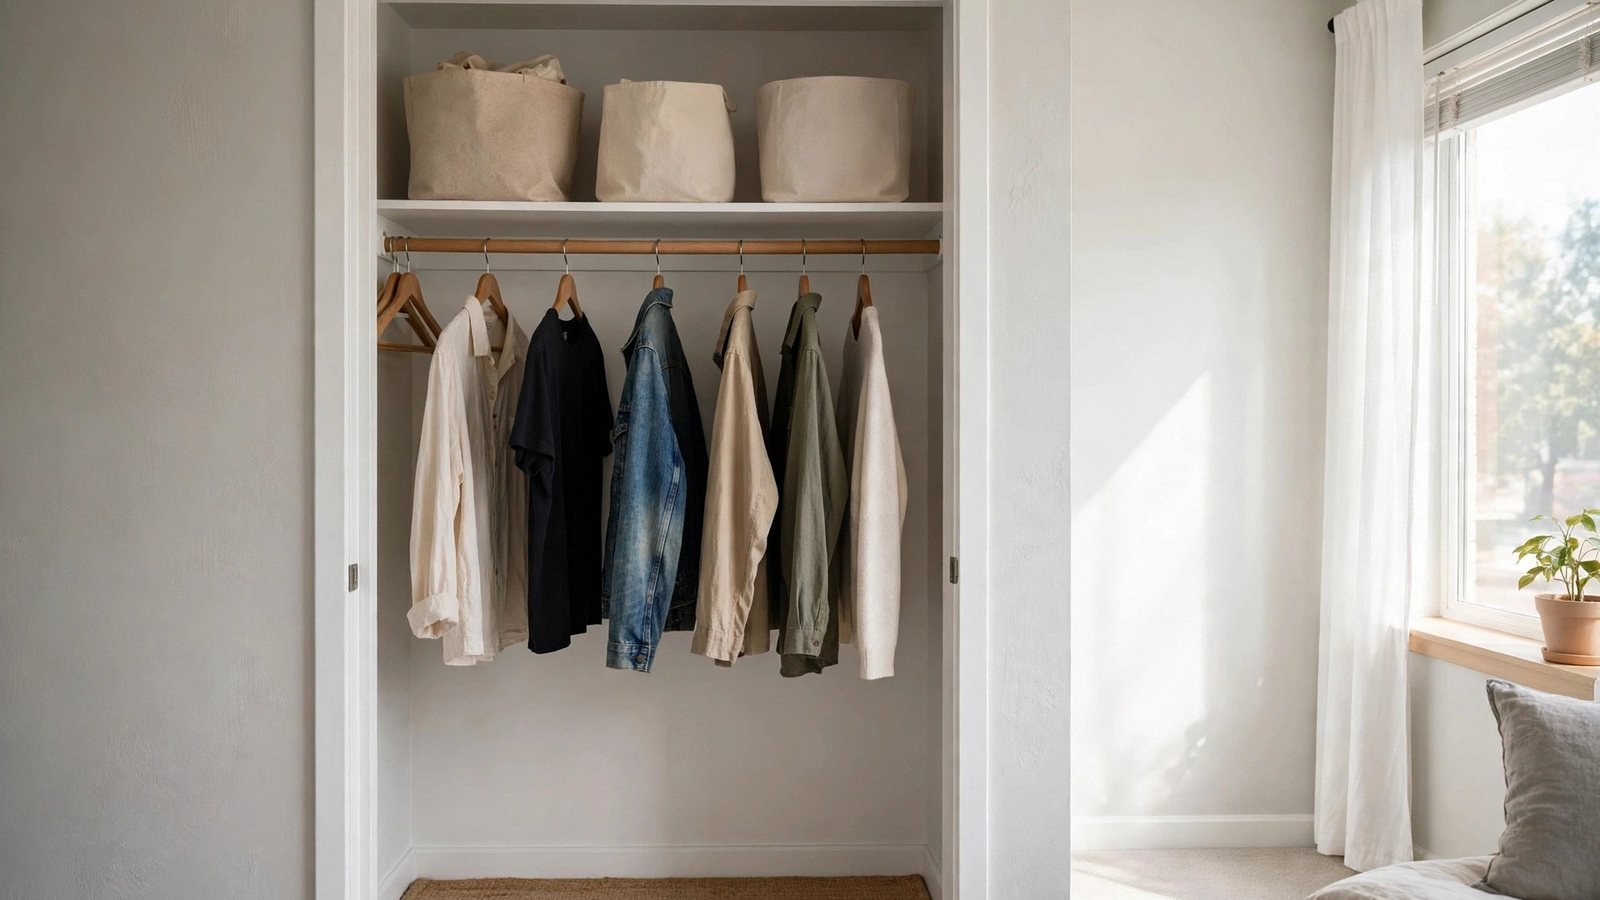
The final idea isn't a product — it's the habit that keeps all eleven others working. A reach-in closet is a small box; it only functions if what's *in* the box is limited to what's *in season and in use*. The moment out-of-season coats, occasion wear, and "maybe someday" clothes pile in, the zones collapse and the blind spot fills with clutter again.
Capsule rotation means the reach-in holds only the current season's daily wardrobe — roughly 30 to 40 pieces you actually wear. Everything else lives elsewhere: under the bed, on a high bedroom shelf, in a storage tote in another closet. Twice a year, at the season change, you swap. The closet stays at the exact capacity it was designed for, and getting dressed takes five minutes because every option is a real option.
Why it works for renters: It's a system, not a purchase, and it travels with you forever. It also protects your deposit indirectly — a closet used within its capacity doesn't get overloaded rods, sagging shelves, or doors forced shut against piles.
How to do it:
- Pull everything out and keep only current-season pieces you actually wear; box the rest in labeled totes stored elsewhere in the apartment.
- Aim for a rod that looks comfortably full, not packed — if hangers can't slide, the capsule is too big.
- Store off-season totes under the bed or on a high shelf, labeled by season.
- Do the swap twice a year (spring and fall), and donate anything that didn't get worn in its season.
- Approximate cost: $0–$20 for storage totes if you don't already own them.
Conclusion
The reach-in closet gets a bad reputation it doesn't deserve. It's not too small — it's just honest about its size, and it punishes generic advice. Once you organize for its actual shape — depth zones instead of one flat row, doors worked around instead of fought, narrow systems instead of wide ones, light where there was darkness — the shallow box becomes one of the most efficient closets you can own. I've watched renters go from dreading that sliding door to opening it with genuine satisfaction, and the transformation never required a drill, a landlord's signature, or a big budget. Just specificity.
Start with the free wins: zone by depth, map your door swing, and run a capsule rotation this weekend. Add the slim hangers and the battery lights next — those two purchases alone change the daily experience more than any organizer ever will. Your reach-in closet was built for exactly this. Please save this visual guide on Pinterest and pin the idea you're trying first — your future self, reaching into a perfectly zoned closet on a busy morning, will thank you.

Amelia leads HavenlyStyle’s editorial vision with a passion for elegant interiors and practical home living. With years of experience in home décor and lifestyle content, she ensures every article is accurate, inspiring, and easy to follow. From timeless decorating ideas to the latest interior design trends, Amelia is committed to helping readers create beautiful, functional spaces while maintaining HavenlyStyle’s trusted and welcoming voice.